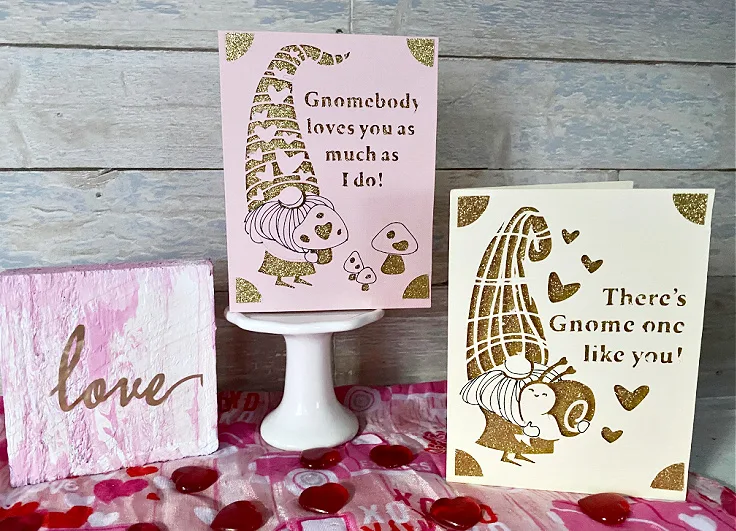
See how easy it is to make absolutely adorable Gnome Valentine’s Day cards with the Cricut Joy.
These Gnome Valentine’s Day cards are super simple to make using the Cricut Joy card mat and inserts. I finished two in about 15 minutes.
My little nieces are 3 yo and 5 yo and I know they will get such a kick out of receiving these in the mail.

This is a sponsored post written by me on behalf of Cricut and contains affiliate links at no extra cost to you. All opinions are 100% mine.
The first project I made with the Cricut Joy were these fun Mother’s Day and graduation cards. I was lucky enough to get a sneak peek of all the things the Joy can do at a blogging conference last year.
And I couldn’t wait to get this little baby home to experiment! The tag line for the Joy is “Your DIY best friend” and that is spot on.

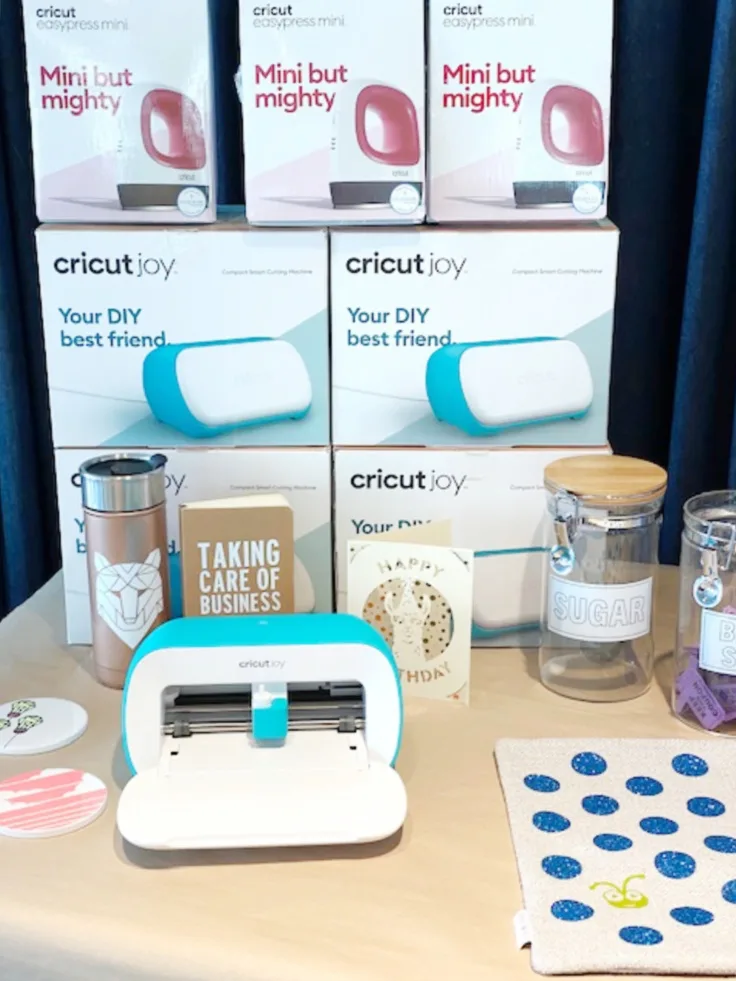
What Does The Cricut Joy Do?
I’ve had lots of friends ask what the Cricut Joy can do, and why would we need this machine if we already own another cutting machine.
Well, the easy answer is you don’t need the Joy, but it sure does make crafting easier! Like so many of you, I craft all over the house.
Sometimes I’m in my office/craft room, and sometimes I’m at the kitchen table. I can easily bring the Joy to whatever room I’m in.
It’s also great for a craft day with friends. When I first received it, I took it to my sister’s house and made cards with my 5 yo niece.
Which brings me to another reason why the Joy is so cool. It is so easy to use. My niece made a card for her mom and all I did was supervise.
While I love my Maker, there is a little bit of a learning curve.
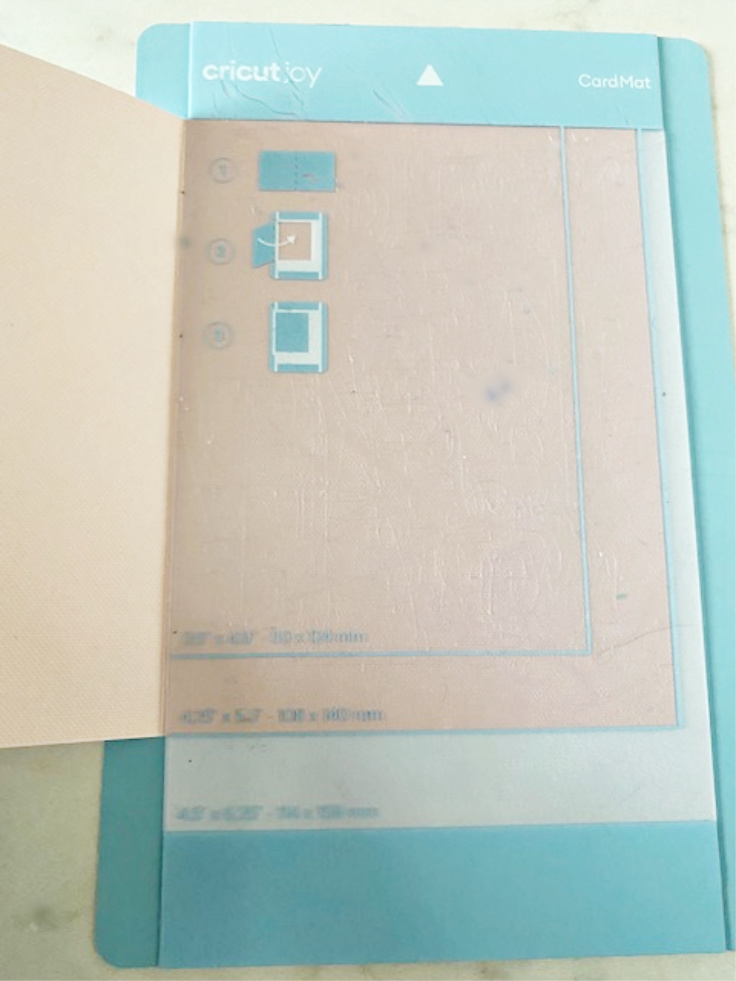
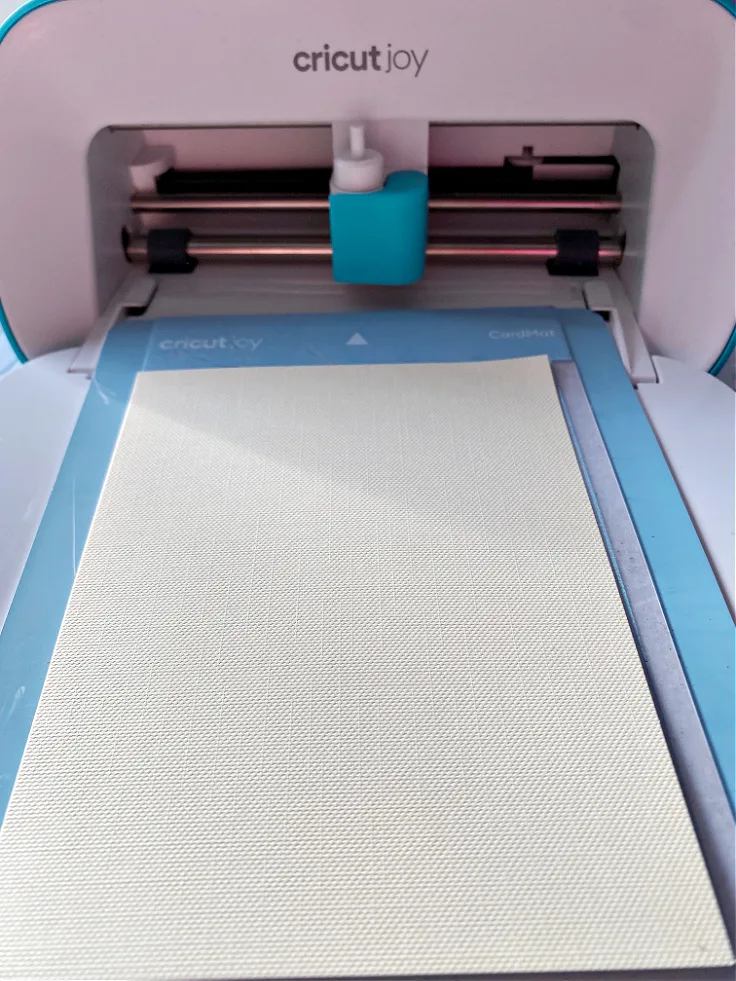
How To Use Cricut Joy Card Mat
Supplies
Step 1.
Choose the card color that you want and place it on the card mat.

Step 2.
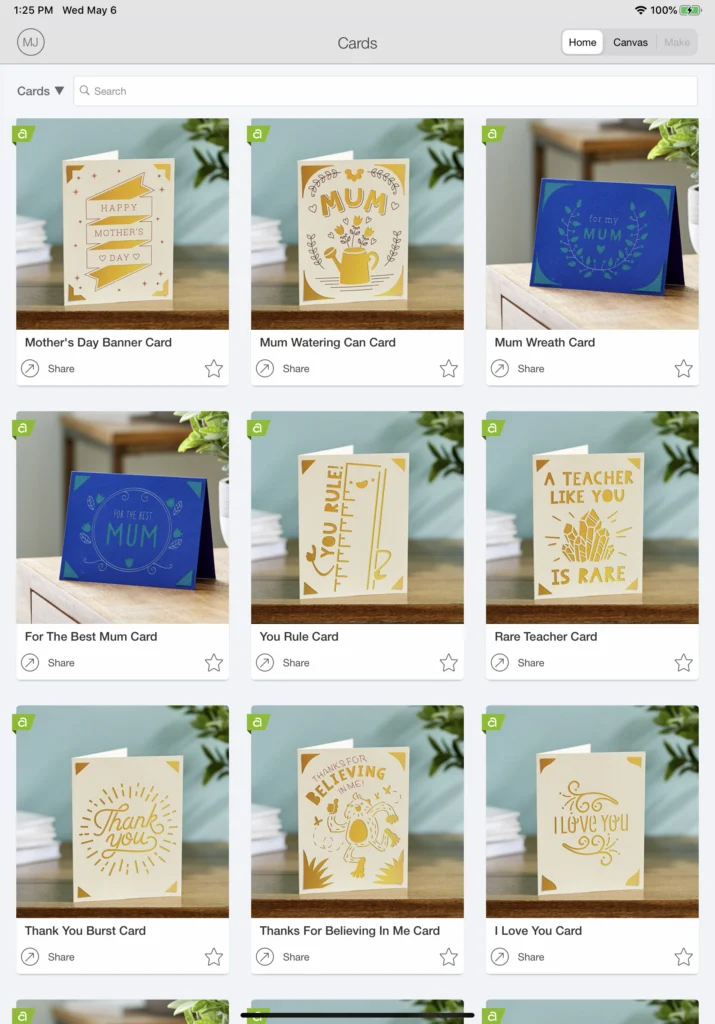
Pull up the card designs on your phone using the Cricut Design Space™ app. Simply select the open the projects tab within Design Space and select cards from the top drop down menu.
Here is a small sampling of the ready made cards for the Joy:
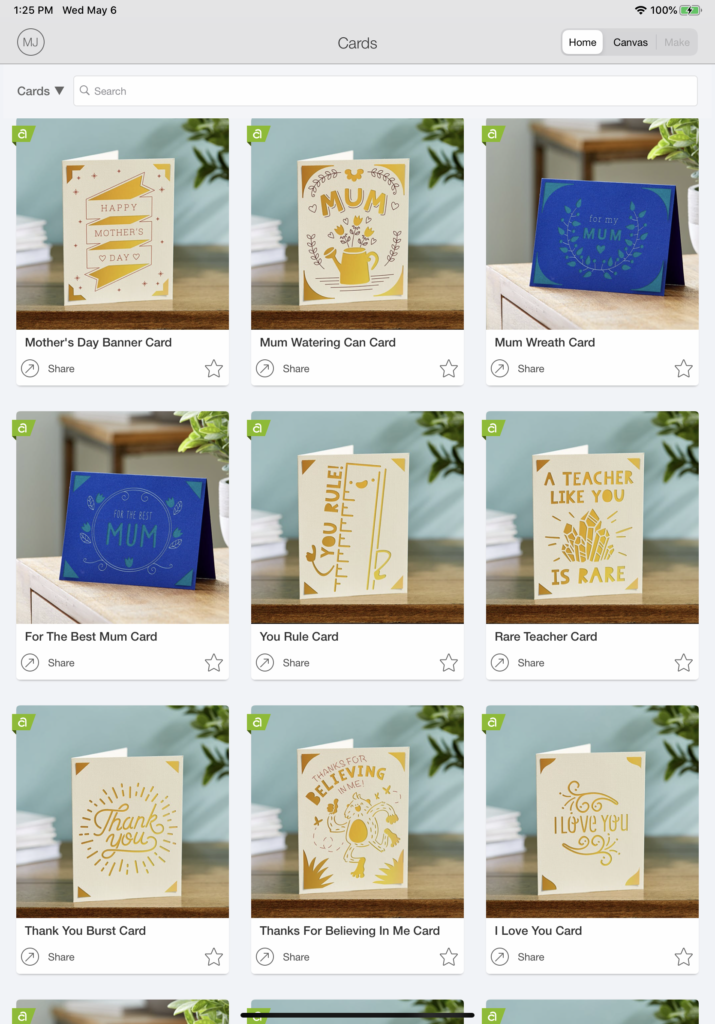
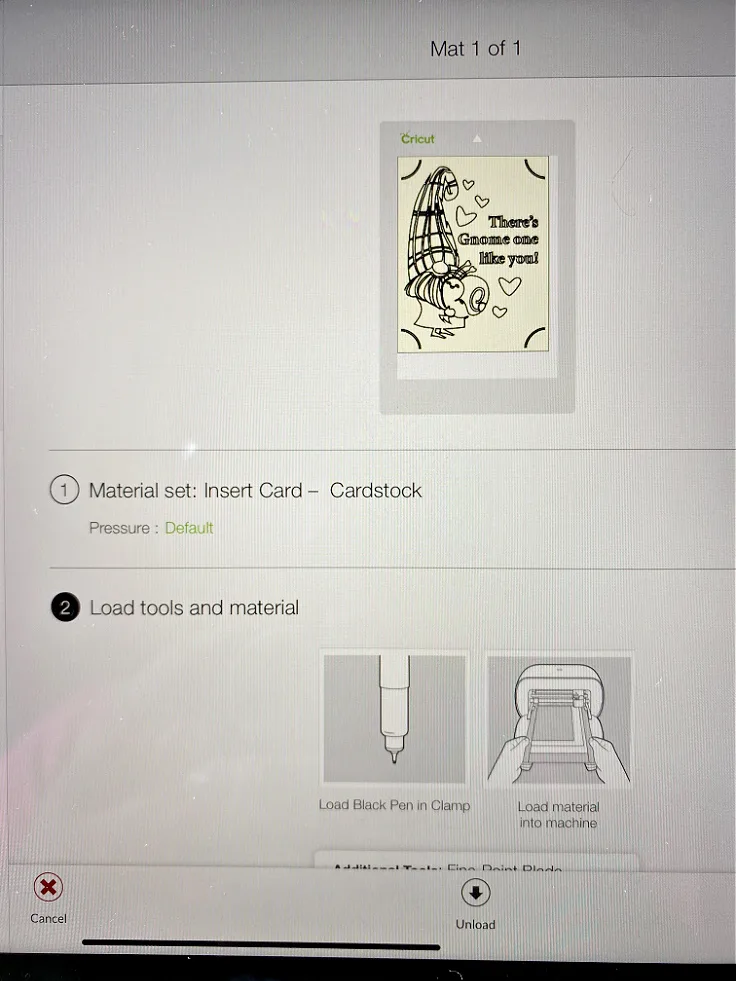
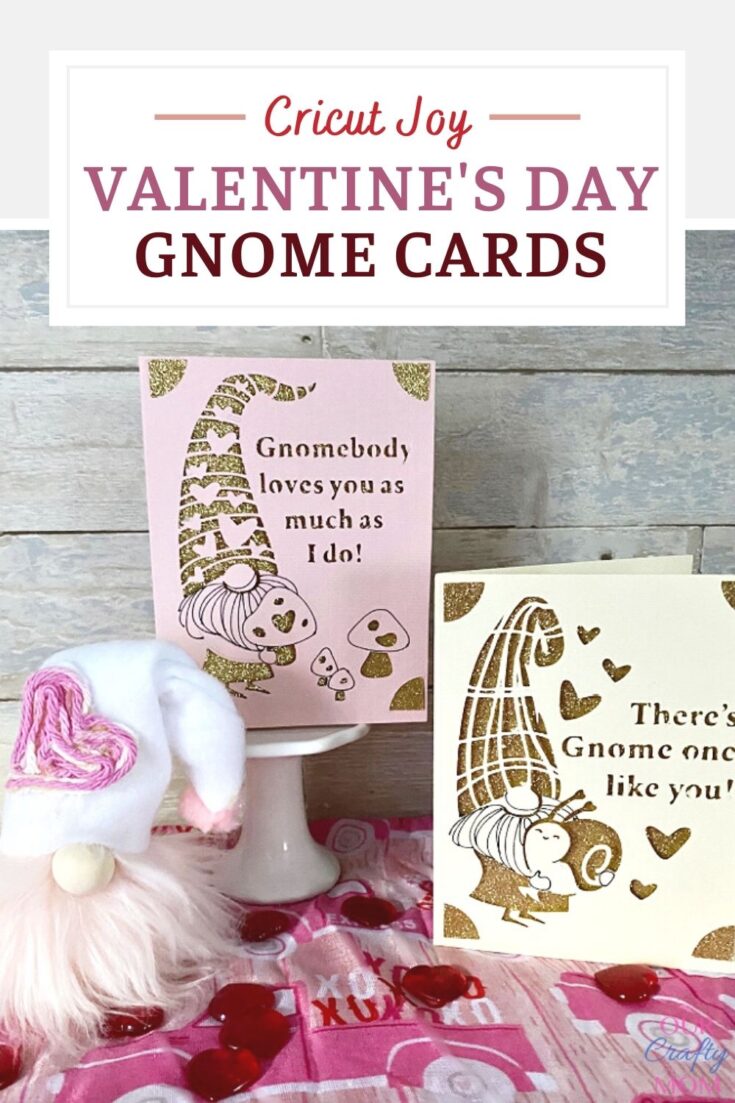
I chose the adorable gnome for Valentine’s Day. There are two different gnomes.

Step 3.
When you select the card, click the picture to open it. Then click the green “make it” button. You will be taken to the cut screen and the card mat will be automatically set.
But, if you are using a standard half sheet of paper or the insert cards kits choose the 4.25×5.5” size.
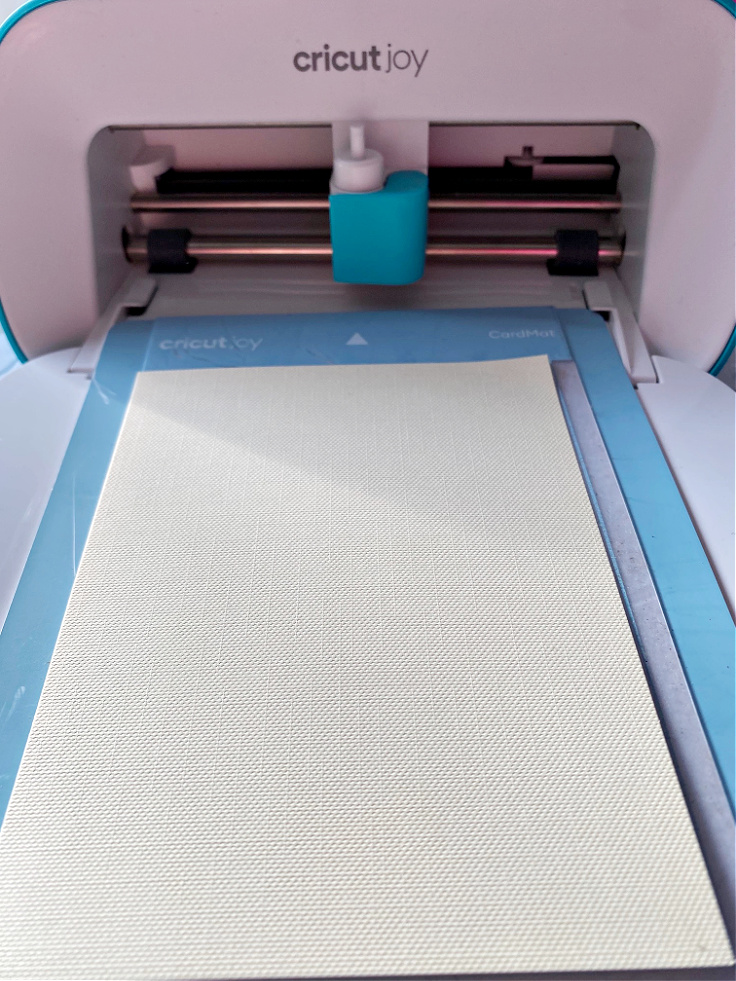
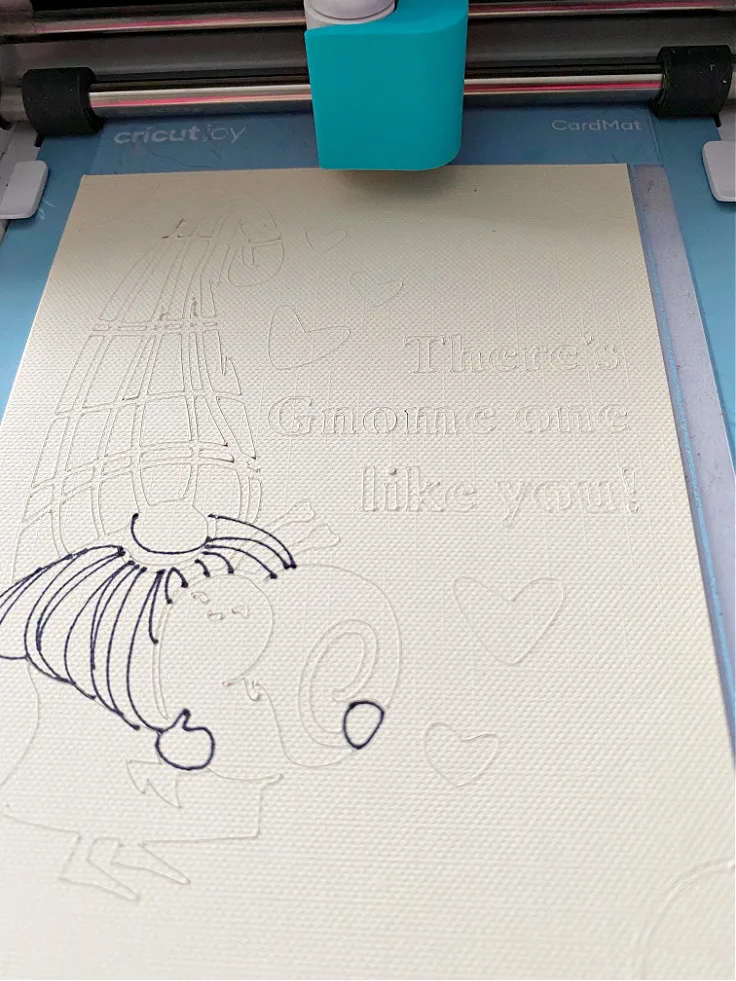
Step 4.
Load the card mat and press go. The card will automatically start cutting.

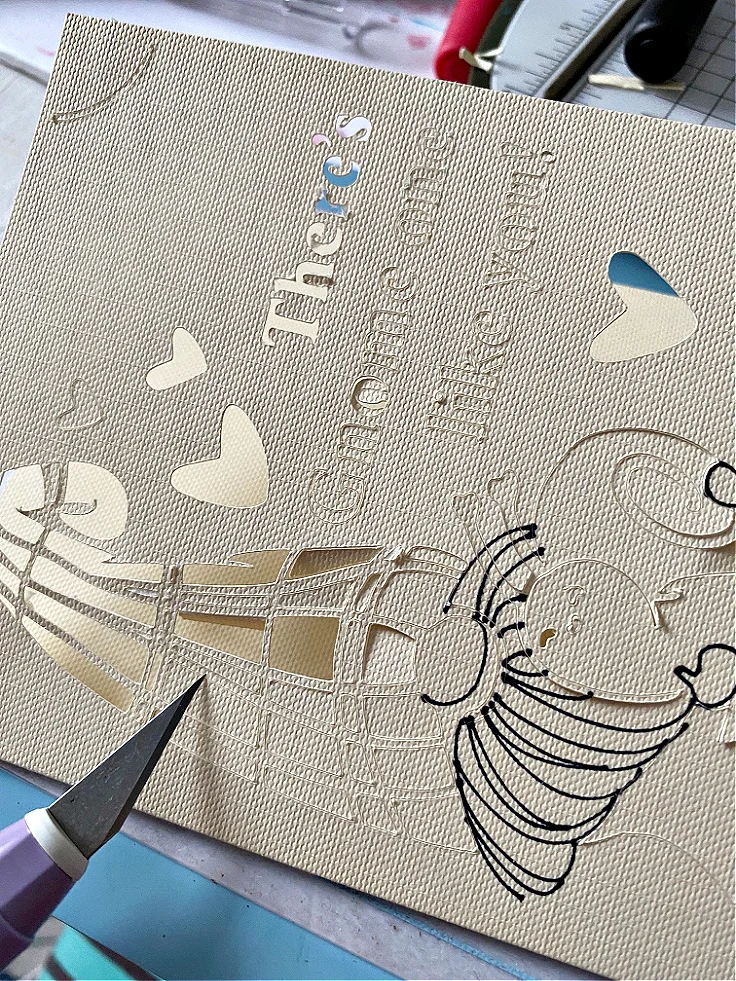
 Step 5.
 Step 5.
Unload the mat and remove the card. The cut pieces will stay on the sticky mat, but you may need to “weed” a few pieces.

Step 6.
The coolest thing about these cards is no glue is needed! Add the insert sheet by securing it into the corner cut design.
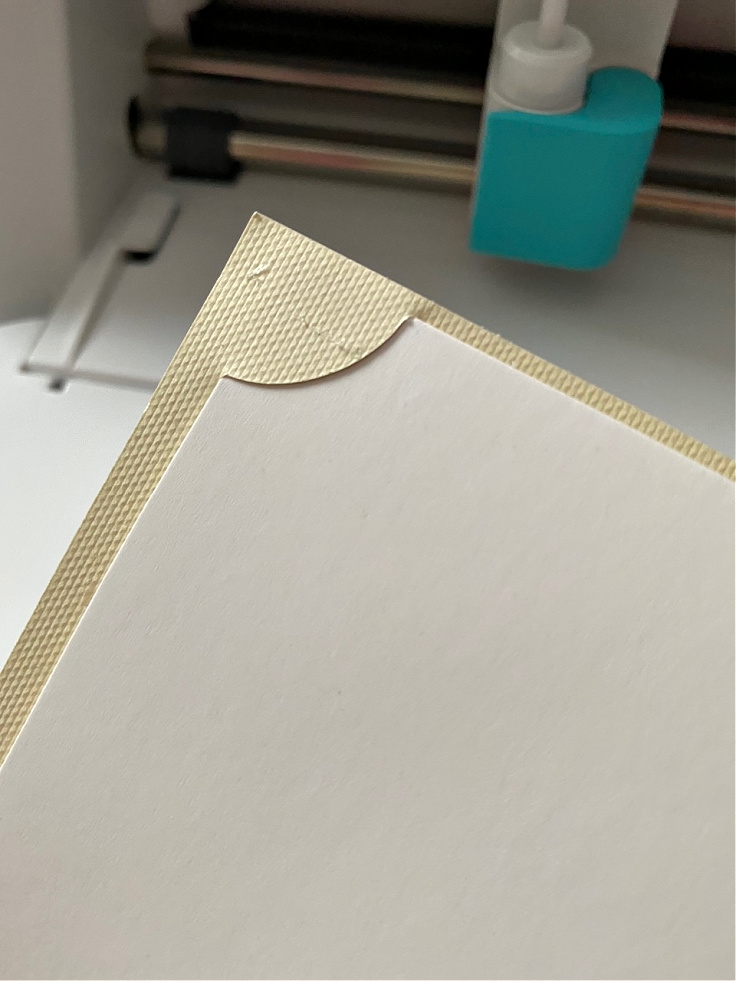

Look at how amazing the gold insert looks:


The insert card kits include envelopes. Everything you need to make 10-12 cards. I can’t imagine ever buying cards again. This little machine and card kit makes it so super easy!
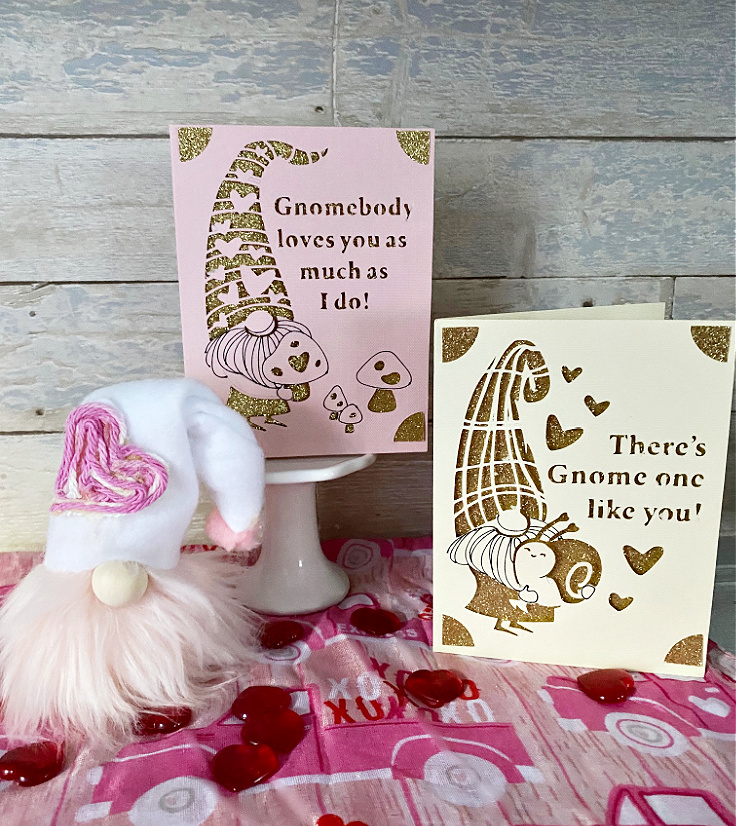

Of course I had to make a sweet little gnome to go with the cards. I’ll be sharing a tutorial for this little guy later this week. You can see a larger Valentine’s Day gnome here.
Thank you so much for stopping by. Before you go, don’t forget to subscribe to my weekly newsletter so you never miss a post:
Sharing is caring…please PIN the below image:

You can follow me on social media below: