Make your own cards for every occasion, quickly and easily, using the new Cricut Joy Card Mat and Insert Cards.
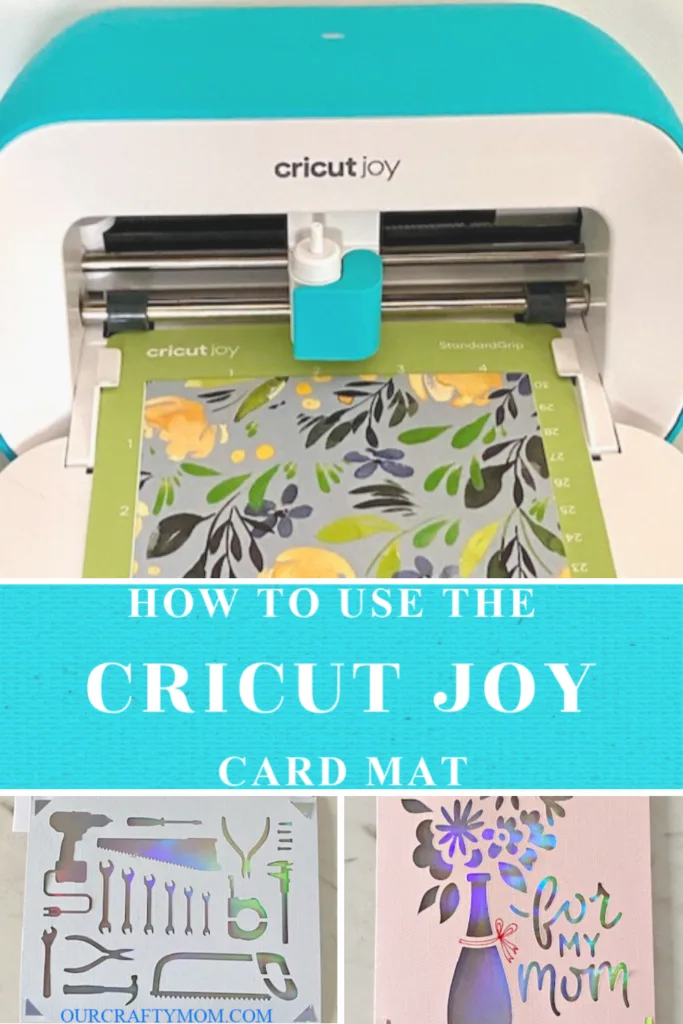
Today’s craft is something I have been waiting to share since I tried out the new Cricut Joy card mat at a blogging conference in February.
Here are a couple of pictures I took at the conference.
This post is sponsored by Cricut and contains affiliate links at no extra cost to you. Please see my full disclosure here.
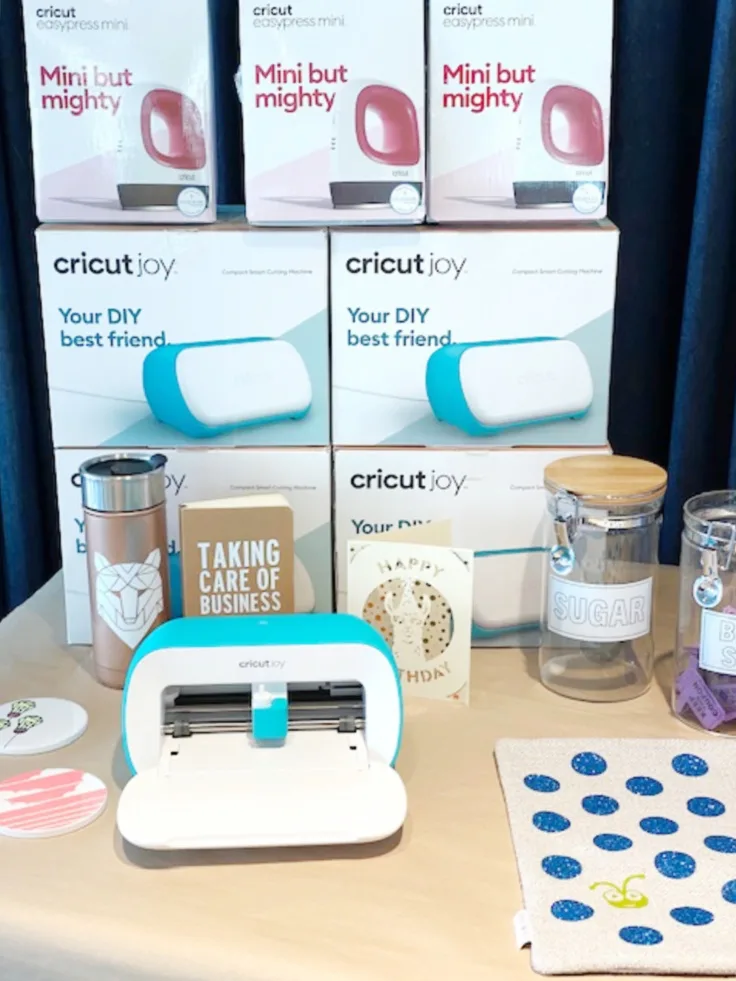
From coasters, to cozies, t-shirts and more. I love the tagline “Your DIY best friend”. As someone who has been crafting for many years, it has been a long time since a new crafting product has gotten me so excited.
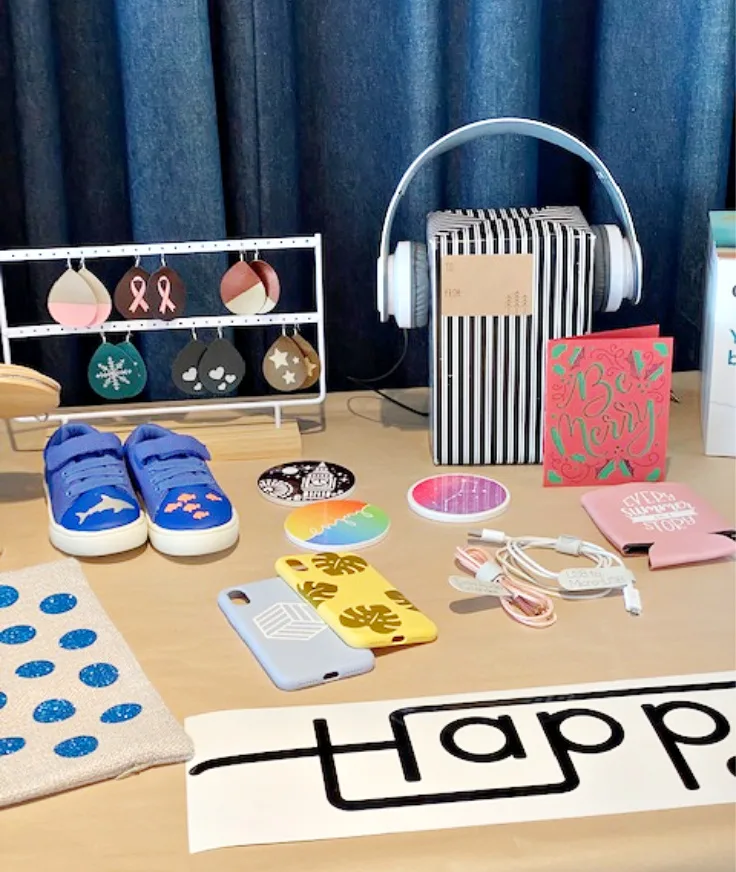
I was trying to explain to my friend the difference between the Cricut Joy and the Cricut Explore Air or Maker. The thing that came to mind was comparing an iPad to a laptop or desktop.
Of course the laptop can do more than the iPad, but I am never without my iPad, and I have a feeling that’s how it will be with the Cricut Joy.
There are many times when I want to craft while watching television in my living room. I have a small coffee table and the Explore and laptop are too bulky to work with in that small area.
But, I was able to set up the Joy and use my phone to craft away. The ease and convenience is insane! Once the stay at home is lifted, the first thing I plan to do is visit my sister and nieces in Rhode Island.
This little machine will be coming with me and I know my little nieces are going to have so much fun with it. Today I wanted to share a few cards I made with the Cricut Joy Card Mat.
Then I will share the differences between the Joy and the Explore Air or Maker.
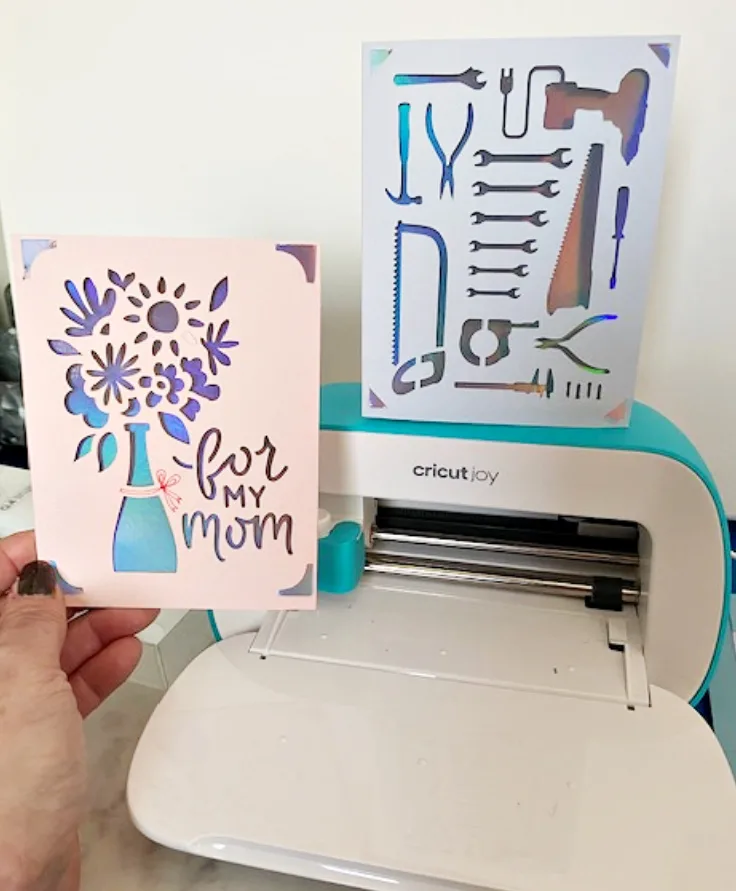
How To Easily Make Cards with the Cricut Joy Card Mat
Supplies
Step 1.
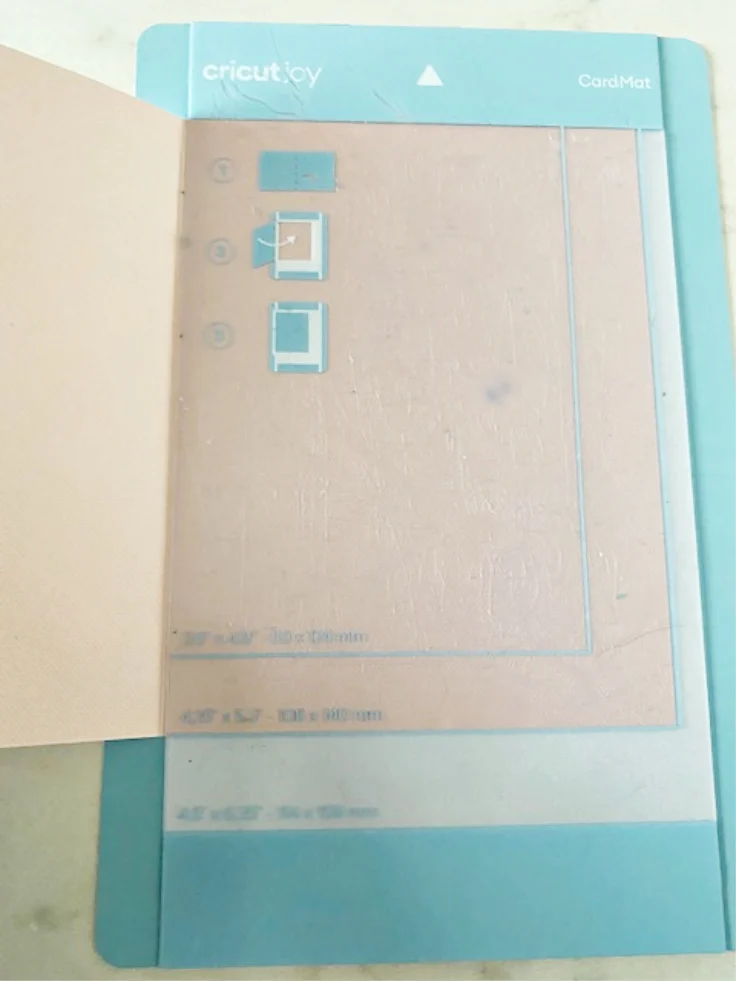
Choose the color card that you want to make and place it into the card mat. The insert cards come already folded making it so easy.
The top layer is sticky so just press the top card down and it will stay in place. Genius!
You can see where the card should line up by the guide on the card mat:
Step 2.
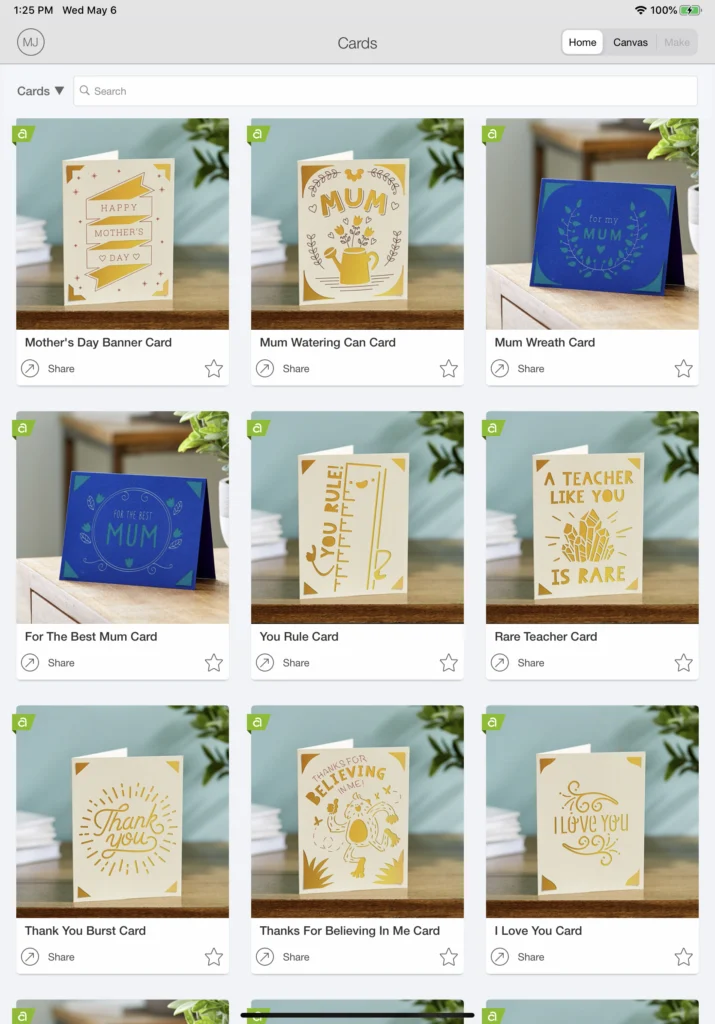
Pull up the card designs on your phone using the Cricut Design Space™ app. Simply select the open the projects tab within Design Space and select cards from the top drop down menu.
Here is a small sampling of the ready made cards for the Joy:
It is definitely more cost-effective to subscribe to Cricut Access Membership Plans.
You have access to literally 100,000+ images, hundreds of fonts and an ever‑growing collection of ready‑to‑make projects. Plus, deep, exclusive discounts on everything Cricut.
Step 3.
When you select a card, click the picture to open it and then click the green “make it” button. You will be taken to the cut screen and the card mat will be automatically set.
If you are using a standard half sheet of paper or the insert cards kits choose the 4.25×5.5” size.

Step 4.
Load the card mat and press go. The card will automatically start cutting.

Step 5.
Unload the mat and remove the card. The cut pieces will stay on the sticky mat, but you may need to “weed” a few pieces.
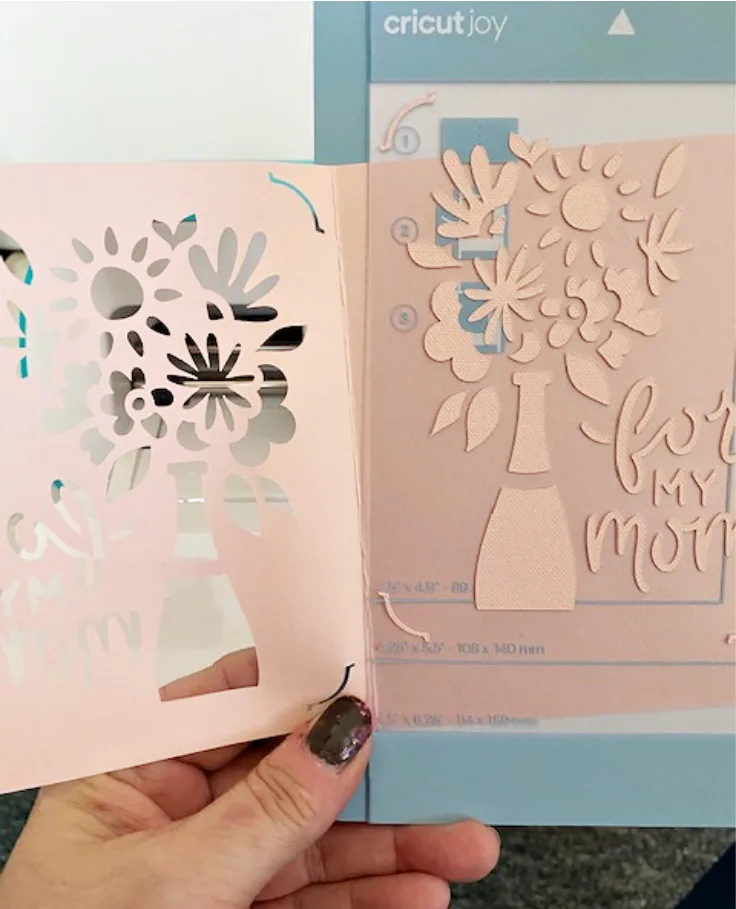
This mat was new, so it was very sticky and I didn’t have to weed at all-score!
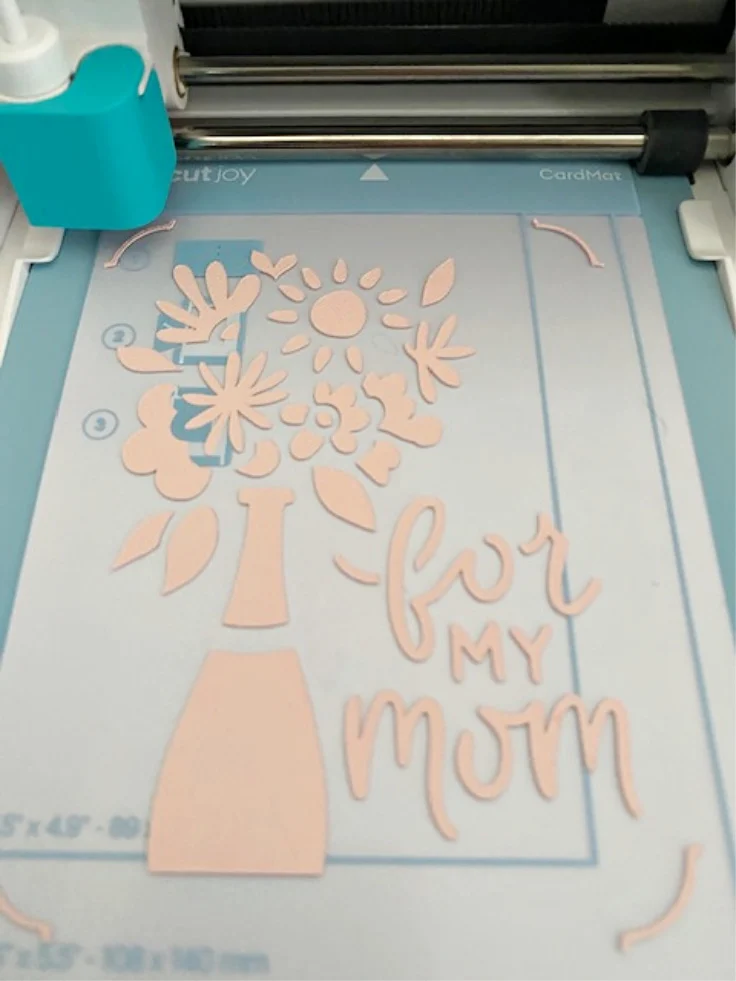
The leftover pieces were too pretty to throw out, so I used them to decorate the envelope. A glue stick works great!
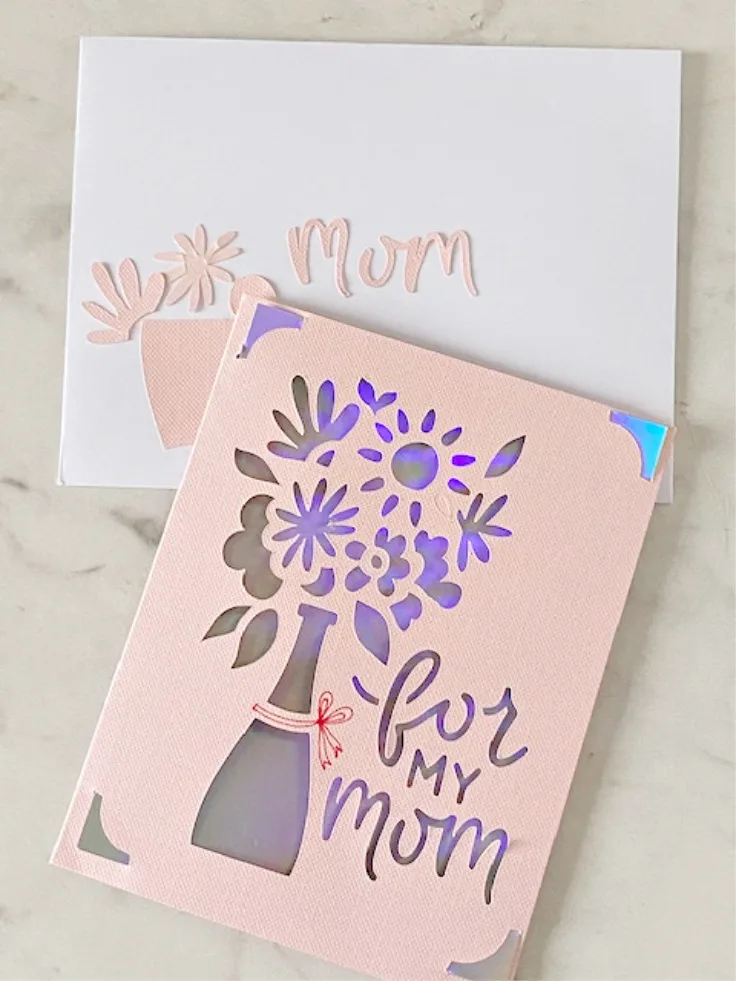
Step 6.
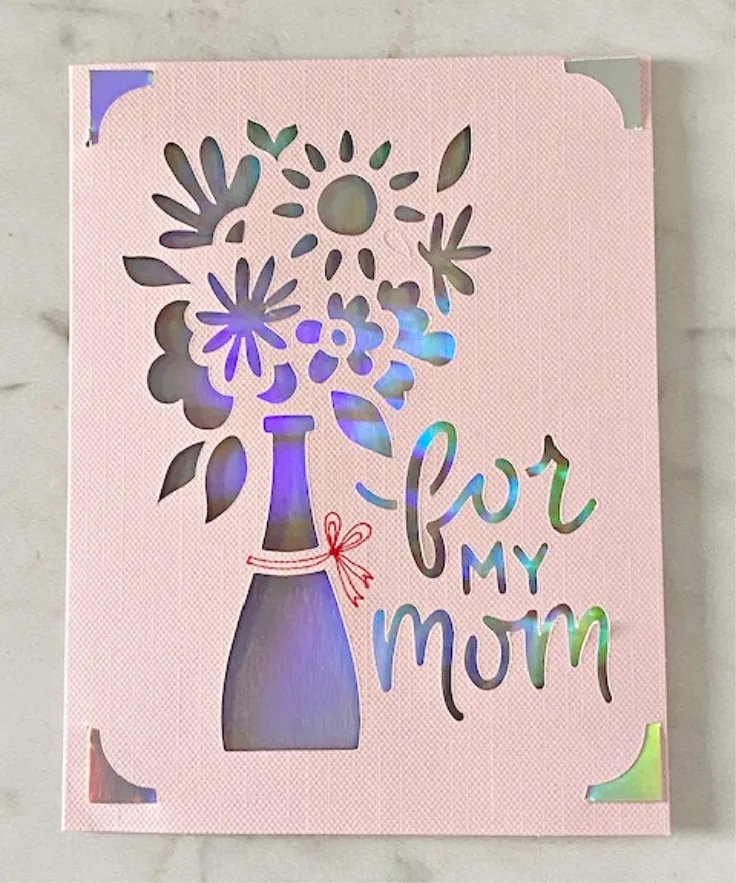
The coolest thing about these made-in-minute cards is no glue is needed! Add the insert sheet by securing it into the corner cut design.
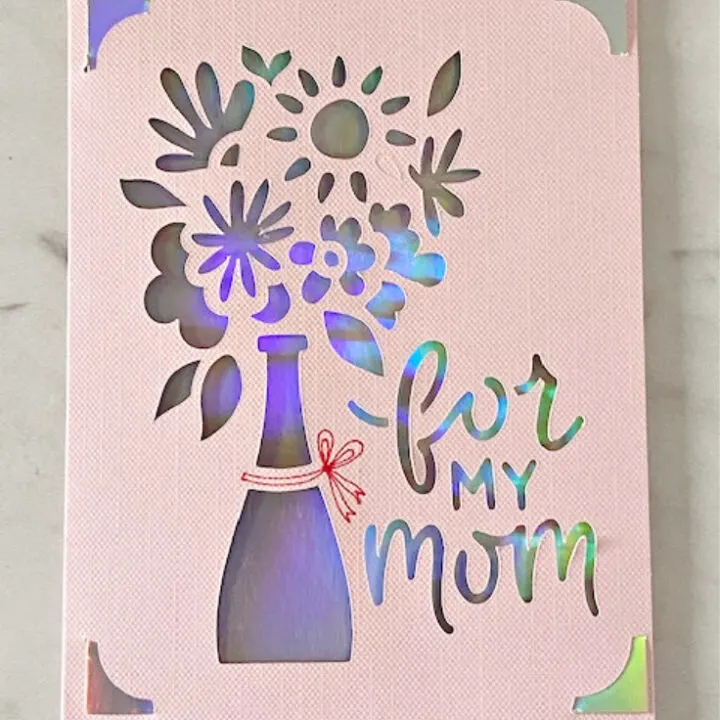
Look at how amazing this holographic insert looks:
[Tweet “How To Easily Make Cards with the Cricut Joy Card Mat @ourcraftymom @officialcricut #ourcraftymom #cricutjoy #cricutjoycardmat #sponsored “]
Cards Made Using the Cricut Joy Card Mat & Insert Kit
The insert card kits also include envelopes. Everything you need to make 10-12 cards. It’s such a time saver and I can see myself sending a lot more cards now due to the ease and convenience of the Cricut Joy.
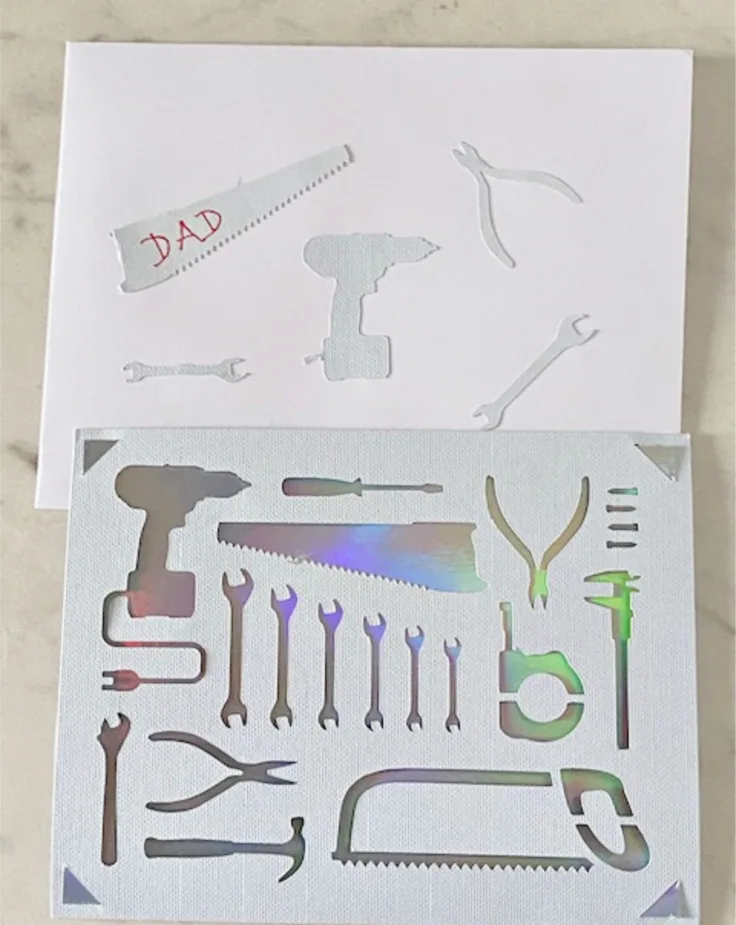
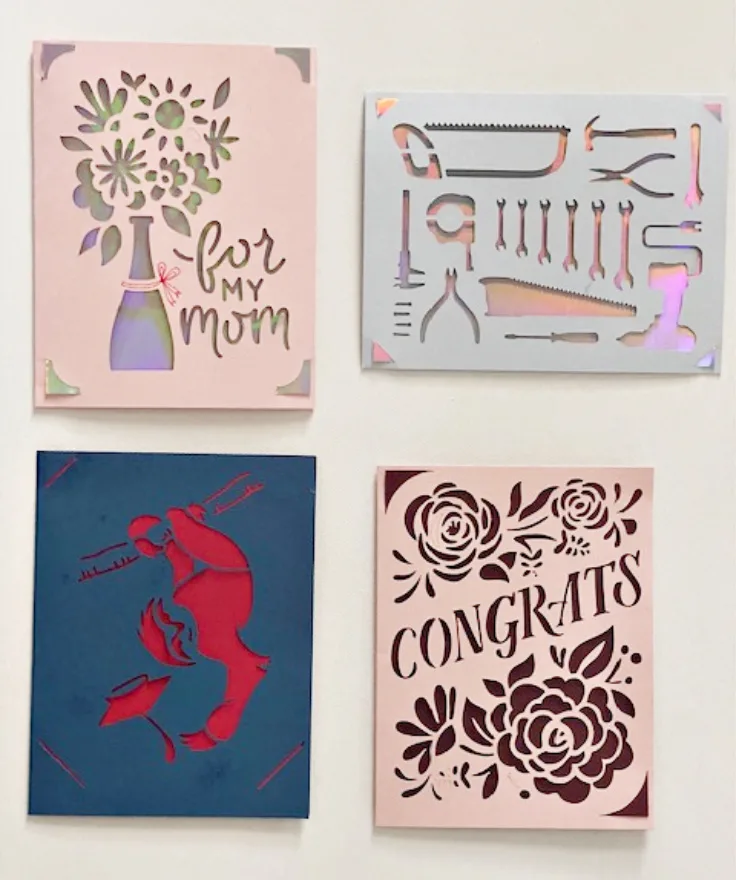
Here is a cool Father’s Day Card with tools:
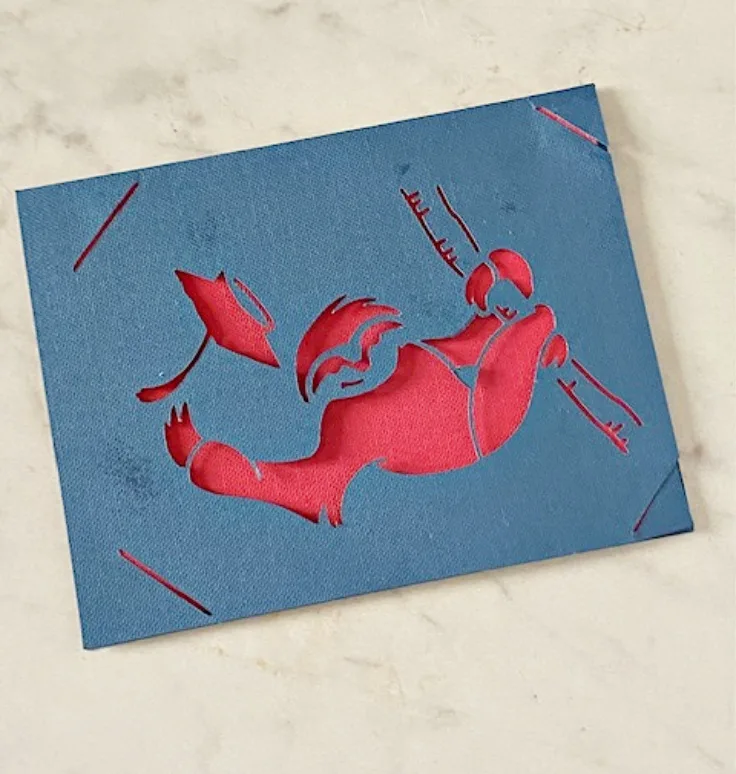
Sloth Graduation Card:
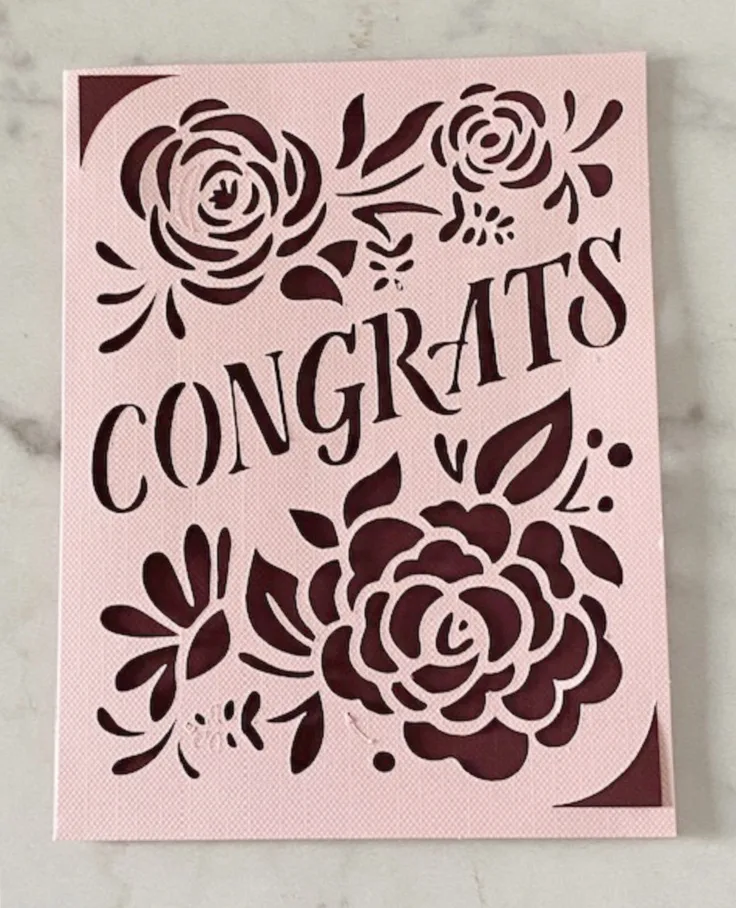
Floral All Occasion Card:
Set Of Four Cards:
What Is The Difference Between The Cricut Joy and the Explore or Maker?
- The Cricut Joy is smaller, lighter and a more portable machine.
- Cuts a continuous image up to 4.5″ wide and 4 feet long.
- Insert Card sets and new Card Mats cut just the top layer of a card.
- Create labels using a new line of pens and markers that can write on Smart Vinyl and won’t rub off.
- Cut repeated shapes up to 20 feet long
- You can cut Smart Vinyl without a mat.
- Can cut regular card stock, vinyl and other items that you cut with the Explore.
I will have lots of really fun projects coming up with the Cricut Joy in the coming weeks. I’m pretty obsessed with it and I’m sure you will be too once you try it. 🙂
How To Easily Make Cards with the Cricut Joy Card Mat
Learn how to use the Cricut Joy and the Card Mat to create beautiful cards in just a few minutes.
Materials
- Cricut Joy
- Cricut Joy Insert Cards
- Insert Cards Holographic
- Cricut Joy Card Mat
Tools
- Cricut Joy
Instructions
- Place the pre-folded card it into the card mat.
- Pull up the card design you want on your phone using the Cricut Design Space™ app.
- Click the picture to open it and then click the green "make it" button.
- Load the card mat and press go. Unload the mat and remove the card.
- Weed and of the cut outs from the top card.
- Place an insert sheet into the corner cuts.
Recommended Products
As an Amazon Associate and member of other affiliate programs, I earn from qualifying purchases.
-
 Cricut Joy Insert Cards - DIY greeting card for Baby Shower, Birthday, and Wedding - Macarons Sampler, 12 ct
 -
 Cricut Joy Card Mat, 4.5" x 6.25"
 -
 Cricut Joy Machine - Compact and Portable DIY Machine For Quick Vinyl, HTV Iron On and Paper Projects | Makes Custom Decals, Custom T shirt Designs, Personalized Greeting Cards, and Label Maker
What’s Next:

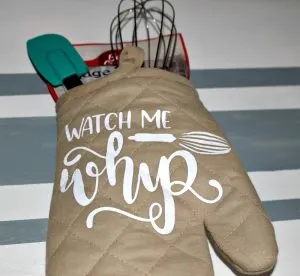
Cricut Watch Me Whip Oven Mitt
I’d love it if you would follow me on social media:


ingel
Monday 11th of May 2020
The Cricut card looks awesome! Thanks for sharing