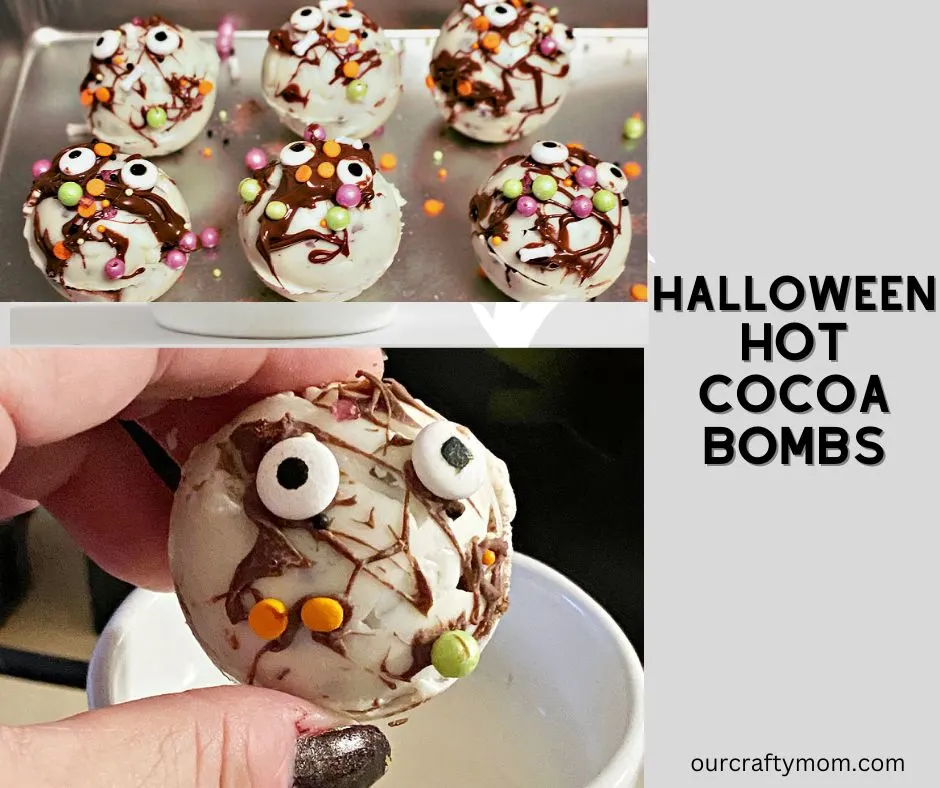
Add a little extra festivity to your Halloween this year with homemade Halloween hot cocoa bombs perfect to enjoy with the kids after trick or treating.

Halloween is time for a little trick-or-treat spooky fun. It’s also the best time to enjoy a steaming cup of hot cocoa.
This year, why not take your hot chocolate up a notch with some Halloween-themed hot cocoa bombs?
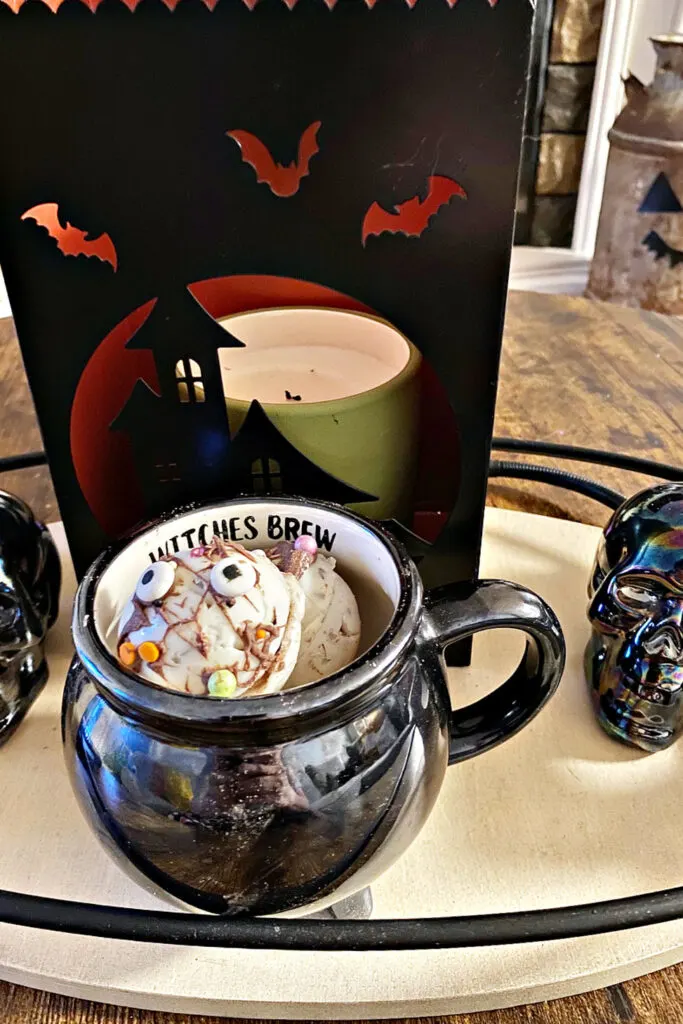
Simply place one of these festive bombs in a mug, add hot milk, and watch as it transforms into a delicious cup of hot cocoa complete with marshmallows and candy eyes.
Best of all, they’re easy to make at home with just a few simple ingredients.
So whether you’re looking for a fun activity to do with the kids or a festive treat to enjoy on a cold autumn night, these Halloween hot cocoa bombs are sure to hit the spot.

This post contains affiliate links at no extra cost to you. I only promote products I believe in. Please read my full disclosure HERE.
Supplies For Halloween Hot Cocoa Bombs
- Hot Cocoa Silicone Mold
- Silicone Brush
- Halloween Sprinkles With Candy Eyes
- Microwave Safe Bowl
- White Candy Melts or Black Candy Melt
- Easy Candy Melts – you can use orange candy melts or flavored white chocolate as I used
- Mini Marshmallows
- Hot Chocolate
Recipe For Halloween Hot Chocolate Bombs
Step 1. Melt Chocolate
Start by placing the chocolate melts in a microwave-safe bowl. Heat at 30-second intervals and stir until melted.
It’s best to slowly melt the chocolate so it doesn’t overcook. It took about three 30-second intervals for them to melt.
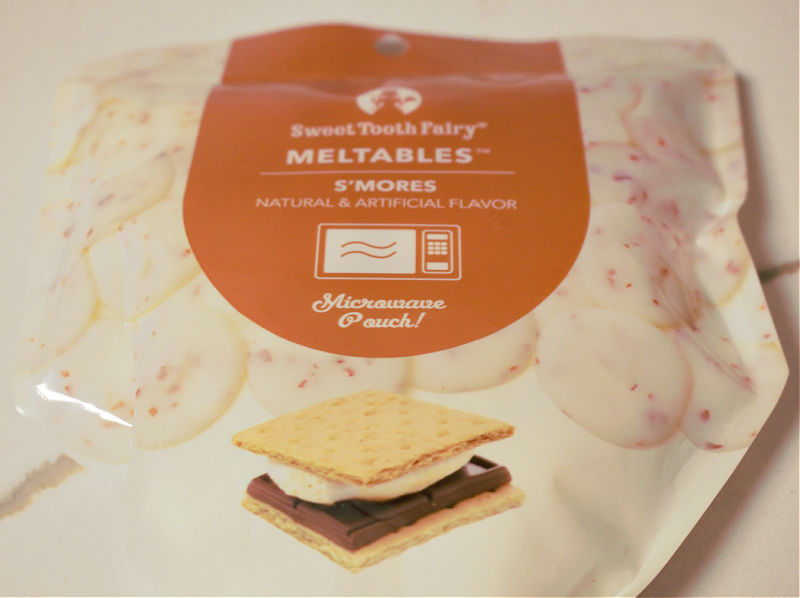
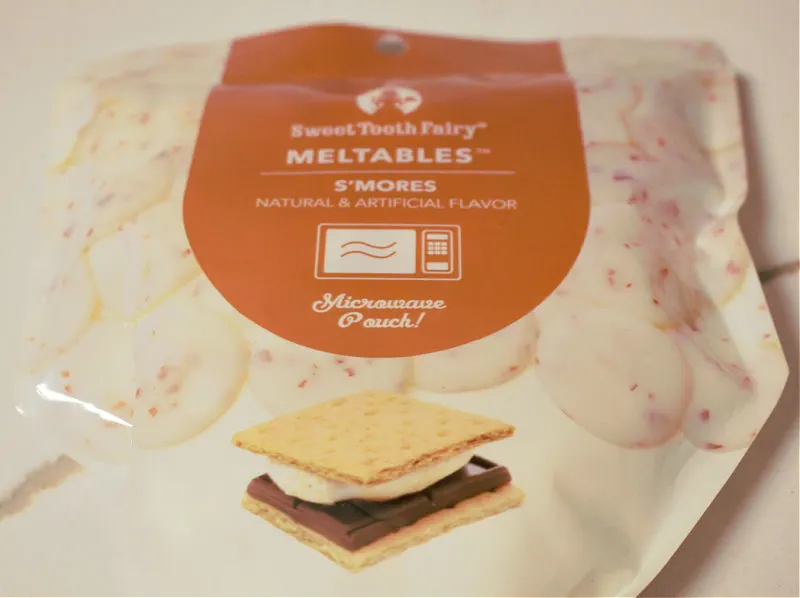
I found these meltables at the craft store and LOVED how they worked.
They are in a pouch so you can squeeze the chocolate into the mold. It was so easy!
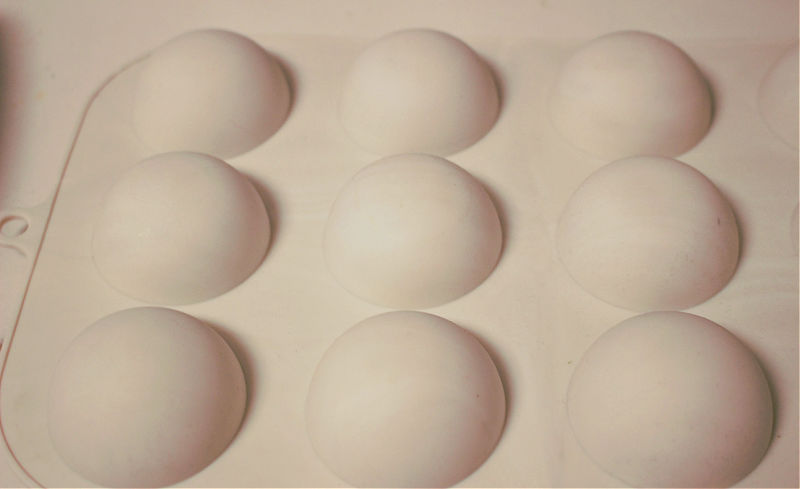
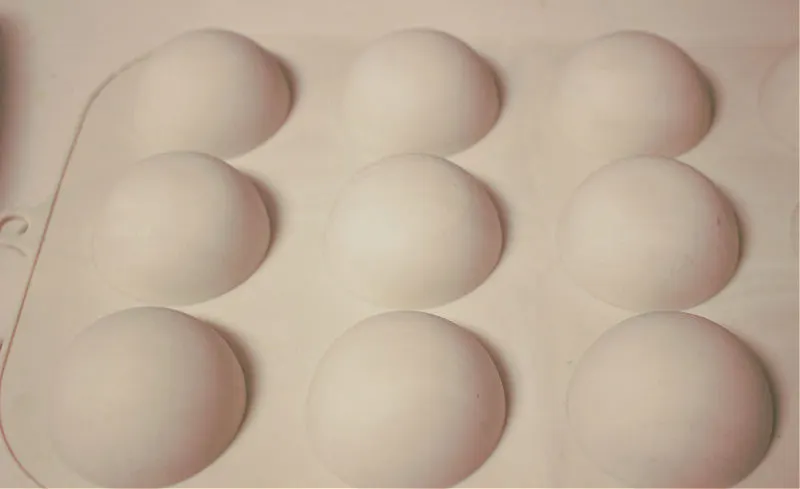
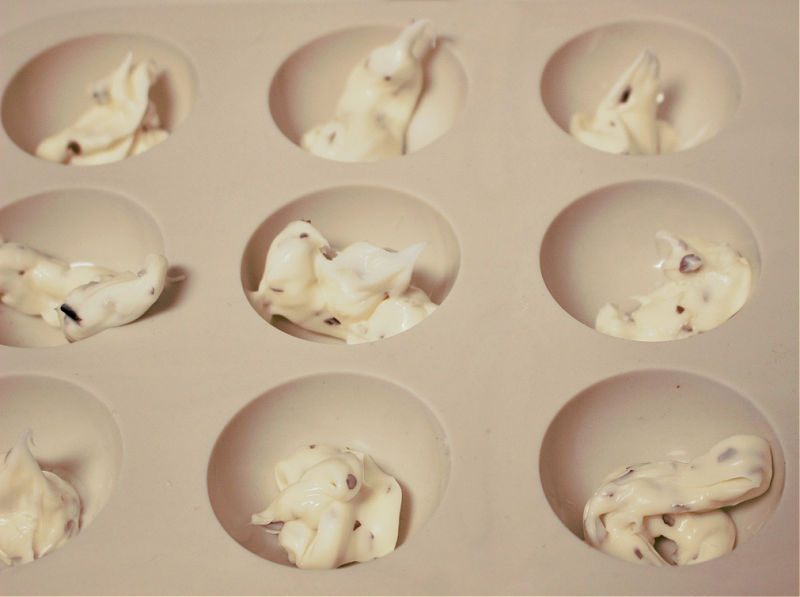
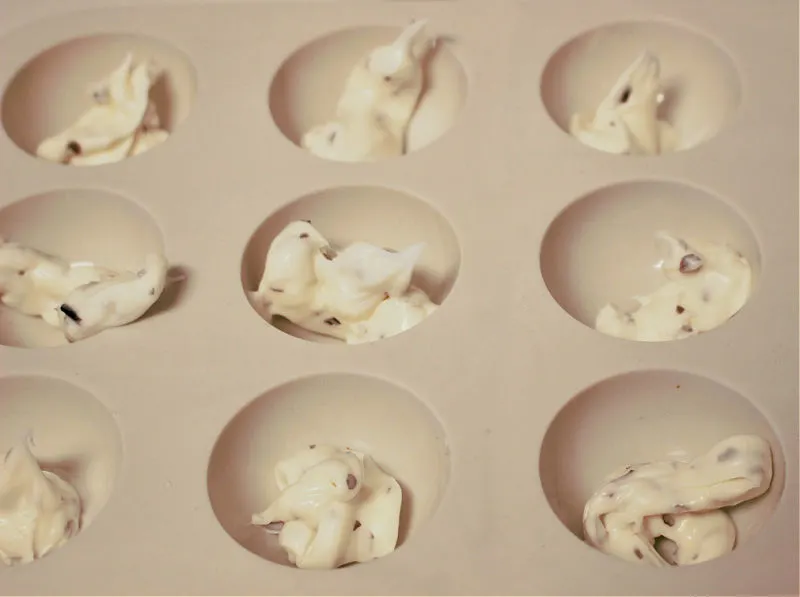
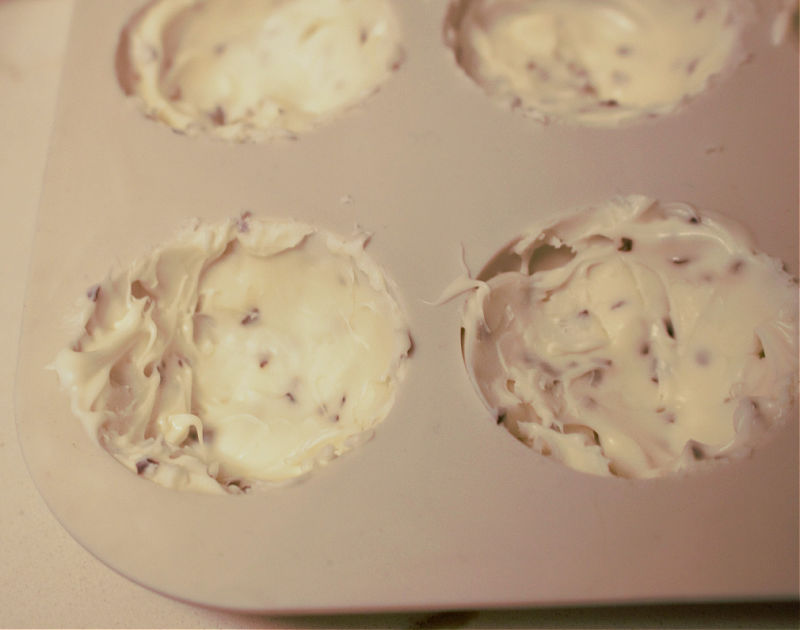
Step 2. Add Melted Chocolate To Silicone Mold
Paint the melted chocolate into your silicone molds. You will need two coats.
You can use a plastic spoon or a food brush.
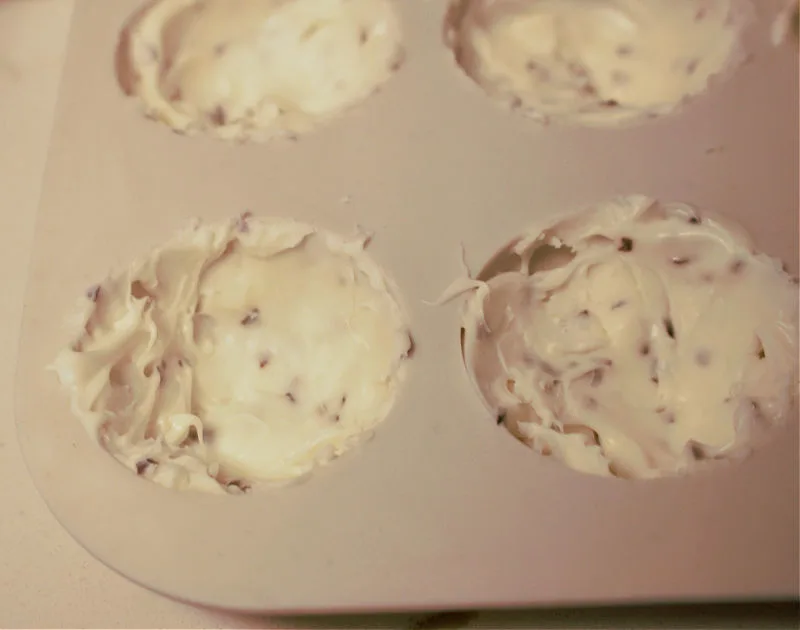
Step 3. Let Harden
Let the chocolate sit at room temperature until the chocolate molds harden.
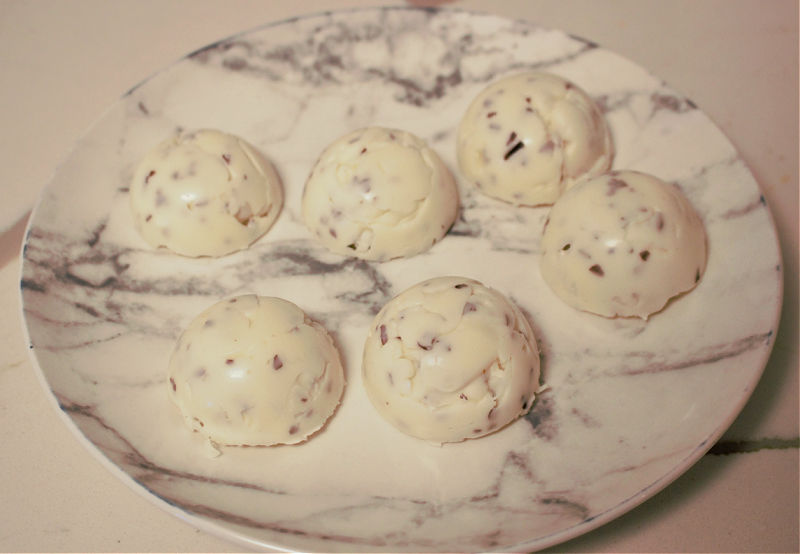
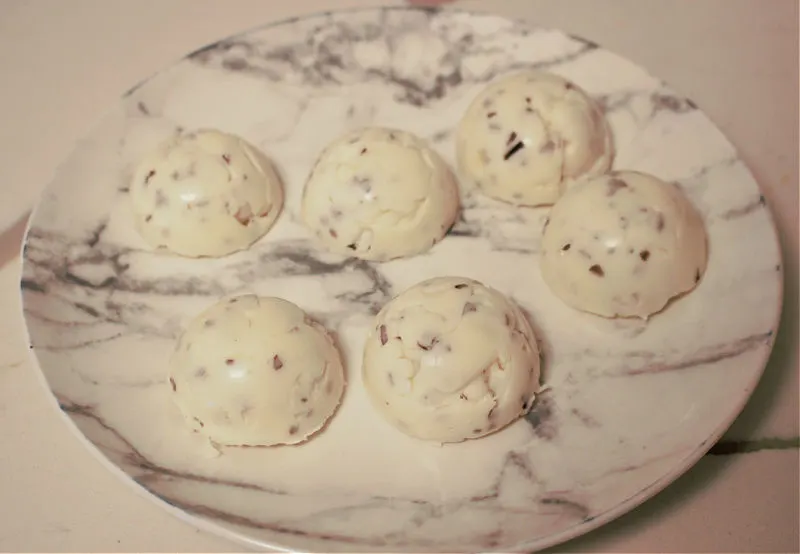
Step 4. Remove The Chocolate Bombs
Remove the chocolate spheres from the mold and place them on a sheet pan lined with parchment paper.
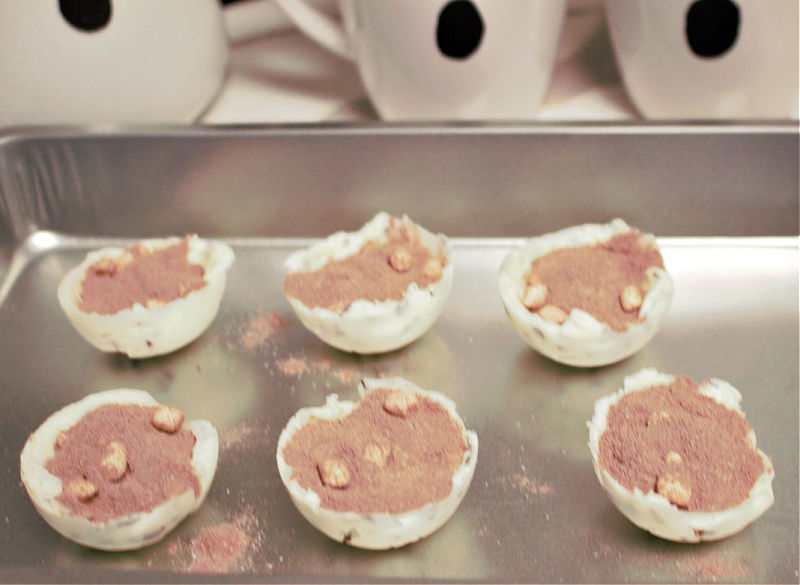
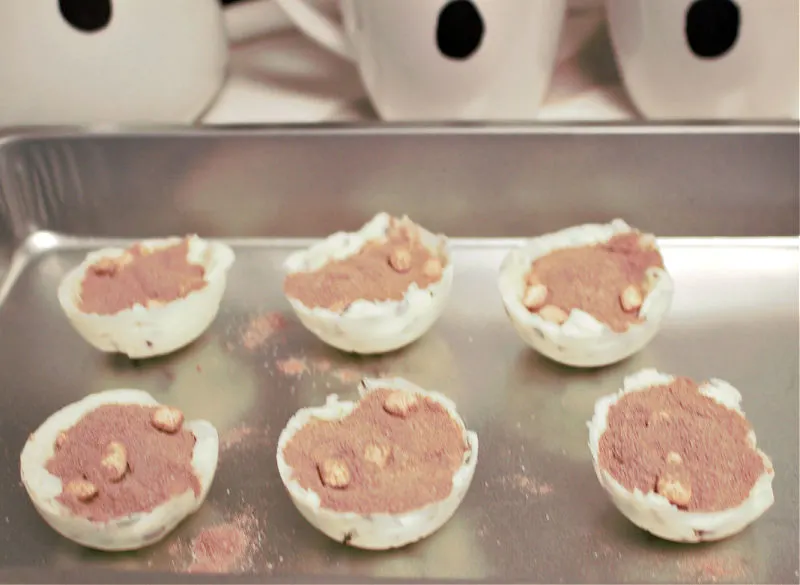
Step 5. Fill The Molds
Fill the chocolate about 3/4 of the way with your favorite hot chocolate mix and marshmallows.
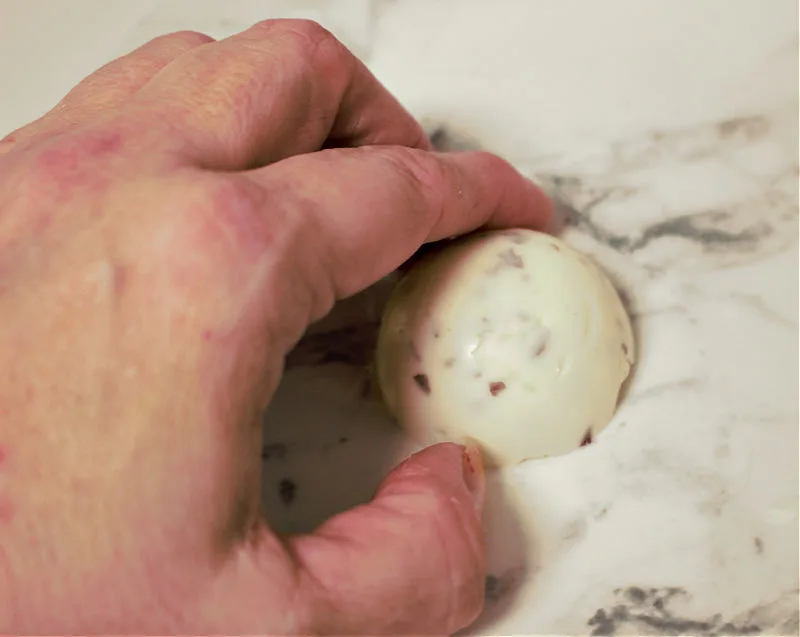
Step 6. Seal Two Pieces of Chocolate
Place an empty plate in the microwave and warm it up for about 30-45 seconds.
Take one of the cocoa bombs and press it onto the warm plate until it is slightly melted.
This will create a chocolate “glue” to seal the chocolate bombs.

Step 7. Decorate The Hot Cocoa Bombs
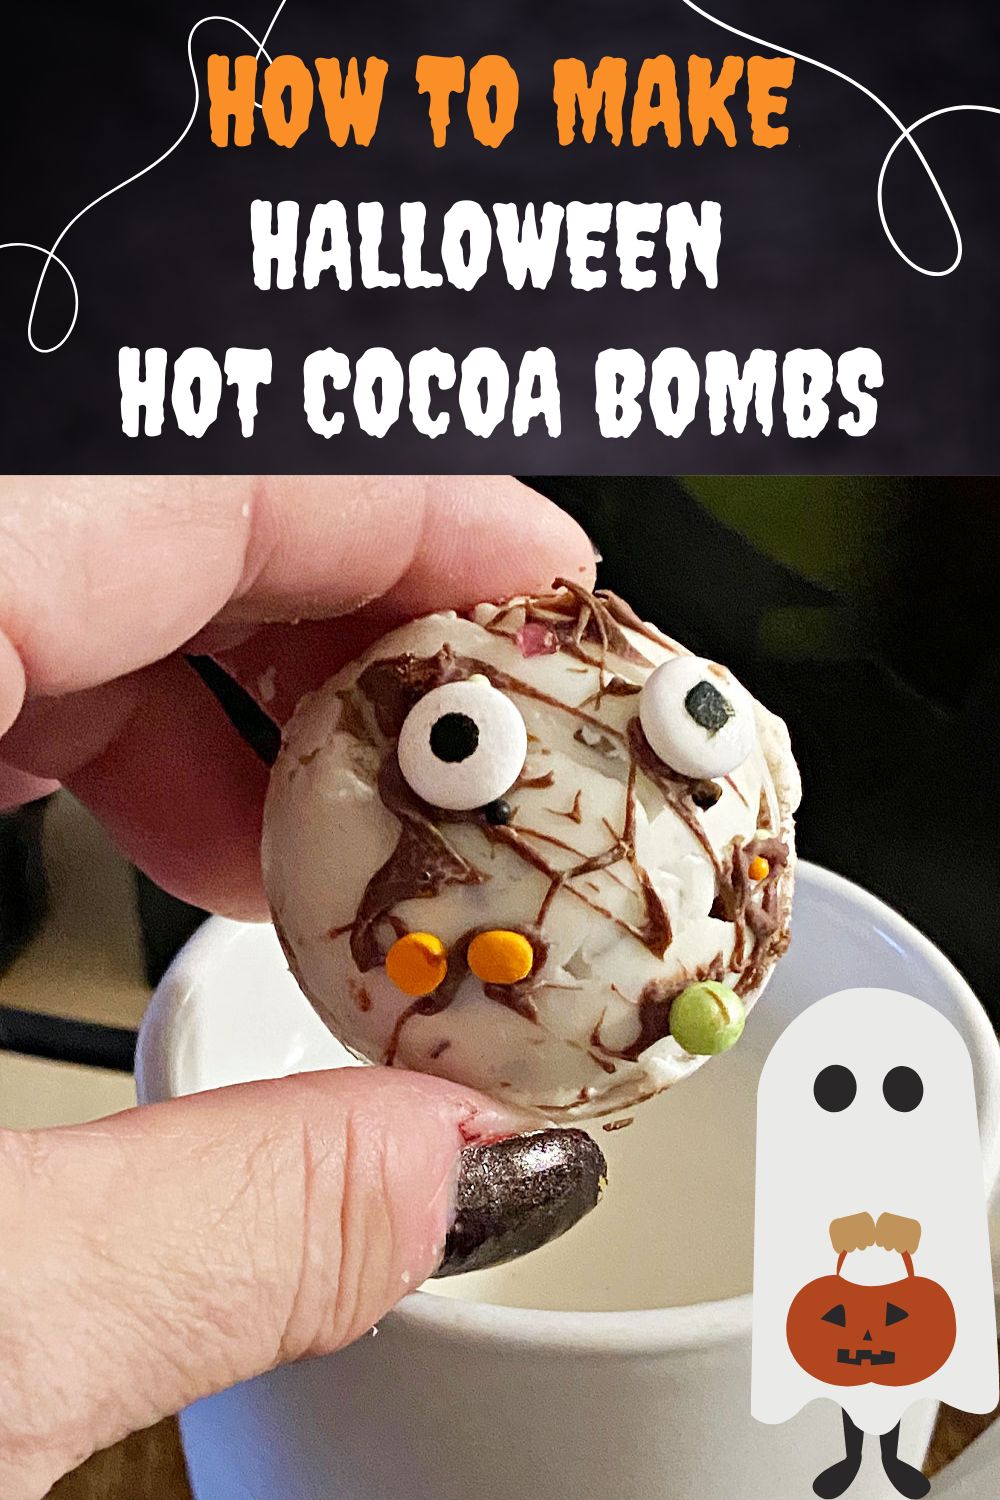
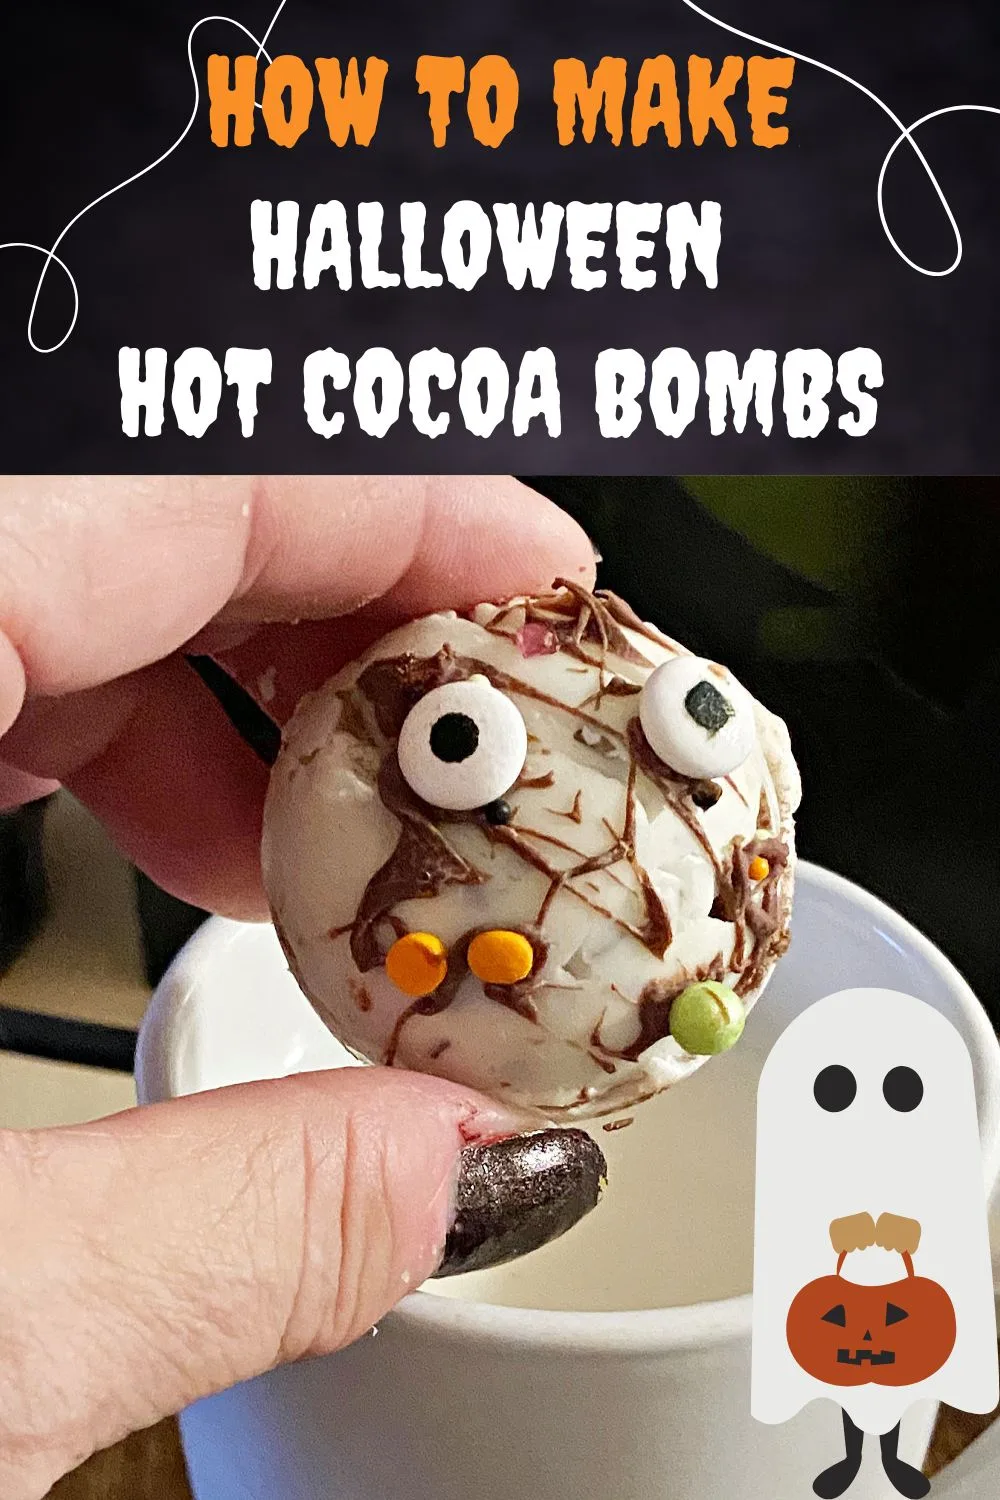
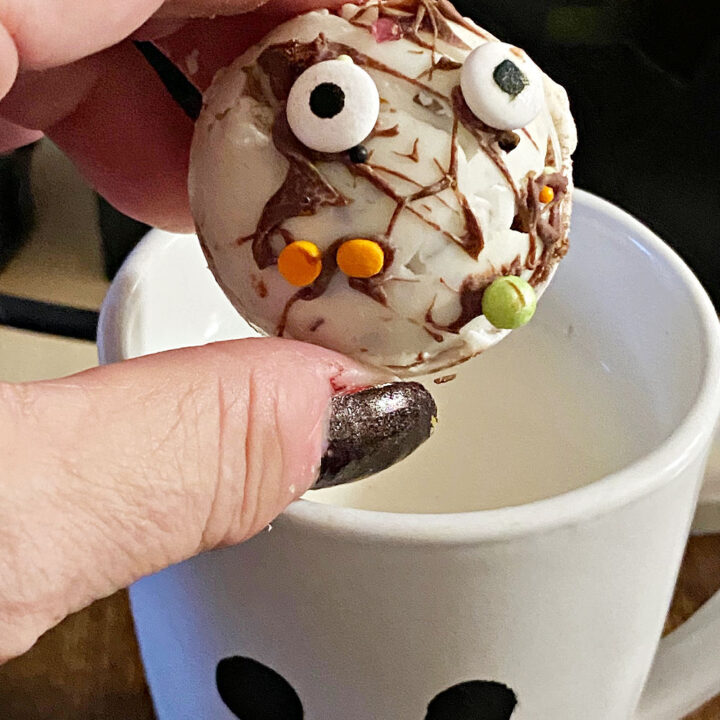
Decorate your cocoa bombs with extra melted chocolate and add sprinkles and a pair of monster eyes to each bomb.
Be sure to use melted chocolate to cover the seams as well.
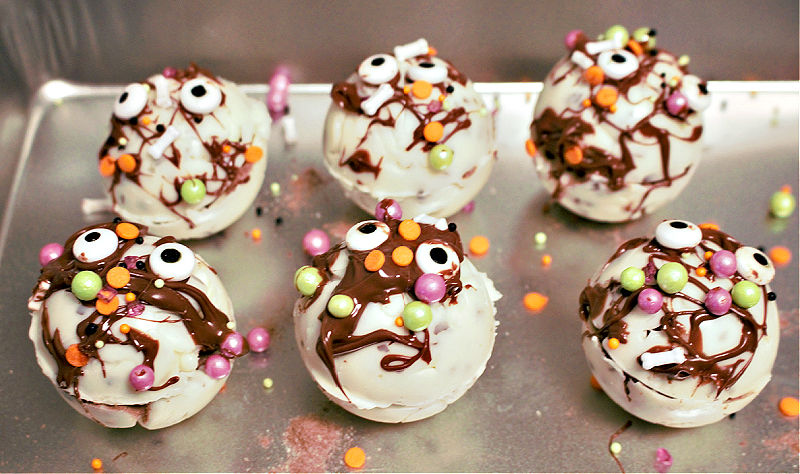

Now all that’s left is to let the cocoa bombs sit in the refrigerator to harden. Look at how cute they are:
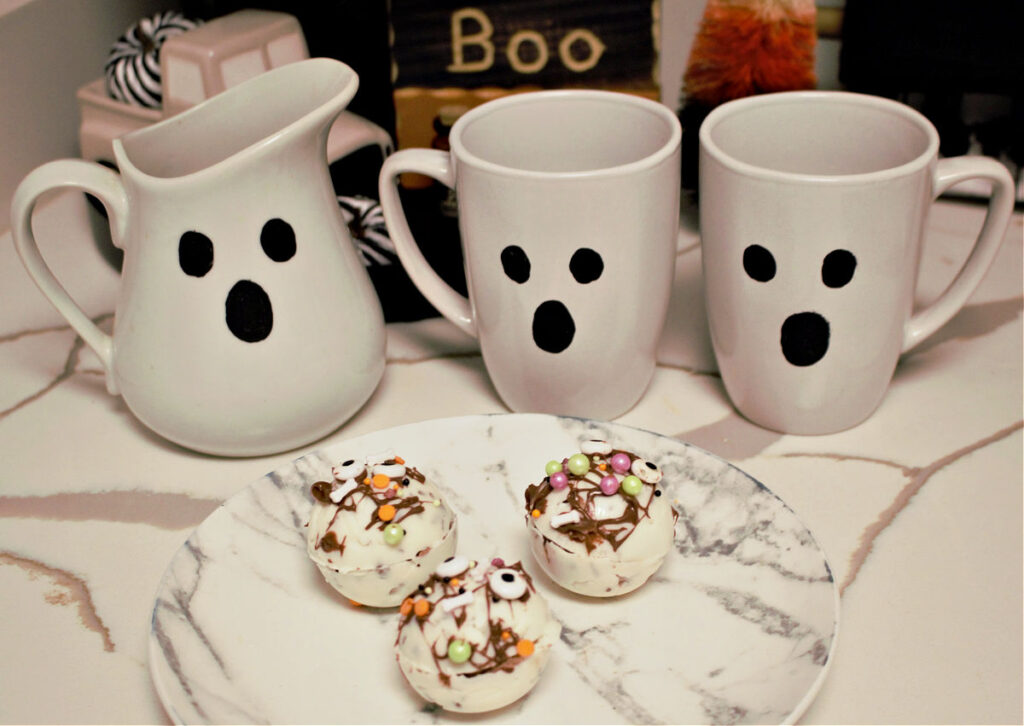
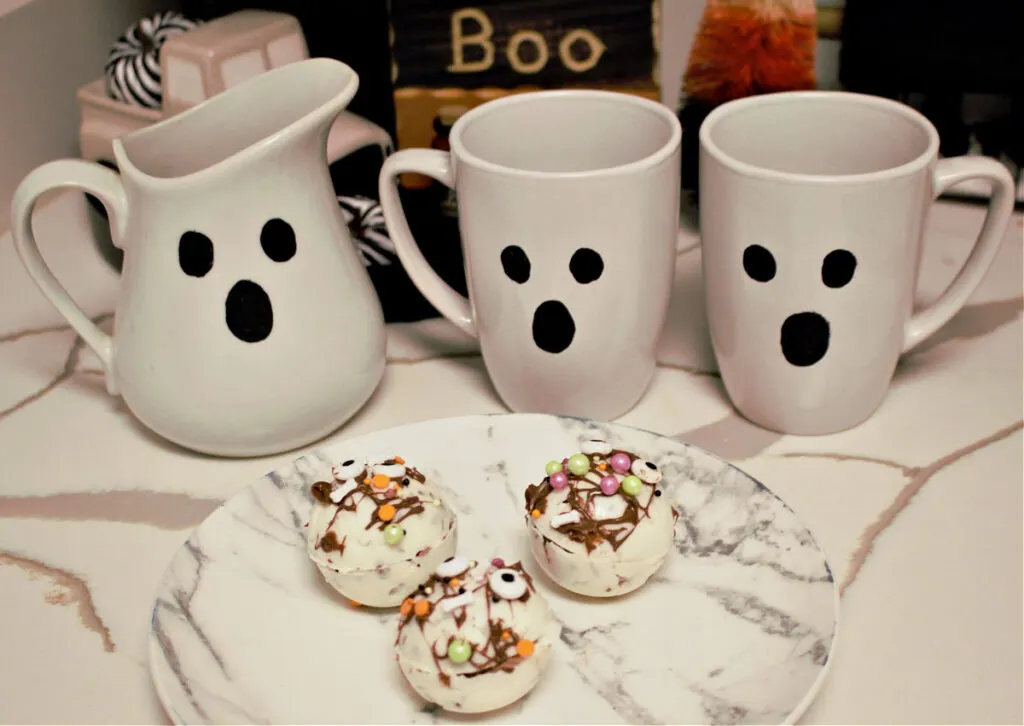
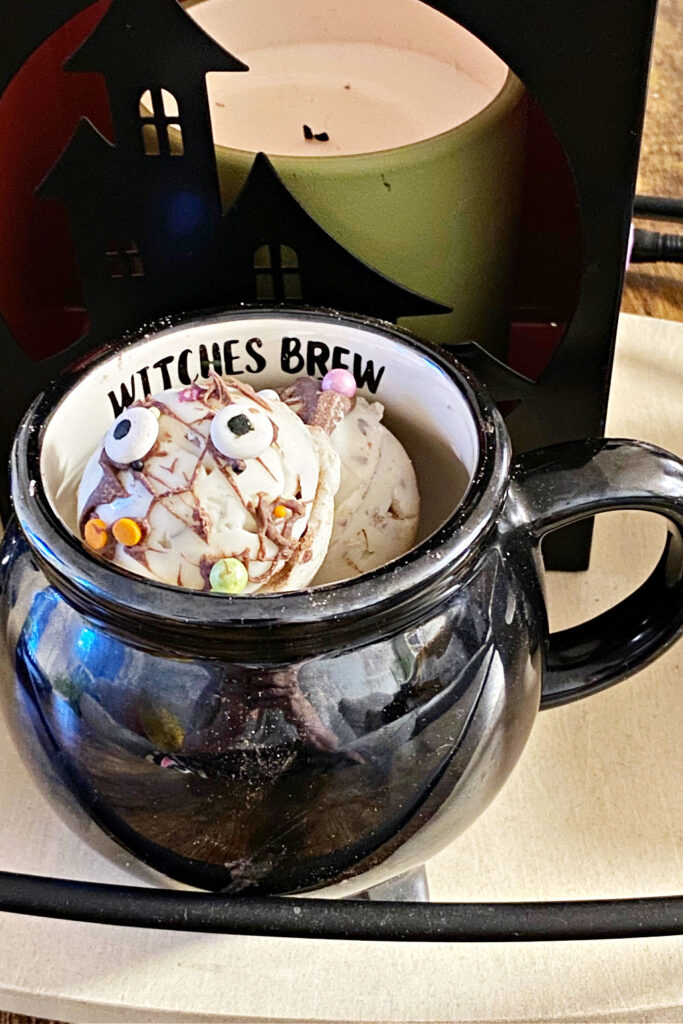
Gift a couple of hot chocolate bombs in darling ghost mugs. Attach my free you’ve been booed gift tags and you have an adorable gift for your little trick-or-treater!

Hot Cocoa Bombs FAQ’s
Where do you find white candy melts?
You can find candy melts at most grocery stores, craft stores, or online.
The candy coating that I used here is from Michaels craft store.
Where do you find candy eyes?
Check out the baking section at craft stores where the sprinkles and birthday candles are.
In the grocery store, look for them in the baking section where the frosting is located.
If you can’t find candy eyes, you can use mini white chocolate chips.
How do you avoid fingerprints on hot cocoa bombs?
Be sure to wear disposable gloves when making the hot cocoa bombs to avoid fingerprints.
I didn’t wear them when making these and do have some prints. I’m sure my little nieces won’t care!
How Do You Use Hot Chocolate Bombs?
Hot cocoa bombs are extremely popular and can be made in different flavors and color combinations.
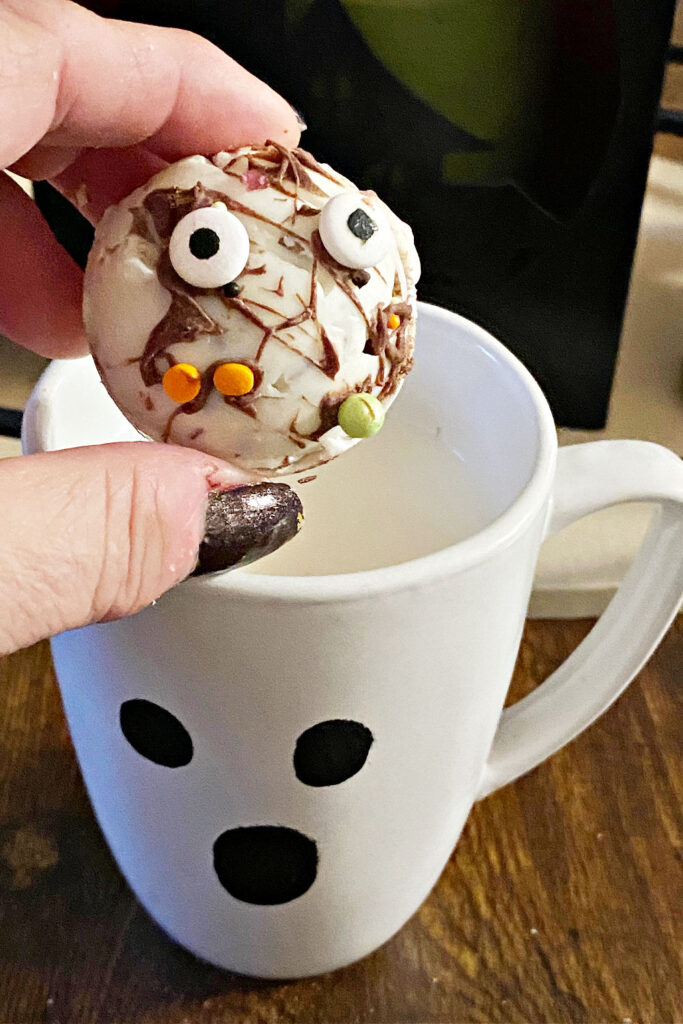
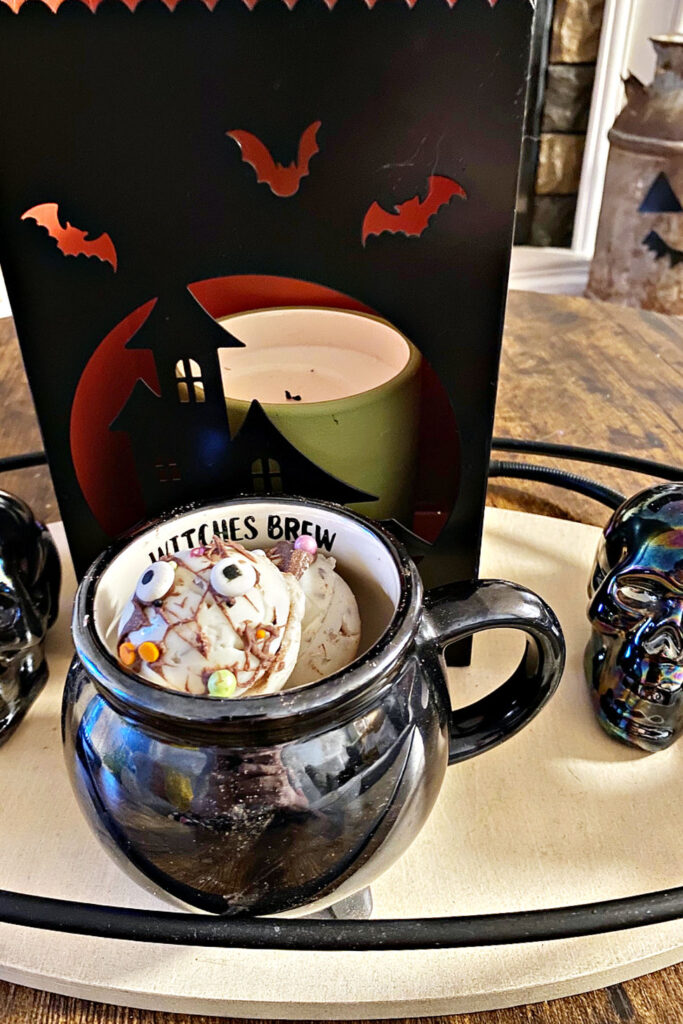
Simply place a hot cocoa bomb inside a mug. Pour hot milk or hot water (milk is preferred) over the top to melt the hot cocoa bomb.
As the candy coating melts, the cocoa powder and marshmallows inside are revealed. Stir and enjoy!
How Do You Store Hot Cocoa Bombs?
Store chocolate bombs in an airtight container. Keep refrigerated. They’ll stay fresh for up to 1 week.
Save for later by pinning the below image:

Halloween Hot Cocoa Bombs
Take your hot cocoa up a notch with some Halloween-themed Hot Cocoa Bombs. Simply place one of these festive bombs in a mug, add hot milk, and watch as it transforms into a delicious cup of hot cocoa complete with marshmallows and candy eyes.
Ingredients
- Hot Cocoa Silicone Mold
- Silicone Brush
- Halloween Sprinkles With Candy Eyes
- Microwave Safe Bowl
- White Candy Melts or Black Candy Melt
- Easy Candy Melts - you can use orange candy melts or flavored white chocolate as I used
- Mini Marshmallows
- Hot Chocolate
Instructions
- Melt the chocolate wafers in the microwave in 30-second intervals.
- Paint a thin layer of chocolate into the molds and refrigerate for 5 minutes so the chocolate hardens.
- Add a second coat of chocolate. Let harden.
- Remove your chocolate from the molds.
- Add 1 tablespoon of the hot chocolate mix to one-half of the chocolate bombs. Add some marshmallows.
- Warm a plate in the microwave to melt the top chocolate bomb and place it on the bottom bomb filled with hot cocoa.
- Decorate your cocoa bombs with extra melted chocolate, Halloween sprinkles, and candy eyes.Serve
- Place one hot chocolate bomb into a mug. Pour hot milk over the cocoa bomb and enjoy!
Recommended Products
As an Amazon Associate and member of other affiliate programs, I earn from qualifying purchases.
-

 3Pcs 6 Cavities Holes Hot Chocolate Bomb Silicone Mold, 6 Cavities Holes Semi Sphere Dome Hot Cocoa Bomb Mold, DIY Craft Tools for Chocolate Bombs, Cake Jelly, Dome Mousse (pink)
 -
 Manvscakes Halloween Sprinkles - Sprinkles For Cake Decorating, Edible Themed Sprinkles For Cookie Decorating, Chocolate Desserts, Cupcakes, Ice Cream, Caramel Apples, Ghost and Pumpkin Sprinkles 8oz
 -
 Wilton 1911-6065 Craft Supplies, Bright white
 -
 Fancy Sprinkles Melting Candy, Melting Chocolate in Ready-to-Use Bag, For Dipping, Coating, & Drizzling Treats, Easy Candy Melts for Bakings & Decorating, Calendula Orange 12 oz
 -
 Swiss Miss Milk Chocolate Hot Cocoa Mix Packets - 50 ct, 69 Ounce (Pack of 1) (980129574)