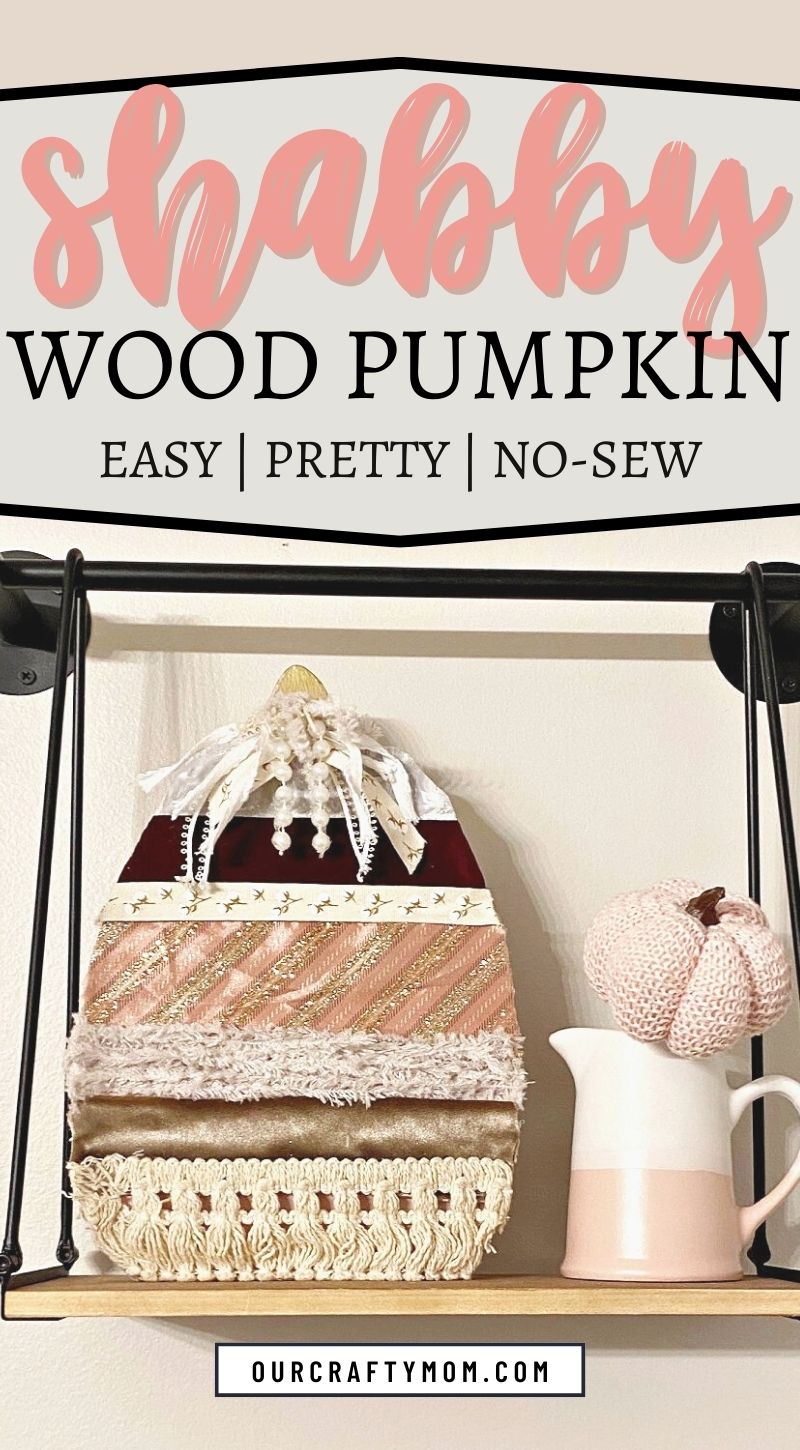
Make your own shabby chic wooden pumpkins for a unique craft decoration that will make the perfect addition to your Thanksgiving decor.
They’re so easy to make with pumpkin shape wood, paint, and a little bit of creativity.

Does anyone else feel like Thanksgiving is the oft-forgotten middle child between Halloween and Christmas?
When I host Thanksgiving I tend to put some fall decorations back out after putting away Halloween decorations.
But the last several years we go to my sister’s house for the holiday so I’ve been jumping right into Christmas.
This year I decided to try something new: blending Thanksgiving and Christmas decor.
Did you know Urban Dictionary actually references Hallowthanksmas which is basically a great reason to eat, drink and be merry for about 3 months straight!
Who am I to argue? So I’m going with a new to me decorating scheme through Thanksgiving called “Thanksmas”.
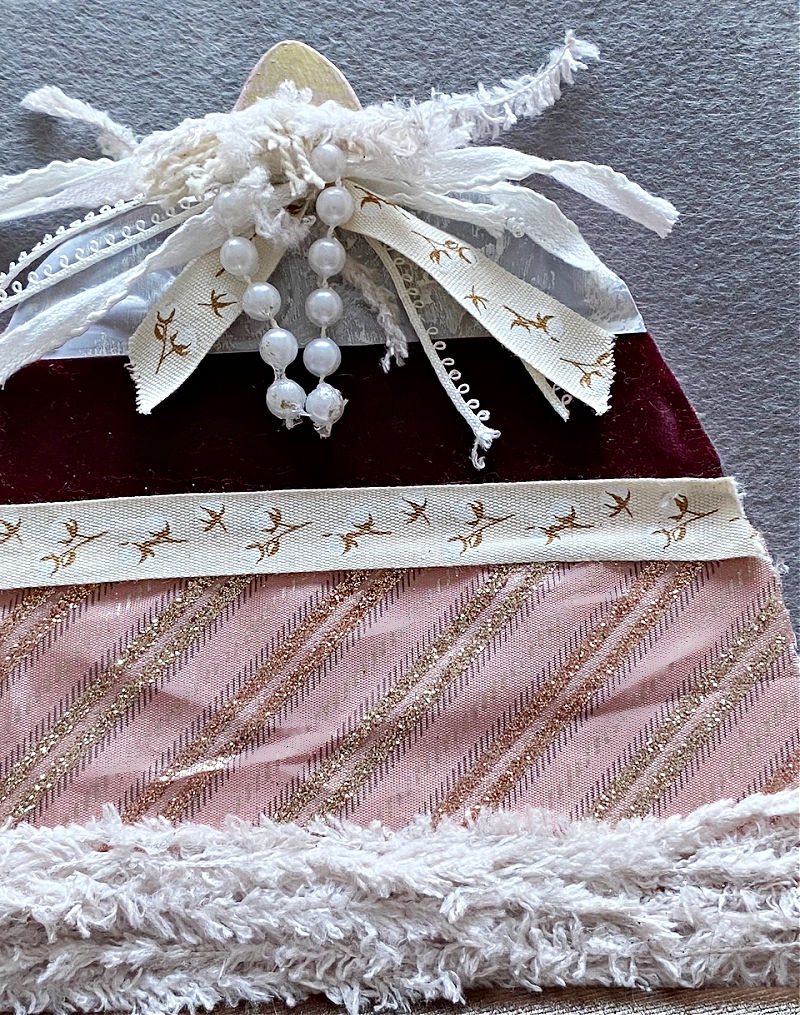
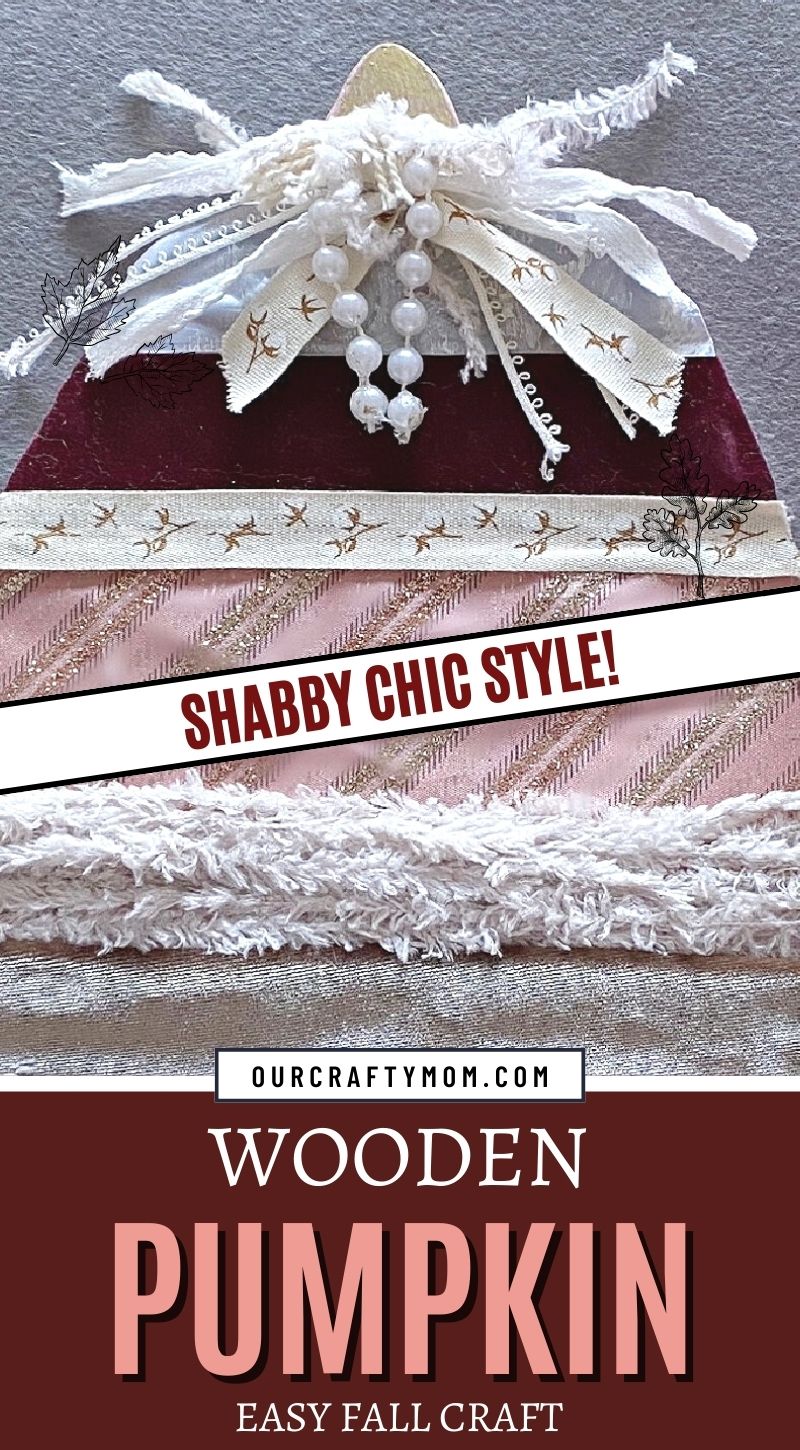
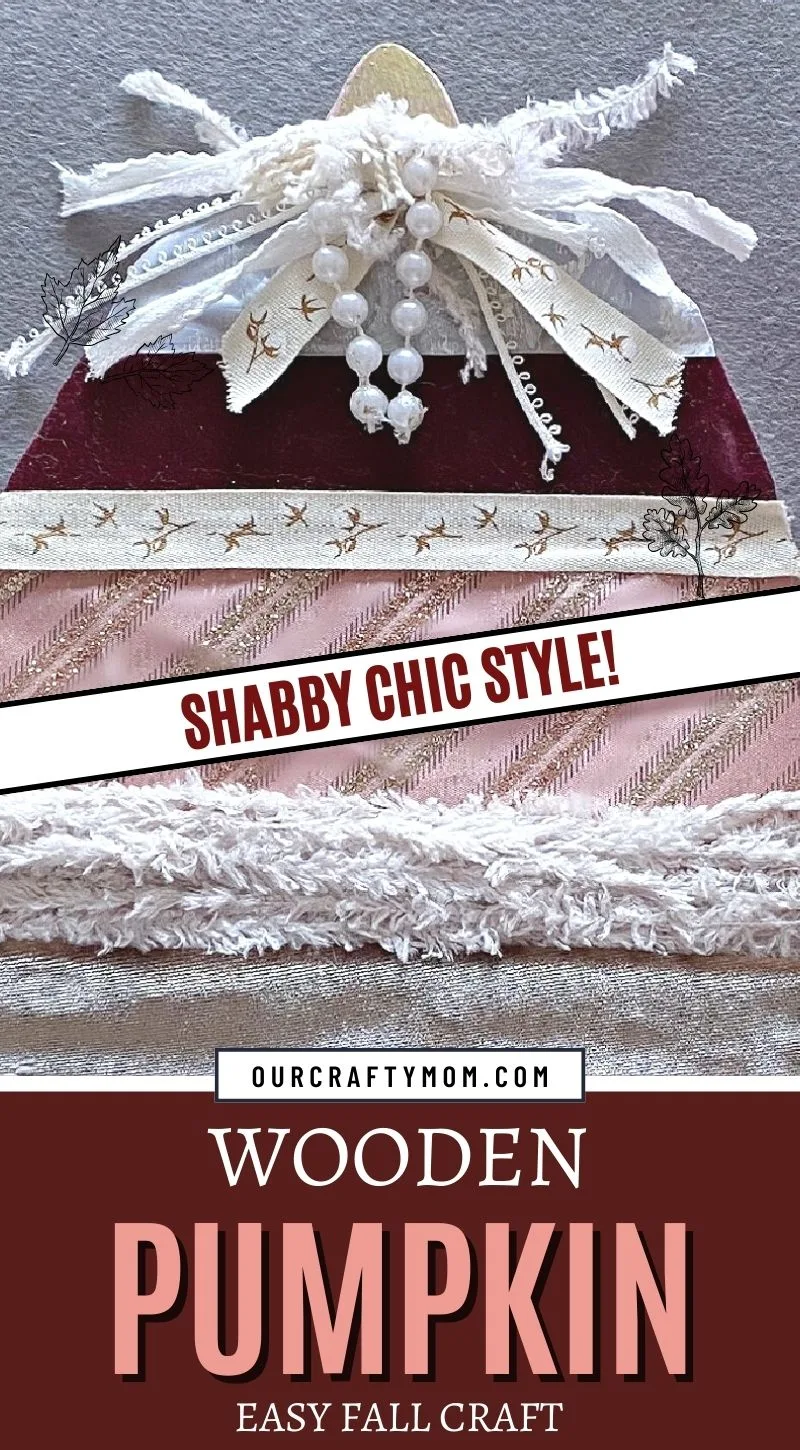
First up is this beautiful wooden cutout painted pumpkin with a shabby chic look.

I’ve included a printable tutorial at the end of this post so you can make your own pumpkin decor in no time!
Supplies For DIY Wooden Pumpkin
- pumpkin cutout unfinished wood
- Mod Podge
- Assorted Fabric Scraps or Ribbon
- Paint in your desired colors
- Embellishments like pearls, buttons, and rhinestones
- Hot Glue Gun

DIY Wooden Pumpkins Decor
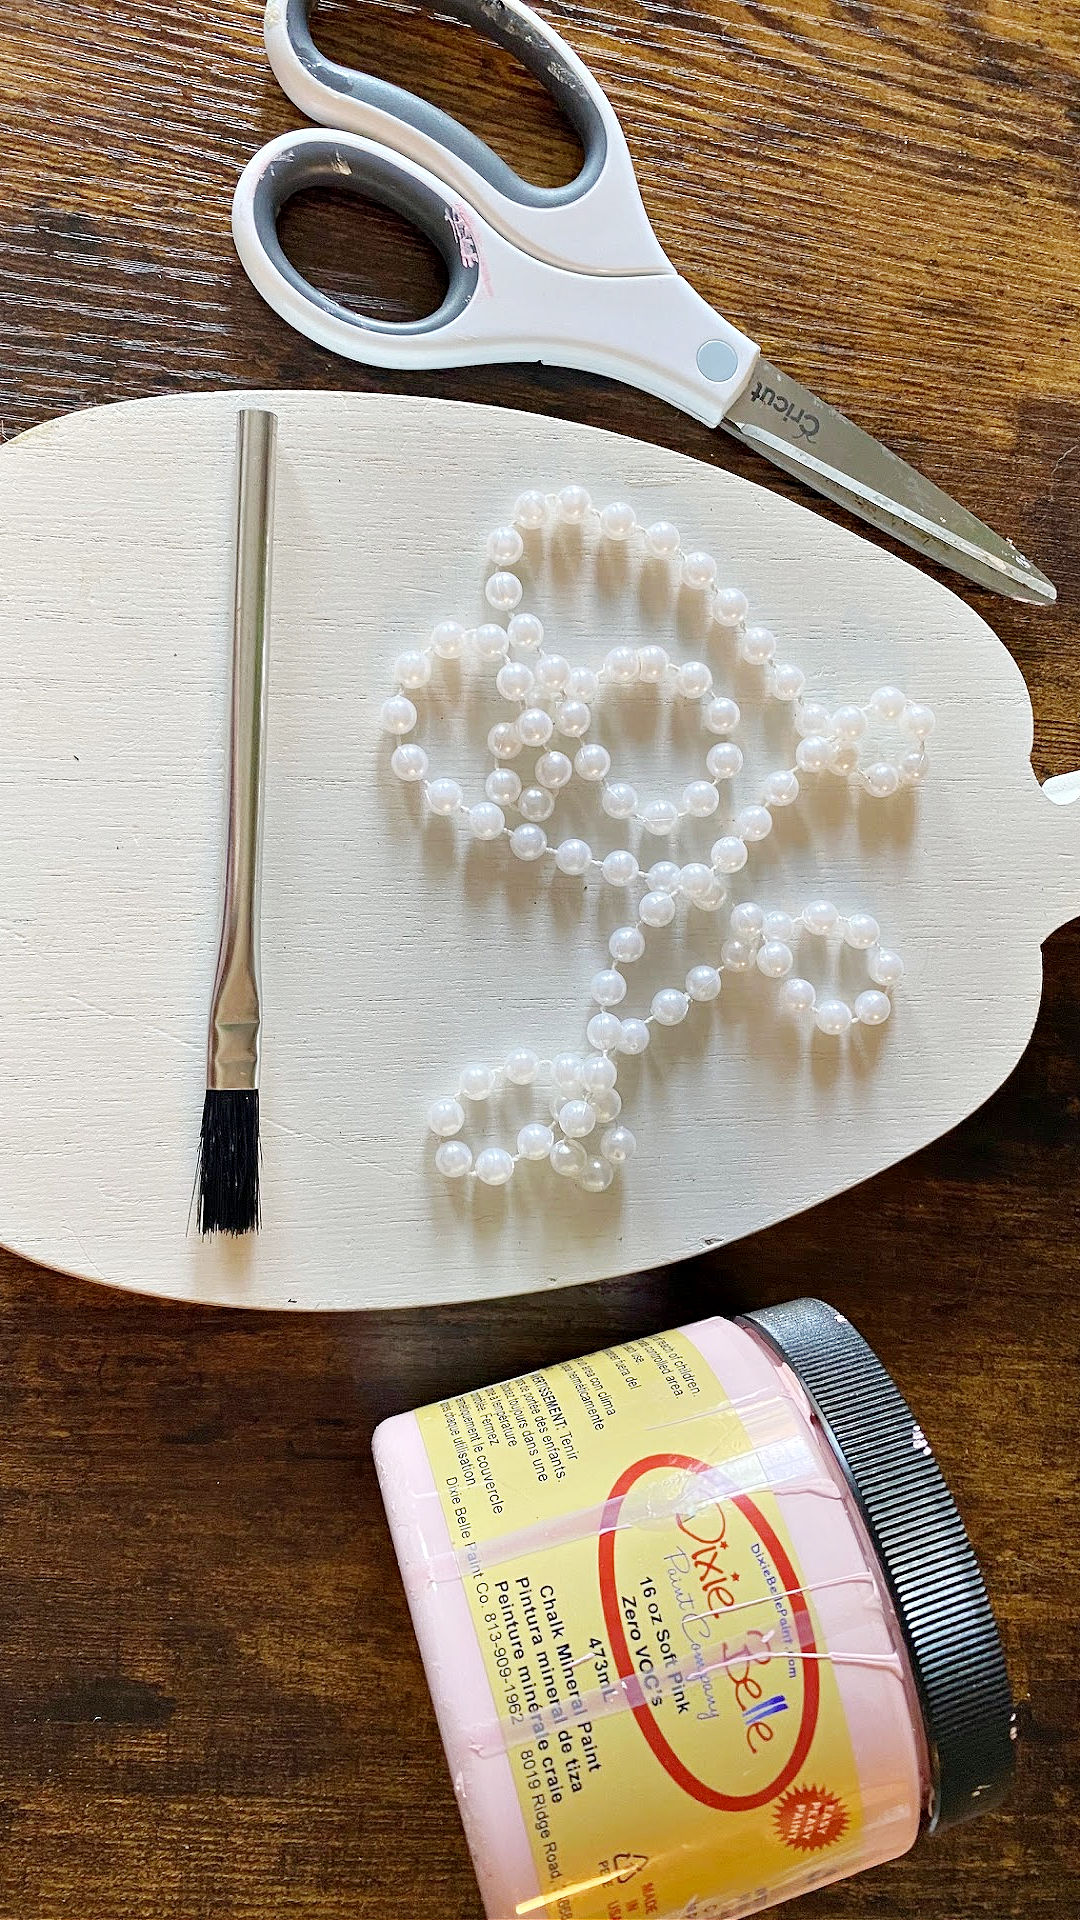
To make your own shabby chic wooden pumpkins, start with a small wood pumpkin cutout.
You can find wood pre-cut at your local craft store, or you can cut it yourself with a wood block.
Consider using a wood slice for your pumpkin decor for a more rustic feel.
If you’re cutting it yourself follow these steps:
- Cut your block of wood into pumpkin shapes using a pumpkin outline. You can use a variety of tools to do this, including a saw, jigsaw, or even a router.
- Sand down the edges afterward so they’re smooth.
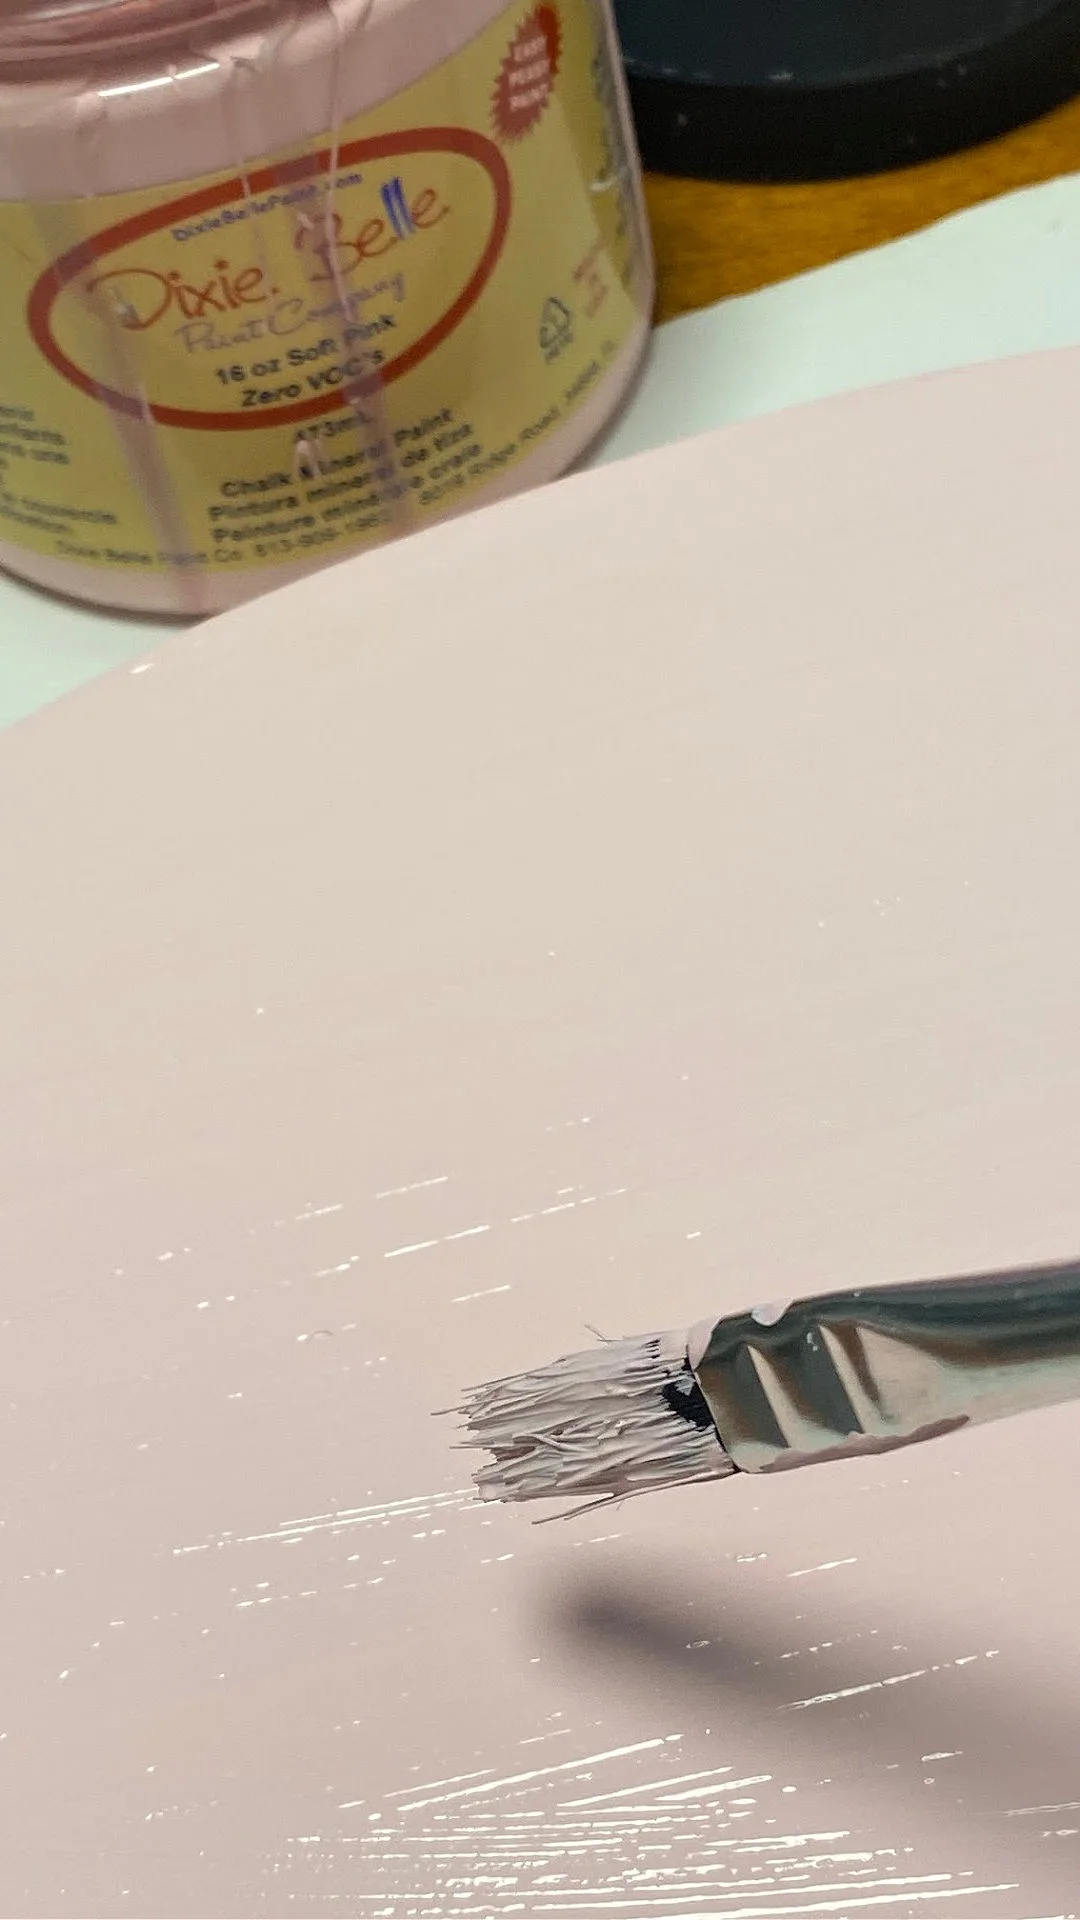
Once you have your wood pumpkin, it’s time to start painting!
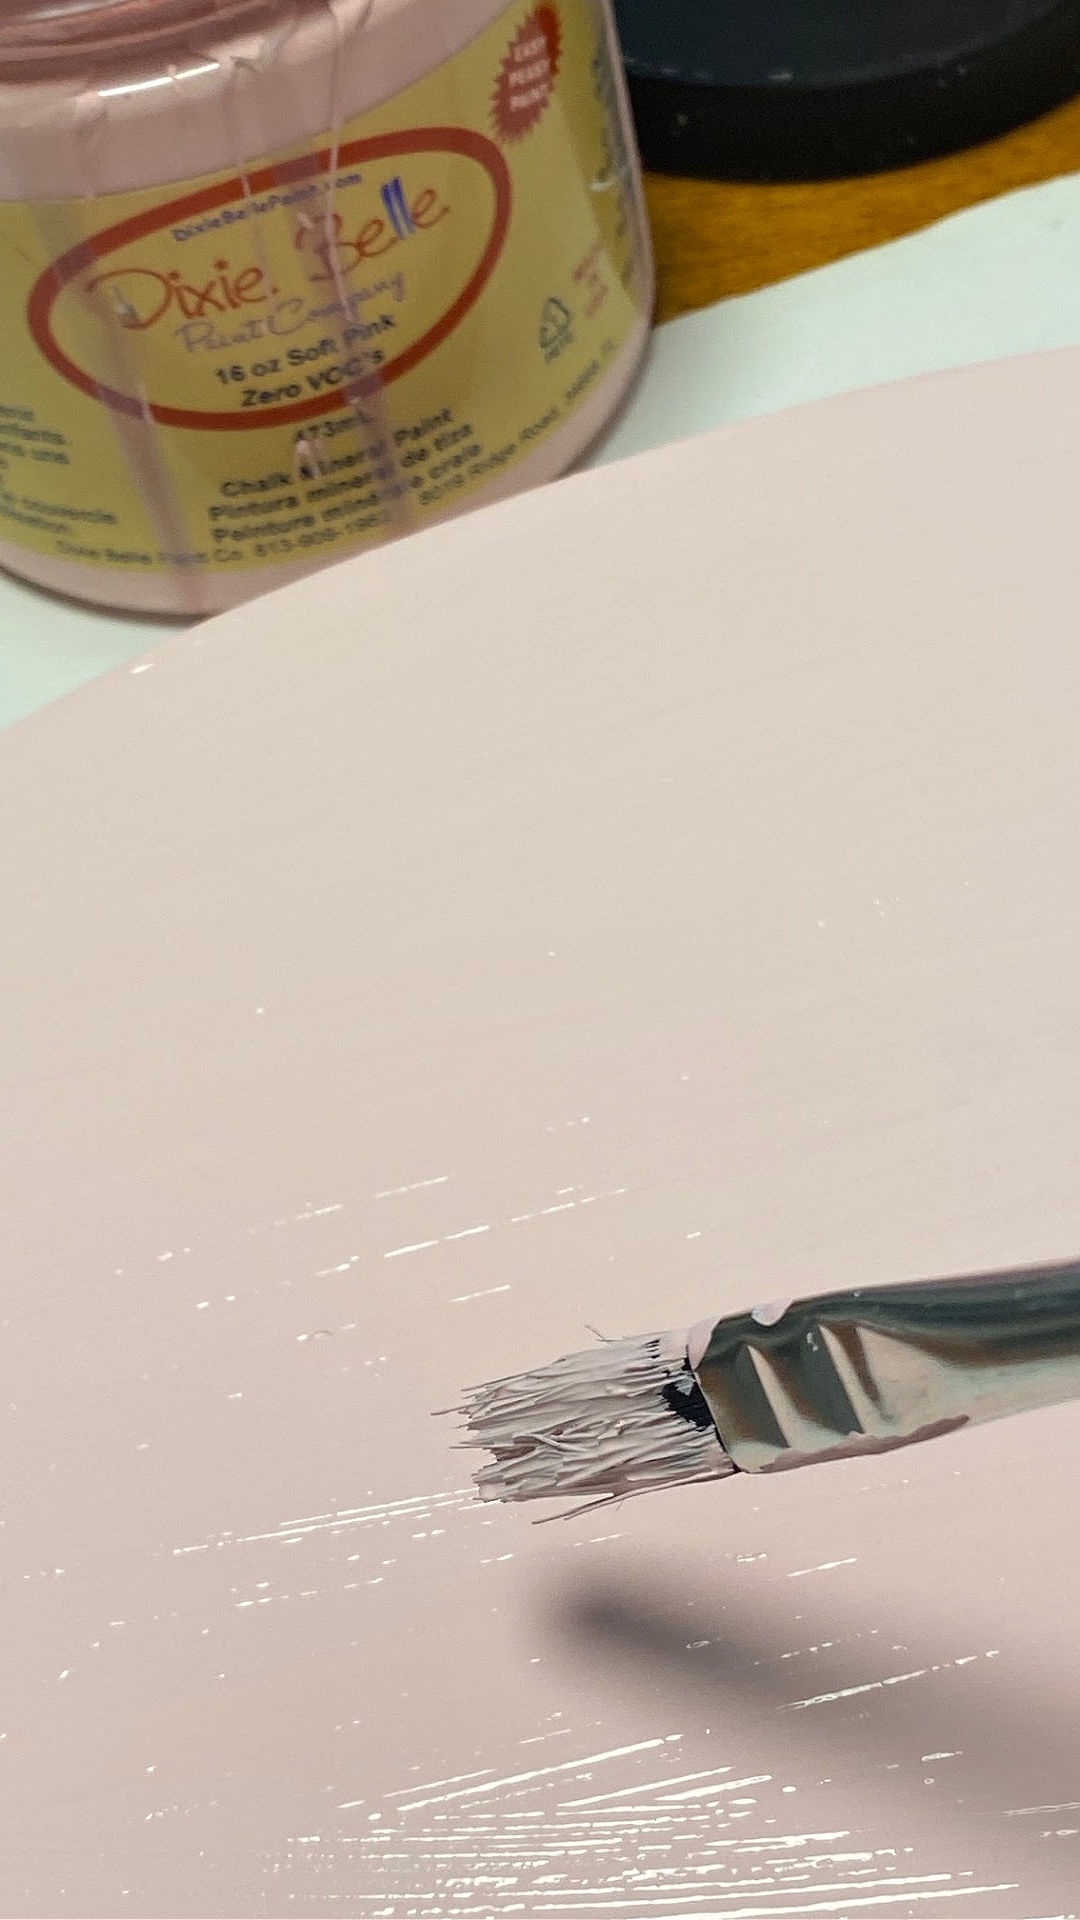
Paint your wood in whatever colors you like best. For a shabby chic style, lighter colors like white, beige, and pink tend to work best.
Once the paint is dry, use Mod Podge to add any embellishments you like.

You could add glitter, ribbon, or even fabric scraps. Be creative!
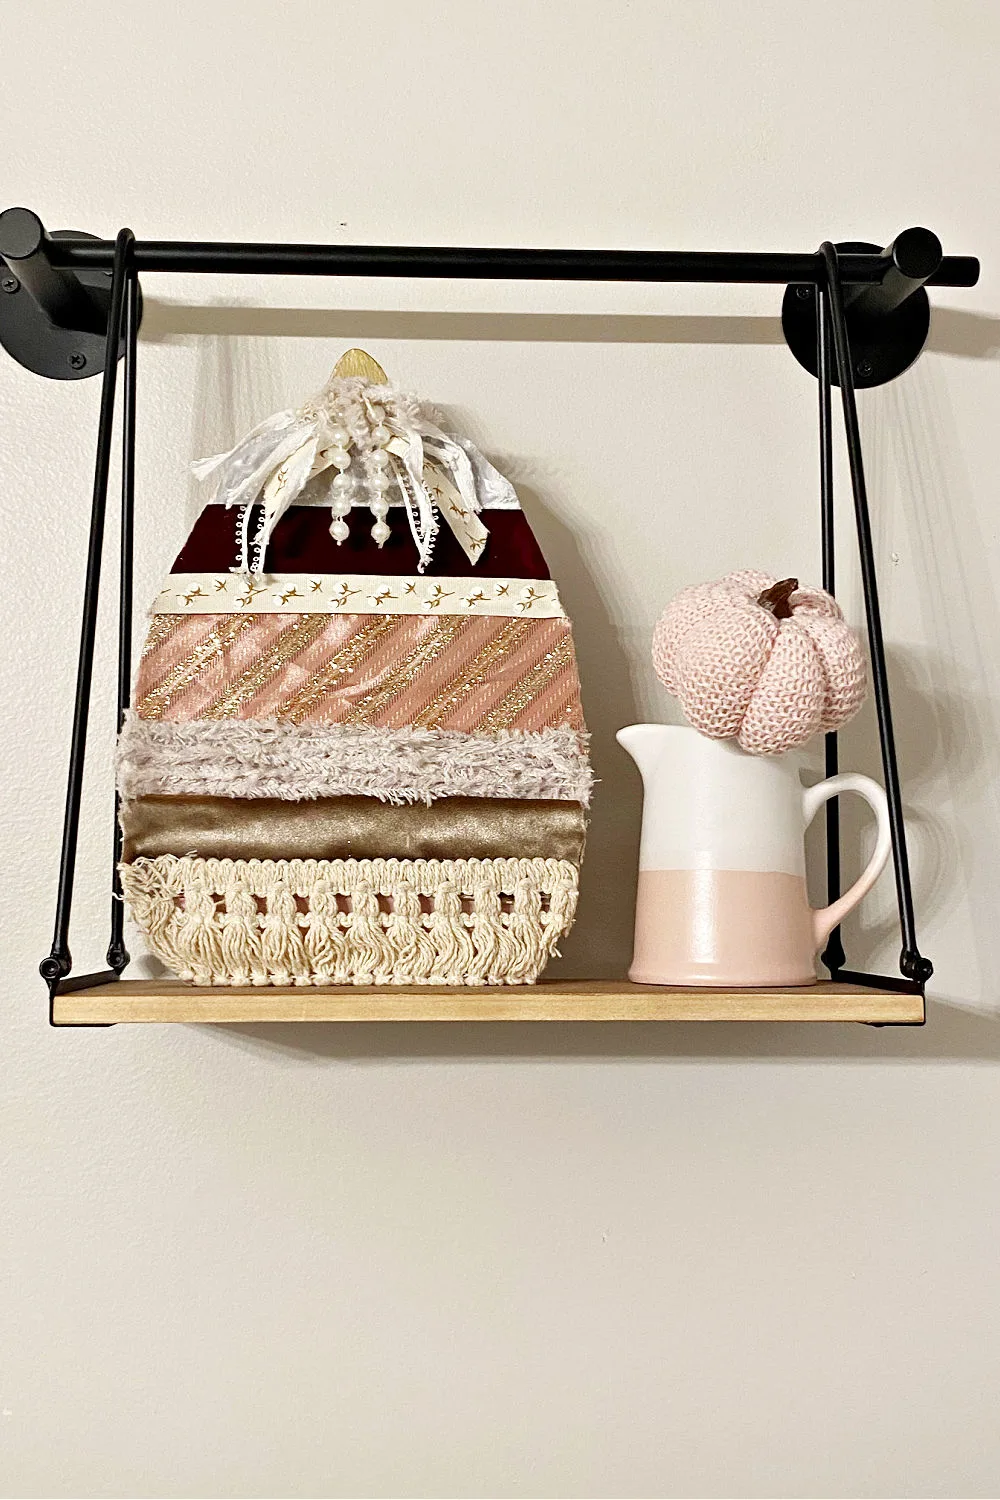
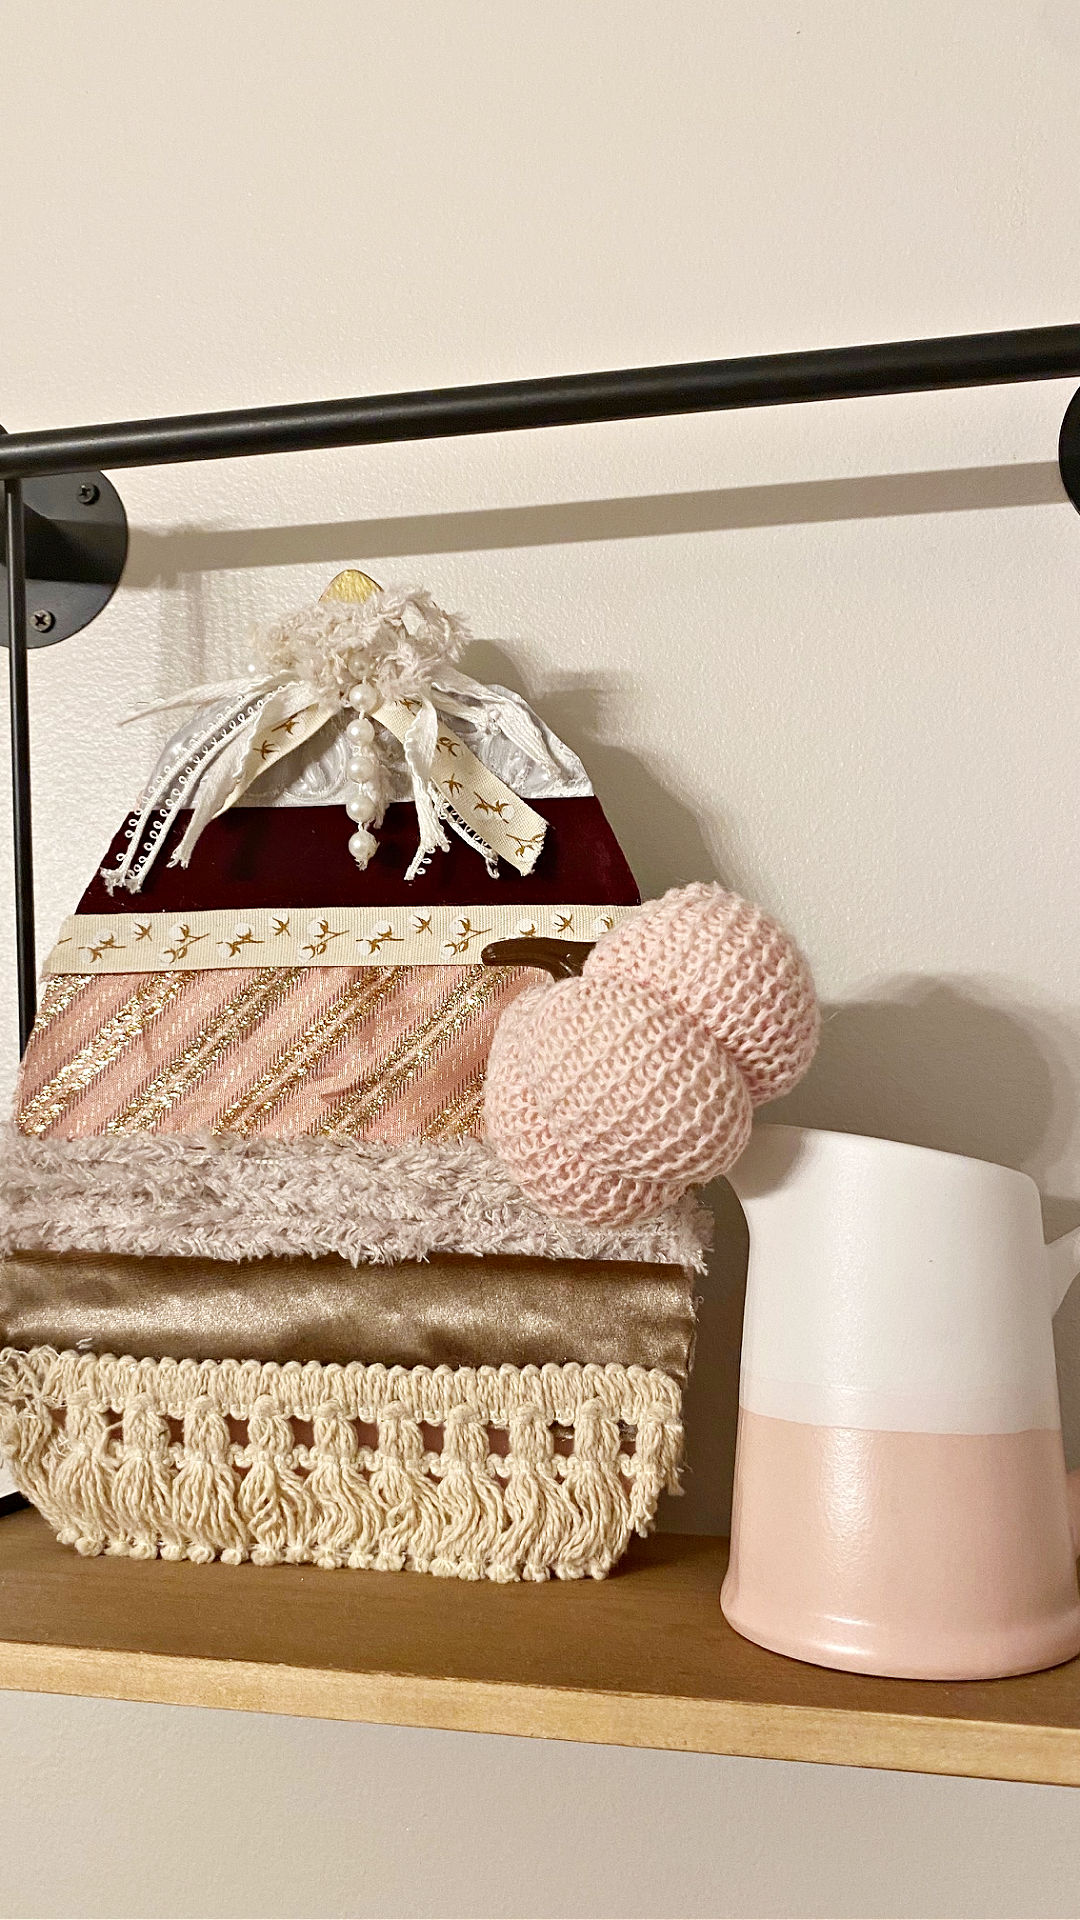
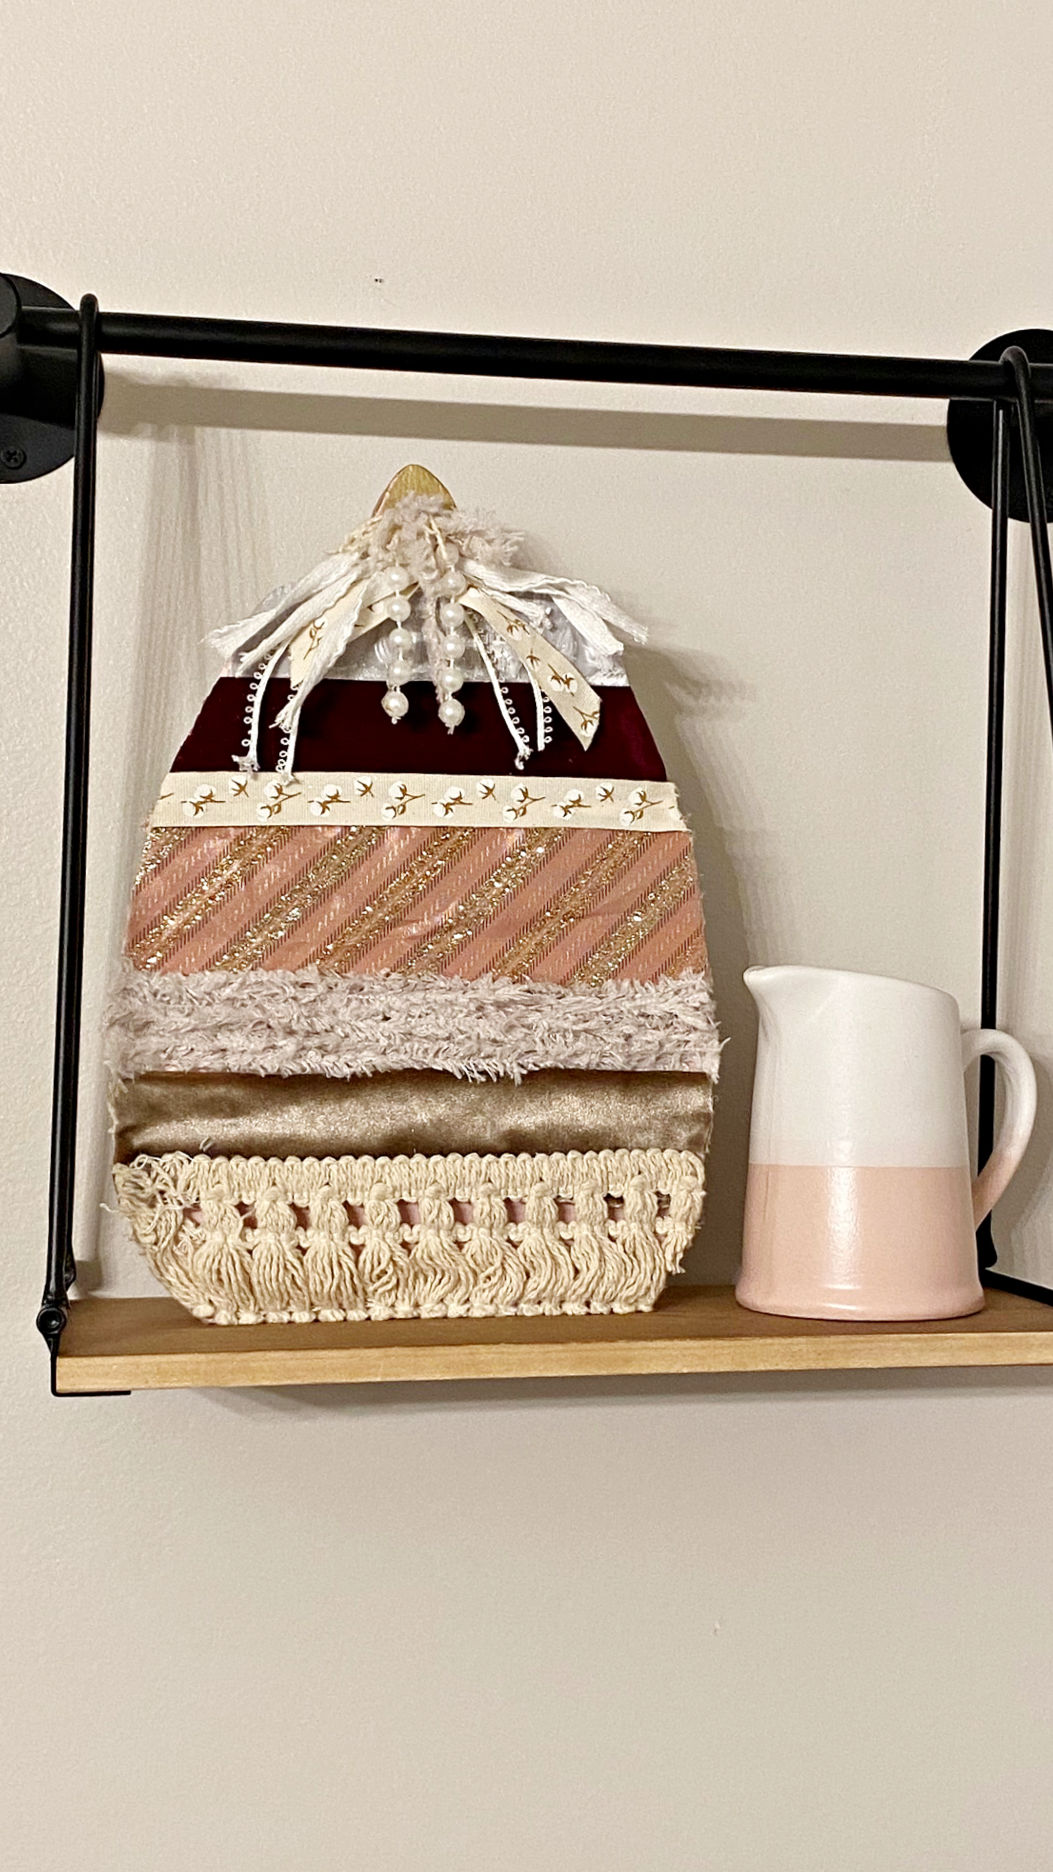
Once your pumpkins are decorated to your liking, they’re ready to display. Be sure to add layers of ribbon for a pretty bow.
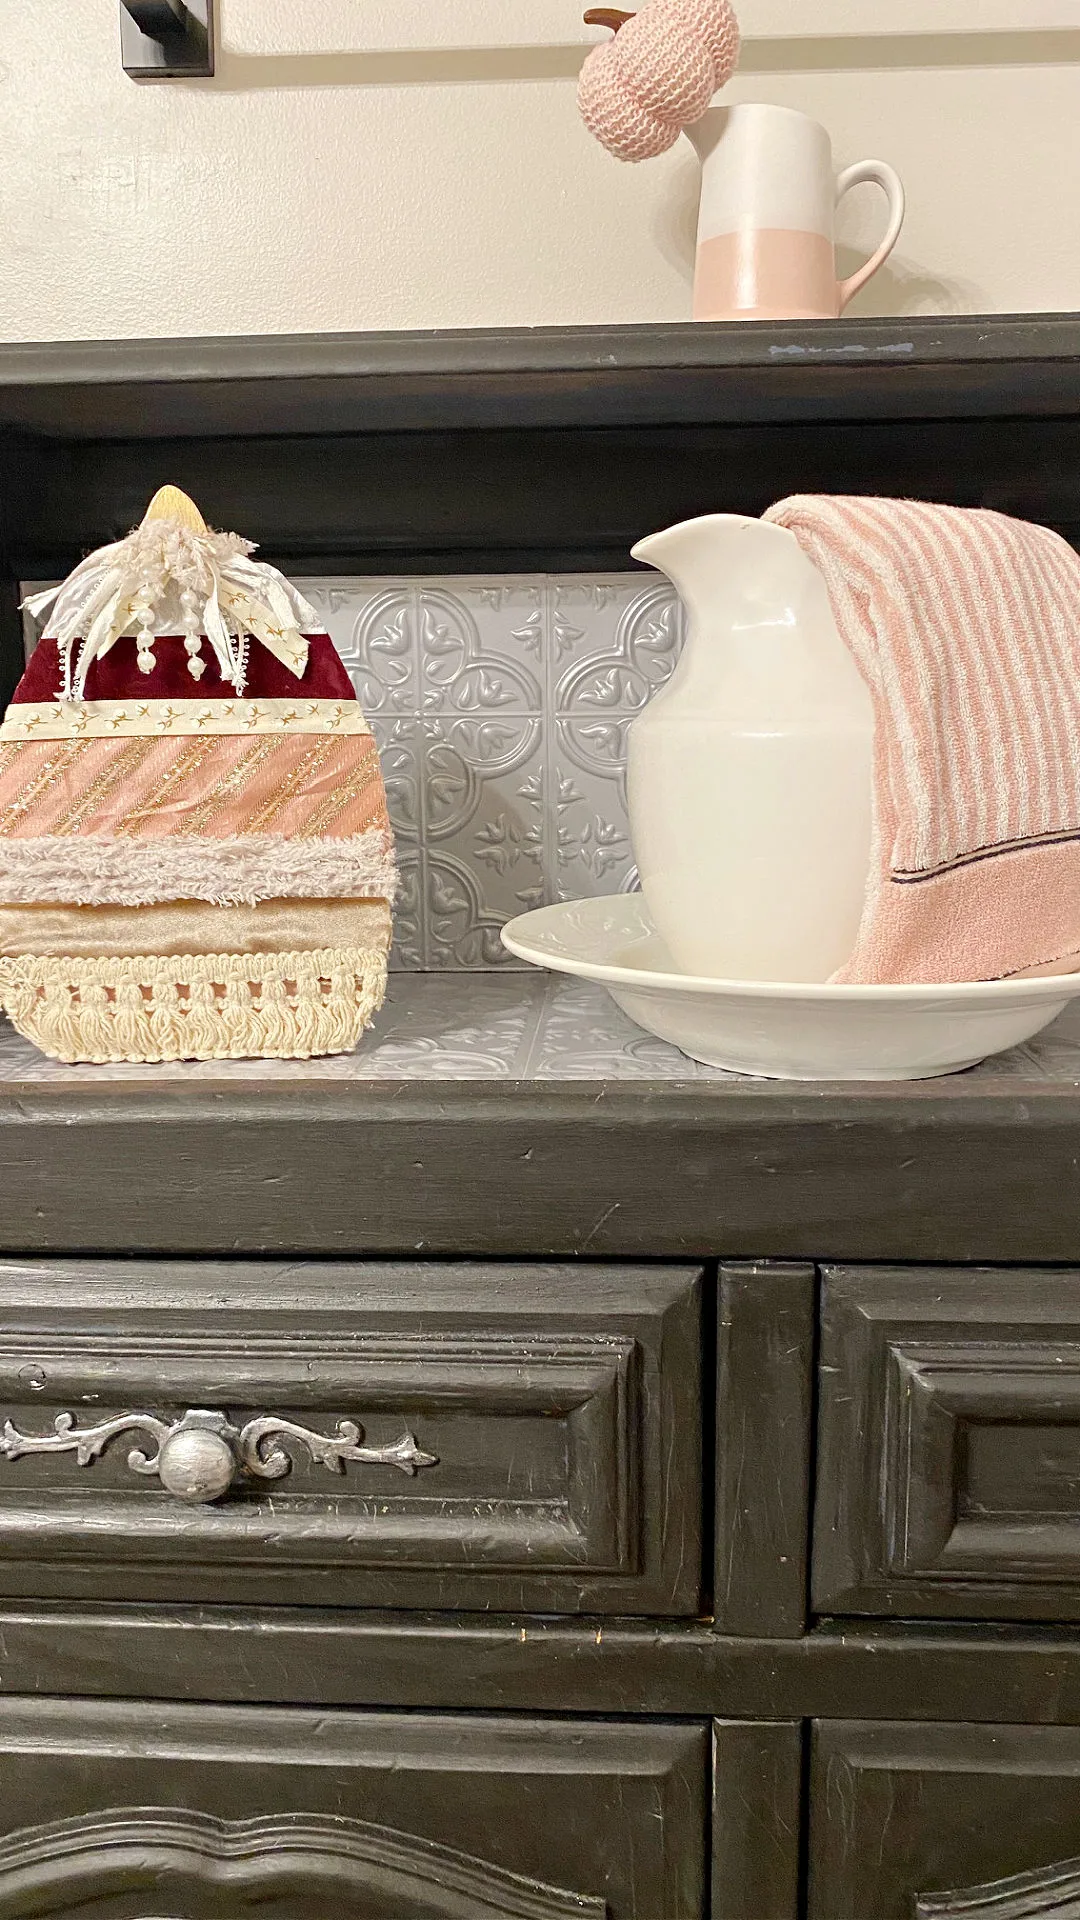
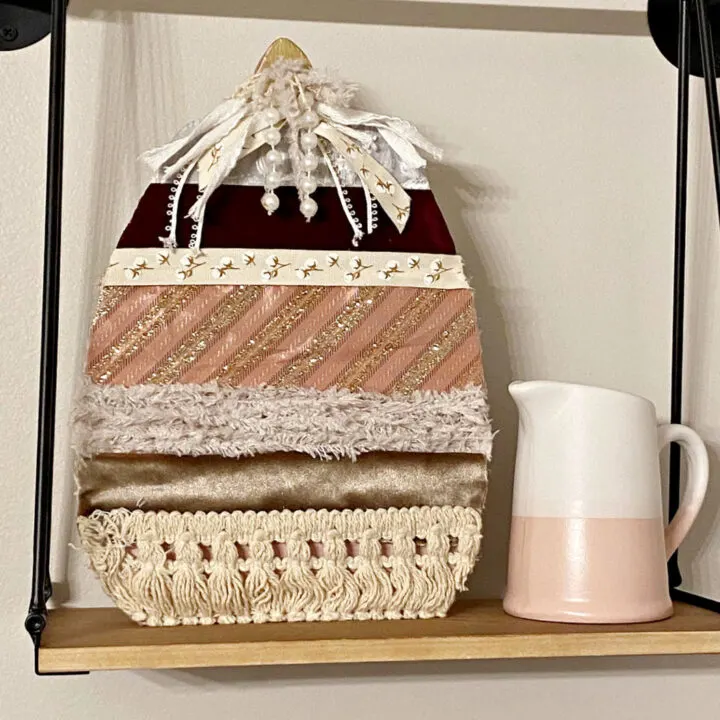
Place them on your mantel, shelf, or tabletop as part of your fall décor. Enjoy your beautiful handiwork!

These charming wood pumpkins make great fall decorations for your mantel or table.
You can also use them to create a festive centerpiece for your Thanksgiving dinner table.

Change up the colors you use to turn your blank pumpkin into a Halloween pumpkin.
It’s super simple by using black paint and Halloween decorations like spiders and spider webs as embellishments.

Have fun decorating your wood pumpkins for a pretty piece of autumn decor that you created yourself!
Pinning the image and sharing the post with your friends helps to keep my little blog growing!

I appreciate your support. Happy Fall Y’all!
Sharing is caring…please PIN the below image:
I hope you enjoyed this pretty wooden pumpkin. Let me know if you give it a try by sharing it with us on Facebook.

Shabby Chic Wooden Pumpkins
These shabby chic wood pumpkins are the perfect addition to your fall decor! They are so easy to make and only require a few supplies.
Materials
- Pumpkin Cut Out
- Pink Paint
- Assorted Fabric Scraps
- Assorted Ribbon
- Embellishments
- Mod Podge
- Foam Brushes
Tools
- Scissors
- Hot Glue Gun
Instructions
- Paint your wooden pumpkin cut out whatever color you like. Let dry.
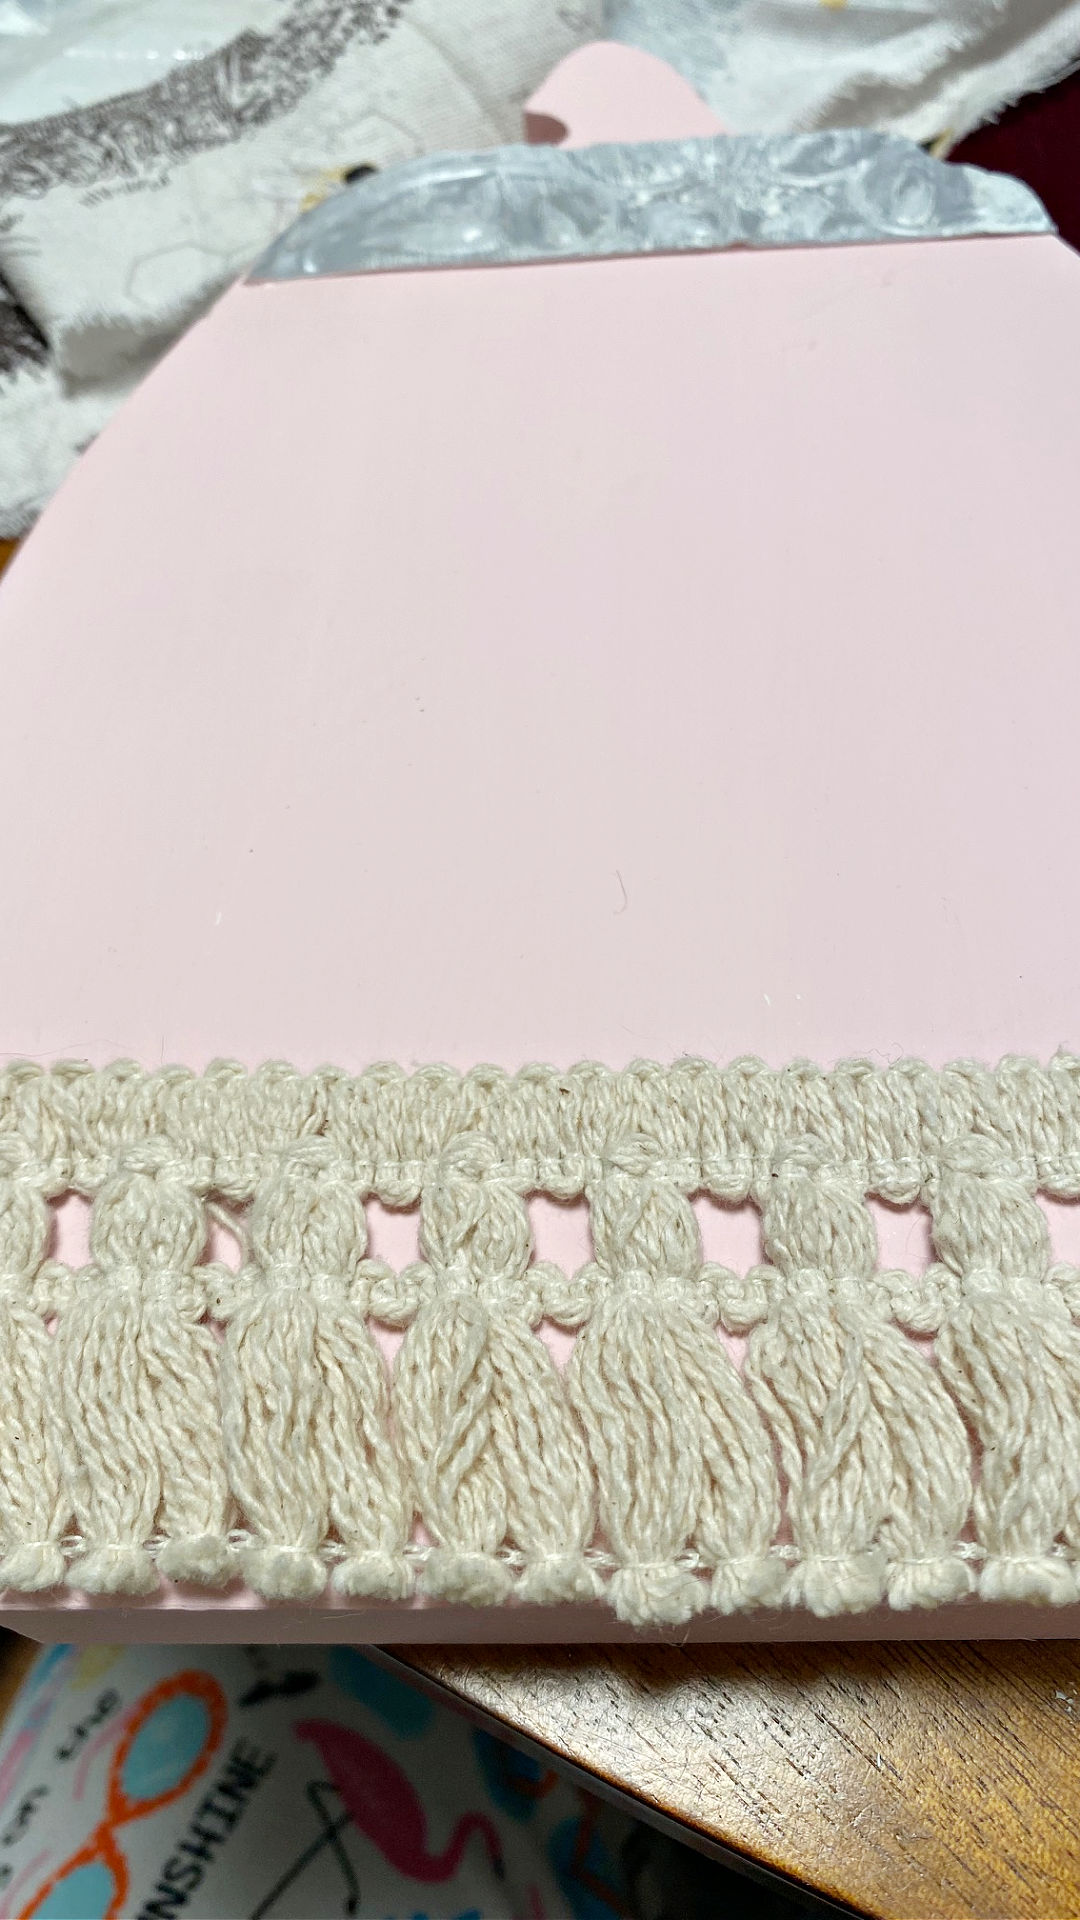
- Paint a coat of mod podge on the pumpkin.
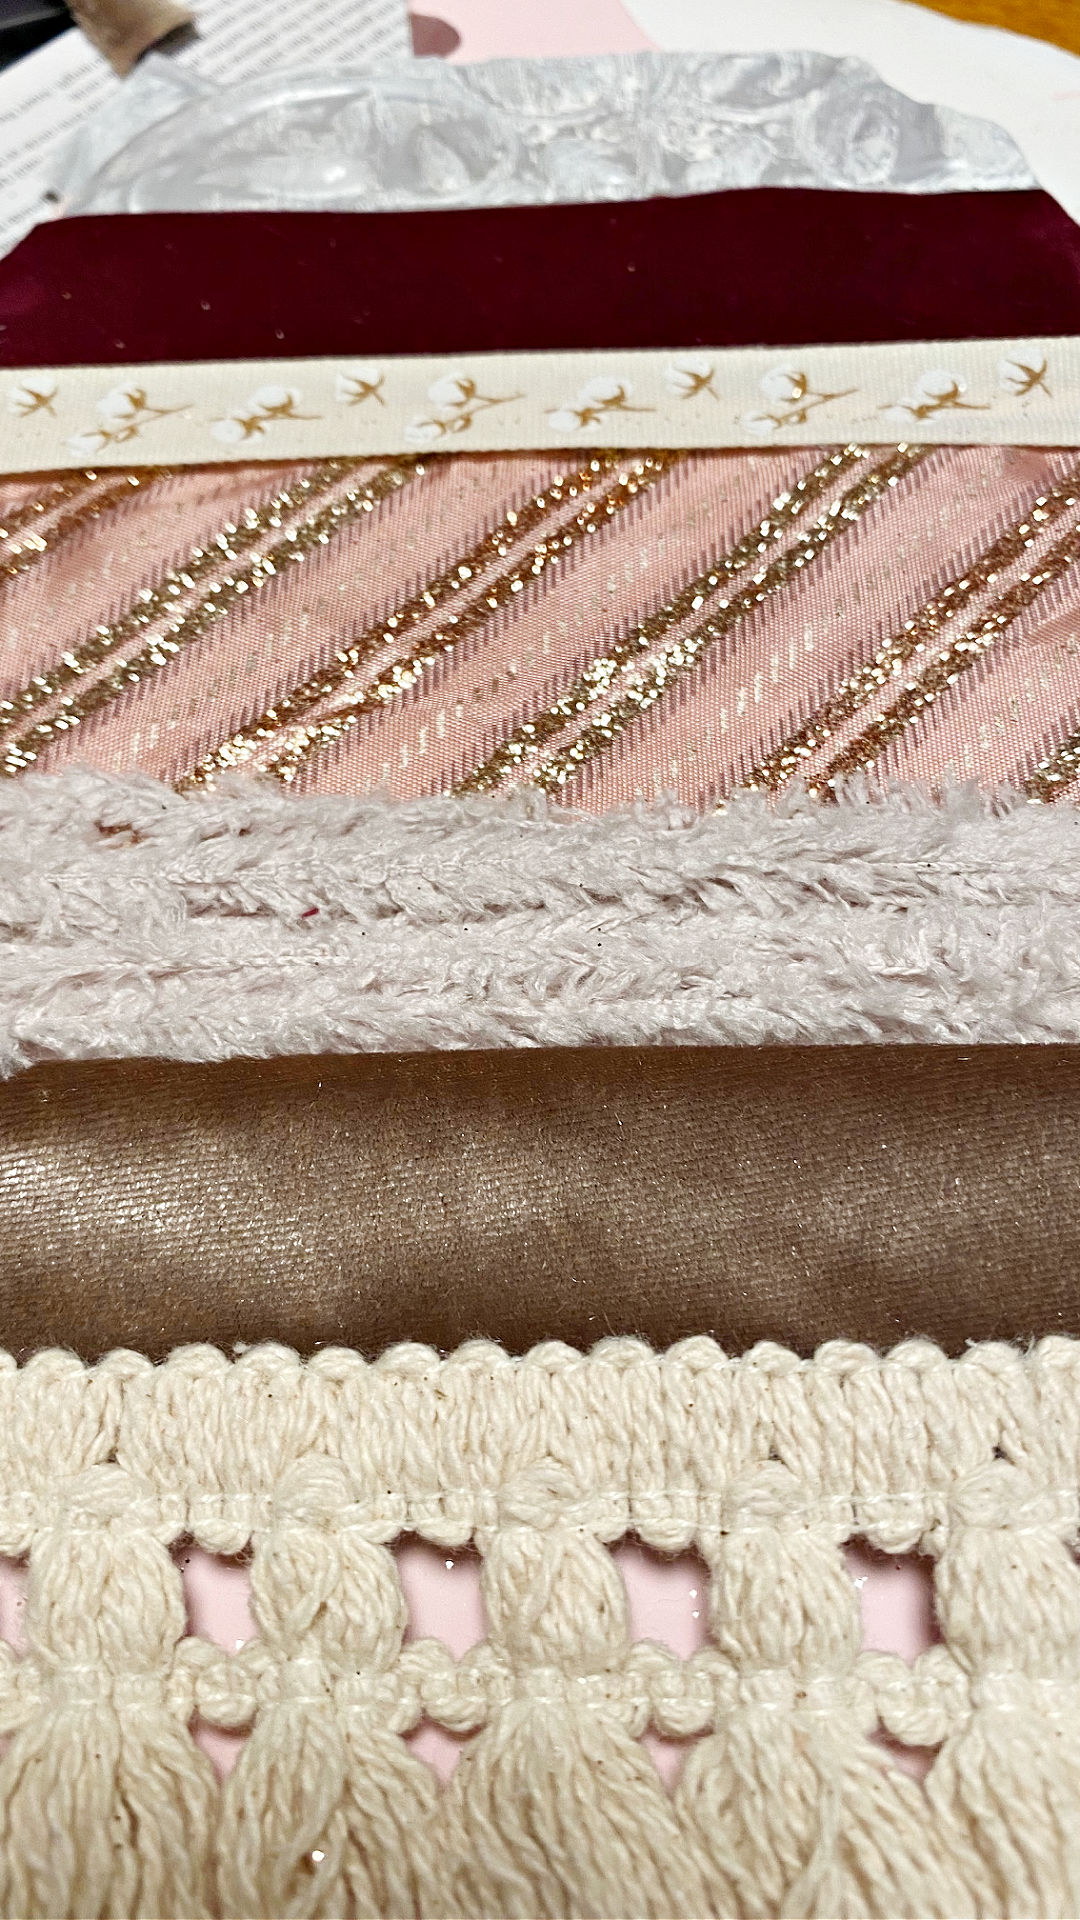
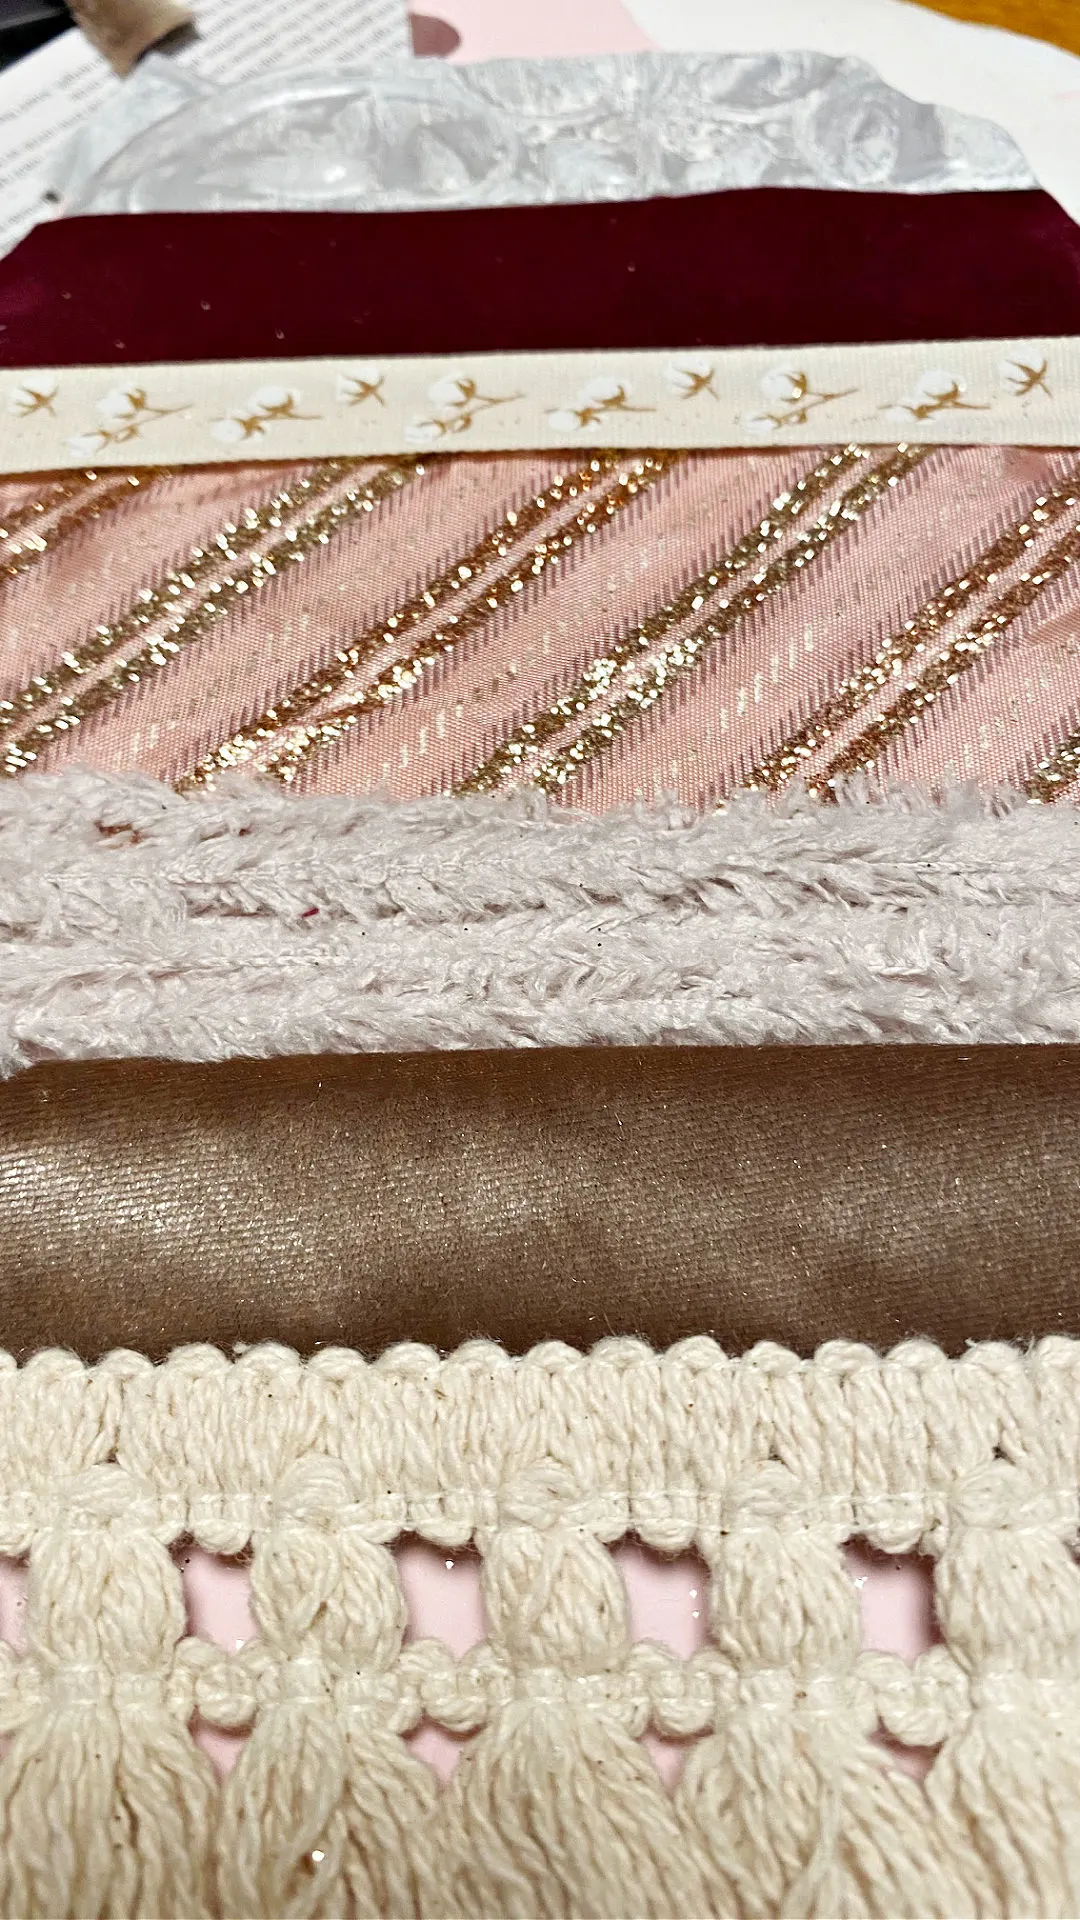
- Attach strips of fabric cut to the same size. Use ribbon, fabric scraps, lace, etc.
- Create a bow for the top of the wooden pumpkin in different styles.
- Top off with a little gold metallic paint for the stem.
Notes
**Use a hot glue gun for thicker layers of fabric**
Recommended Products
As an Amazon Associate and member of other affiliate programs, I earn from qualifying purchases.
-

 Mod Podge CS11302 Waterbase Sealer, Glue and Finish, 16 oz, Matte
 -
 VU100 Cotton Tassel Fringe Trim 4.2cm, Lace Trim by 6 Yard, for Sewing Edging Trimming Curtain Blanket Hanging Rugs Clothing Home Decor(Off White)
 -
 ARTY KRAFTS Disposable Foam Brushes for Staining, 12 Pieces Small Paint sponges for Acrylic Painting, Foam Sponge Wood Handle 1 inch Paint Brush
 -
 DecoArt DADA250-3 Darice Americana Acrylic Paint, 2 oz, Bubblegum Pink
 -
 24 Pcs Fall Wooden Pumpkin Cutouts Unfinished Wooden Pumpkin Shaped Table Signs Thick Wood Pumpkin Craft with Ropes for DIY Craft Autumn Harvest Thanksgiving Halloween Home Tiered Tray Kitchen Decor
See even more fall crafts and home decorating ideas below:
FOLLOW ALONG
Pinterest ~ Facebook ~ Instagram ~ Twitter ~ YouTube ~ TikTok