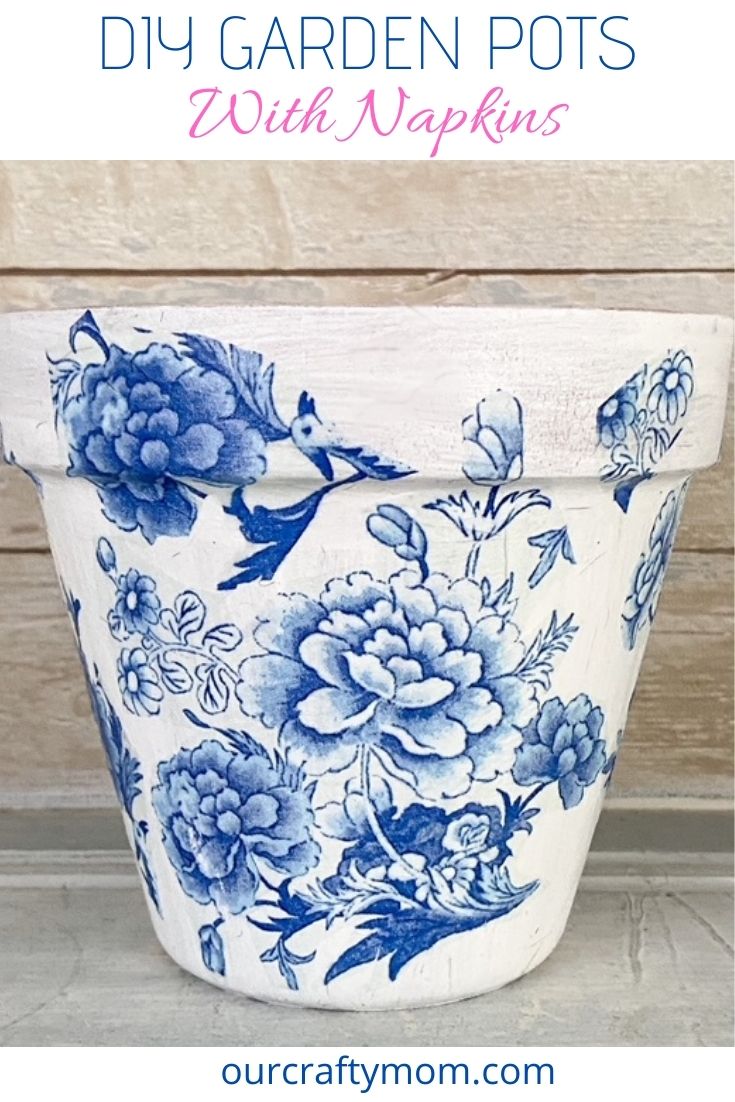
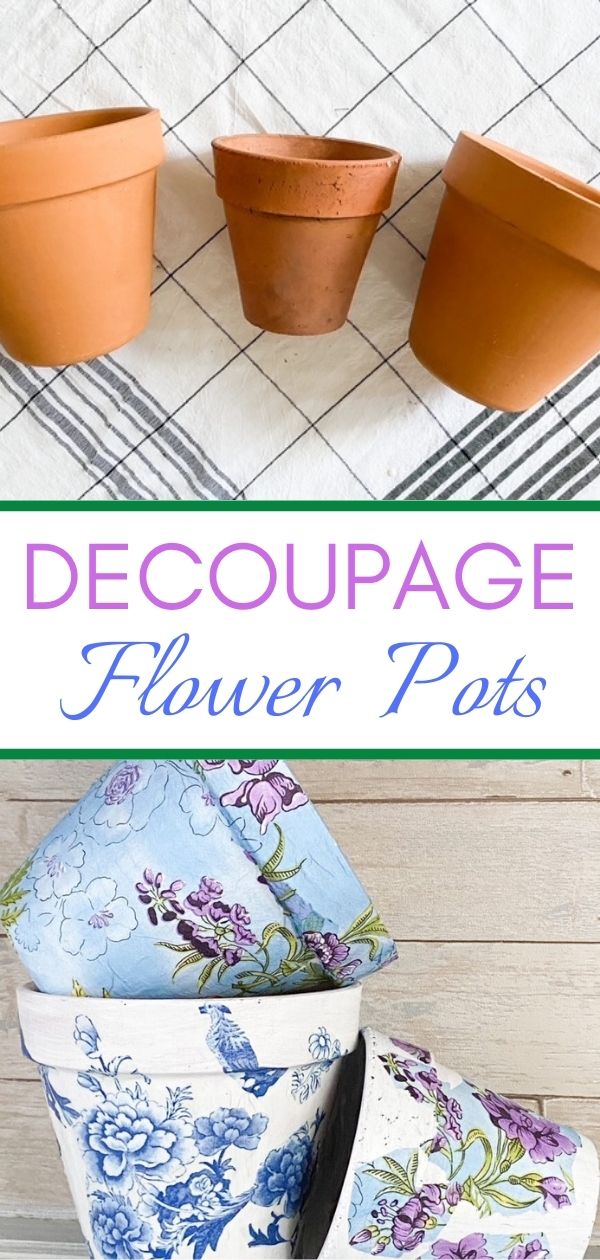
Let me show you how to decoupage with napkins to make the most beautiful garden pots.
If you have never tried to decoupage with napkins, now is the time. Gather a few garden pots, some pretty napkins and mod podge, then create!
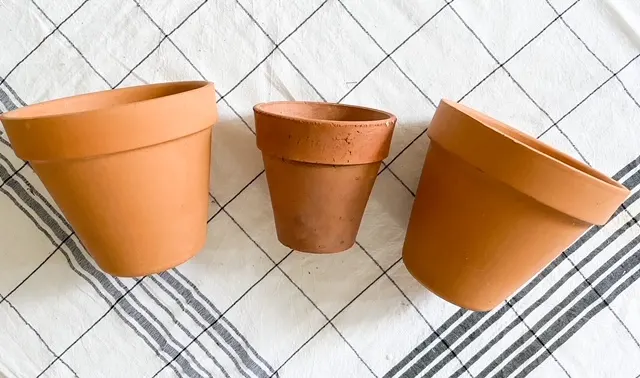
I love to update plain terracotta pots, or garden pots. They are inexpensive and can be updated in so many different ways.
One of my first clay pot crafts was a clay pot rain chain. It was actually made with dollar store pots, so it was super cheap to make.
Last year I was on a pink flamingo kick, so I updated a large garden pot with a fun pink flamingo tropical theme.
It’s still one of my favorite flower pot makeovers. For Mother’s Day each year we go to a local garden center and pick up flowers to add to my deck and porch.
I had a few garden pots that were plain, so I decided to try my hand at decoupage with napkins. You guys, it is such a fun craft, and so easy!
There will definitely more of these beauties in my life.
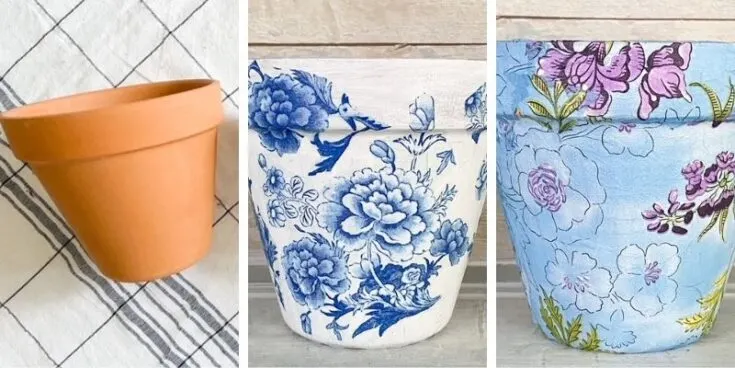
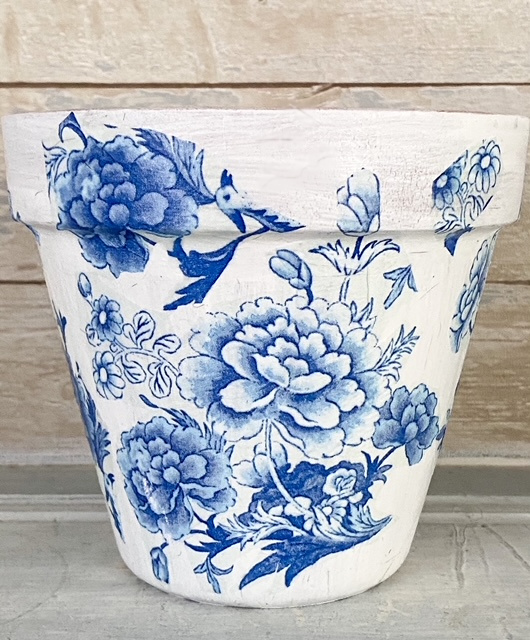
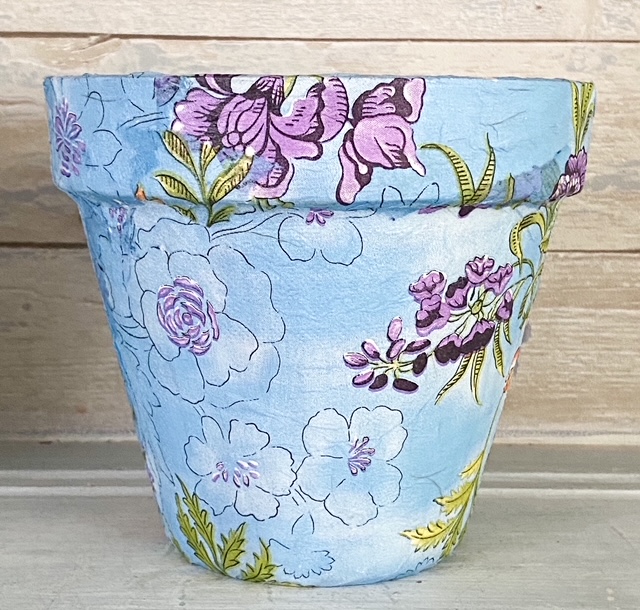
Just look at the difference from a plain clay pot to a gorgeous floral beauty:

Let me show you the simple tutorial. There is a handy printable card at the end of the post too.
Supplies For Decoupage Garden Pots
- Terracotta Pots
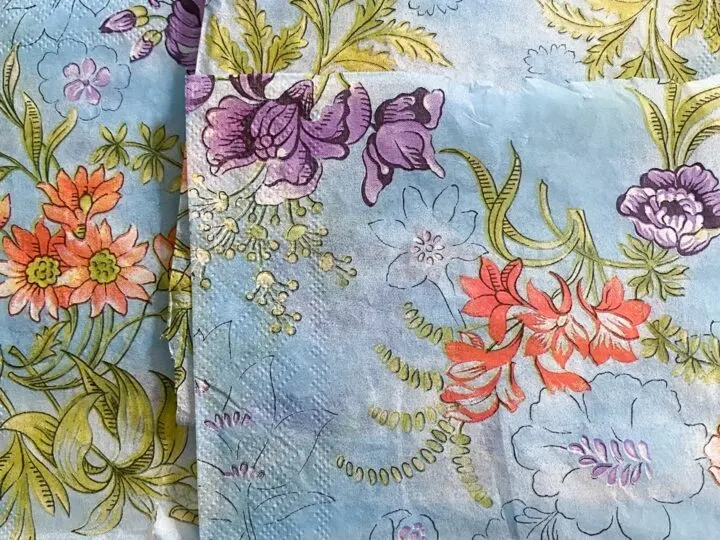
- Paper Napkins – these are the ones I used.
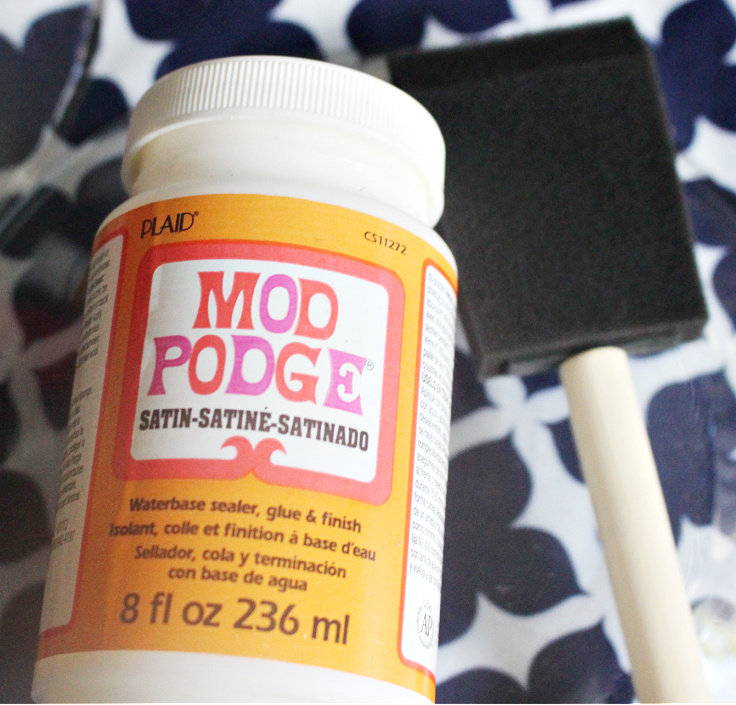
- Mod Podge
- DecoArt Outdoor Paint – White
- Foam Brush

How To Decoupage With Napkins
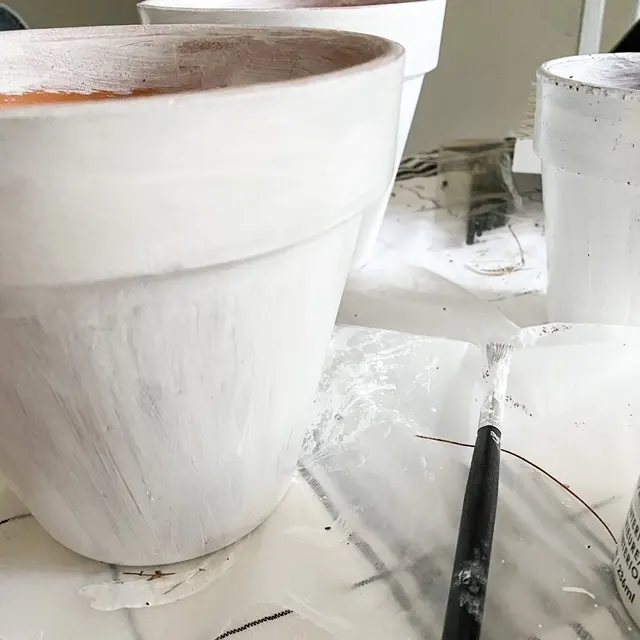
Start by giving the terracotta pots a couple of good coats of white paint. You can leave it natural if you like, but the napkin colors don’t pop as much as they do with a white base.
It is totally a matter of preference.
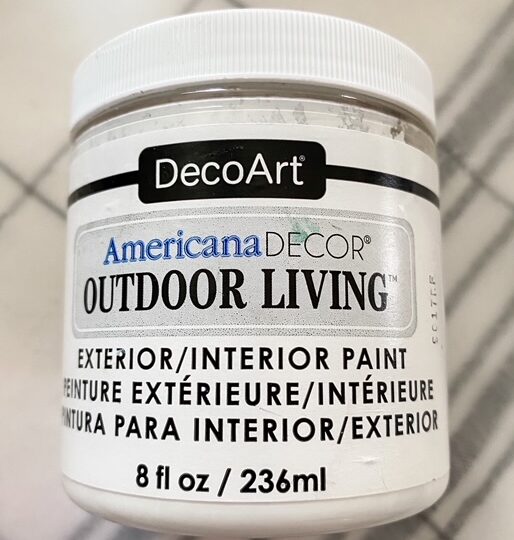

Also, since these garden pots will be outside, I used DecoArt Americana Decor outdoor living paint. The coverage is amazing too!

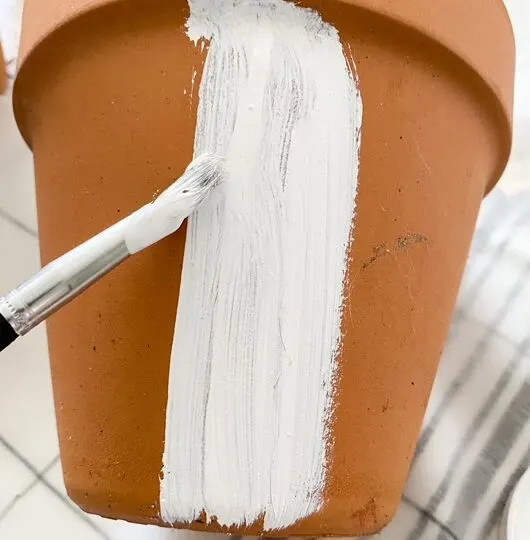
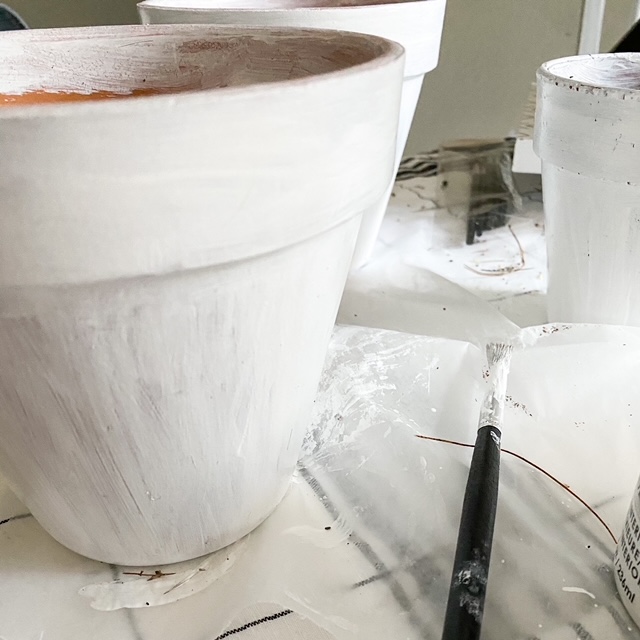
The clay pots dry really fast, but you will need at least 2-3 coats for good coverage.
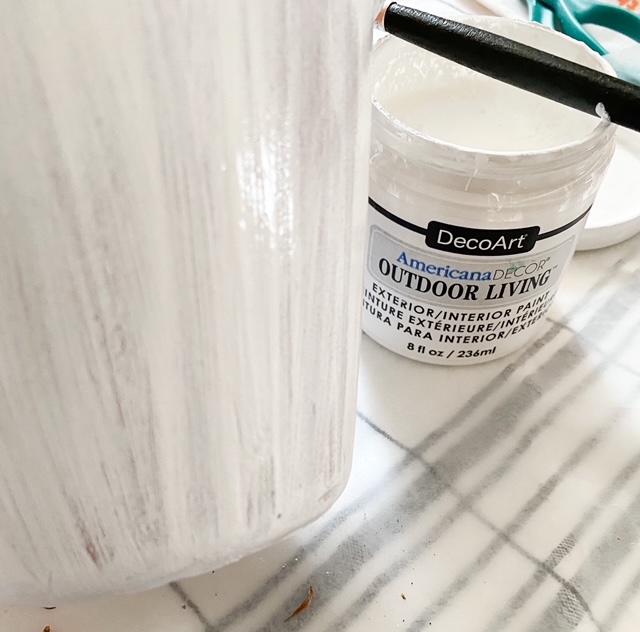

Let the clay pots dry totally before adding any mod podge.
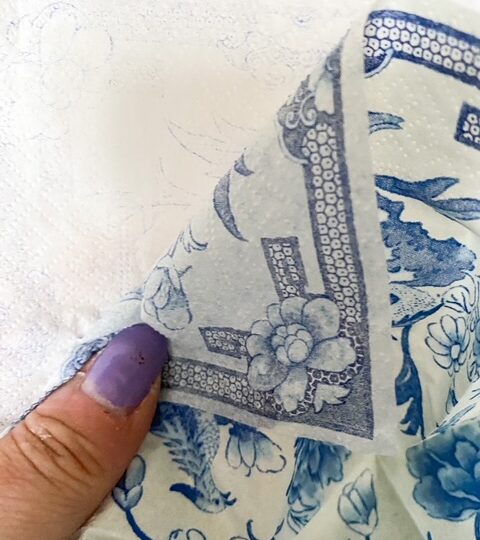
Next up, you want to unfold a few napkins and separate the layers. Most napkins are either 2-ply or 3-ply. The ones I used were 2-ply.
You only use the printed top layer.

Decide if you want to cover the entire pot with napkins, or just a few cut outs. I’ll show you both ways here.
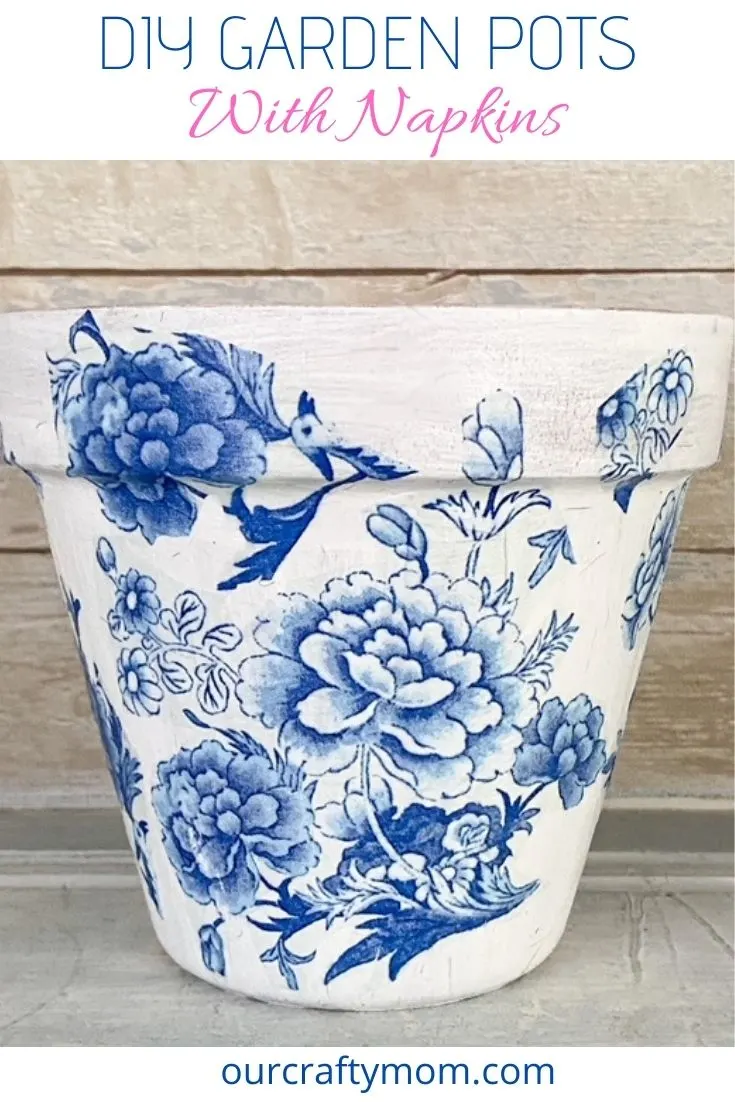
First, I cut out pretty blue and white chinoiserie style flowers from the napkins. Cut out several different shapes and sizes.
Be sure to use sharp paper snips, or scissors.
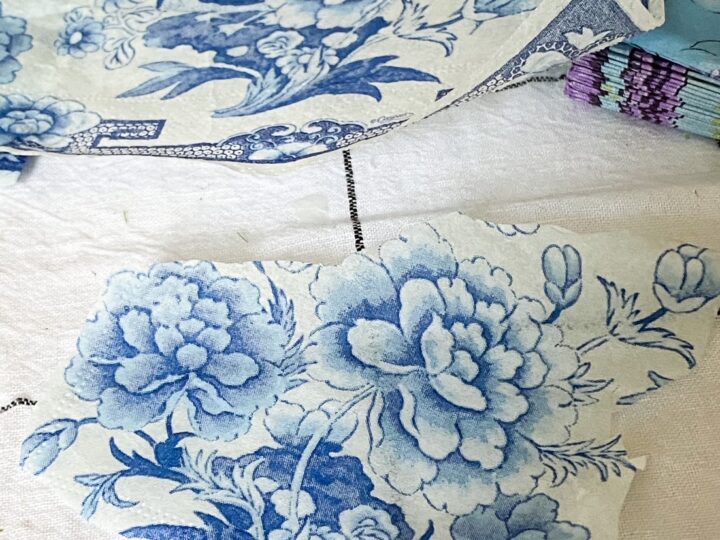
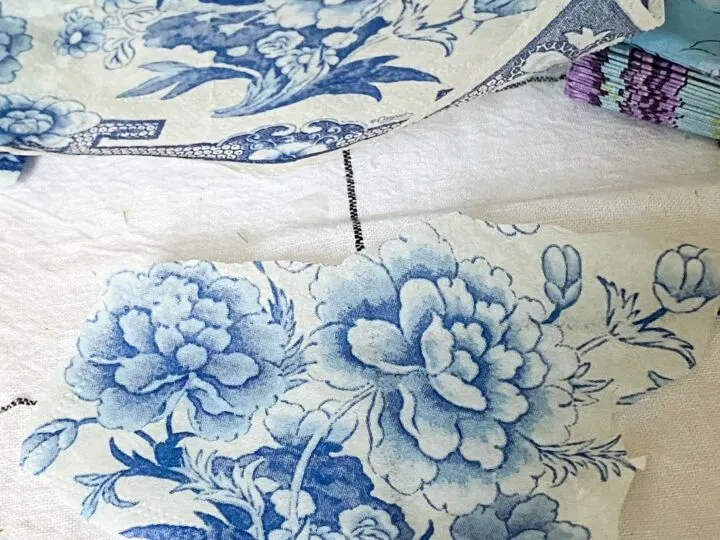
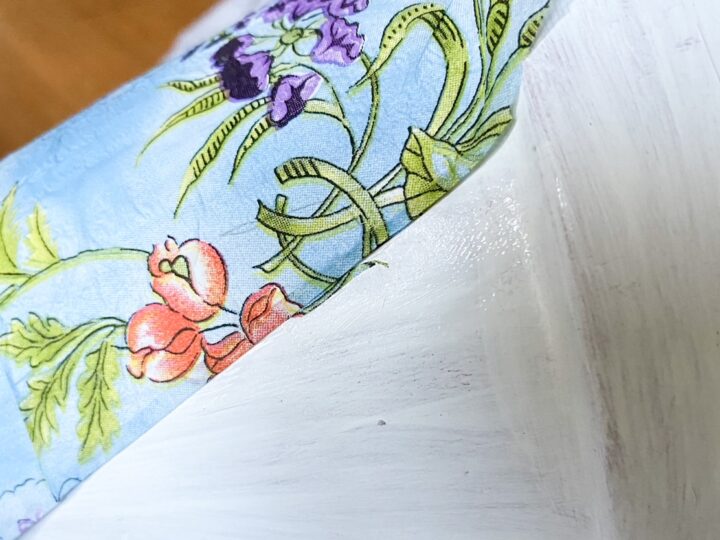
Lay the flower cut outs on the pot to test placement. I added some to go over the lip of the pot.

Add Mod Podge on a paper plate and use a foam brush to add mod podge to the area where the napkin cut out will be.
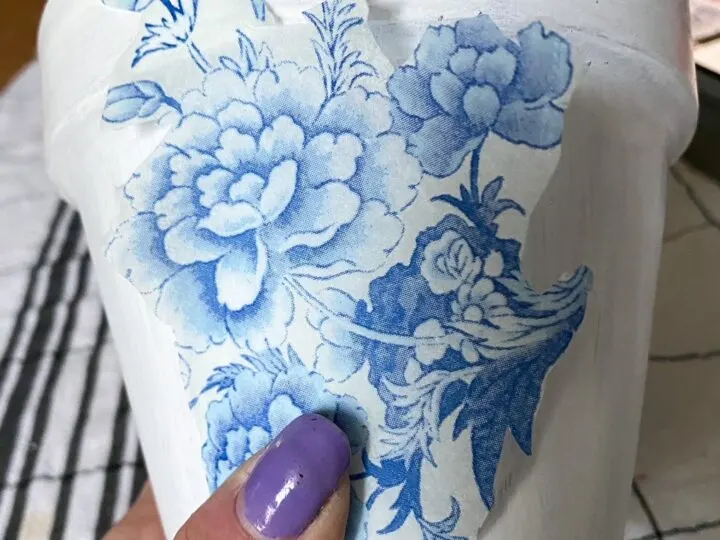
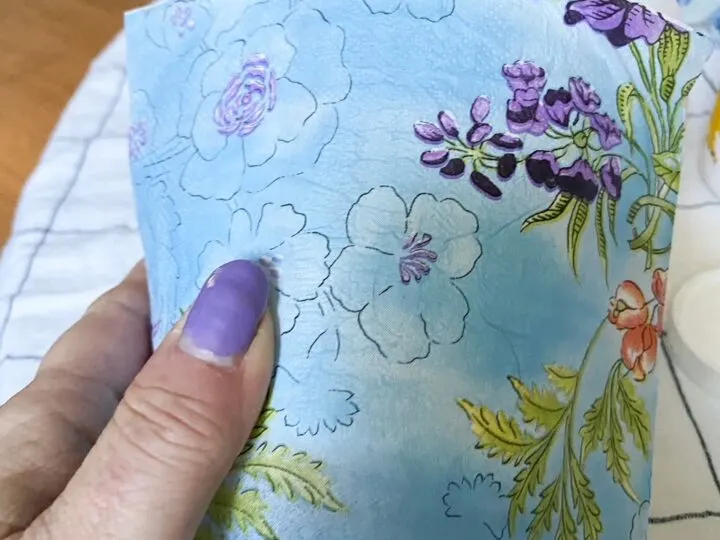
One tip I have is the napkins are very fragile, so it’s important to carefully lay the napkin piece onto the mod podge area, and lightly press.
Don’t worry if the napkin tears a little. I will show you on the next pot how to fix that.
Lightly adhere the napkin using a foam brush. Try to smooth out any wrinkles with the foam brush, or lightly with your fingertips.
Continue adding the napkin cut outs until you are happy with the placement. Cover the entire garden pot with another layer of mod podge.

How To Cover A Garden Pot With Napkins
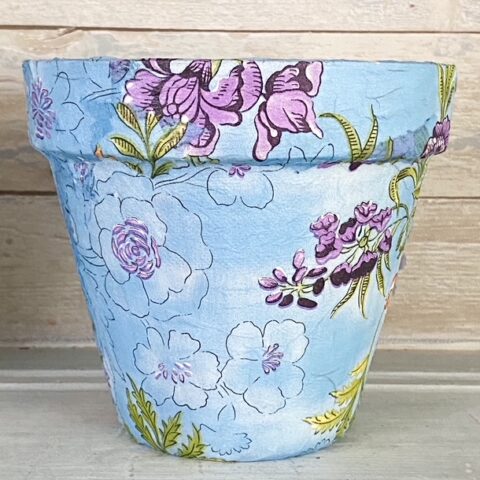
Now I will show you how to cover a clay pot completely with decoupage napkins. Start by pulling apart the napkins so you have just the top layer.

Cut the napkin into 4 squares. Cover the garden pot with mod podge in sections and lightly place the napkin to the pot.

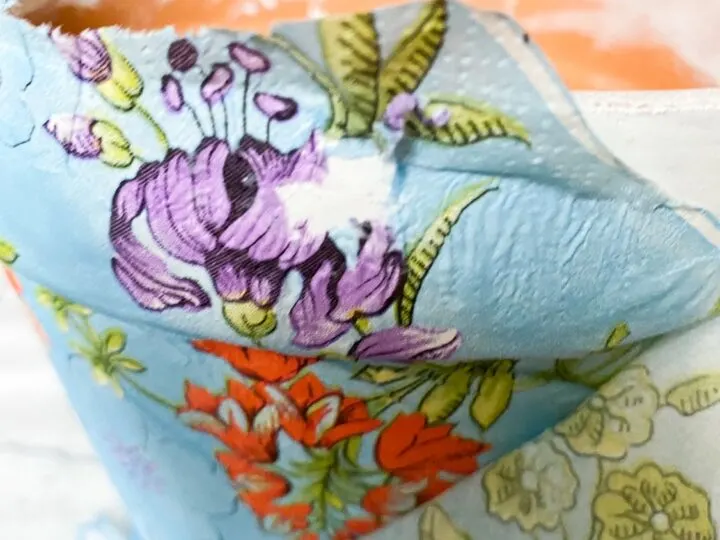
Follow the same process as above and continue to cover the entire pot. When you get to the top of the pot, fold the napkin over the lip and secure it with more mod podge.
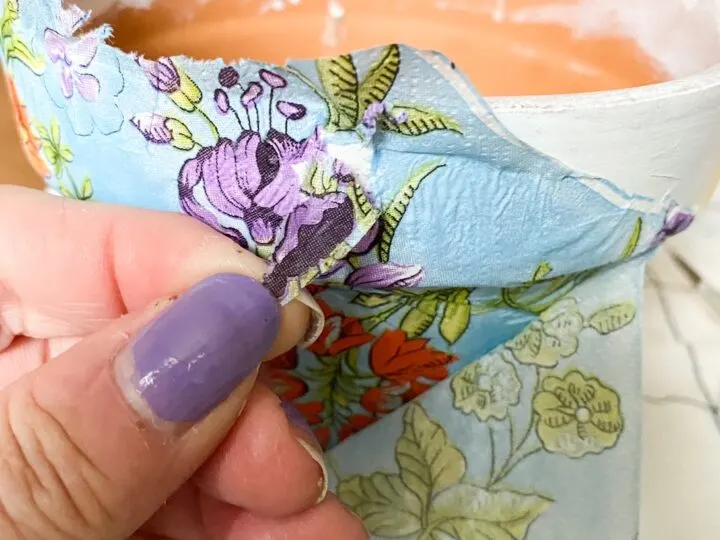
Remember I said I would show you what to do if it tears? See the little torn section below:

Just cut out a small piece of napkin in the same color and cover up the tear with the napkin piece and mod podge. Easy peasy!

Try to smooth out any wrinkles, but on this design, I liked the wrinkles as it made it look a little aged and worn.

I have to say I think this may be my favorite one. What do you think?
You can see the smaller pot was updated with just torn pieces of napkin. I’m thinking I may add an antique wax over this one.

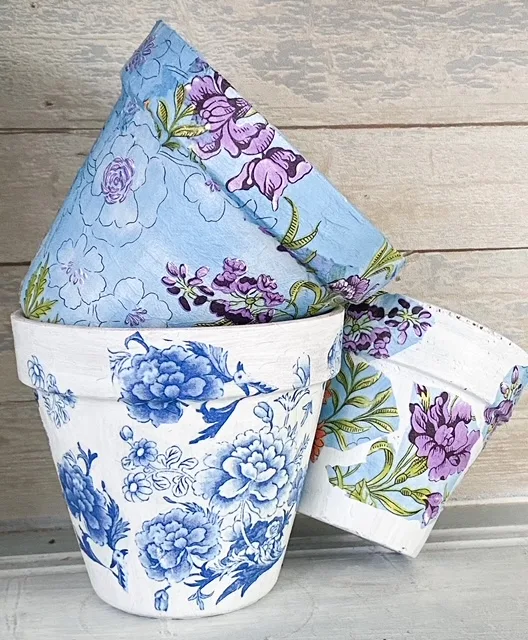
Be sure to cover all the pots with a good coat of mod podge to protect them. Also, if you are going to use the garden pots as planters, you have to waterproof them.
You can spray inside and out with a Polycrylic Clear Finish. I still have to spray mine. That’s all their is to it. Wasn’t that so easy?

Where Can You Find Pretty Napkins For Decoupage?
- Homegoods
- Christmas Tree Shop
- Tuesday Morning
- Kirklands
- Dollar Store

How To Decoupage With Napkins To Make Beautiful Garden Pots
See how easy it is to make beautiful garden pots with decoupage and napkins. Keep an eye out for pretty napkins and enjoy this fun craft!
Materials
- Terracotta Pots
- Paper Napkins
- Mod Podge
- DecoArt Outdoor Paint
- Foam Brush
Tools
- Scissors
Instructions
- Give the terracotta pots a couple of good coats of white paint.
- Let the clay pots dry.
- Unfold a few napkins and separate the layers.
- Cut out pretty blue and white chinoiserie style flowers from the napkins.
- Add Mod Podge on a paper plate and use a foam brush to add mod podge to the pot.
- Lay the flower cut outs on the pot.
- Lightly adhere the napkin using a foam brush.
- Smooth out any wrinkles with the foam brush, or lightly with your fingertips.
- Continue adding the napkin cut outs.
- Cover the entire garden pot with another layer of mod podge.
- Spray with a couple of coats of polycrylic sealer.
Recommended Products
As an Amazon Associate and member of other affiliate programs, I earn from qualifying purchases.
-
 Mod Podge CS11301 Waterbase Sealer, Glue and Finish, 8 oz, Matte
 -
 DecoArt PicketFence Americana Outdoor Living 8oz Picket Fence, White
 -
 Bates- Foam Paint Brushes, Assorted Sizes, 20 Pcs, Sponge Paint Brush, Foam Brushes, Foam Brushes for Painting, Foam Brushes for Staining, Foam Brushes for Polyurethane, Sponge Brushes for Painting
 -
 Krylon K01303007 Acrylic Spray Paint Crystal Clear in 11-Ounce Aerosol
You can find me on social media below:
Pinterest
Facebook
Instagram
Twitter
Farrukh
Friday 25th of April 2025
I liked the idea but demonstration is so fast that you don't get it clearly .how to arrange napkins neatly is imp
Jenna
Saturday 19th of October 2024
Wondering why you just wouldn't use either the dishwasher safe or outdoor mod podge?
Michelle James
Thursday 31st of October 2024
I should have noted in the post. I try to use what I have on hand. I didn't have any of the outdoor or dishwasher safe, so I used what I had. But, definitely outdoor is first choice. :)
Graham
Monday 28th of June 2021
You give a beautiful idea that how to create a nice garden pot. I like this idea. Now I want to make a beautiful garden pot like as you. Thank you so much.
Paula@SweetPea
Thursday 29th of April 2021
What a great project for spring or summer! These would make a great Mother's Day gift filled with flowers.
ourcraftymom
Friday 30th of April 2021
Thanks so much Paula. I'm so happy with how they turned out!
Cindy
Wednesday 28th of April 2021
These are beautiful! Fantastic job!
ourcraftymom
Friday 30th of April 2021
Thanks so much!