See how you can paint fabric chairs with this easy step-by-step DIY tutorial.
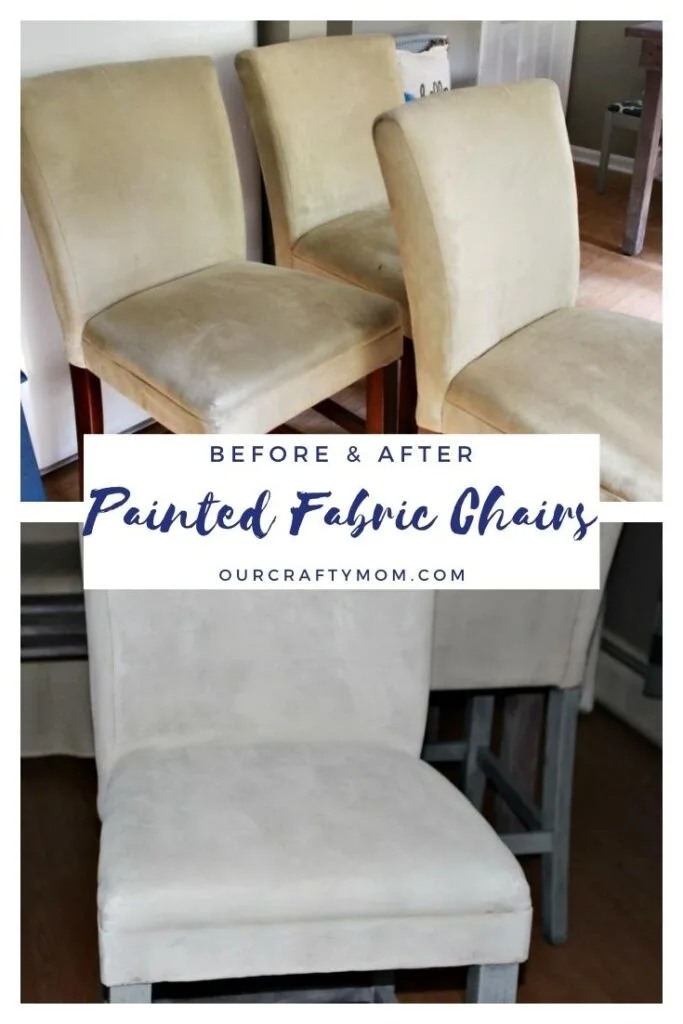
Did you know that you can Paint Fabric Chairs With Fusion Mineral Paint?
Well, I’m here to tell you that not only can you, but they come out awesome!
Let me show you how easy it is with just a few tools.

This post is sponsored by Fusion Mineral Paint and contains affiliate links at no extra cost to you. All opinions are 100% mine. Please see my full disclosure here.
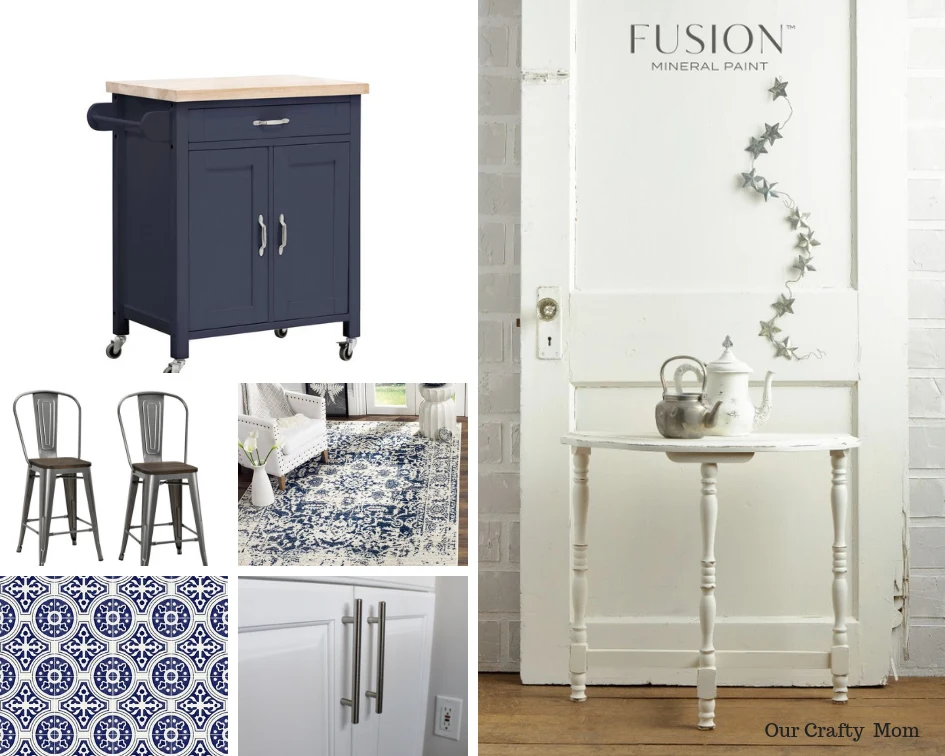
Welcome to Week 2 of the One Room Challenge. In Week 1 I shared a mood board with a few ideas I have to update my small open kitchen and dining room on a budget.
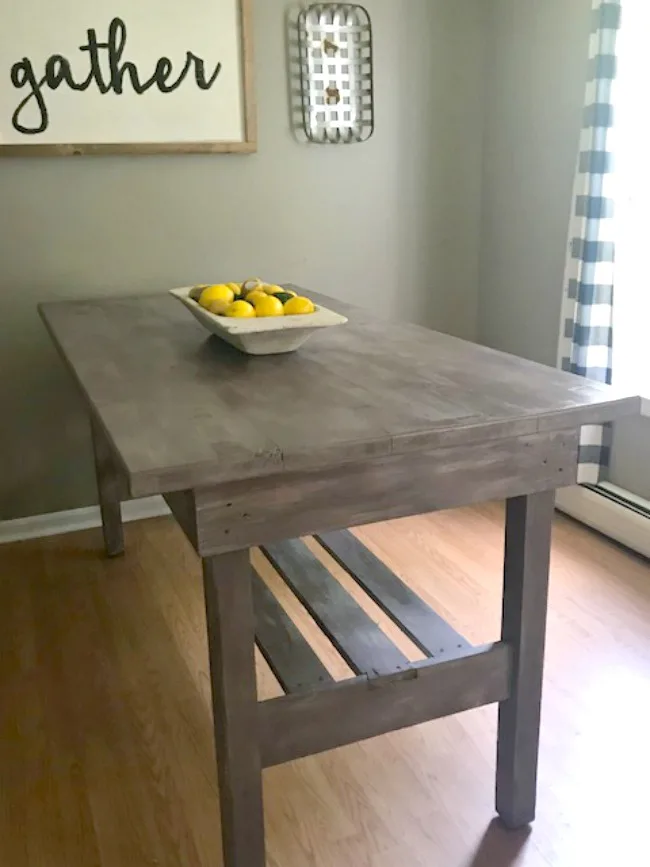
I mentioned that I was looking for counter height chairs to go with my dining room table that I made over here.
I’ve been searching for some time and had a few ideas for new chairs, but was also looking at thrift stores.
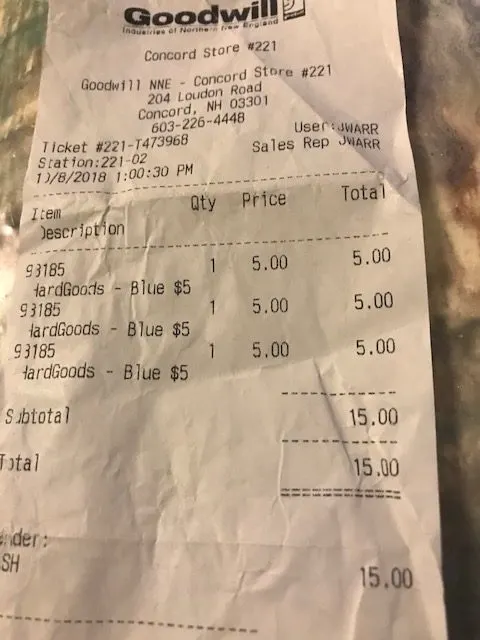
I popped into one of my favorites last week and was shocked when I saw 3 counter height stools in great condition for $5 a piece!
You read that right-$5 a piece! Now, the color was not right and they were in need of a cleaning, but nothing a little love couldn’t fix.
Thrift Store Chairs
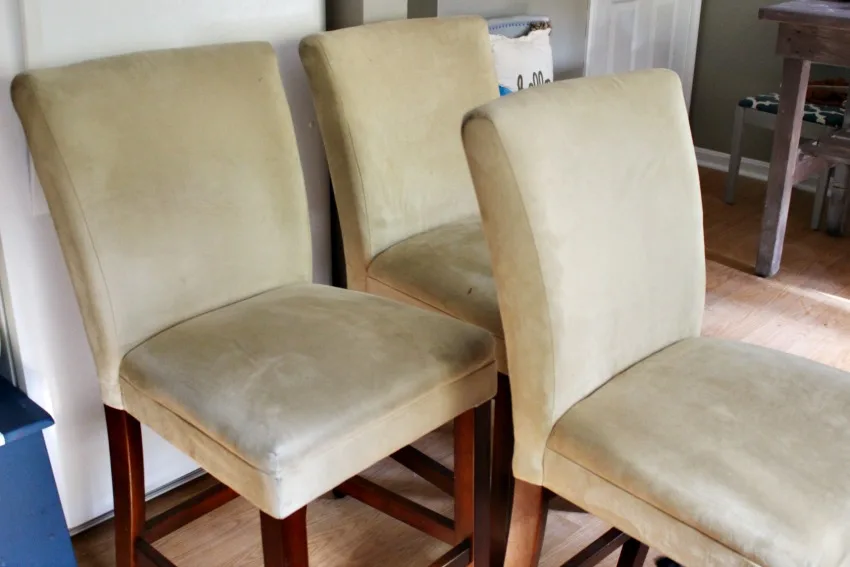
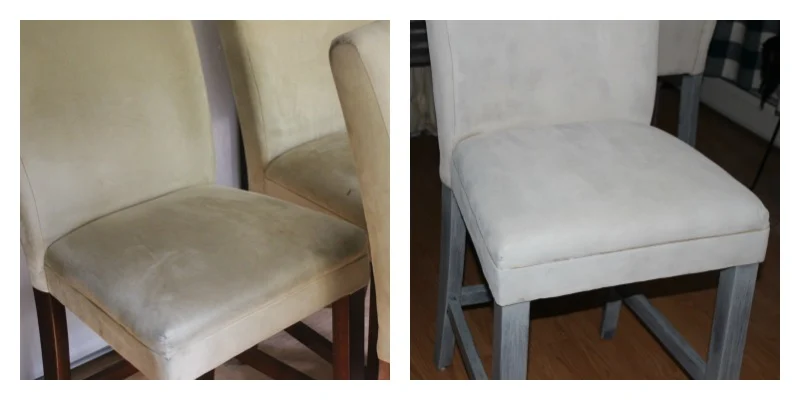
Here is the before of the chairs.
I believe the fabric is a moleskin and I did a little research with Fusion Mineral Paint and found that I could definitely paint these chairs to make them a perfect fit for my dining room table.
Steam Clean The Chairs
I’ve talked before about my love for the HomeRight Steam Machine. You can read all about it here.
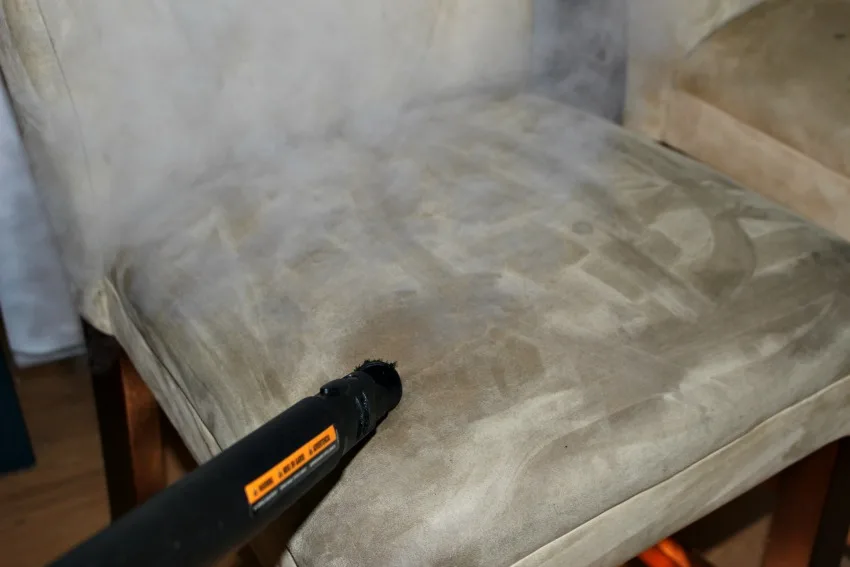
A little steam cleaning was just what the chairs needed to get any surface dirt off. It only takes a few minutes to heat up.
I used a small brush that was included with the steam machine to brush the chairs as well.
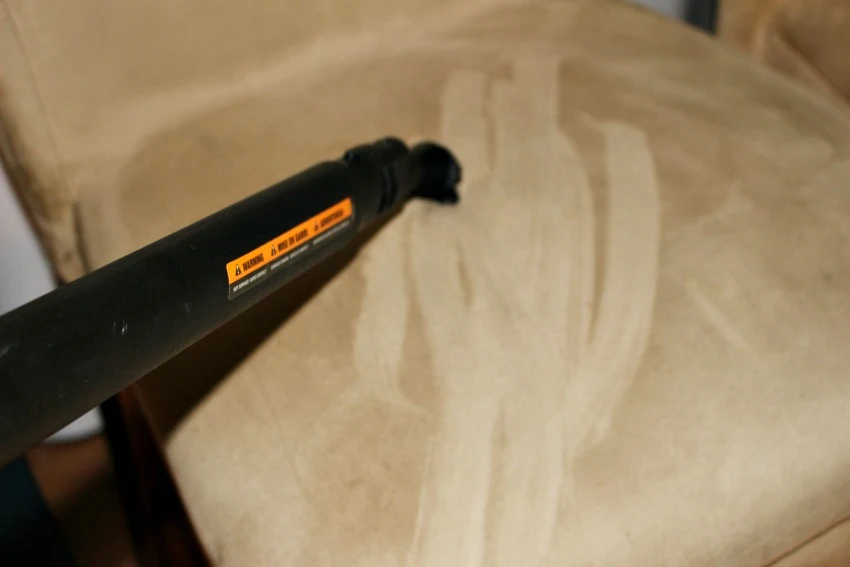
Am I the only one who loves the smell of steam cleaning, lol?
This baby had the chairs cleaned in about 15 minutes!
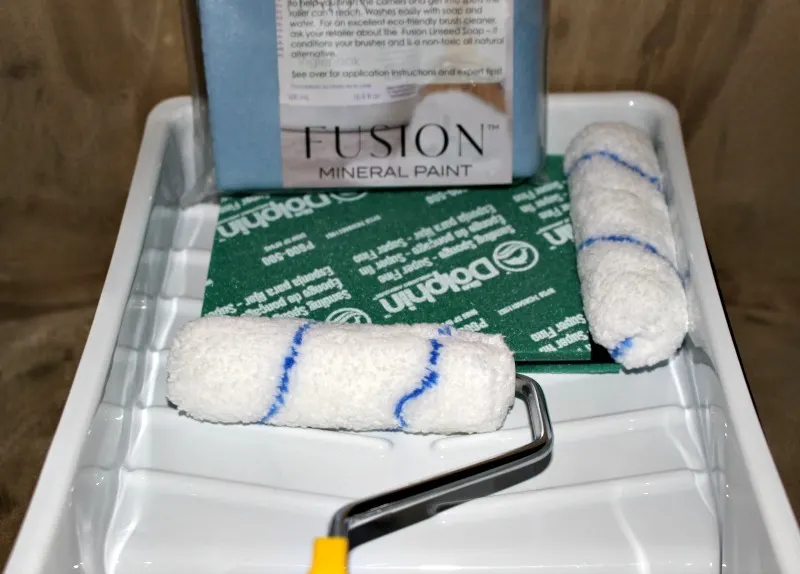
Next up, I used a paint roller kit that Fusion Mineral Paint provided.
This kit includes everything you need for quick and easy painting.
For the chairs, I wanted to use a roller, rather than a paint brush, for a smoother finish.
I have some great news! One lucky Our Crafty Mom reader will win a Fusion Mineral Paint Bundle Pack by entering the giveaway I’m hosting on Instagram.
You can enter on Instagram here. You will seriously love this paint kit!
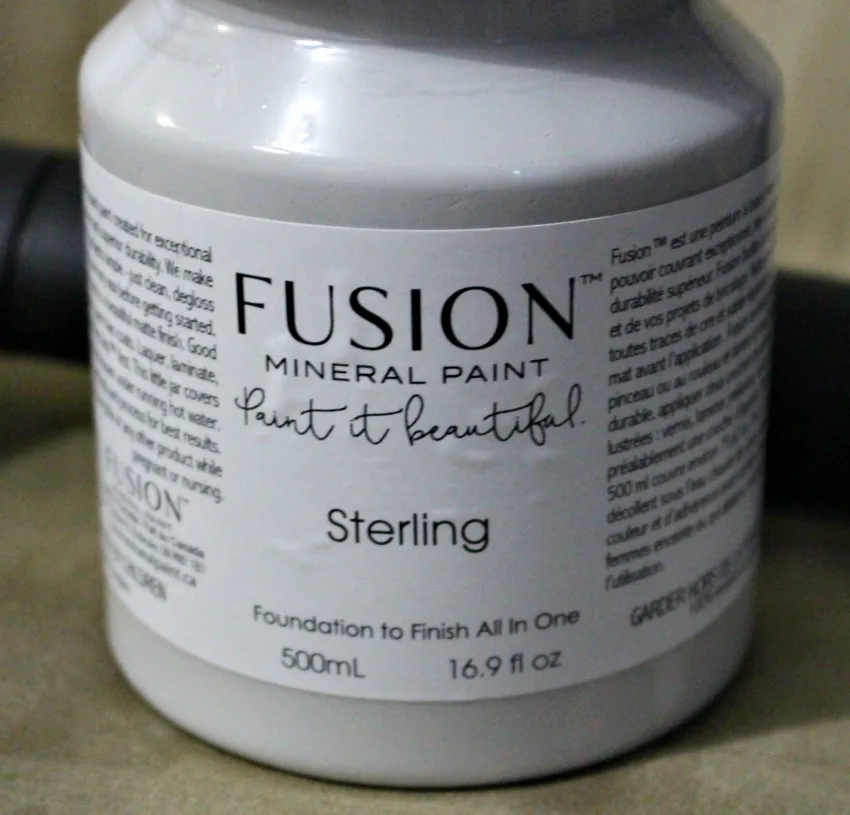
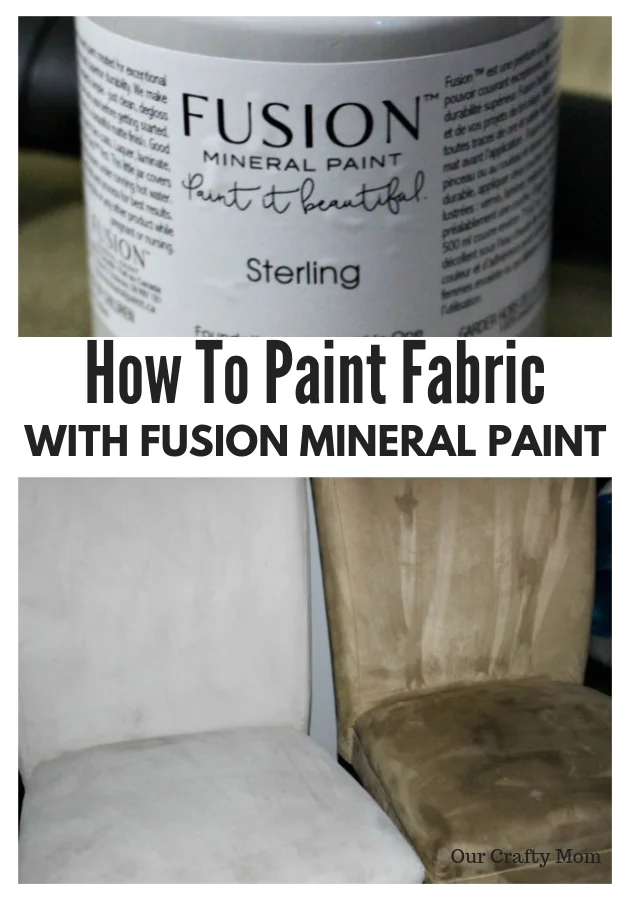
My color scheme is navy blue, white and grey, so I used paint from the classic collection in Sterling. It is a cool, neutral grey and it went on like butter!
I did add a small amount of water to the paint prior to using. This is great because it uses less paint too!
Look at this gorgeous smooth finish and the incredible coverage just from one coat:
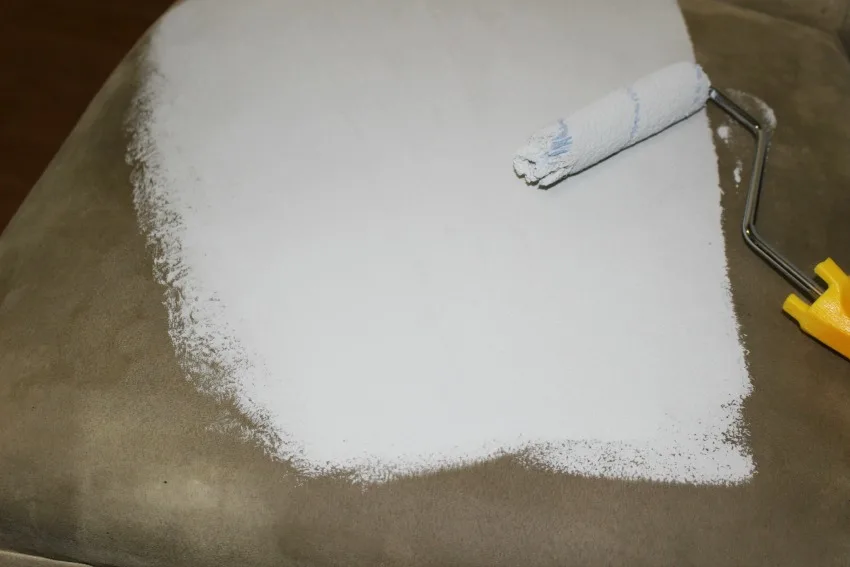
The one tip I have for you with painting fabric is to dampen the fabric first.
You can just use a spray bottle and lightly wet the fabric before painting.
After I steam cleaned the chairs, I dampened them and then began painting.
Check out the difference in the chairs before and after:
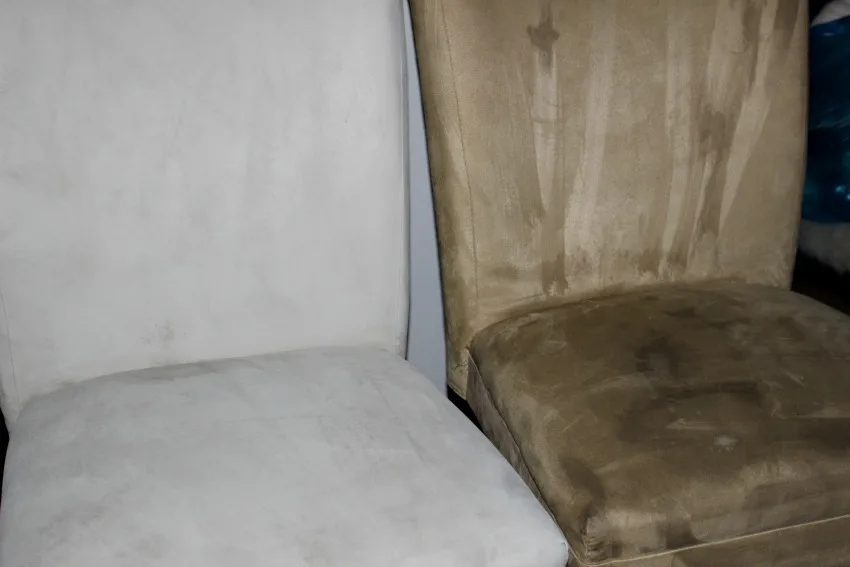
Here is the chair after two coats. One of the things I’ve read about painting fabric is people are usually worried about the fabric being stiff or that it would crack.
To avoid that, the next day I applied two coats clear wax. Now this painted fabric is soft and not stiff at all.
I highly recommend Fusion Mineral Paint if you have any fabric to paint or any paint projects at all.
There are more painting projects coming in this kitchen update, so stay tuned!
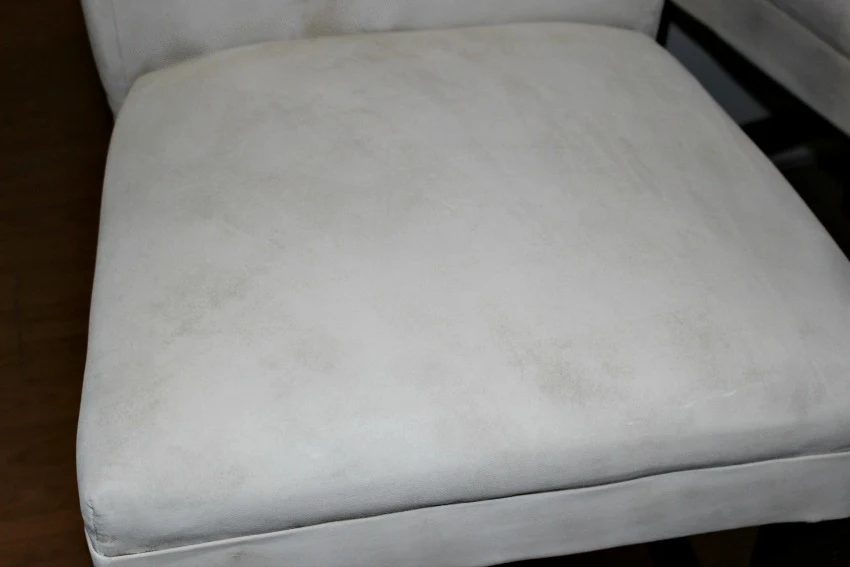
Paint The Chair Legs
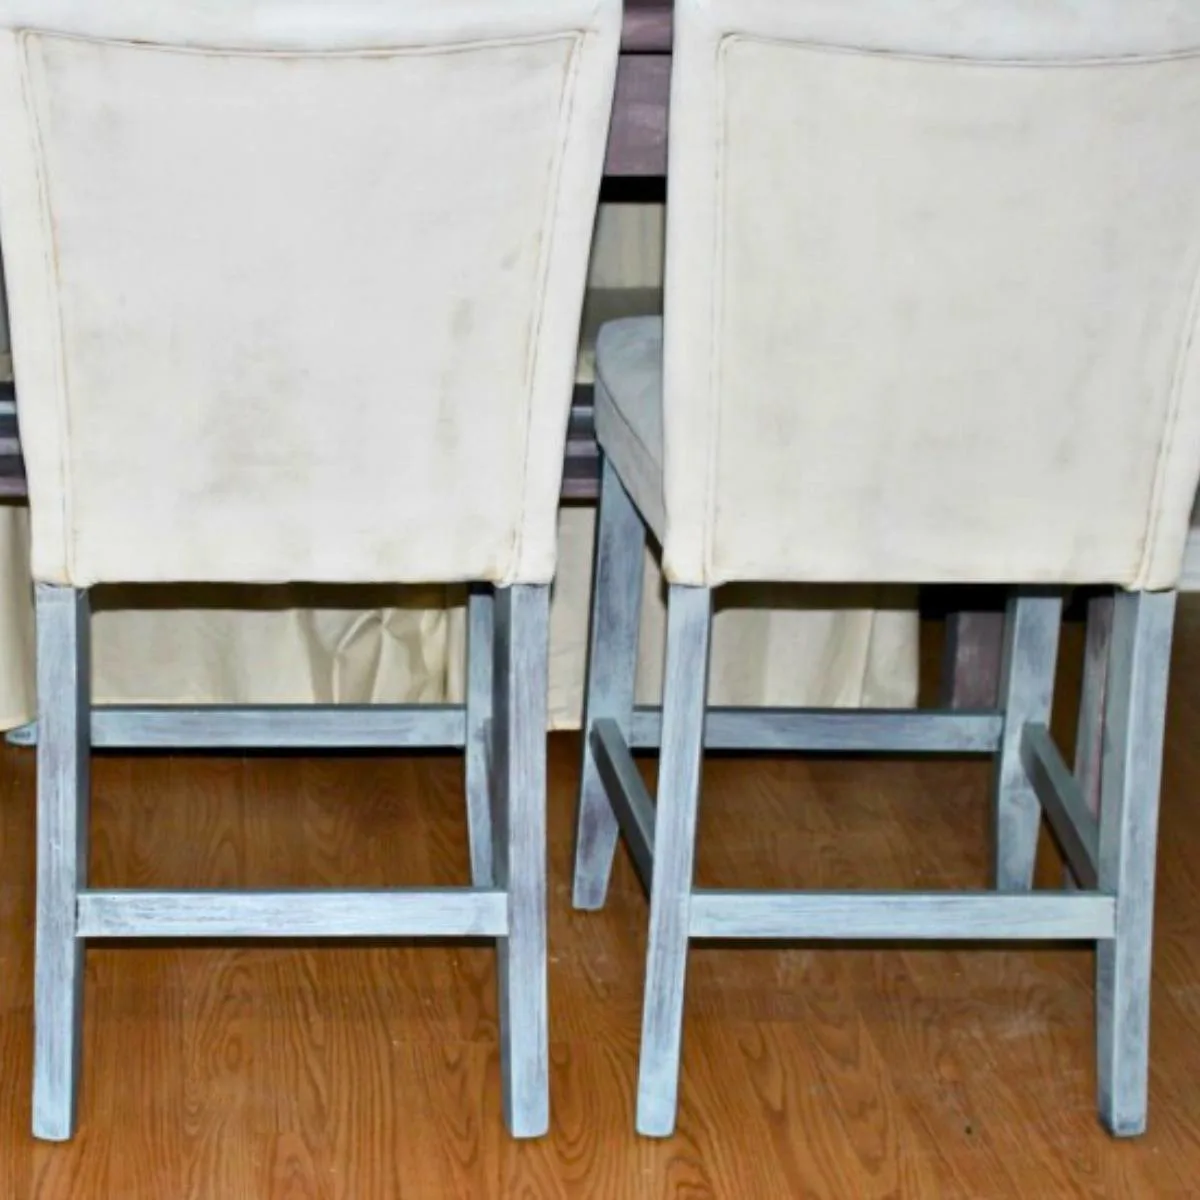
Next, I painted the legs in a complimentary grey color and love the subtle contrast.
I didn’t want full coverage, so just did a light wash, as it goes with the dining room table as well.
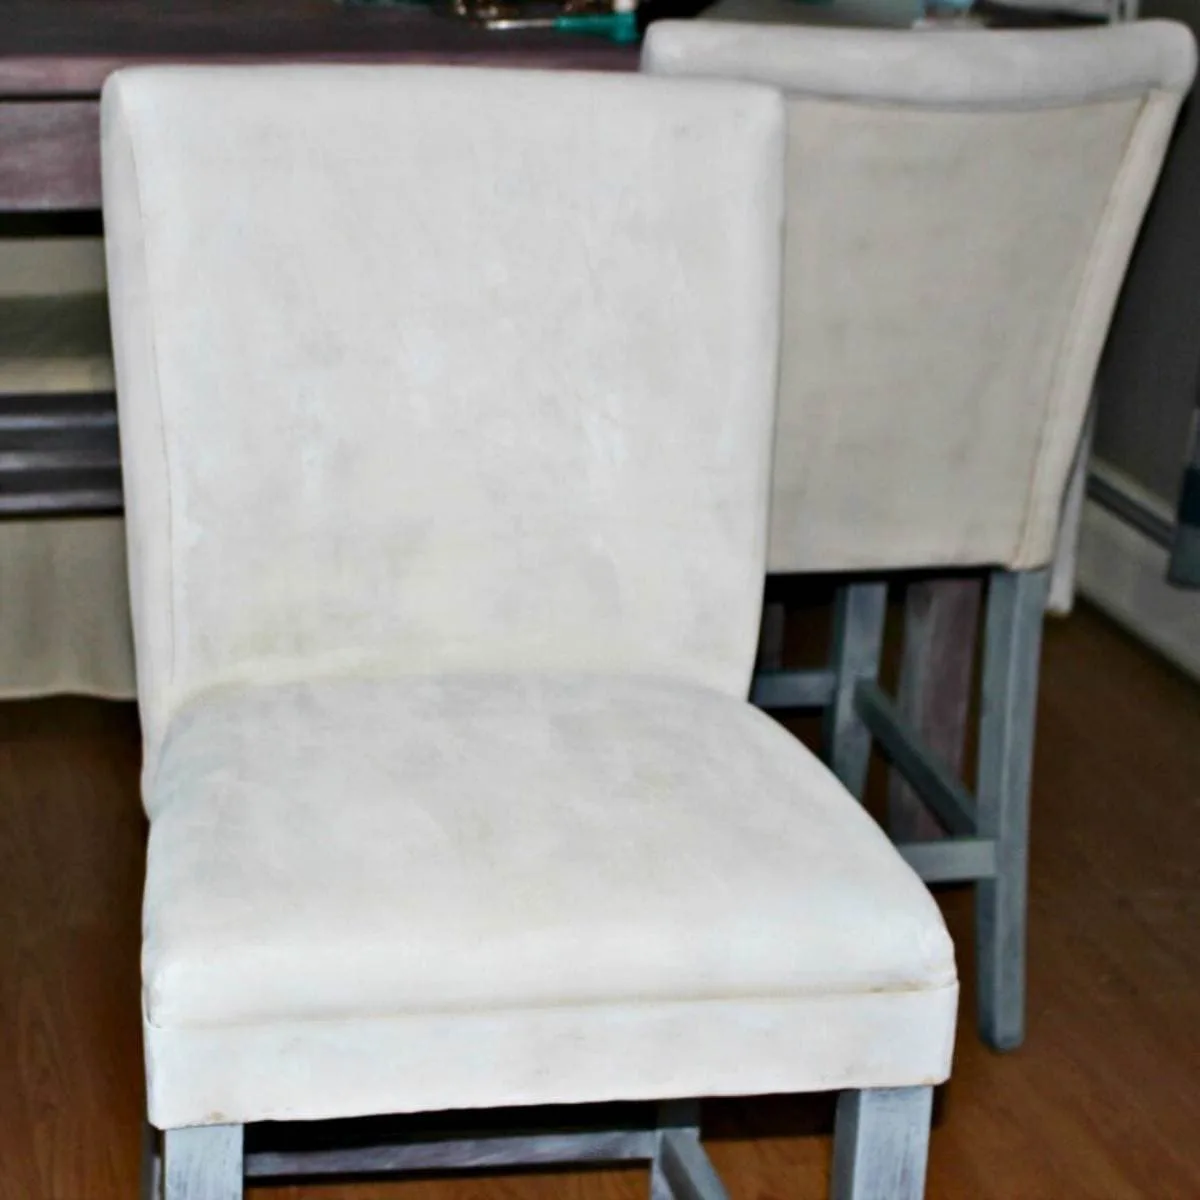
These three chairs fit on one side of the table. For the opposite side, I plan to make a DIY Bench to fit 3 people.
I already have two arm chairs that I can use for the each end of the table for large dinners, like Thanksgiving.
There isn’t a ton of room for the end chairs, so I will only add them when we have a full house.
It is nice to be able to sit 8 comfortably around the table though.
Next week, I plan to share four DIY ceiling light projects that are renter friendly!
We are getting rid of the old globe lights-yay!
**PIN FOR LATER**
Thank you so much for stopping by and I hope you will follow me to see the progress over the next six weeks.
You definitely want to check out some of the other participants too, as there is a ton of inspiration.
You can check out my first ORC with my master bedroom reveal here.
Have a great day!

Tim Ban
Monday 7th of December 2020
I love Before and Afters!
Kian wilson@ Melbourne Vacate & Carpet Cleaning
Wednesday 17th of June 2020
Very Informative post thanks for sharing.
Bebar
Tuesday 6th of August 2019
I just love your before and afters! Definitely will share with others on my social media.
con lan son
Friday 2nd of August 2019
Michelle, Great !!! This is a true work of art and application. However, I am still concerned if such a paint is applied directly, can the paint be able to withstand friction over time?
Allan Shanep
Friday 1st of February 2019
I love the before and after result. The process I read above is very easy to understand and follow.
ourcraftymom
Friday 1st of February 2019
Thanks so much!