Come see how to make a beautiful epoxy resin desk that will totally become a statement piece in your home.
This post contains affiliate links at no extra cost to you. This post is sponsored by D. Lawless Hardware. Please see my full disclosure here.
DIY Epoxy Resin Desk
This epoxy resin desk is a project that I was equally excited and nervous about.
But, you guys-this is a hit it out of the park project!! I’m not boasting.
But I’m excited because I was afraid it was going to be an epic fail.
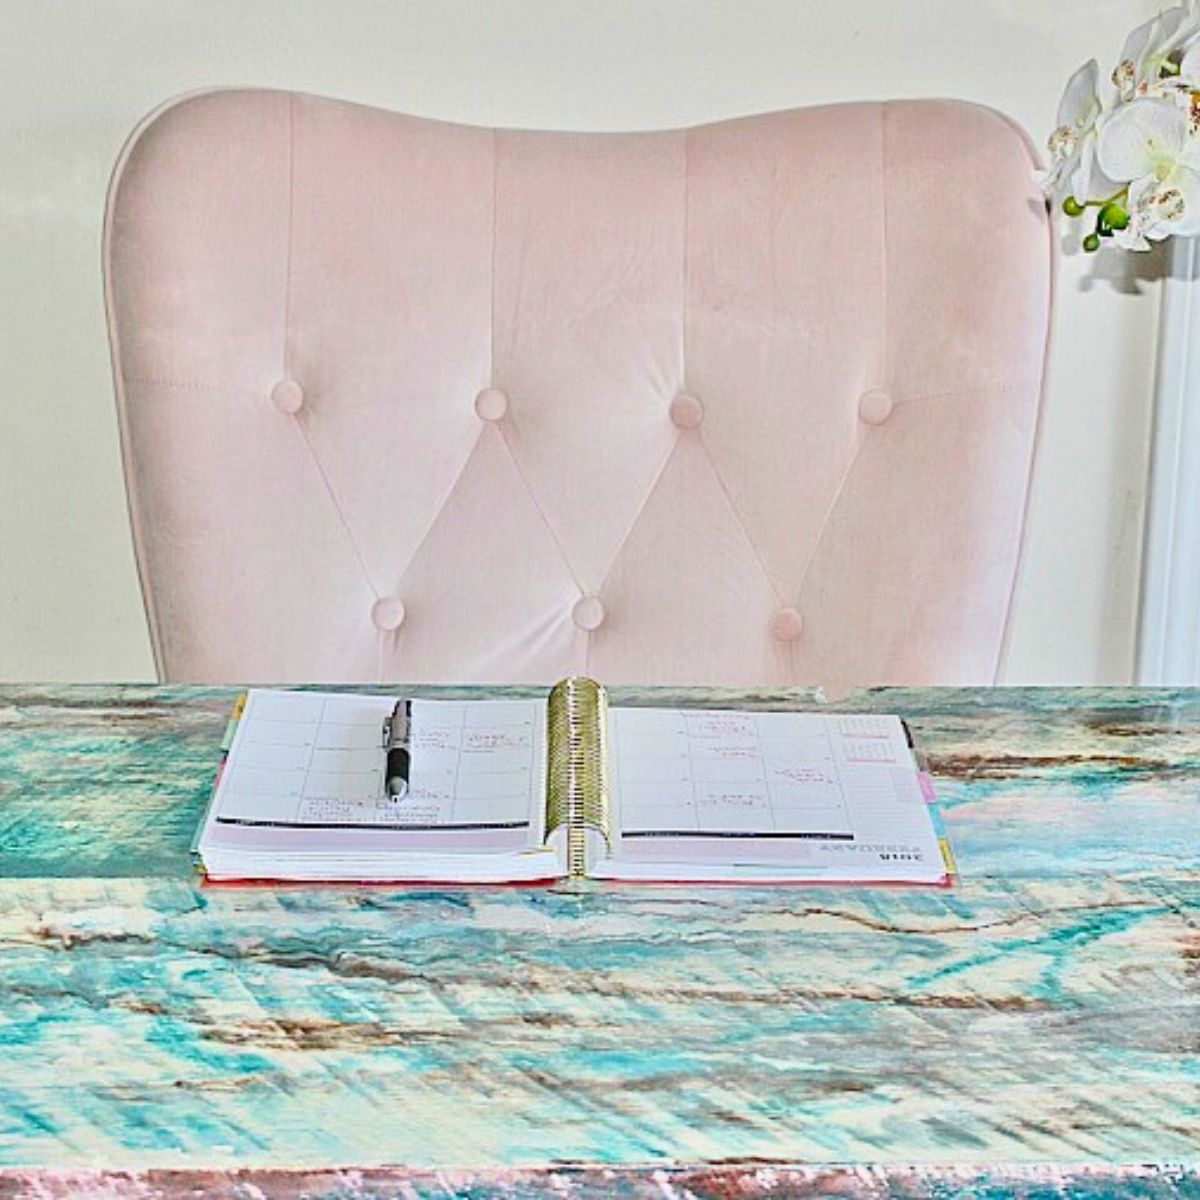
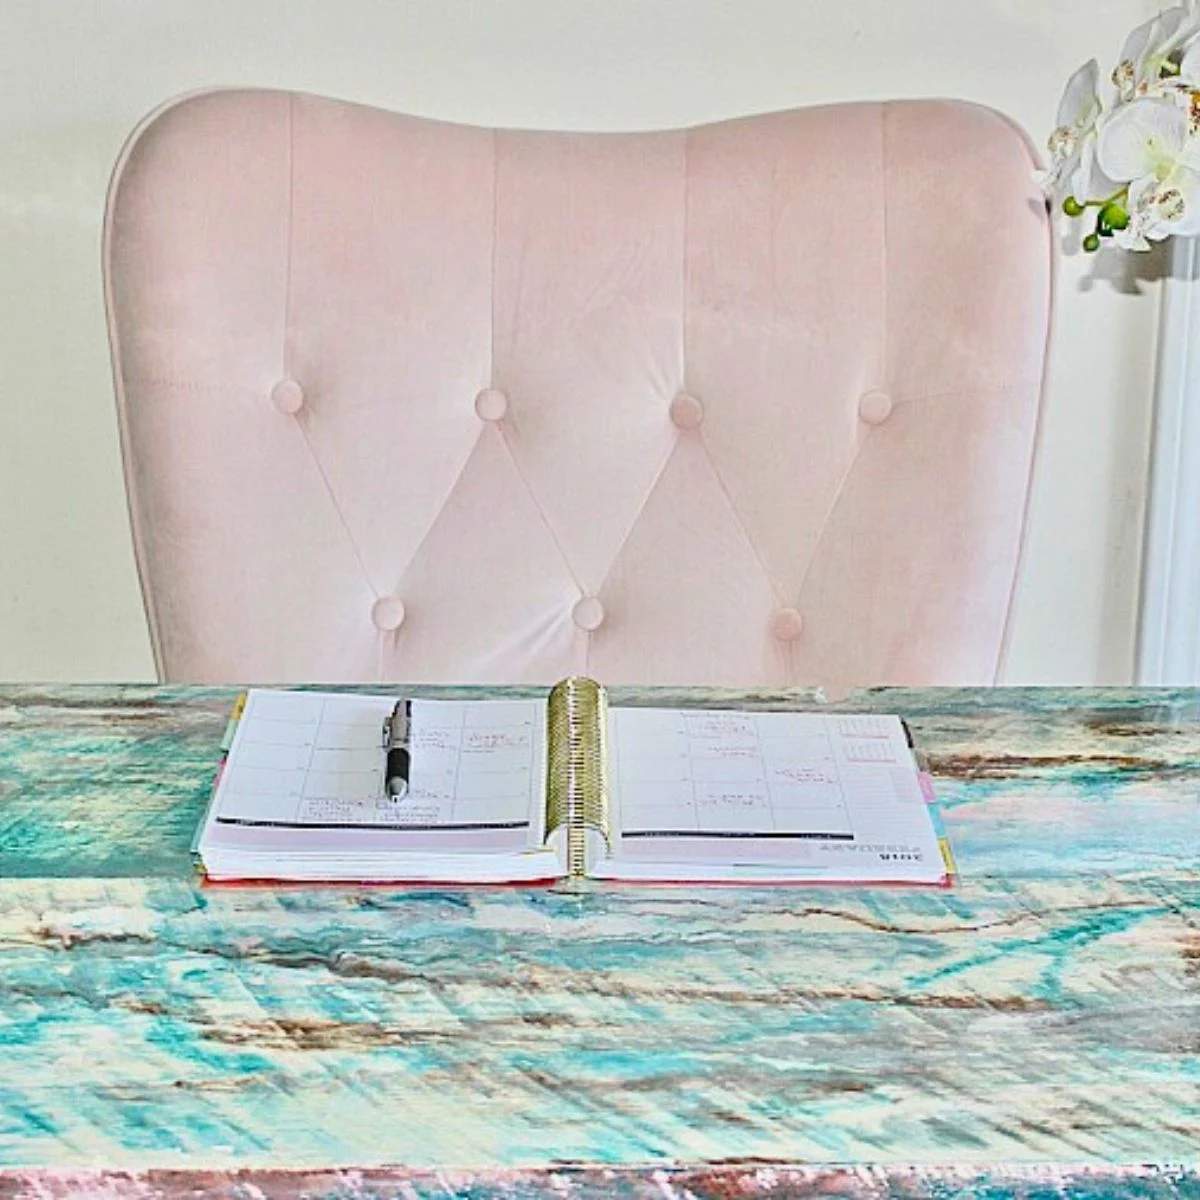
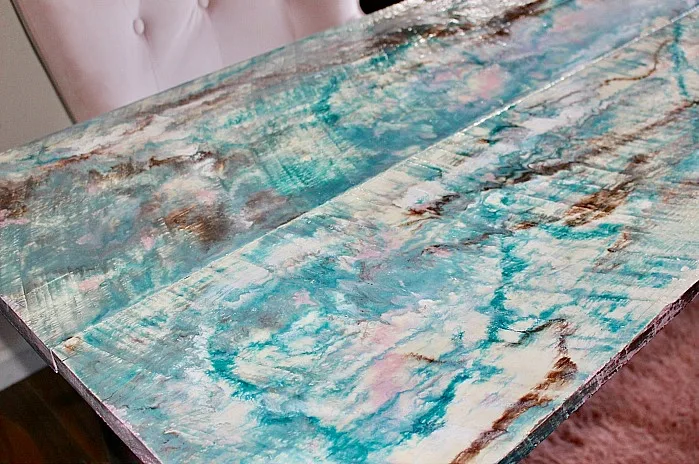
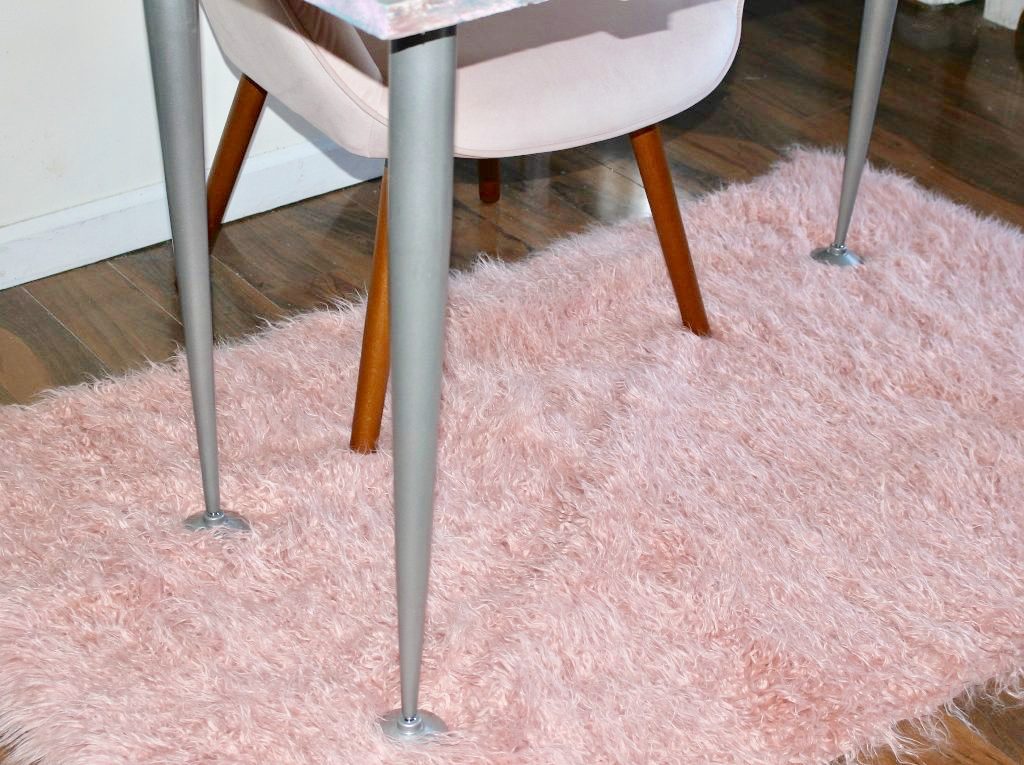
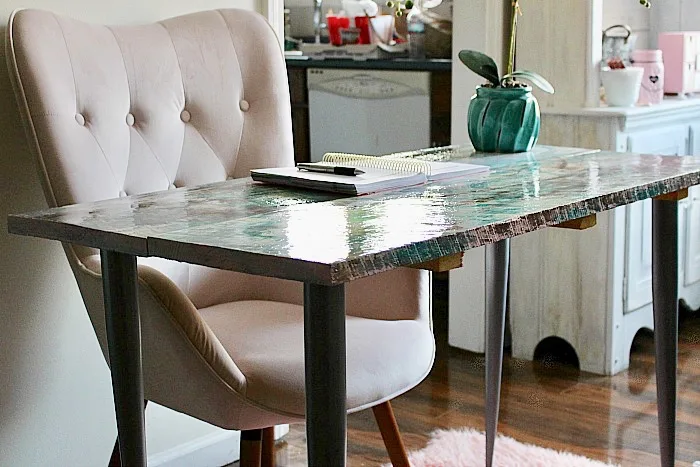
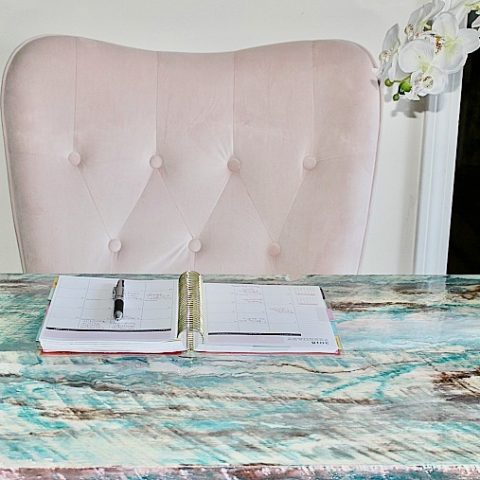
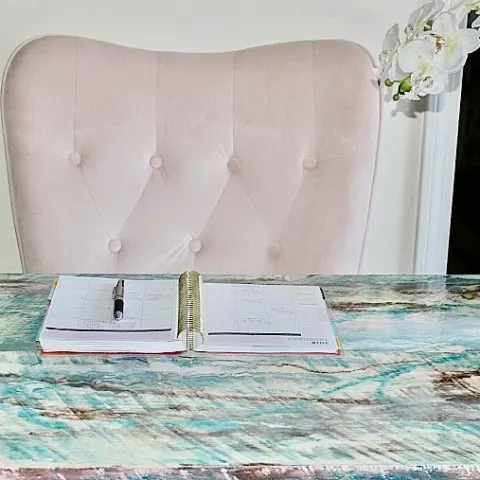
Just look at this lovely, feminine desk:
You see why I’m so excited? Of course, the pink velvet chair has me all kinds of happy as well.
Let me show you how this desk was made.
Supplies Needed For DIY Epoxy Resin Desk
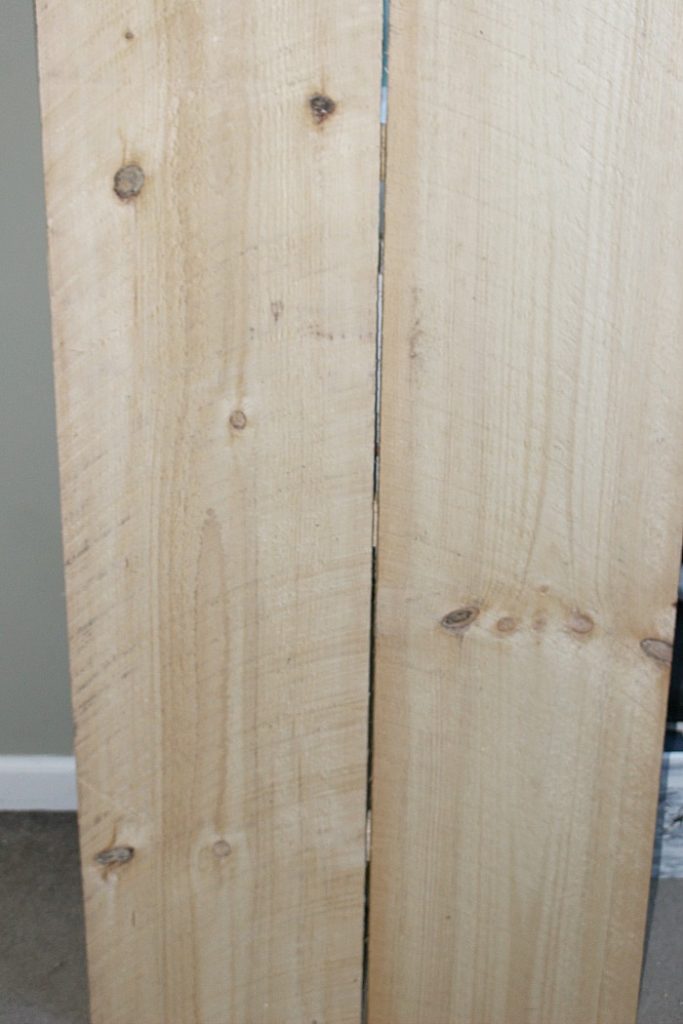
- 1 inch x 12 inch x 8′ Native Pine Lumber-cut in half
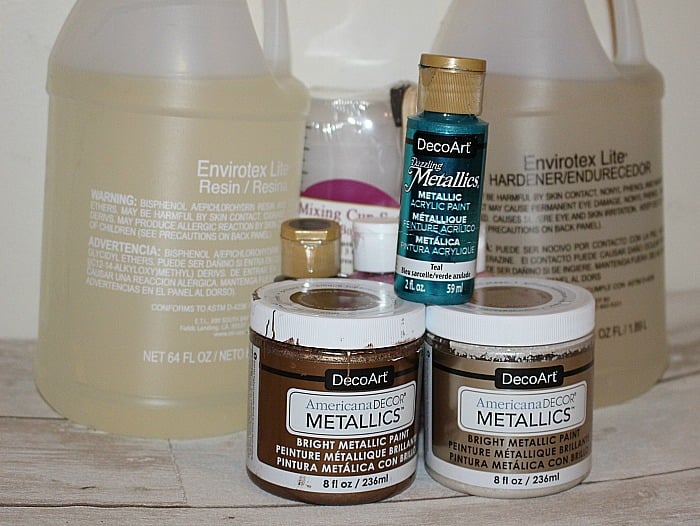
- DecoArt Americana Decor Metallics 8oz Copper

- DecoArt Dazzling Metallics 2-Ounce Ice Blue
- DecoArt Americana Acrylic Paint 2-Ounce Bubblegum Pink
- DecoArt Americana Premium Acrylics – Titanium White
- Environmental Technology 16-Ounce Kit Lite Pour-On, High Gloss Finish
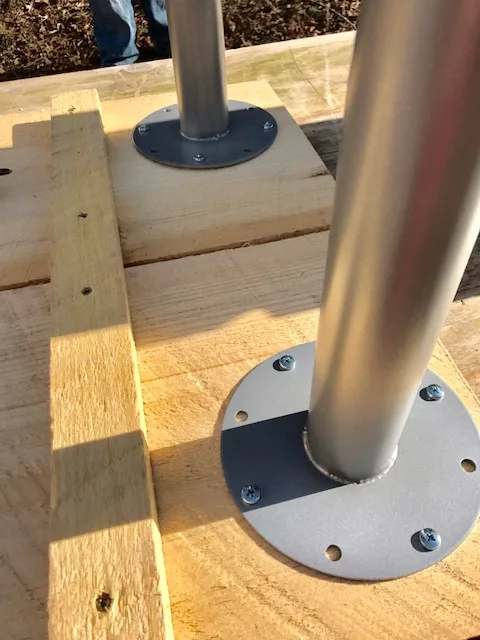
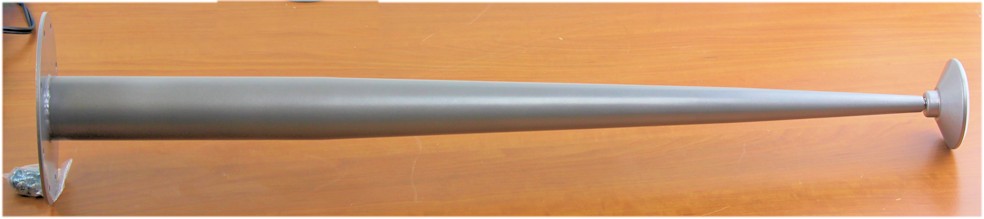
- Steel Table Legs – D. Lawless Hardware
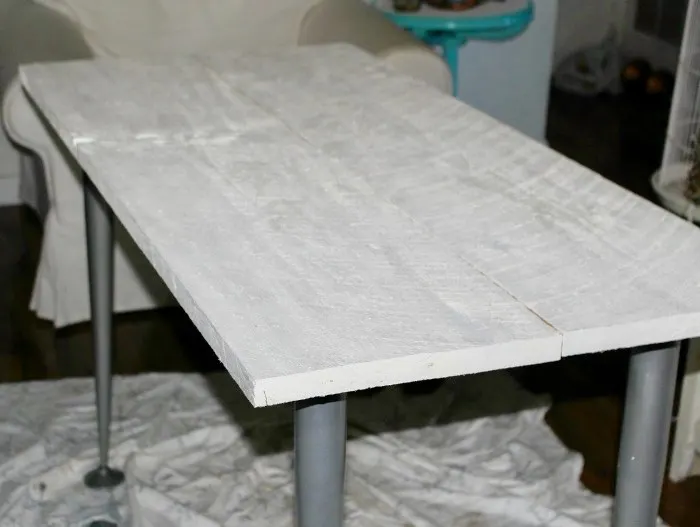
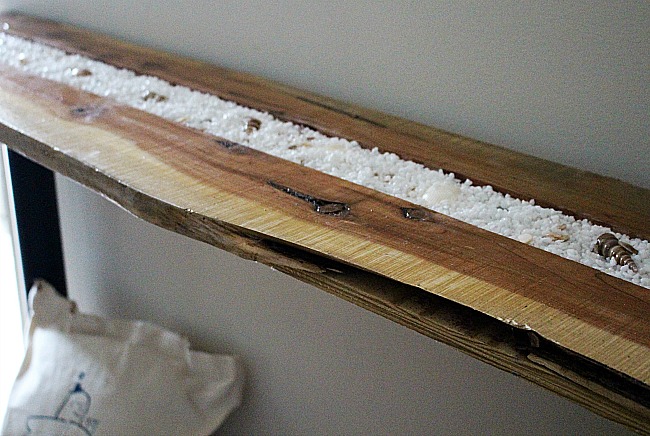
My Dad attached the two boards together and then added the steel legs.
The legs include all necessary hardware, which makes it so easy!


How to Make an Epoxy Resin Desk
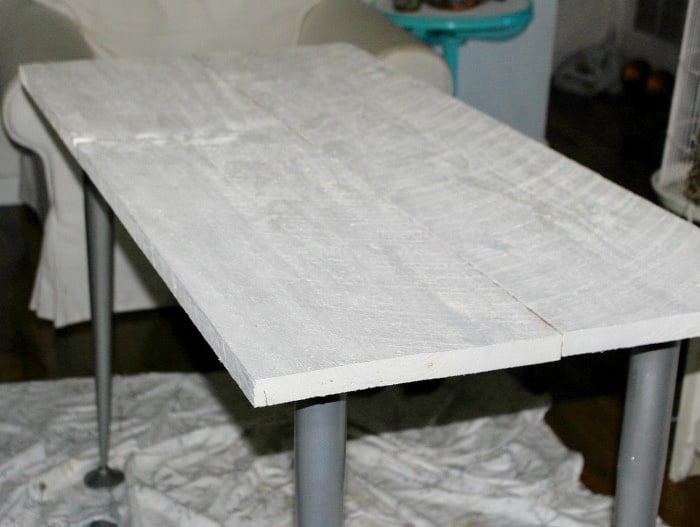
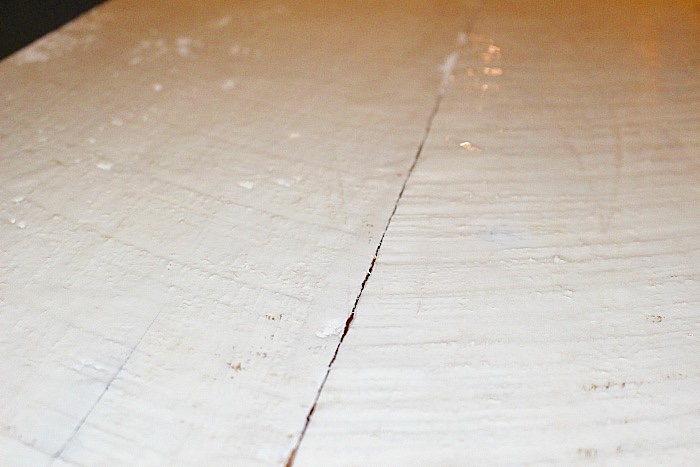
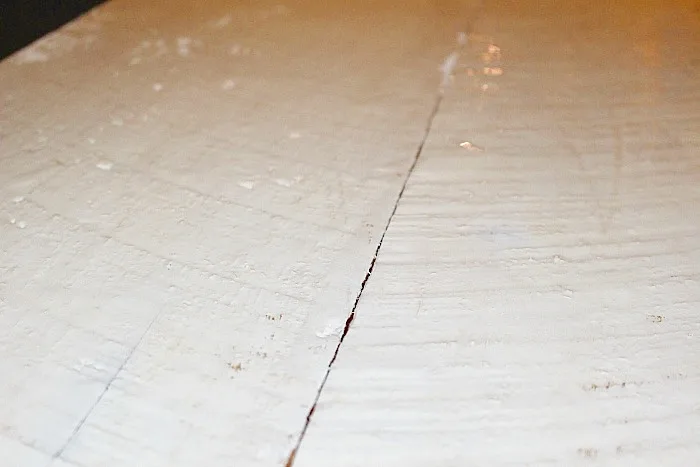
First, I gave the desk a coat of white paint:
Then I mixed the epoxy resin according to the directions.
This is only my second time using epoxy resin.
It is very important to use the exact measurements of 1 part resin and 1 part hardener, otherwise the resin won’t set properly.
You can use a mini propane torch to get rid of any bubbles, or a blow dryer, which is what I used.
I don’t trust myself with a torch yet!

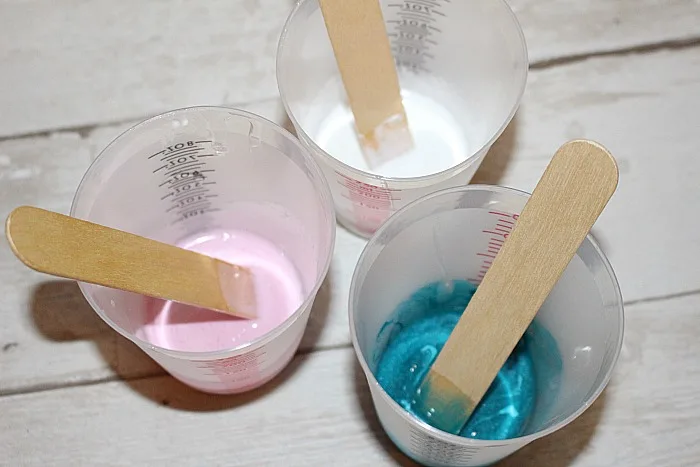
Now the fun begins! The colors of paint I wanted to use were mixed beforehand.
You have about 30 minutes to work as the epoxy sets really fast.
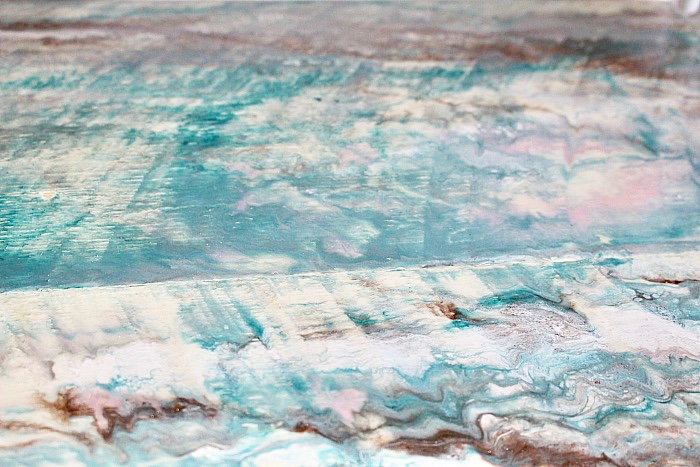
This technique is called a paint pour and reminds me a little of finger painting-but be sure to wear gloves.
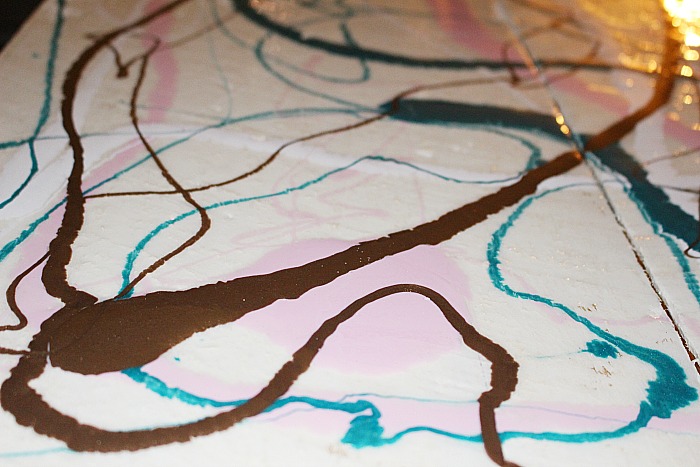
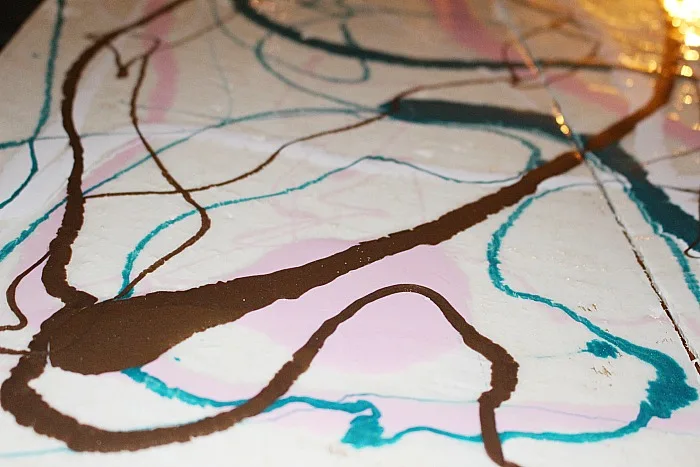
Start by pouring the paint all over the desk and then blend it together.
There are lots of videos showing how to blend the paint with a mixing stick, torch or with gloved hands.
A combination of my hands and the blow dryer was used for blending.
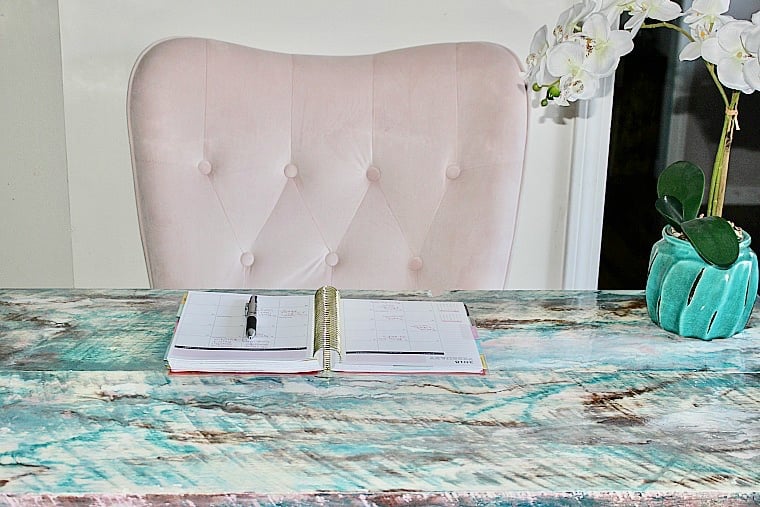
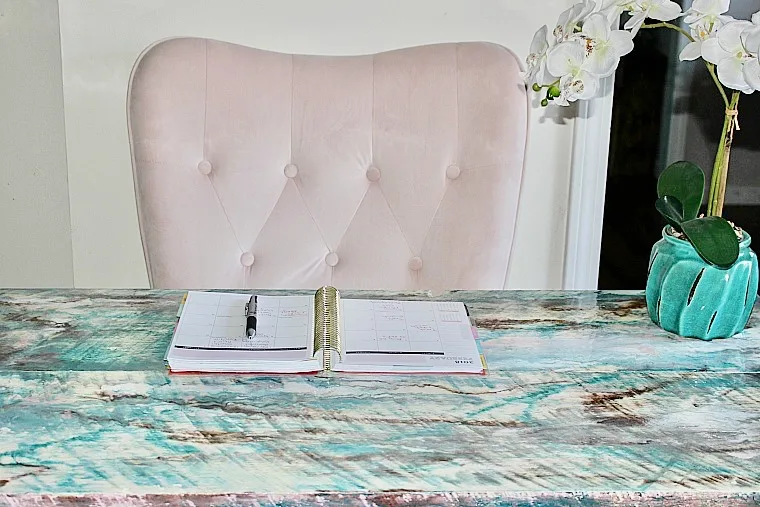
It is so cool to see how it all comes together.


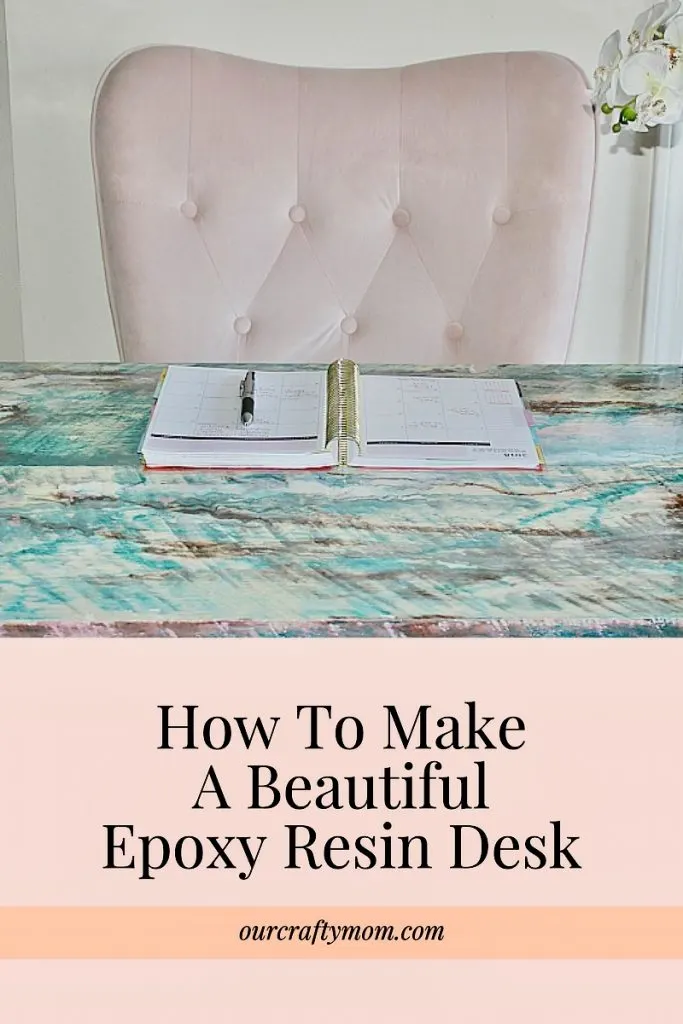
**PIN FOR LATER**

Google Web Story: Easy DIY Epoxy Resin Desk Tutorial


You may also like the Live Edge Wood Table I made for my daughter here:

DIY Live Edge Wood Console Table
Thank you so much for visiting. Have a great weekend!
How To Make A Beautiful Epoxy Resin Desk
Make a fun and unique DIY epoxy resin desk with this easy to follow tutorial. It will become a statement piece in your home.
Materials
- 1 inch x 12 inch x 8' Native Pine Lumber-cut in half
- DecoArt Americana Decor Metallics 8oz Copper
- DecoArt Dazzling Metallics 2-Ounce Ice Blue
- DecoArt Americana Acrylic Paint 2-Ounce Bubblegum Pink
- DecoArt Americana Premium Acrylics - Titanium White
- Environmental Technology 16-Ounce Kit Lite Pour-On, High Gloss Finish
- Steel Table Legs - D. Lawless Hardware
Tools
- Drill
- Circular Saw
Instructions
- Cut your boards to the size you want.
- Set the board up on on a covered work table.
- Place scrap wood blocks under the board so the paint can drip off the sides.
- Secure the legs with the included hardware.
- Paint the wood with 2-3 coats of white paint as the base.
- Let dry.
- Carefully mix 1 part resin and 1 part hardener.
- Slowly pour on the wood and lift ensure it covers the entire piece by lifting and rolling it around.
- You can also wear gloves and use your hands.
- Use a mini propane torch to get rid of any bubbles.
- Now mix the epoxy resin with the acrylic paint according to the directions, which is a 1 to 1 ratio.
- Pour the paint all over the desk and then blend it together, with a mixing stick, torch or with gloved hands.
- Continue to cover the desk with the paint until you have a design you like.
- Allow to dry a minimum of 48 hours.
- Attach the two boards together by securing 2 cross pieces to the back.
- Enjoy your beautiful desk!
Recommended Products
As an Amazon Associate and member of other affiliate programs, I earn from qualifying purchases.
-
 Heavy Duty Straight Table Leg 743mm Long TL5743-501-R1
 -
 Environmental Technology 16-Ounce Kit Lite Pour-On, High Gloss Finish (2016) (Singlе расk, Clear)
 -
 Deco Art Titanium White Americana Premium Acrylic Paint Tube 2.5oz
 -
 Darice Americana Acrylic Paint - Bubblegum Pink - 2 oz
 -
 DecoArt Dazzling Metallics 2-Ounce Ice Blue Acrylic Paint
 -
 DecoArt Ameri Deco MTLC Americana Decor Metallics 8oz Copper
Erin
Sunday 21st of February 2021
Hi Michelle! This is great. I am doing a round-up of desks. Can I include this one with a picture? Thanks!
Erin
Sunday 21st of February 2021
@ourcraftymom Awesome! Thanks!
ourcraftymom
Sunday 21st of February 2021
Sure! Thank you!
ASH Green
Wednesday 27th of May 2020
Thank you so much for such an informative piece of information :) If anyone interested similar one's have a look here Besttoolsbrand
Thanks
EricWood
Thursday 23rd of April 2020
Nice! Definitely a piece of art! Thanks for the elaborate instructions
Aditya Deora
Monday 21st of October 2019
I am planning to change the furniture in my room and want to change something unique and catchy. This epoxy resing desk looks so elegant and I loved the color. I am gonna make it this weekend and will share the reviews with you. Thank you!
Tomika
Tuesday 17th of September 2019
This desk looks very cool. I used basically the same technique but turned it into a more detailed wood grain by using ebony stain. I dabbed it one with the foam brush to create the "streaks" and spread it a little. Ultimately, woodgrain, where there wasn't any, was the result. After coating with epoxy, it looks very natural. However, if I could have a do-over, I'm not sure that I wouldn't prefer this technique. Thank you. Definitely a technique that I will remember in the event I want to make another amazing desk.