This Christmas gnome door hanger DIY is so easy to make with just a few supplies.
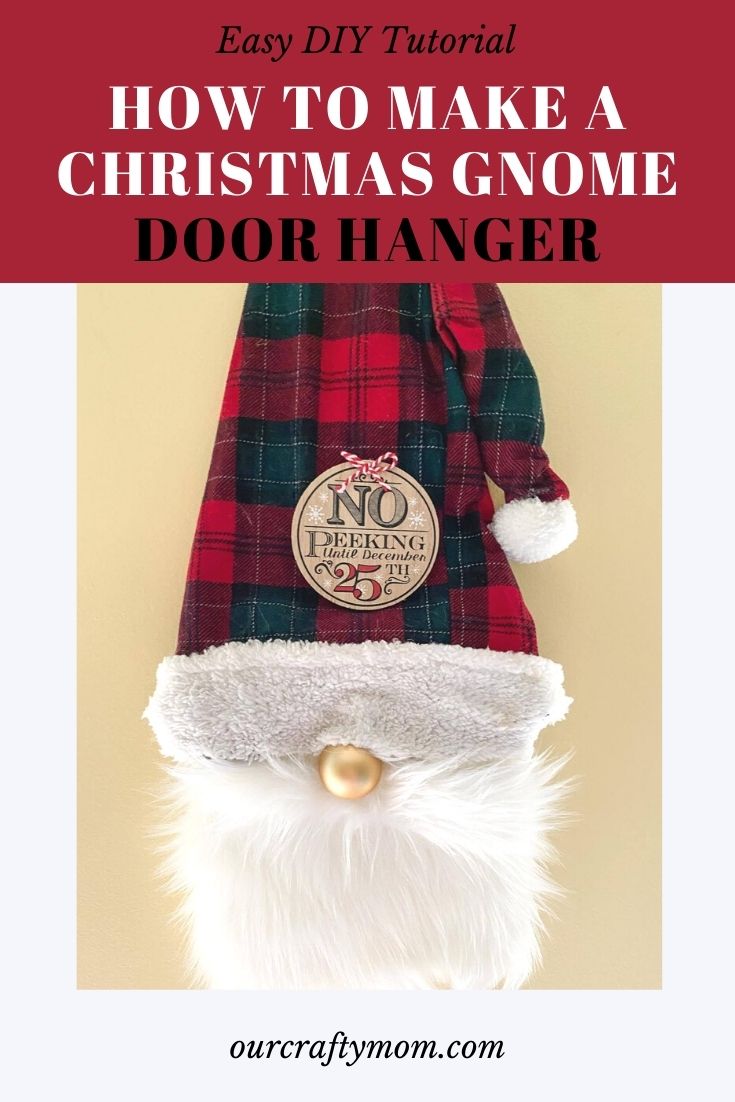

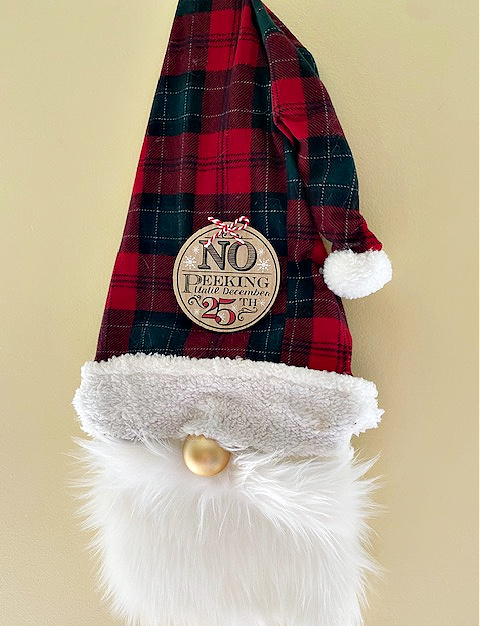
I couldn’t wait to share this adorable Christmas gnome door hanger DIY with you!
Isn’t he so cute? I’ll be totally up front and tell you when gnomes first became popular, I didn’t really get it.
But I was thinking of the old-style garden gnomes, that I know some people still love, but it just wasn’t my thing.
But once I started seeing the gnomes that were everywhere, from home stores to all over social media, I got it!
And I have to tell you the more I make, the more I want to make!
The first one I made was a dollar store Christmas gnome made with a pine tree.
Next up was a sweet Valentine’s Day gnome that I added to a grapevine wreath.
It probably won’t surprise you that my first Christmas craft of 2020 were pine cone gnome ornaments.
This post contains affiliate links at no extra cost to you. Please see my full disclosure here.
Every year I look forward to decorating my front porch, but I like to change it up.
Last year I went with a red truck theme, which I still love!
The front door wreath is where I usually start.
With 2020 being such a crazy, and let’s admit crappy year, I want my Christmas decor this year to be fun and colorful.
Rather than go with a grapevine or pine wreath I wanted something unexpected.
We have a fun All Things Dollar Store Facebook Group (please join if you love dollar store crafts), and someone shared how they used a witch’s hat wreath form to make a large gnome.
I just happened to have one of those in my fall dollar store haul!
There was a great video tutorial on Pinterest from Simple Made Pretty here.
I just made a couple of changes to go with the Santa theme I’m thinking of this year.

Here are the supplies I used:
Christmas Gnome Door Hanger DIY Supplies
- Faux Fur – Hobby Lobby (use a 40% coupon)
- Wire Witch Form – Dollar Tree
- Christmas Ornament Ball – Dollar Tree
- Kid’s Winter Hat With PomPoms – Dollar Tree
- Plaid Pajama Bottoms – thrift store
- Hot Glue Gun – this cordless one is my favorite!
- Fabric Scissors
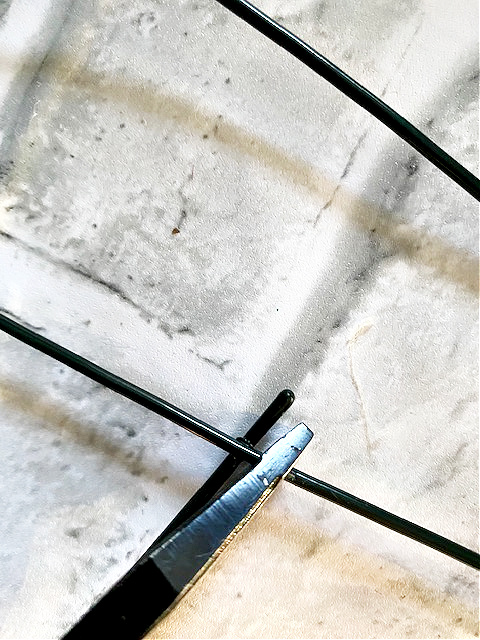
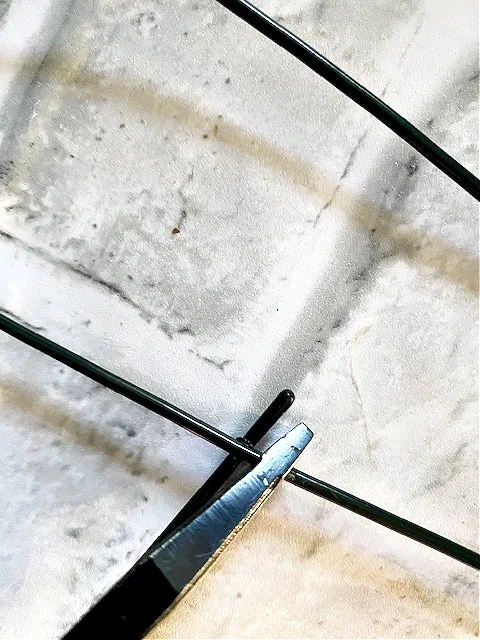
Step 1.
Use a wire cutter to snip the bottom corners of the witch’s hat. My favorite tool that I always keep on my craft table is this handy dandy multi-tool.
It’s a must for any DIY’er.
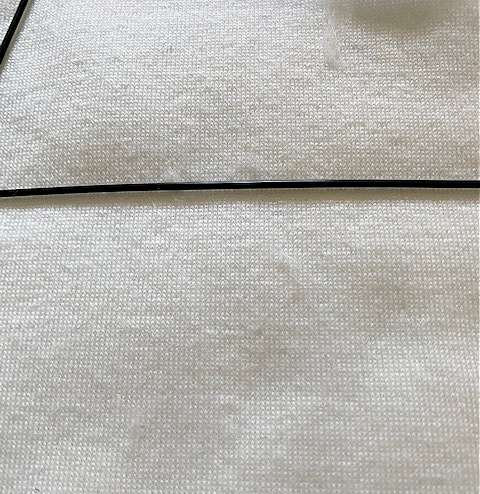
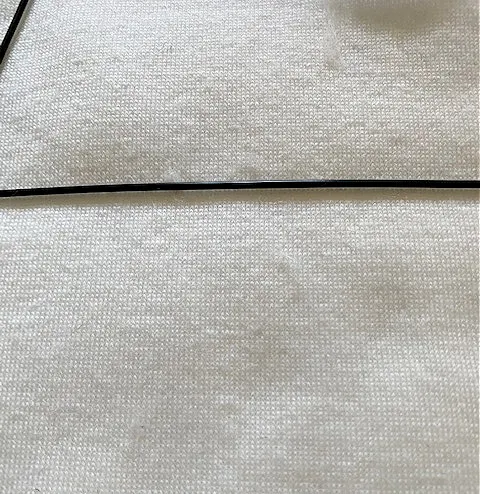
Step 2.
Place the fur on the wreath form and cut to size.
It’s important to cut from the bottom of the fabric, where the liner is.
You don’t want to just cut across, otherwise, it will look like your gnome has a bowl cut!
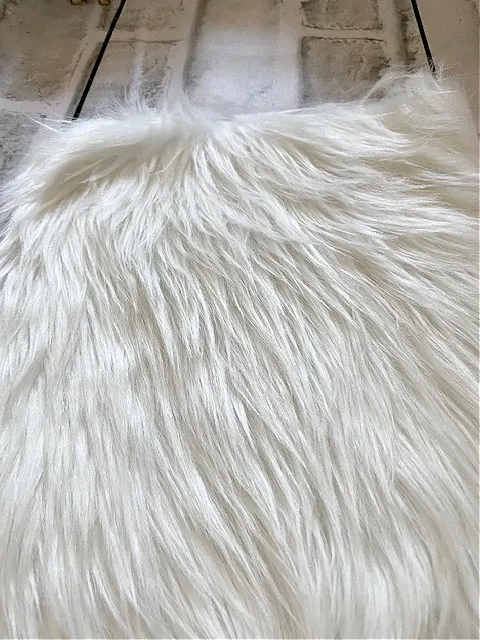
Step 3.
Run a bead of hot glue along the back of the fur and attach it to the wreath form.

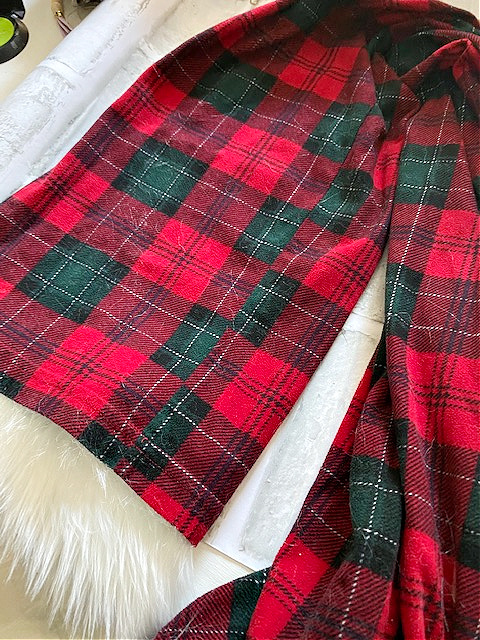
Step 4.
Place the pajama pants on top of the wreath form and mark where you want them to go.
If you don’t have old pajama pants, you can pick up plaid fabric at the craft store.
But I have to say, a pant leg works great for a gnome hat!

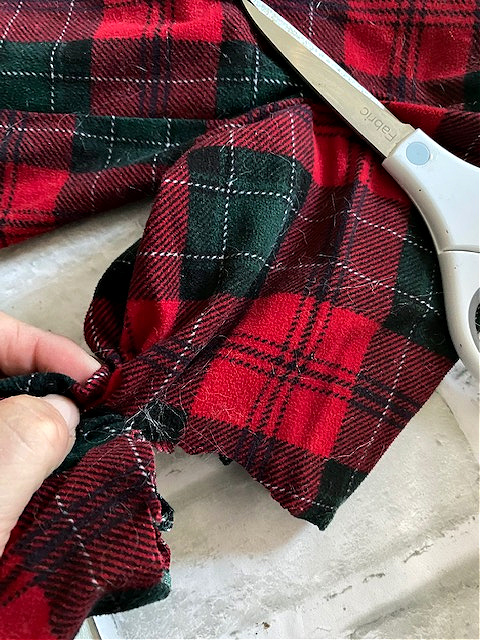
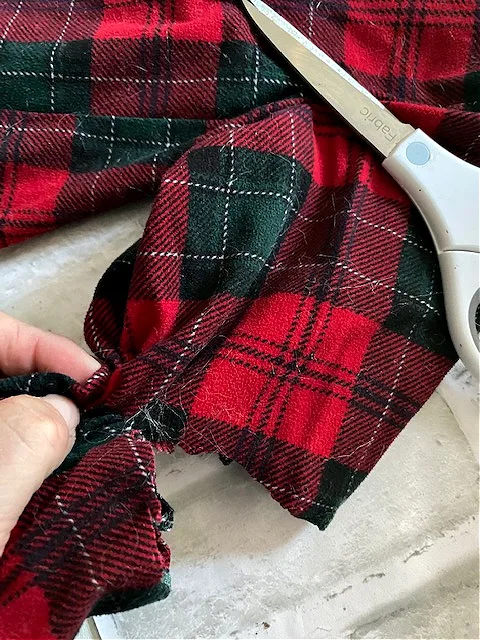
Step 5.
Cut the fabric for the gnome hat.
You can make a straight hat, or leave it extra long so it hangs.
I love the slouchy hat look.
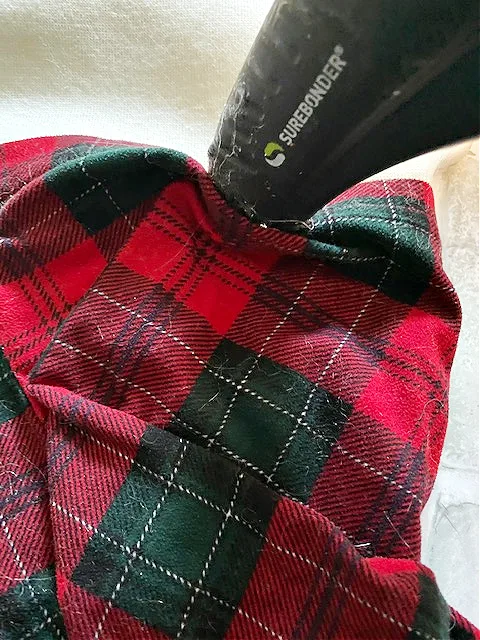
Step 6.
Hot glue the fabric to the form, along the top of the fur and secure it in the back with more glue.

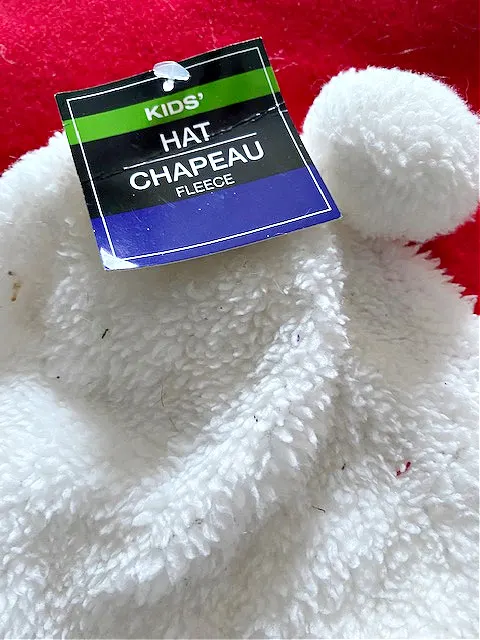
Step 7.
This little kid’s hat from Dollar Tree came in so handy!
Cut the bottom of the hat to use as trim for the gnome hat and secure it with hot glue.


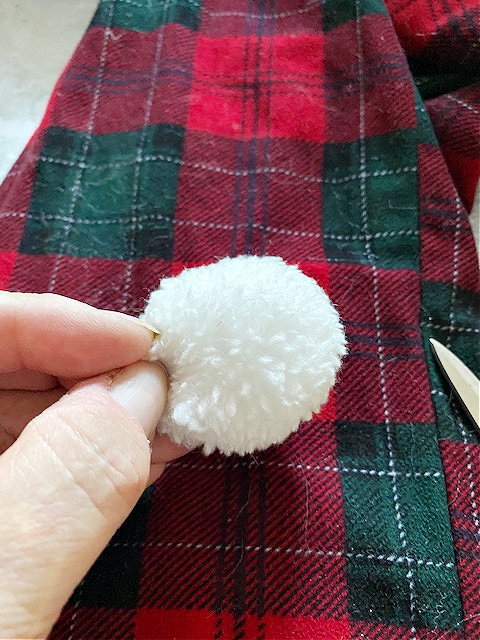
Step 8.
Hot glue the pompom to the gnome hat.
Save the other pompom for another gnome-maybe a Mrs. Clause?

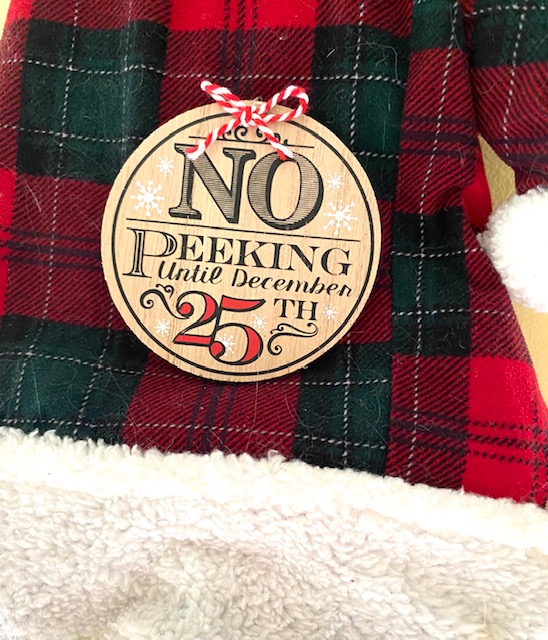
Step 9.
Add a cute tag to the center of the hat. It’s totally optional, but it does look cute!

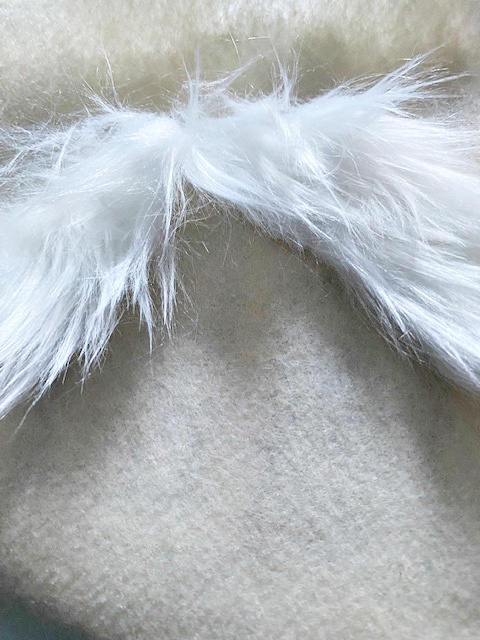
Step 10.
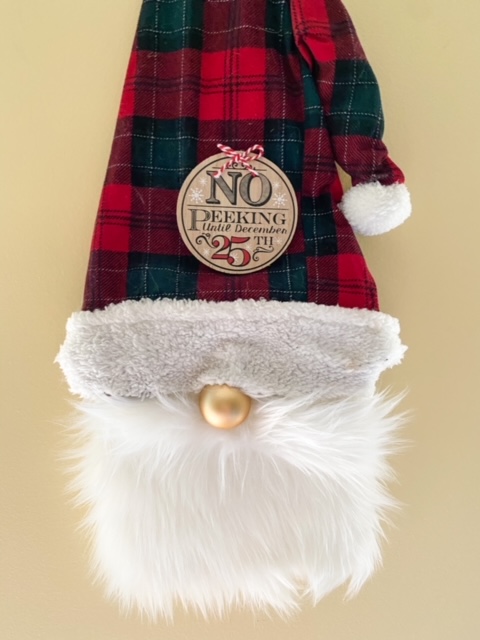
Cut a fur mustache and hot glue it right under the nose.

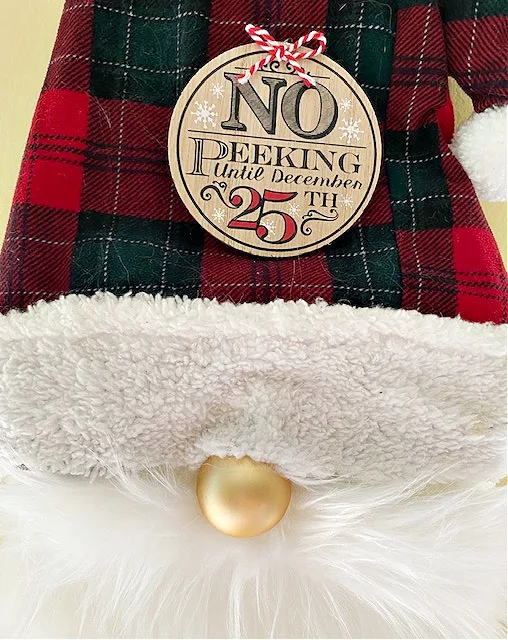
Step 11.
Add an ornament ball directly under the center of the hat for a nose.

Step 12.
Fluff the fur. It really does look so much better when you separate the fur and have it going off to the side and fluff out the mustache.


Step 13.
Glue a piece of twine or ribbon to the back of the Christmas gnome for hanging.
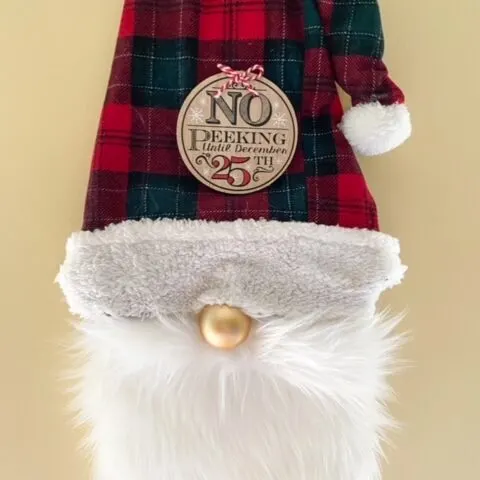
I’m really so happy with how he turned out.

I still have quite a bit of fur left, so I see more gnomes in my future!
Do you think this is something you would like to make for your front door, or inside your home?
If you do make one, please share a photo. I love to see other people’s take on things!
Thanks for stopping by. Happy crafting.
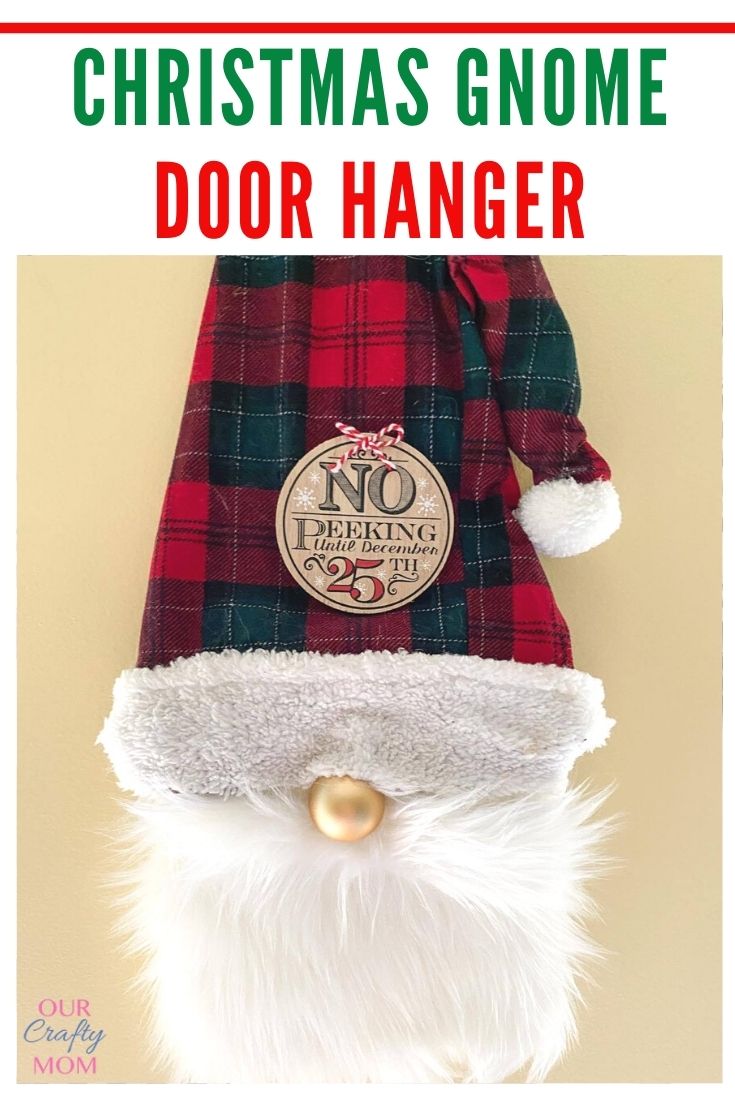


How To Make An Adorable Christmas Gnome Door Hanger DIY
Make an adorable Christmas gnome door hanger with thrifted pajama pants and a a few dollar store supplies. It’s a perfect way to greet friends and family.
Materials
- Faux Fur
- Wire Witch Form
- Christmas Ornament Ball
- Kid's Winter Hat With PomPoms
- Plaid Pajama Bottoms
Tools
- Hot Glue Gun
- Fabric Scissors
Instructions
- Use a wire cutter to snip the bottom corners of the witch's hat.
- Place the fur on the wreath form and cut to size.
- Run a bead of hot glue along the back of the fur and attach it to the wreath form.
- Place the pajama pants on top of the wreath form and mark where you want it to go.
- Cut the fabric for the gnome hat.
- Hot glue the fabric to the form, along the top of the fur and secure it in the back with more glue.
- Cut the bottom of the hat to use as trim for the gnome hat and secure it with hot glue.
- Hot glue the pompom to the gnome hat.
- Add a cute tag to the center of the hat.
- Cut a fur mustache and hot glue it right under the nose.
- Add an ornament ball directly under the center of the hat for a nose.
- Fluff the fur.
- Glue a piece of twine or ribbon to the back of the Christmas gnome for hanging.
Recommended Products
As an Amazon Associate and member of other affiliate programs, I earn from qualifying purchases.


You can check out all of my dollar store crafts here.
I’d love it if you would follow me on social media:
Pinterest
Facebook
Instagram
Twitter
Naush
Tuesday 3rd of November 2020
Michelle, your gnome door hanger is the cutest and such a good tutorial too. We'd love for you to share your post with us at Meraki Link Party at Doodle Buddies. The party is from Monday thru till Thursday. https://doodlebuddies.net/2020/11/02/meraki-link-party-12/ Naush