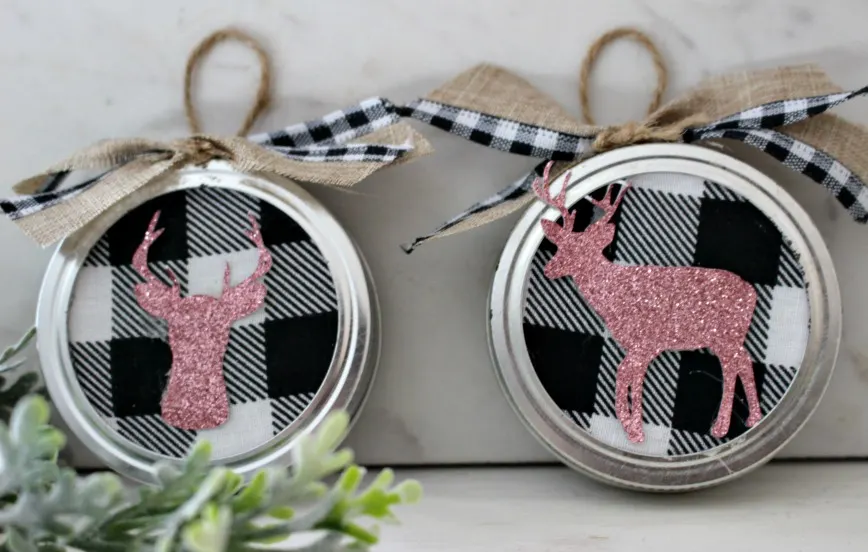
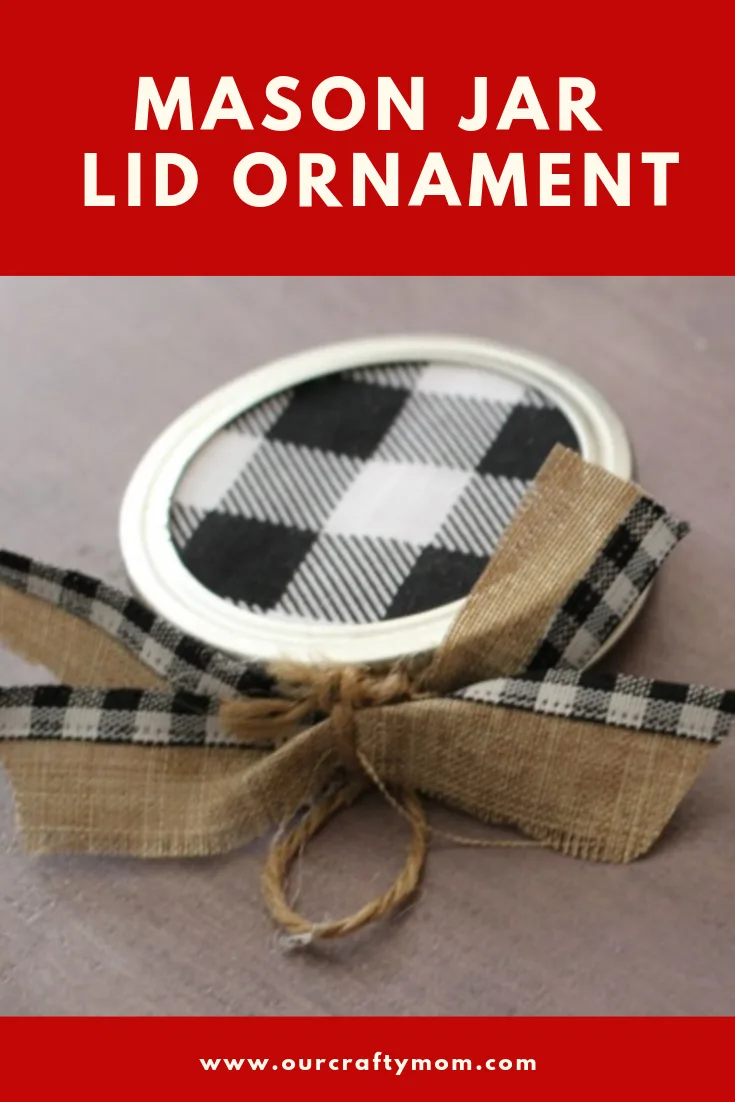
Save those mason jar lids and let me show you how easy it is to make Buffalo Check Mason Jar Lid Christmas Ornaments using your Cricut.
This post contains affiliate links at no extra cost to you. Please see my full disclosure here.
Welcome to the Cricut Holiday Event where a talented group of bloggers are all sharing Cricut Holiday projects with you!
There will be tons of inspiration to get those creative juices flowing, so you have plenty of time to create before the Holidays.
Like so many of you, I love all things mason jar. There are just so many uses for them. But, I find I use the actual mason jar and end up with a bunch of lids.
I can’t be the only one right? So I decided to put the mason jar lids to good use and make adorable buffalo check ornaments.
I’m also obsessed with buffalo check and will share some posts below with a few buffalo check and mason jar projects I’ve recently made. I am definitely having fun with fabric lately!
Buffalo Check Mason Jar Lid Christmas Ornaments
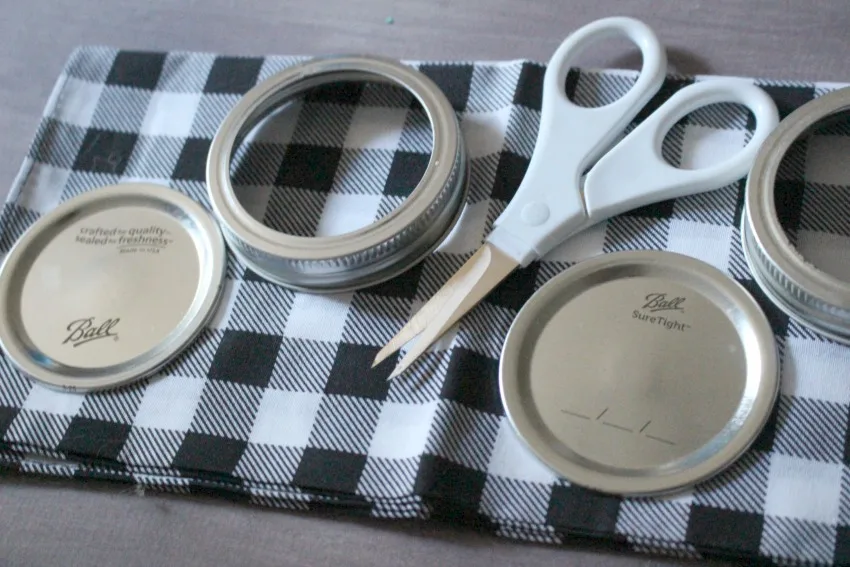
Supplies
- Buffalo Check Fabric
- Mason Jar Lids
- Fabric Scissors
- Hot Glue Gun – This is my all time favorite-it’s cordless!
- Twine
- Ribbon of your choice
Instructions
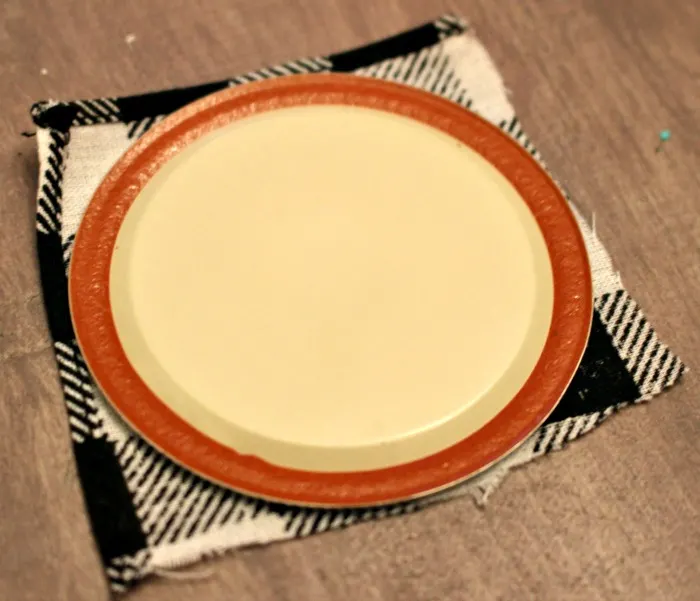
Create a template out of the buffalo check fabric to cover the mason jar lid. Cut a square and then glue the sides to the back of the lid.
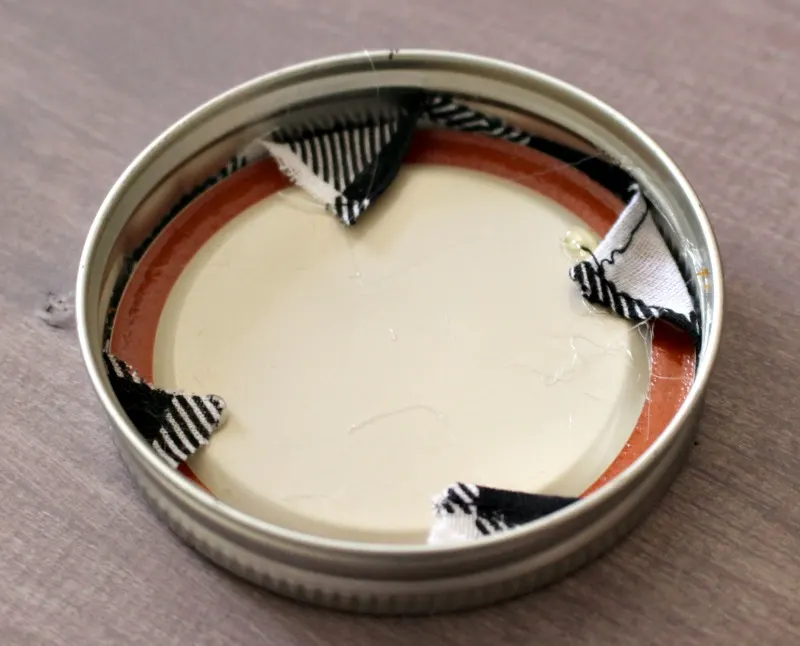
Once the fabric is glued to the lid insert, add a little hot glue around the inside rim of the mason jar lid and attach the fabric covered insert.
Hot glue a small piece of twine forming a loop for hanging.
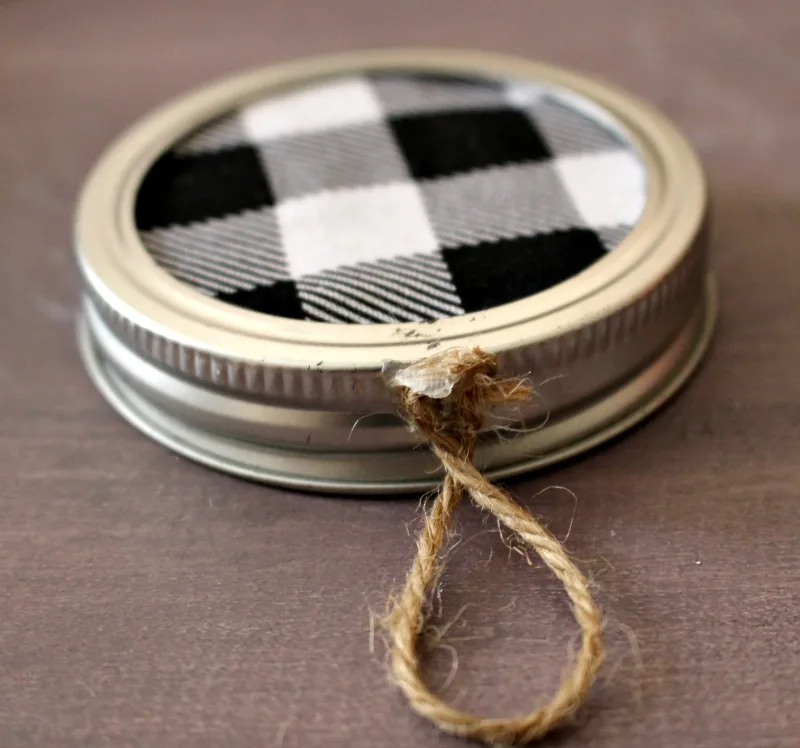
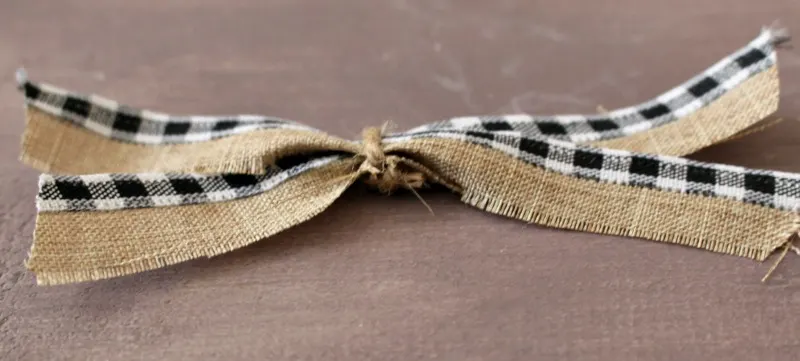
Cut a piece of coordinated ribbon to attach to the front of the twine. This will also cover up the hot glue on the twine. Make it as long or short as you like.
[Tweet “How To Make Buffalo Check Mason Jar Lid Christmas Ornaments #ourcraftymom #cricutholidaychallenge #cricutmade #cricut #christmasornaments #christmascricut”]
Attach with just a little hot glue. I also tied just a small piece of twine to ensure it was held together.
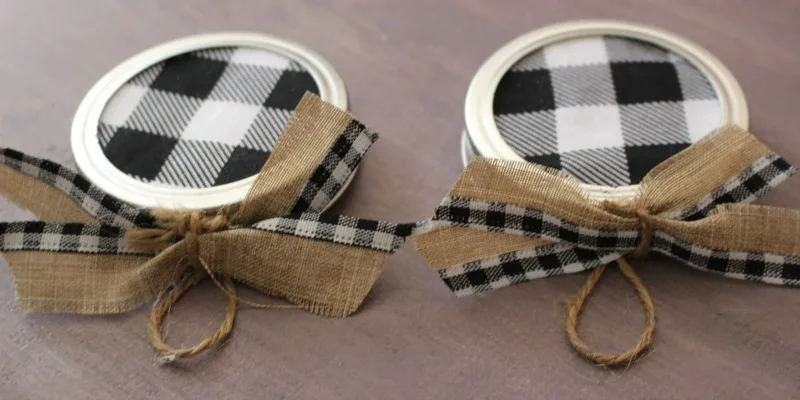
These are just adorable as is, but I chose to take it one step further and up to cuteness another level by adding a little bit of sparkle with my Cricut Explore Air™ machine. Because everything is better with a little sparkle!
Cricut Instructions
I chose to add two variations of a deer using a glitter sparkle cardstock. Deer are such a classic Christmas image. But, you can choose whatever image you like. A santa would be adorable on these as well.
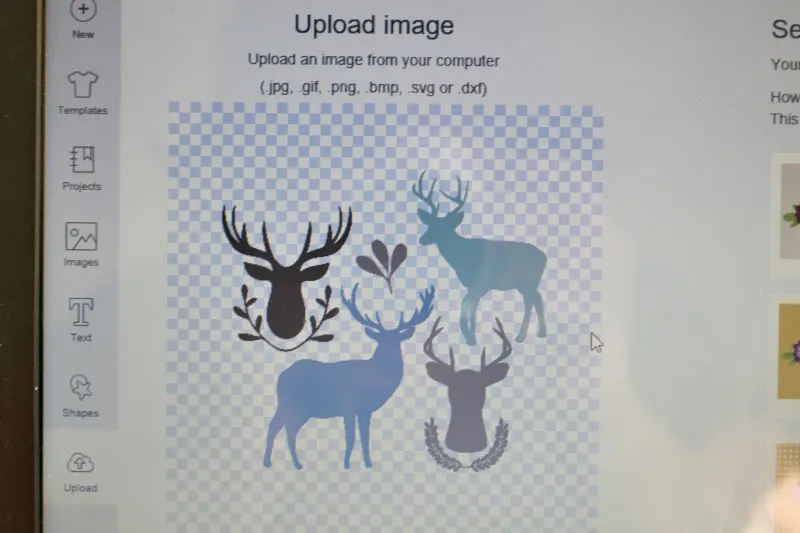
You can find so many free images on Pinterest. I found this one here.
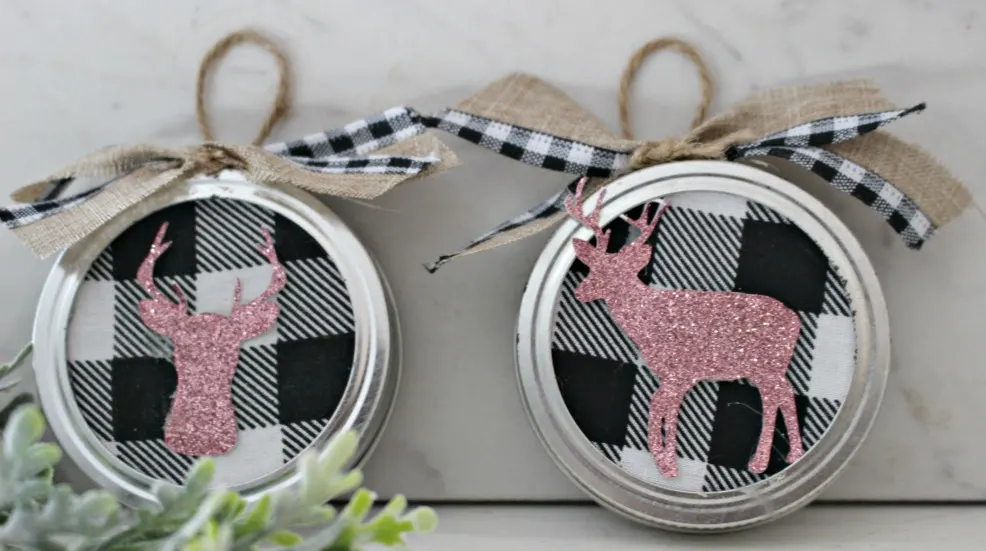
You can use fabric glue or a little hot glue to attach the deer. These ornaments are definitely something you could make up quickly for teachers, co-workers, etc. They are inexpensive, easy and most of all pretty!
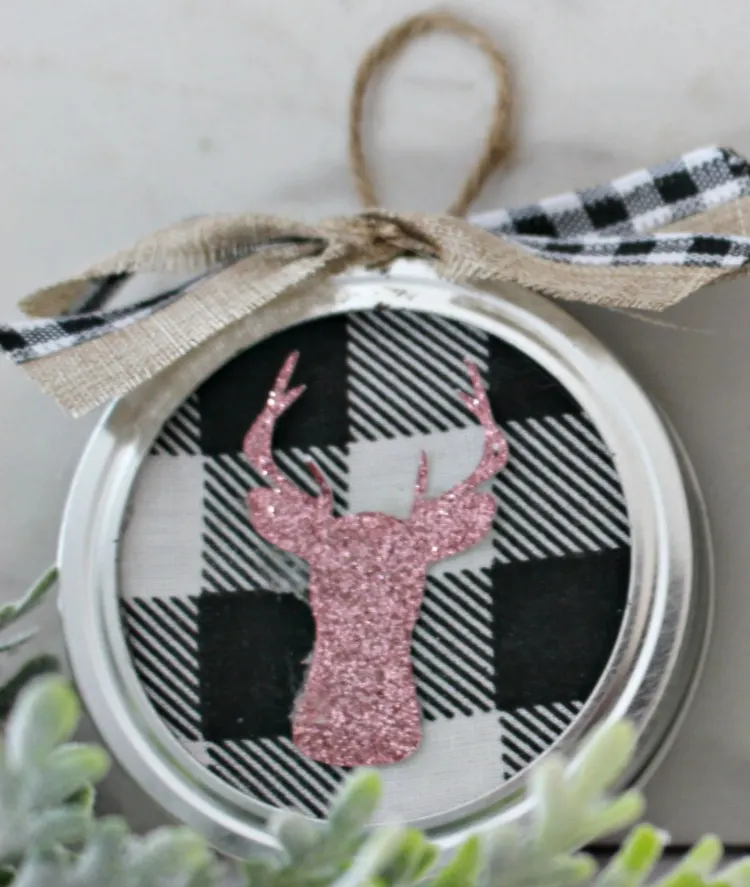
I hope you liked these mason jar lid ornaments. Be sure to check out the rest of the Cricut Holiday projects below. You are in for a treat!
Thank you to Angie from The Country Chic Cottage, Jessica from Mad In Crafts and Carolina from 30 Minute Crafts for hosting this fun Cricut Challenge.
**PIN FOR LATER**
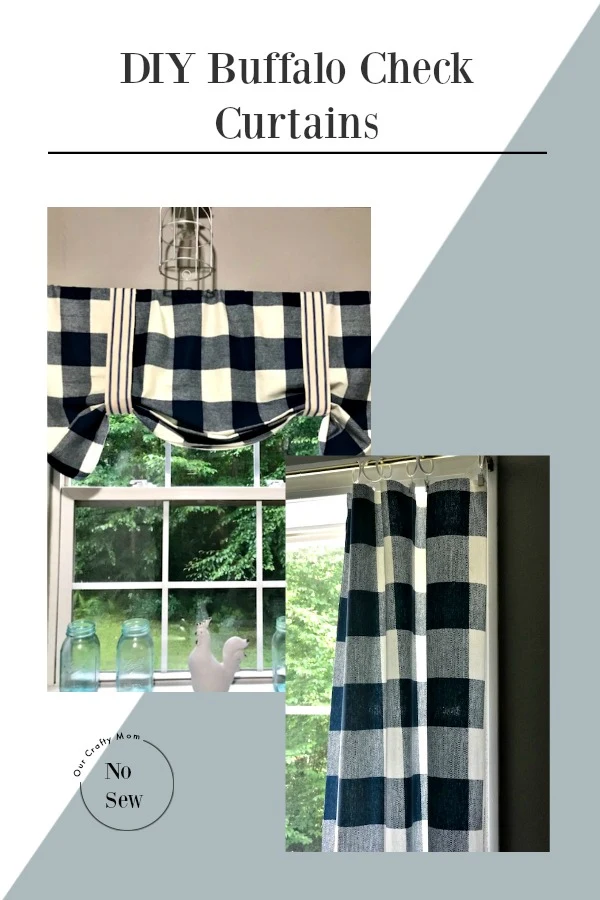
You may like these buffalo check curtains
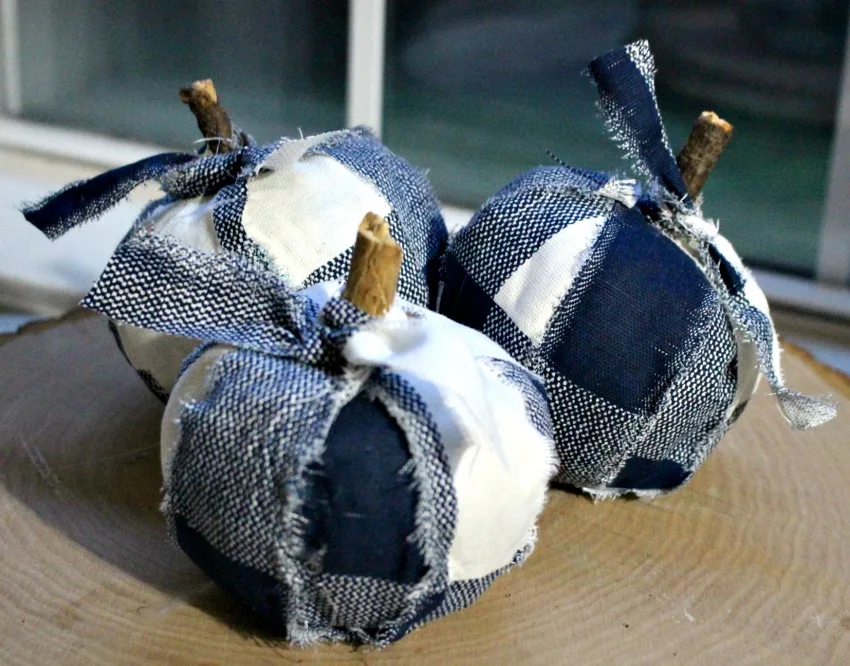
And these buffalo check pumpkins

How To Make Vintage Inspired DIY Christmas Ornaments
Monday 25th of November 2019
[…] Buffalo Check Mason Jar Lid Ornaments […]
Easy To DIY No Sew Buffalo Check Curtains Our Crafty Mom
Saturday 19th of October 2019
[…] about black and white buffalo check Christmas ornaments? So easy to make with mason jar […]
How To Make Nail Polish Dipped Christmas Ornaments
Sunday 16th of December 2018
[…] Mason Jar Lid Christmas Ornaments – Our Crafty Mom […]
How To Make A Personalized Wood Serving Tray Our Crafty Mom
Sunday 16th of December 2018
[…] Buffalo Check Mason Jar Lid Ornament […]
45+ CHRISTMAS CRAFTS TO MAKE WITH YOUR CRICUT - Mad in Crafts
Wednesday 5th of December 2018
[…] Buffalo Plaid Mason Jar Lid Ornaments […]