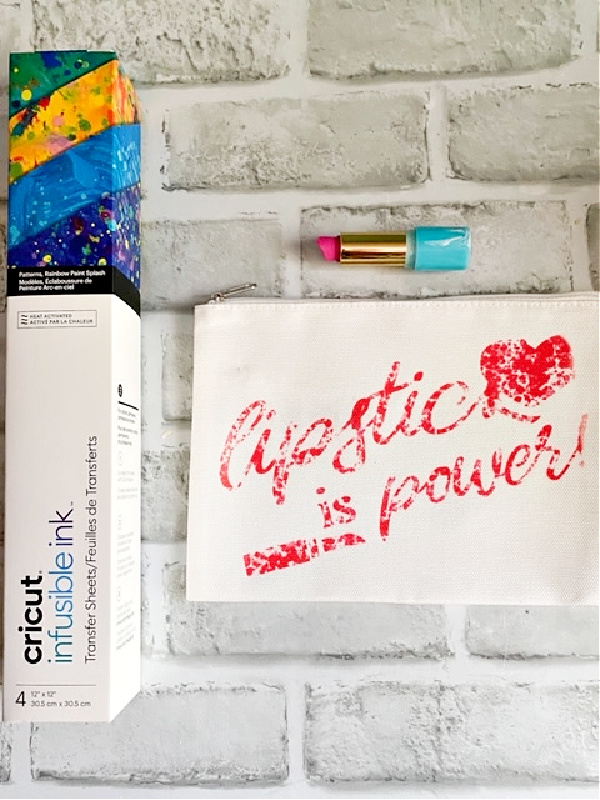
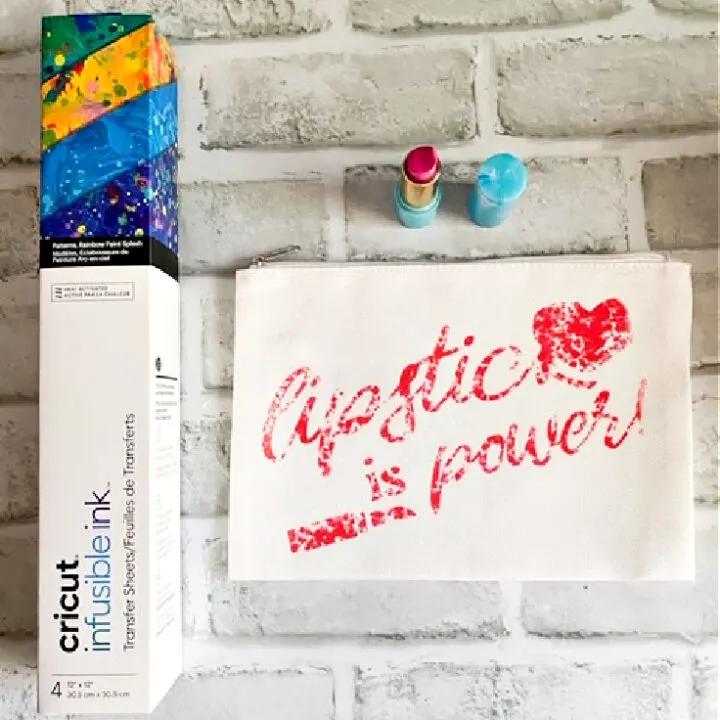
Learn to make a super fun DIY makeup bag using Cricut infusible ink.
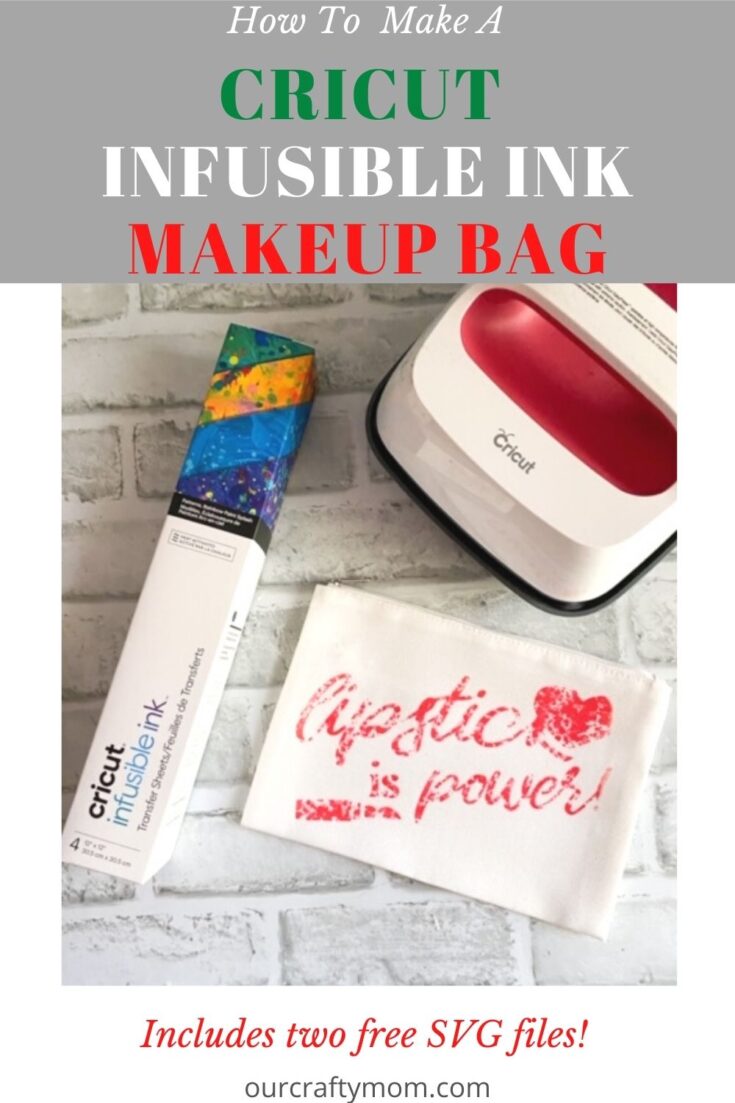

If you haven’t tried Cricut infusible ink yet, this DIY makeup bag is the perfect starter project. It’s simple to make and the results are amazing!
There are a few tips I have for working with infusible ink. I’ll share those at the end of this, so please be sure to check those out.
This post is sponsored by Cricut and contains affiliate links at no extra cost to you. Please see my full disclosure here.
Supplies needed for a DIY makeup bag with infusible ink:
- Cricut Cosmetic Bags
- Infusible Ink – I used Scatter Dots
- Cricut Machine
- Free SVG
- EasyPress
- EasyPress Mat or folded towel
- Parchment Paper
Step 1.
Load the infusible ink paper into the Cricut Maker.
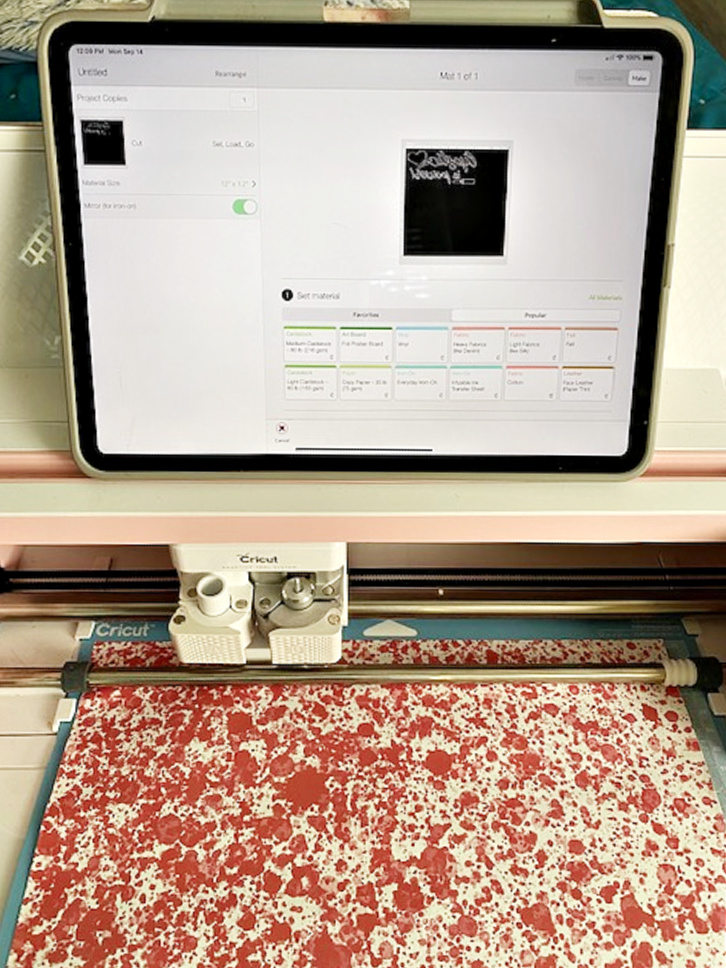

Step 2.
Upload the “lipstick is power image” into Cricut Design Space. I used my iPad for this. It is so convenient.
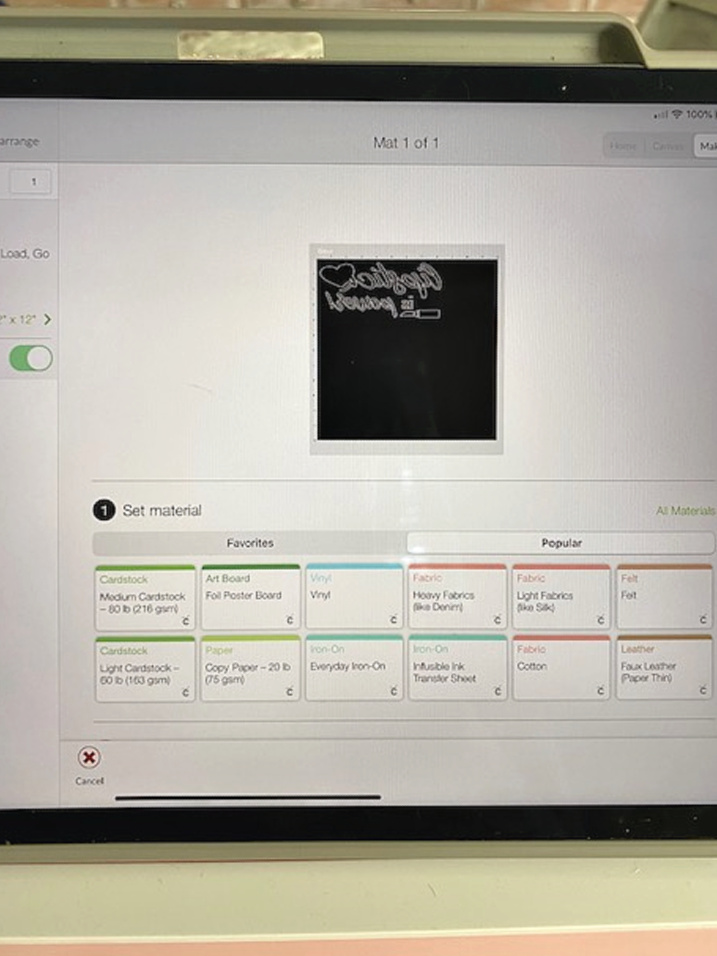
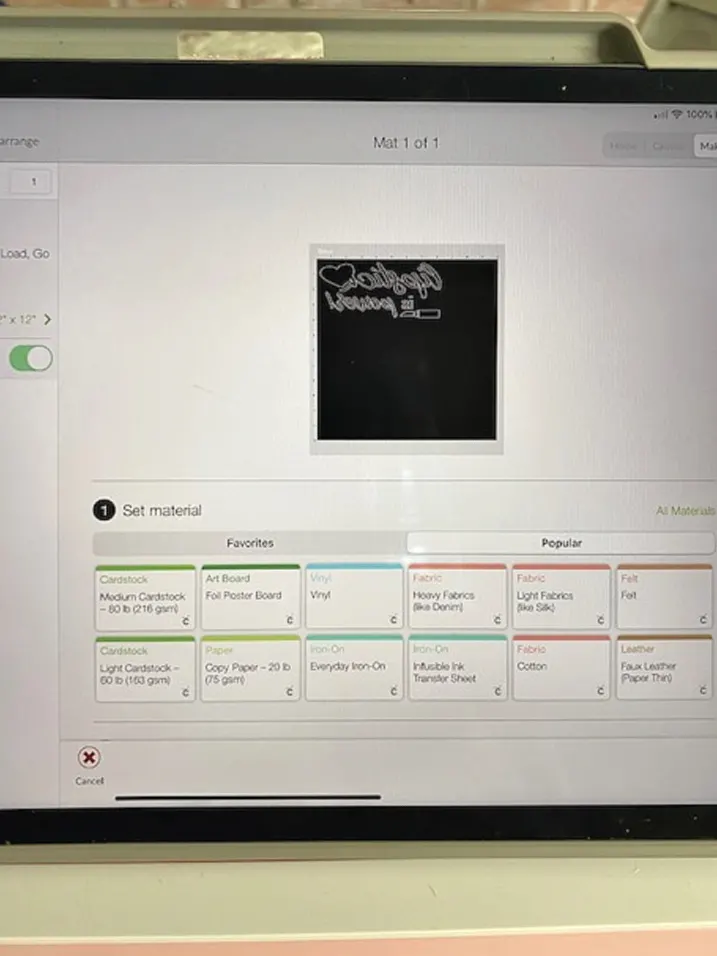
Step 3.
Size the image to fit the makeup bag. Be sure to set “mirror image” with infusible ink.
This Cricut Design Space App for IPad Video is super helpful.
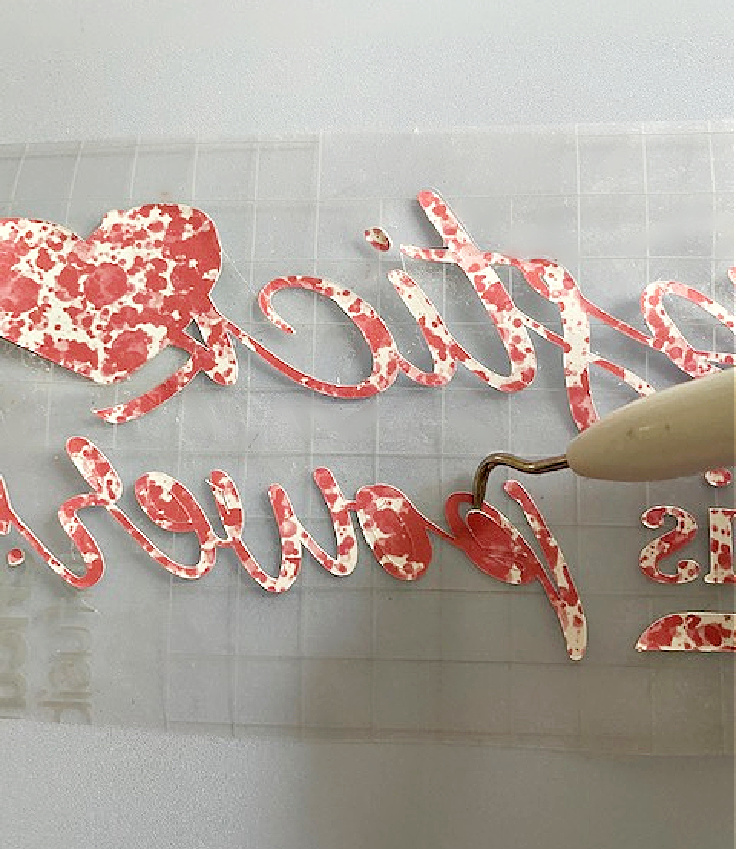
Step 4.
Remove the cut file from the mat using a weeding tool.

Step 5.
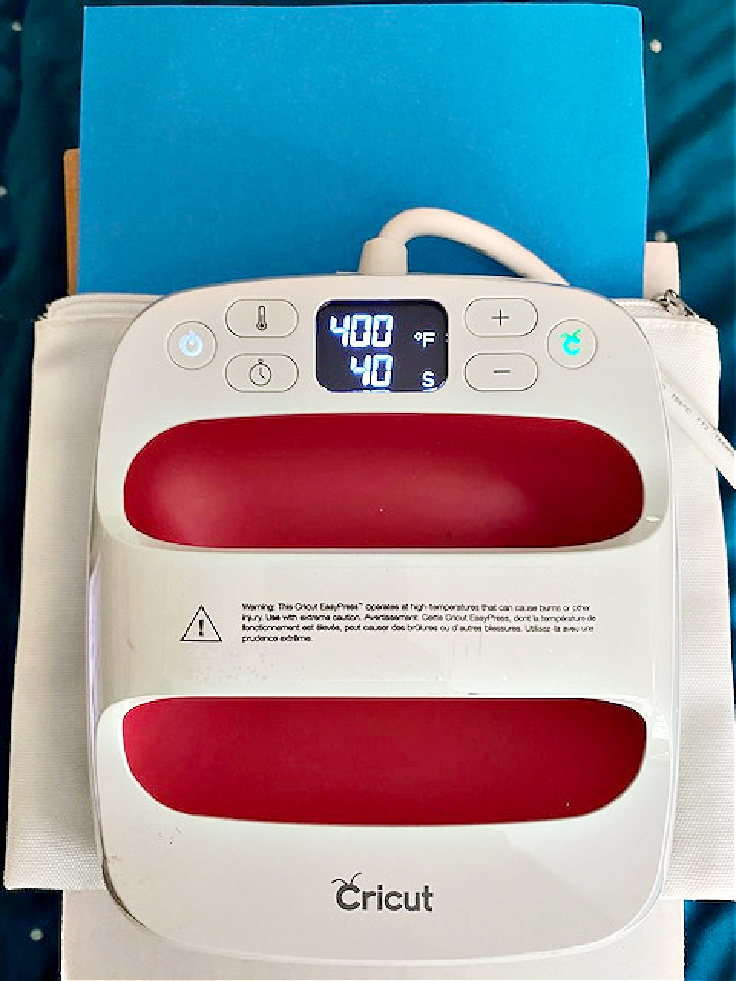
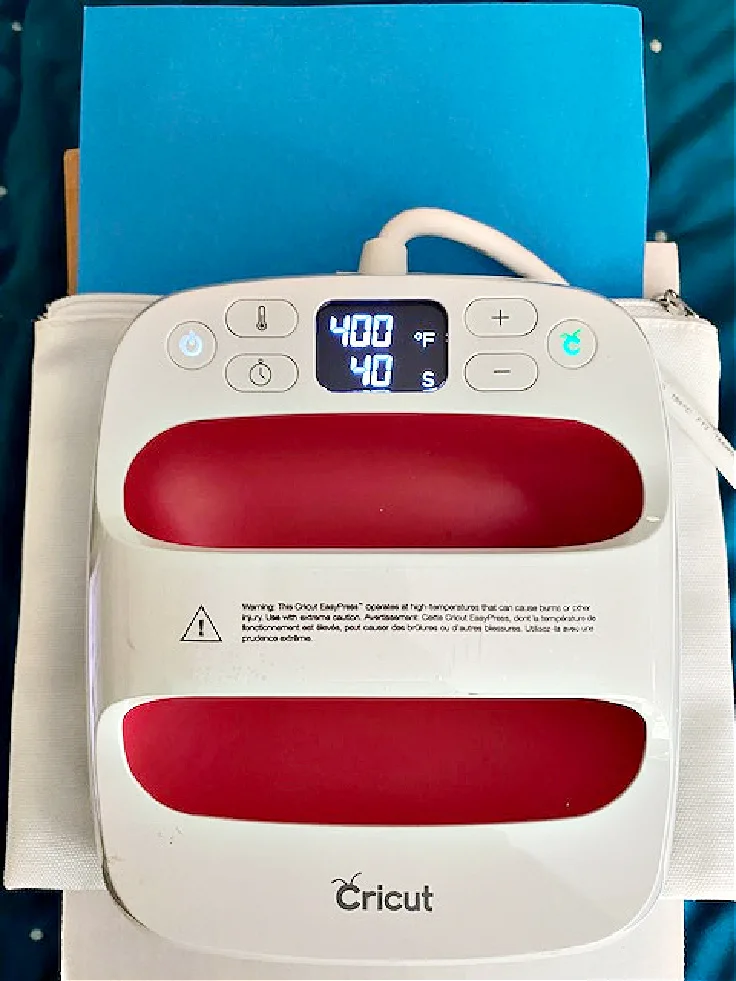
Heat the EasyPress to 205 and set the timer to 40 seconds.
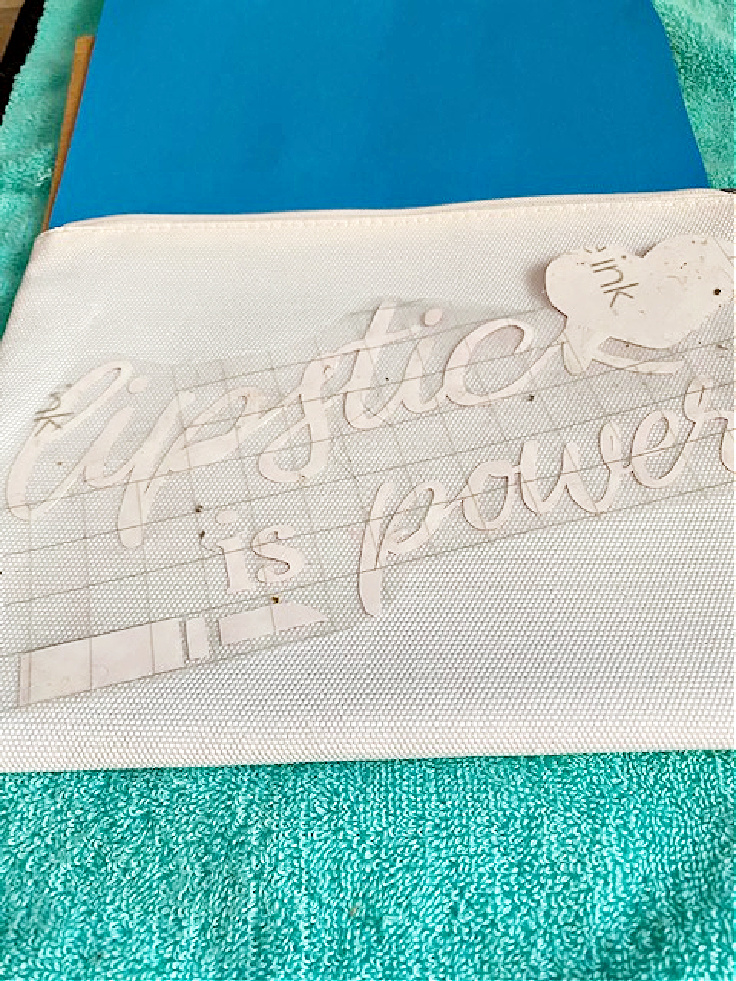
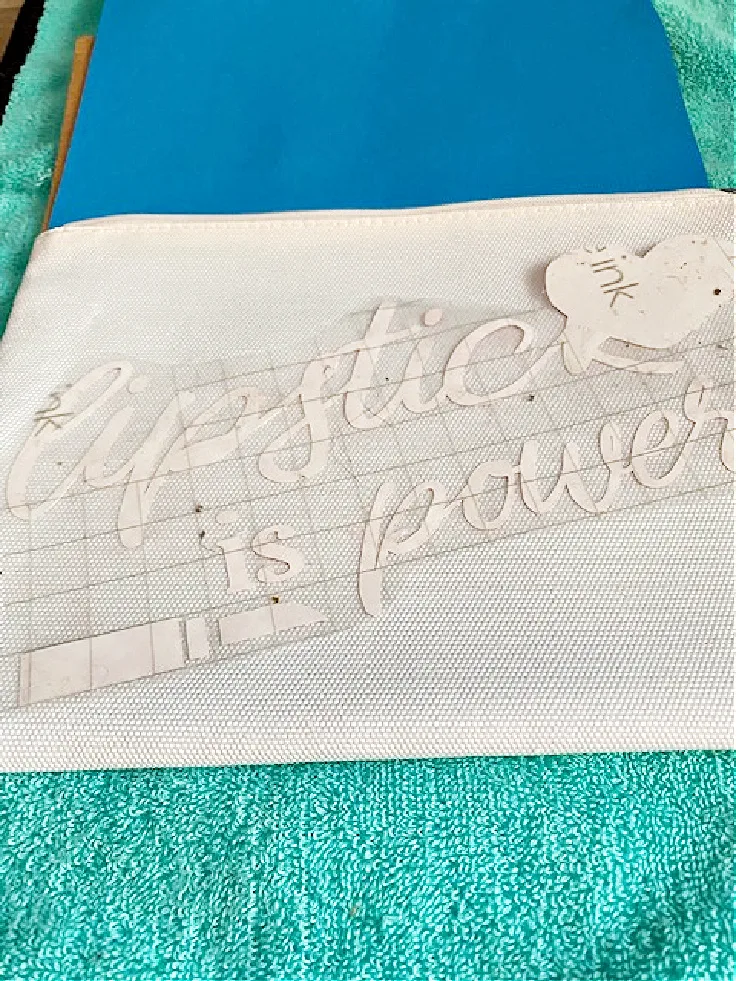
Step 6.
Quickly warm up the makeup bag, then place the lipstick cut in the center of the bag.
A trick is to set it at an angle, so it never looks crooked!
Step 7.
Place a piece of parchment paper over the makeup bag, and place the EasyPress on top for 40 seconds. I love that the EasyPress has a timer!
Step 8.
Remove the infusible ink and get ready to be amazed!
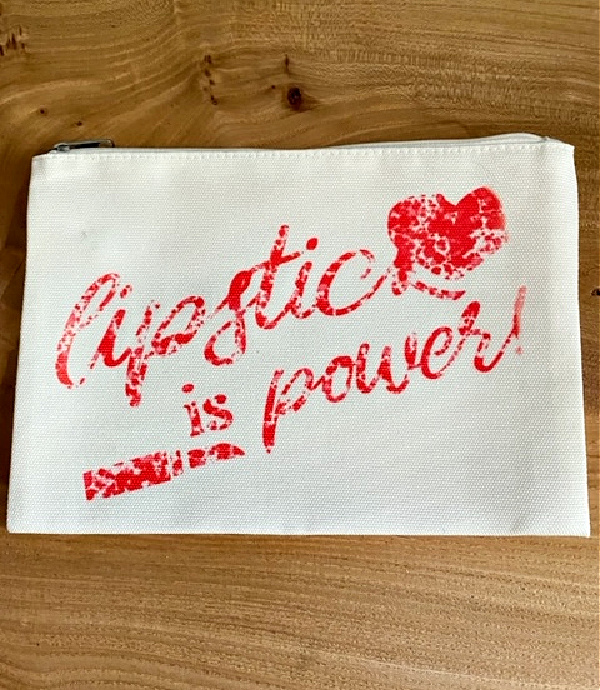

See how easy that was? I’m so happy to offer you the FREE SVG below:


As an extra gift, you can also download this super cute “daily checklist” SVG:


While it is not necessary, I’d love it if you would subscribe to my email. I only email once a week and I promise no spam.
You can sign up below:
[optin-cat id=”23410″]


Do I need to use Cricut blanks with infusible ink?
While other blanks work with infusible ink, the Cricut blanks are made specifically for infusible ink and will result in a much brighter and cleaner finish.
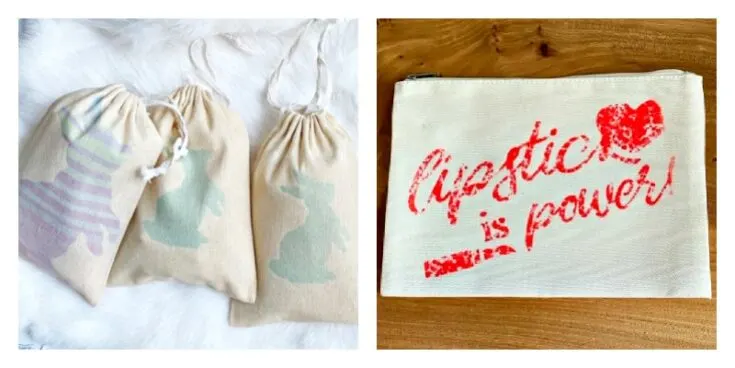
The bunny bags on the left were made using a generic treat bag.
You can see how much more vibrant the makeup bag on the right is:

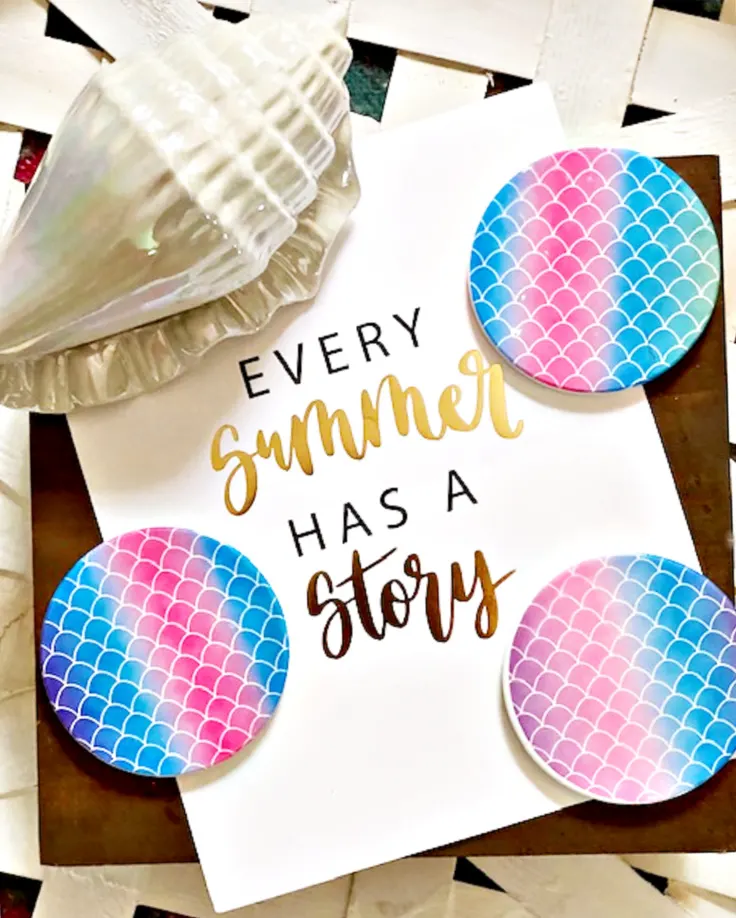
Look at how vibrant these beachy infusible ink coasters are:

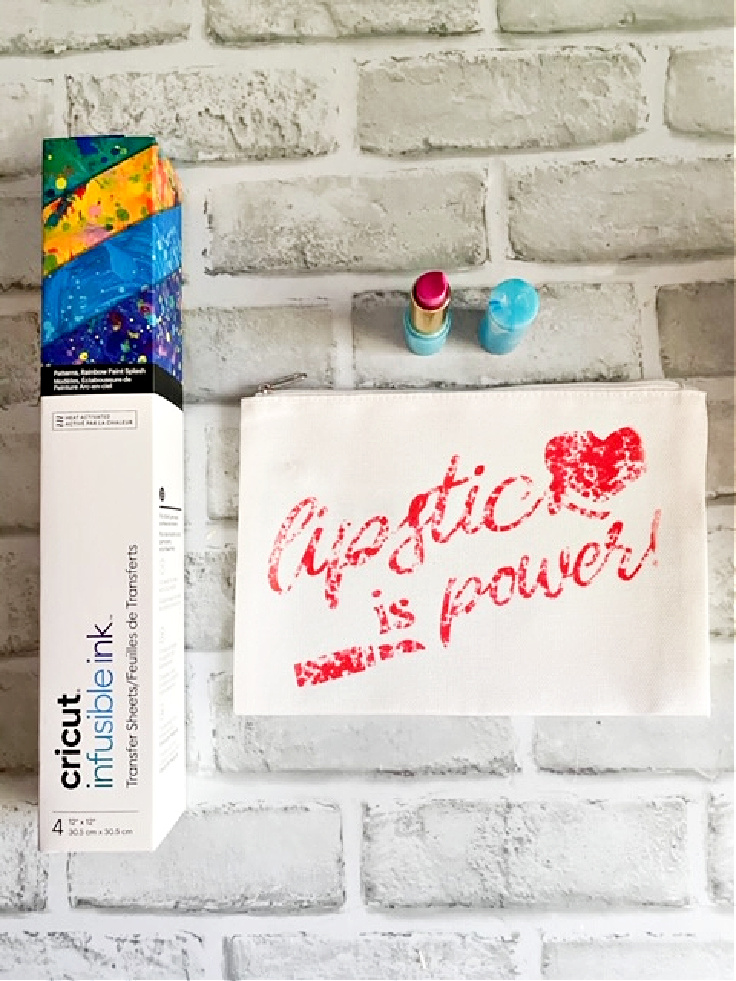
What do you need to get started with Cricut infusible ink?
- Infusible Ink
The first thing you need is infusible ink. There are so many different designs and colors. The hardest part will be deciding what design you want to buy.
- EasyPress or Iron
While an EasyPress is not 100% necessary, it definitely makes your Cricut heat transfer projects so much easier.
I used an iron initially, but it is worth investing in the EasyPress if you are going to be making a lot of projects with Cricut.
- Cricut Infusible Ink Blank – or compatible blank.
The key here if you are not using Cricut blanks, is to make sure the fabric has a high polyester count. It will NOT work with 100% cotton. Also, it works best on white, or light color surfaces.
- White butcher paper or parchment paper.
This is necessary to place over the ink when transferring.
- EasyPress Mat
Cricut recommends the EasyPress Mat while using infusible ink design during the transfer process. But you can use a folded towel for HTV projects.
- Weeding tool
You definitely need a weeding tool, or tweezers to help with removing the infusible ink. They are also very helpful with other Cricut crafts.
I hope you found these tips helpful. But if you have any other questions, please leave them below and I’ll be happy to answer if I can.
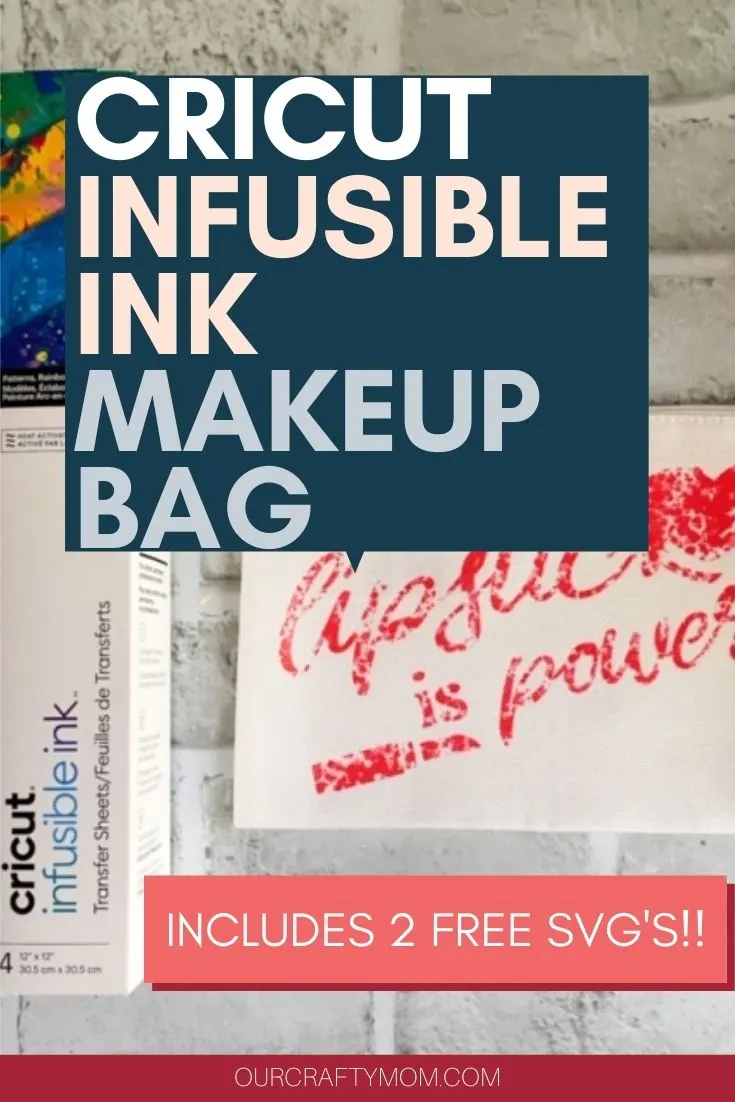
Sharing is caring…please PIN the below image:

You may also want to check out these helpful Cricut homeschool organization ideas from DIY Danielle.

Make A Fun DIY Makeup Bag With Cricut Infusible Ink
These fun makeup bags are simple to make using Cricut infusible ink. You can make your own with the included SVG that you can download for free.
These would make a great gift for the holidays. Add a gift card to Sephora, or include some makeup.
Materials
- Cricut Cosmetic Bags
- Infusible Ink – I used Scatter Dots
- Free SVG
- EasyPress
- EasyPress Mat or folded towel
- Parchment Paper
Tools
- Cricut Machine
- Weeding Tool
Instructions
- Load the infusible ink paper into the Cricut Maker.
- Upload the lipstick is power image into Cricut Design Space.
- Size the image to fit the makeup bag. Be sure to set “mirror image” with infusible ink.
- Remove the cut file from the mat using a weeding tool.
- Heat the Easy Press to 205 and set the timer to 40 seconds.
- Quickly warm up the cosmetic bag then place the lipstick cut in the center of the bag.
- Place a piece of parchment paper over the makeup bag and place the Easy Press on top for the 40 seconds.
- Remove the infusible ink.
Recommended Products
As an Amazon Associate and member of other affiliate programs, I earn from qualifying purchases.


