Make A Gilded Mason Jar For Valentine’s Day that is perfect to hold roses for your sweetheart,
or fill with candy for a thoughtful Valentine’s Day gift!
This post contains affiliate links at no extra cost to you. Please see my full disclosure here.
We are back with our our monthly Mason Jar Challenge. This month is all about Valentine’s Day. Be sure to scroll to the bottom to see what the other talented bloggers created with their mason jars.
Mason jars are great to craft with, as they are so versatile. I’m currently working on a craft room makeover that you can see here.
Inexpensive storage ideas are crucial and mason jars are great for markers, colored pencils, etc. I wanted to share a project that you can use not just for Valentine’s Day.
This gilded mason jar not only makes a great gift, but you can also use it in your home after, just by removing the Valentine’s Day tag.
Let me show you how easy this is to make.
Gilded Mason Jar
Supplies
- Mason Jar
- Gold Leaf Sheets
- Metal Leaf Adhesive
- Gilding Brush
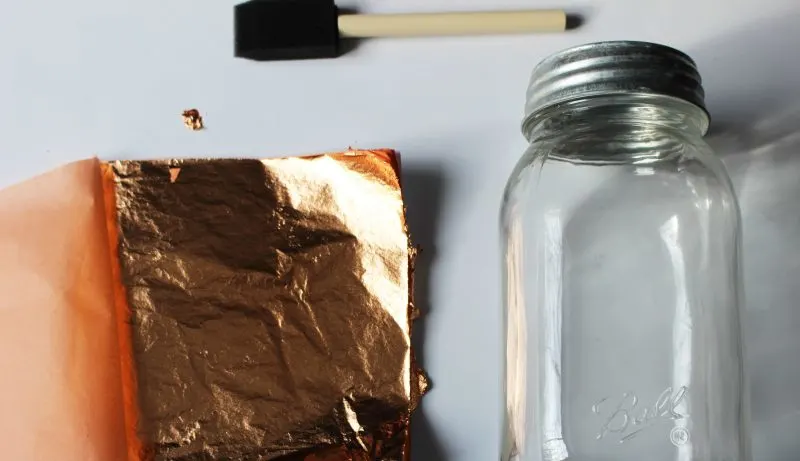
Instructions
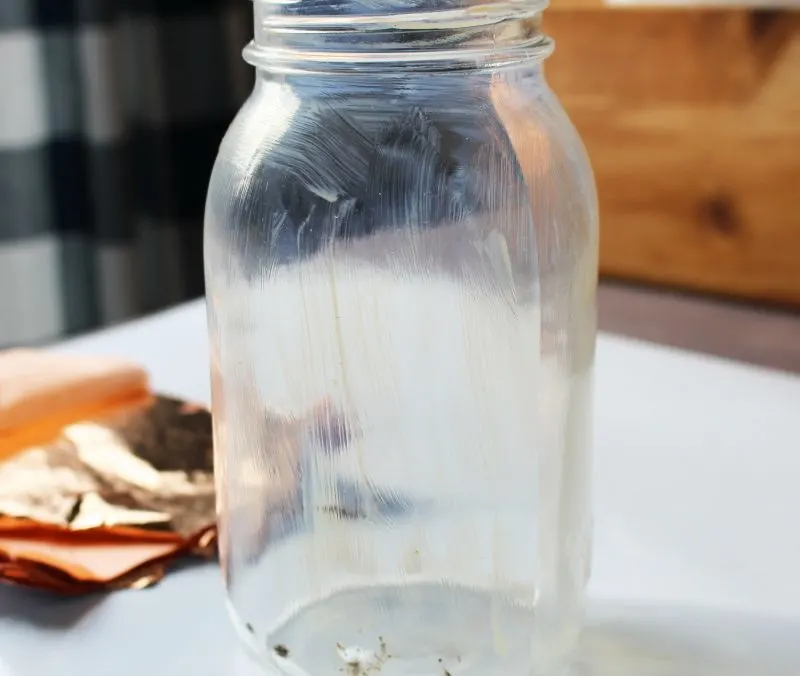
Start by adding a layer of the gilding adhesive to the mason jar. Let it dry for about 30 seconds so it becomes tacky.
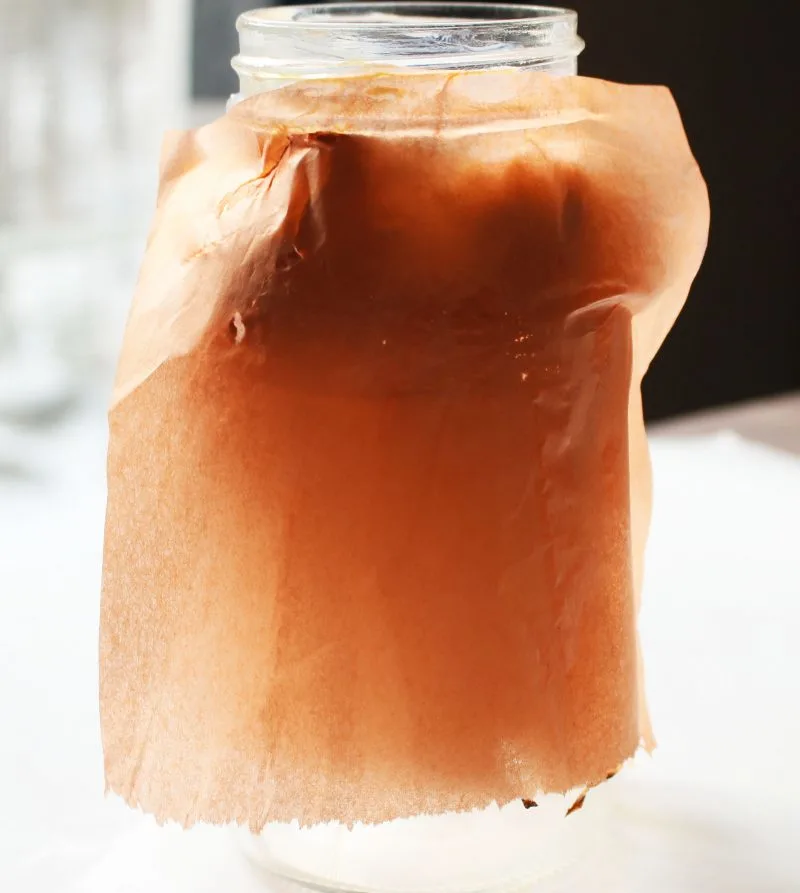
Place a sheet of gilding material with the attached tissue paper on the mason jar and smooth it out. The gilding material is very fragile, so slowly attach it and remove the tissue paper.
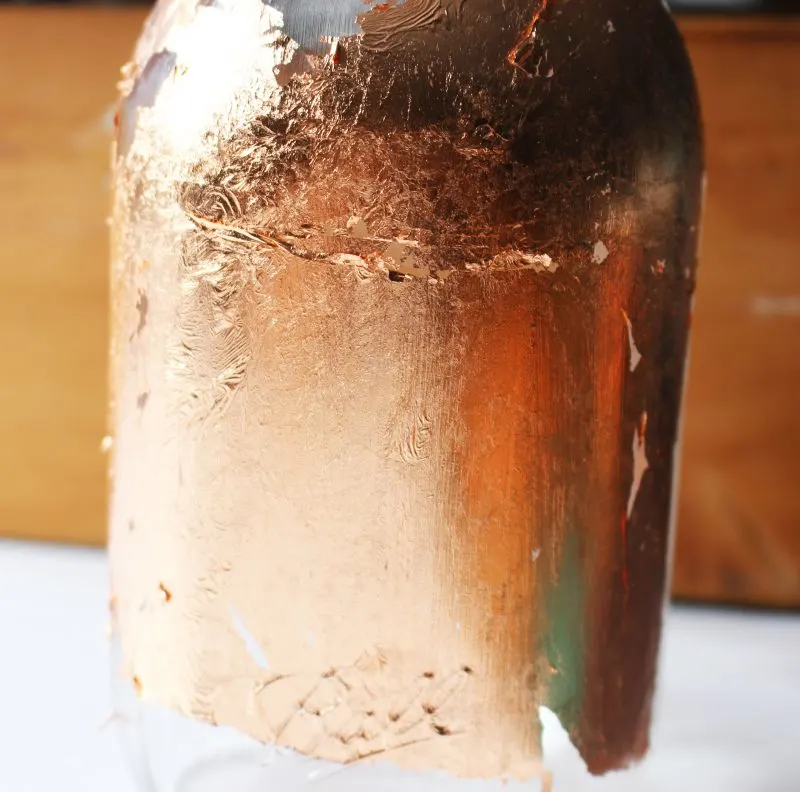
You can cover just a portion of the mason jar, or cover the entire thing, like I did. I love this rose gold look and it will be so pretty to use as a vase or display it on a bookshelf.
Continue layering the gilding sheets until you are happy with the coverage. Finally, use the gilding brush to lightly remove any loose pieces of gilding material.
See how easy that was!
[Tweet “Make A Gilded Mason Jar For Valentine’s Day @ourcraftymom #masonjarchallenge #goldleaf #gilding #ourcraftymom #valentinesday”]
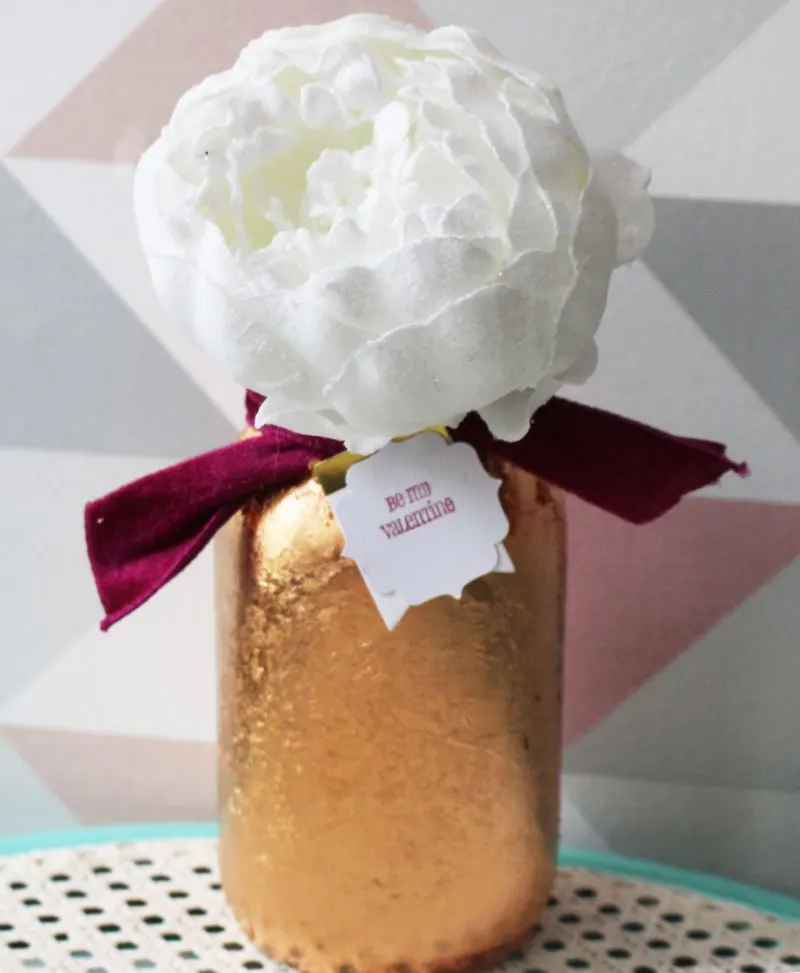
To make this gilded mason jar a sweet gift for Valentine’s Day, I added a stamped “Be My Valentine” tag and a pretty velvet ribbon. This was just added with a glue dot, so it can be easily removed.
Add real flowers and deliver this to your Valentine, or fill it with their favorite candy. This is only the second time I’ve used this gilding material and I really enjoy it.
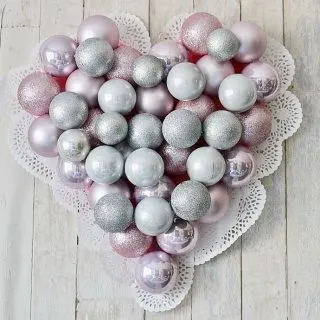
It can be used in so many different ways. Check out the pink vintage ornaments I gilded here.
Sharing is caring-pin for later!
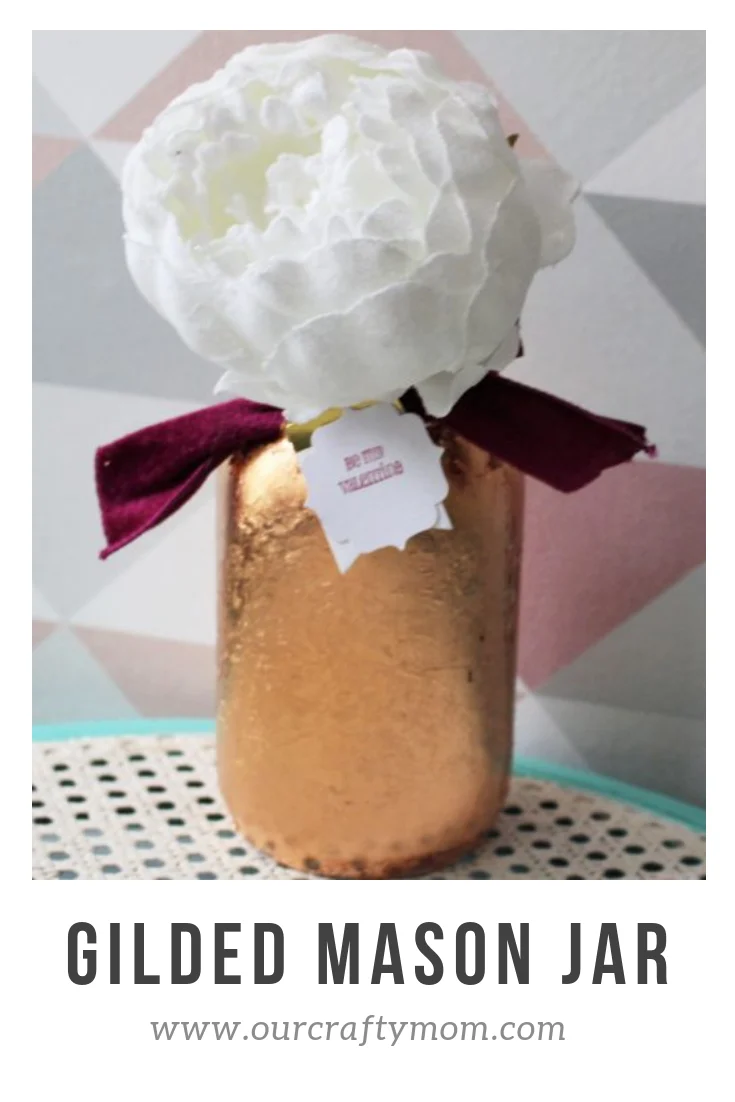
Enjoy the rest of the Mason Jar Valentine’s Day projects by visiting the links below. Enjoy!
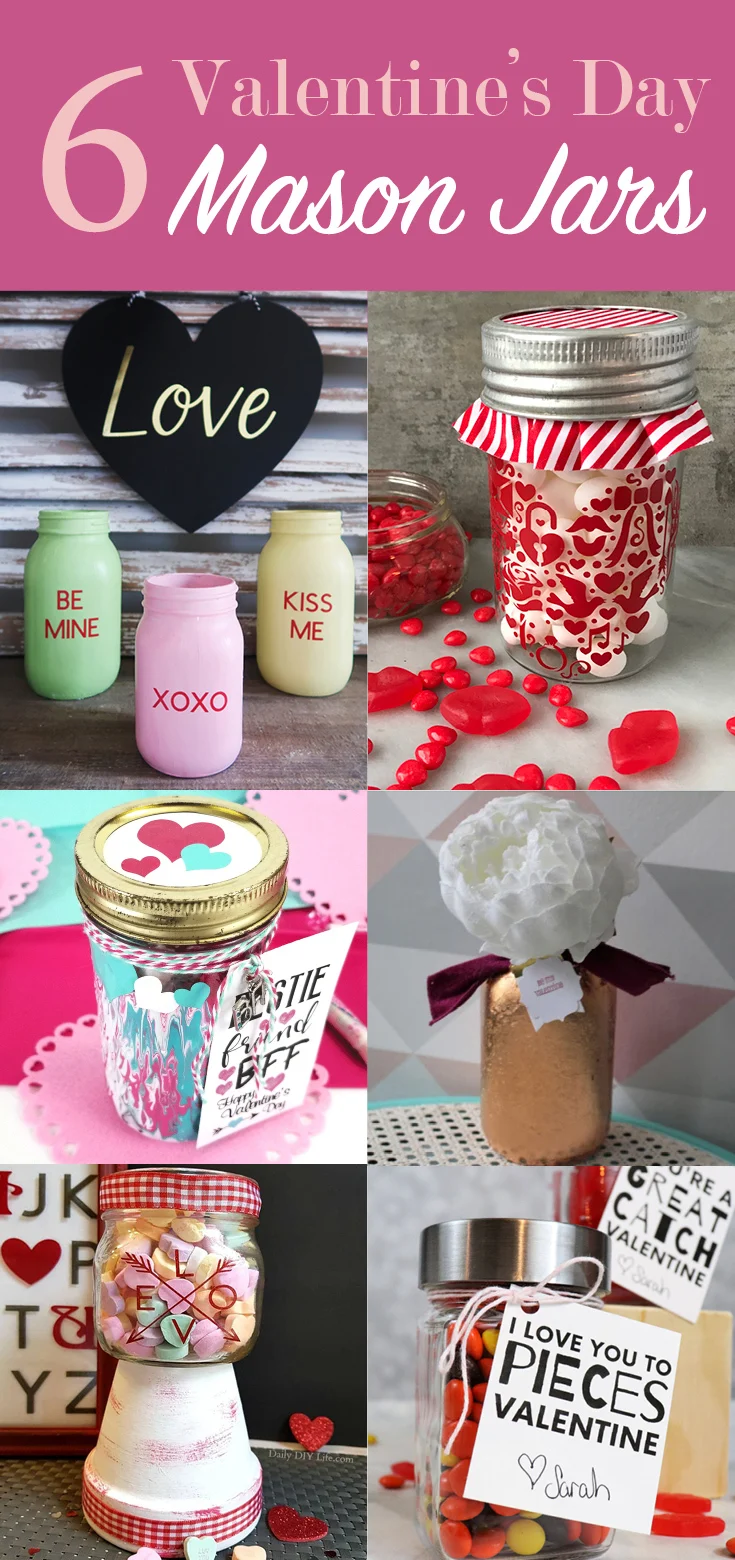
Conversation Heart Mason Jar from Weekend Craft
Sweet On You Valentine Treat Jar from Red Cottage Chronicles
Marbling With Acrylic Paints from Michelle James Designs
Gilded Valentine’s Day Mason Jar from Our Crafty Mom
Mason Jar Valentine Candy dish from Daily DIY Life
Mason Jar Valentine Ideas with Free Printables from Creative Ramblings
What’s Next:
I’d love it if you would follow me on social media below:
Pinterest
Facebook
Instagram
Twitter

Valentine's Day Candy Bouquet and DIY Picture Frame - Our Crafty Mom
Friday 3rd of January 2020
[…] you need a pretty Valentine’s Day gift for her, this gilded mason jar is perfect! […]
Mason Jar Decorations To Spruce Up Your Space | Home Fresh Ideas
Tuesday 5th of February 2019
[…] could make a gilded mason jar for Valentine’s day! Thes mason jars make fantastic gifts and let someone know you care. Whether you make the jars as […]
Sarah
Wednesday 23rd of January 2019
Oh my gosh I love gold leaf, the texture and color are so pretty!
ourcraftymom
Wednesday 23rd of January 2019
Thanks Sarah! I'm getting addicted to gold leaf, lol!
Michelle from Weekend Craft
Tuesday 22nd of January 2019
I've never tried gilding before. I need to get some gold leaf paper. What a cool technique.
ourcraftymom
Wednesday 23rd of January 2019
You will love it Michelle! It's addicting!
Maureen
Monday 21st of January 2019
So pretty! I tried to gold leaf something once, but didn't realize I needed to leave on the tissue paper! I ended up with gold all over myself! Now I know how to do it properly!!
ourcraftymom
Wednesday 23rd of January 2019
Yes it's very messy if you don't use the tissue. The first time I tried it I didn't use adhesive-that was another fail :)