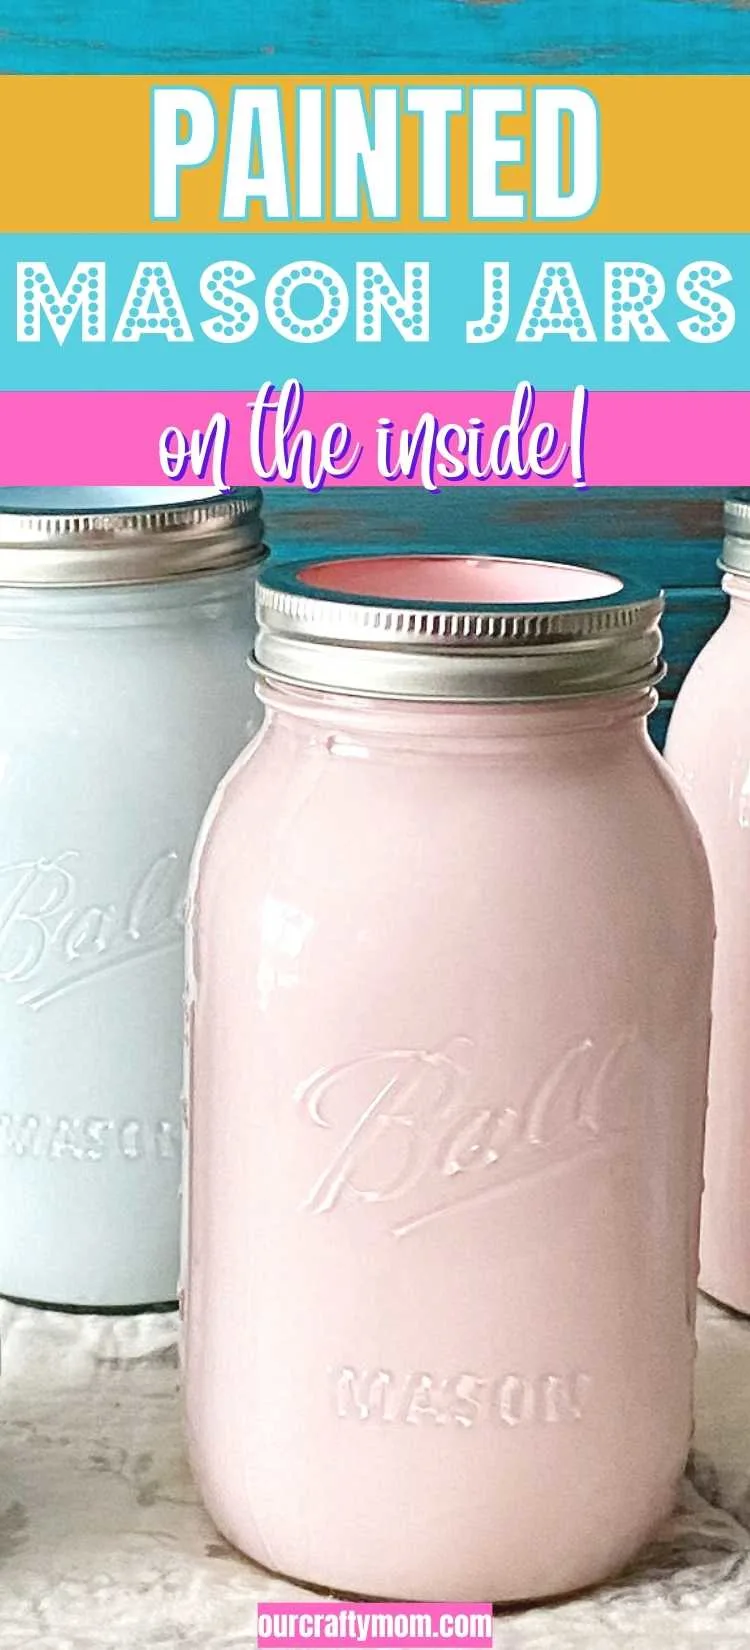
Learn how to create perfectly painted mason jars by adding paint to the inside of the jar. I’ve tried different methods and this is the best!
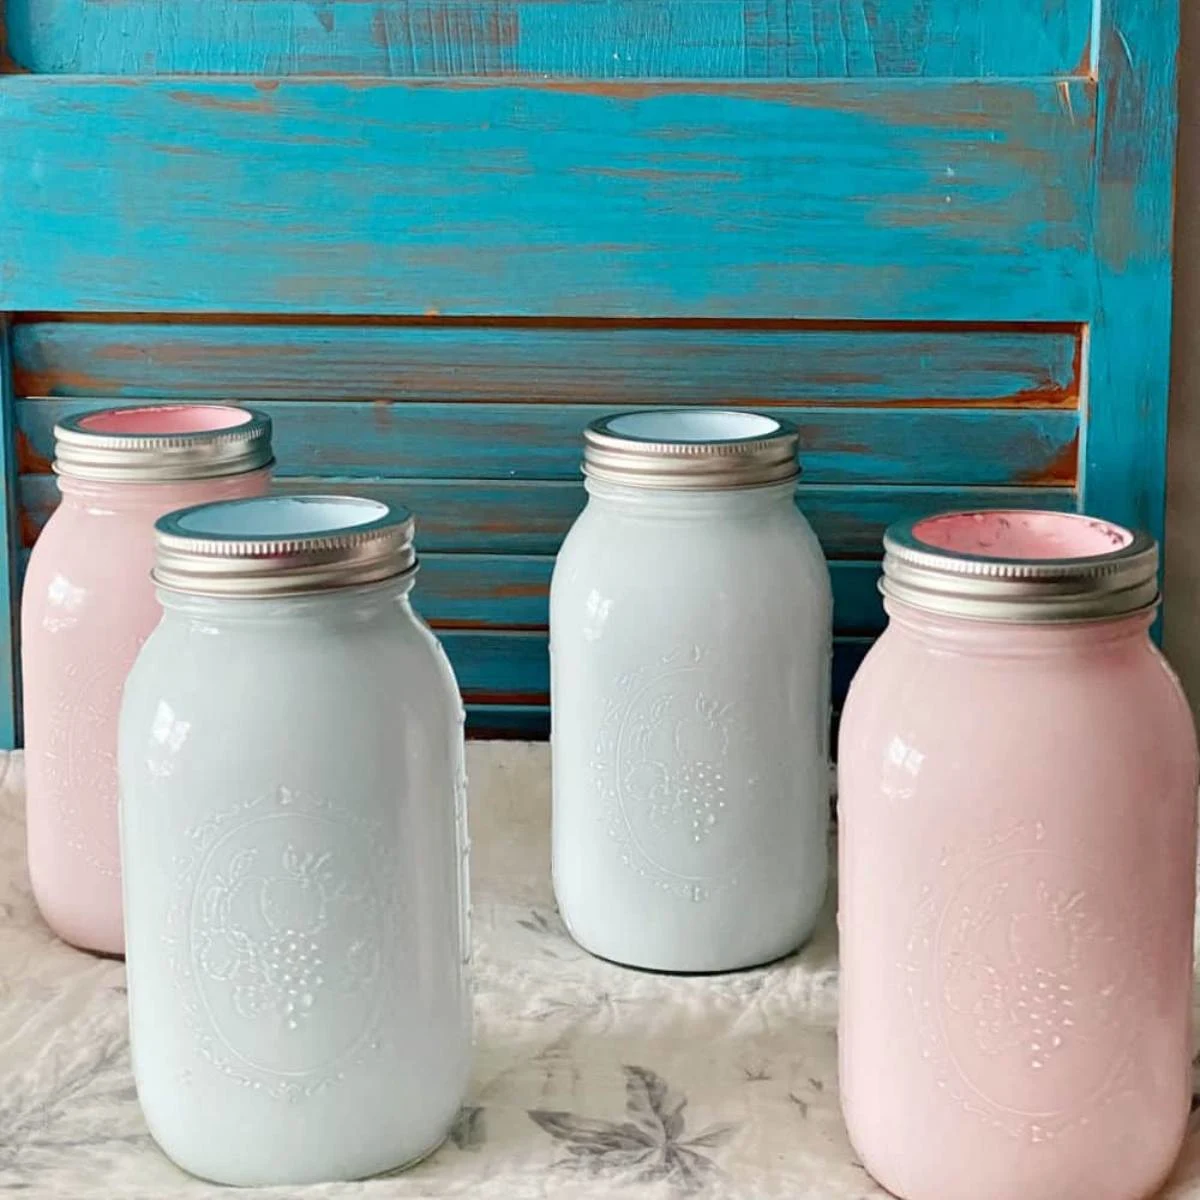
I’m super excited to share this mason jar craft with you.
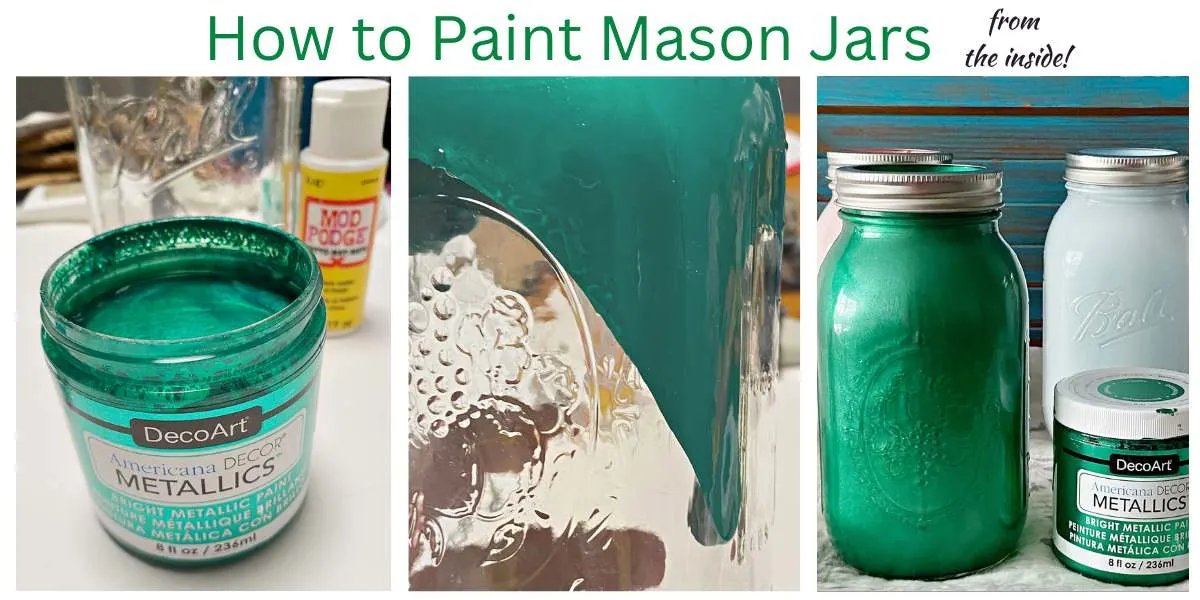
The second I saw this gorgeous metallic green paint from DecoArt, I immediately thought it would be perfect for glass-and I was right!
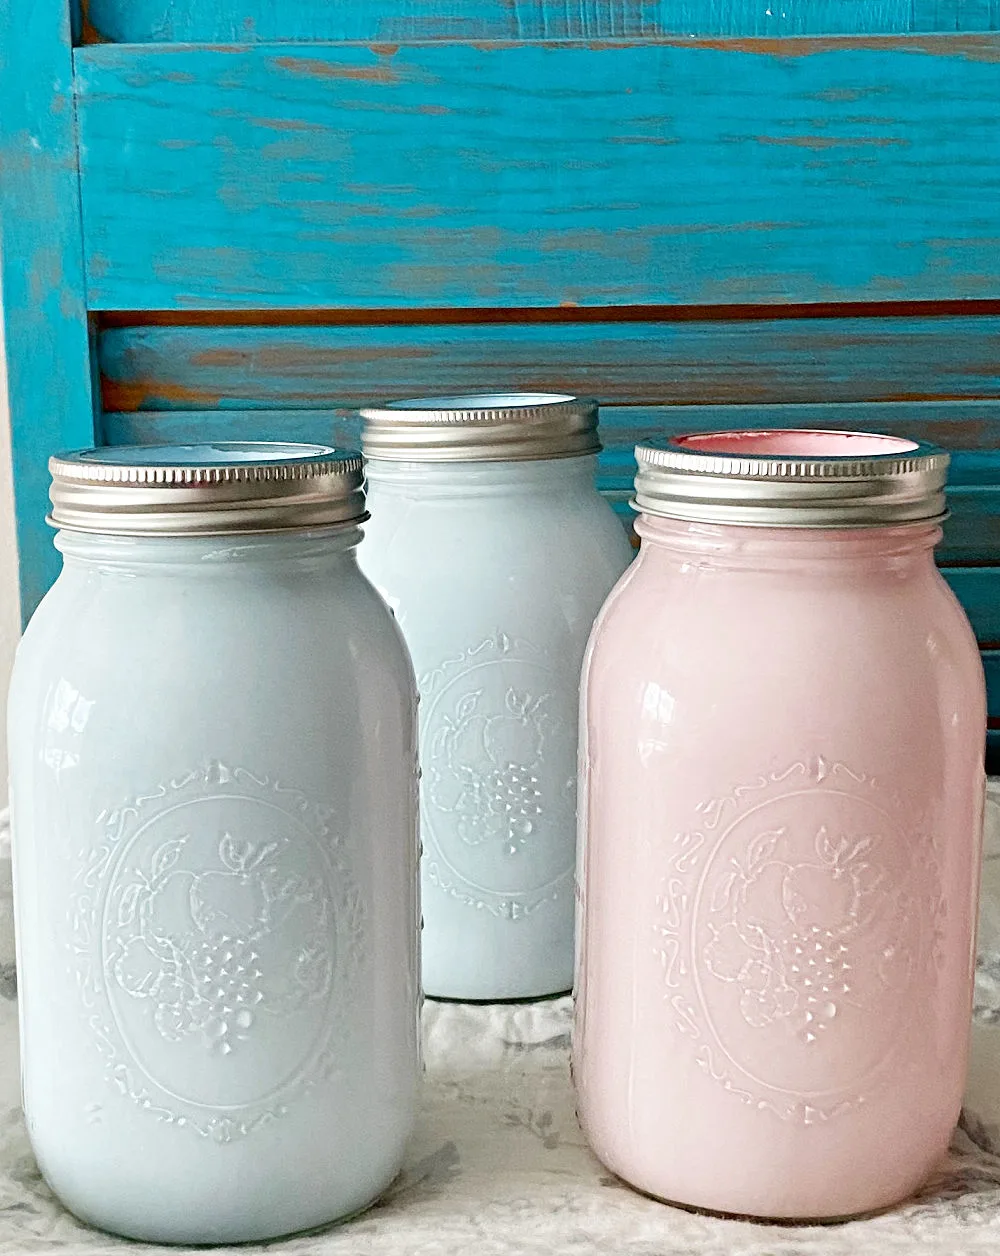
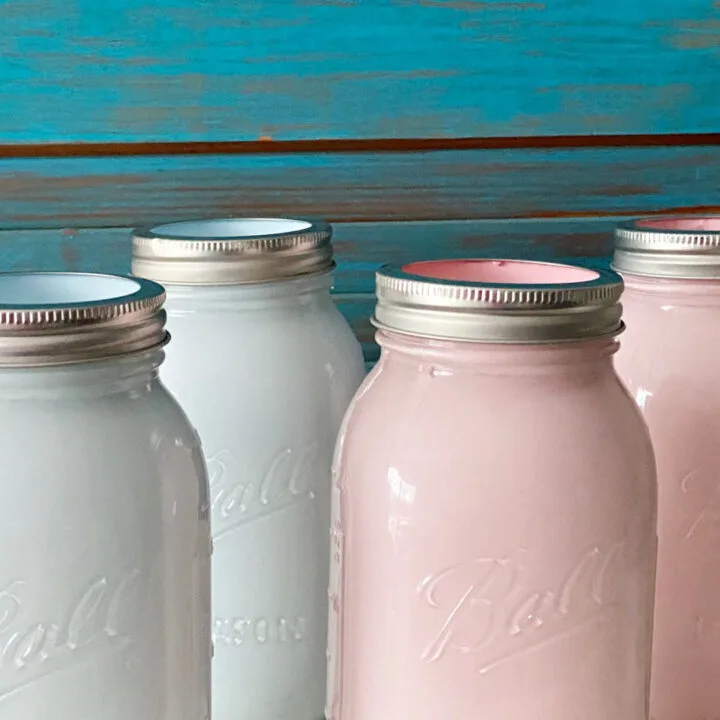
But I didn’t stop with green. I also painted the prettiest pastel colored mason jars to use in my spring decorating.
Once you see how easy it is, you will want to paint “all the jars”!
This post is sponsored by DecoArt and contains affiliate links at no extra cost to you. However, I only promote product I truly love. Please read my full disclosure HERE.
Painted Mason Jars
If you follow me on Pinterest you may have seen the tinted mason jars I painted with food coloring.
These were extremely popular and while I’m happy with how they turned out, they were time consuming.
They are painted on the outside and required baking in the oven. A couple of years later they have held up great.
If you want more of a stained glass look, be sure to check out the tutorial.
These jars have more of a solid color paint finish. They only took about 20 minutes to paint all 4. Seriously, it’s a matter of mixing, pouring and drying.
There is also a printable craft card at the end of this post to make it even easier for you. Let’s get to it!
Supplies for Colored Mason Jars
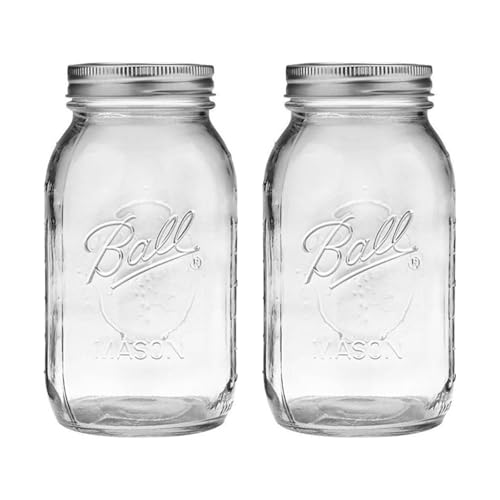
- Mason Jars – I love the look of Ball mason jars with the fruit design
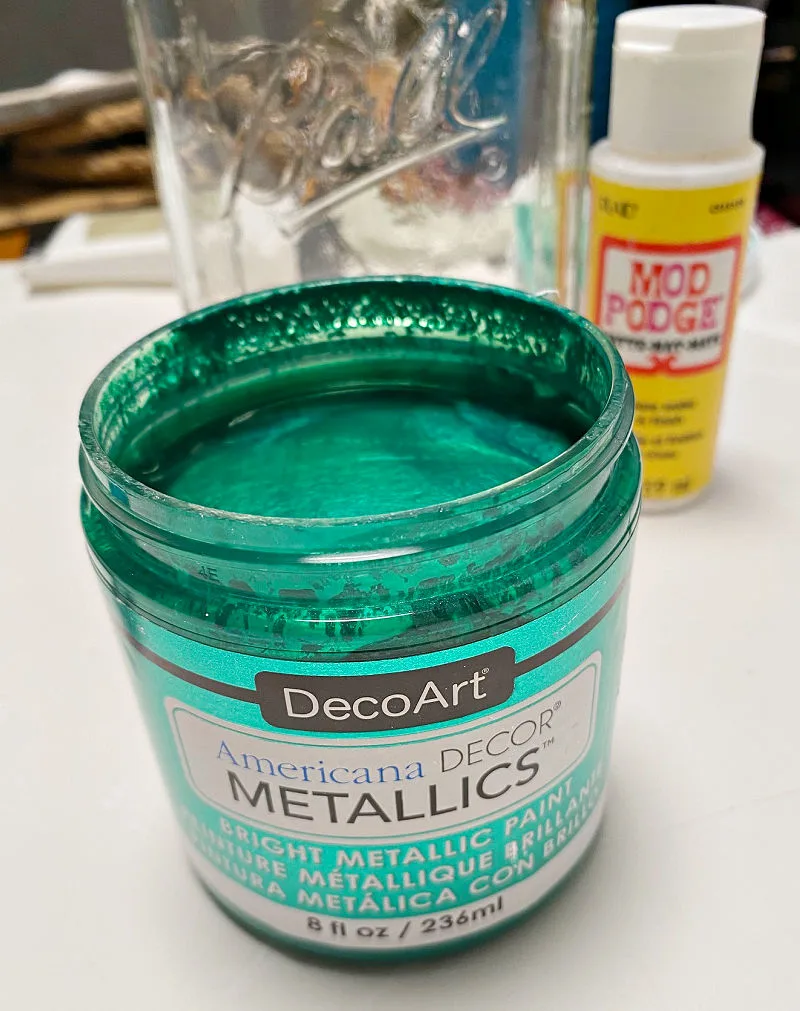
- Mod Podge – I used a matte finish, but you can also use a gloss finish
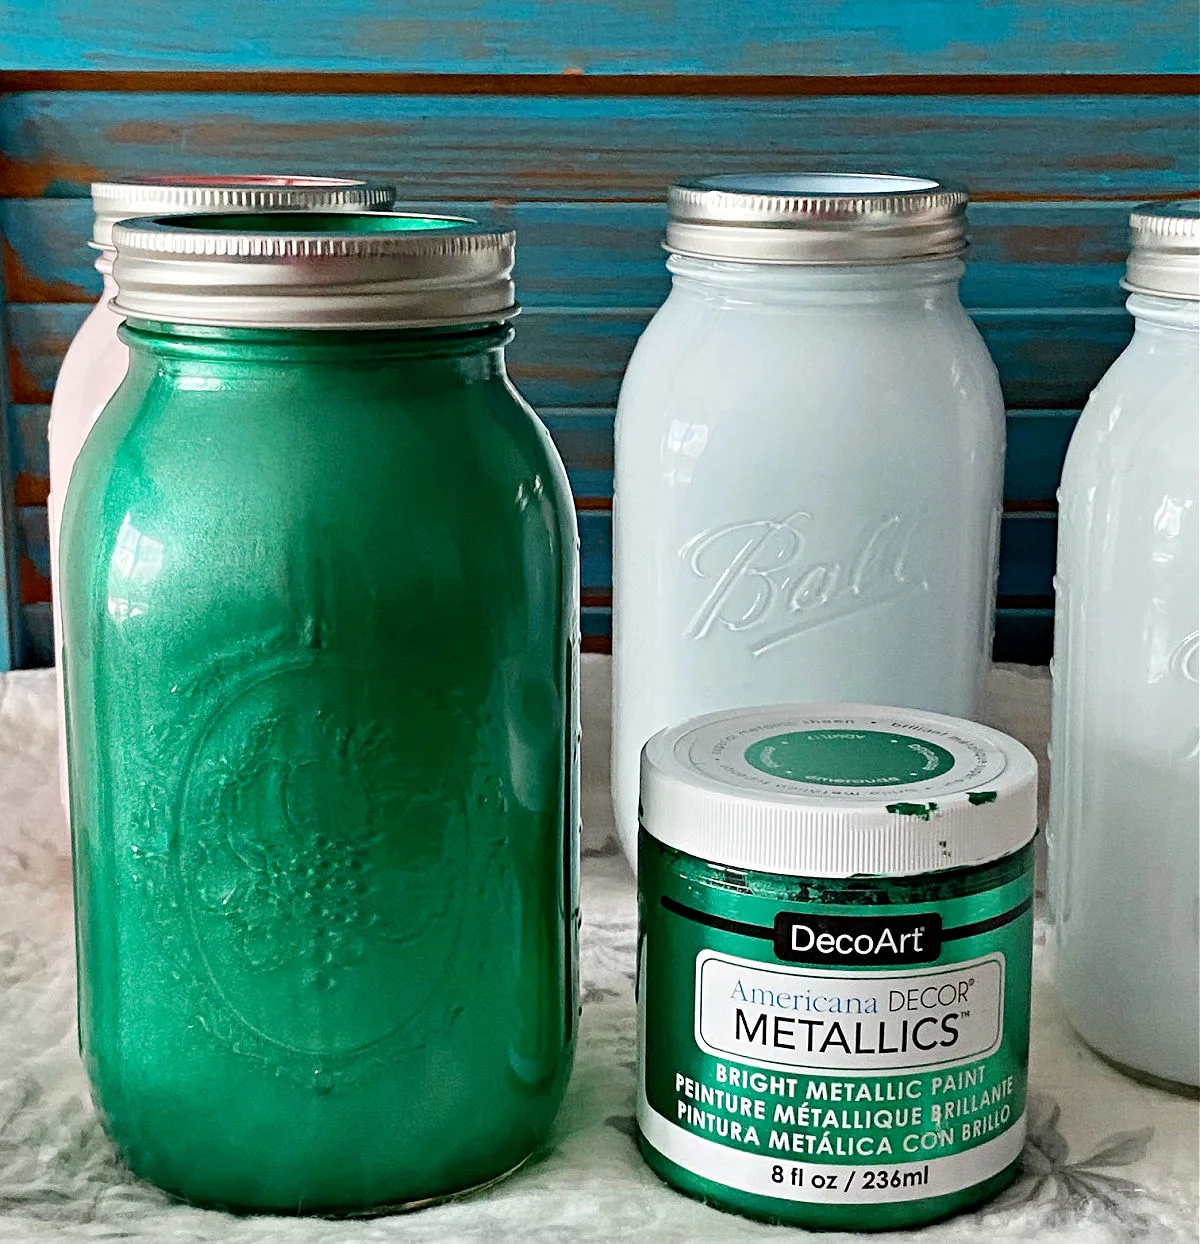
- Paint – I used DecoArt metallic paint in crystal green, and DecoArt acrylic paint in blush pink and shoreline. You can also use acrylic craft paint, chalk paint or glass paint.
- Rubbing Alcohol
- Paper Towel
- Mixing Bowl for Paint – dollar store paper bowls work great!
- Craft Sticks – for Mixing
Best Place to Buy Mason Jars
- Craft Store
- Home Improvement Store
- Amazon
- Target – I found a case for an incredible price on summer clearance
- Dollar Store
How to Paint Mason Jars
Step 1. Choose Your Paint Color
Start by choosing your paint color. I knew I wanted to paint mason jars for Spring, specifically for St. Patrick’s Day and Easter.
I found the most beautiful shade of green that is totally made for St. Patrick’s Day crafts. Isn’t it gorgeous?
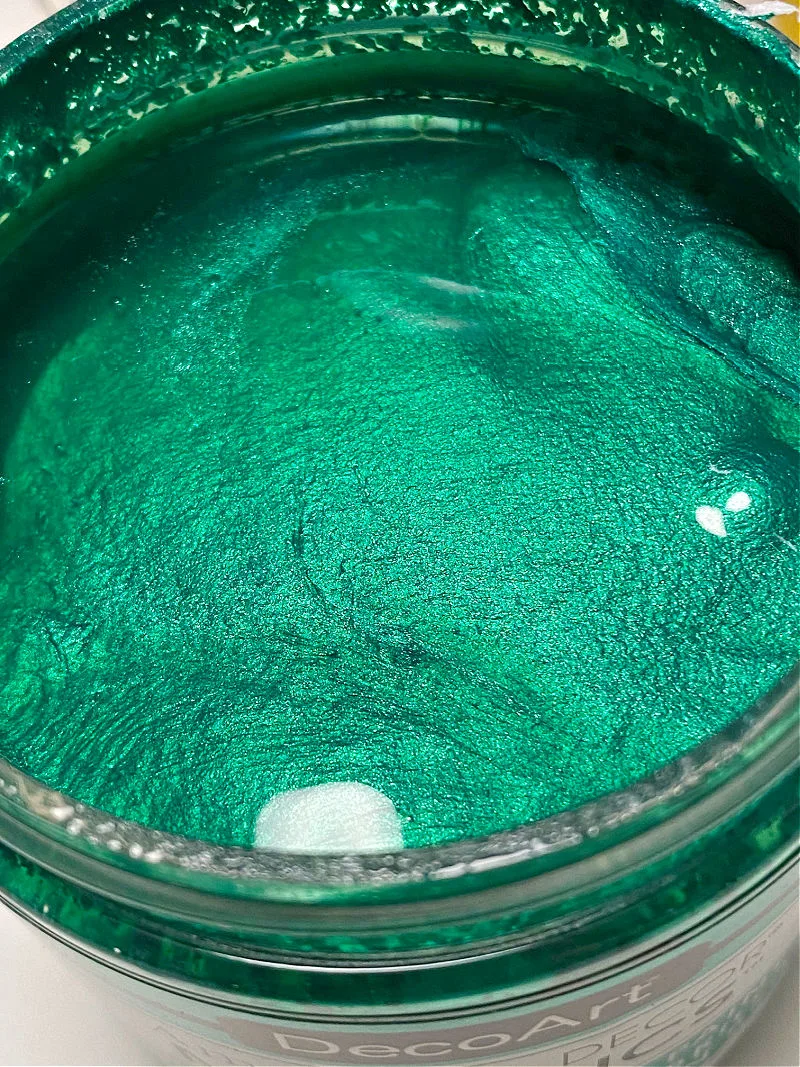
The metallic finish works great on glass. I’ve used DecoArt metallic paint in several projects shown below:
In addition to metallic green, I also used DecoArt acrylic paint in blush pink and shoreline.
They are both a pretty pastel color perfect for spring and Easter!
Step 2. Clean The Mason Jar
To get the smoothest paint finish possible, it’s important to clean the jars with rubbing alcohol. You can just use a paper towel.
This will get rid of any fingerprints or dust.
Step 3. Mix The Paint With Mod Podge
To ensure that the paint isn’t too thick and to help it adhere to the glass, it’s important to add a bit of mod podge to the paint.
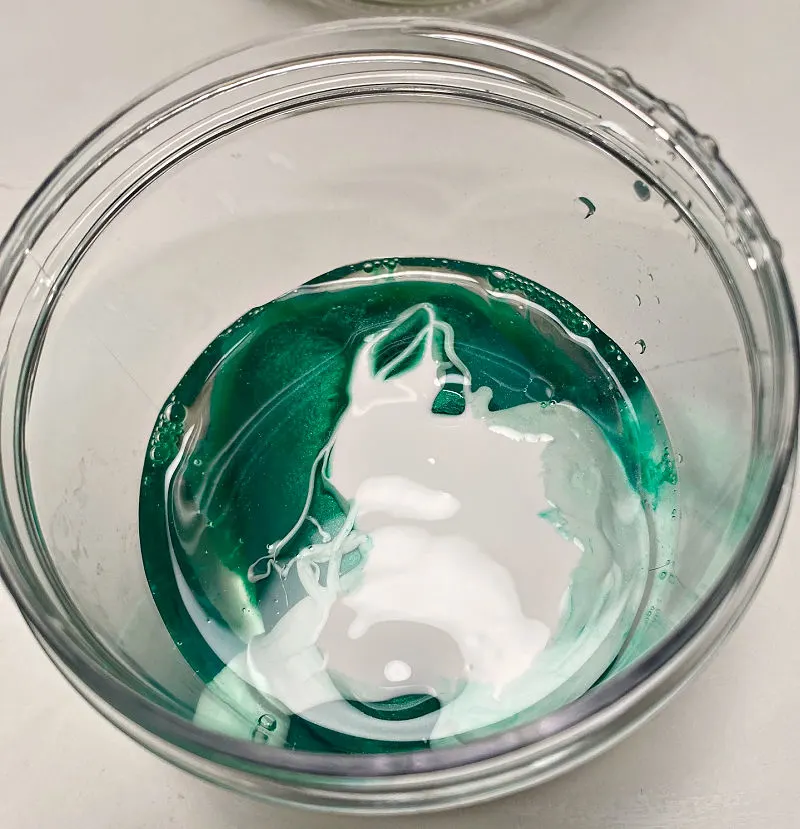
I am an impatient crafter, so I never measure. Use a disposable cup and pour paint about 1/4 of the way full.
Then add a spoonful or two of mod podge. Mix it with a craft stick until it is well blended.
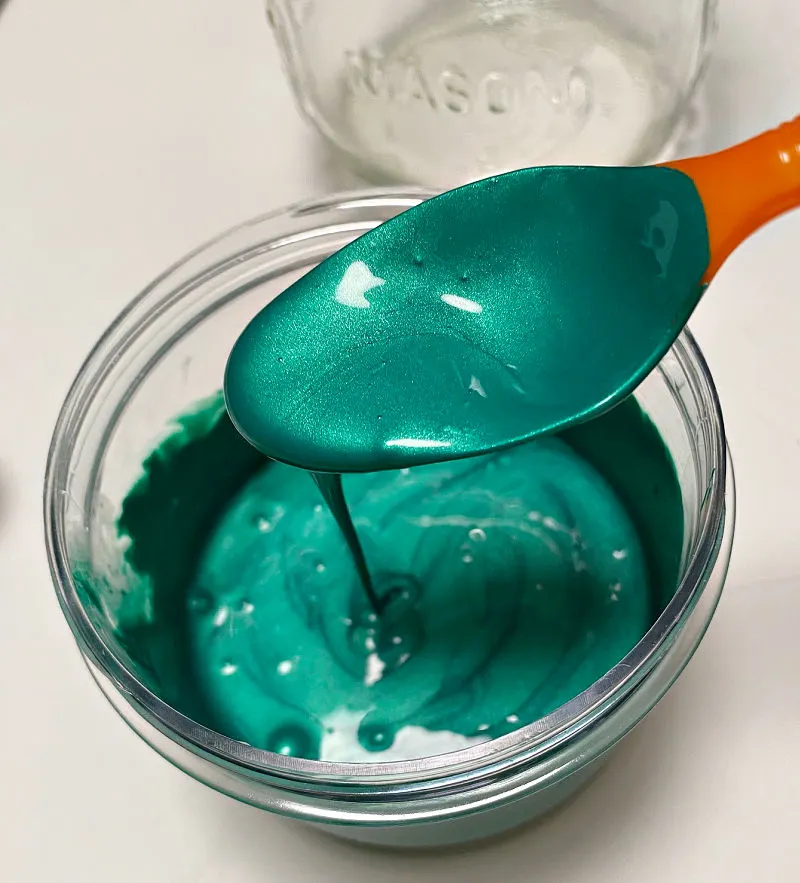
It should be the consistency of yogurt or a little thinner.
Step 4. Pour Paint Mixture Into Glass Jar
Slowly pour your mixed paint into the mason jar. It is best to start with a small amount.
You can always add more. It takes very little paint to cover the jars.
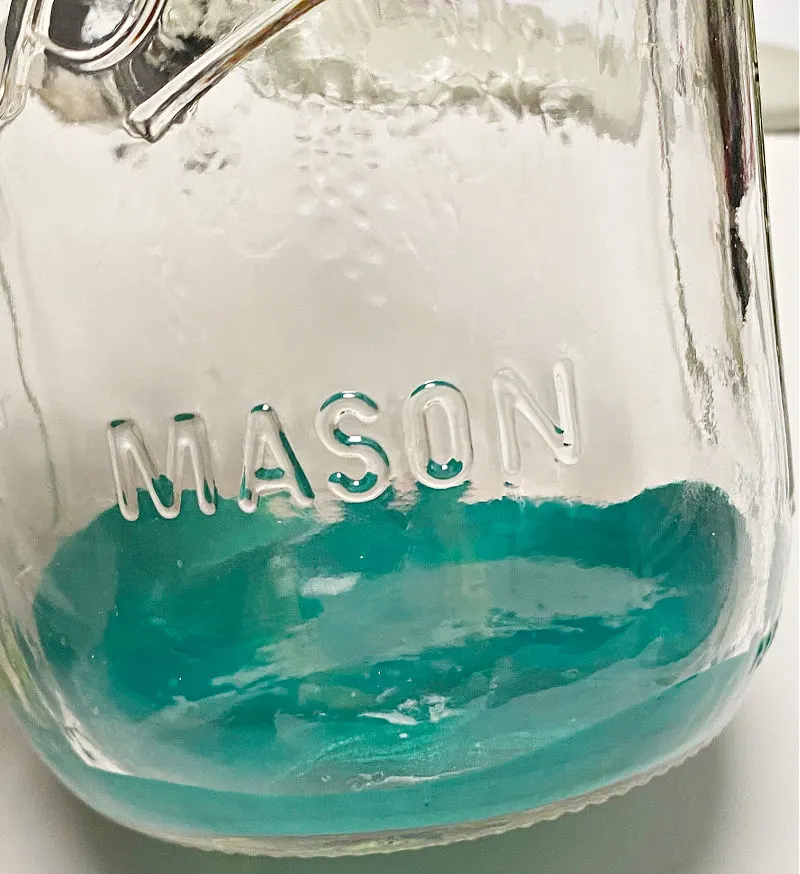
Now you want to slowly rotate the jar around so the paint moves across and covers the entire jar.
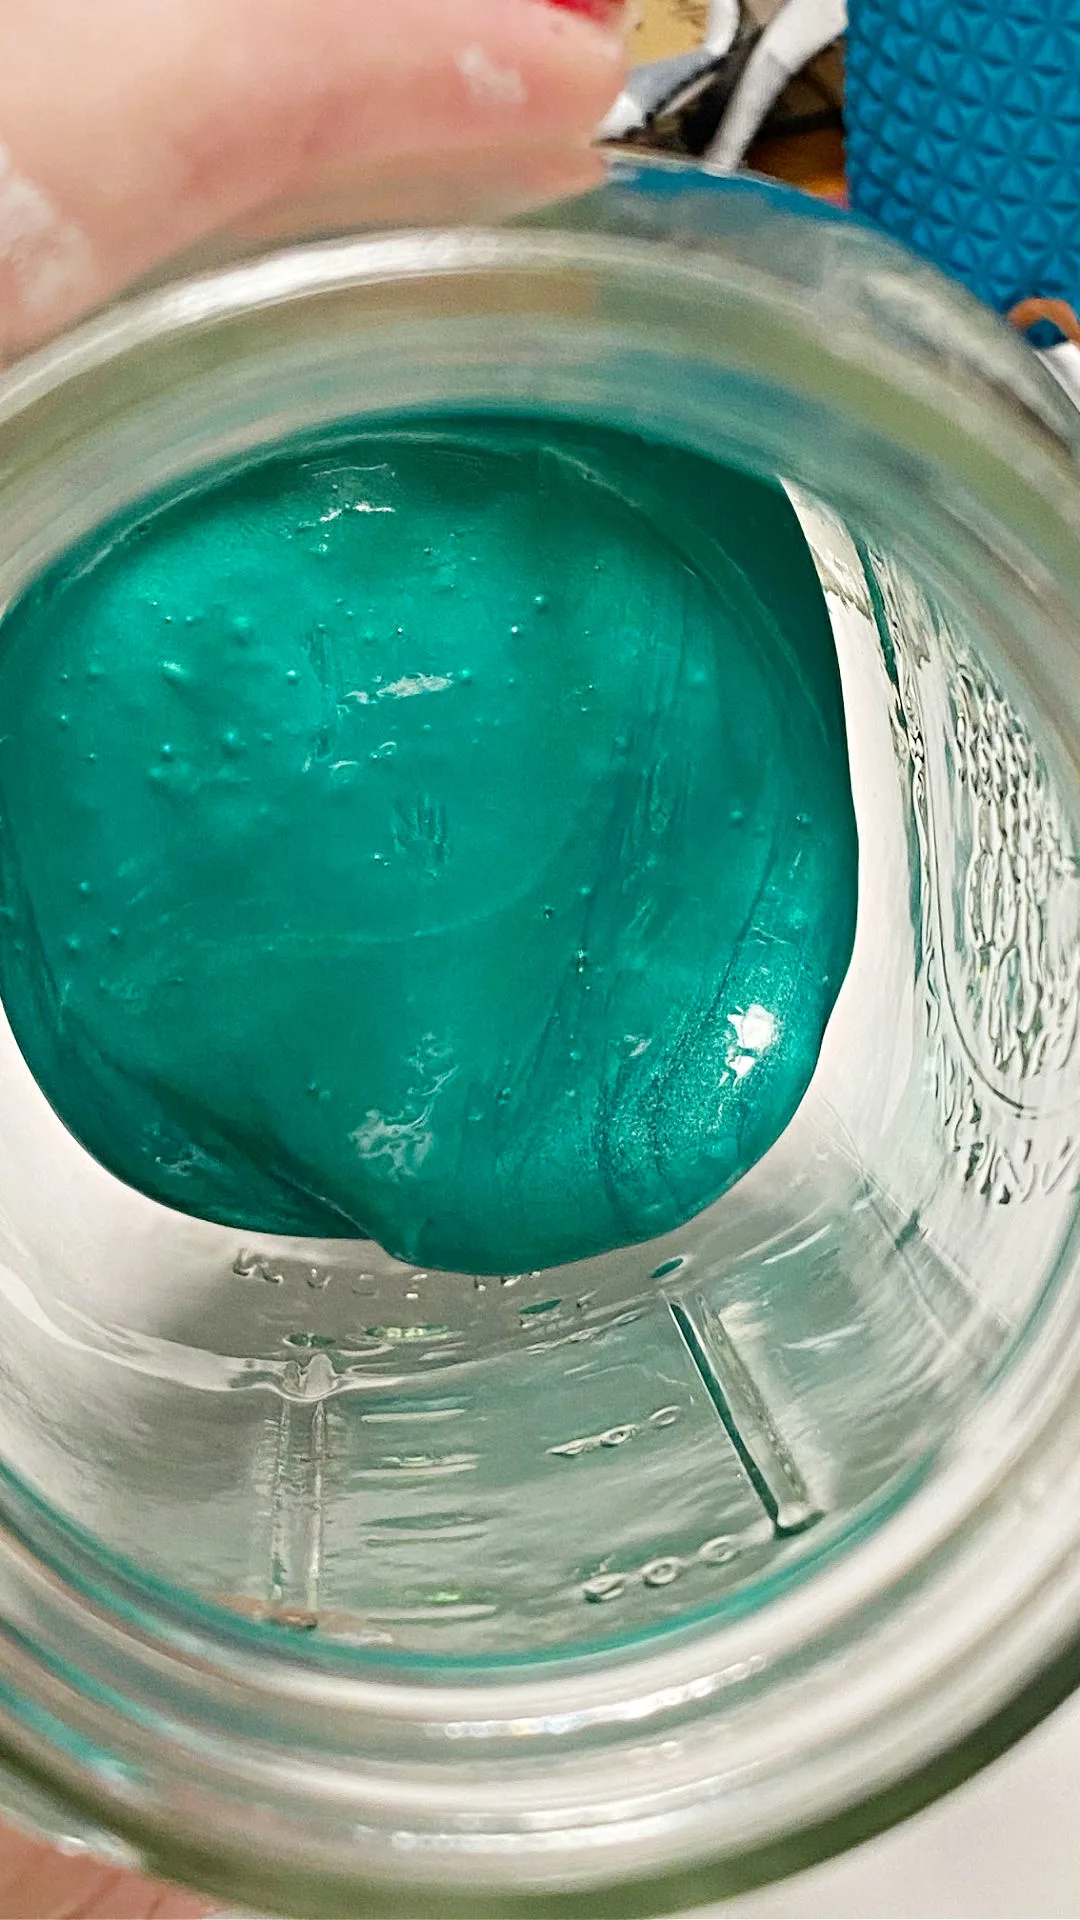
If you don’t have enough paint, just pour a bit more.
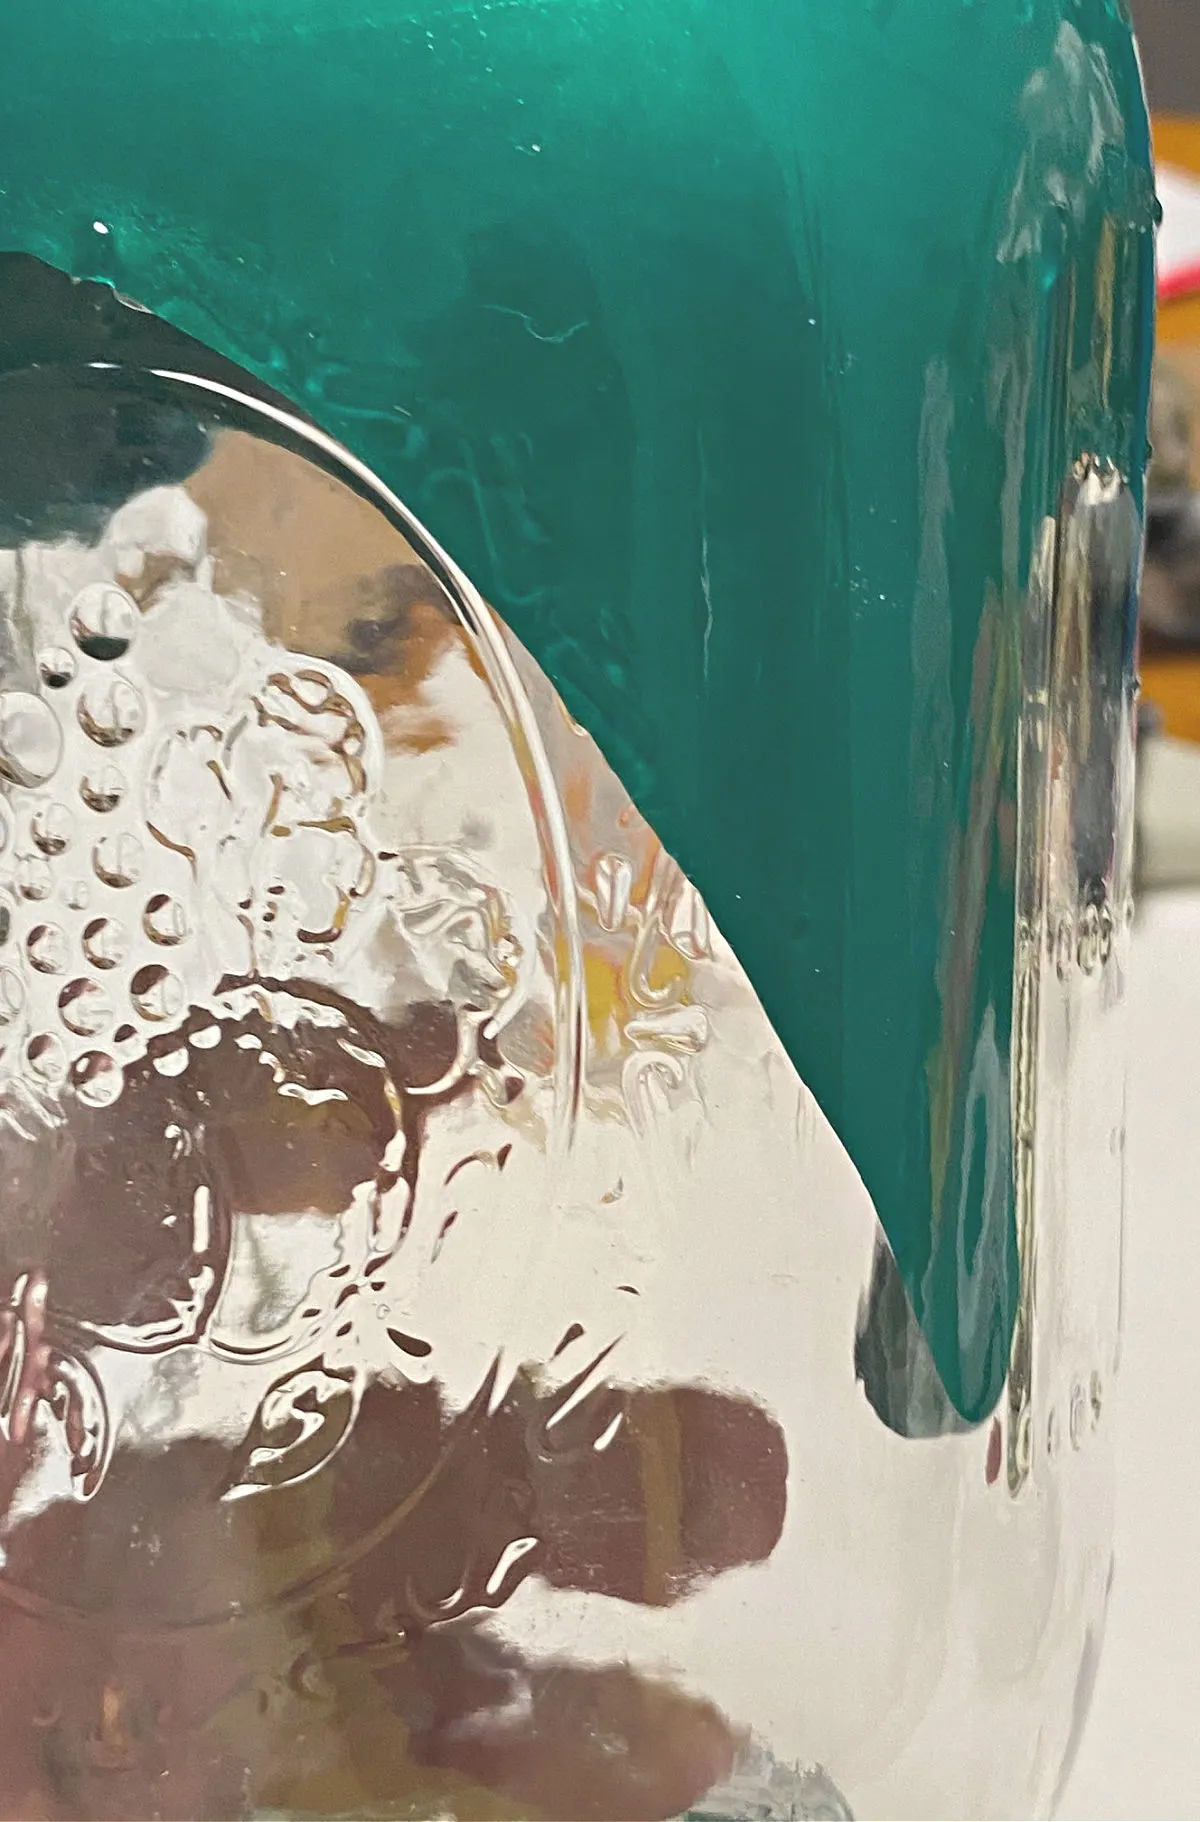
Step 5. Let Dry Upside Down
Once you’ve covered the jar with paint, place it upside down to dry. You will be surprised at how much paint comes out.
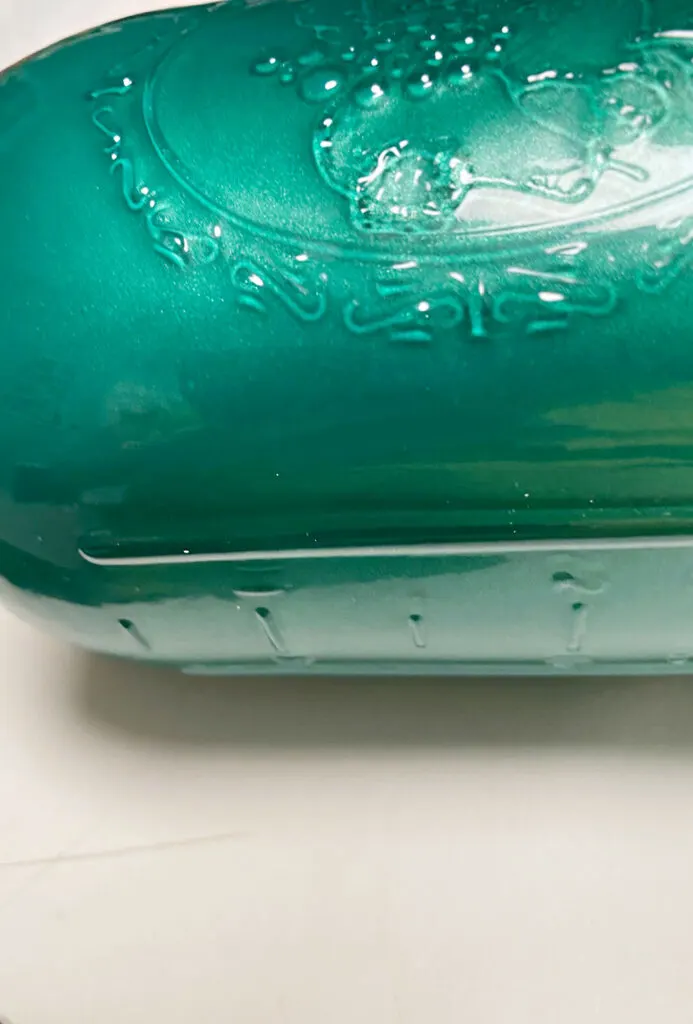
It helps to place it on parchment paper to dry. That way it won’t stick. I tried cardboard and it was a pain to get that off!
When I tell you the finish is perfectly smooth, I am not exaggerating.
I kept showing my daughter because I was so excited.
Now I want to paint all the colors of the rainbow.
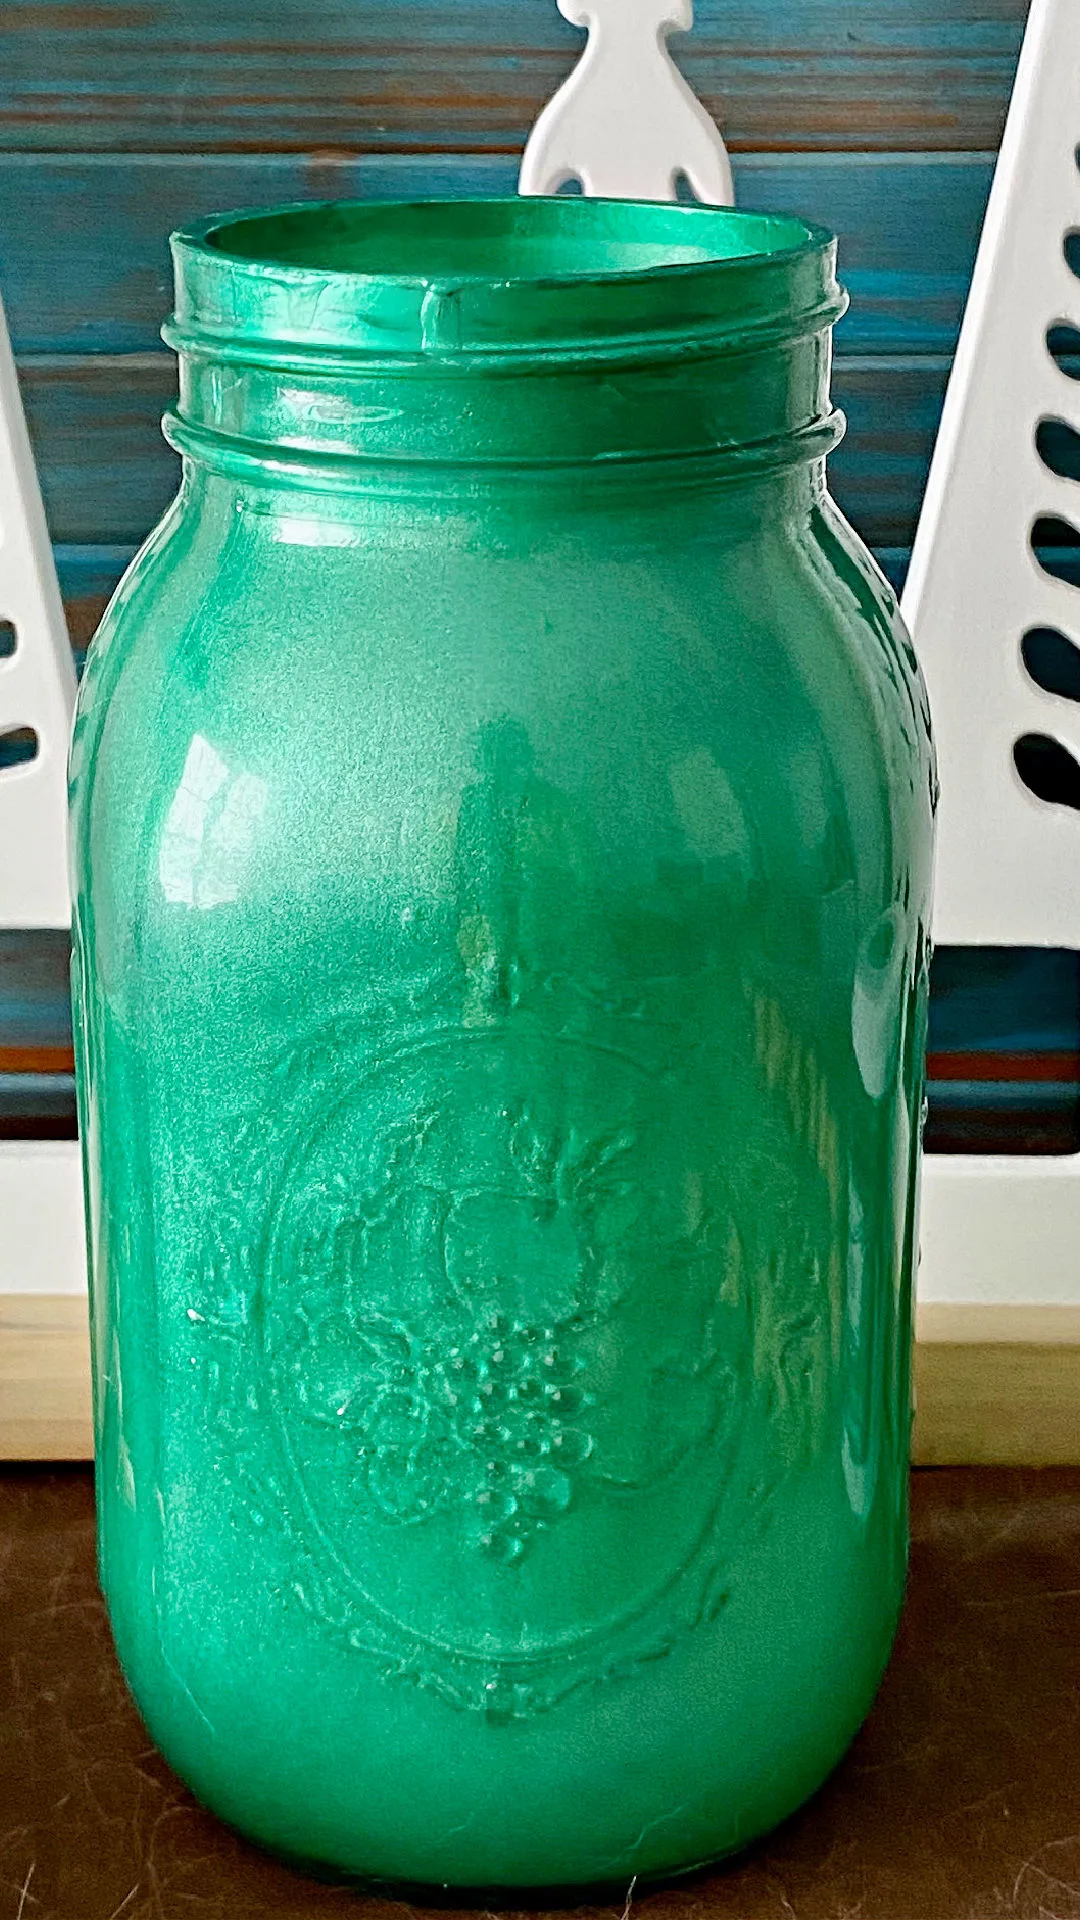
The metallic in the green paint looks even prettier in person:
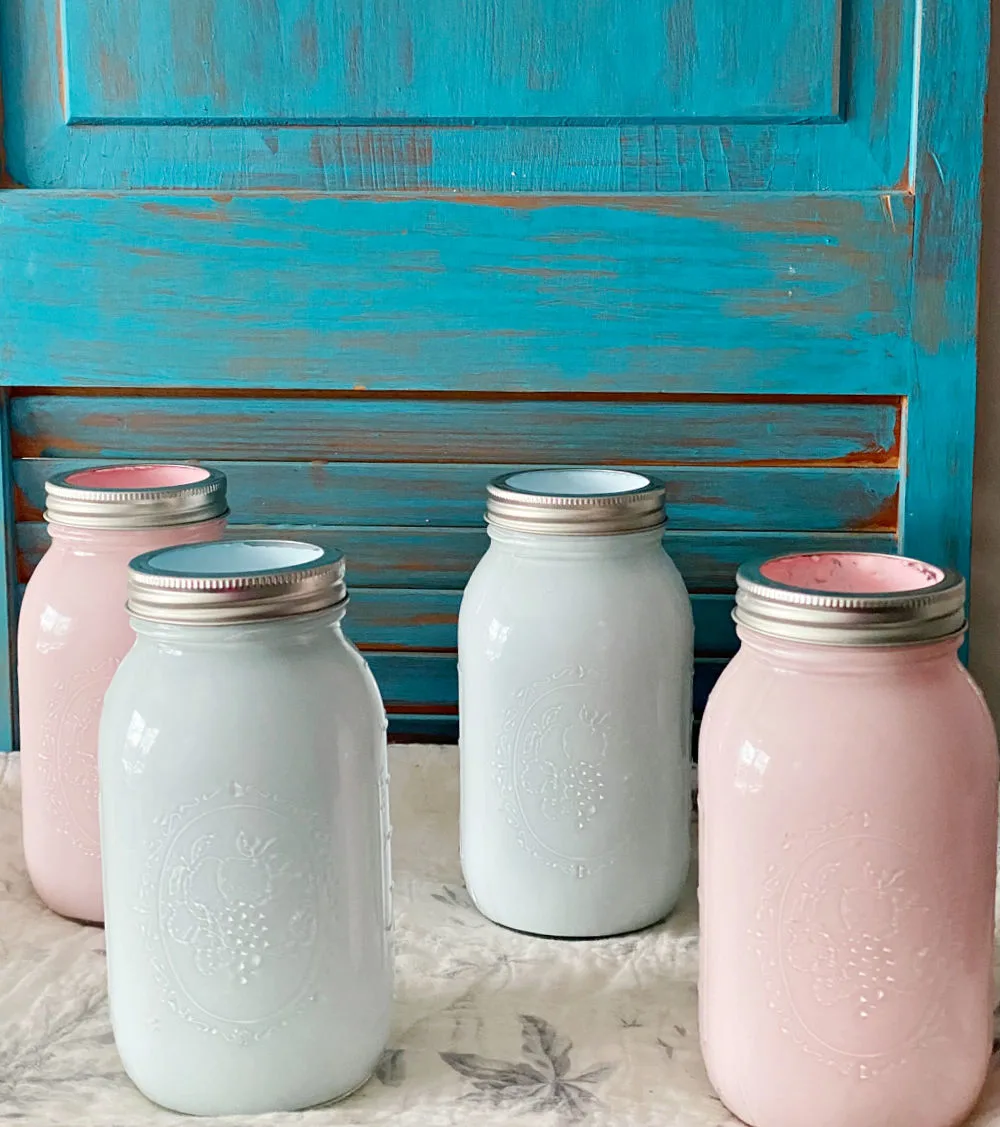
The pink and blue are exactly what I was envisioning for spring. I do have an Easter decorating idea for these.
Be sure to stop by next week to see it!
You can follow this same tutorial to paint any type of glass jars. Repurpose spaghetti jars, pickle jars, vases or any type of glass jar.
How To Decorate With Mason Jars
- Fill them with flowers
One of the most popular ways to decorate with Mason jars is to fill them with fresh flowers. You can use a single type of flower or create a mixed bouquet. Mason jars can also be used to display dried flowers. - Use them as vases
Mason jars can also be used as vases for artificial flowers. This is a great option if you want to be able to reuse the jars for other purposes or if you want to create a more permanent decoration. - Create a lantern
Mason jars can be used to create lanterns. To do this, simply add a candle and some stones, sand, or shells to the bottom of the jar. You can also add a string of lights for a more dramatic effect. Fairy lights work great! - Use them as utensil holders
Another popular way to decorate with Mason jars is to use them as utensil holders. They work great for a party you can use plastic utensils for a more informal party.
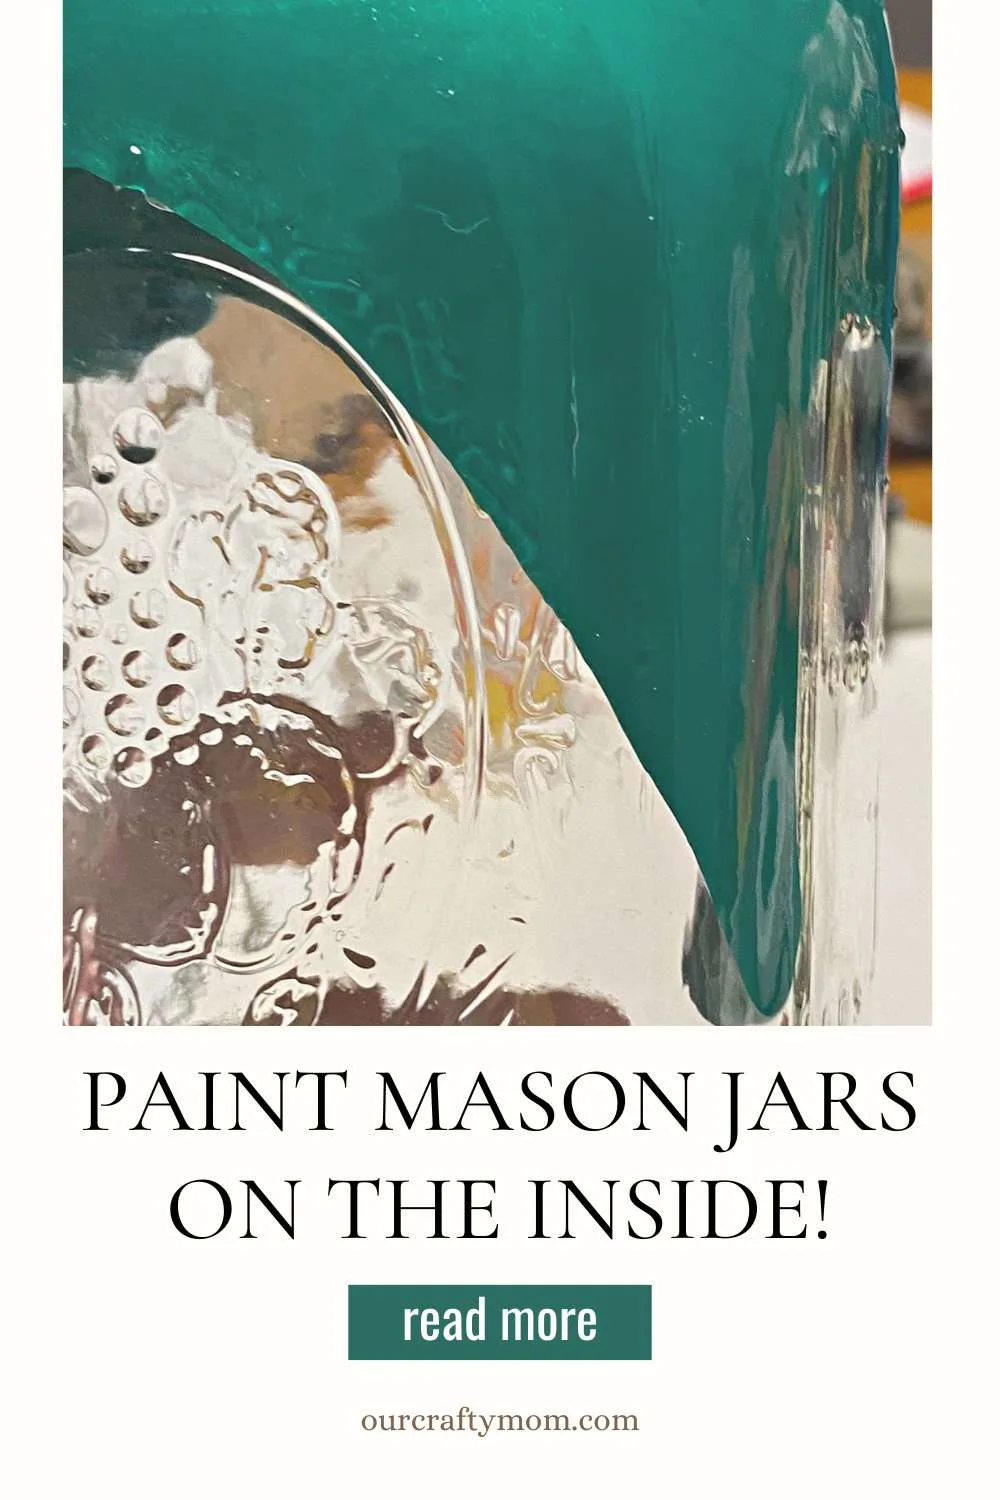
Sharing is caring…please PIN the below image:
I hope you found this tutorial helpful. Be sure to let me know if you give it a try.
What color would you paint your mason jars? I’m thinking a deep purple would look amazing!
Frequently Asked Questions
What kind of paint should I use for mason jars?
You can use a variety of paints including acrylic craft paint, chalk paint, metallic paint, glass paint and more!
How do I prepare the jars for painting?
The only prep needed is to clean the jars with rubbing alcohol to remove any dust or fingerprints.
How do I apply the paint to the jars?
You can paint the jars on the inside as I show in this tutorial, or paint the glass on the outside. If you paint the outside, be sure to apply a clear sealant to keep the paint from chipping.
How do I know when the paint is dry?
It’s best to let the paint dry overnight to ensure it is fully dry. However, at least 2-3 hours should be sufficient.
How do I get a smooth finish when painting mason jars?
To get the smoothest finish it’s best to paint the mason jar on the inside. The paint won’t chip and it leaves a perfect finish!
Can you spray paint mason jars?
You can definitely use spray paint as long as you use the right product. Make sure you choose a spray paint with primer, or paint with primer first.
Do I need to seal the painted jars?
I haven’t sealed the jars and have added silk flowers with no scratching, however, to be safe you can spray the inside with a clear sealant.
Google Web Story: How to Paint Mason Jars On The Inside
Here are even more mason jar crafts:
- Mason Jar Centerpiece
- Patriotic Mason Jar
- Glittered Mason Jar Light
- Buffalo Check Mason Jar
- Gilded Mason Jar
Painted Mason Jars on the Inside
Get the smoothest finish on painted mason jars by pouring paint on the inside of the glass jar. It is quick and easy to do and they look incredible!
Materials
- Mason Jars
- Mod Podge
- Paint
- Rubbing Alcohol
- Paper Towel
- Mixing Bowl for Paint
- Craft Sticks
Instructions
- Clean the jars with rubbing alcohol. You can just use a paper towel.
- Add a spoonful or two of mod podge to the paint. Mix it with a craft stick until it is well blended.
- Slowly pour your mixed paint into the mason jar.
- Rotate the jar around so the paint moves across and covers the entire jar.
- Once you’ve covered the jar with paint, place it upside down to dry.
- You can spray it with a clear sealer to further protect it.
Recommended Products
As an Amazon Associate and member of other affiliate programs, I earn from qualifying purchases.
You can find me on social media below:



Adele Parrillo
Wednesday 3rd of May 2023
I have painted these jars for years on the outside. I never thought about painting them on the inside, so would I spray a sealer on the inside so I could fill it with water for fresh flowers your jars are beautiful.
Lorna
Tuesday 7th of February 2023
I'm wondering if the inside needs to be sealed after the paint dries so fake flower stems don't scratch or chip it.
ourcraftymom
Wednesday 8th of February 2023
You can definitely spray the inside with a sealer, or bake them in the oven to be safe. I haven't done that yet. But I will probably take care of that this weekend. I'll update the post to include that. Thanks so much! :)