Create stunning pressed flower ornaments for Christmas! A beautiful handmade craft to decorate your tree or give as gifts to loved ones.

This post contains affiliate links. This means if you click the link and buy something, I may receive a percentage of sales at no extra cost to you. Please see my full disclosure here.
Pressed Flower Ornaments
These handmade Christmas ornaments are not only unique and lovely but also have that vintage charm we all love!
While I used glass ball ornaments to make these beauties, you can also use wood or plastic ornaments as the base. I’ll share a wood ornament at the bottom of this post, so be sure to read to the end.
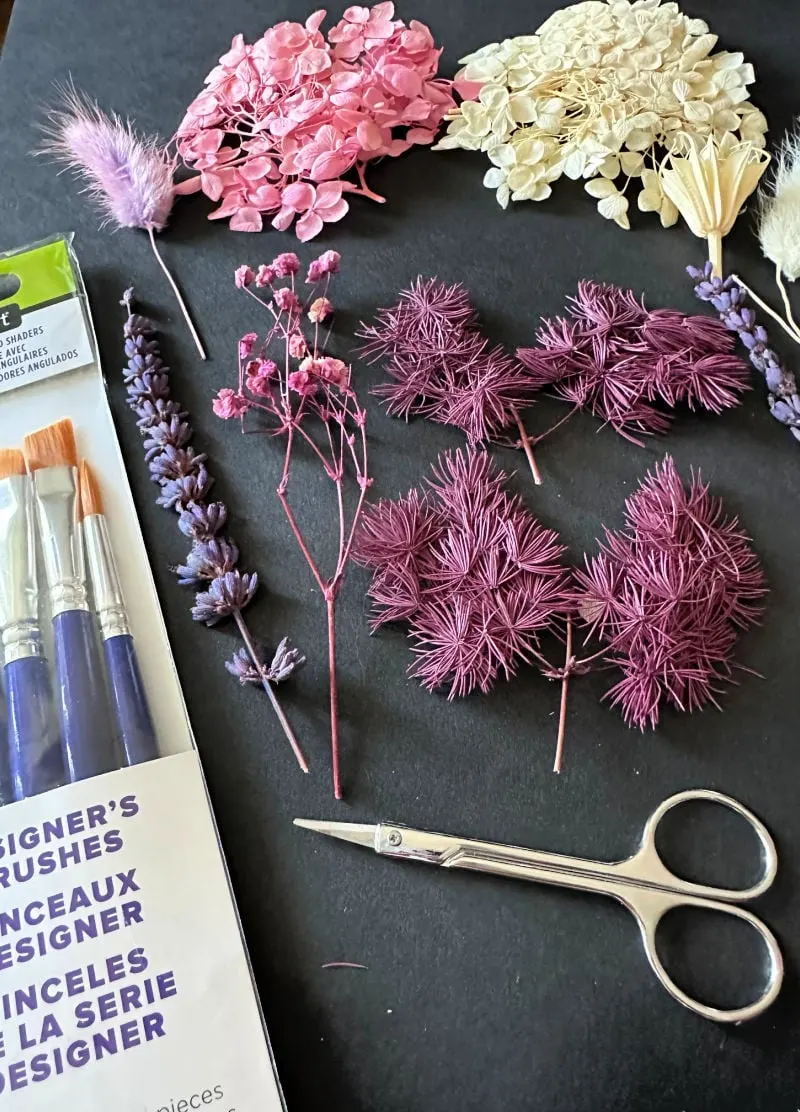
Supplies for Pressed Flower Christmas Ornaments
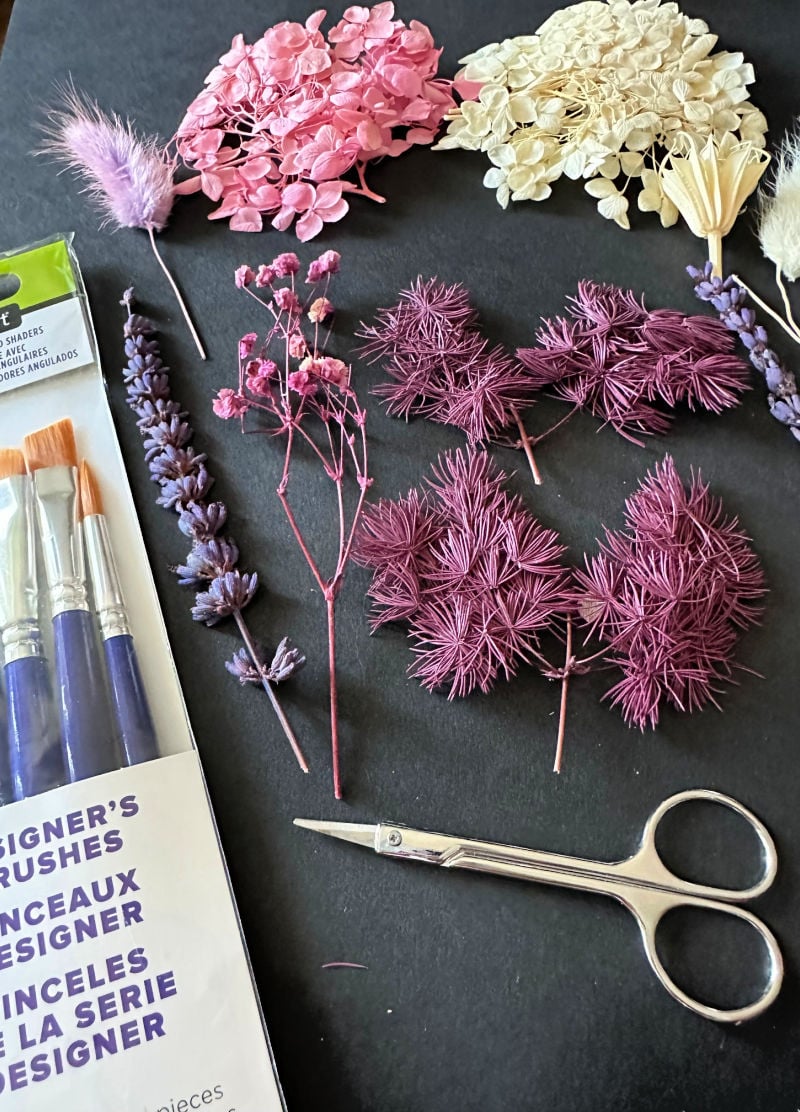
- Dried Pressed Flowers: you can save time by purchasing dried flowers, or easily press your own.
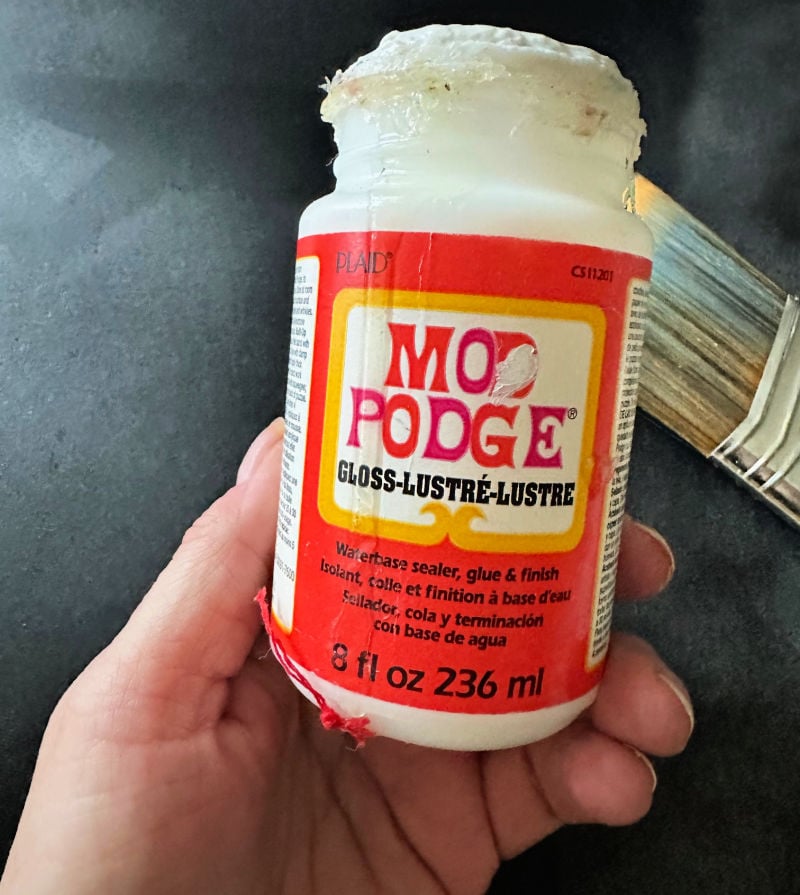
- Mod Podge: I used gloss, but you can also use matte if you prefer that look better.
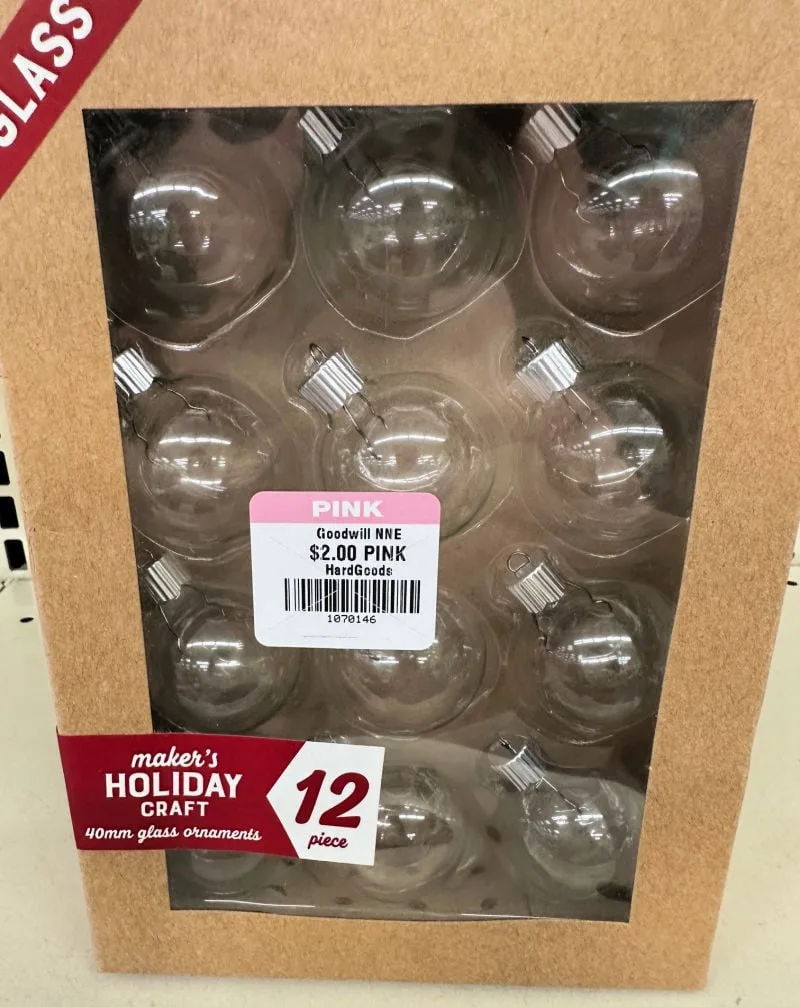
- Ball Ornaments: I scored a box of 12 glass ornaments for $2 at the thrift store. Be sure to check out your local stores to see what they have. Plastic ball ornaments also work well.
- Small Brushes
- Clear Sealer: This is a good idea to protect the flowers for storage. (I still need to seal mine)

Step 1. Clean the Ornaments
The first step whenever crafting with glass is to remove any dust or fingerprints. Rubbing alcohol works great.
Step 2. Add Mod Podge
Use a small brush to cover the ornament with mod podge.

Step 3. Add the Dried Flowers
Carefully place the flowers onto the ornament. It helps to use tweezers as the flowers are very fragile. The dried flowers I bought did include tweezers.
Carefully press the flowers down and hold for a minute or so until they are secure.
Step 4. Add Another Mod Podge Layer
You can add flowers onto the entire ornament, or just on the front as shown below. This is a matter of preference. Let dry.
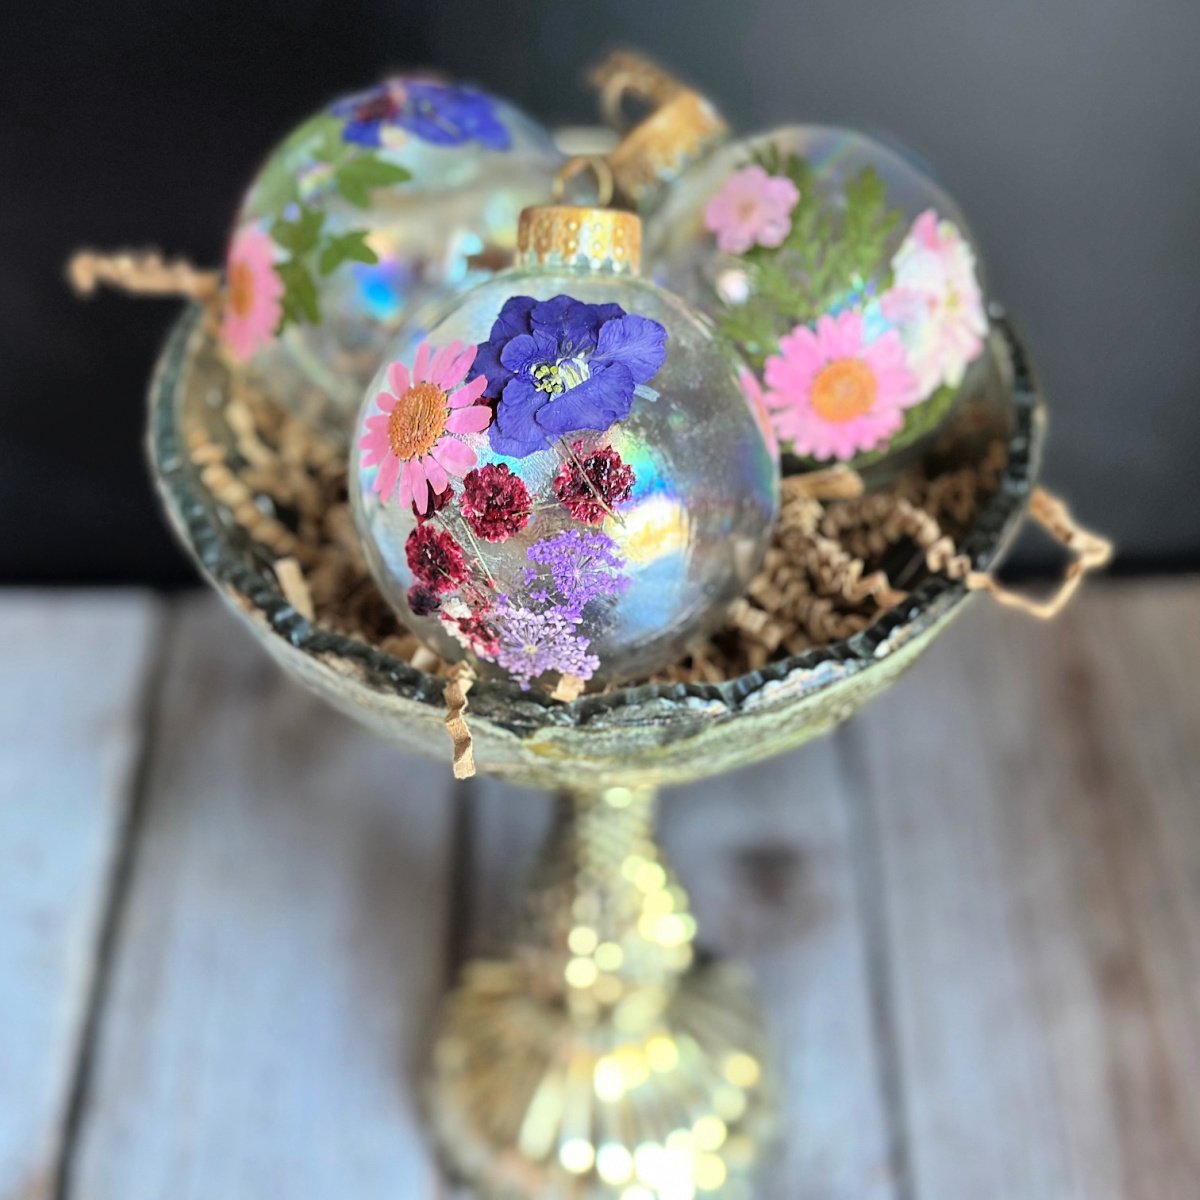
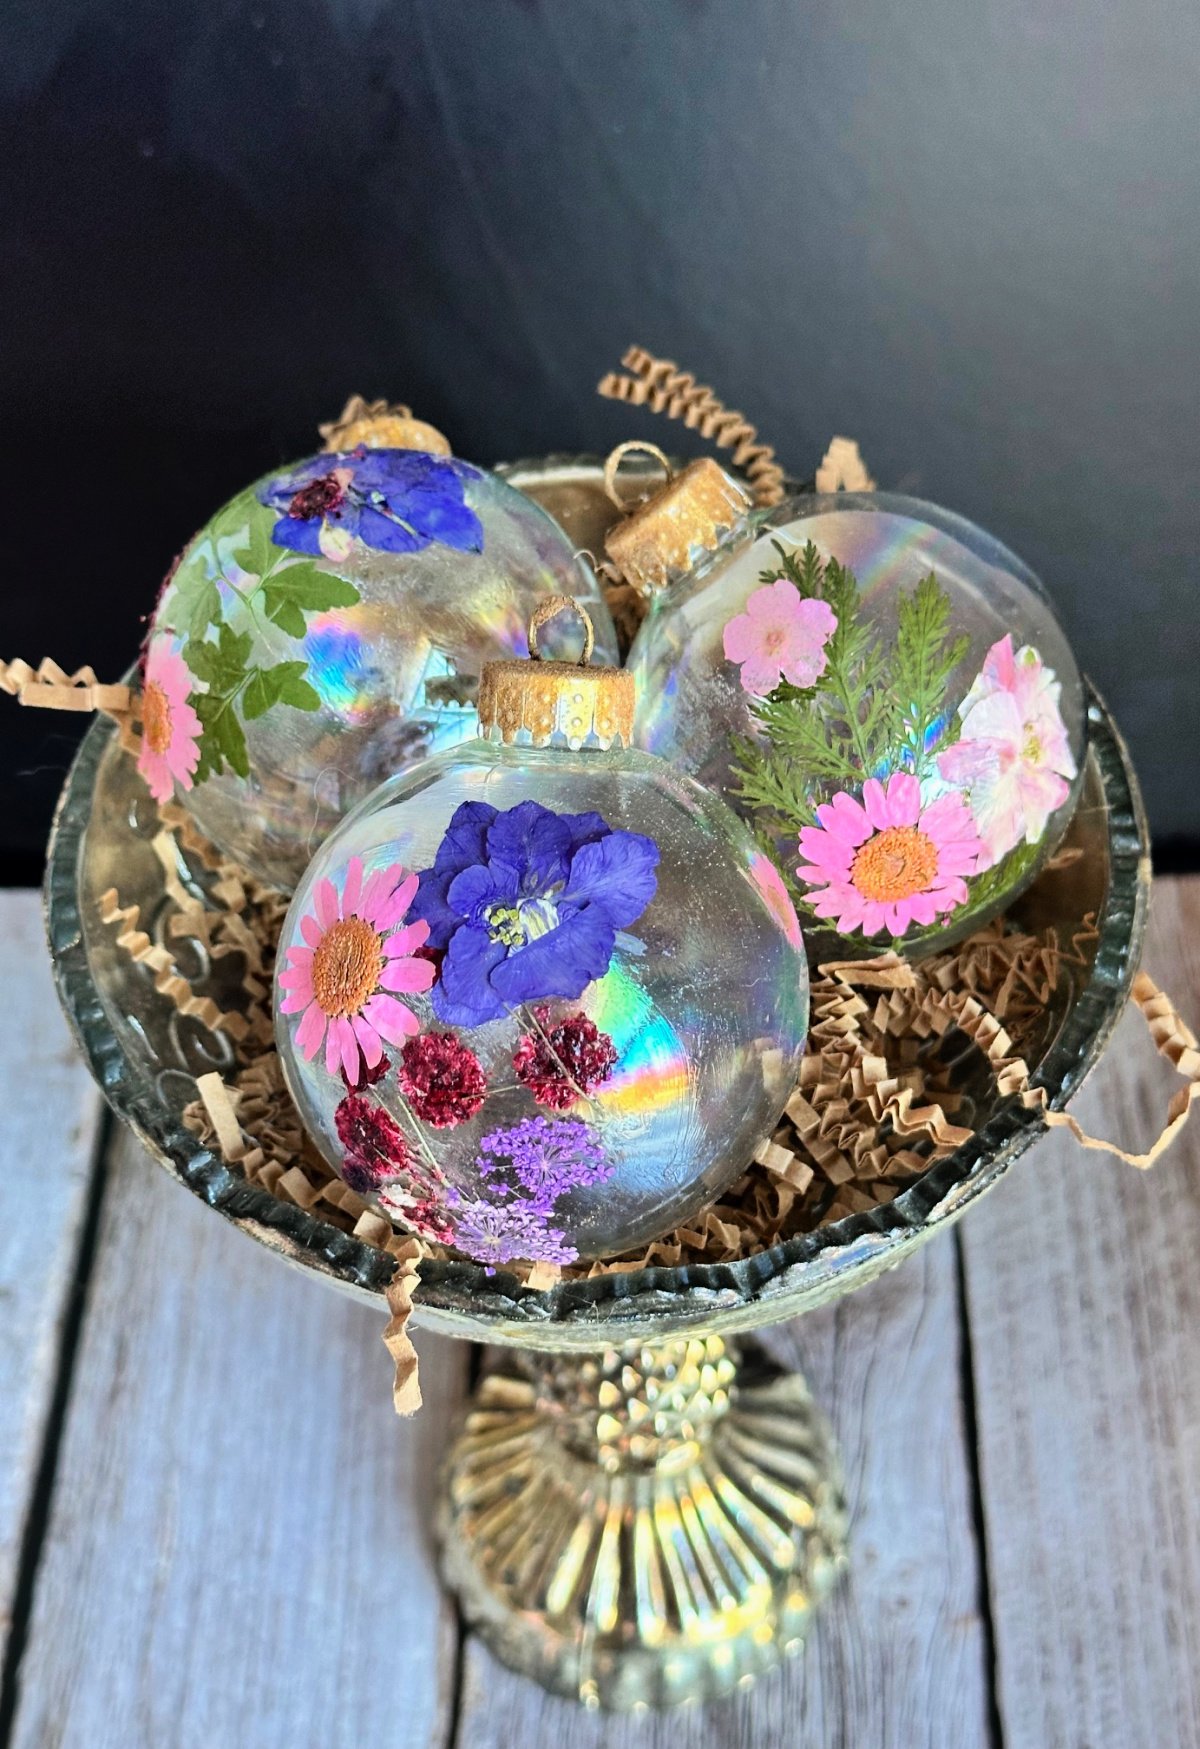
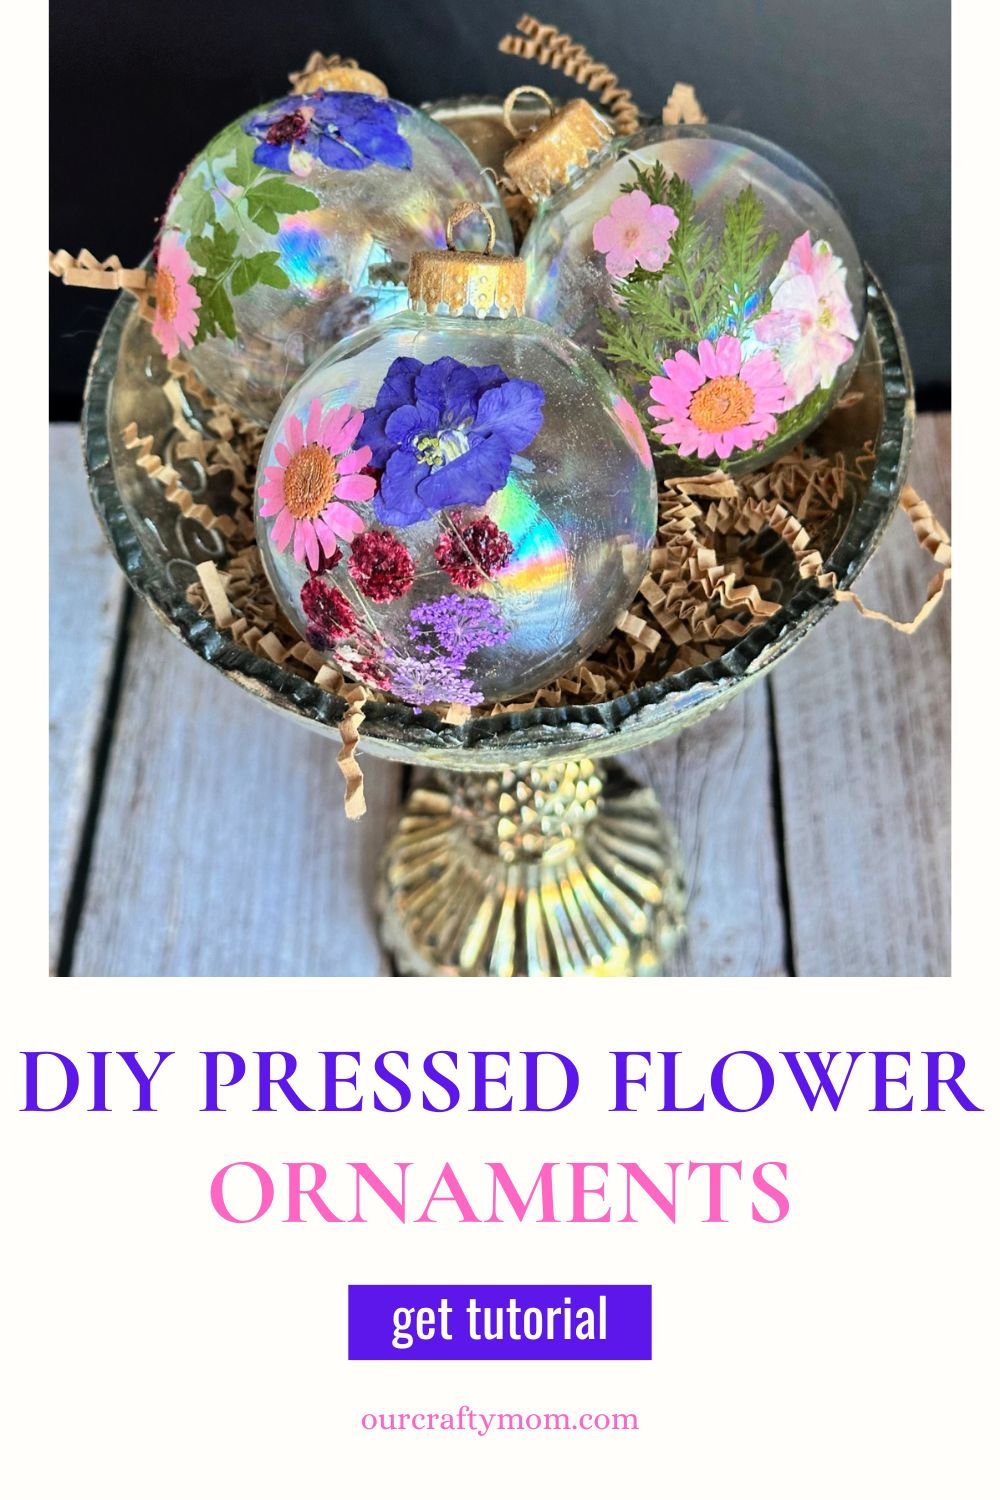
Just look at how gorgeous these DIY Christmas tree ornaments are:
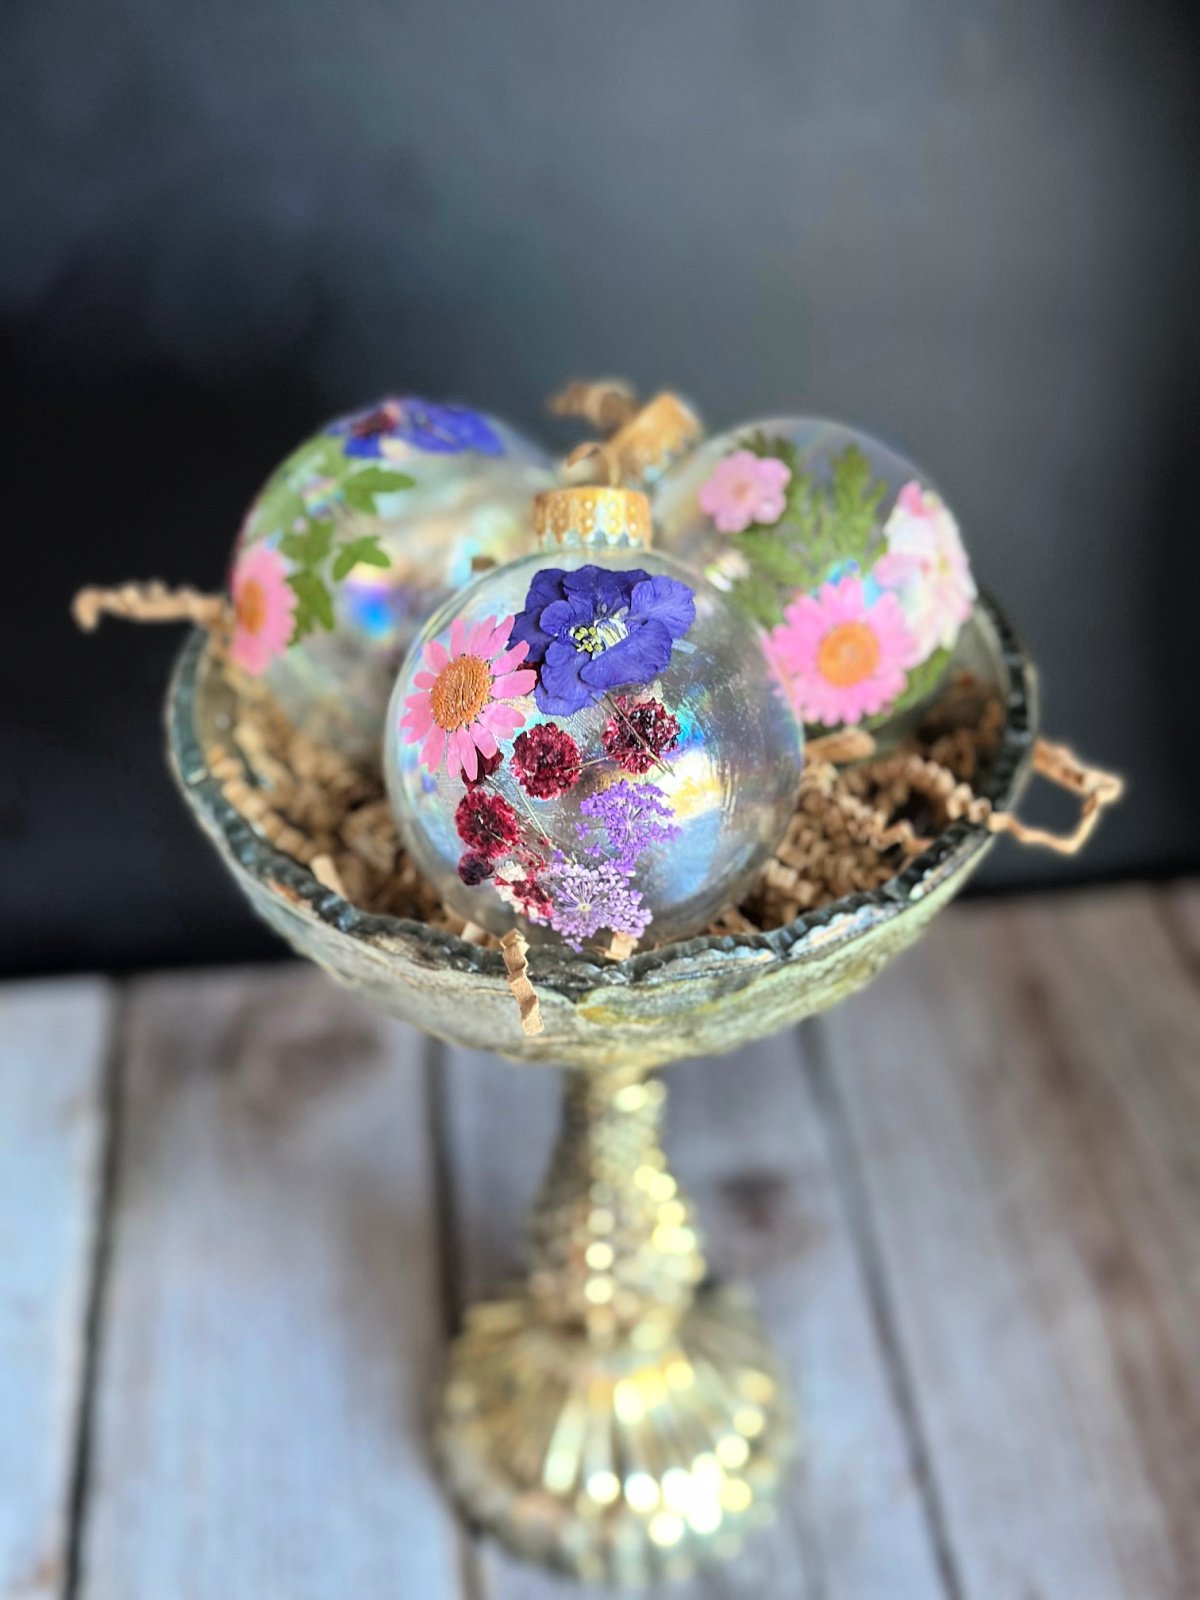

Please note that I did paint the silver tops of the ornaments gold. They went better with the vintage look I wanted.
Step 5. Spray a Clear Sealer
As soon as I get a day that is not crazy windy, I will go on the balcony to spray the ornaments. This will definitely help protect the flowers.

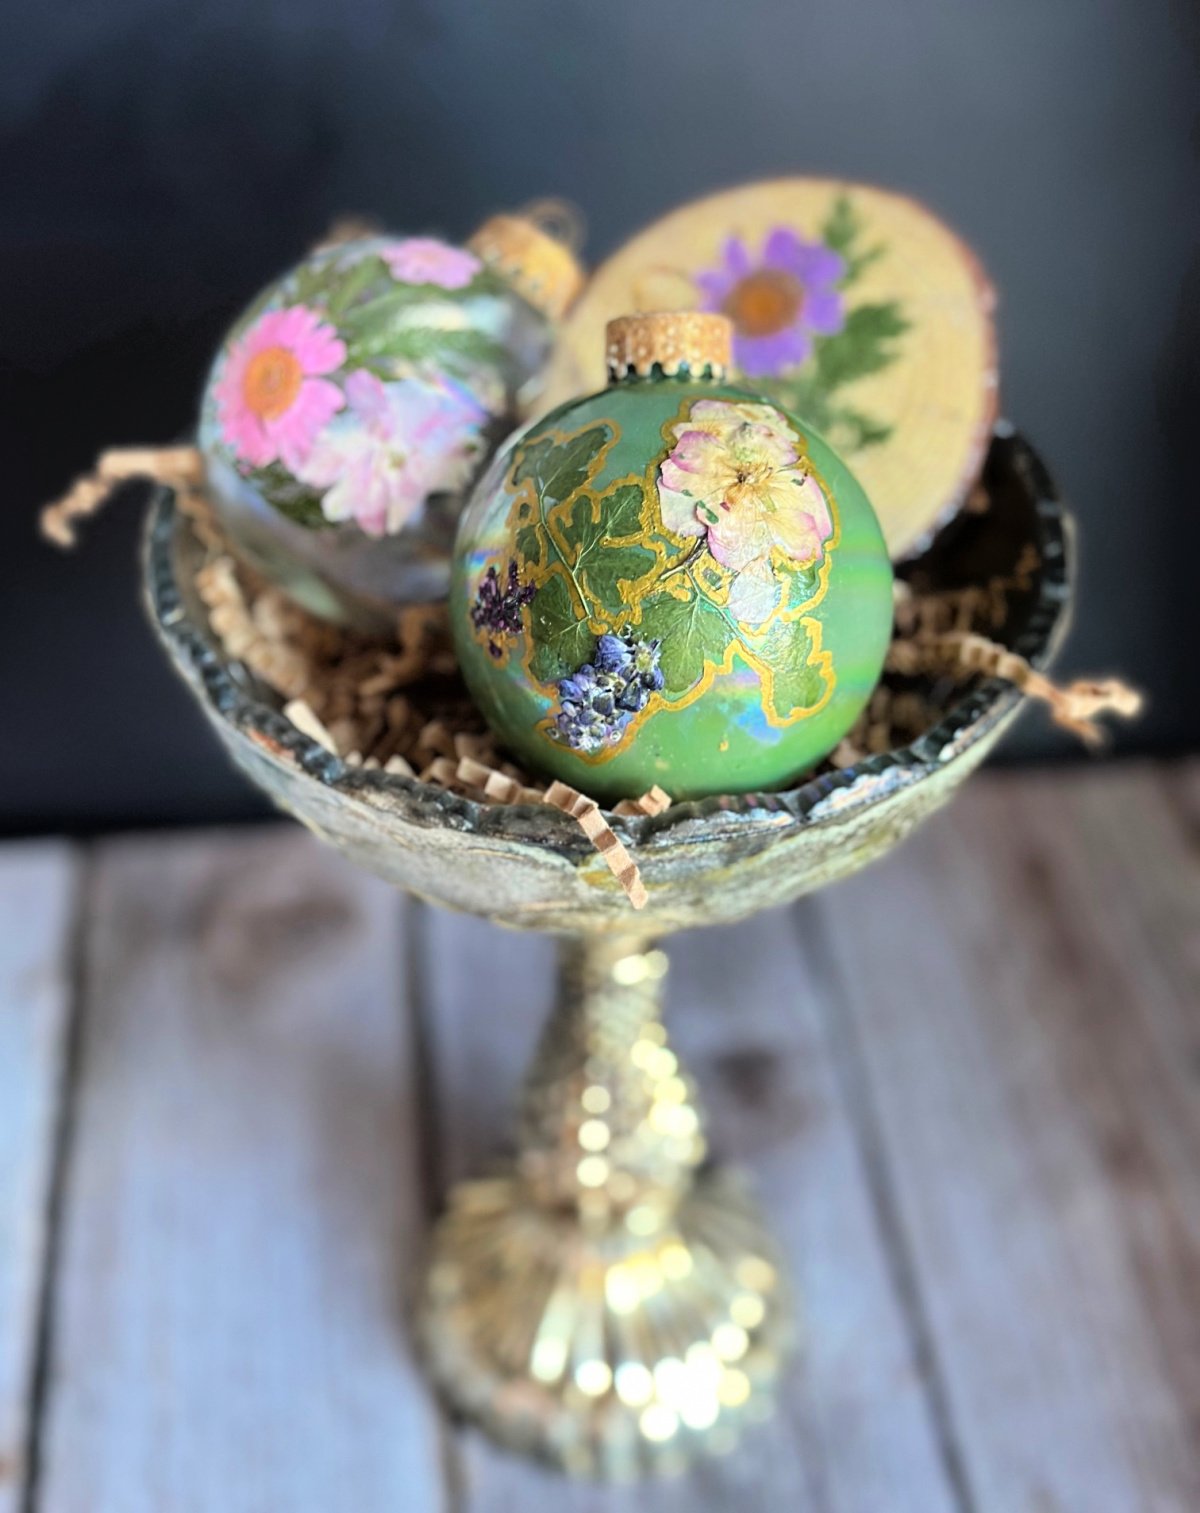
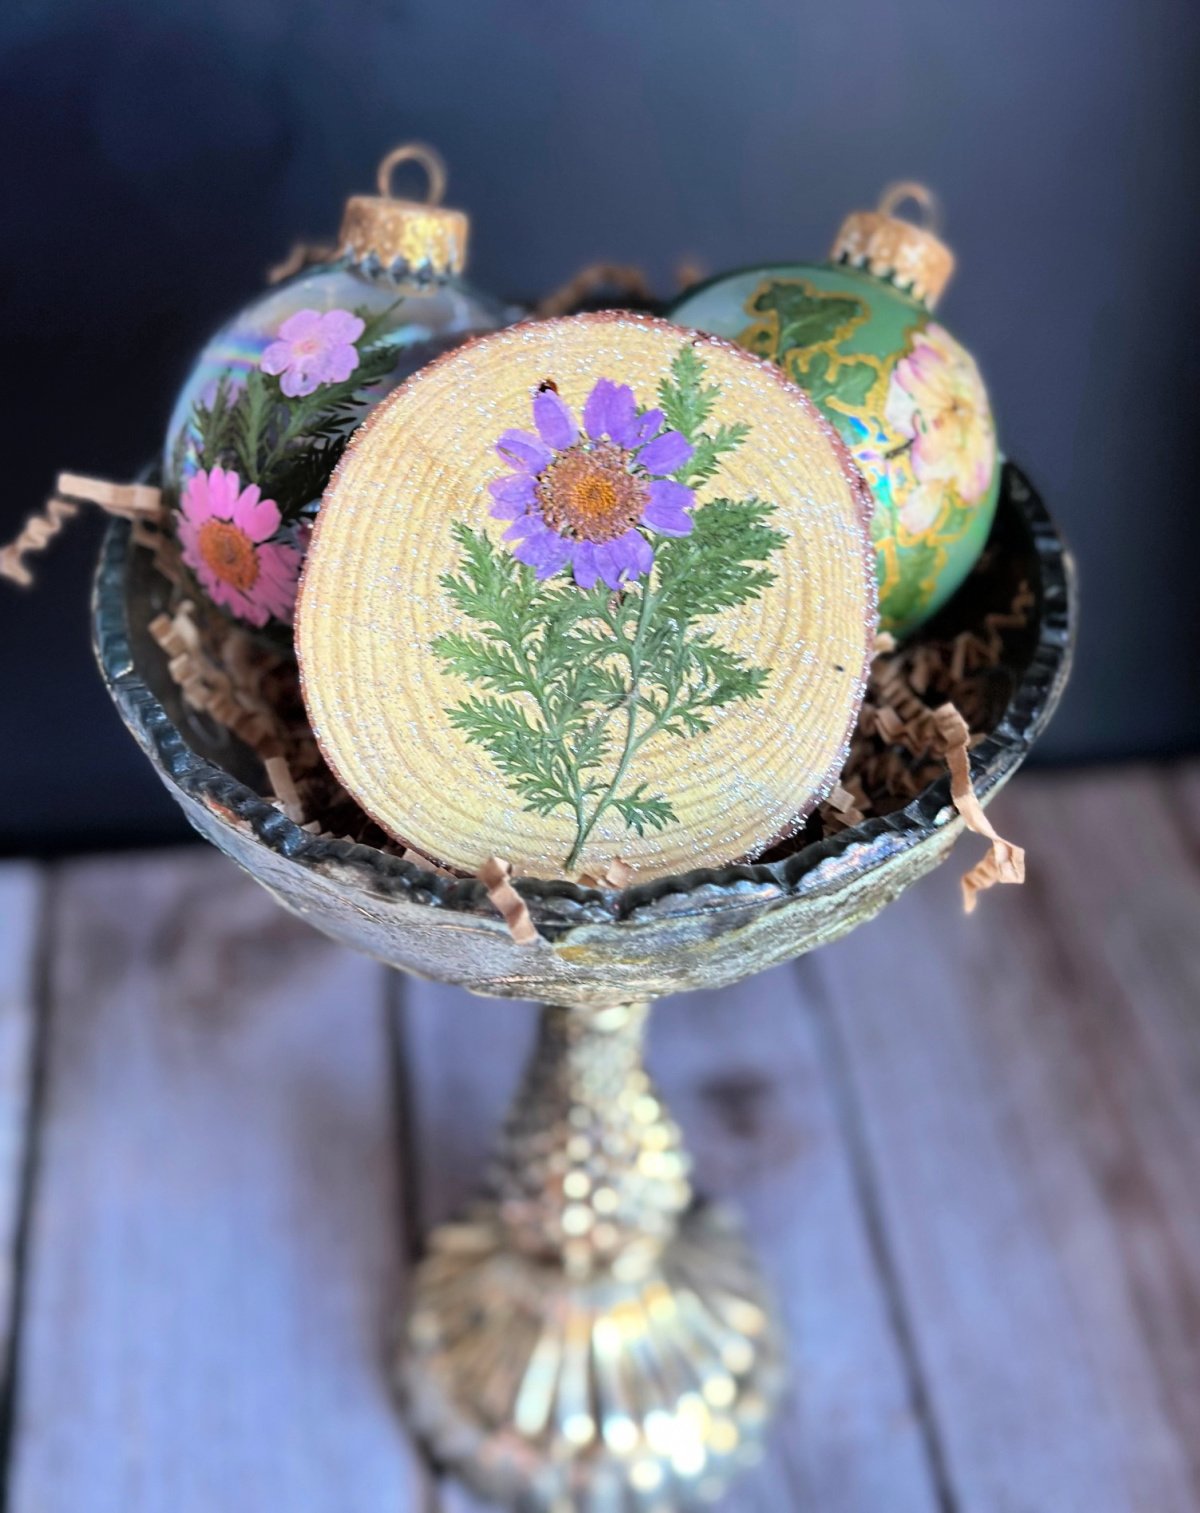
As mentioned above, I did want to play around with a couple of other pressed flower ornaments.
I painted the inside of one of the glass balls with green paint and also outlined the flowers with a gold paint pen. It looks prettier in person.
The wood slice ornament is super pretty. Again, it will get a nice shine once it is sealed. Add pretty ribbon and hang them on your Christmas Tree.
I’m going with narrow velvet ribbon and will share pics once the tree is up. Ask me how excited I am for that!!


So what do you think of these handmade Christmas ornaments? Is this something you could see yourself making? They would make thoughtful gifts for friends, neighbors, co-workers or teachers.
Save For Later
I’d love it if you would share this article with your friends on Pinterest by pinning the below image.
It helps my blog grow and doesn’t cost a thing! 🙂

If you do make your own handmade flower ornaments, be sure to share it with us on Facebook or Instagram.
Just tag @ourcraftymom. You never know who you may inspire.
Become a VIP newsletter subscriber and get instant access to my library of free printables (including wall art, gift tags, and more!).
Click HERE to join today. I share new printables FREE with subscribers each month as a thank you for visiting.
Here Are a Few of my Most Popular Pressed Flower Crafts
- Thrifted Wooden Bowls with Dried Flowers
- Halloween Ghost Painting
- Pressed Flower Wall Art
- Dried Flower Glass Cloche
- 19 Stunning Pressed Flower Crafts
Thanks so much for stopping by. Happy crafting!


For even more budget-friendly Christmas ideas, you don’t want to miss this amazing collection of 81 Dollar Tree Christmas Crafts and these 37+ DIY Dollar Tree Christmas Ornaments.
Follow me on social media below: