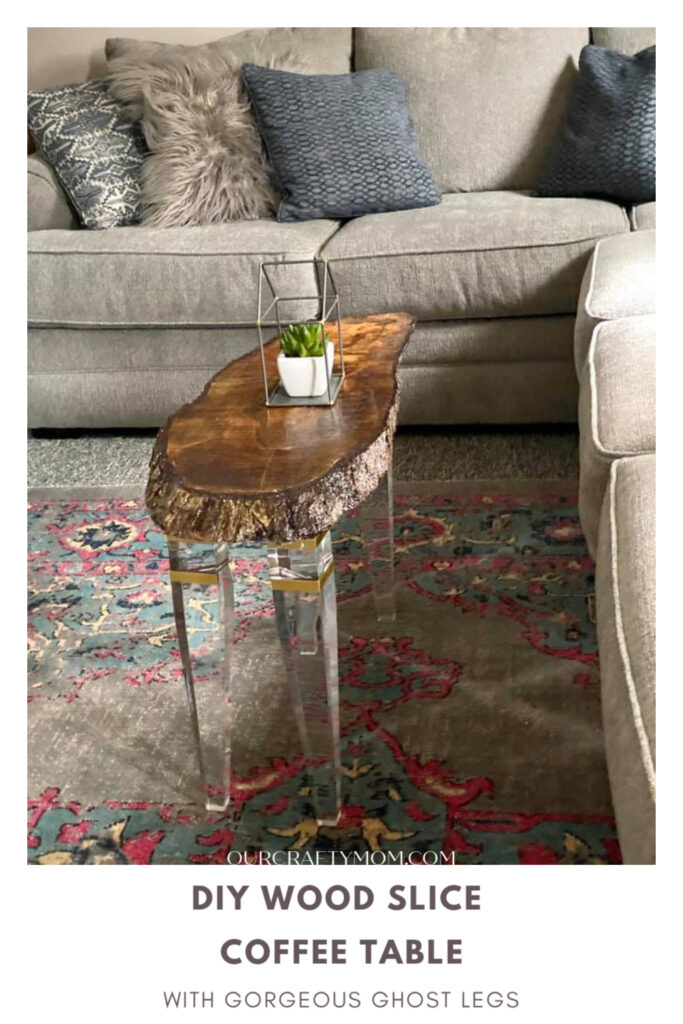
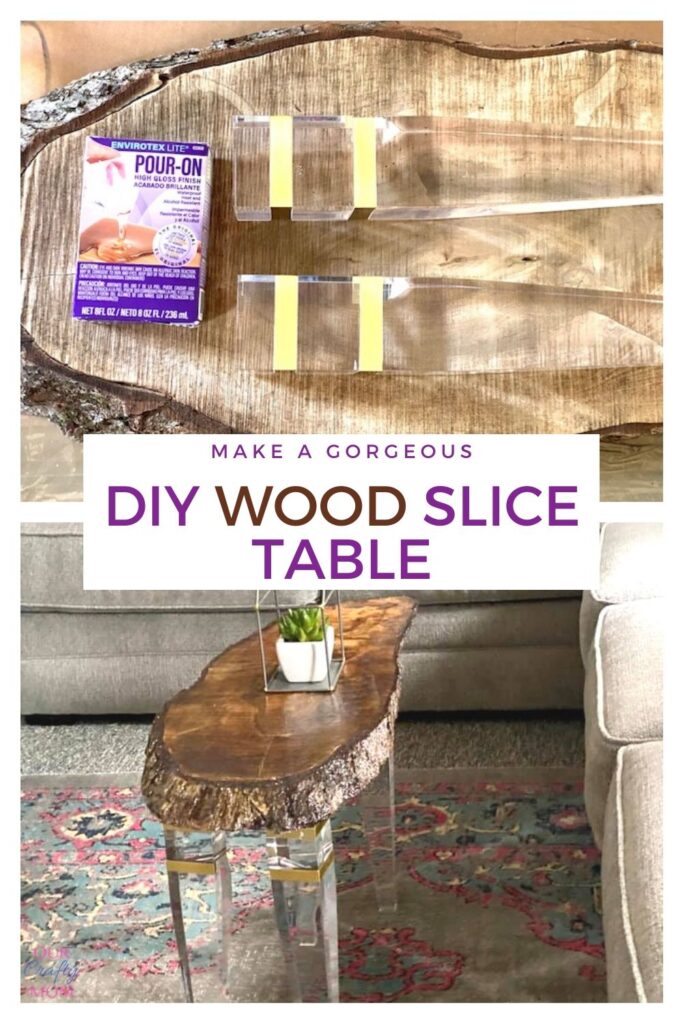
Learn how to build a DIY wood slice coffee table with stunning ghost legs.

This table was created in collaboration with Osborne Wood and contains affiliate links. However, all opinions and love for this product are 100% mine. Please see my full disclosure here.
Hello and welcome to Our Crafty Mom! You’ve probably heard me say this before, but this is absolutely, positively my most favorite DIY project ever!
This resin and wood coffee table is something that I’ve been wanting to make for over two years, since meeting with Osborne Wood representatives at a blogging conference in 2017.
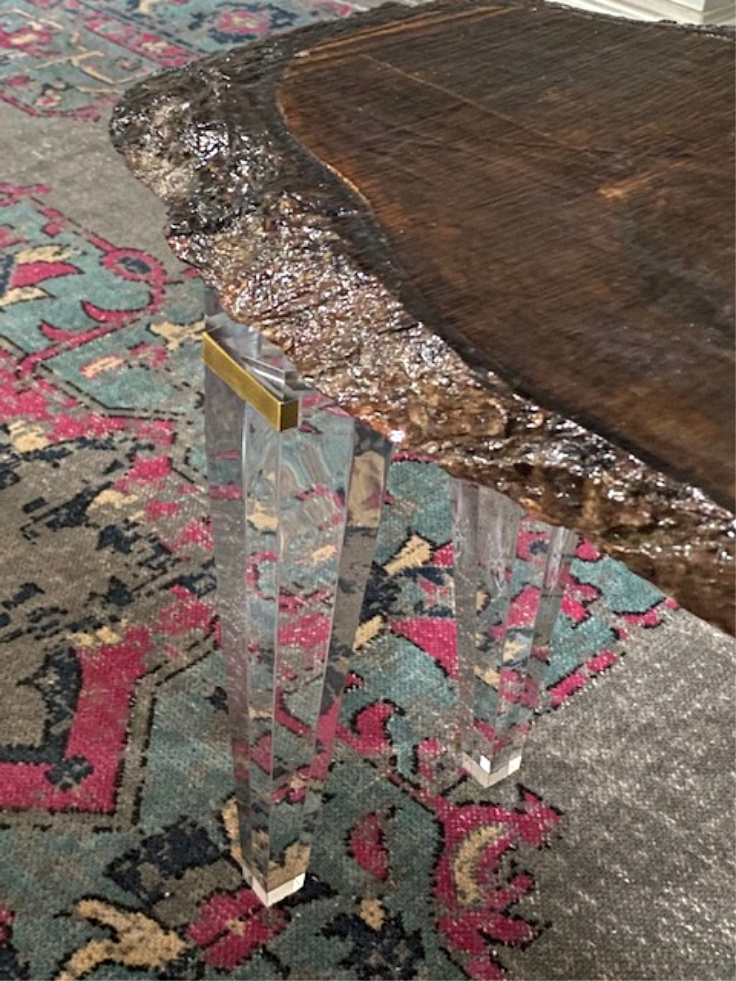
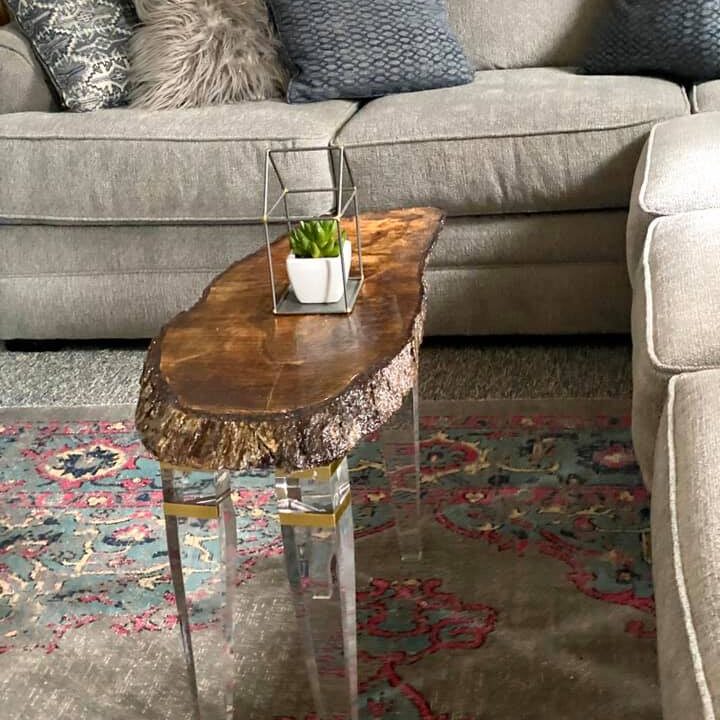
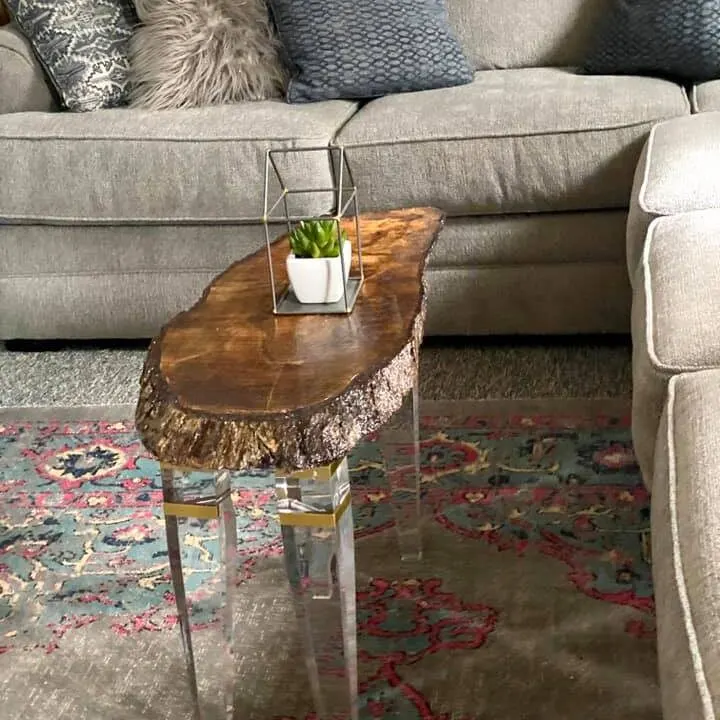
They had acrylic “ghost legs” displayed and it was love at first sight. I mean look at these gorgeous legs:
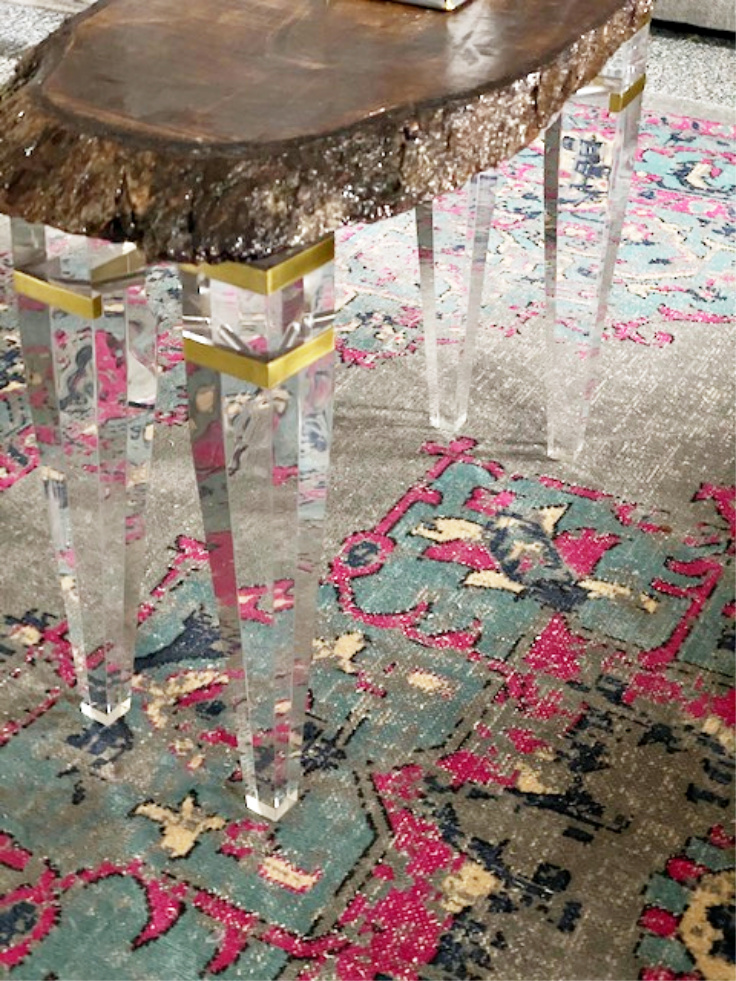

It’s like they are floating, right? I knew these table legs deserved a very special table top and I could not get the image of a dark wood slab out of my head.
The contrast of the modern ghost legs against the rustic wood was something I really wanted to explore. So I took my time with this piece, and asked my Dad if he could keep an eye out for some cool pieces of wood for me.
Where to find wood slabs.
By way of history, my Dad lives on a small farm in Rhode Island and builds chicken coops in his retirement. He is clearing some of his land, and also has a friend who owns a lumber yard, so I knew he could get me some good wood slabs.
He came through in spades and gave me about 8 pieces in all shapes and sizes. If you do not know someone with access to a lumber mill, you can purchase them at a local lumber yard, but they can be very pricey.
You may be better off searching online, or check your local Craigslist.
The first piece I ever made was this resin wood slice side table. It’s still one of my favorite pieces. Next up I made a live edge console table for my daughter’s college apartment.
It’s filled with seashells and small stones, some of which my daughter collected from Cape Cod beaches. The most recent piece I just made was a super fun glow in the dark wood slice table that I plan to use outside around a fire pit.
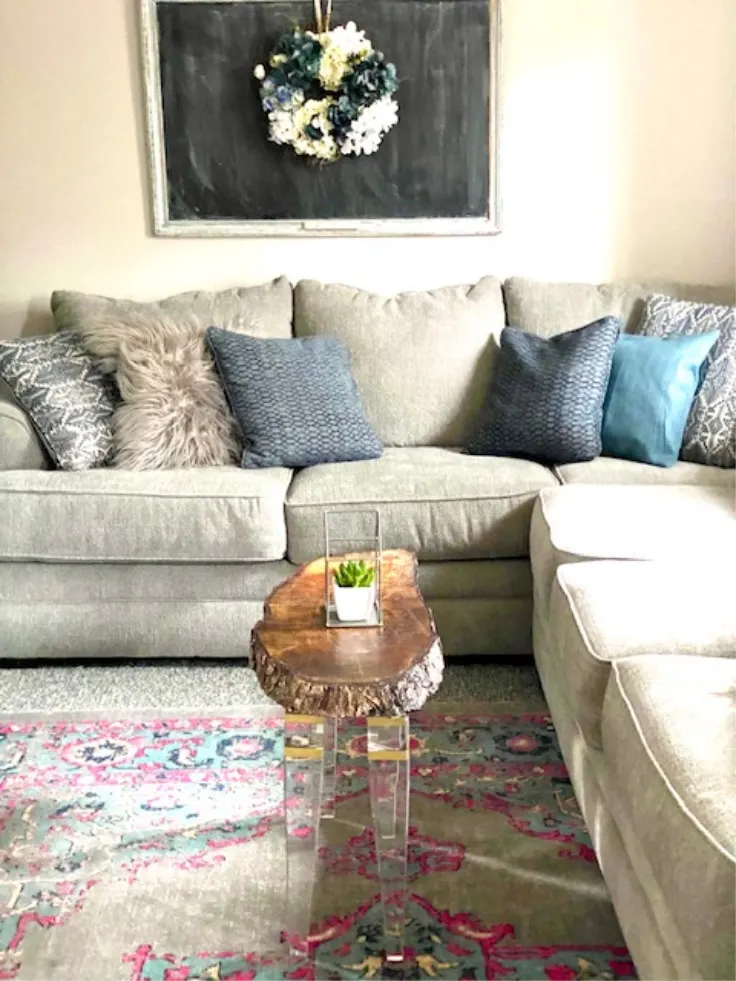
This brings us to my current wood slice coffee table DIY. I moved over a year ago to townhouse in the country. I love that it is on a dead end street and has a yard with acres of woods behind it.
The downside is it has a small living room. I’ve really struggled with how to place the furniture in this room. It’s a classic “bowling alley” style room -long and narrow.
I finally have the furniture placement down, but had to move my extra large farmhouse style coffee table into the basement. It was just too large.
That was when I had a light bulb moment and remembered those gorgeous acrylic legs from Osborne Wood. I’ve worked with them before on a marble console table.
They are wonderful to work with and the quality of their products are just amazing. They were founded in 1979 and are located in Georgia. I was thrilled when they wanted to partner with me on this project.

Let me show you how I made this epoxy resin wood slice coffee table, than I’ll share information on how to dry the wood and a few other tips when working with live edge wood slabs.

DIY Wood Slice Coffee Table
Supplies
- Envirotex Pour-On Epoxy Resin Finish
- Unfinished Live Edge Wood Slab
- Osborne Wood Acrylic Table Legs
- Drill
- Paint Brush
- Palm Sander
- Stain
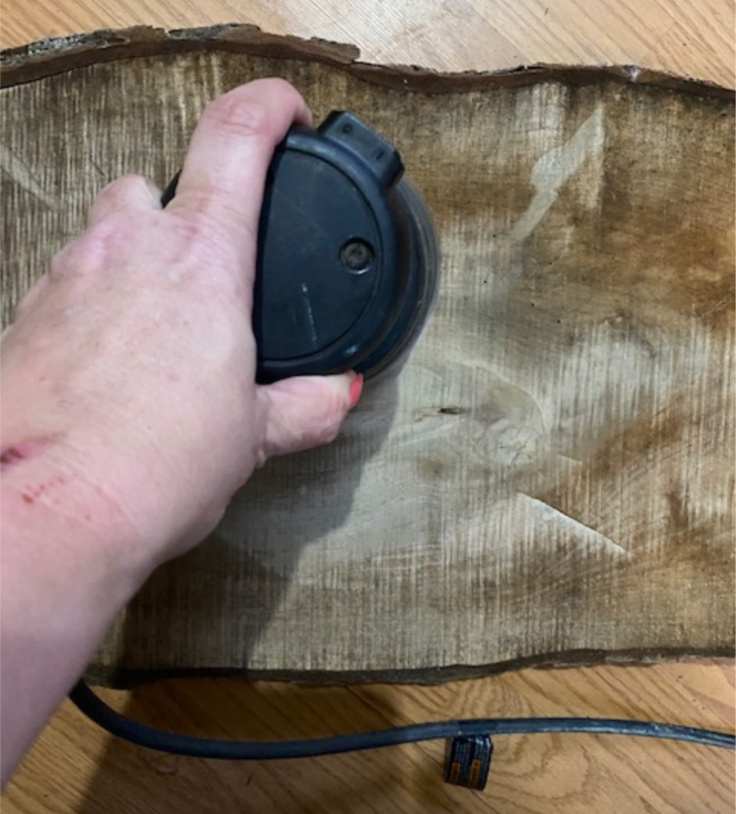
Gather your supplies and start by preparing the wood. My wood slab had already been drying for over 6 months.
Start by sanding the wood slice with a palm sander so it get’s nice and smooth. Be sure to sand front and back. Decide if you want to remove the bark on the side of the wood slab, or leave it on. I love the look of the bark so I chose to leave it on.

Choose the finish for your wood slice table top.
Now it’s time to decide on the type of finish that you want for your wood table top. You have several choices.
- Go with a natural unfinished look using a clear polycrylic.
- Use your favorite color stain.
- Finish with an epoxy resin topcoat.
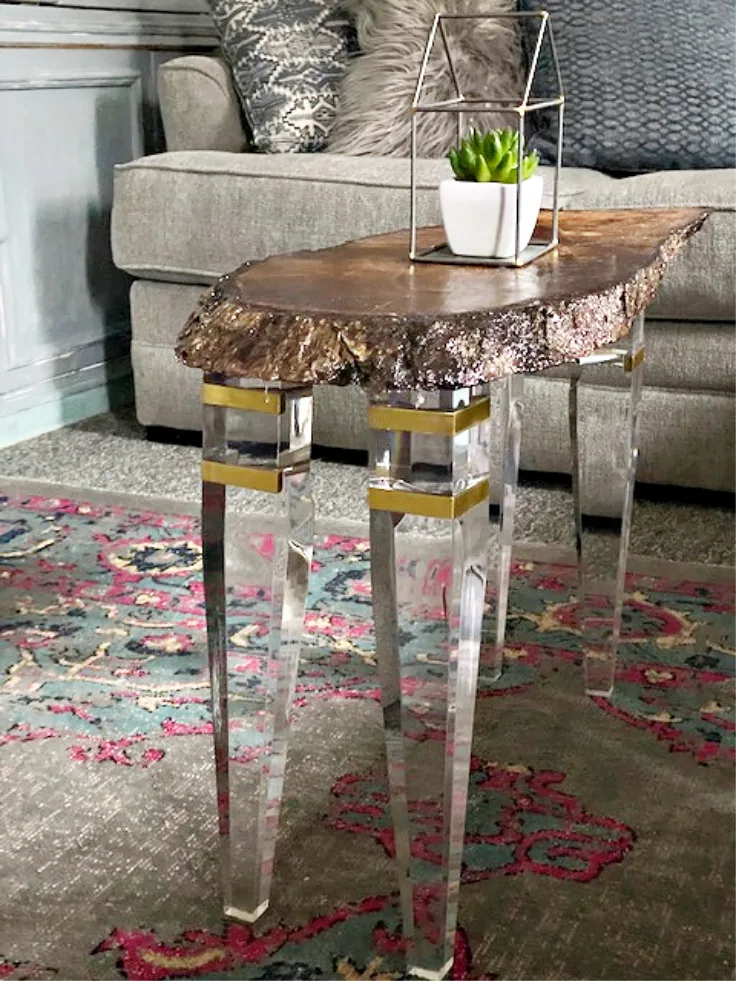
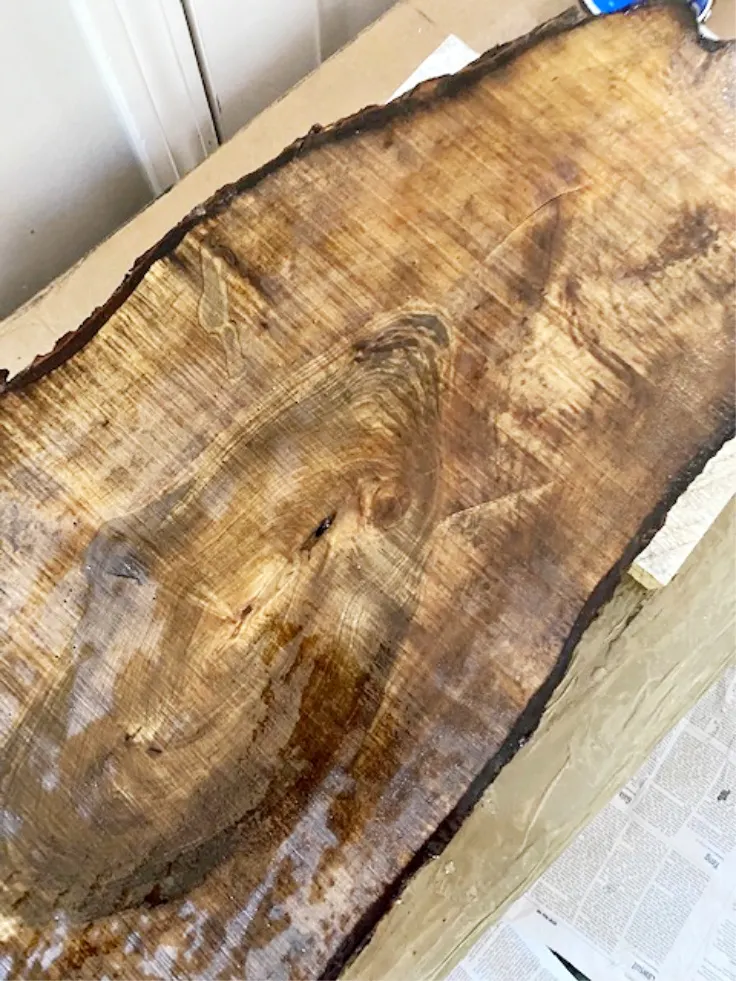
I chose to stain it with a walnut stain because I really wanted the contrast of the dark wood against the clear ghost legs. Next decide if you want an epoxy resin topcoat.
I’ve used this product before on my epoxy resin desk and it has held up really well, so I opted to go with one coat of epoxy for a nice smooth finish.
As this will be used as a coffee table I figured it will protect it from spills, etc.

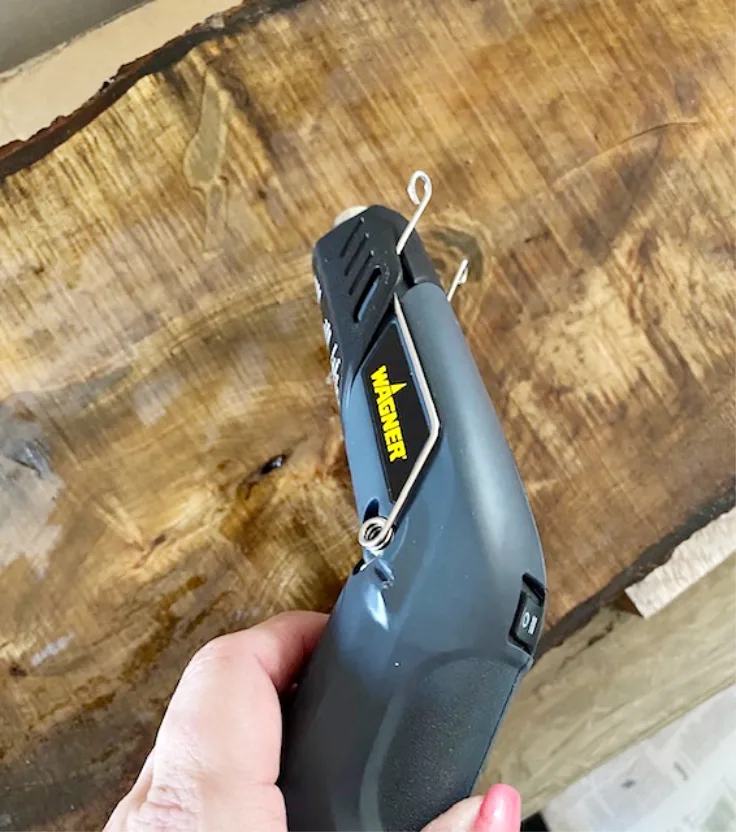
A heating gun will be your best friend when pouring resin. It removes any bubbles and aids in drying time.

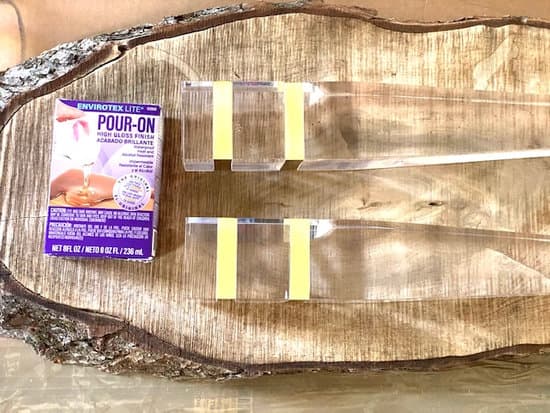
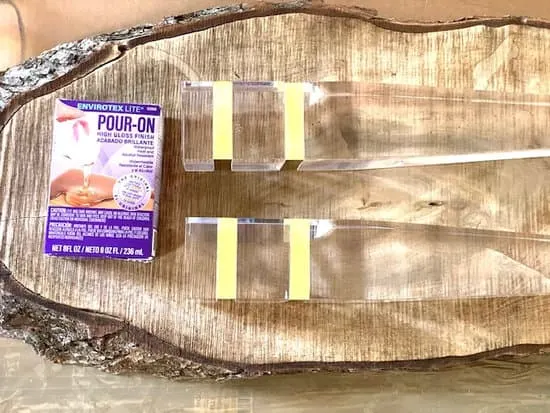
Attach the ghost legs.
The final step is to attach the ghost legs. The legs from Osborne Wood come with everything you need, other than a drill. The quality of the materials are seriously top notch and I had no trouble at all securing the legs to the wood top.
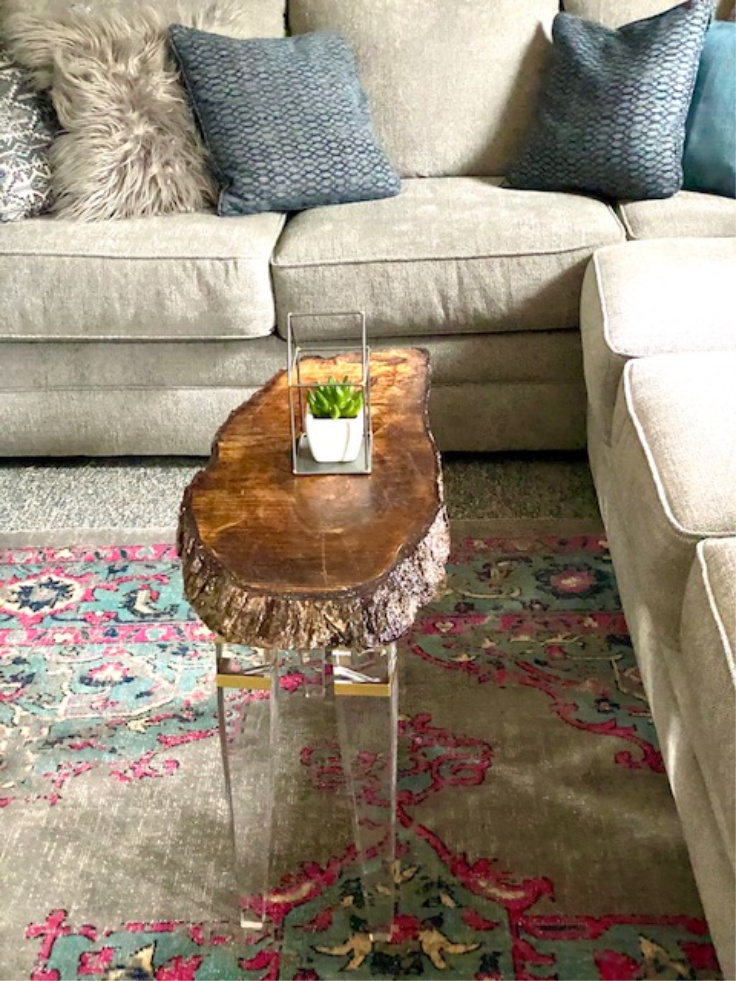
Another reason I wanted to use acrylic legs on this coffee table is because my living room is small, the clear legs are not bulky at all and it gives a very streamlined effect. It’s very similar to using a glass tabletop when space is limited.
I’m not afraid to admit that the main reason I wanted to use ghost legs is that they are just plain gorgeous.

And I have not been able to get this song out of my head since finishing this project, ha!

[Tweet “Stunning DIY Wood Slice Coffee Table With Ghost Legs @ourcraftymom @OsborneWood #woodworking #diywoodslicetable #woodslabtable #sponsored #osbornewood #buildatable #epoxyresintable #ghostlegs “]
Tips For Making A Wood Slice Table DIY
- Allow the wood to cure for the appropriate amount of time, or purchase it kiln-dried.
- The rule of thumb is one year for each inch of thickness. This article on how to cure wood slabs is very helpful.

Stunning DIY Wood Slice Coffee Table With Ghost Legs
Build a stunning DIY wood slice coffee table with gorgeous ghost legs and an epoxy resin finish.
Materials
- Live Edge Wood Slice Oval
- Set of 4 Coffee Table Legs
- Envirotex Lite Pour-On Finish
- Minwax Wood Finish Sark Walnut Stain
Tools
- Hand Sander
- Paint Brush
- Drill
Instructions
- Sand both sides of the wood slab with an electric sander. Be sure to clean it after to remove any dust.
- Apply two thin coats of stain on both front and back of the wood slice.
- Stain the bark edges with two coats as well.
- Allow to dry overnight.
- Apply a thin coat of the epoxy resin, using the heat gun to remove any bubbles.
- Allow to cure.
- Carefully drill the acrylic legs into place using the included hardware.
Recommended Products
As an Amazon Associate and member of other affiliate programs, I earn from qualifying purchases.
-
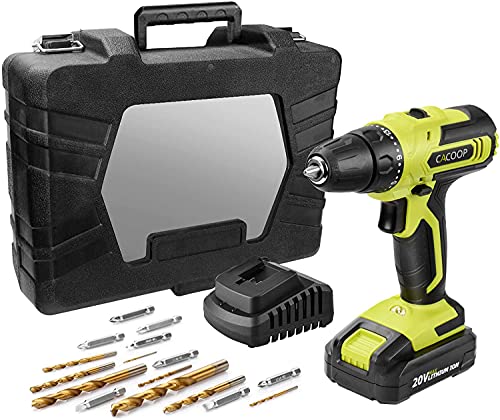
 CACOOP CCD20001LBB 20V MAX 1.5 Ah Lithium-Ion Cordless Drill/Driver Set, With 1 20V Battery pack, 1 Rapid charger, 6 HSS wood drill bits, 6 Screwdriver bits, 1 Magnetic bit holder and 1 Belt hook
 -
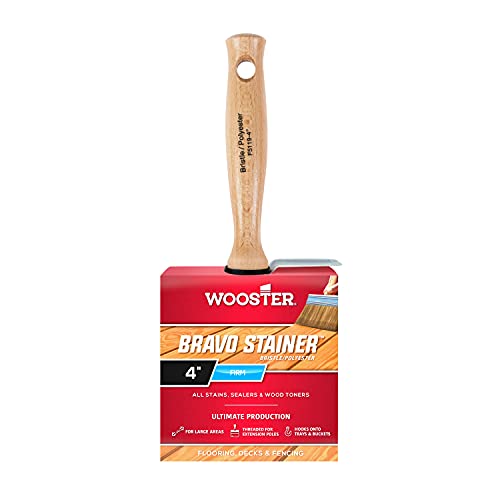 Wooster Brush Available F5119-4 Bravo Stainer Bristle/Polyester Stain Brush, 4 Inch, 4-Inch
 -
 PORTER-CABLE Palm Sander, 1/4 Sheet (380)
 -
 Minwax 22716 - 8 fl oz (1/2 pint) Wood Finish Interior Wood Stain, Dark Walnut 2716
 -
 Environmental Technology 32-Ounce Kit Lite Pour-On, High Gloss Finish
 -
 Coffee Table Acrylic Leg w/Brushed Gold Metal Bands (Set of 4)
 -
 New ADDITIONS! DIY Black Walnut Wood Slab Blank Lumber for Projects, Crafts, Woodworking, Rustic Decor, Live Edge. (S9)
You can follow me on social media below:
wood texture
Thursday 25th of March 2021
Love the look of these!
wood texture
Barbara Chapman
Wednesday 22nd of April 2020
Michelle, this wood and acrylic coffee table is perfect for any small home! I love that you used the wood slice for the top ~ perfect contrast of rustic and elegant!! Back in the 1970's my father collected wood art pieces and one of the things we brought to the Mainland (the rest of the contiguous United States) from Hawaii was a koa wood coffee table. It had koa wood legs in addition to the wood slice tabletop but we all loved how big that coffee table was. It was a good 3' x 2 1/2' size with one hole towards on one side and my brother Frank has it now in his home. I think we all wanted it but I'm glad he has it!
Thank you for an amazing idea! I am happy to tweet about it and I pinned it to my DIY Projects board for you, too. <3
Enjoy your new home, Hugs, Barb :)
Anita holland
Tuesday 21st of April 2020
Wow, what a stunning table. I have not seen one cut like that so unique.
ourcraftymom
Tuesday 21st of April 2020
Thank you so much. I really had fun making it. It's definitely the legs that make it so unique. :)
Kim Purvis
Monday 20th of April 2020
Lovin those legs girl! Such a great DIY table! I love it!
Chloe
Friday 17th of April 2020
What an amazing piece you have created! This is a true work of art. I am so impressed with your skill with the resin, but you have obviously had a lot of experience with it in the past! I have never used a heat gun, but it obviously has real benefits when using the resin.