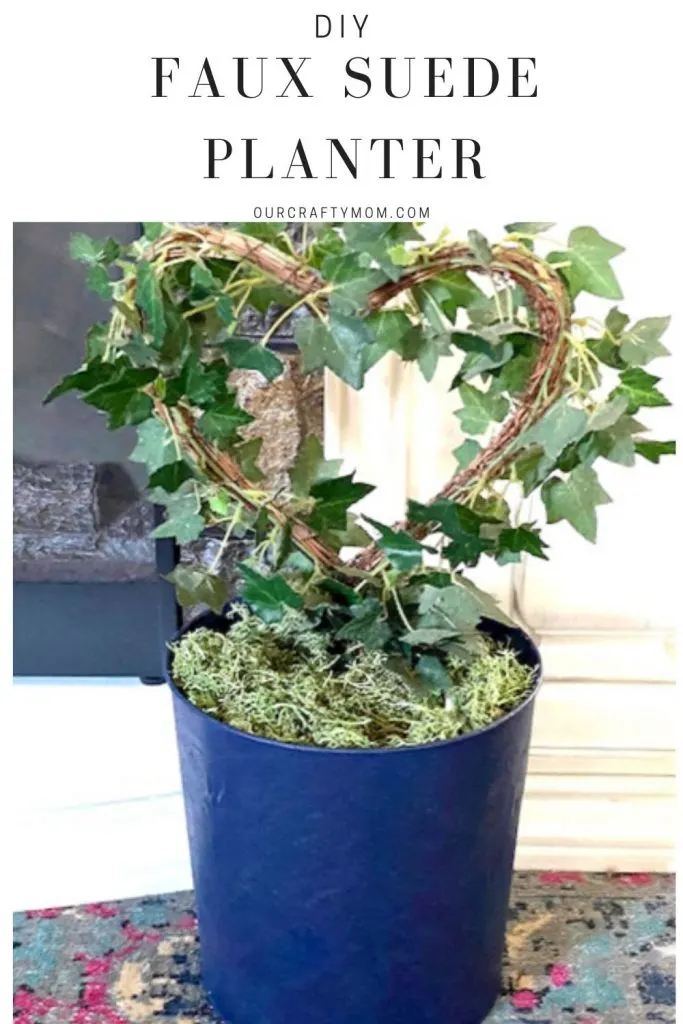
Learn how to make a beautiful DIY faux suede planter from a repurposed popcorn tin using paint.
This post is sponsored by DecoArt and contains affiliate links at no extra cost to you. Please see my full disclosure here.
Hello and welcome! I have a really fun DIY paint project to share today. DecoArt has a NEW suede paint line and I was lucky enough to try it before it was released.
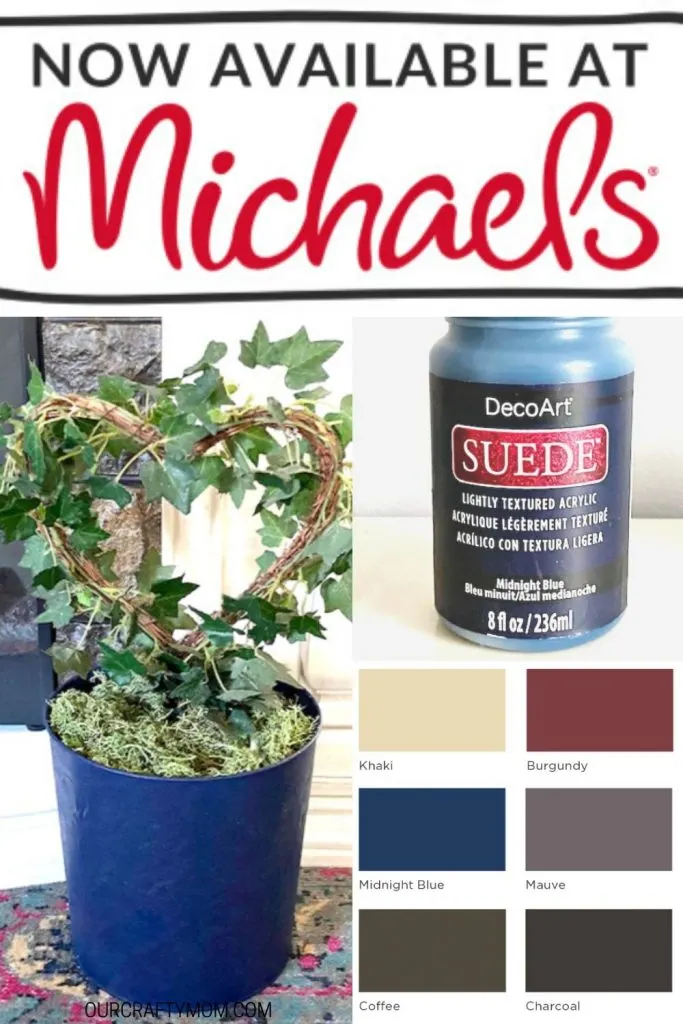
The good news is it’s now available at Michaels!

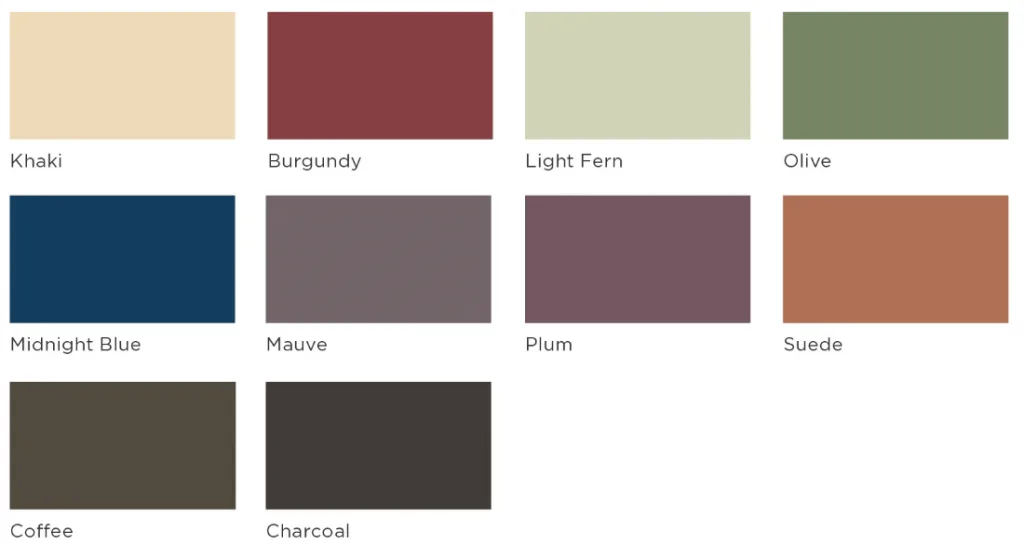
It comes in 10 rich colors that you can see below:
You know I love a good upcycle and popcorn tins can be used for so many different things. I had a couple of them left over from Christmas and decided to use the suede paint to refinish it.
It’s the perfect size to use as a planter. One of the reasons I thought the suede paint would work for the popcorn tin is the coverage was supposed to be good for uneven surfaces.
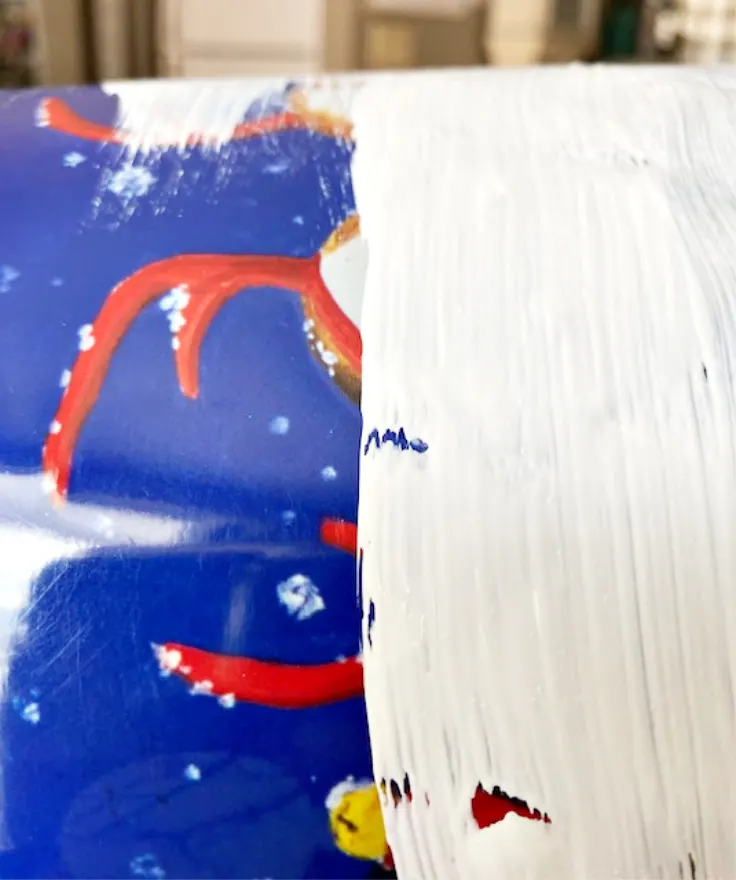
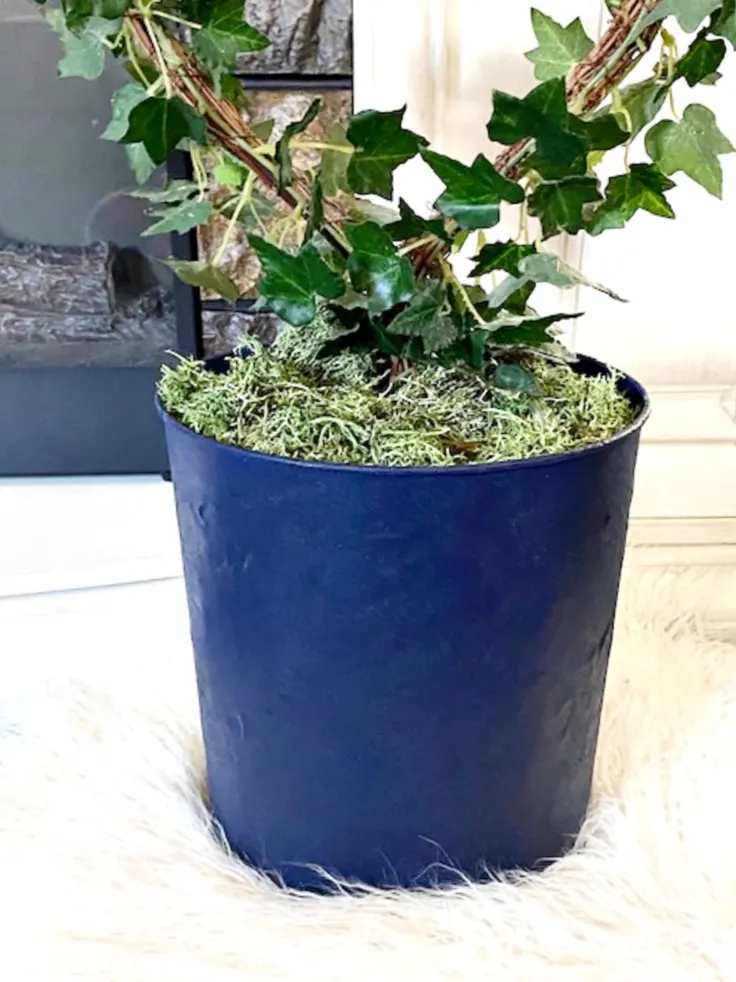
The popcorn tin has raised areas where the image is, that I knew would be a little difficult to work with. The faux suede paint really did a great job of blending the raised areas and ridges.
Let me show you how easy this was to make.
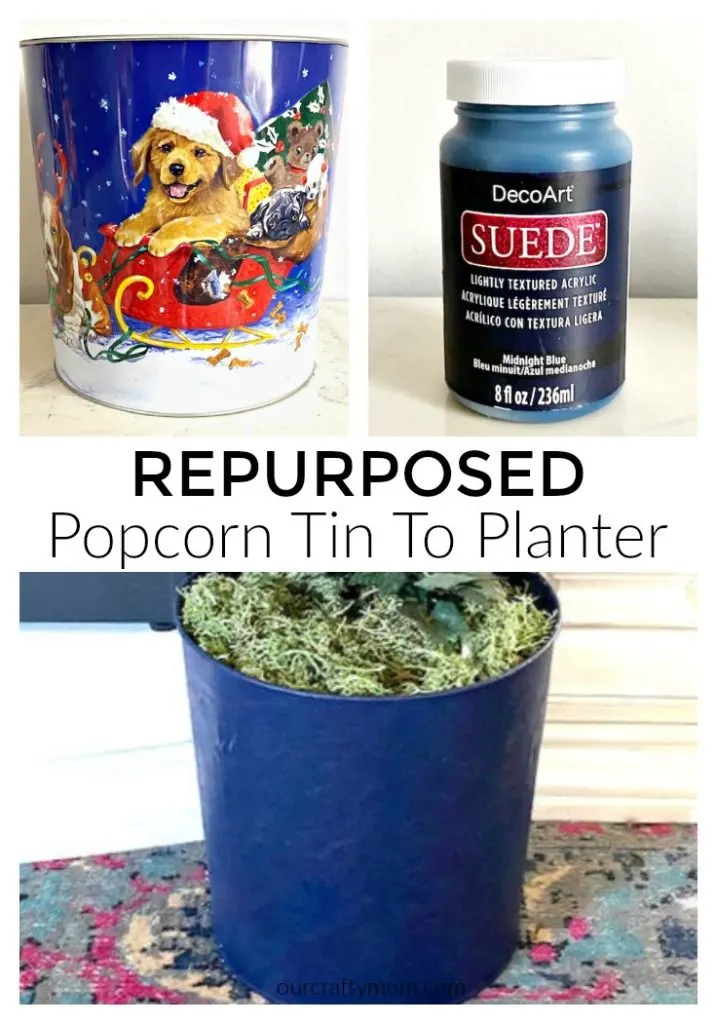
Supplies Needed To Make A DIY Faux Suede Planter From A Popcorn Tin
- Popcorn Tin
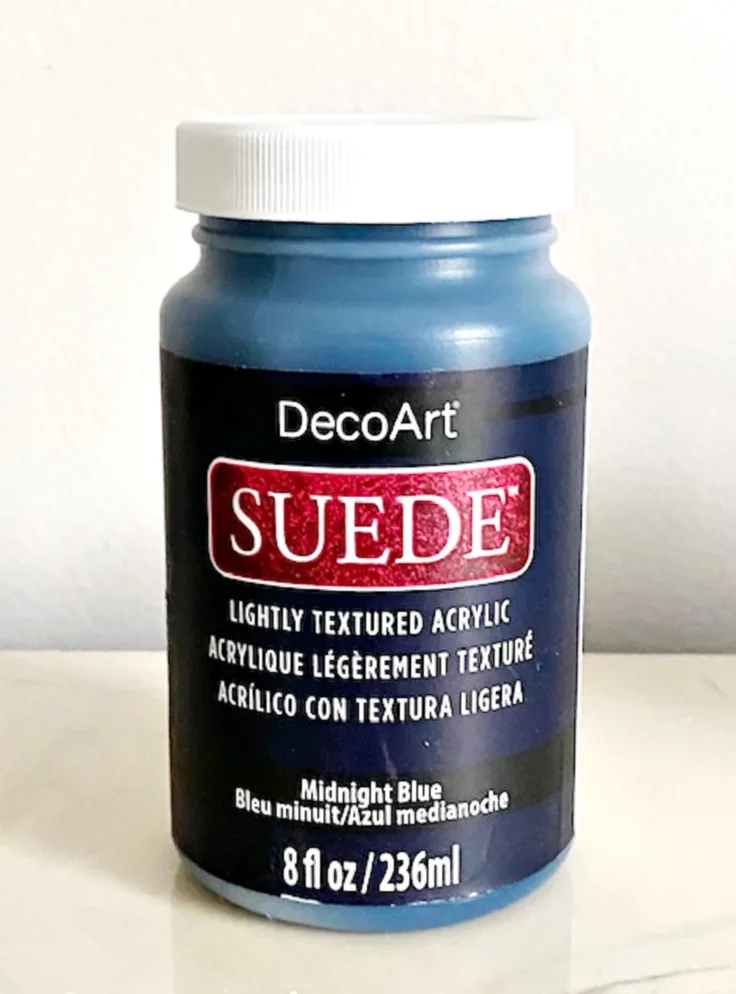
- DecoArt Suede Paint – Midnight Blue
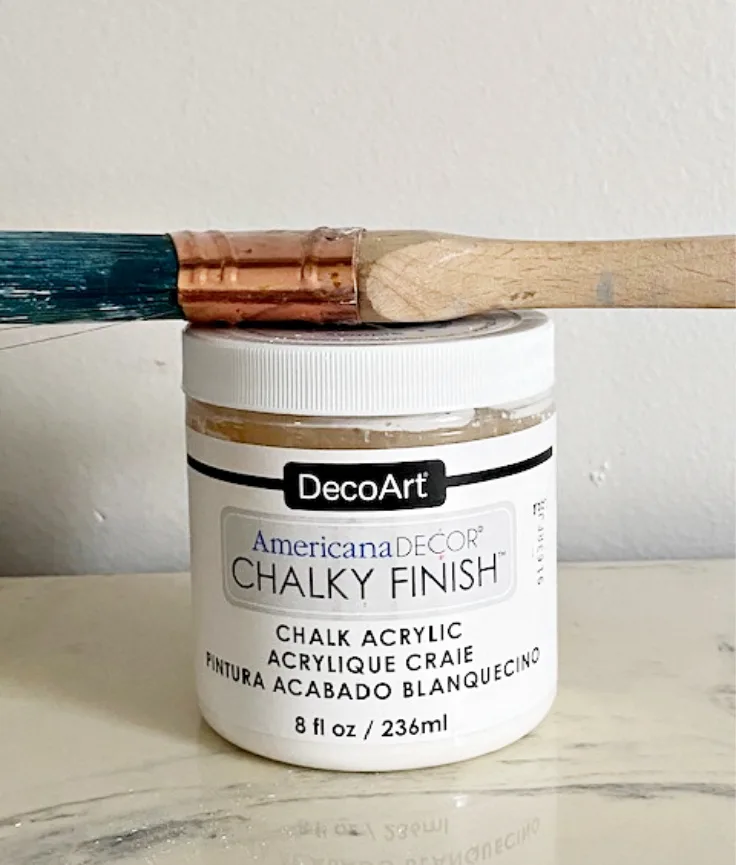
- DecoArt Chalky Finish Paint – Everlasting
- Paint brush

Step 1.
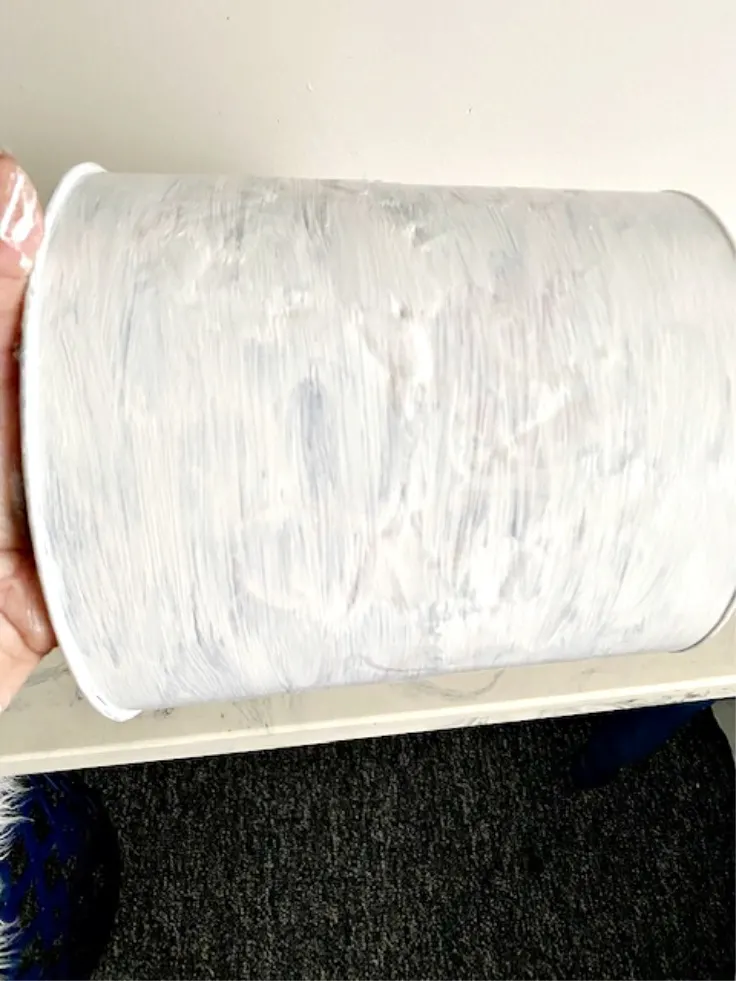
Apply two coats of chalky finish paint to the popcorn tin, letting it dry between coats.
Step 2.
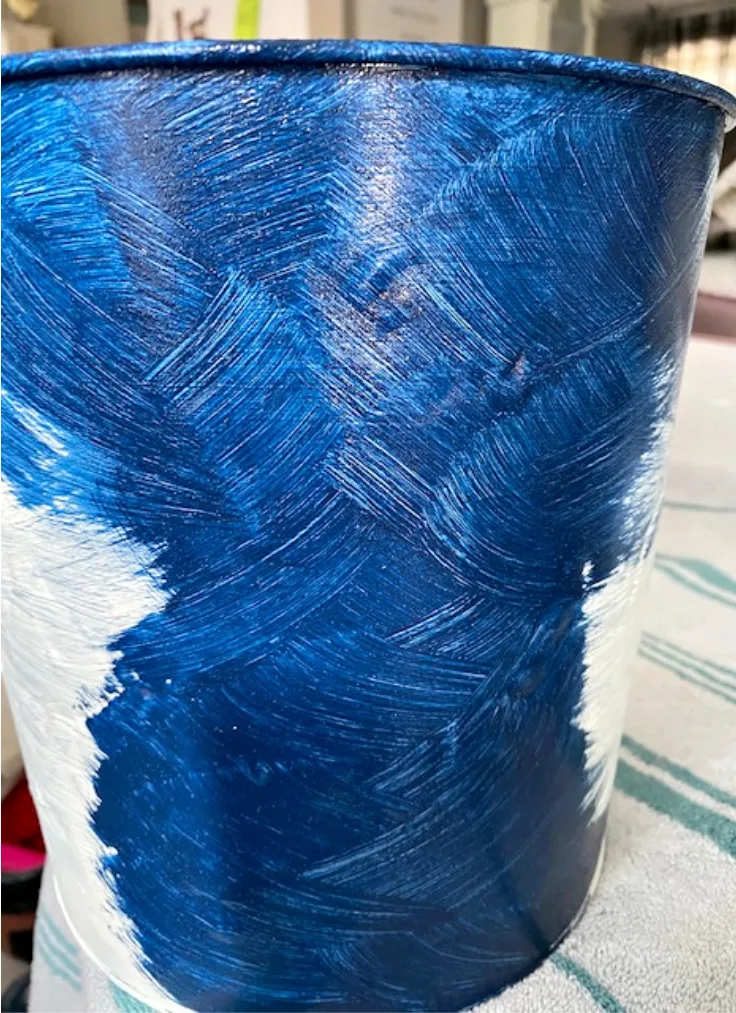
Once the chalky finish paint is dry, begin painting the popcorn tin with the suede paint in a cross hatch fashion. You can watch the below video from DecoArt which shows this painting technique:

[Tweet “How To Make A Faux Suede Planter From A Popcorn Tin @ourcraftymom @DecoArt_Inc @DecoArtAcrylicPaints #makeitwithmichaels #decoart #sponsored #decoart”]
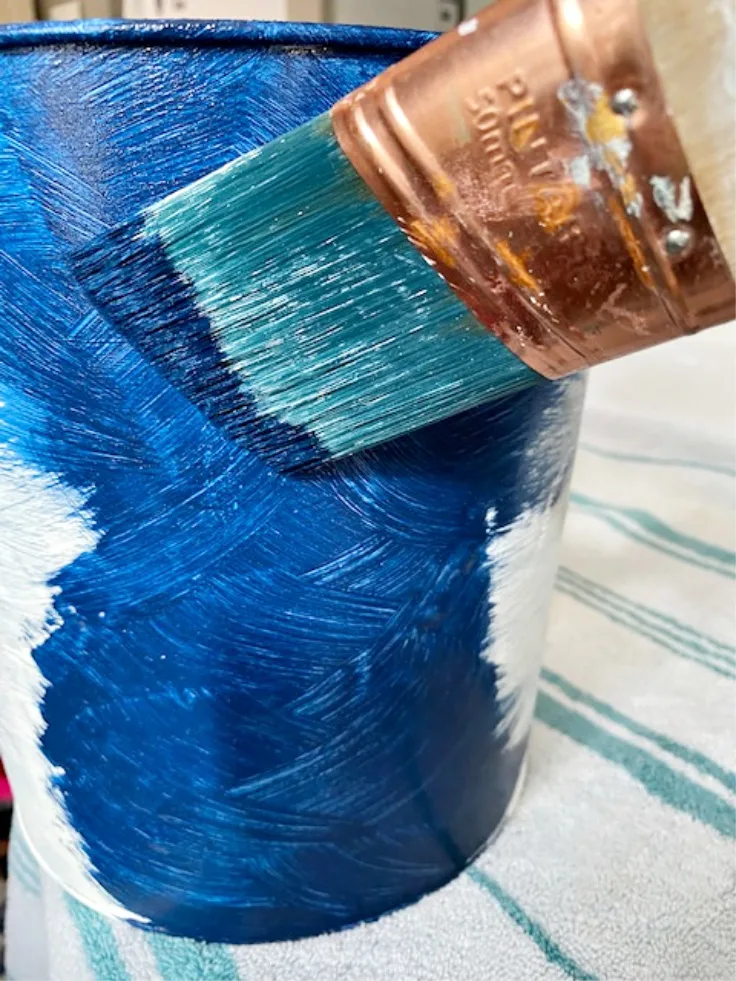
Step 3.
Add a second coat of the suede paint once the first coat is dry. If you feel it’s needed, you can add a third coat, but I liked the finish after just two coats.
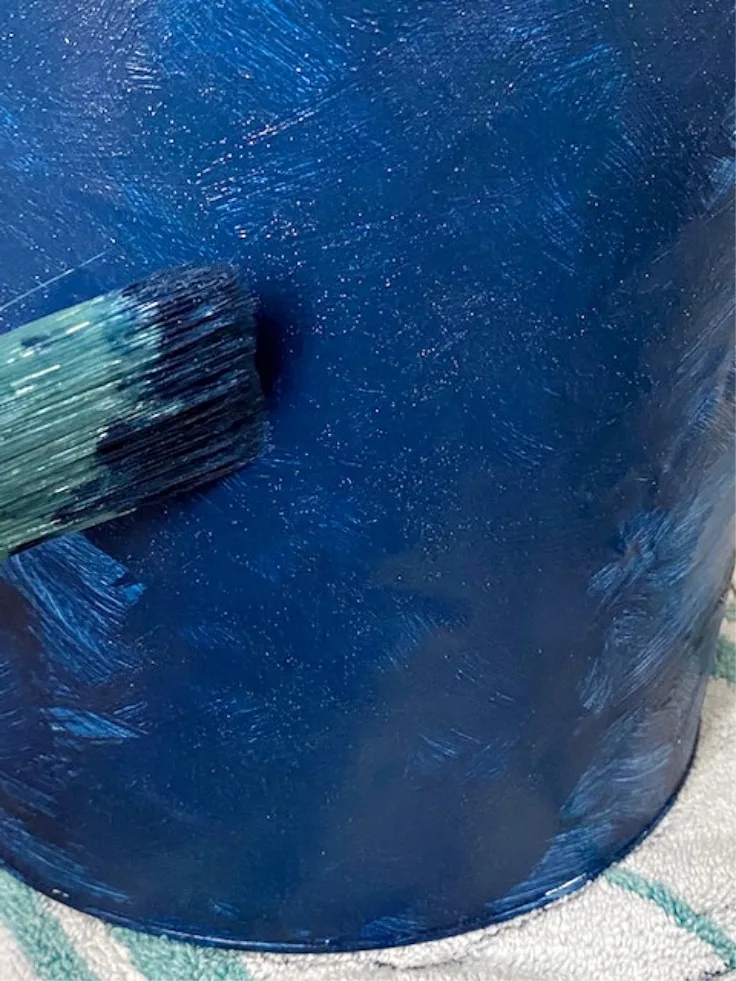
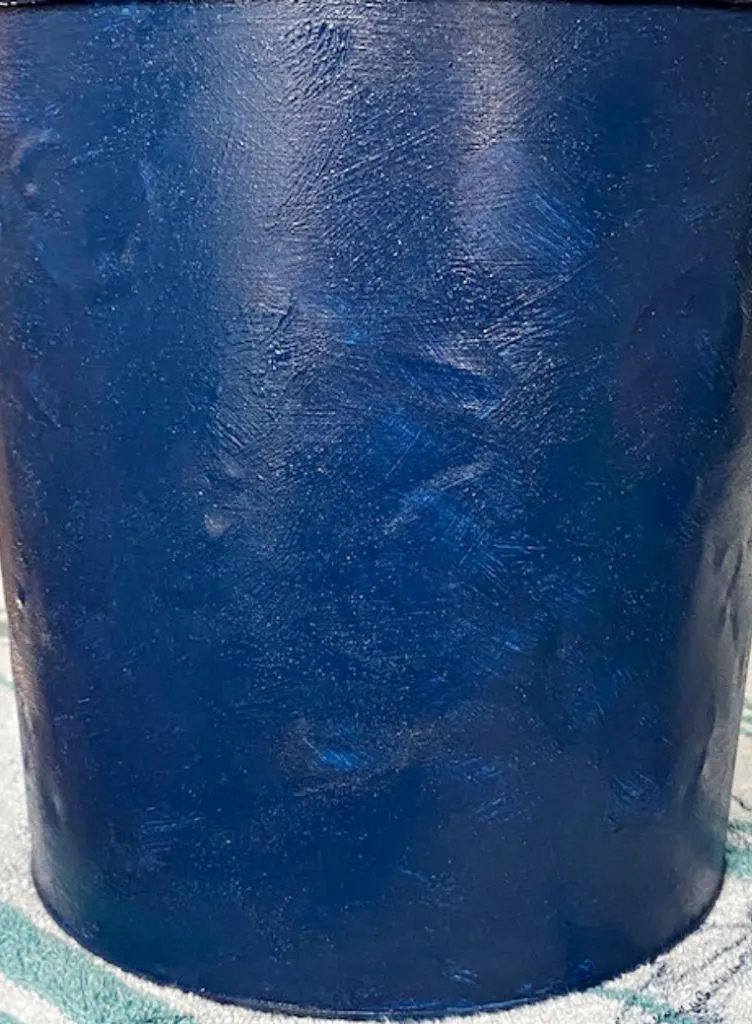
Step 4.
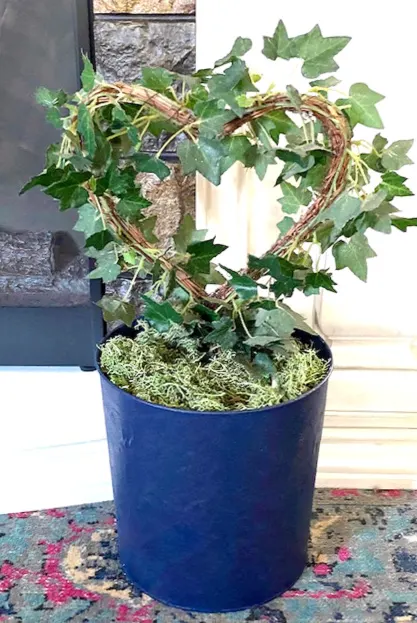
I plan to add a real plant once they are in my local nursery, but for now I filled it with moss and a faux ivy plant that I already owned.
A quick tip when filling a larger pot is to use crumbled up newspaper, or tissue paper, so you only need a small amount of moss.
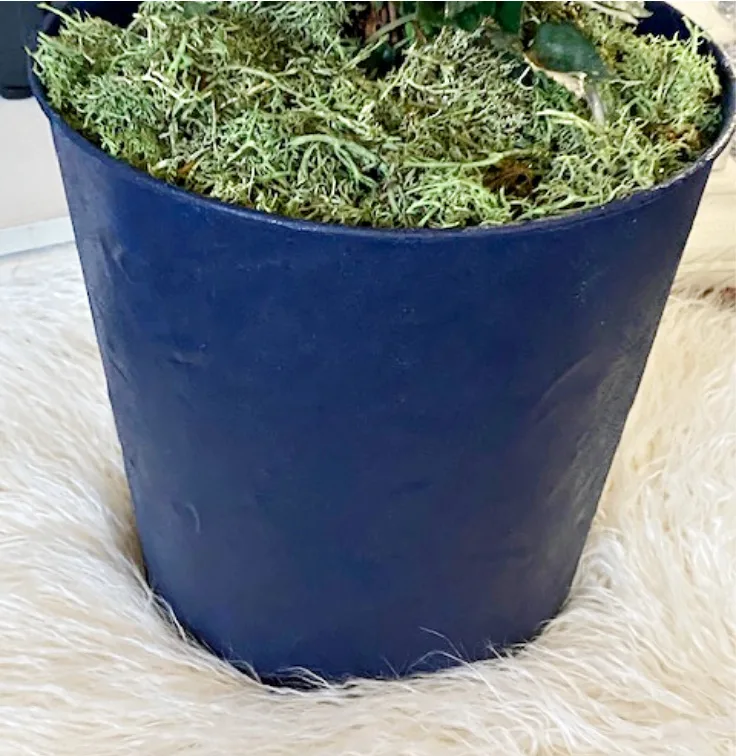
I didn’t use any top coat or finish, as I was so happy with the suede finish just as it was. But you can apply a top coat varnish if you like. It really does have the rich look of suede, doesn’t it?
Suede Paint Details
- Amazing coverage
- No prep necessary
- Great to cover minor imperfections
- 10 luxurious colors
- Easy clean up with soap and water
- Fully cured in 7-10 days
- Water-based
Sharing is caring…please PIN the below image:
Let me know what you think. Do you have any projects in mind for this gorgeous faux suede paint? Leave me a comment and let me know if you try it out. I’m sure you will love it as much as I did!

You may also want to check out these DecoArt paint projects:
Acrylic Paint Pour Cutting Board
Farmhouse Basket With Metallic Paint
Thanks so much for stopping by today.
I’d love it if you would follow me on social media:
Pinterest
Facebook
Instagram
Twitter

Shannon Molnar
Friday 13th of March 2020
I love this idea! I didn’t realize that suede paint was a thing - I’m totally going to check it out!