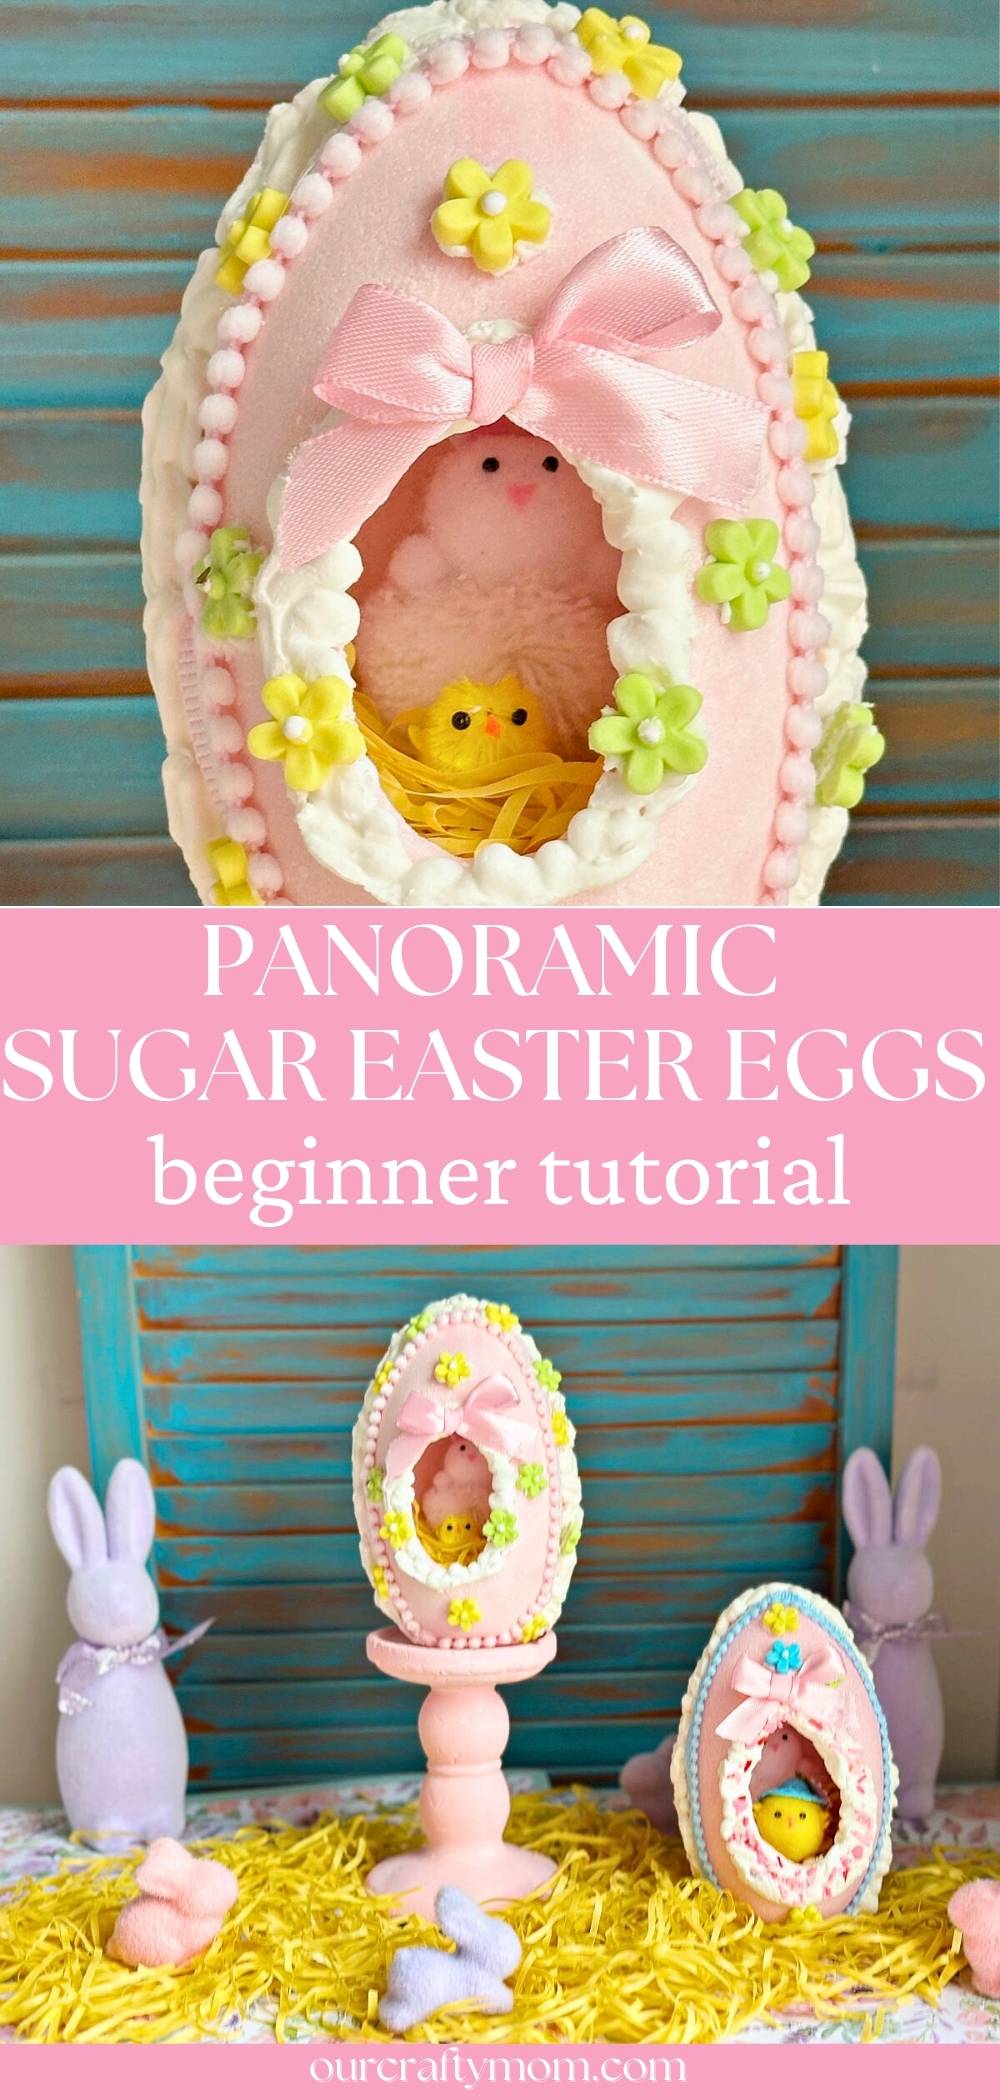
Create your own DIY panoramic sugar Easter eggs, a beloved keepsake tradition! This is a beginner tutorial with step-by-step instructions.

This post contains affiliate links at no extra cost to you. Please see my full disclosure here.
History of Sugar Easter Eggs
The tradition of molded sugar decorations dates back centuries, with early sugar sculpting techniques used by European confectioners.
By the Victorian era, creating edible sugar art became a popular pastime, particularly for holidays and special occasions.
One of my fondest memories as a child was visiting the local arts and crafts shows, Church Bazaars and home days with my parents in our little town. Thinking back, that was probably the beginning of my love for all things handmade.
One thing that mesmerized me were the handmade sugar eggs that were featured at one of our small town Spring fairs.
It was tough to wrap my head around how they were able to create the miniature scenes inside. Even then, the sugar eggs were pricey-as they should be, so I was never able to get one-until now!
This is the year that I finally took the time to research them and try my hand at creating some for the kids in our extended family for Easter.
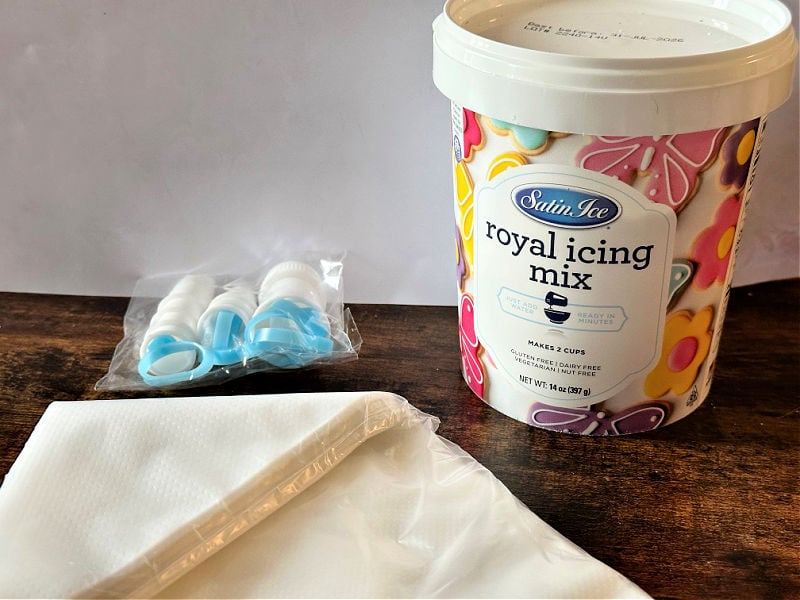
Supplies
- Jumbo Easter Egg Container – mine is from Dollar Tree – you can also use an egg mold.
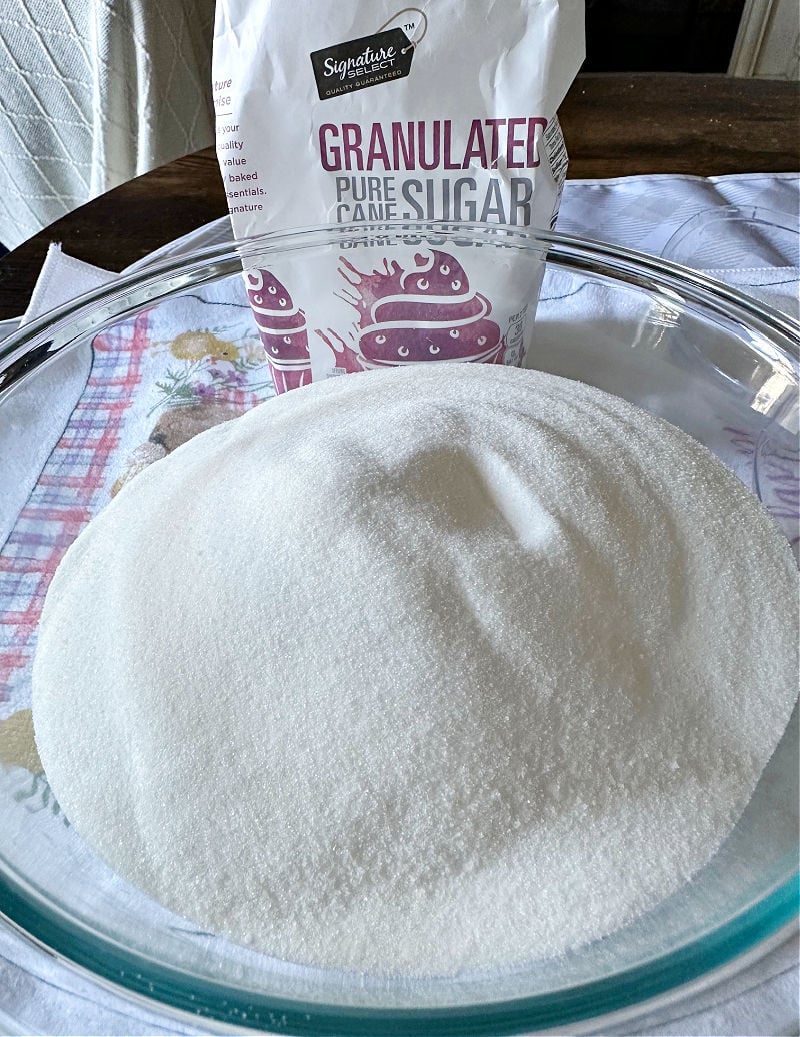
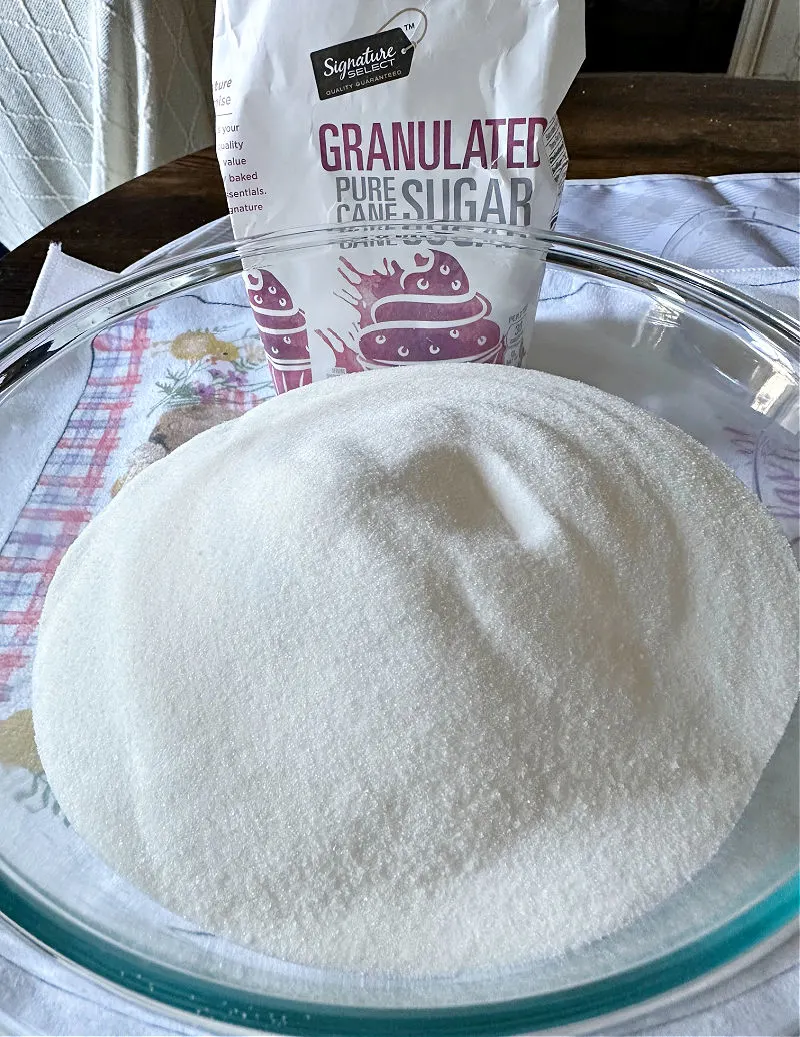
- 2.5 cups White Granulated Sugar – it is best to use fine sugar, which you can find at most grocery stores.
- Food Coloring
- 3-4 Tablespoons of Water
- Edible Candy Flowers – or other edible decorations
- Pastry Bags Set with Tips and Couplers
- Mini Chicks and Bunnies – I found cute pom pom chicks and bunnies at Michaels. You can use whatever small embellishments that will fit in the egg. Dollar Tree also has several options.
How to Make Panoramic Sugar Eggs
This is a very beginner-friendly tutorial to give you the basics of making sugar eggs at home. There will be a follow-up with more details on creating miniature scenes inside.
I’d love to keep this tradition alive and pass it on to the next generation. Don’t be intimidated by the steps. While there are several, they are straightforward. I’ll share some tips at the bottom of this post so you don’t repeat my mistakes.
Step 1. prepare the sugar
Preheat the oven to 200 degrees F. Mix 2.5 cups of sugar with 4 tablespoons of water in a mixer. This will make 3 sugar eggs.
The moisture in the air will determine how much water you need. Start with 3 tablespoons and add more as needed.

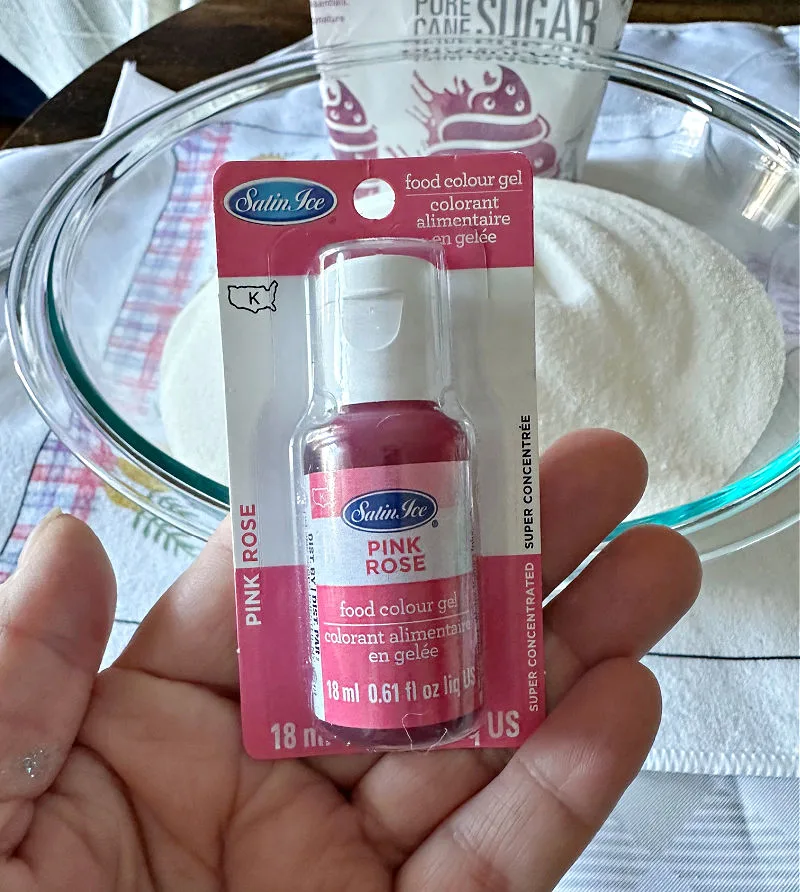
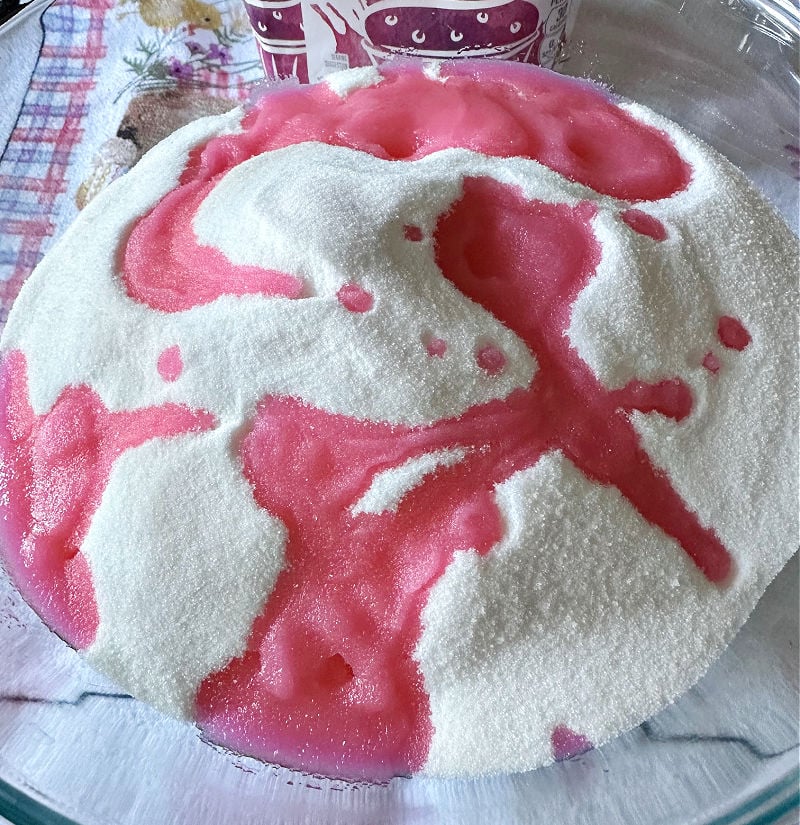

You can leave the sugar white, or add food coloring. I went with pink.
- An important tip is to put the food coloring in the water first, then pour the colored water into the sugar.
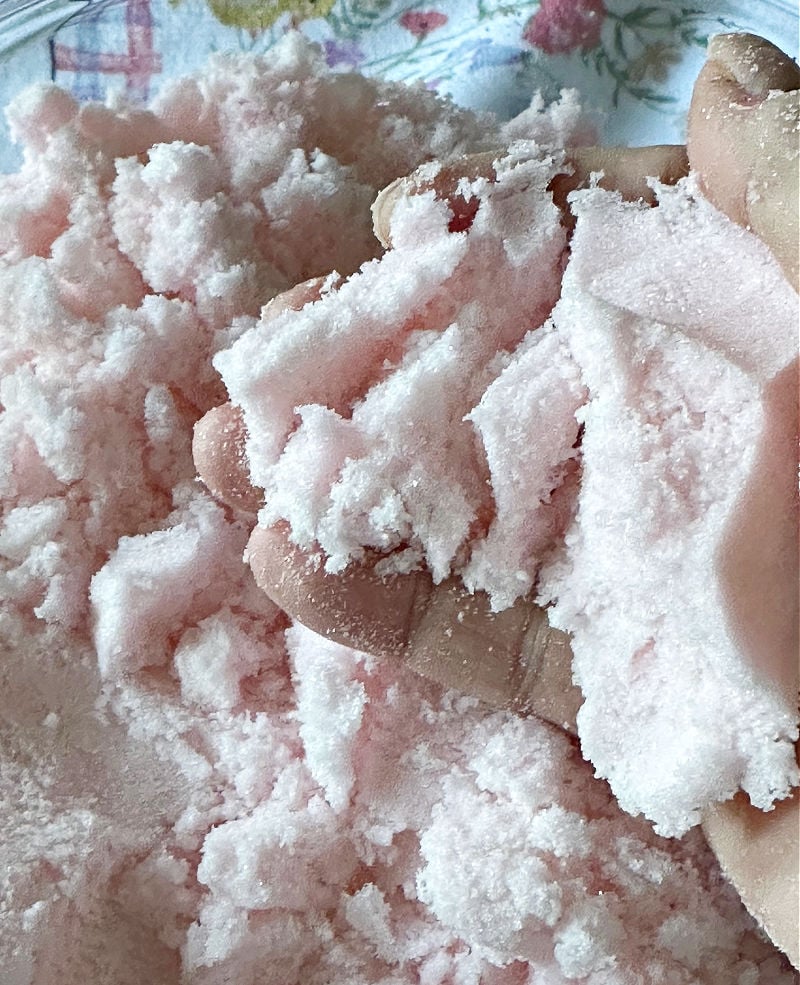
- Use a mixer on low speed to get the right consistency. Add water until the mixture is like wet beach sand, just enough that it will hold together.

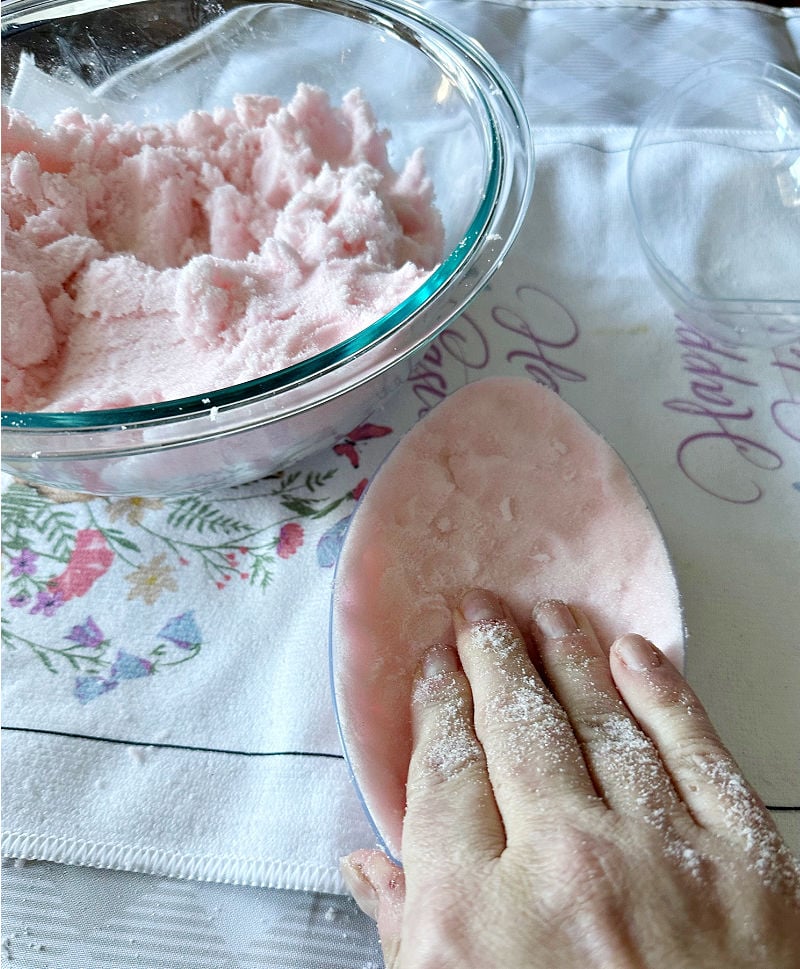
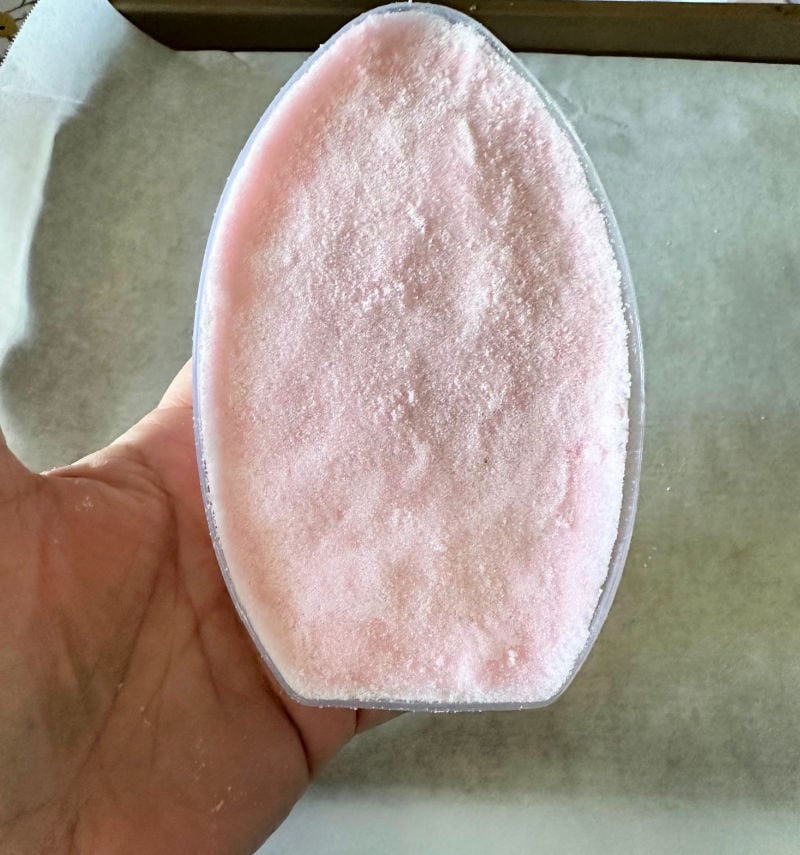
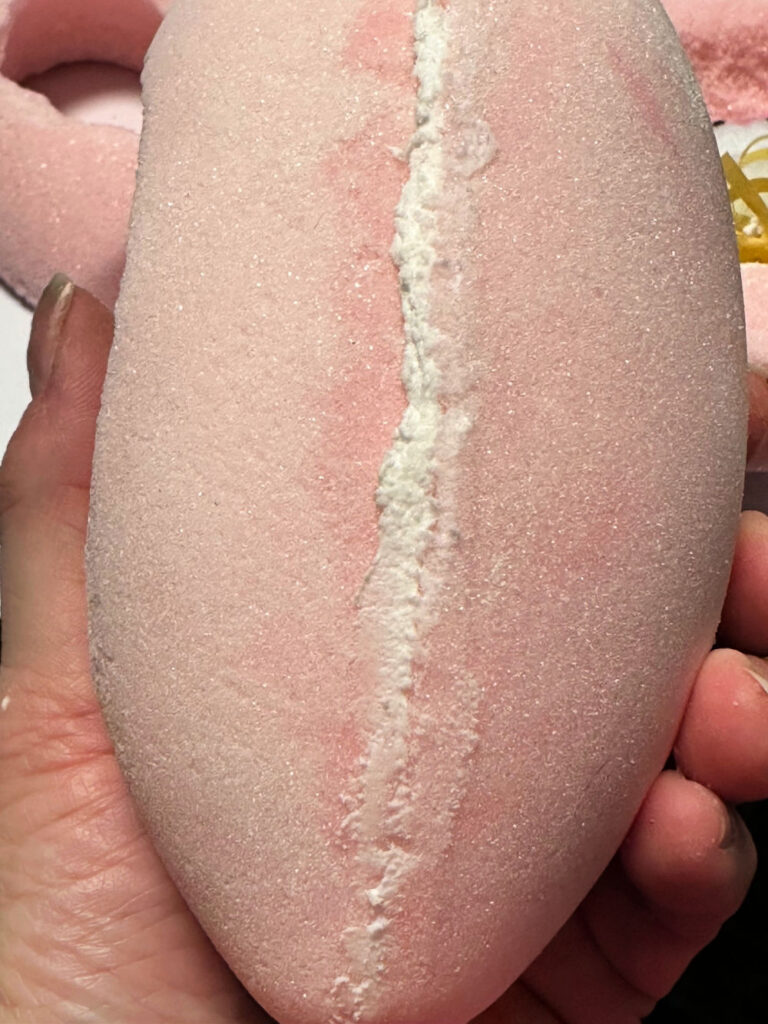
Step 2. fill the mold
One of the most important steps in this process is packing the egg mold. Start filling the mold and press the sugar mixture down well. Continue filling and pressing until it is completely packed. This will help avoid cracking.
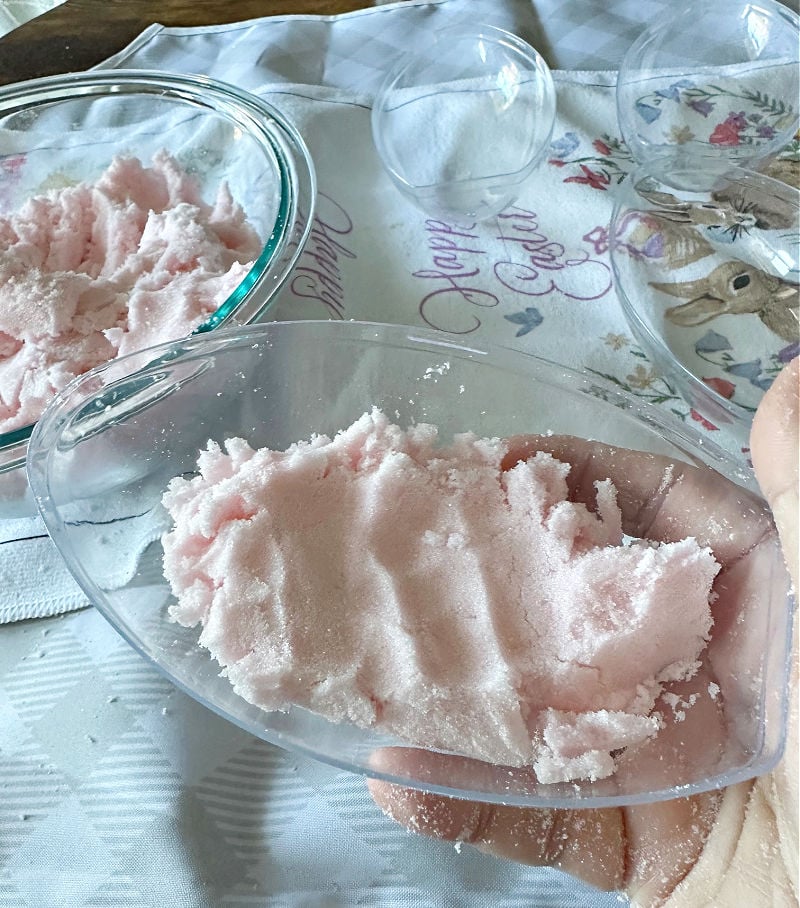


The egg will fall apart if it isn’t packed well. Ask me how I know this!
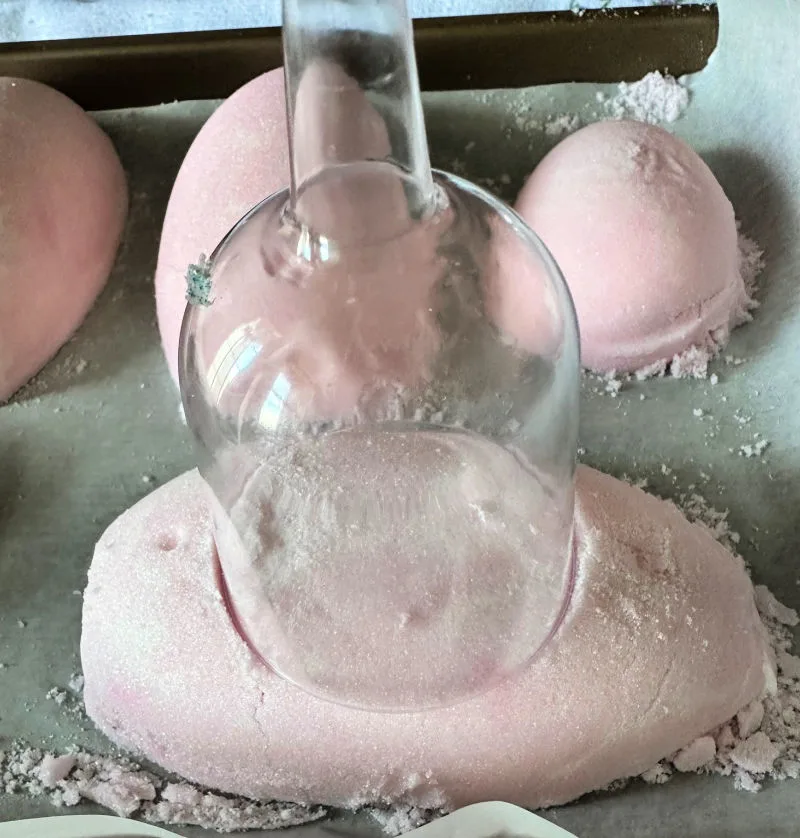
Step 3. Place on sheet pan for baking
Carefully flip the packed egg over onto a sheet pan lined with parchment paper. You can place cardboard on top of the egg when you flip it, if you like. I just used my hand and carefully flipped it onto the pan.

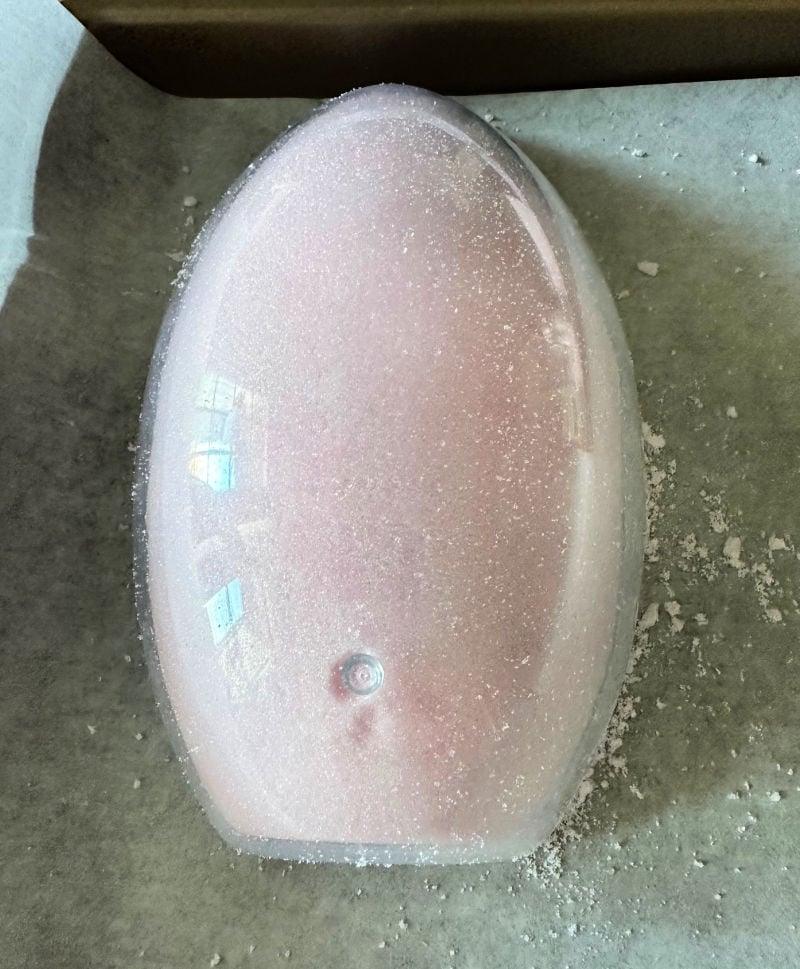
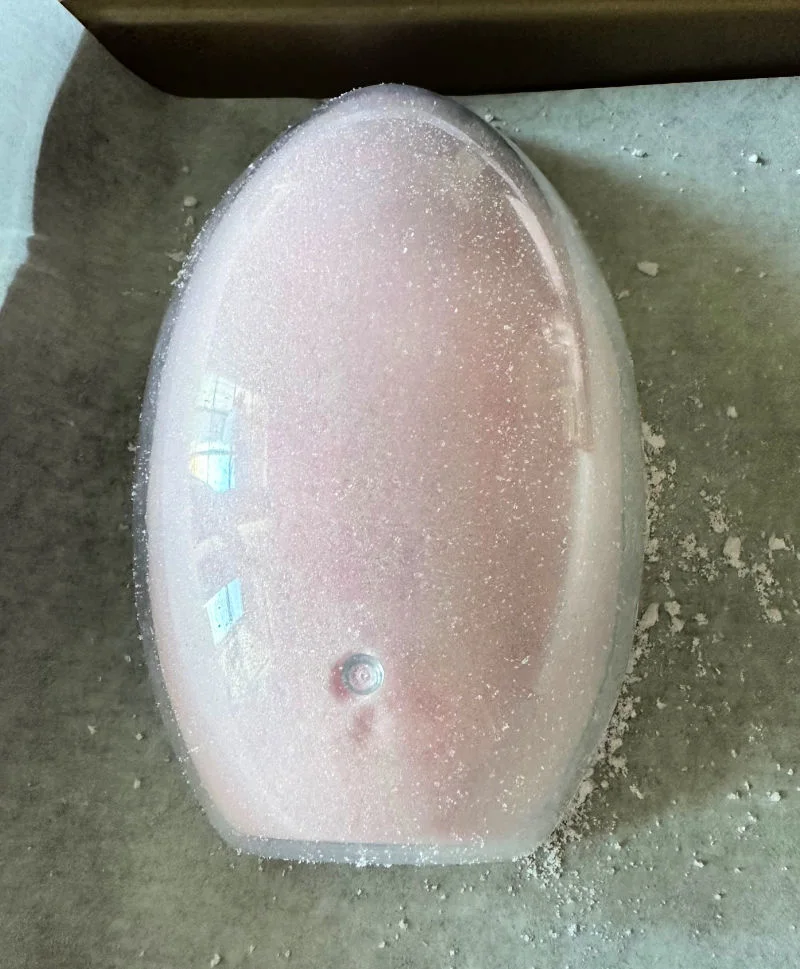
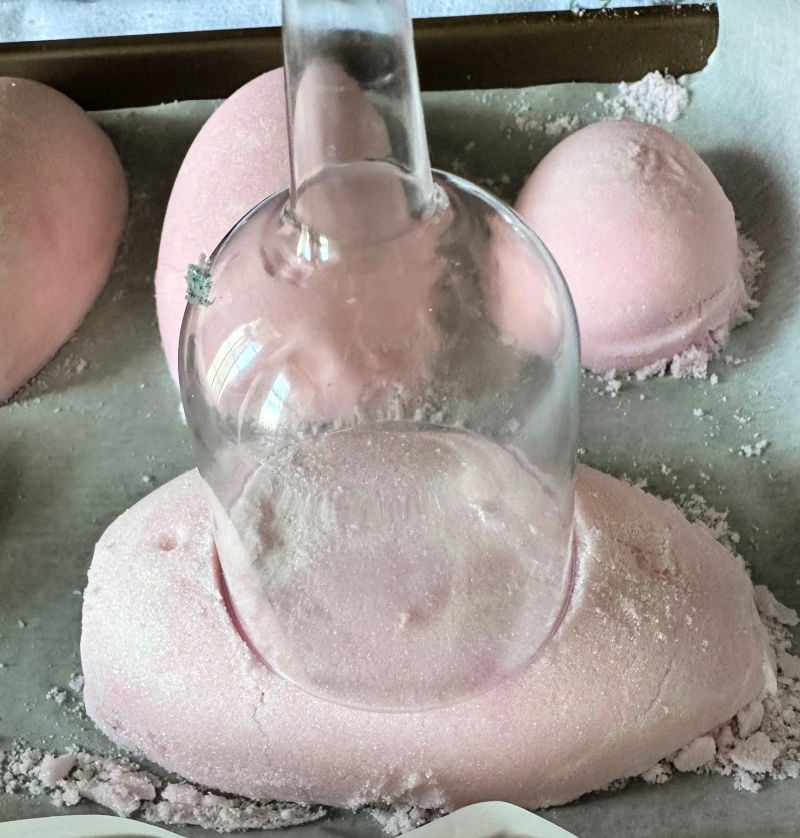
Using a small glass, make an indention in two of the sugar eggs. This will be the opening for the front of the egg. This will help make it easier to scoop out the center.
Bake them for 10 minutes and let them cool for 10 minutes.
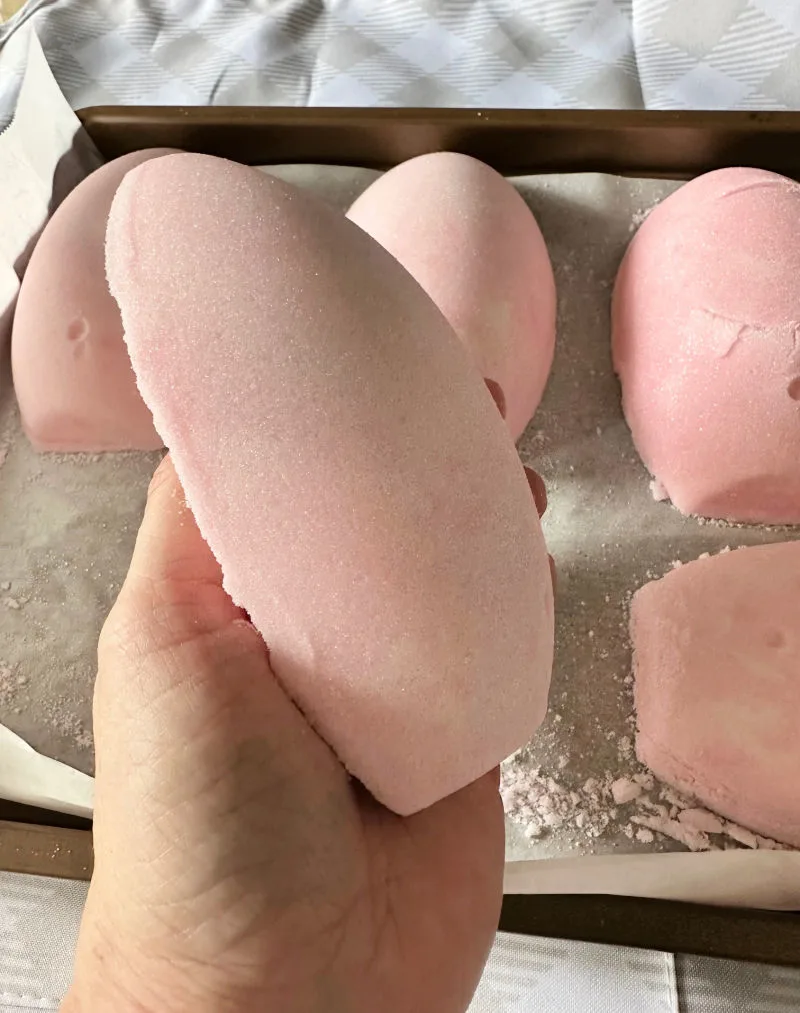
Now it’s time to create the 2 parts of the egg. It is very important to work slowly so the eggs do not break. I was a bit too anxious to get this part done and broke two! Work slowly and don’t stress if one breaks.
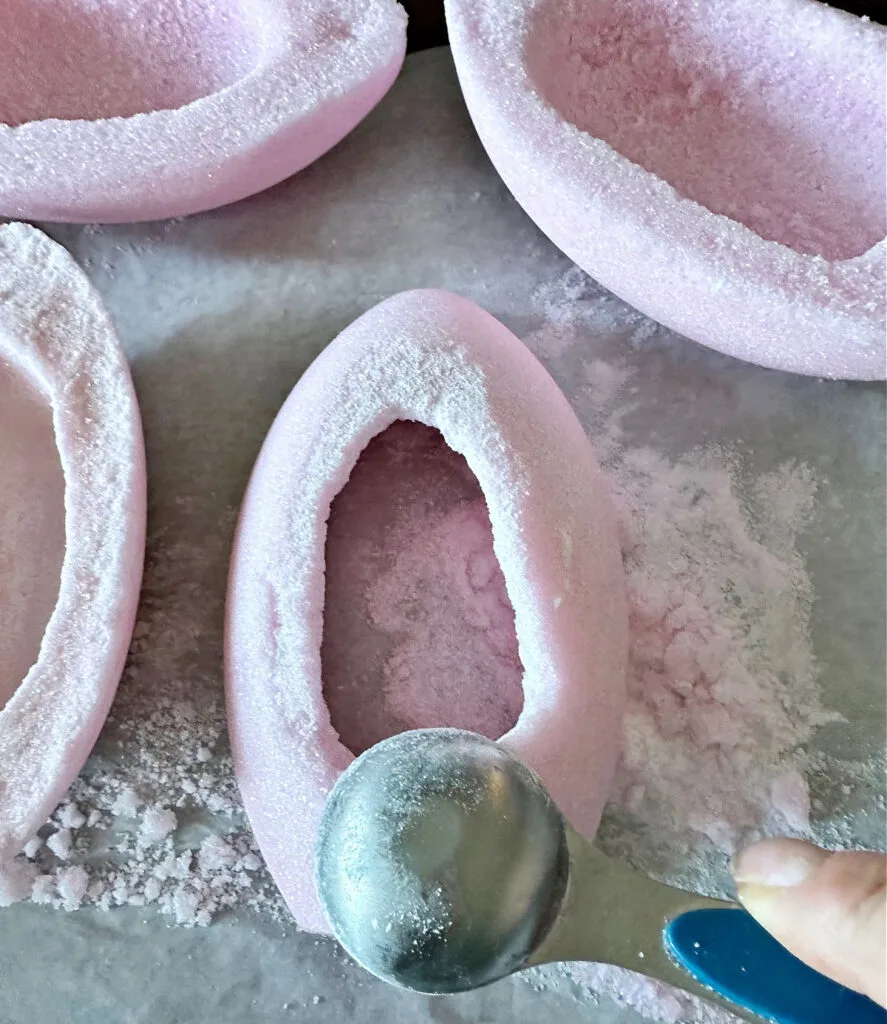
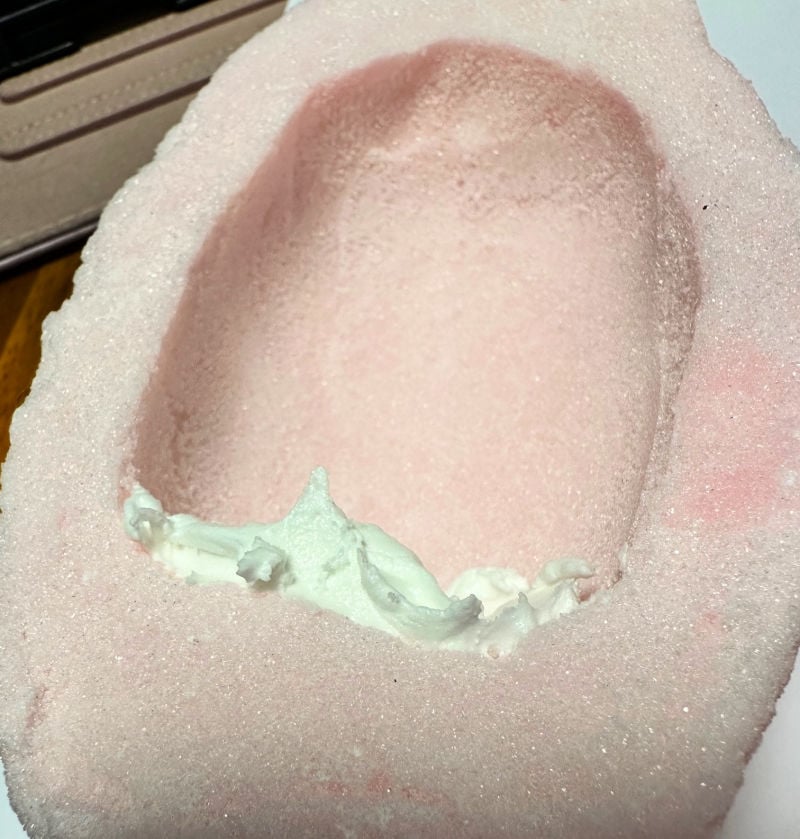
Step 4. Hollow out the eggs
Begin lightly scooping out the center of the egg over a bowl. You can reuse the leftover sugar. It works best to hold the back of the egg and use a metal measuring spoon to dig.

The bottom egg will be scooped out with the bottom still in tact. The top egg will be completely hollow with a narrow wall, as shown in the images below.


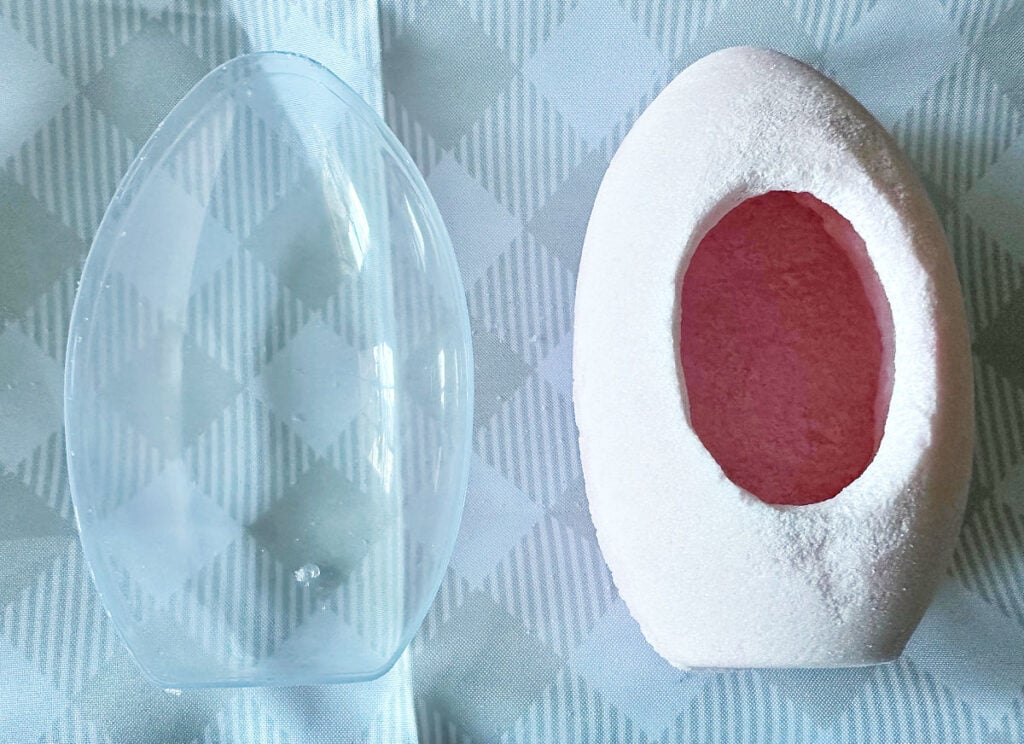
Let the eggs air dry for another 10 minutes. Or you can let them sit overnight and decorate them the next day.
The next image shows the egg mold used and the 2 sugar eggs together. Don’t worry if the egg is nor perfect. The royal icing and decorations will cover any imperfections.

Step 5. Decorate the sugar eggs
Now for the fun part; decorating the sugar eggs! This is where you can get really creative. Since this is a beginner-friendly tutorial, I will share easy shortcuts to creating beautiful eggs, without much piping.
If you are familiar with decorating cakes or cupcakes, it is very similar. The main thing is to have fun with it!

Follow the instructions to make the royal icing. I used my kitchen aid mixer. You can add food coloring if you like, but I went with white. Fill your piping bags.

Royal icing is used to secure the two eggs together. It acts as a glue for the sugar. Place a layer of royal icing on the bottom egg and place the front egg on top and let it harden.
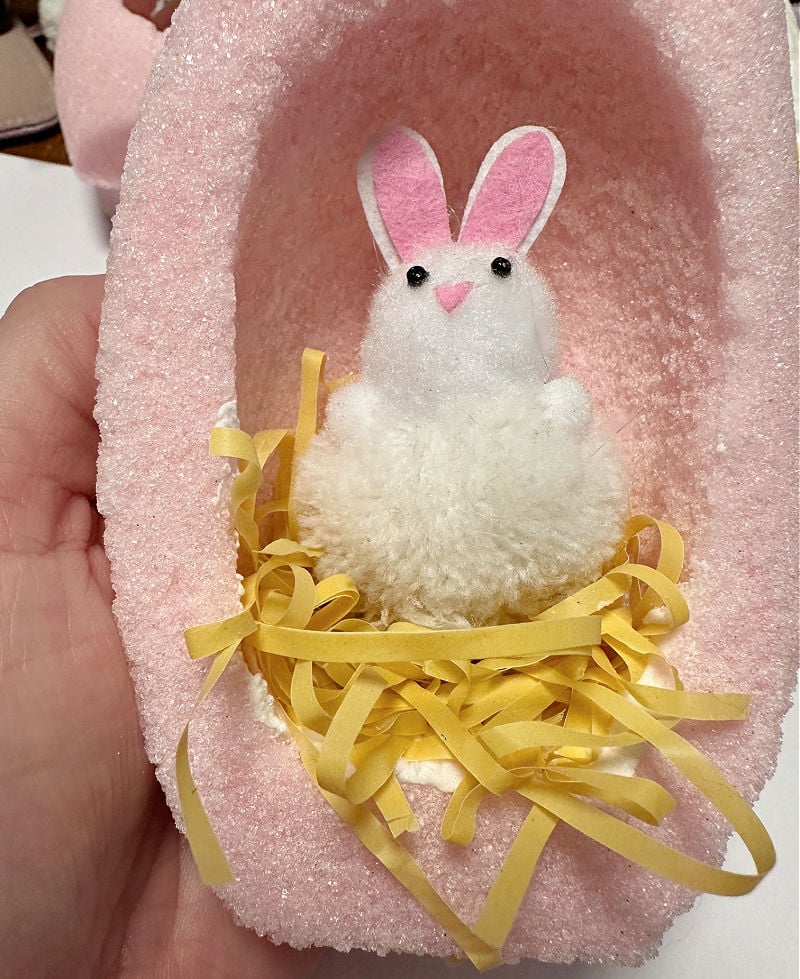
Create your Easter scene on the inside of the egg first. Place a bit of royal icing where you are adding your decorations. Follow this same process for the front of the egg.
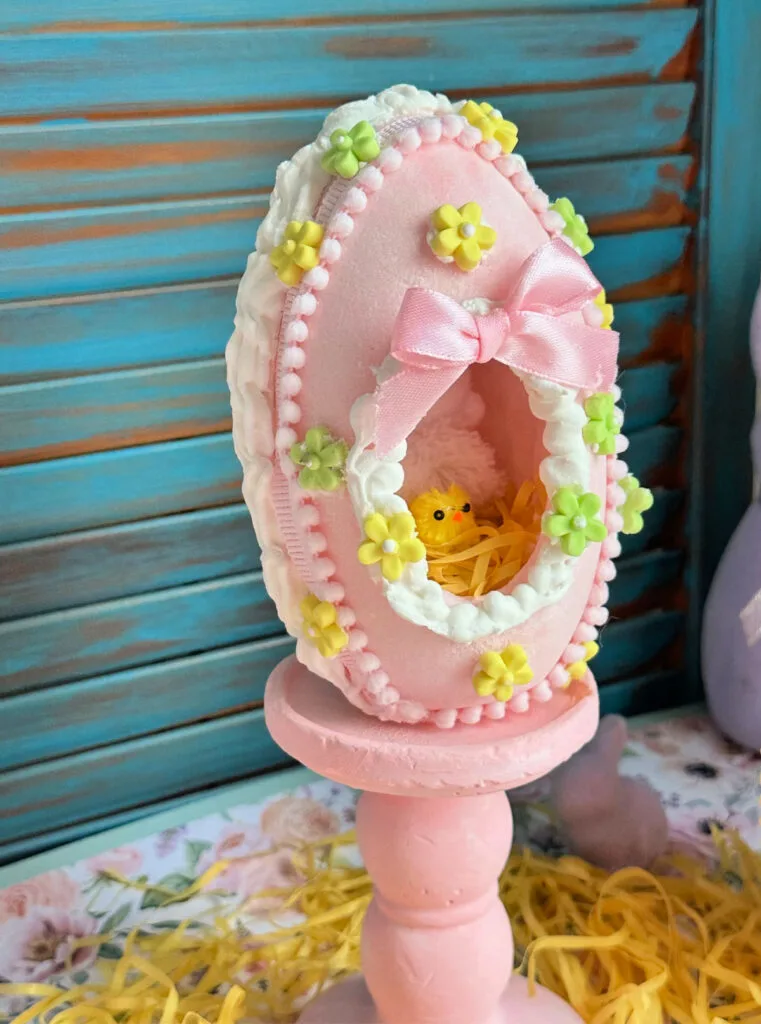
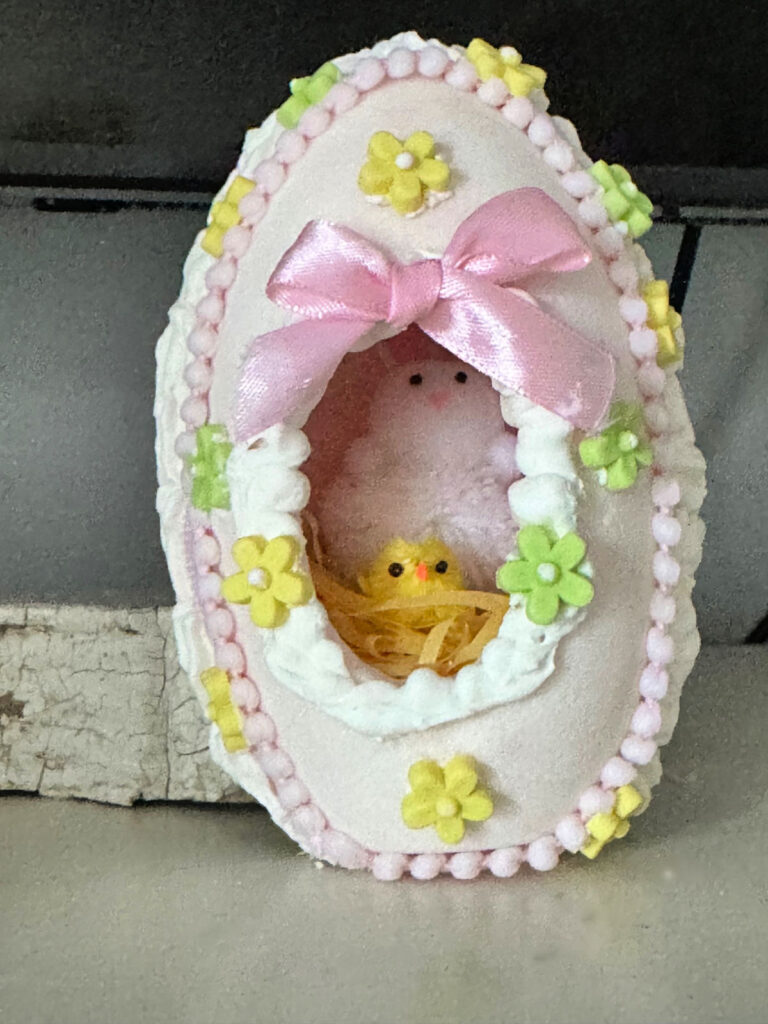
To keep it simple, I went with yellow Easter grass and a super cute bunny and chick. Because these are going to be keepsakes that can be displayed for years to come, I didn’t want to add candy.


Pipe a border around the seam to cover any imperfections. You can also pipe around the front of the egg or use ribbon.
To dress up the egg I used 2 different narrow ribbons and pretty pastel flowers that you can find at the craft store or online. Use a small bead of icing to secure the outside decorations.
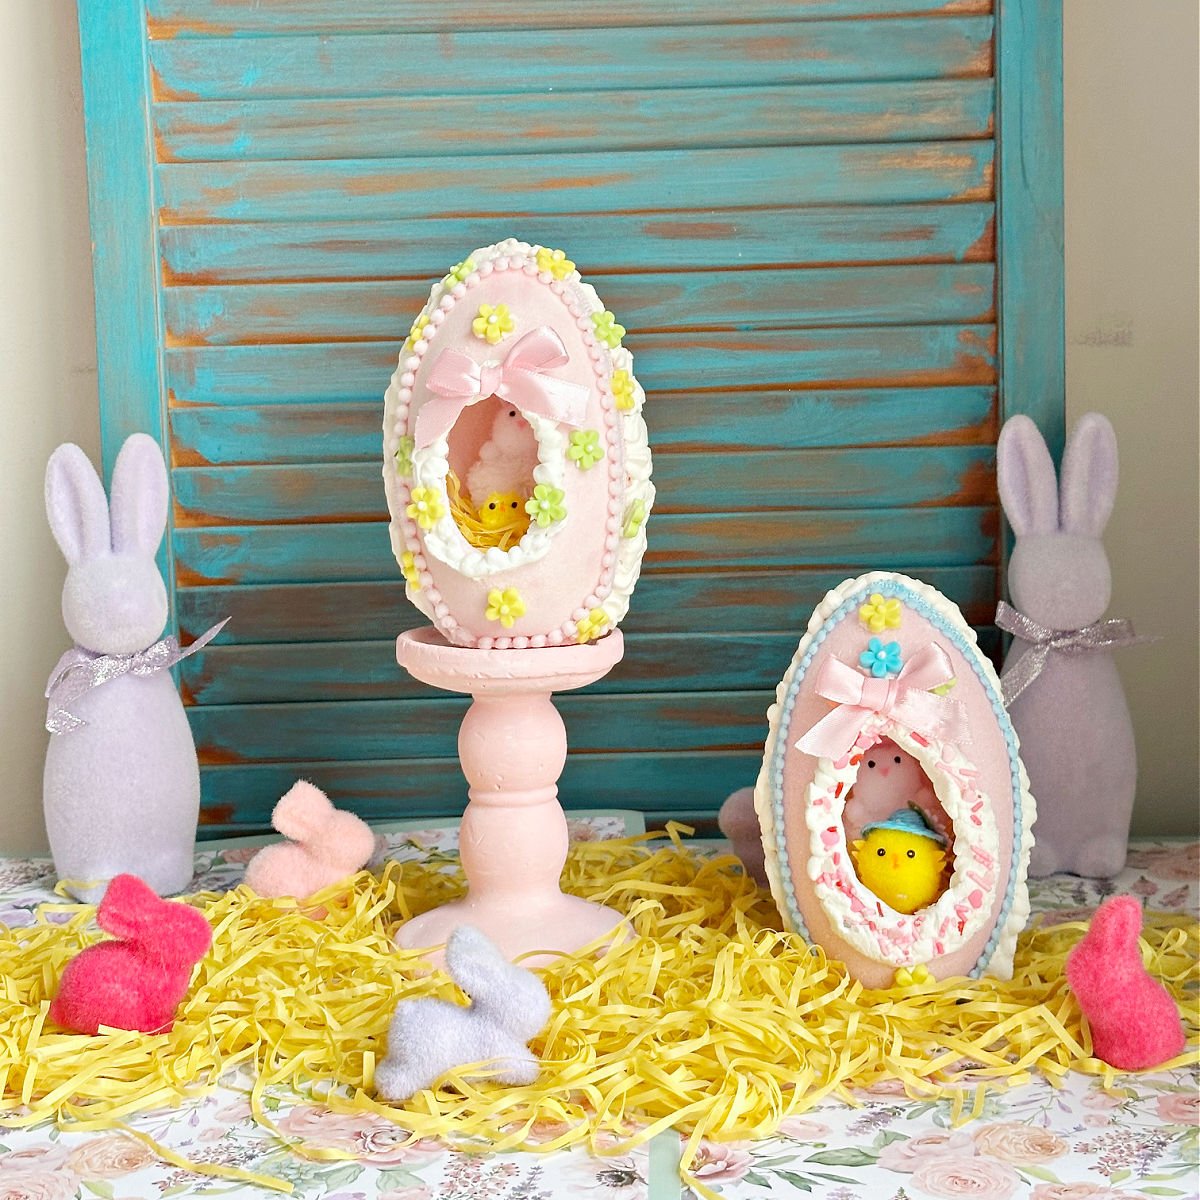
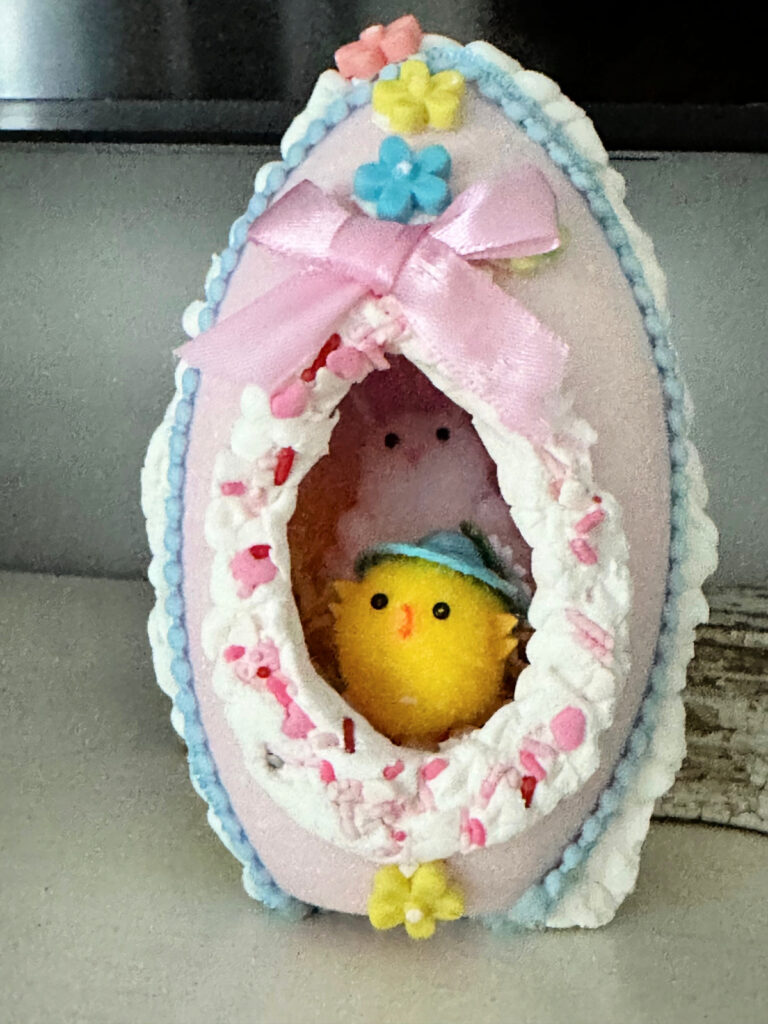
Look at how lovely this sugar Easter egg is:

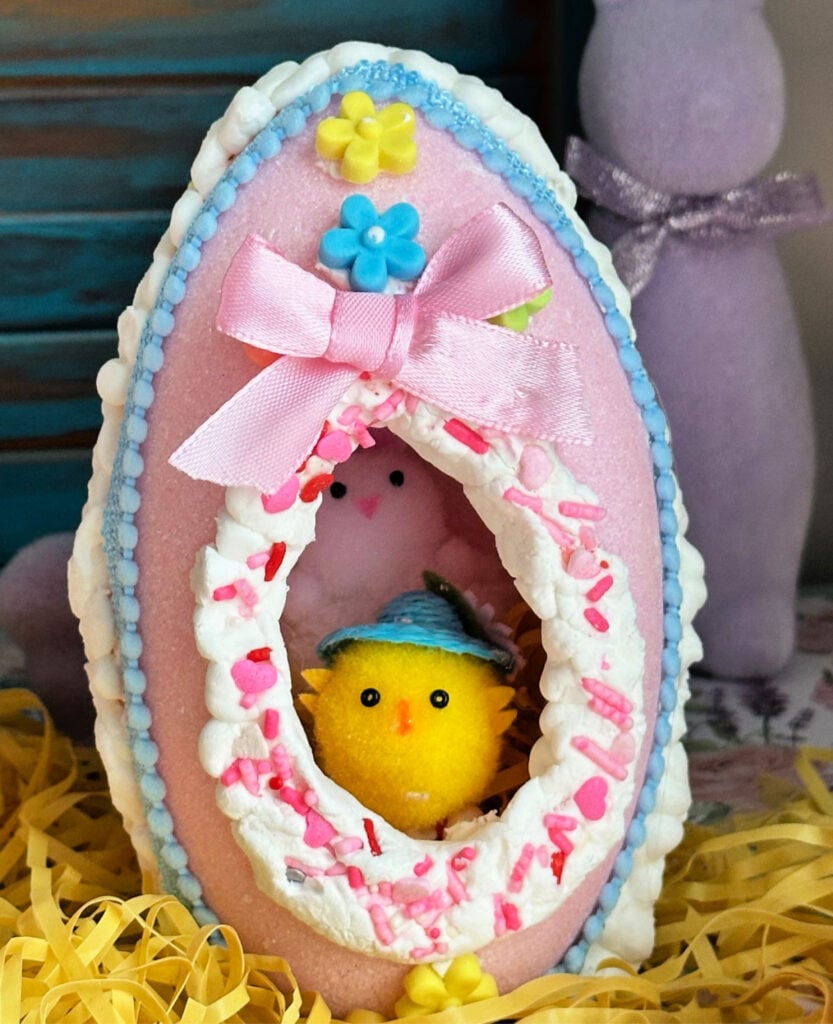
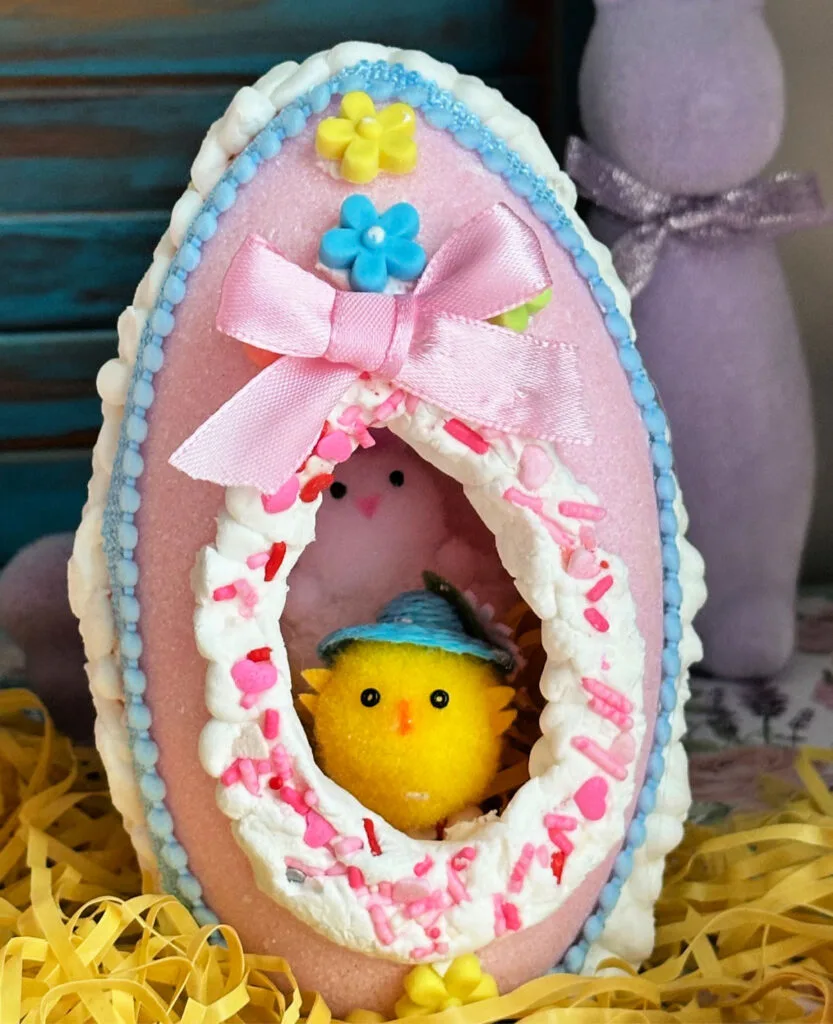
If you want to personalize the egg you can write a name on the back, which is my plan. Sprinkles were added to this egg, along with blue ribbon for a bit more color.
I’m so happy with how they turned out, though I still want to take it to the next level with a handmade scene on the inside of the egg. Stay tuned for that!
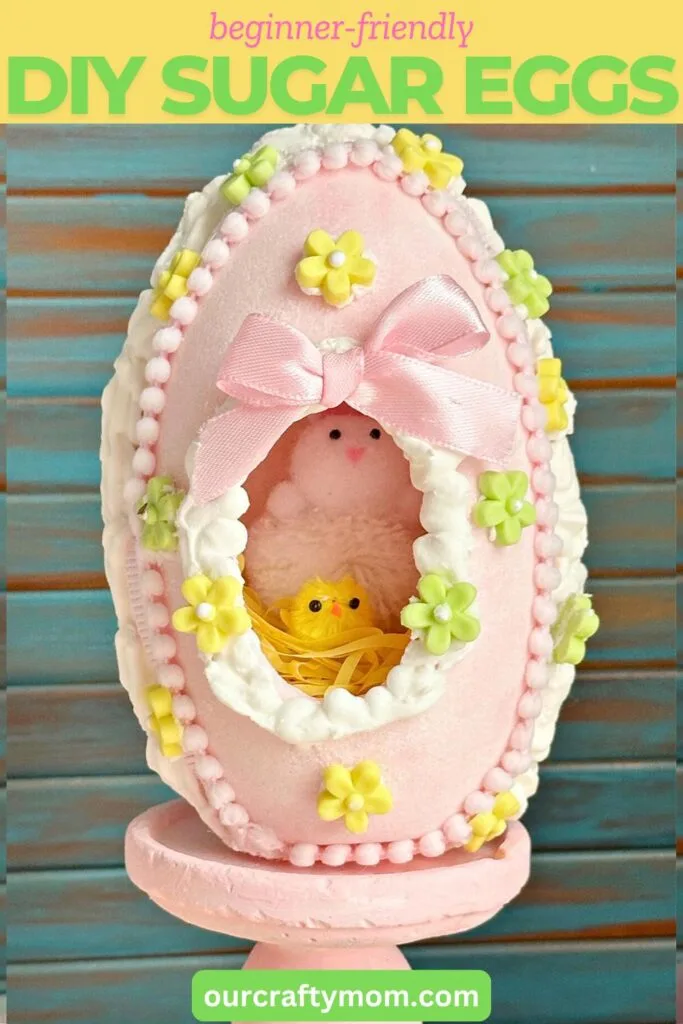
I’d love it if you would share this article with your friends on Pinterest by pinning the below image.
It helps my blog grow and doesn’t cost a thing! 🙂

I hope you are inspired to make your own sugar Easter eggs. Please reach out to me in the comments if I can answer any questions.
Happy crafting!


Sugar Easter Egg One Year Later!
Here is a pic of the panoramic sugar eggs displayed on my mantel last week. I kept them wrapped in bubble wrap in a box and they held up incredibly well:
For even more spring and Easter crafts and home decorating ideas, be sure to visit my Easter gallery.
It should feel like slightly damp wet sand, firm enough to hold its shape.
Yes. You don’t have to use an egg shaped mold. An Easter bunny, or baby chick would be adorable. Think about making pumpkins for fall, or ornaments for Christmas.
Royal icing will dry very hard in just a few minutes.
Keep them in a cool, dry place away from moisture and direct sunlight.
They can last for years, even decades, when properly cared for and stored.
Although they are made of mostly edible ingredients, they’re not intended to be eaten. They are for decorative purposes only.

Follow me on social media below:
Julie
Sunday 5th of April 2026
No matter how carefully I look, I can’t find your instructions on the bunnies and chicks used INSIDE the eggs. Can you help? Thank you!
Michelle James
Monday 6th of April 2026
Hi Julie. I am sorry you had trouble with that. There is a section talking about how to add piping and the Easter grass inside the eggs. "To keep it simple, I went with yellow Easter grass and a super cute bunny and chick." The bunny and chick were store-bought from Michaels, but you can add anything you like to the inside. Because these are meant as keepsakes, not to eat, I wanted something that could be displayed and last for years. You can also find small Easter bunnies at Dollar Tree. I'm going to update the post now to clarify this a bit and also share a pic of them on my mantel this year as they look just as good as when I first made them. If you have any other questions, feel free to email me directly at Michelle@ourcraftymom.com Hope you had a Happy Easter!
Betty
Sunday 13th of April 2025
This brought back such fun memories of when I was a teen and made one of these at Easter for a wonderful woman who was my second mom. Thanks for the smiles.
Michelle James
Tuesday 15th of April 2025
I love hearing this! I really hope it is a tradition that continues. They were so fun to make. Wishing you a very Happy Easter!