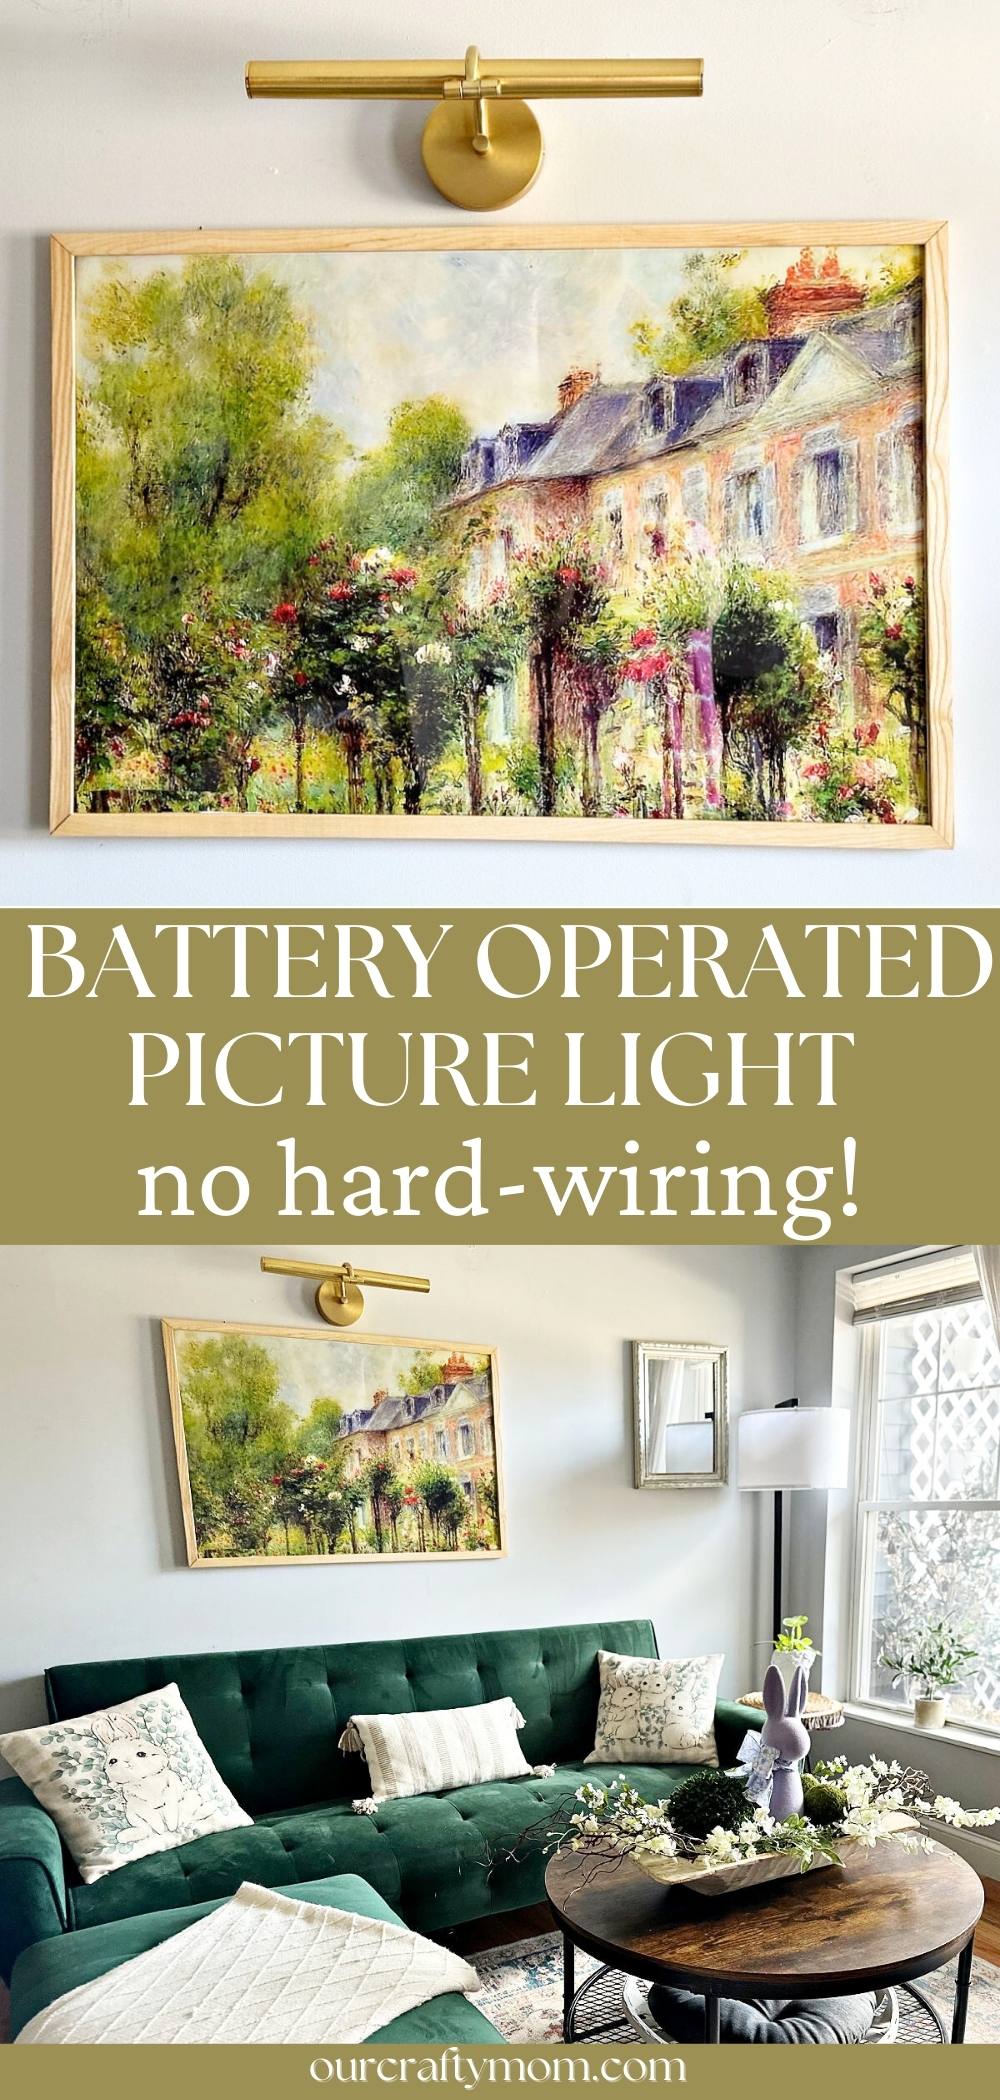
Add gallery-worthy lighting to your home the easy way! This guide shows you how to install a battery-operated picture light, with no wiring.

This post is sponsored by Lowe’s and contains affiliate links, which means if you buy something using these links I will earn a small commission at no additional cost to you. All opinions are my own. Please see my full disclosure policy here.
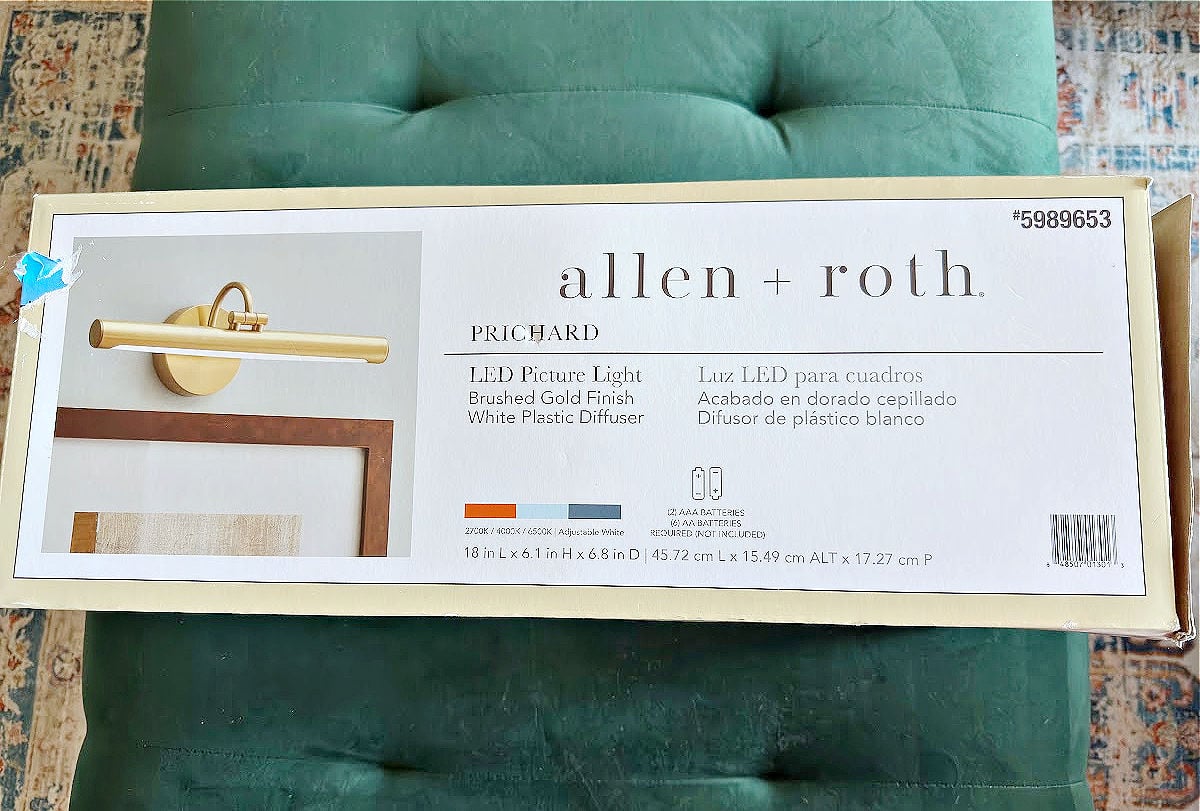
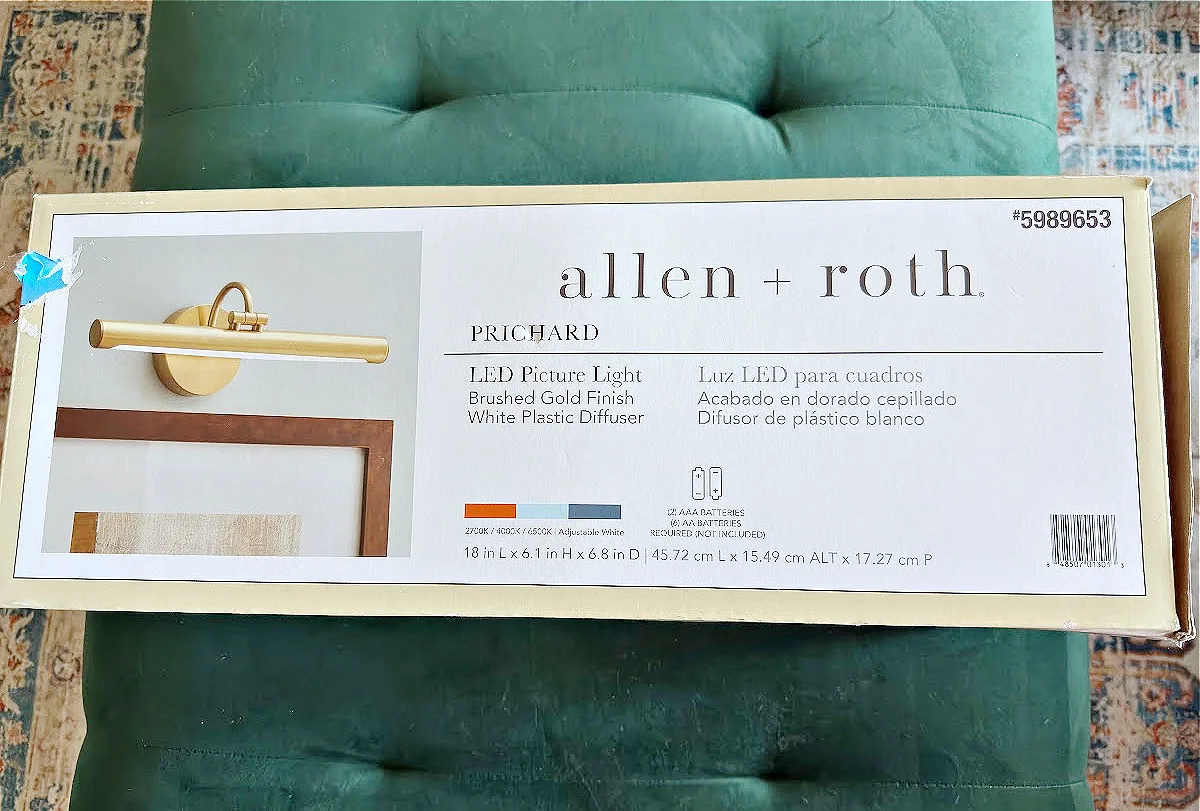
I’m all about quick and easy DIY projects that are budget-friendly. My living room doesn’t have much overhead lighting, so I was excited when I found this Allen & Roth brushed gold picture light at Lowe’s.
Why You Will Love This Battery Operated Picture Light
- Easy to install – it took me about 15-20 minutes to get this beauty hung.
- It’s affordable – this elegant wall light is under $45.
- No hard-wiring required – one of my favorite things about this sconce is there is no need for hard-wiring. I did not have to mess with wires, or hire an electrician to install it.
- Renter-Friendly – only requires 2 screws to hang the fixture. If you move, take the light with you and fill in the holes.
- Battery operated – integrated long lasting LED so no bulb replacement.
- Remote control included – control the light fixture with 3 brightness settings and a timer feature.
Supplies Needed to Install a Picture Light
There is a printable DIY card below to make installing your own battery operated light even easier.
- Allen & Roth Battery Operated Picture Light
- AAA and AA Batteries – the picture light takes AA batteries, the remote takes AAA batteries.
- DeWalt 20v Cordless Drill – the light includes the necessary hardware. You can also use a screwdriver.
- Measuring Tape
How to Install a Battery Operated Picture Light
The first thing you want to do is measure where you will be hanging the picture light. Mine is going directly above the large artwork over my sofa.
I followed the instructions for mounting directly onto a wall.
- First, place the mounting bracket at the desired location and mark two holes.
- For drywall, drill the two holes using a 5/16 in. drill bit (not included).
- Insert drywall anchors.
- Position the mounting bracket over the holes and secure using 2 screws.
- Remove the two fixture screws. Insert the 6 AA batteries (not included).
- Secure the picture light to the mounting bracket by tightening the two fixture screws.
- Add 2 AAA batteries to the remote control and press on. Adjust settings as desired.
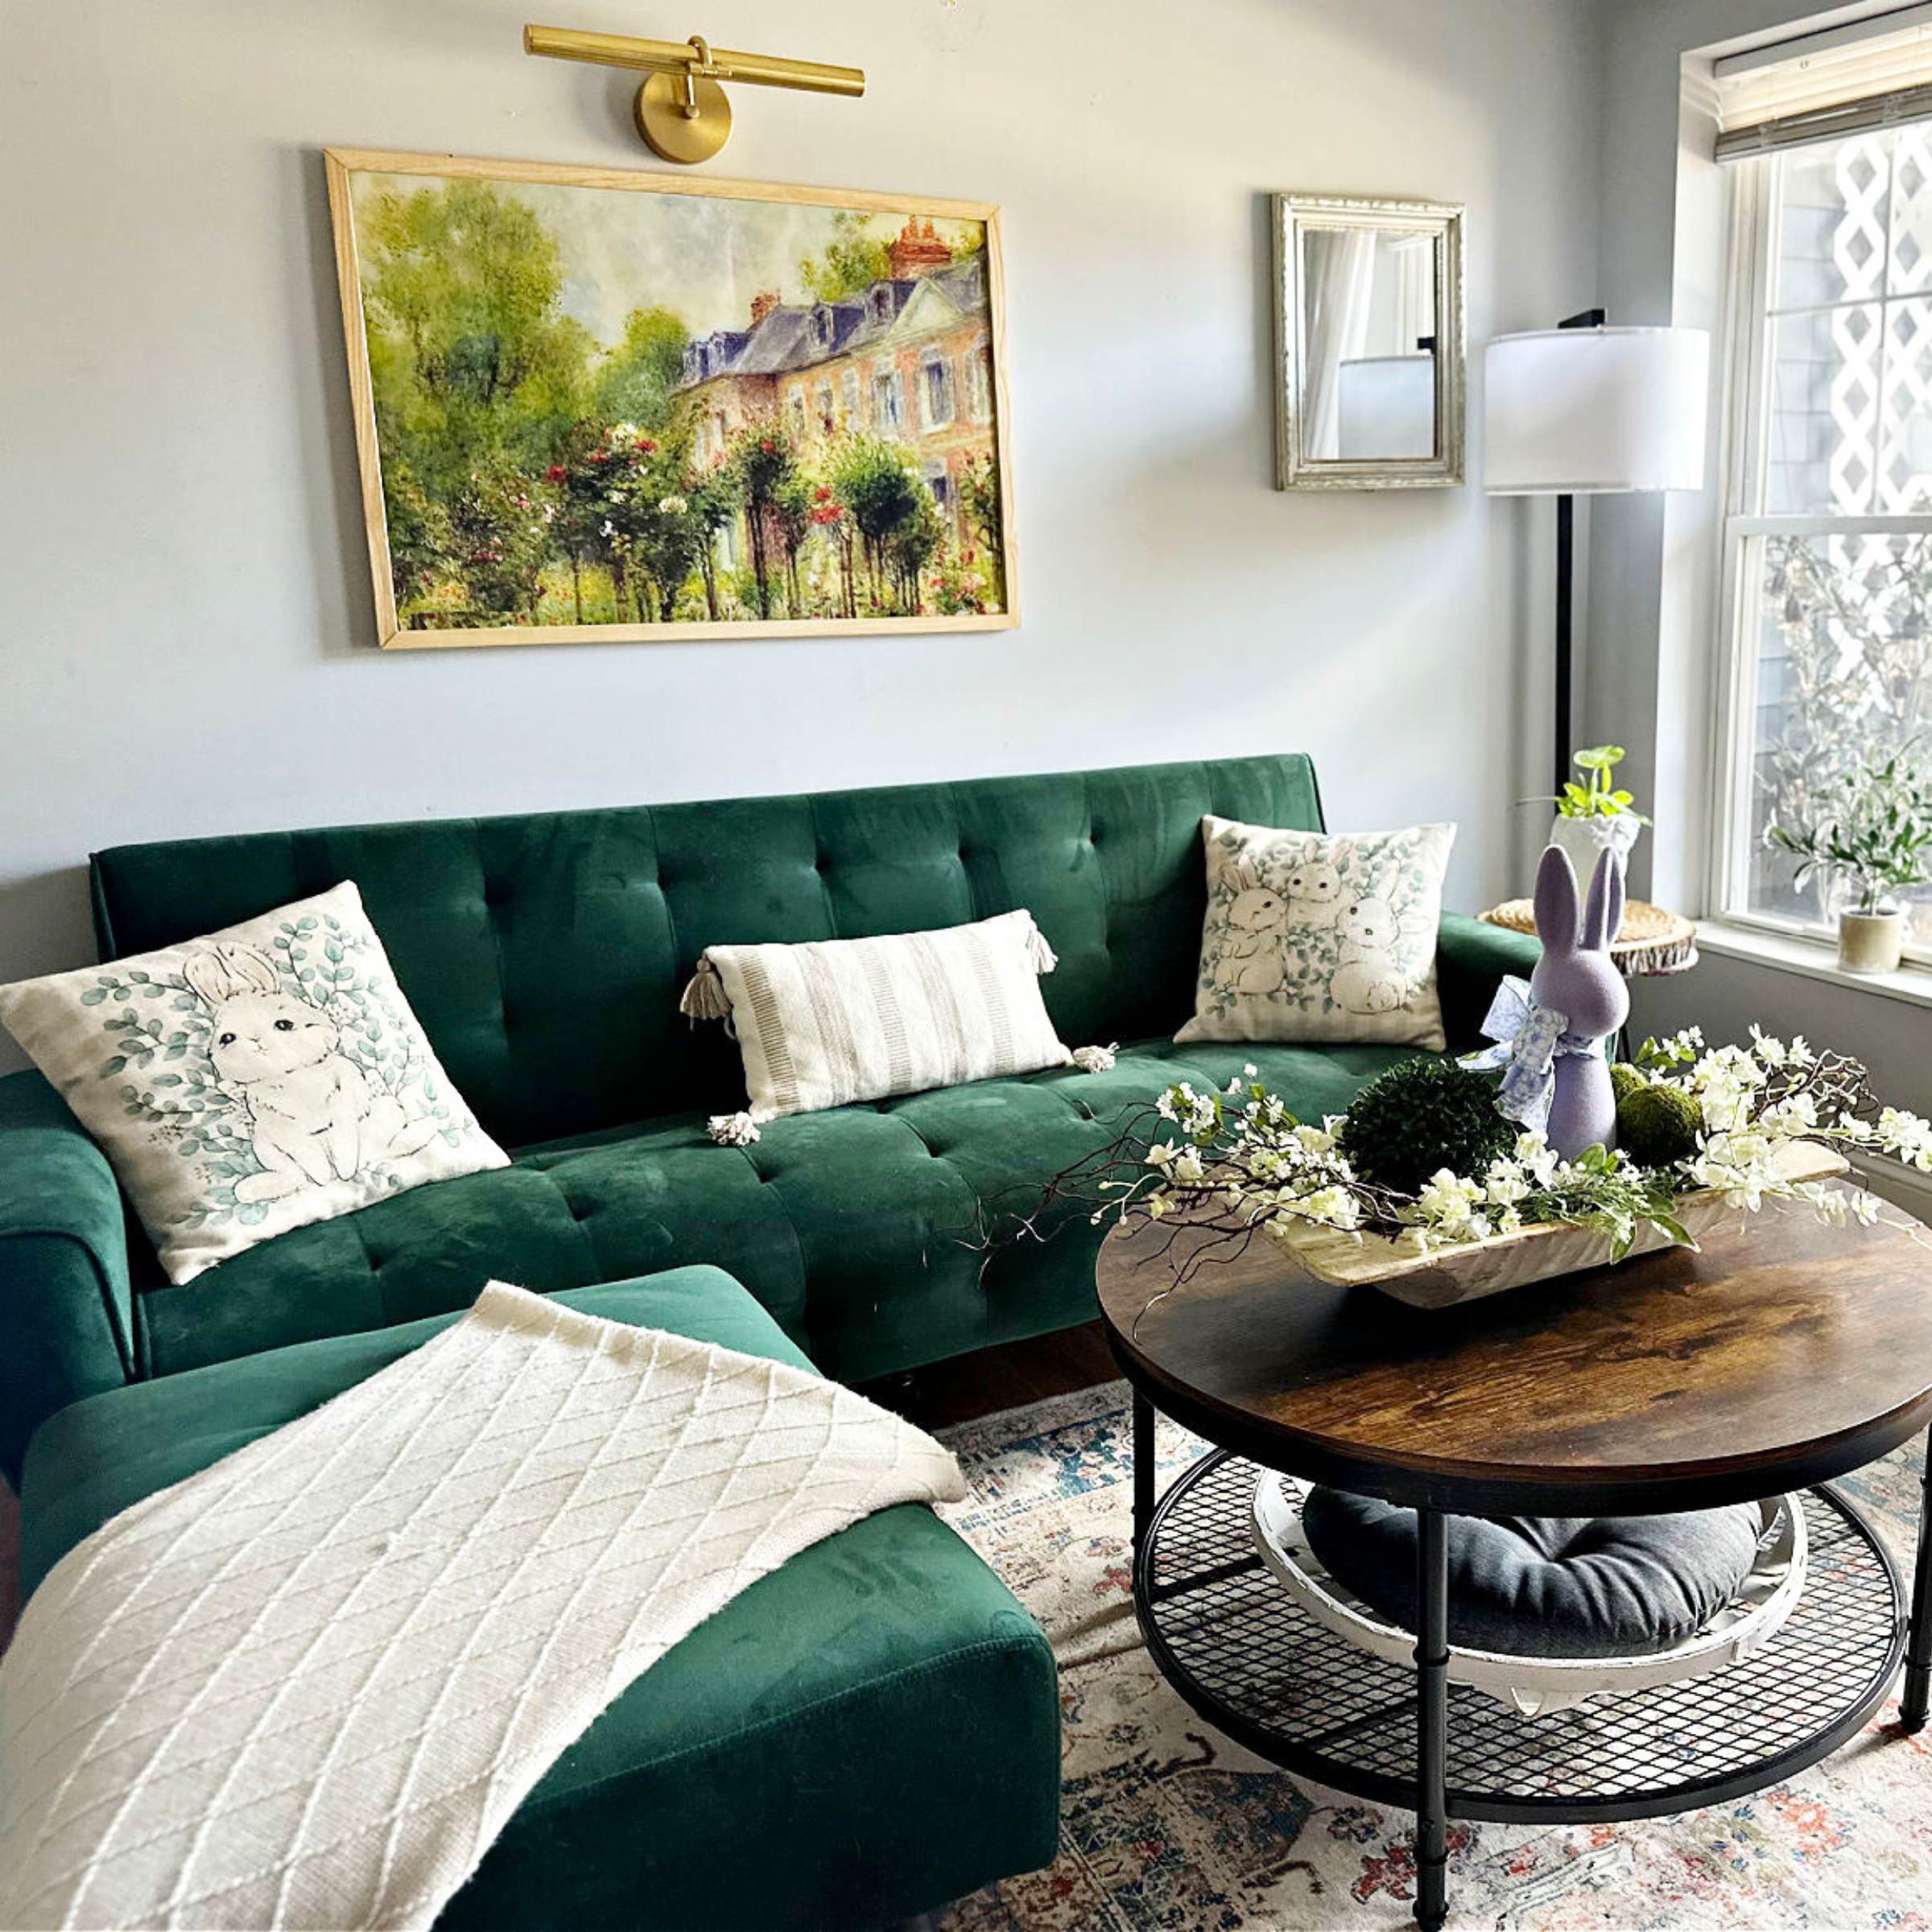
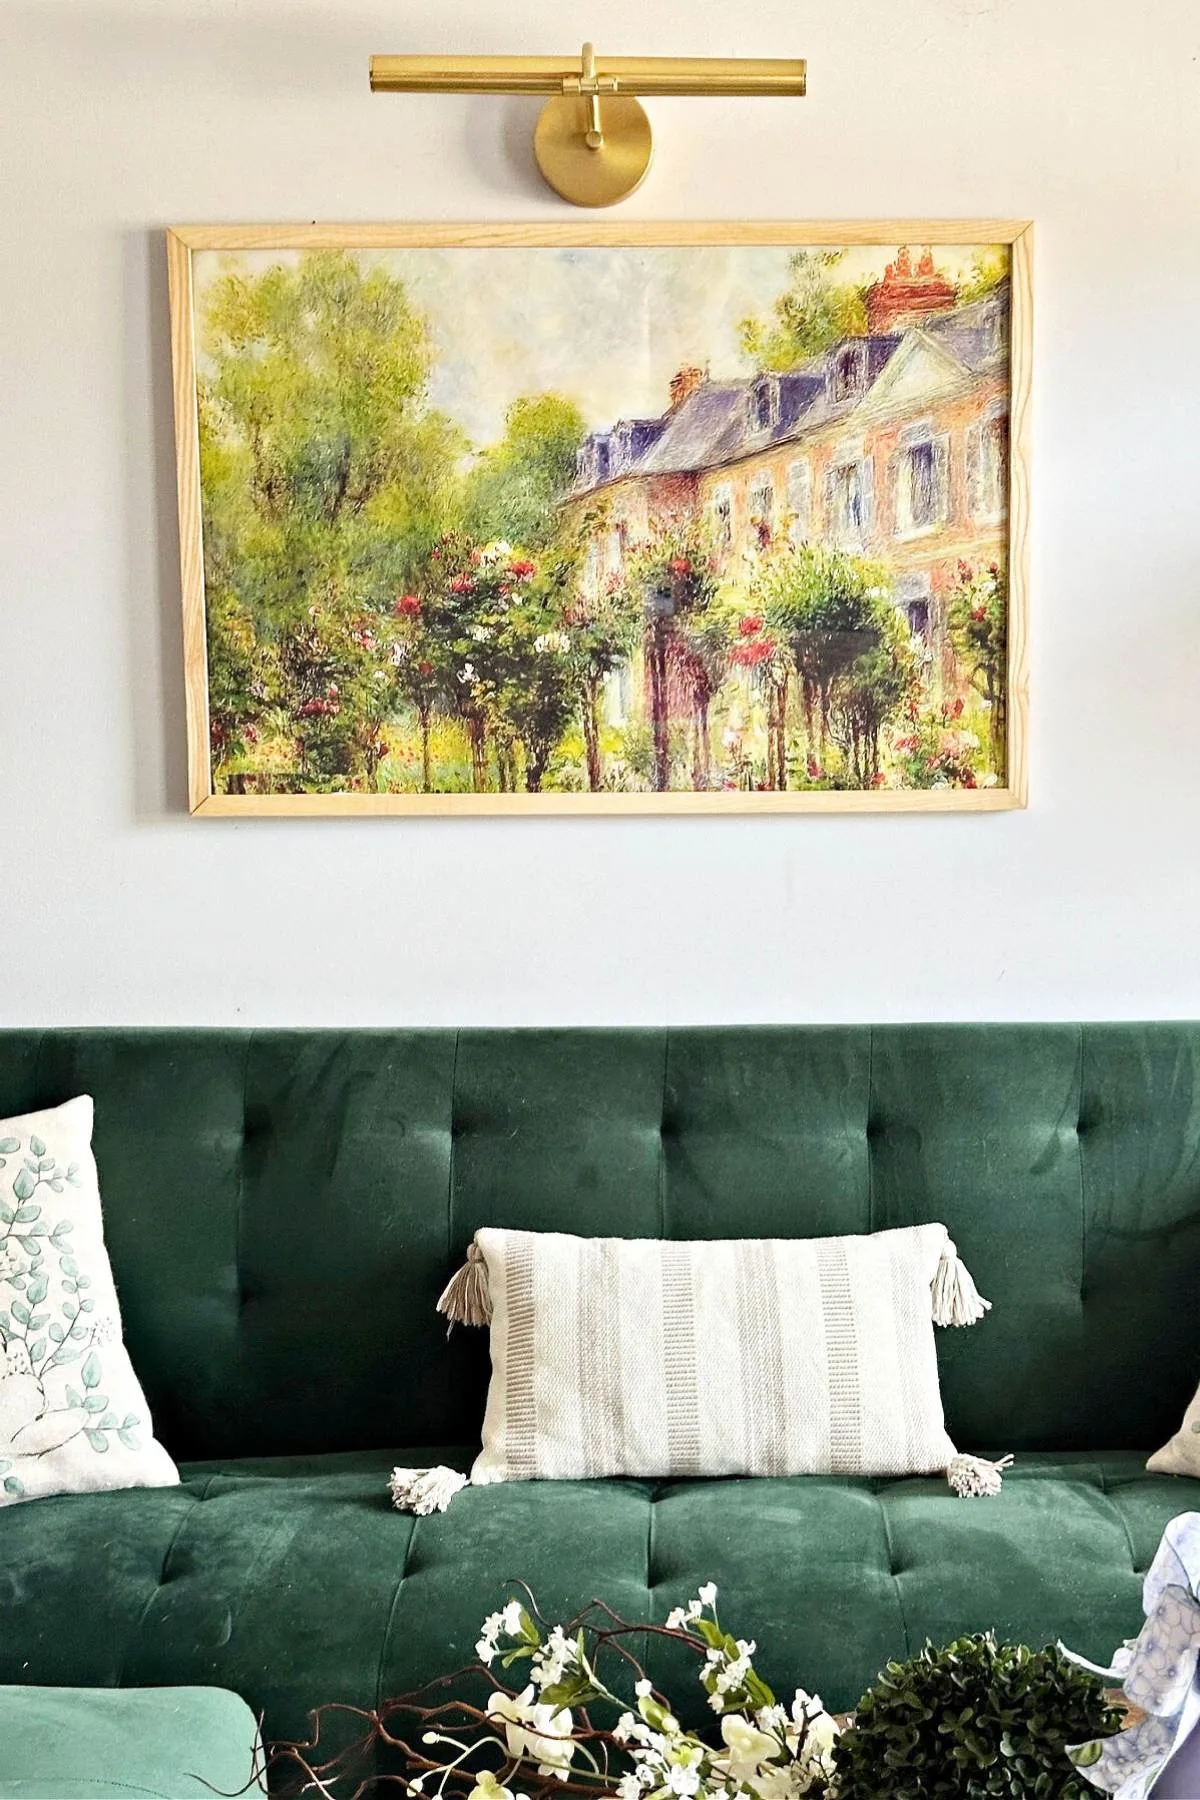
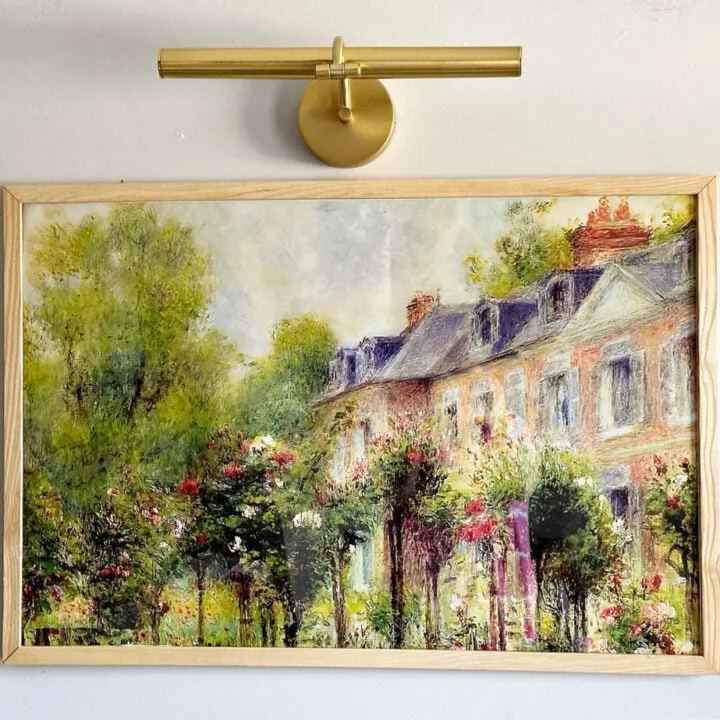
I’m thrilled with the results! The light looks so elegant and takes an otherwise standard living room wall to the next level with a bit more texture and dimension.
Plus, it will be helpful during the harsh New England weather when we lose power. No more worrying about lighting candles; just hit the remote and you have light!

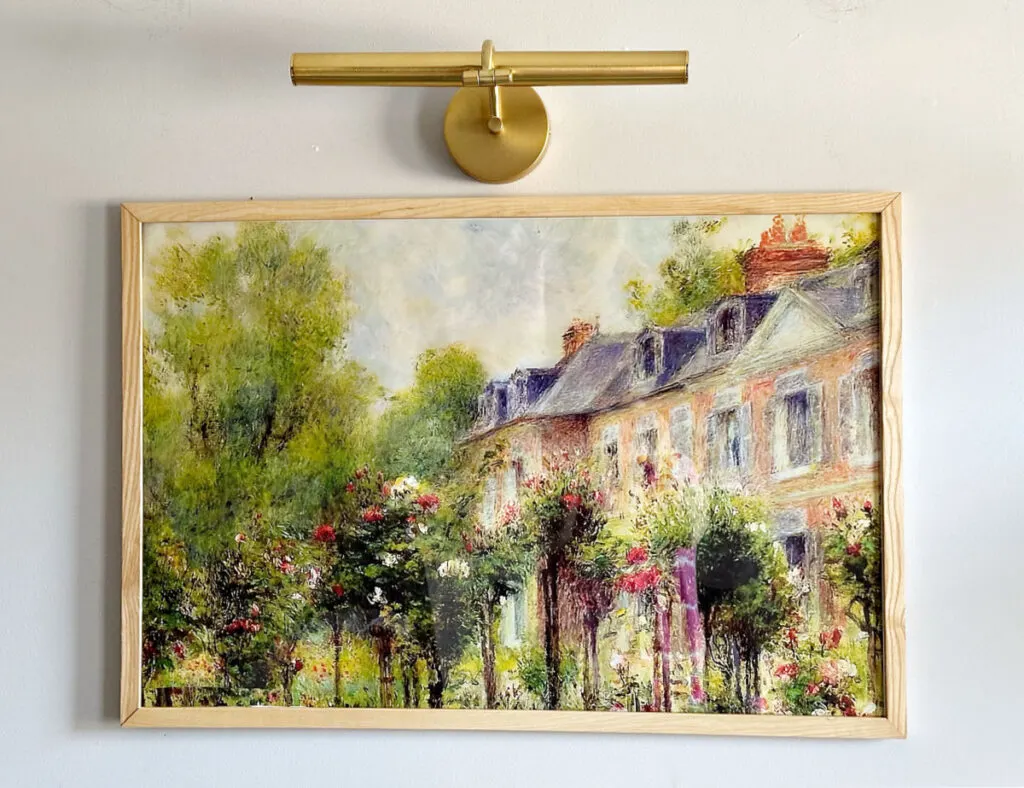
The stunning artwork is a free image that I downloaded from the National Gallery of Art. It is entitled The Rose Garden at Wargemont by Renoir.
My favorite budget-friendly tip for seasonal home decorating is to change out your artwork. The most affordable way to do this is to use free printables.
You can read all about my favorite sites for free printable artwork here. The picture light will literally put a spotlight on this stunning piece.

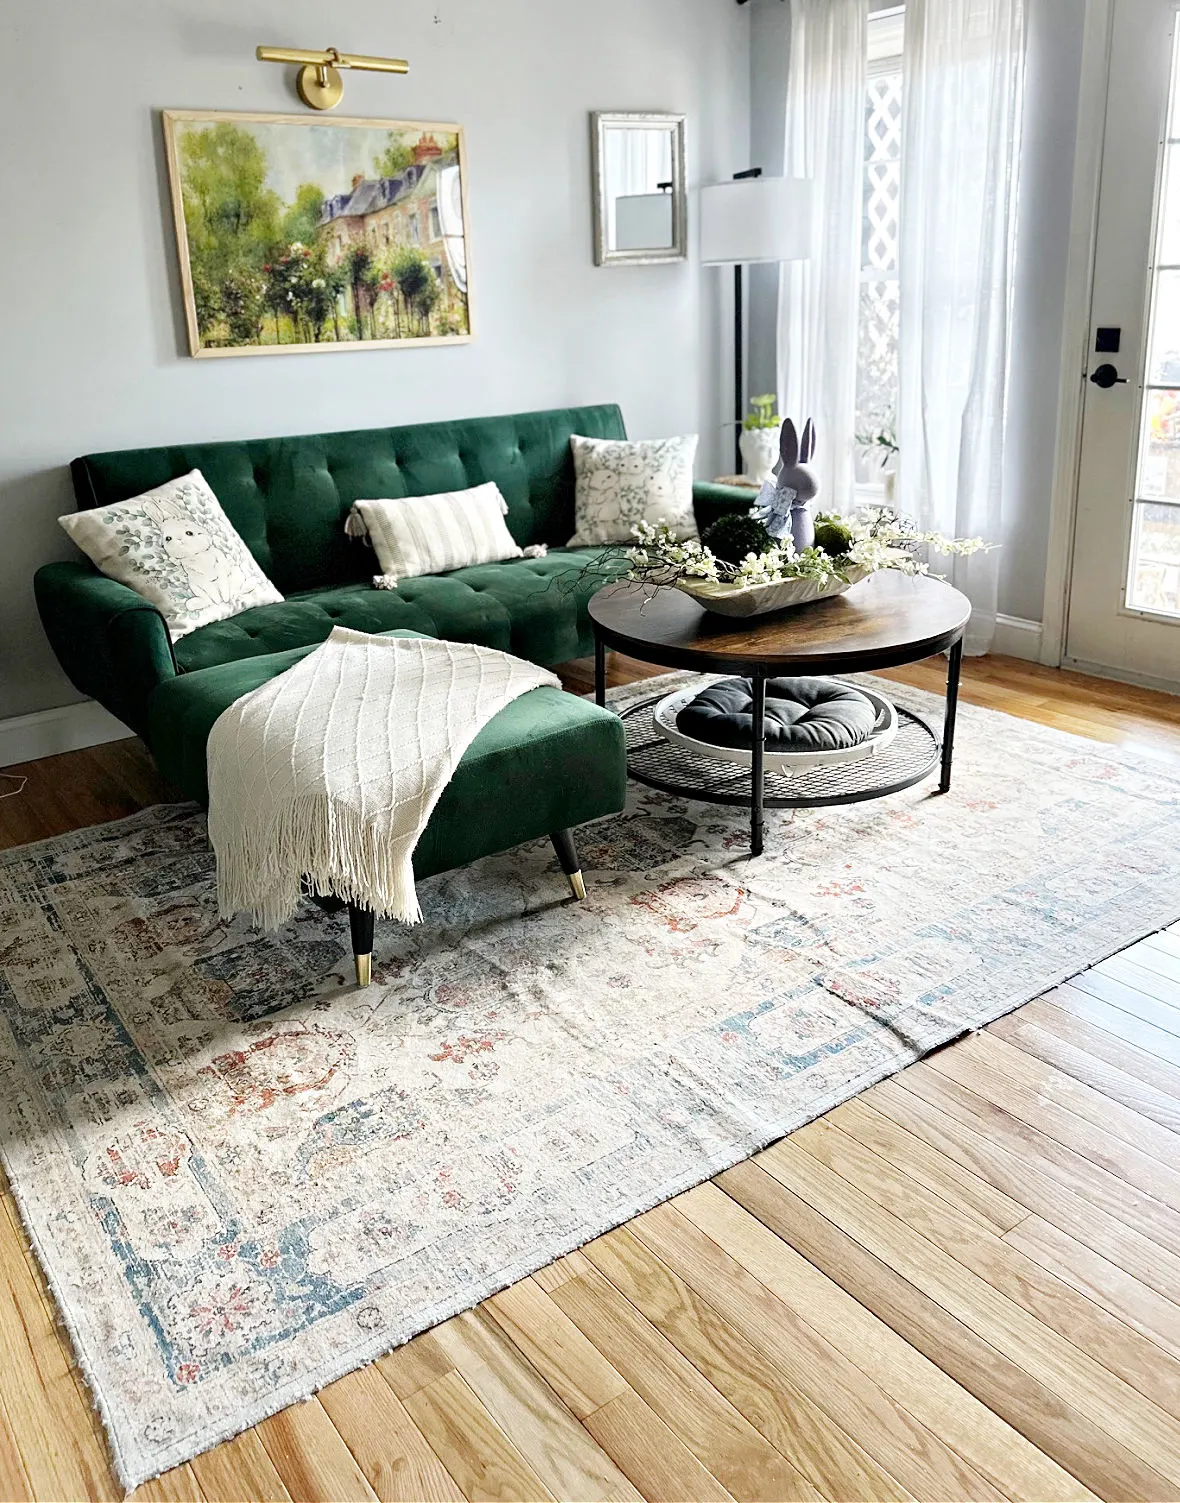
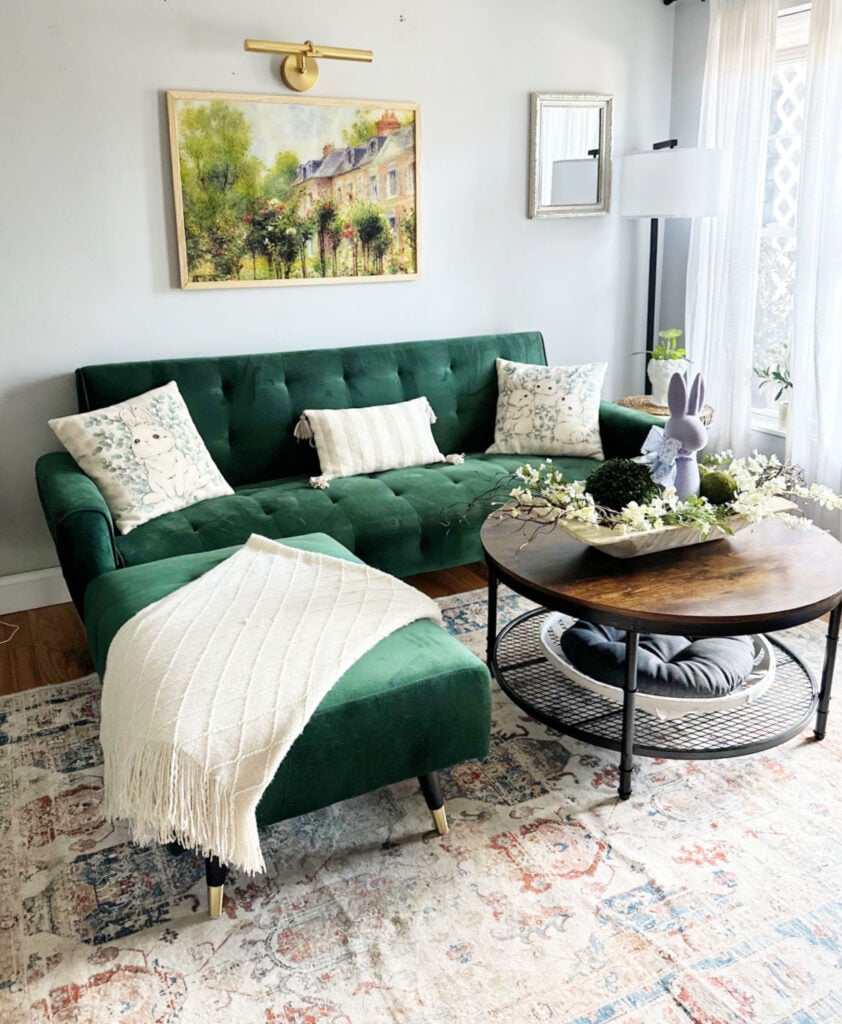
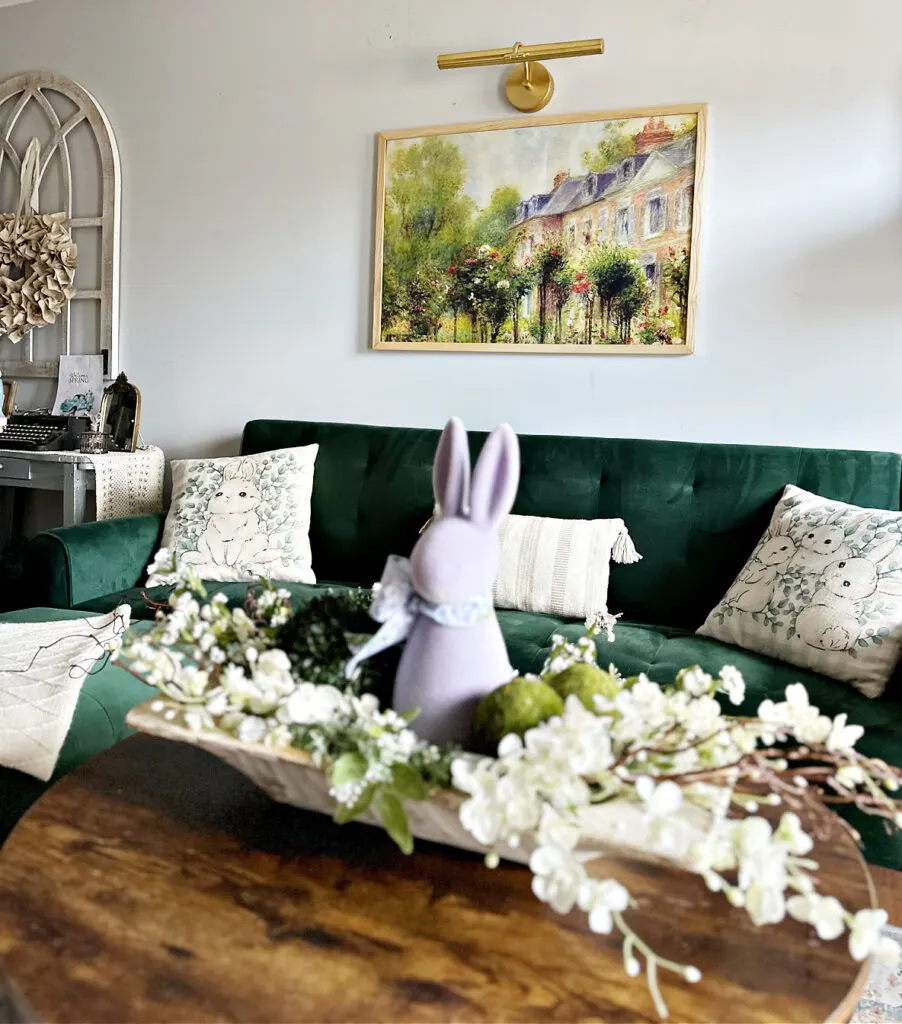
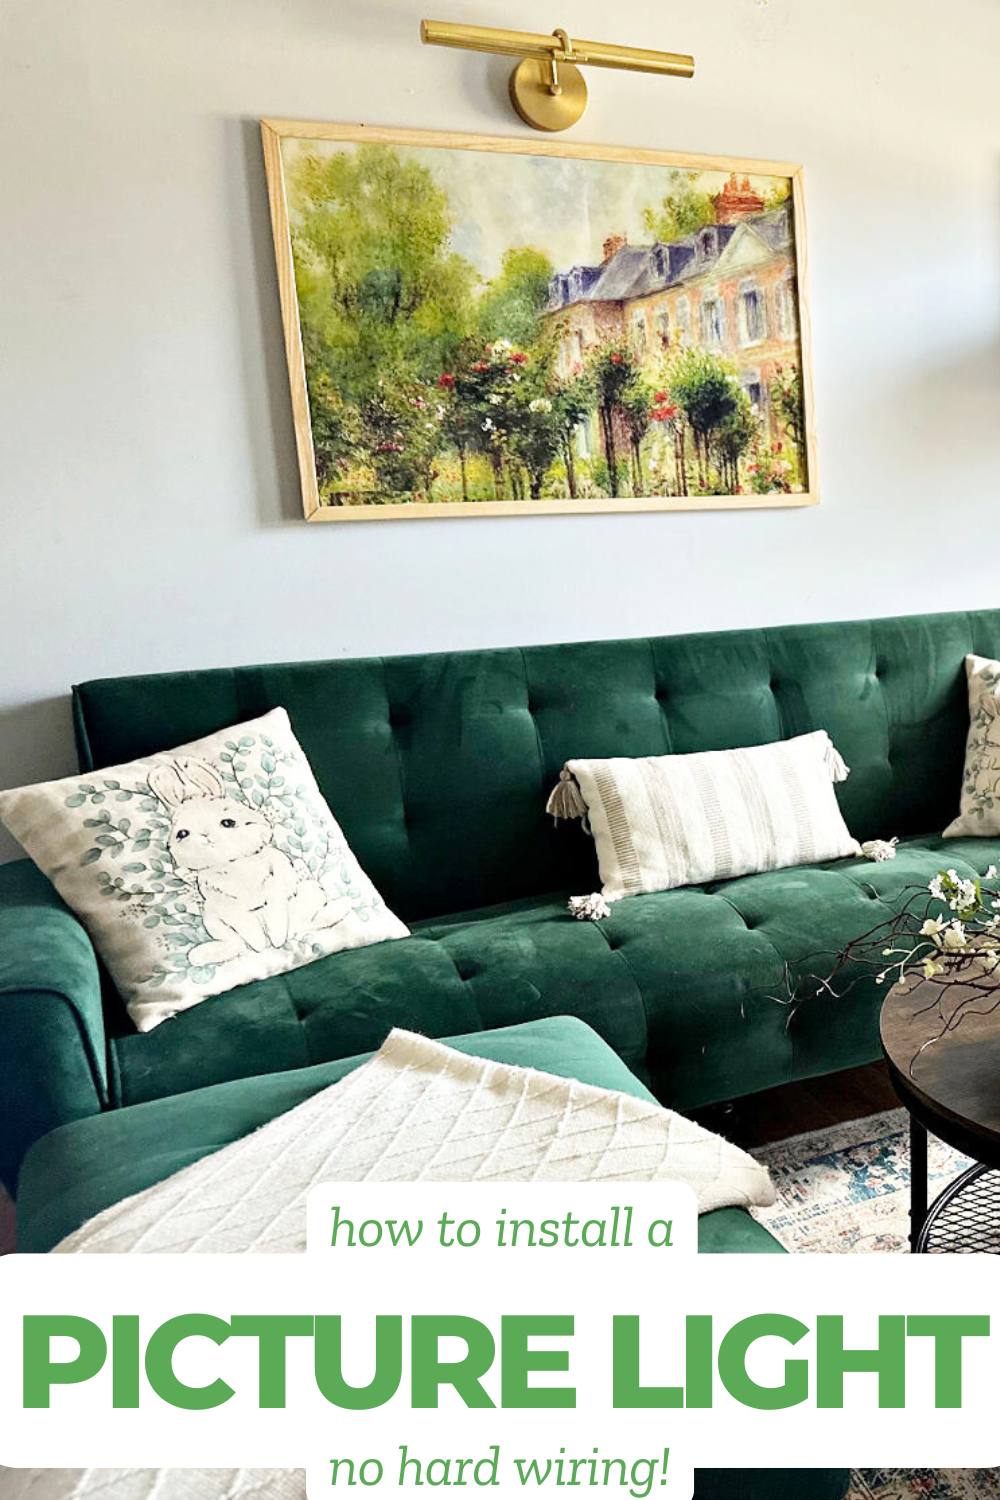
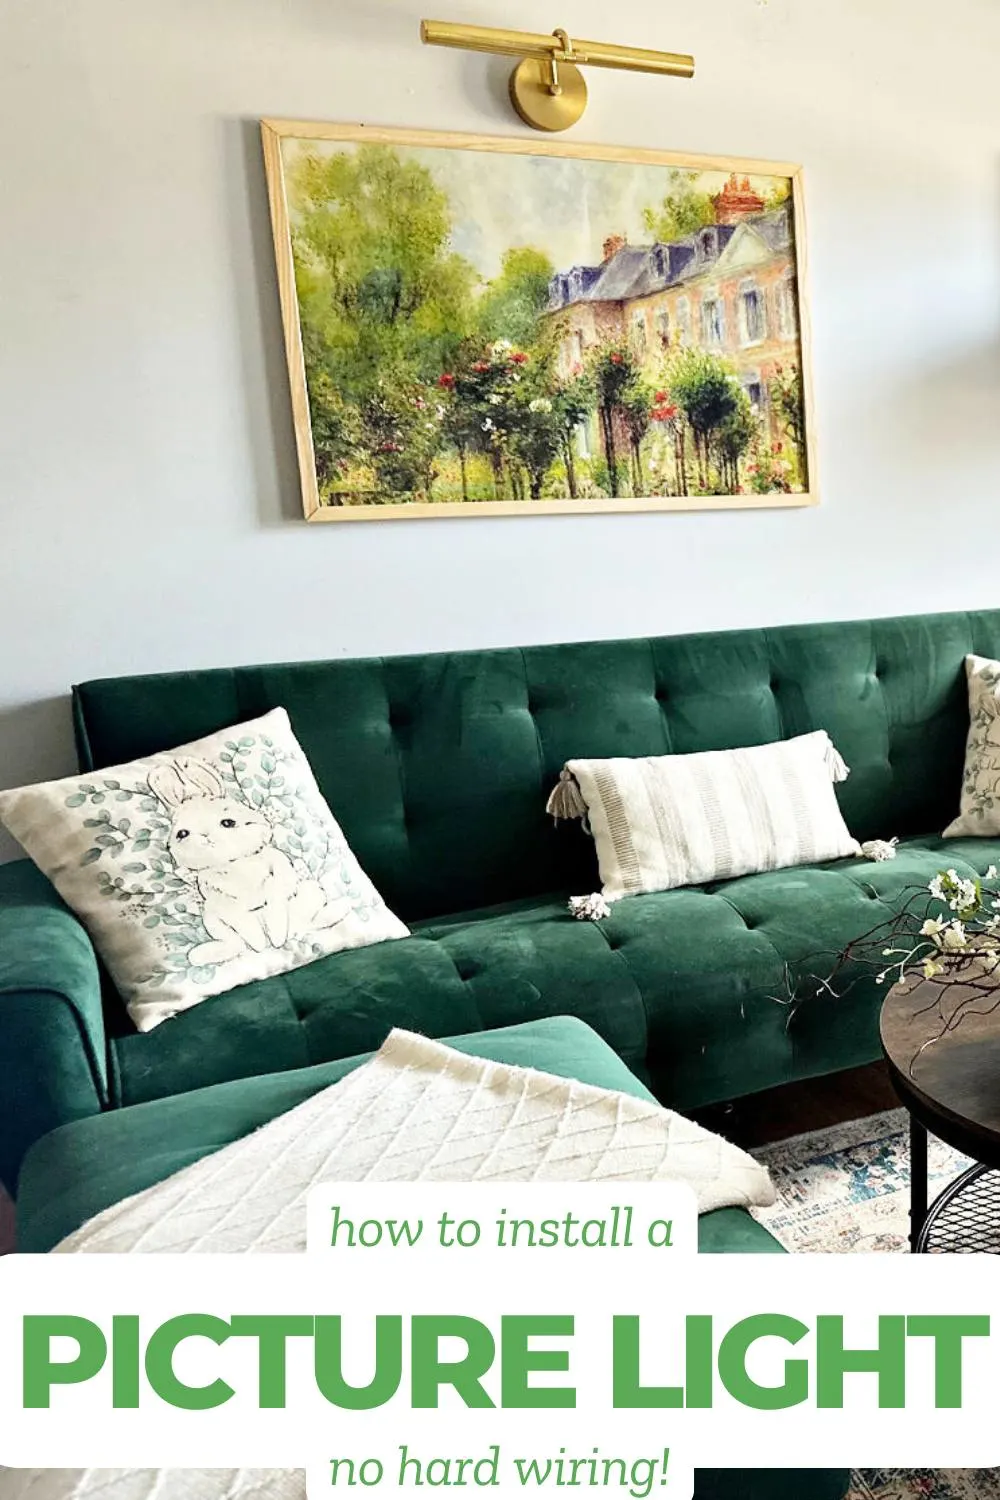
Here is a full view of my mid-century modern living room with a couple of spring updates, such as the wooden dough bowl spring centerpiece and the sweet bunny pillows.

So what do you think about this easy-to-install picture light? Is this something you could see yourself adding to your home?
If you want to hardwire it, you can do that as well with the included instructions. It’s amazing to see the huge difference small home improvements such as this can make; with little cost or time.


Share this article with your friends on Pinterest by pinning the below image.
It helps my blog grow and doesn’t cost a thing! 🙂

Thanks for stopping by. Happy decorating!


You may also enjoy these 25 spring home decorating tours and these upcycled DIY wall art ideas.

How to Install a Battery Operated Picture Light
Install a beautiful brushed gold picture light with no wiring!
Materials
- Allen & Roth Battery Operated Picture Light
- AAA and AA Batteries
Tools
- Cordless Drill or screwdriver
- Measuring Tape
Instructions
Follow me on social media below: