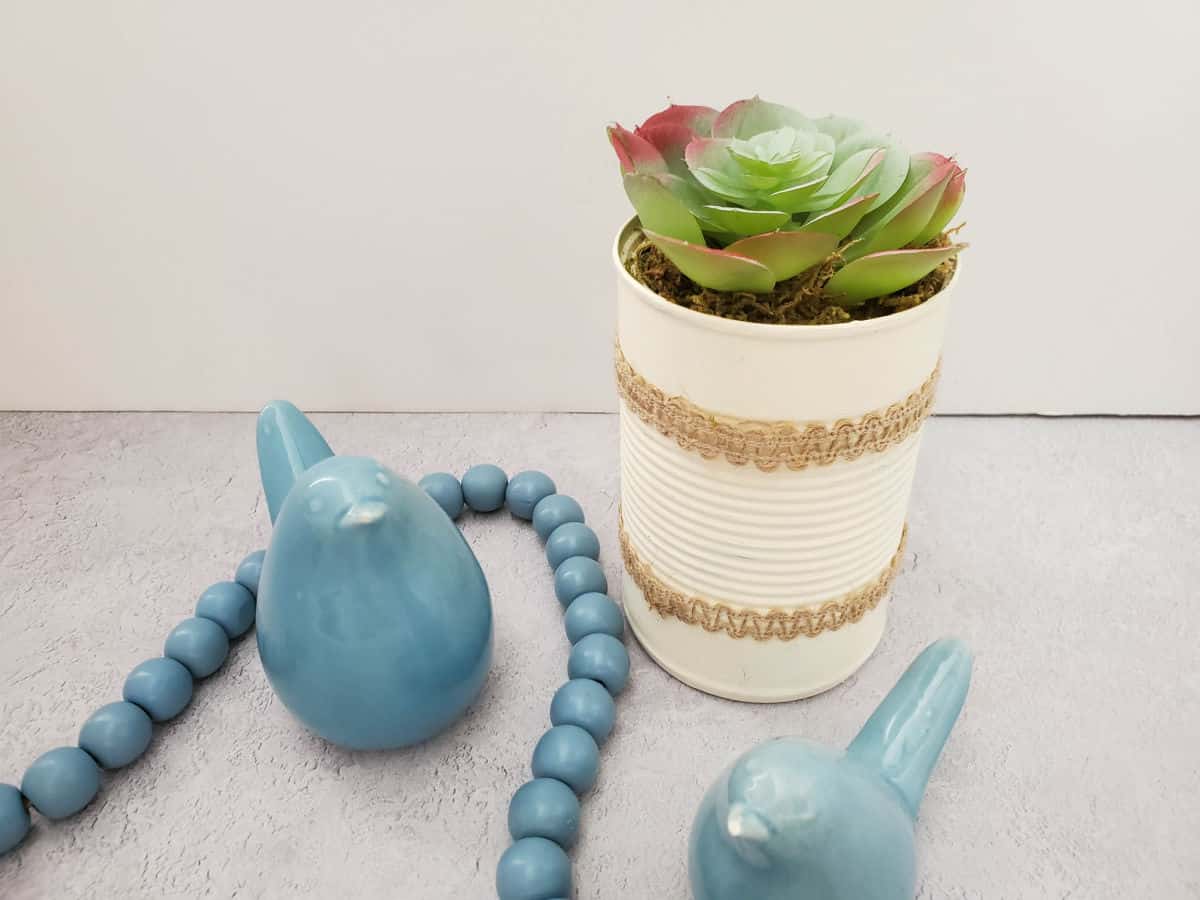
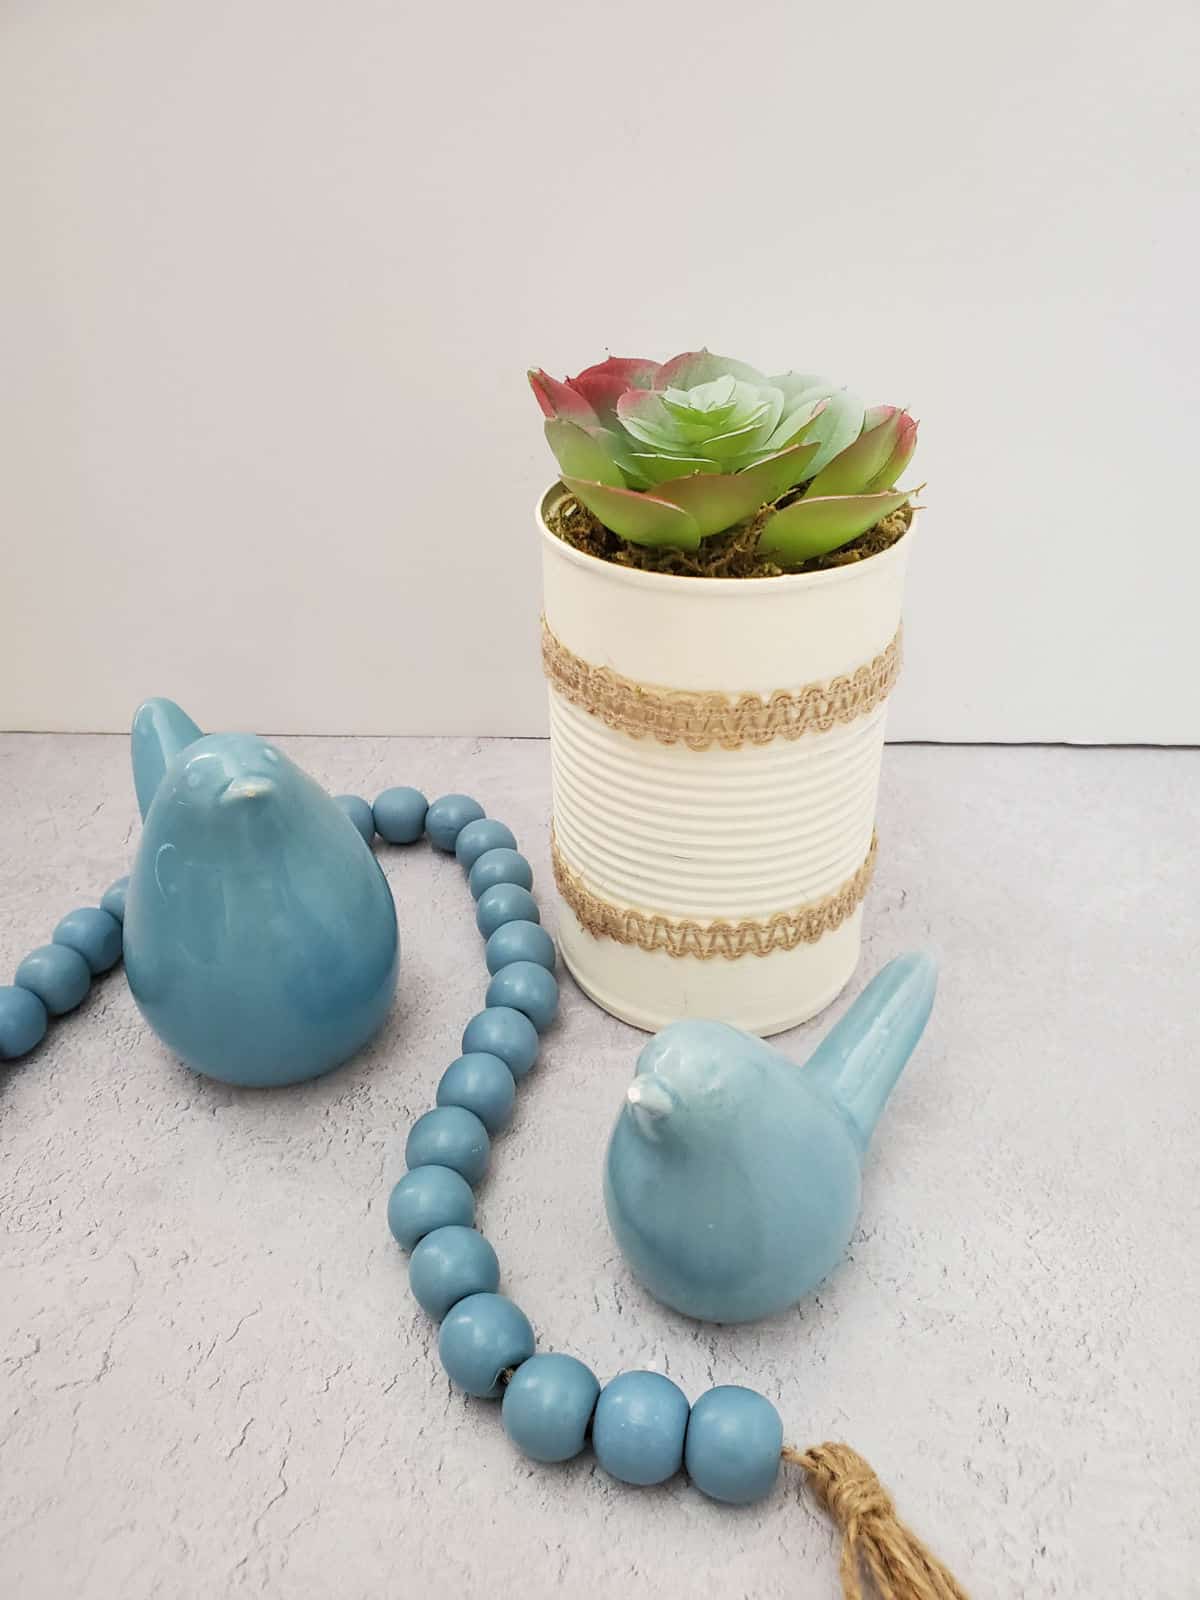
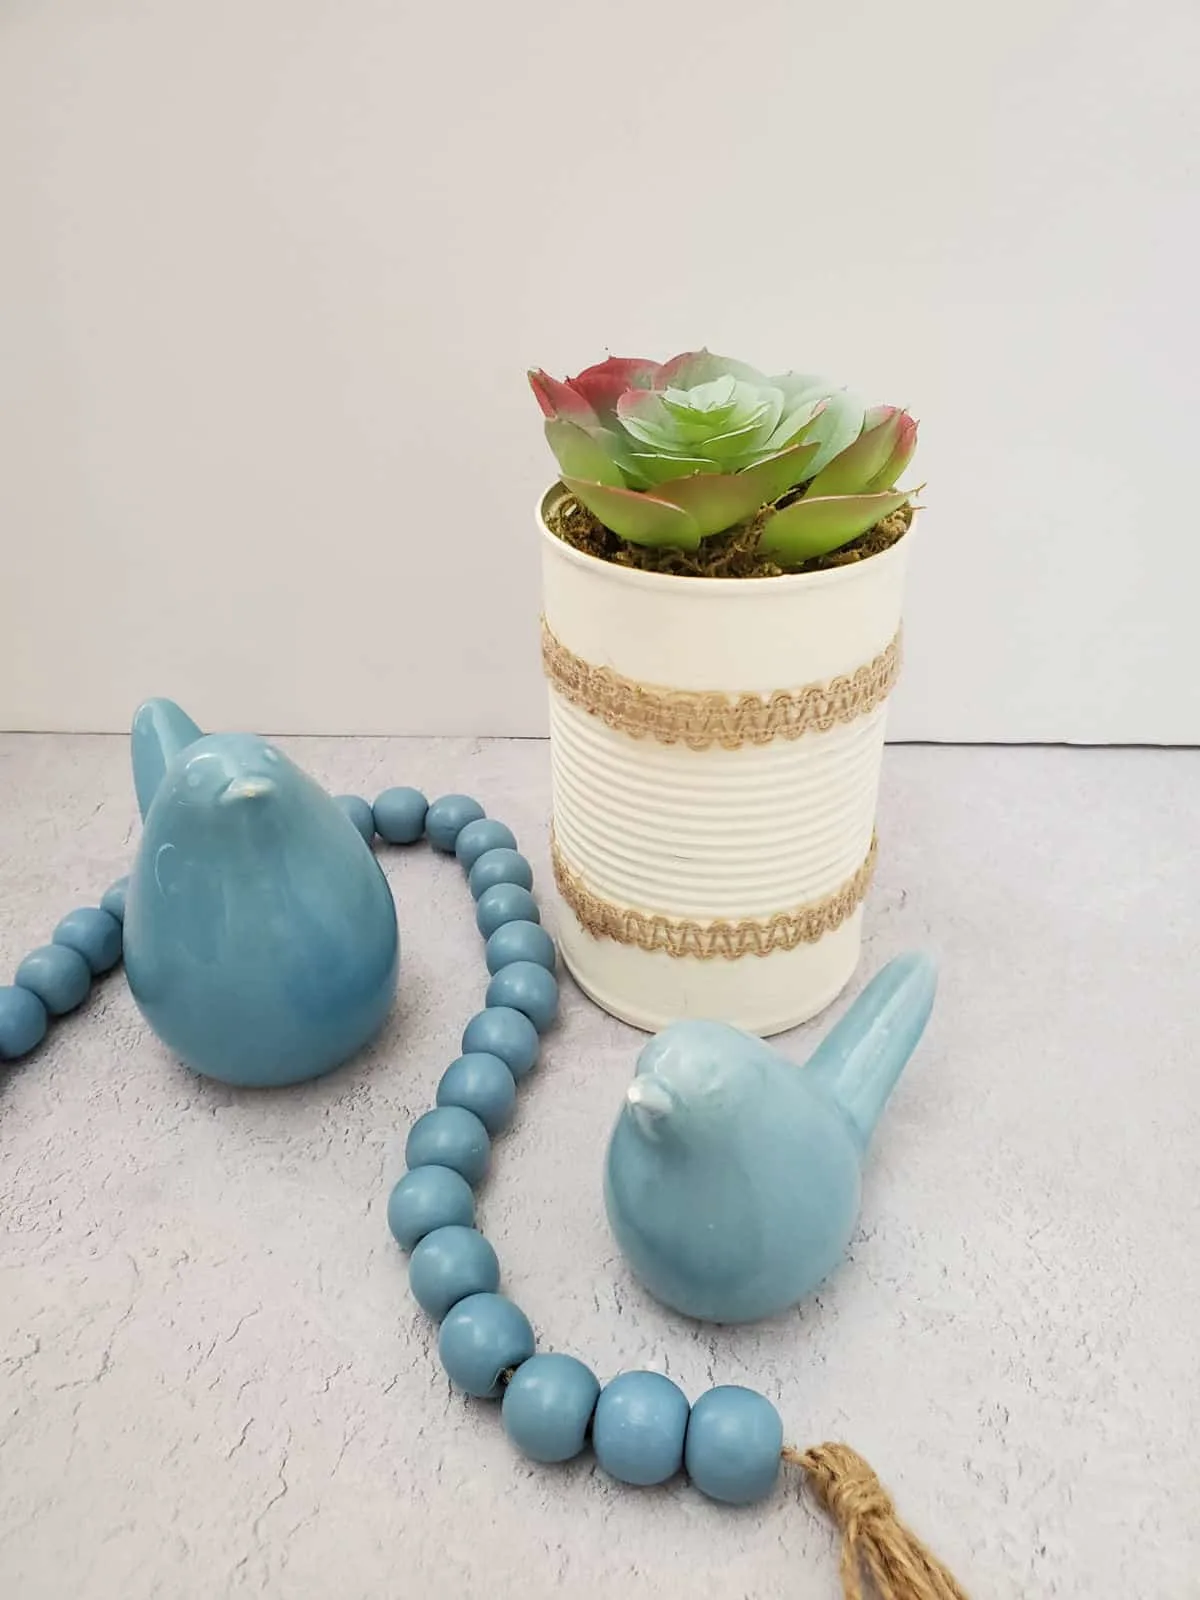
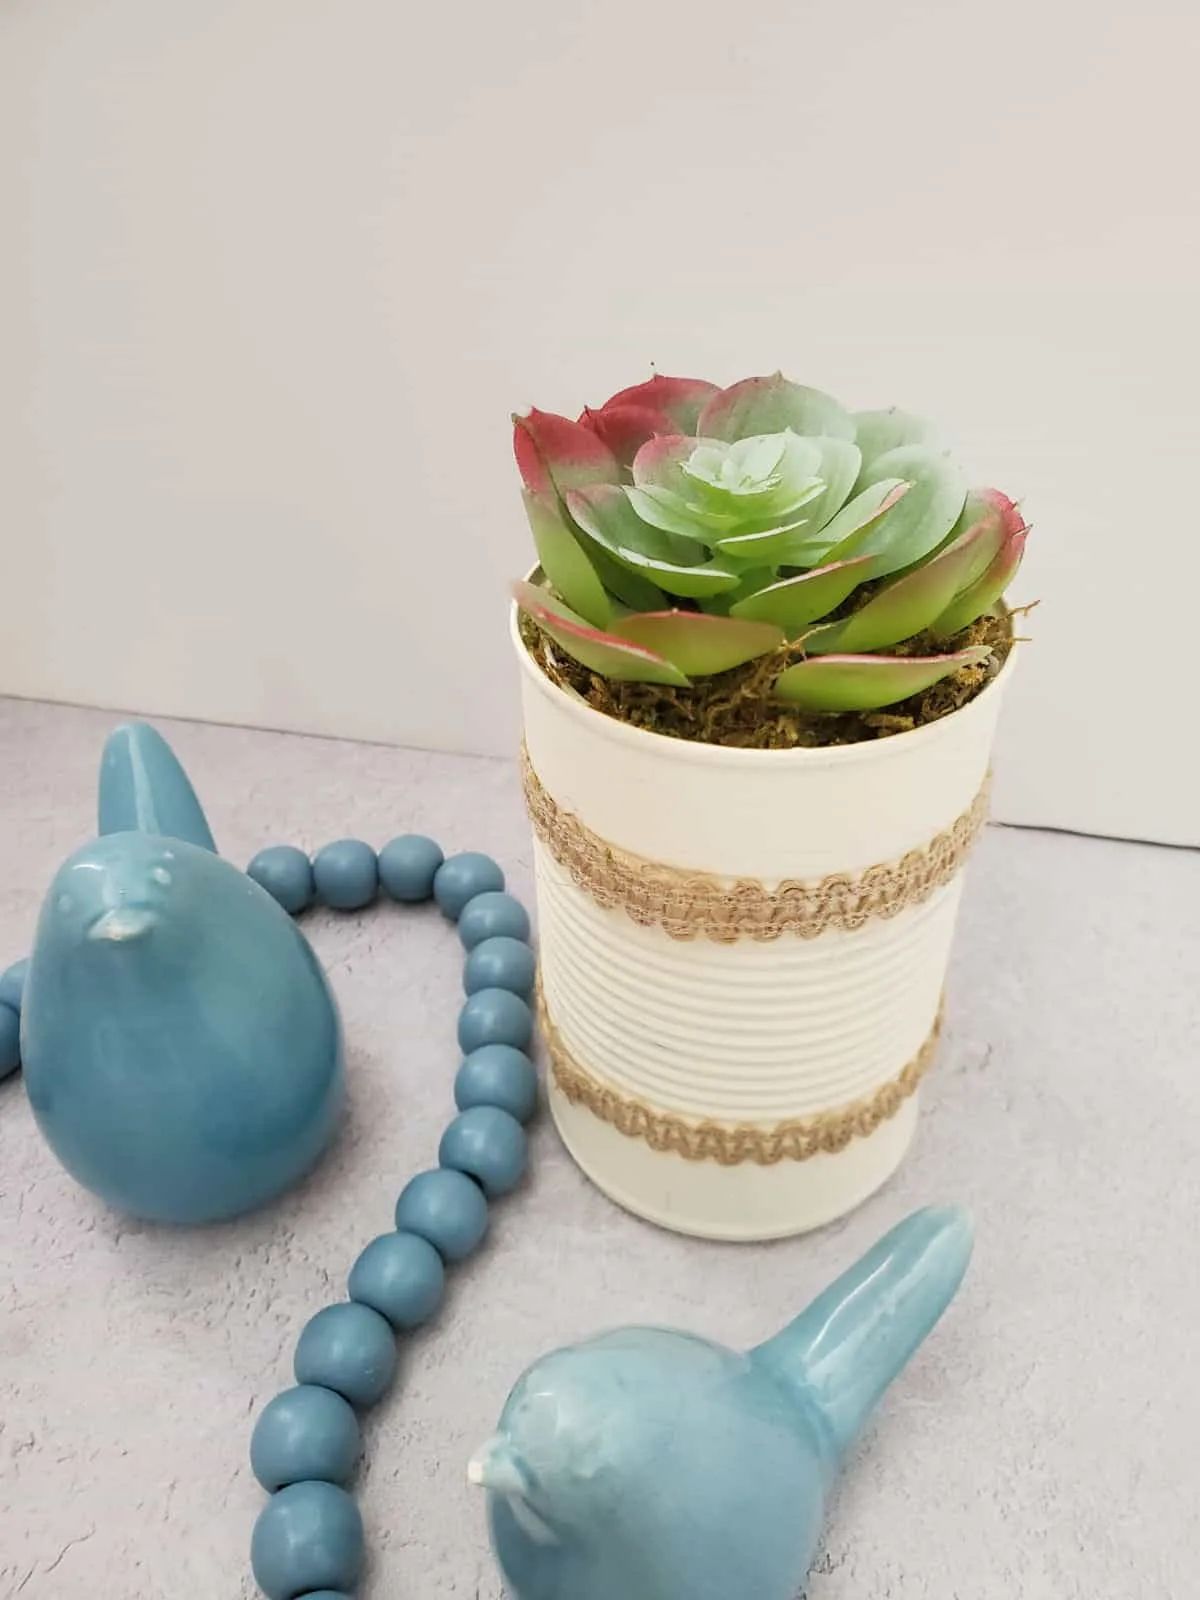
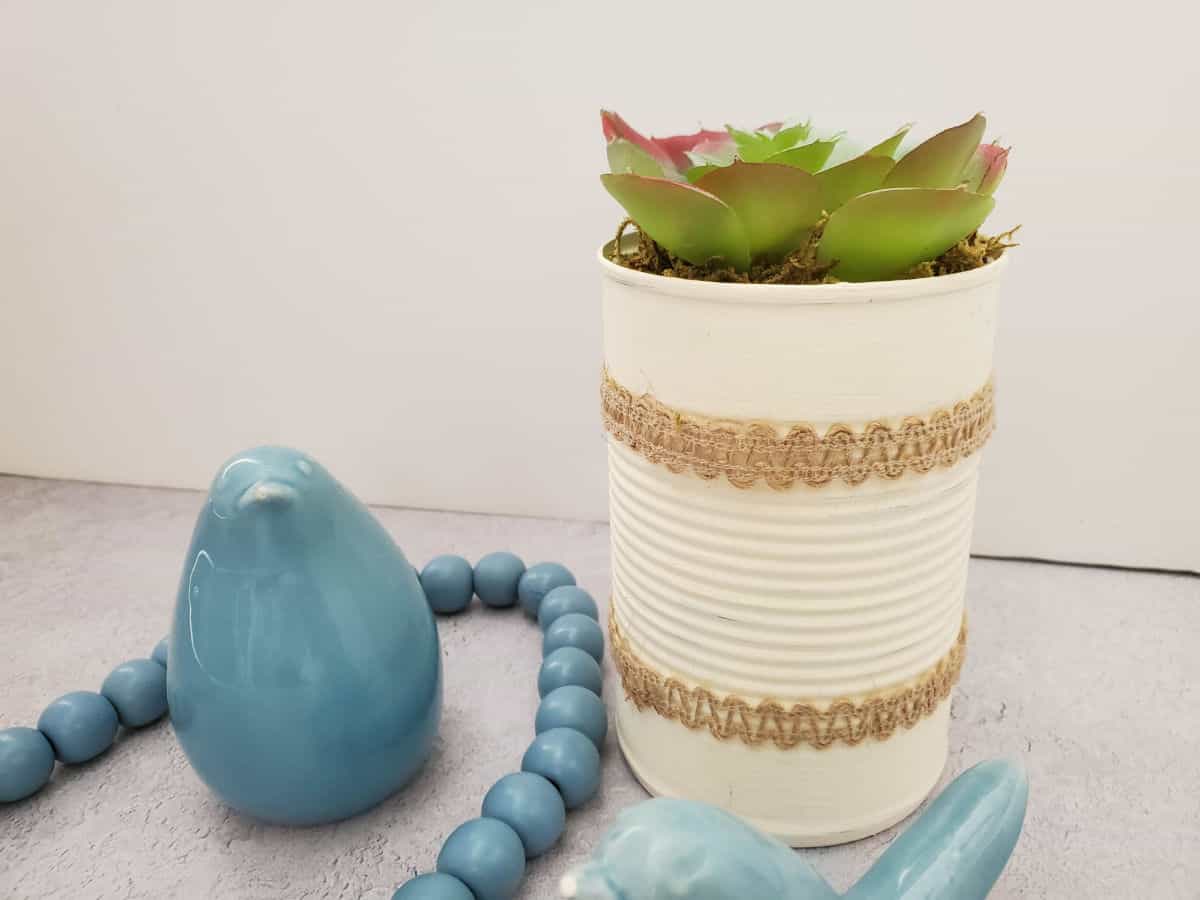
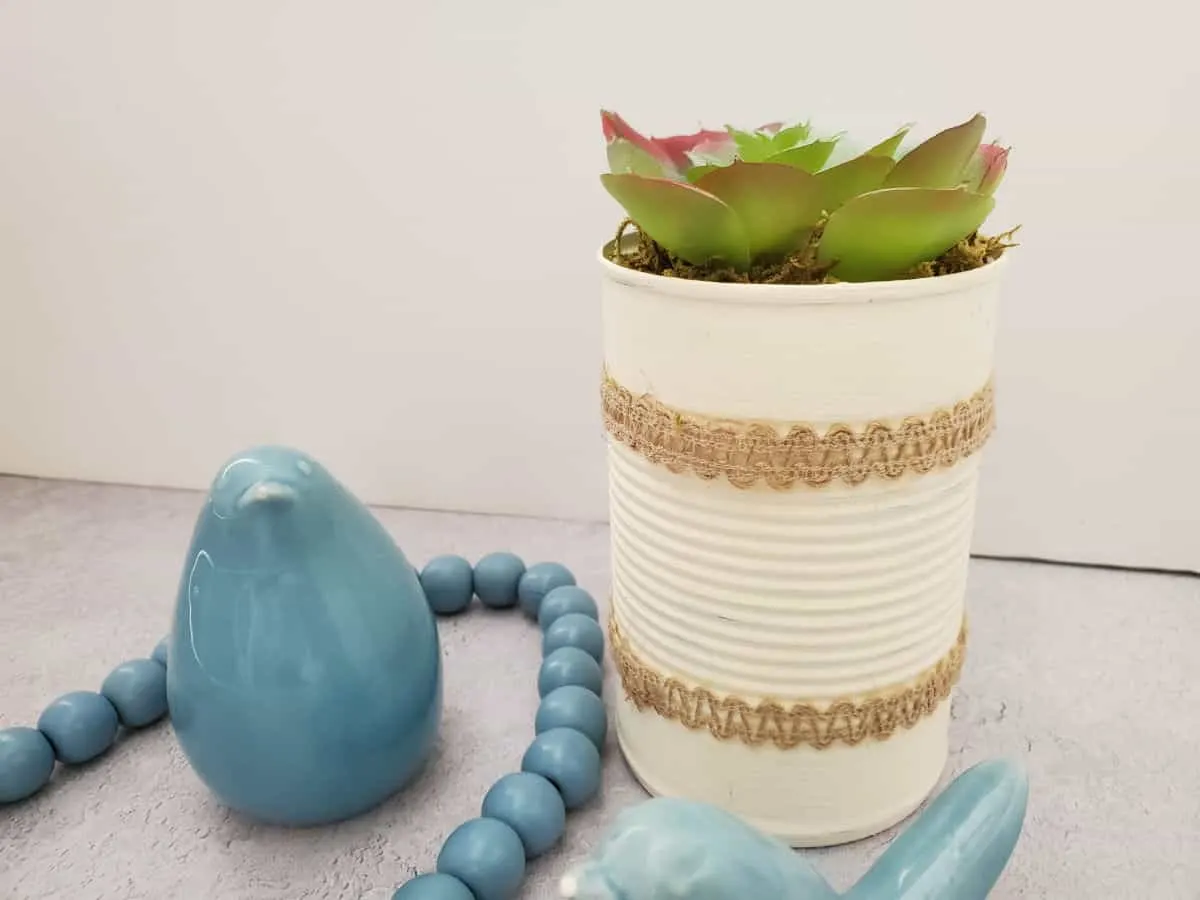
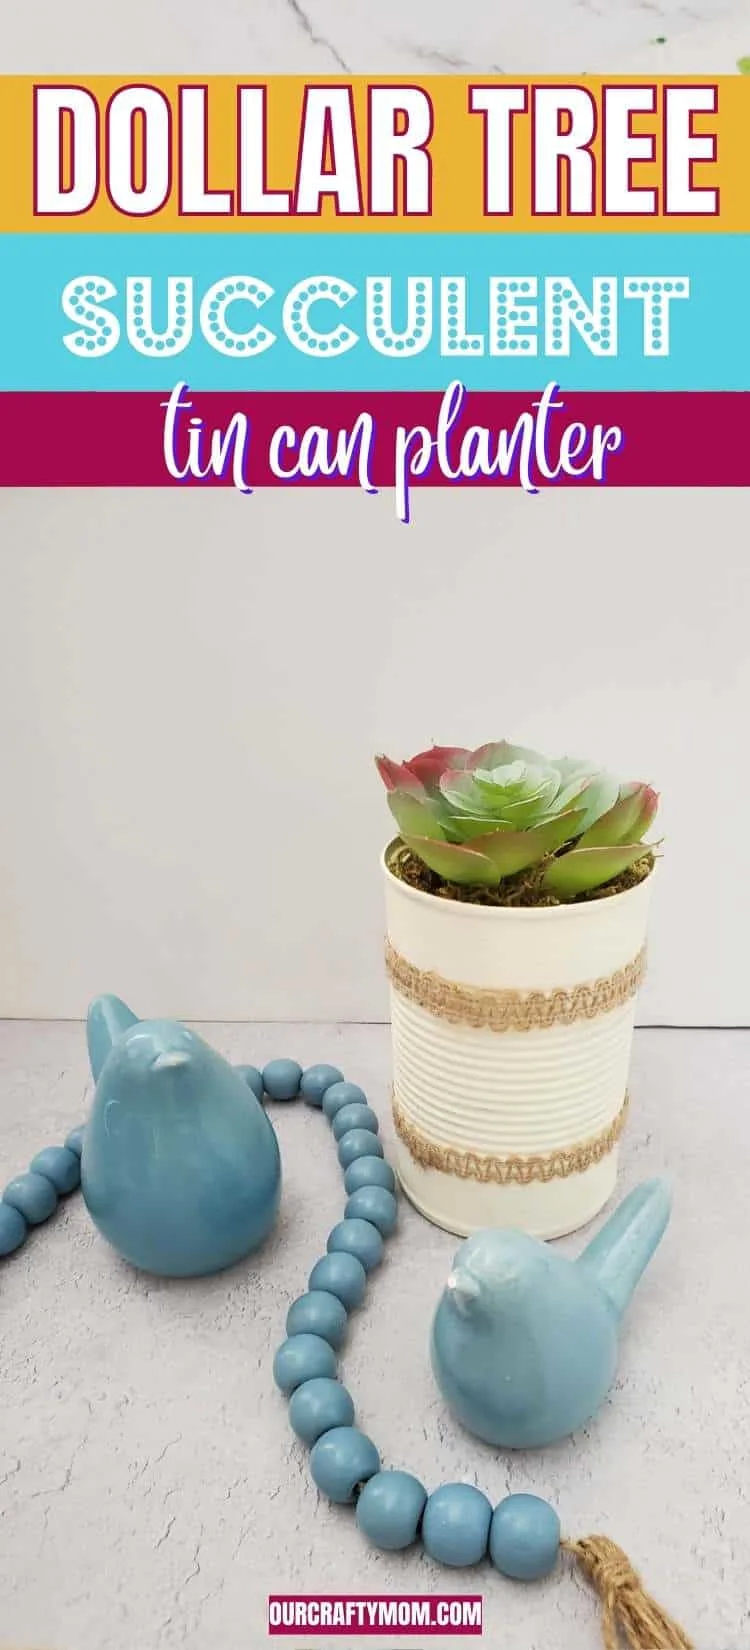
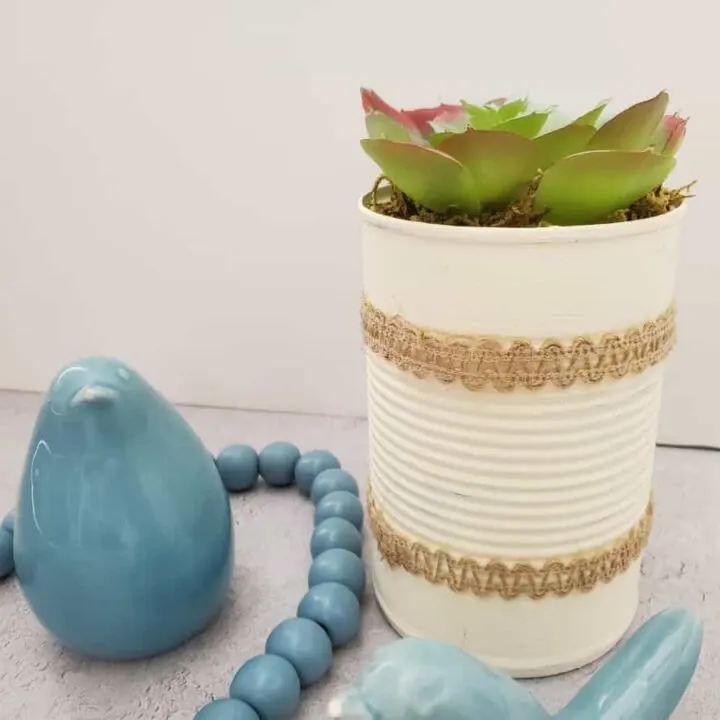
For just a few dollars you can upcycle an empty tin can and turn it into a fabulous farmhouse style planter with a Dollar Tree succulent.
Succulent planters are perfect for adding a touch of greenery to any home decor. And what’s better than creating your own planter using recycled materials?
In this blog post, we’ll show you how to make a Dollar Tree succulent tin can planter. These painted tin can planters are not only budget-friendly but also eco-friendly.
Follow our step-by-step guide to create your own unique planter that will add a pop of color to any room in your home!

This post contains affiliate links at no extra cost to you. Please read my full disclosure HERE.
Dollar Tree Succulent Tin Can Planter Ideas
This super easy craft is the perfect way to recycle tin cans. So save those empty soup or vegetable cans, or ask your neighbor if you can take one from their recycling bin! 🙂
I’ll go over the simple instructions with you and also include a printable craft card at the bottom of this post.
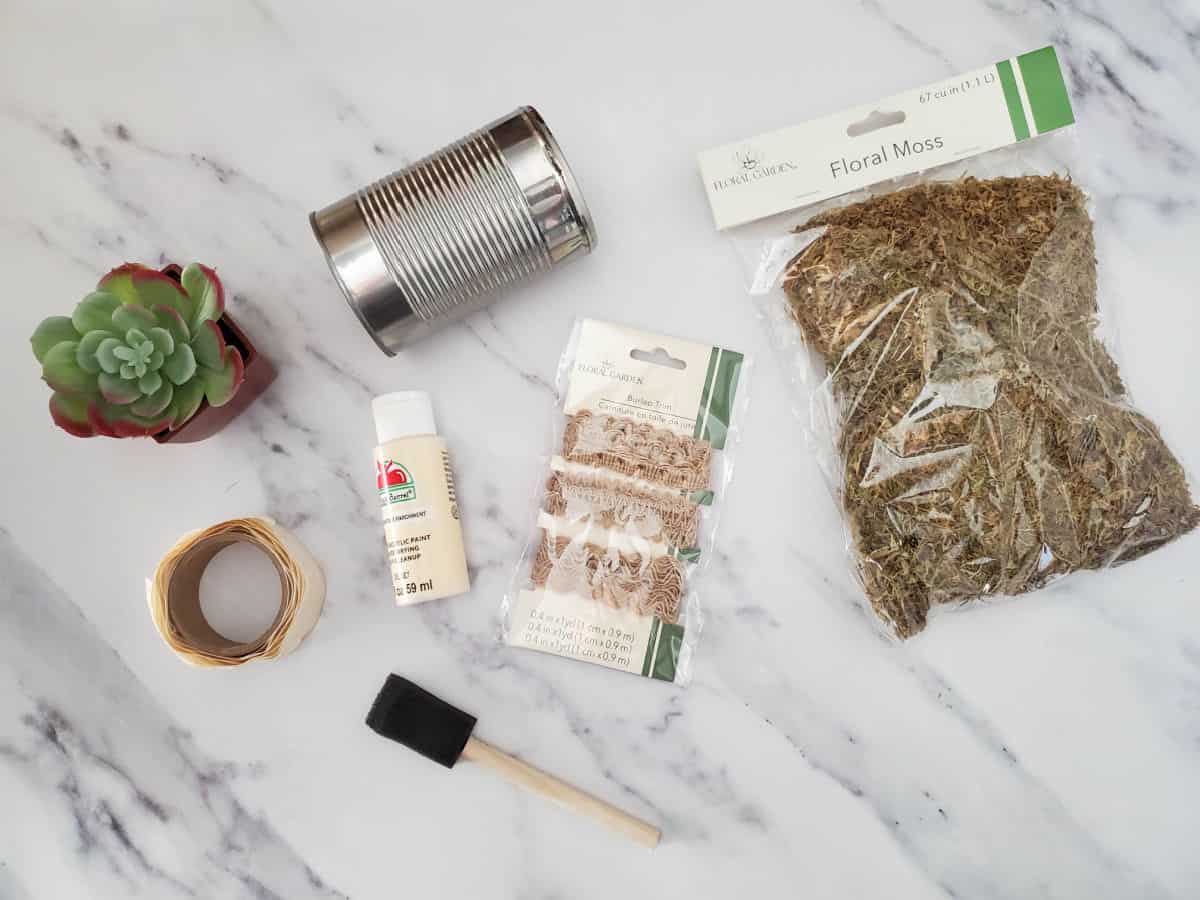
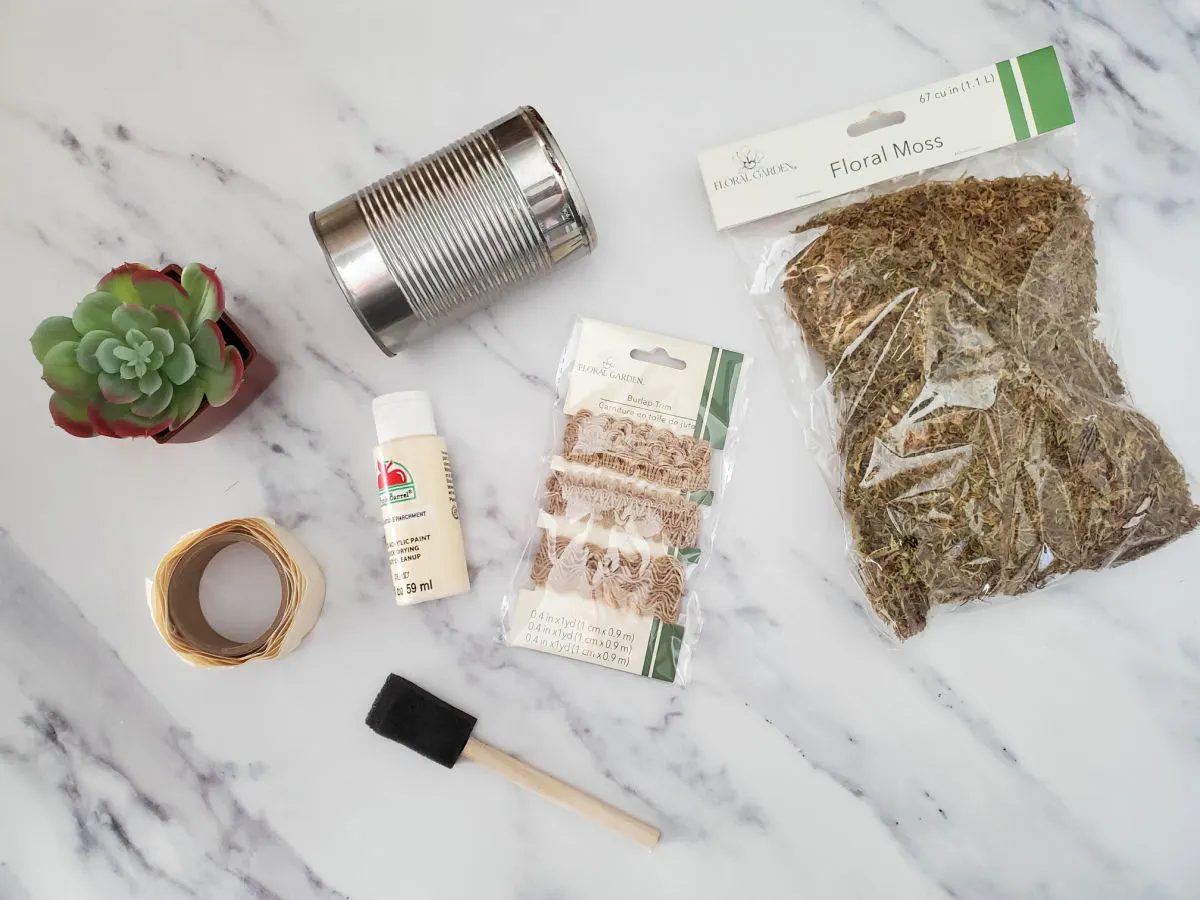
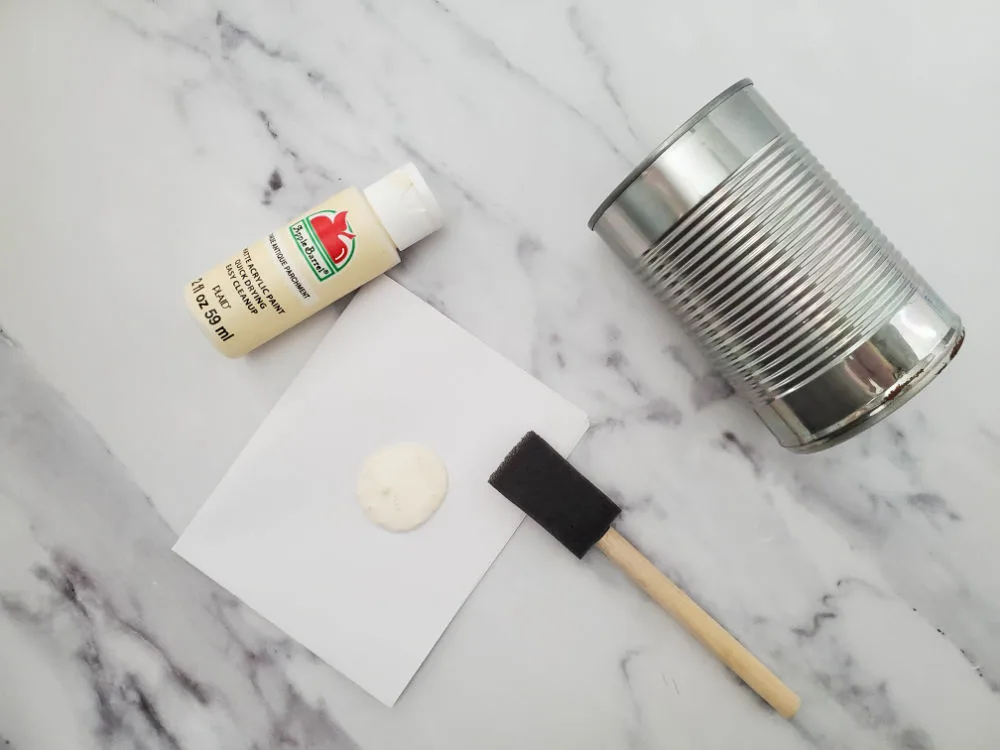
Supplies for DIY Tin Can Planters
- Recycled fruit or vegetable can (15 oz used for this project)
- Off white paint
- 1” Foam Brush
- Glue Dots
- Burlap Trim
- Scissors
- Floral moss – Spanish moss was used but I prefer reindeer moss
- Fake Succulent Plant
Recycling Tin Can Planter Ideas
Step 1. Prepare the Empty Can
The first step is to wash the empty cans to get rid of any leftover food. Next, remove the labels from the empty cans.
It helps to rinse them in the sink with a little dish soap. If there is any residue left on the can goo gone adhesive remover works great.
Step 2. Paint the Can
We are using a fake succulent for this planter, but you can also use real flowers, succulents or other small plants.
Just be sure to drill holes in the bottom of the tin for drainage holes.
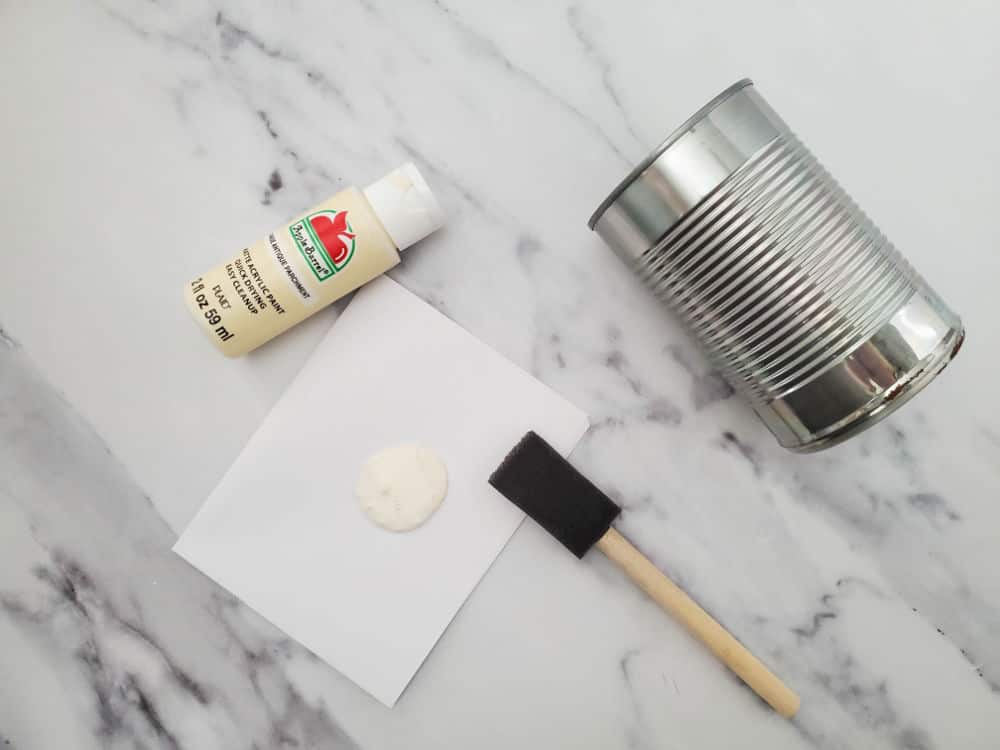
Use the foam brush to paint the can. I went with a creamy white for that farmhouse feel, but go with whatever color you like.
Wouldn’t pastel colors be super cute for spring, or how about red for the holidays? Line a few up on your kitchen window sill for a pop of color.

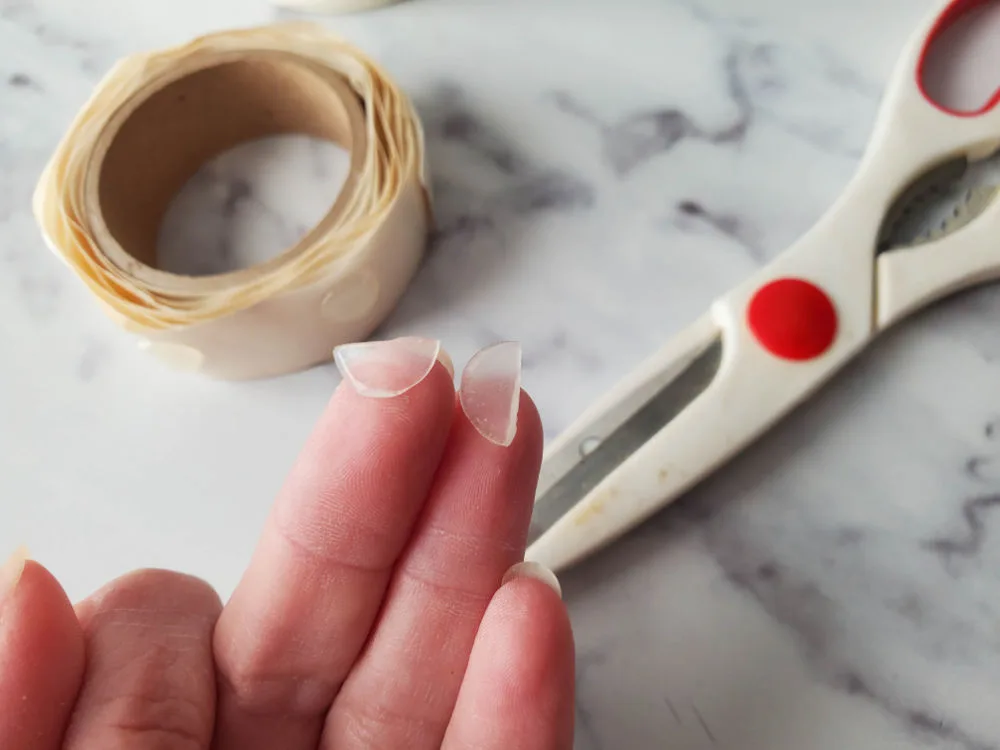
Step 3. Add a Glue Dot
The next step is to apply a glue dot to the can, about 1 inch from the rim at the back of the can. (Depending on the size of glue dots, you may want to cut them in half.)
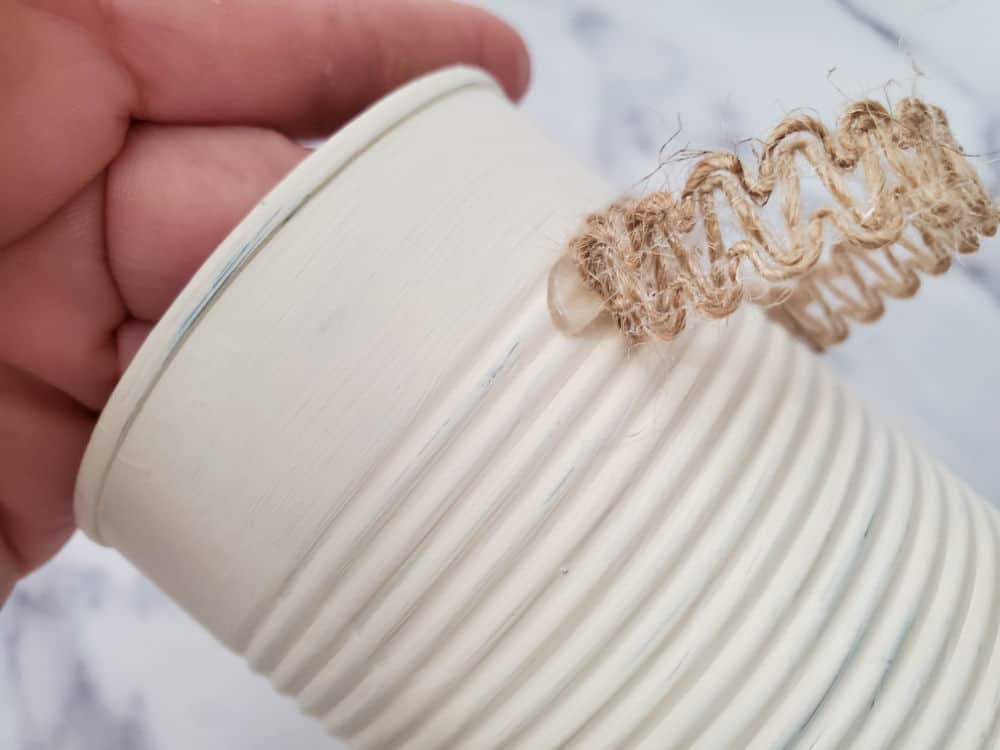

Secure one end of the burlap trim over the glue dot, then wrap the trim halfway around the can, and secure with another glue dot.
Step 4. Secure the Burlap Trim
Wrap the trim around to the back, and overlap the other end of the trim. Cut any excess with scissors and secure with another glue dot.
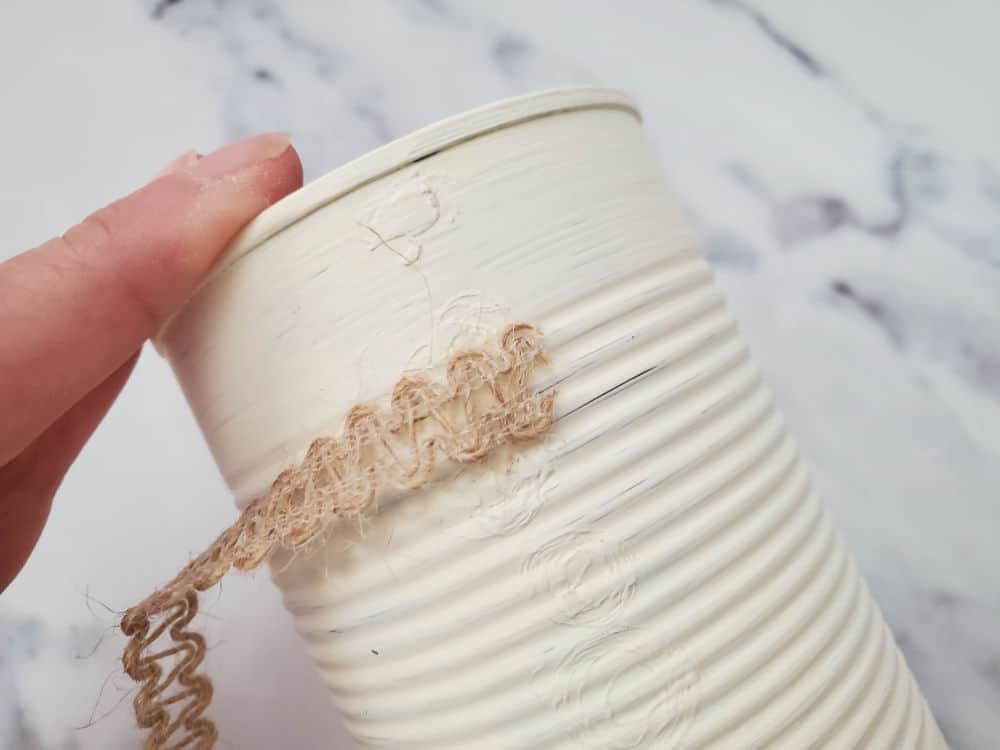

Repeat steps 2 and 3 on the bottom of the can.
Step 5. Add Spanish Moss or Reindeer Moss
Add floral moss to the can until it is about 3/4 of the way full.
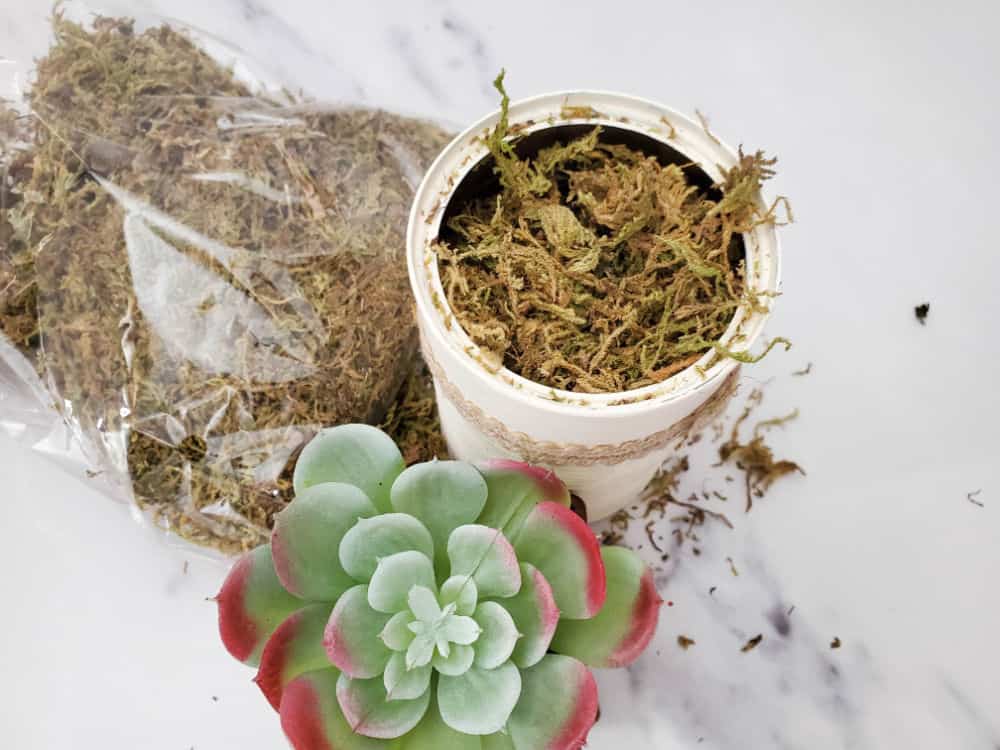

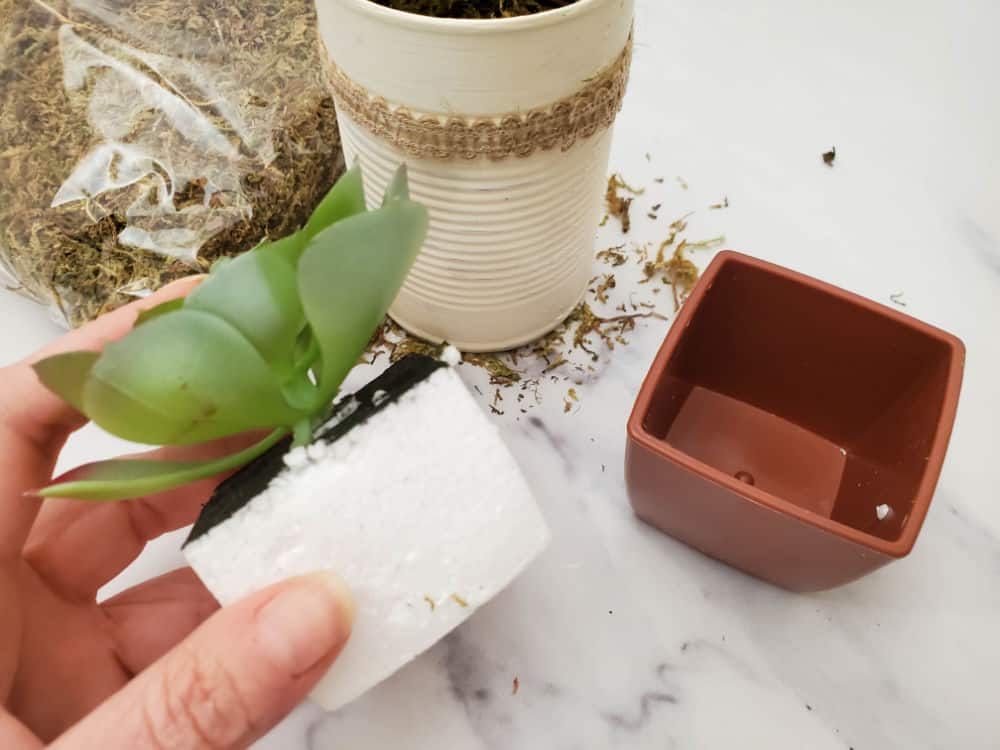
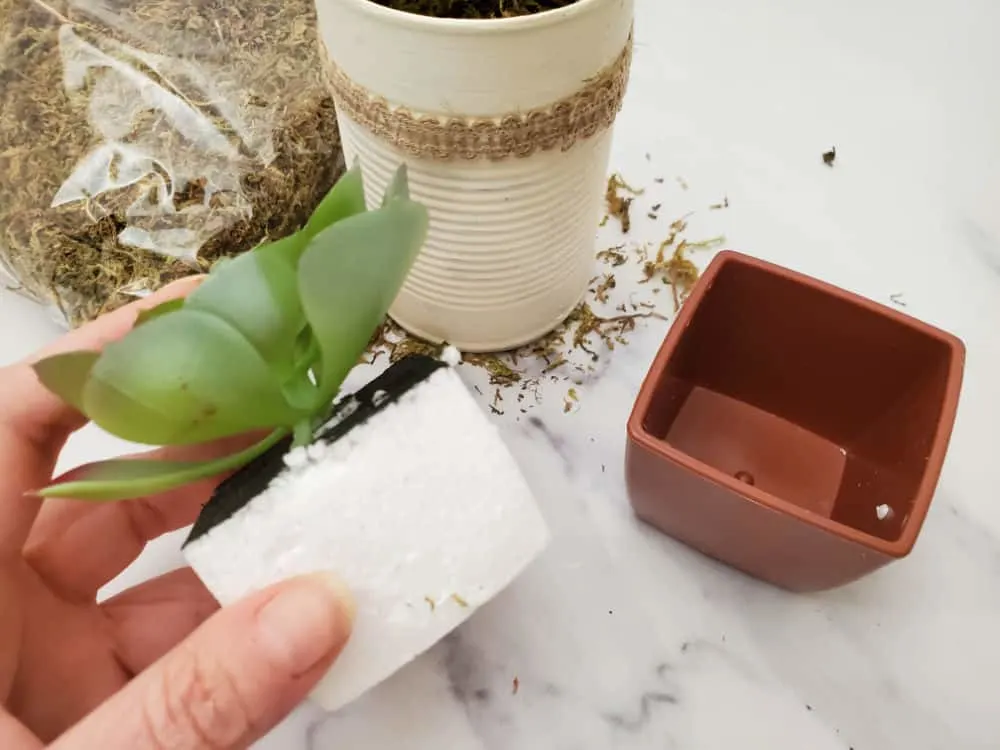
Remove the succulent from the pot it came in, and add it to the can.
Add more moss around the top of the succulent.

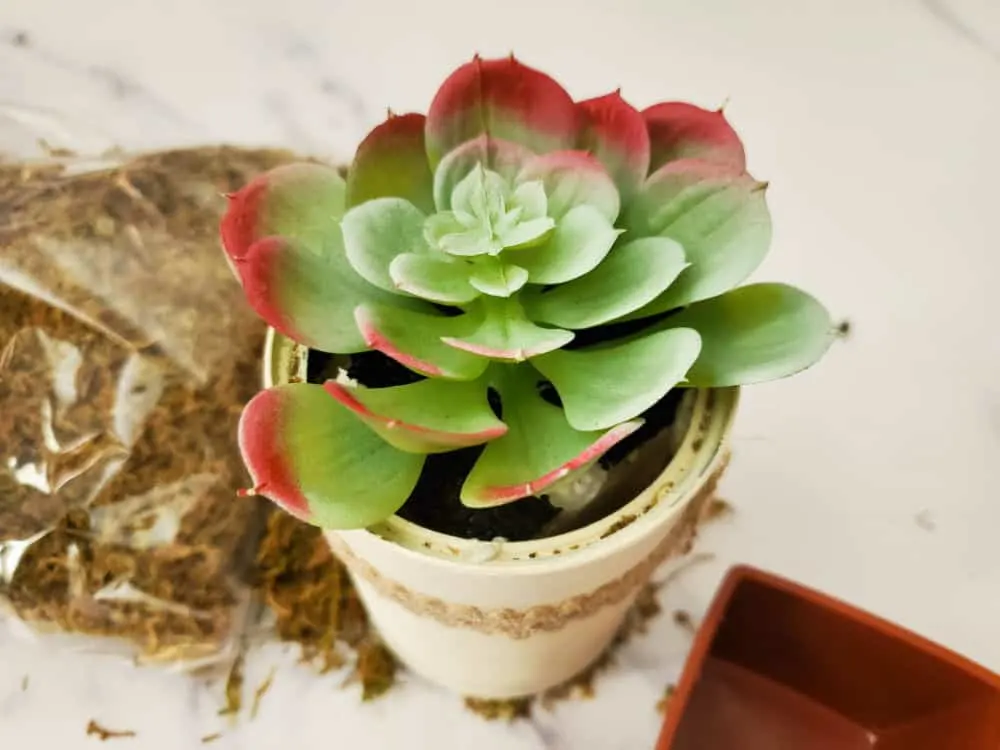
That’s all there is to it! Make as many succulent planters as you like. Adding groups of 3 is a great way to create a small vignette on a side table or nightstand.
Upcycling tin cans doesn’t get much easier than this. Get creative with it with different colors or designs. One of my favorite ways to repurpose tin cans is with decoupage.
Looking for more tin can planter ideas? Check out my post with 35 ways to upcycle tin cans for tons of fun ideas.

I hope you give this quick project a try. Be sure to let me know in the comments below if you do.
Thanks for stopping by. Happy crafting!
Please Save This to Pinterest
I’d be so grateful if you would share this on Facebook or save it to your favorite craft ideas board on Pinterest.
It helps my blog to grow and it doesn’t cost a thing! If you know a friend who would like it, you could also share it with them. 🙂

Here are even more tin can planter ideas:
- 35 Tin Can Crafts
- Tin Can Wall Pocket Planters
- Fabric Covered Flower Pots
- Dollar Tree Thanksgiving Hostess Gift
- Repurposed Garden Planters

How to Make a Dollar Tree Succulent Tin Can Planter
Make the cutest upcycled can planter using a recycled tin can, paint and a Dollar Tree succulent. Add burlap ribbon trim to finish it off. Quick and easy crafts for the win!
Materials
- Recycled Can (15 oz used for this project)
- Off white paint
- 1 inch foam brush
- Glue dots
- Burlap trim
- Spanish or Reindeer Moss
- Fake Succulent Plant
Tools
- Scissors
Instructions
- The first step is to wash the empty cans to get rid of any leftover food.
- Remove the labels from the empty cans.
- Use a foam brush to paint the can.
- Apply a glue dot to the can, about 1 inch from the rim at the back of the can.
- Wrap the trim around to the back, and overlap the other end of the trim. Cut any excess.
- Repeat steps 2 and 3 on the bottom of the can.
- Add floral moss to the can until it is about 3/4 of the way full.
- Remove the succulent from the pot it came in, and add it to the can.
- Add more moss around the top of the succulent.
Recommended Products
As an Amazon Associate and member of other affiliate programs, I earn from qualifying purchases.
-

 24 Pcs Foam Brush Set, Foam Paint Brushes, Wood Handle Sponge Brushes for Painting, Foam Brushes Sponge Paint Brush for Staining, Varnishes, and DIY Craft Projects (1'', 2'' and 3'')
 -
 Mr. Pen- Fabric Scissors, Sewing Scissors, 8 inch Premium Tailor Scissors, Heavy Duty Scissors, Sharp Scissors, Fabric Shears, Heavy Duty Scissor, Sharp Scissors, Sewing Shears, Utility Scissors
Google Web Story: Dollar Tree Tin Can Succulent Planter
You can find me on social media below: