Grow your own fresh herbs in any small space with a DIY vertical herb garden! Learn tips for creating a garden on your balcony or deck.
Are you dreaming of growing your own fresh herbs but you don’t have a backyard? No worries! You can still have your own small garden.
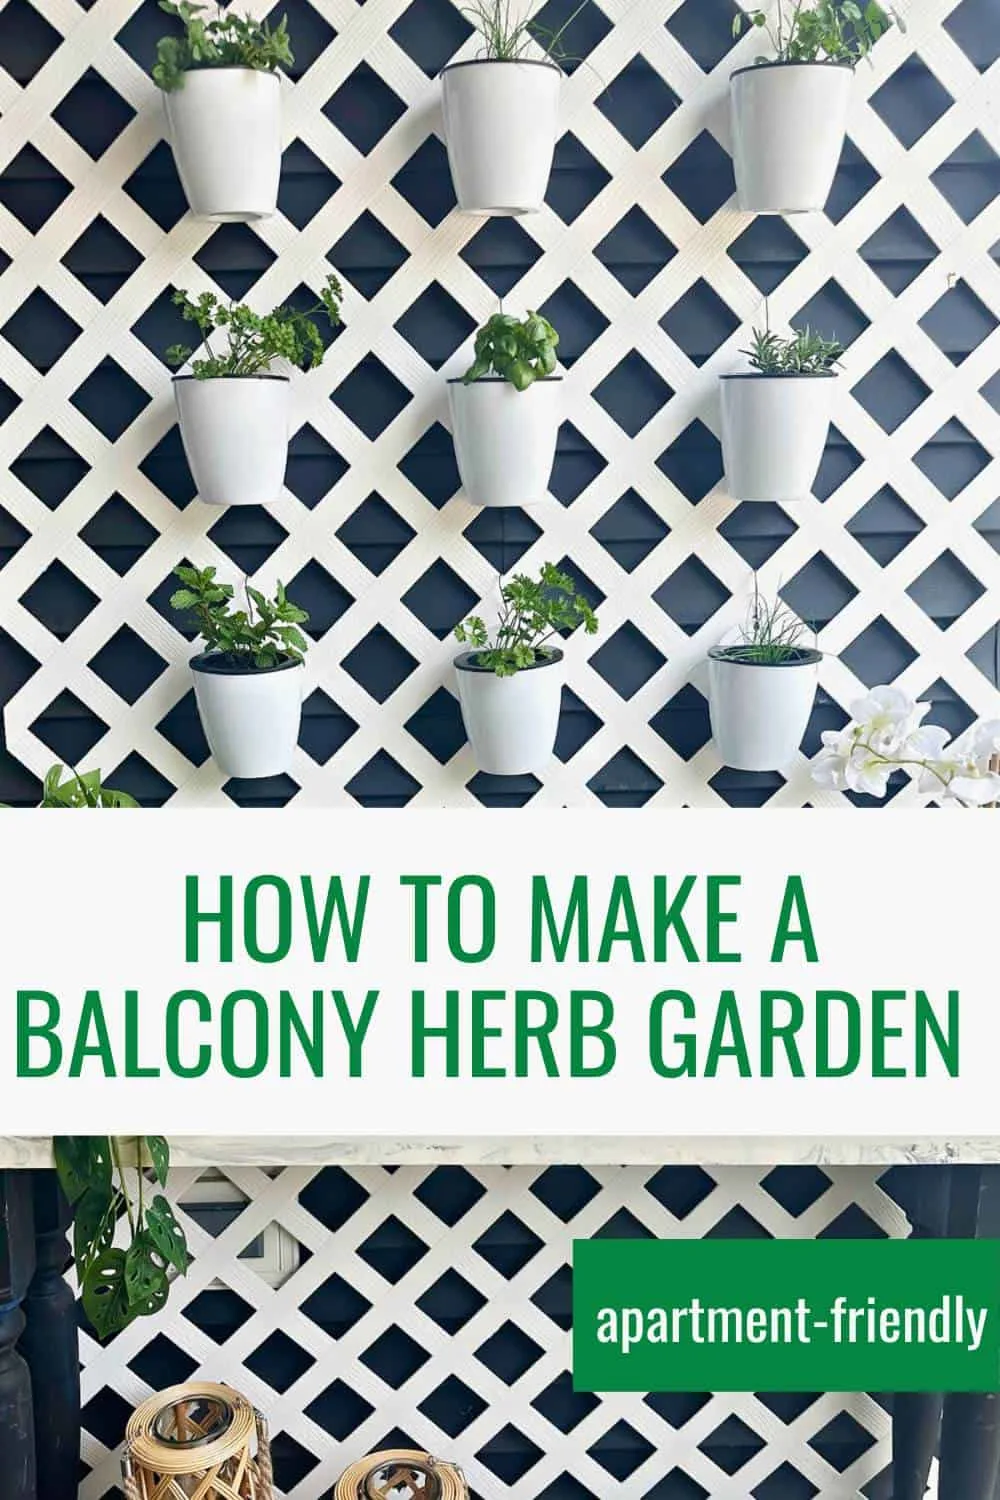
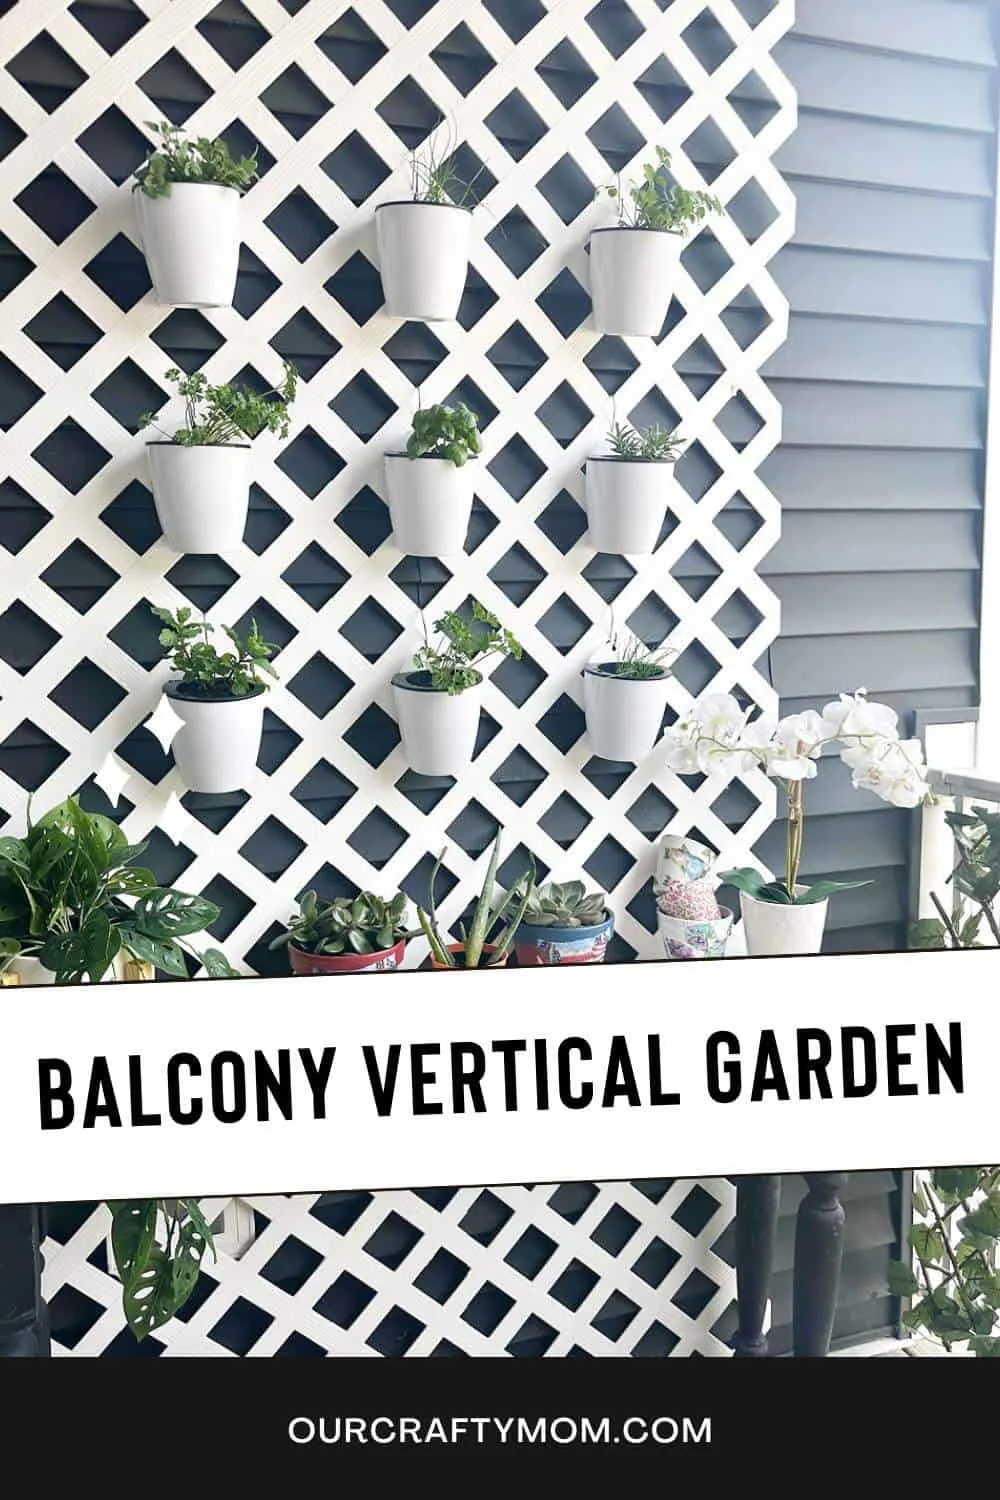
I’ll show you how I made a beautiful vertical herb planter on my balcony using a lattice panel. And, it’s renter-friendly with no drilling required.
Imagine stepping outside to pluck a handful of basil or mint leaves for your favorite recipes? You can’t get much more convenient than that. 🙂
This post contains affiliate links at no extra cost to you. Please see my full disclosure here.
Herb Garden Ideas
I’ve had some type of fresh herb garden at my home for several years. One year I planted herbs in a galvanized bucket and kept it outside my kitchen door.
It made it so easy to snip some parsley or oregano for cooking. Another year I made it even easier to cook with fresh herbs by planting a kitchen herb garden.
Container gardening is great for small spaces and it is easier to manage. I’m the first to admit I tend to get a bit lazy by the time July rolls around!
This is my first year with a balcony and I knew I wanted a vertical herb garden. But, this is a rental so I had to be creative with how to attach it to the wall.
I’m super excited to share how it turned out and hope it will inspire you to create your own small garden.
See my summer vertical garden with flowers and my fall vertical garden with mums.
Supplies Needed for a DIY Vertical Herb Garden
When I was looking for inspiration for this DIY project on Pinterest, I saw quite a few vertical garden ideas made with old pallets.
But, I was worried about how to secure pallets to a balcony wall without being able to drill. After going down the rabbit hole of Pinterest, I found a wood lattice wall idea for outside.
After a little brainstorming, here is what I came up with.
- 4×8′ White Vinyl Lattice – Mine is from Lowe’s
- White Vinyl Lattice Cap – I still need to add these!
- Command Strips – I used the large picture hanging strips
- Vinyl Siding Clips
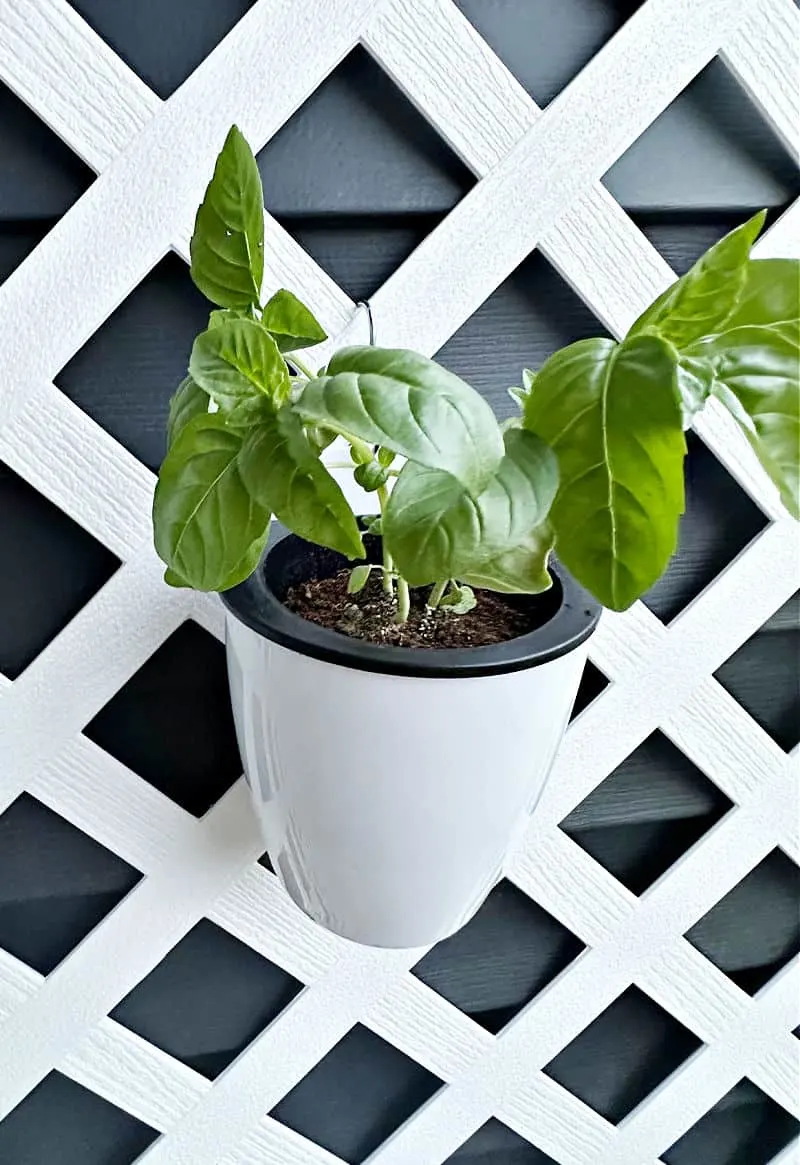
- Wall Hanging Planter Pots Set of 9 – this includes s-hooks, rope and the pots are self-watering!
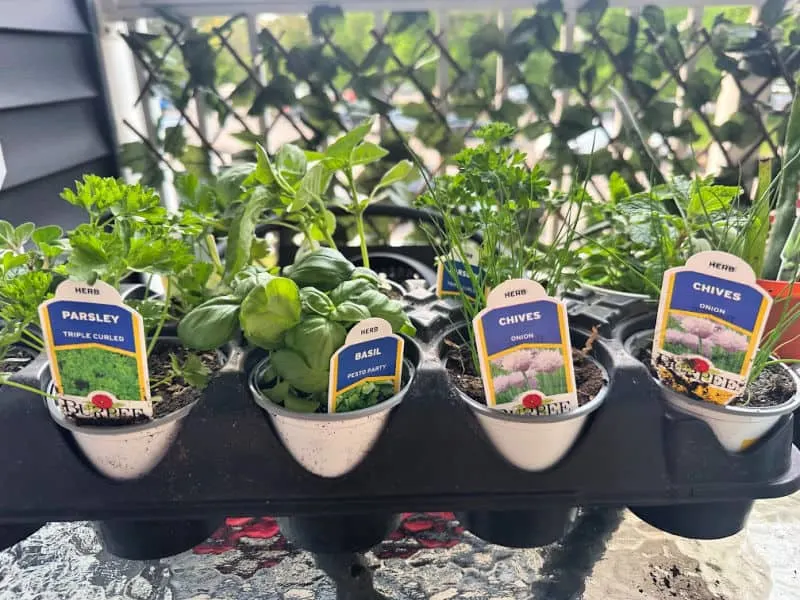
- Selection of fresh herbs – I chose rosemary, basil, oregano, parsley, chives, mint and cilantro

How to Attach a Lattice Wall to Vinyl Siding Without Drilling
Determine the size and location of the lattice wall
The first thing you want to do is measure the area where you want to attach the lattice to ensure accurate placement.
I knew I wanted mine to go on the one main wall of the balcony. A 4×8 piece worked perfectly as I didn’t want the entire wall covered with lattice. It was about $21 for this piece at my local Home Depot.
Using a vinyl lattice panel made of weather-resistant material is much easier to work than wood.

Plus, we were able to fold it in half which made getting it home from the store possible without a truck!
Gather the necessary tools and materials
Because we are not permanently attaching the lattice to the balcony, you don’t need many tools. Command picture hanging strips will be your best friend with this DIY hanging project!
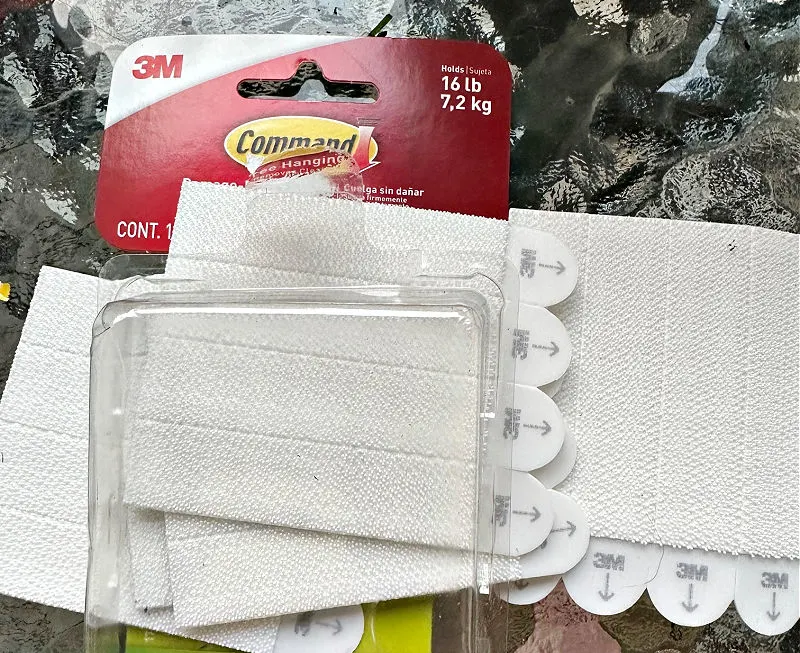
Place the lattice panel where you want it to go against the wall. It helps if you have someone hold it in place while you are securing it.
But, I was alone and still managed to secure it pretty easily. Secure the picture hanging strips to the back of the lattice where it meets with the vinyl siding.
Don’t be stingy with the hanging strips. One large pack should be all that you need for this size.
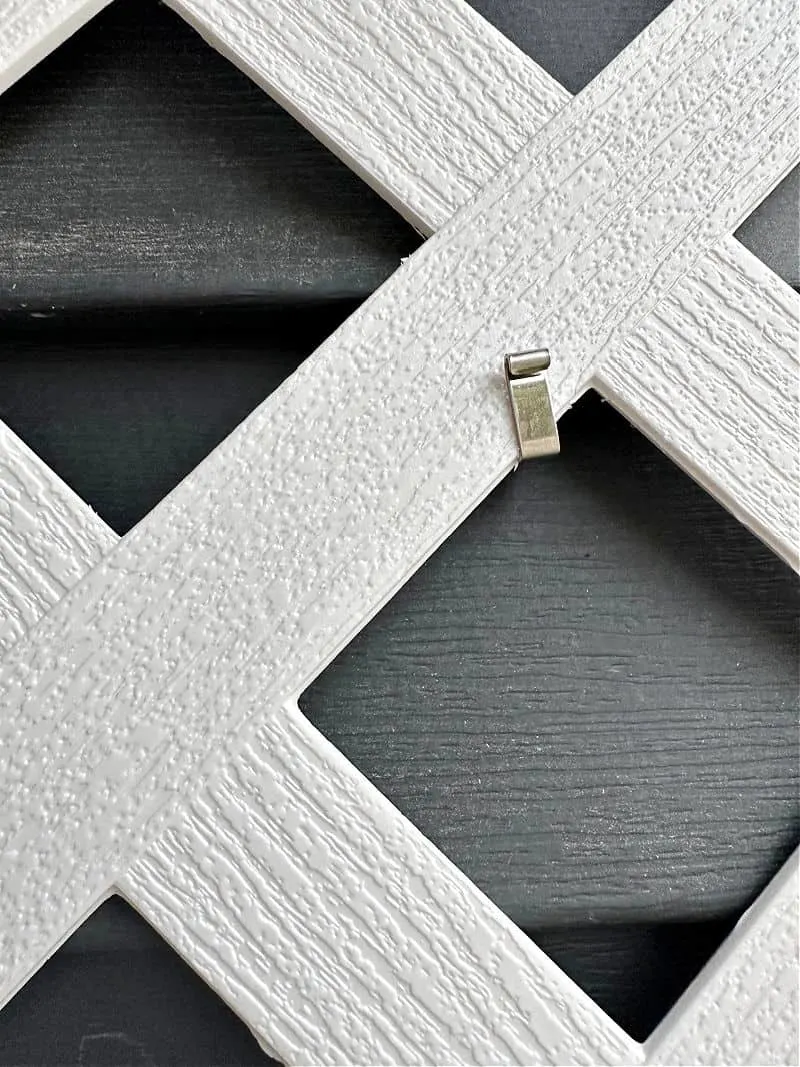
I also used vinyl siding clips where the lattice met the edges of the vinyl siding. This was probably overkill but I didn’t want to take any chances.

I was pleasantly surprised at how simple this was to install. And, we’ve already had a pretty bad wind storm to test out how secure it was.
Now that the lattice wall panel is in place, it’s time for the fun part; adding the plants. While I chose to go with fresh herbs, you can also plant flowers, or a small vegetable garden depending on the size of your planters.
Popular herbs for vertical gardens include:
- Basil
- Chives
- Cilantro
- Dill
- Lavender
- Lemon Balm
- Marjoram
- Mint
- Oregano
- Parsley
- Rosemary
- Catnip
- Sage
- Thyme

Types of Containers to Use for Herb Gardens
Deciding how to attach the planters to the lattice wall was the hardest part for me. I originally planned to use terracotta pots as I love the look of them, but I quickly decided they may be too heavy.
Amazon to the rescue! A quick search and I found the perfect hanging planters for my herb garden.
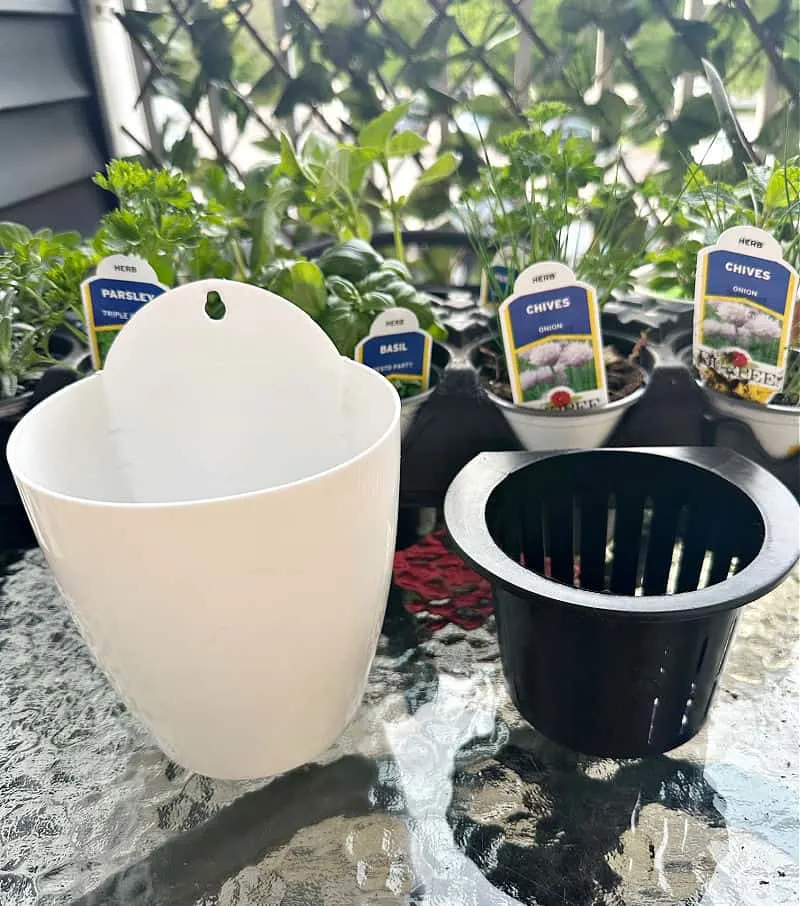
They are not only affordable (a set of 9 is under $23), they are also self-watering and include the hooks for hanging.
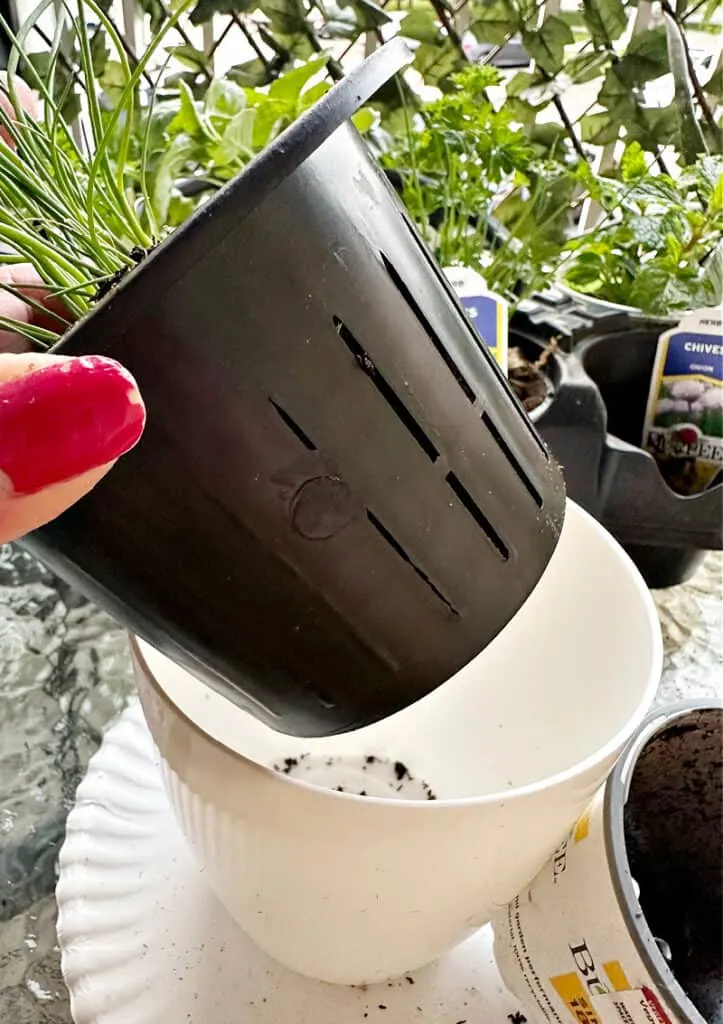
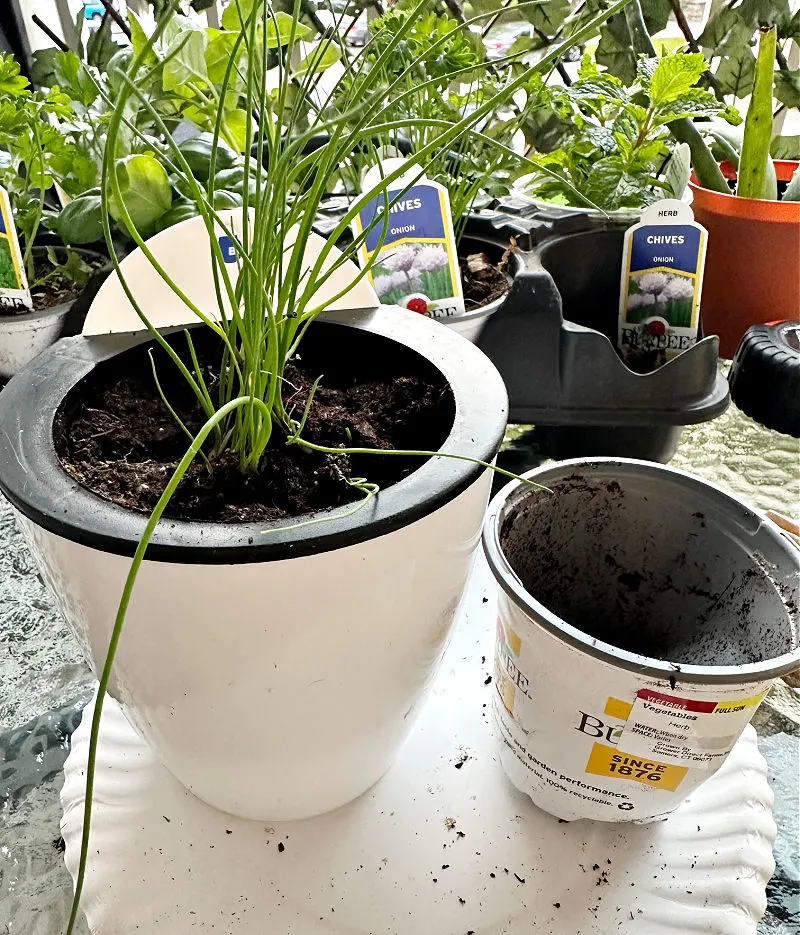
Simply place the included piece of rope in the bottom of the smaller black pot, then add water and your plant.
Measure and Hang Planters
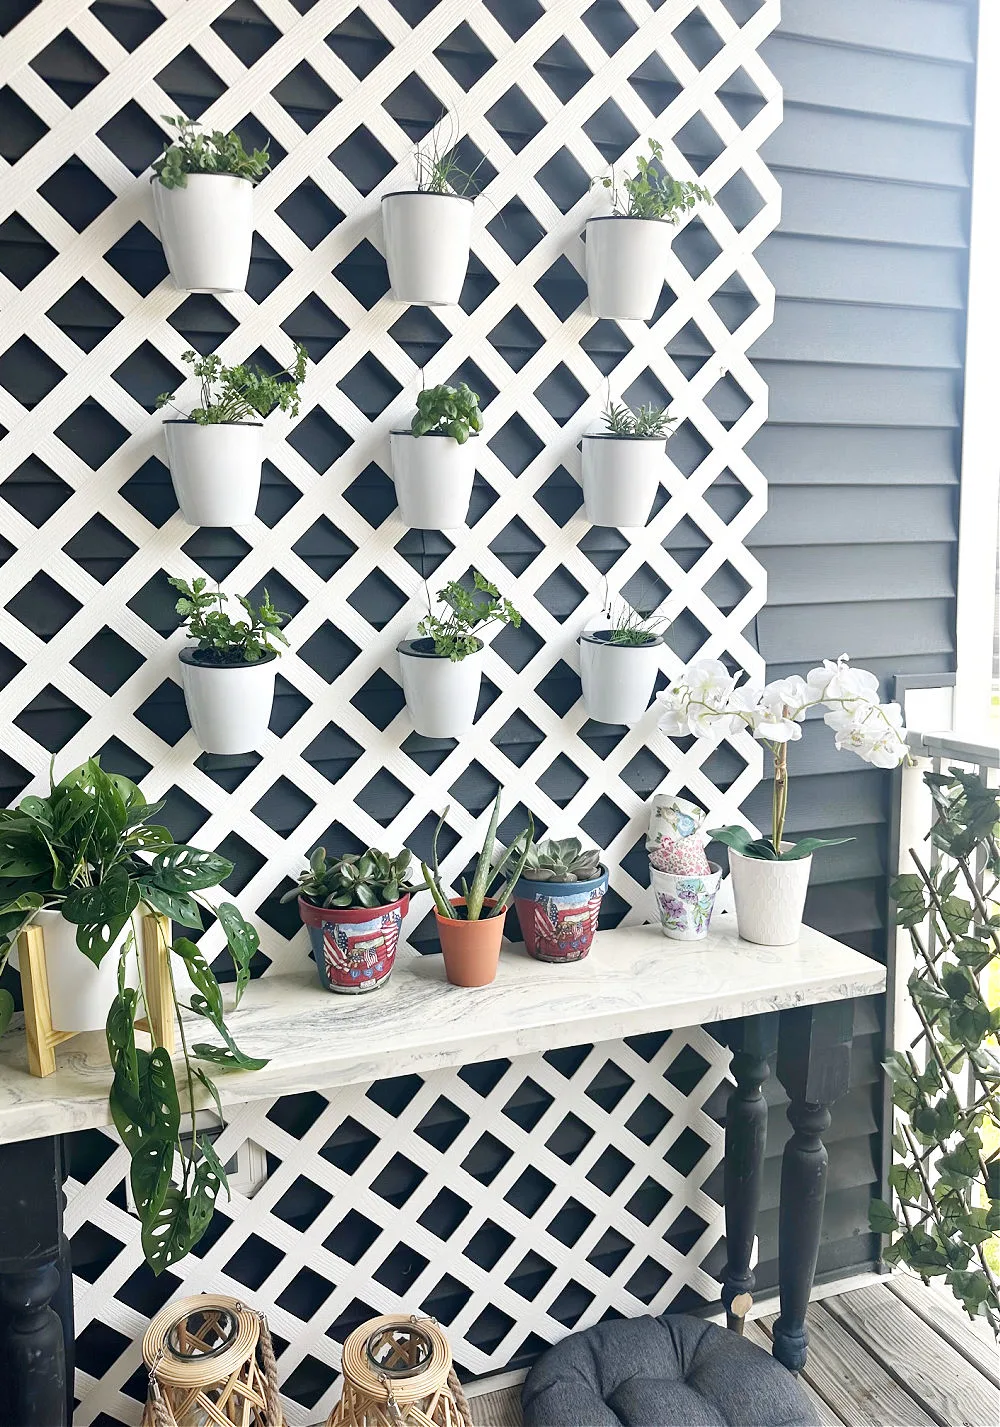
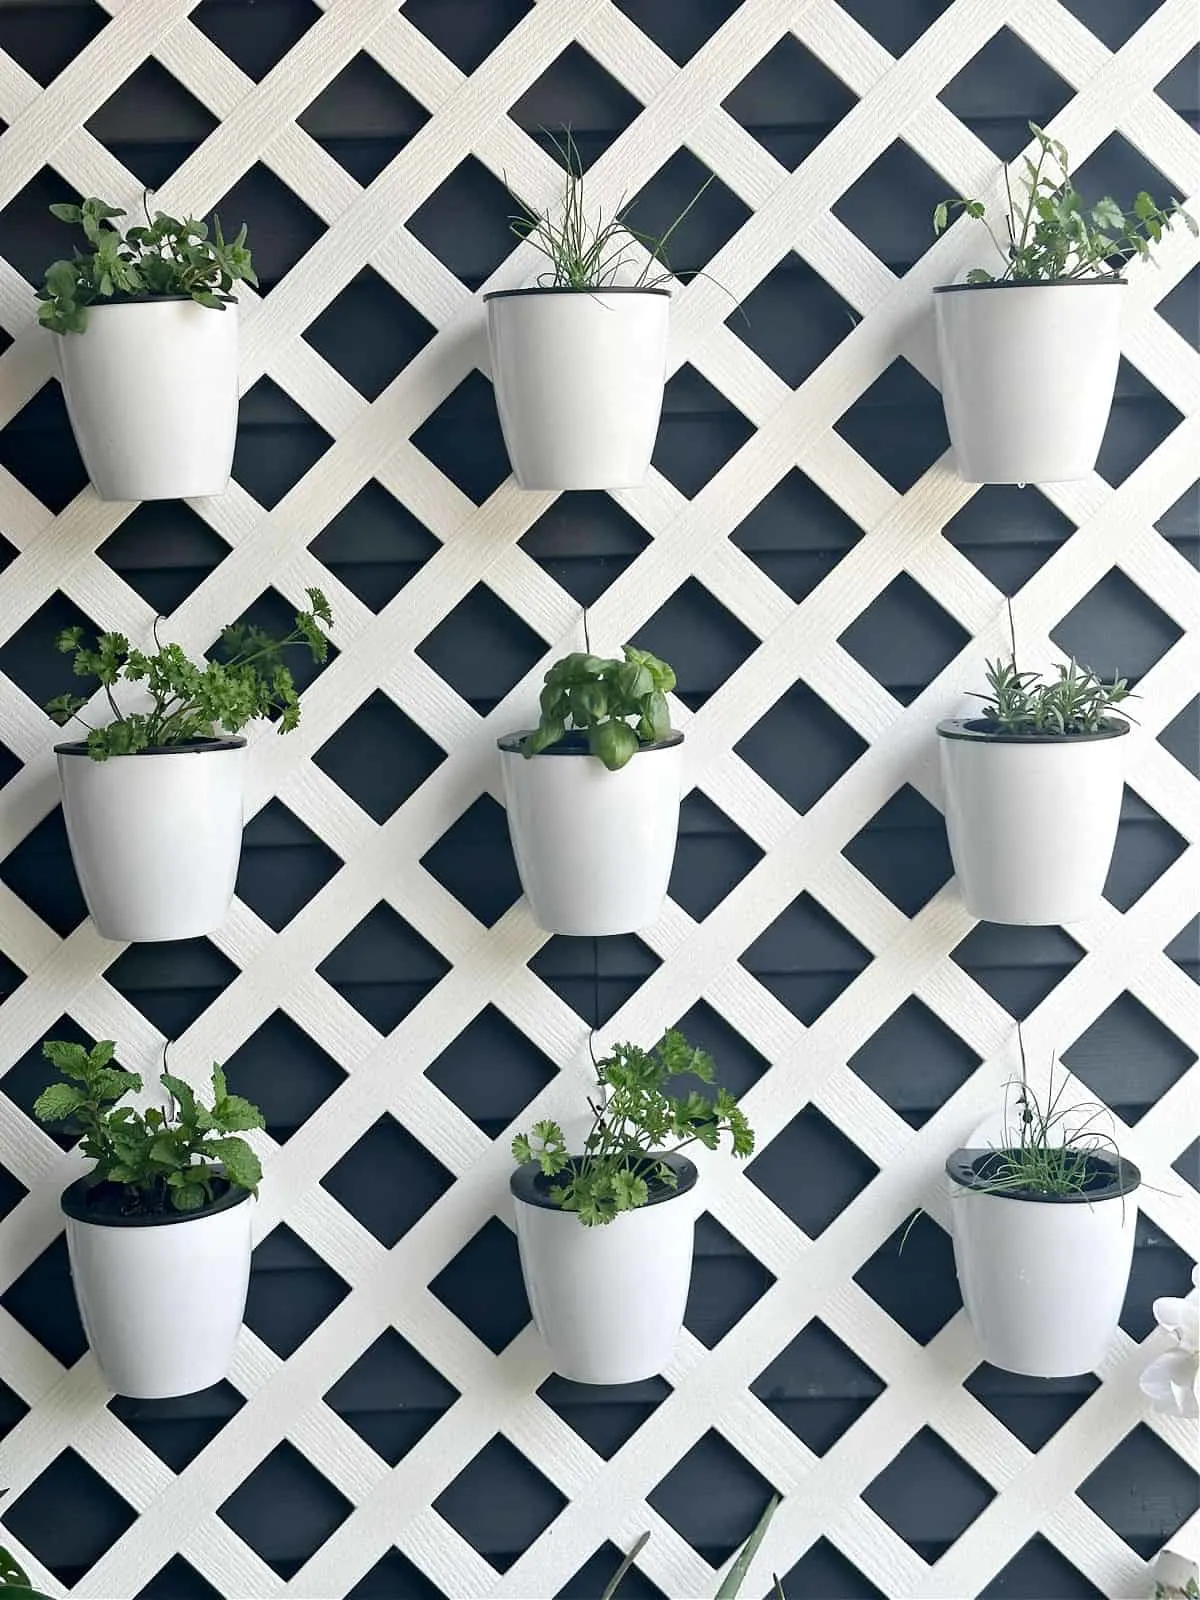
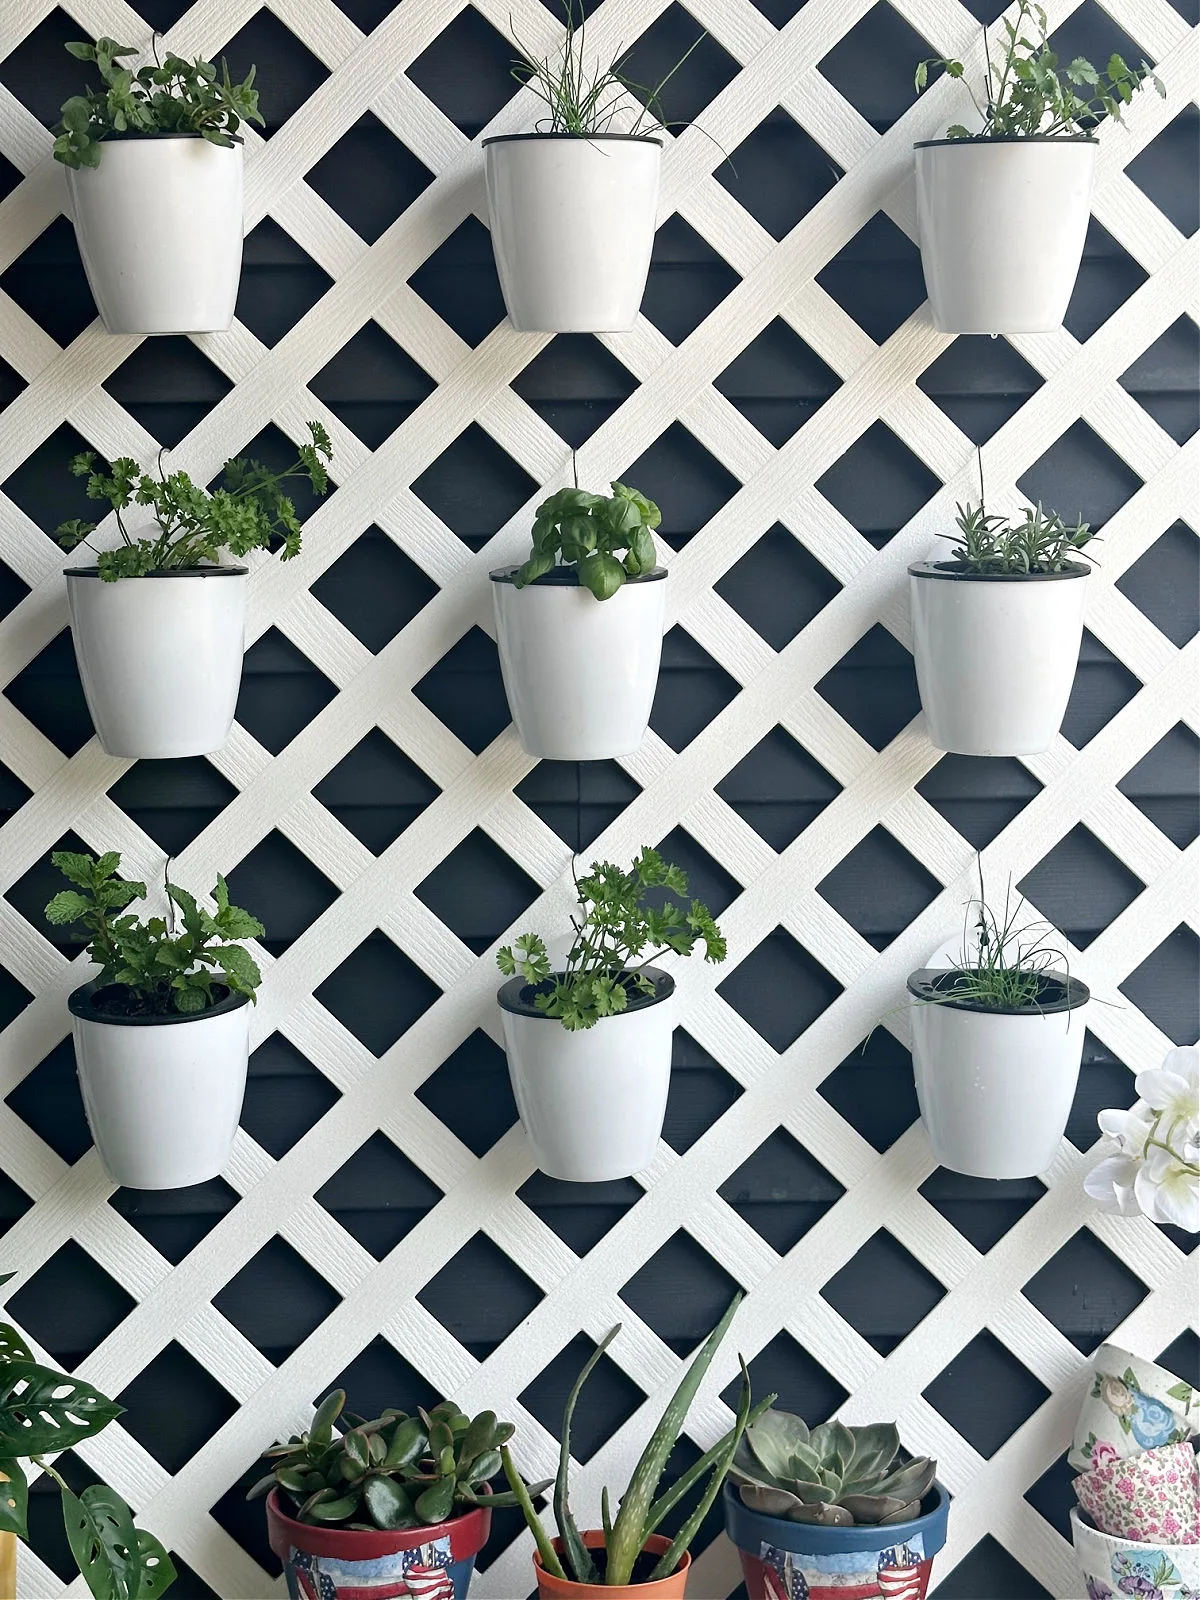
I decided to hang 3 rows of 3 pots each so I measured about 16″ apart for each planter.
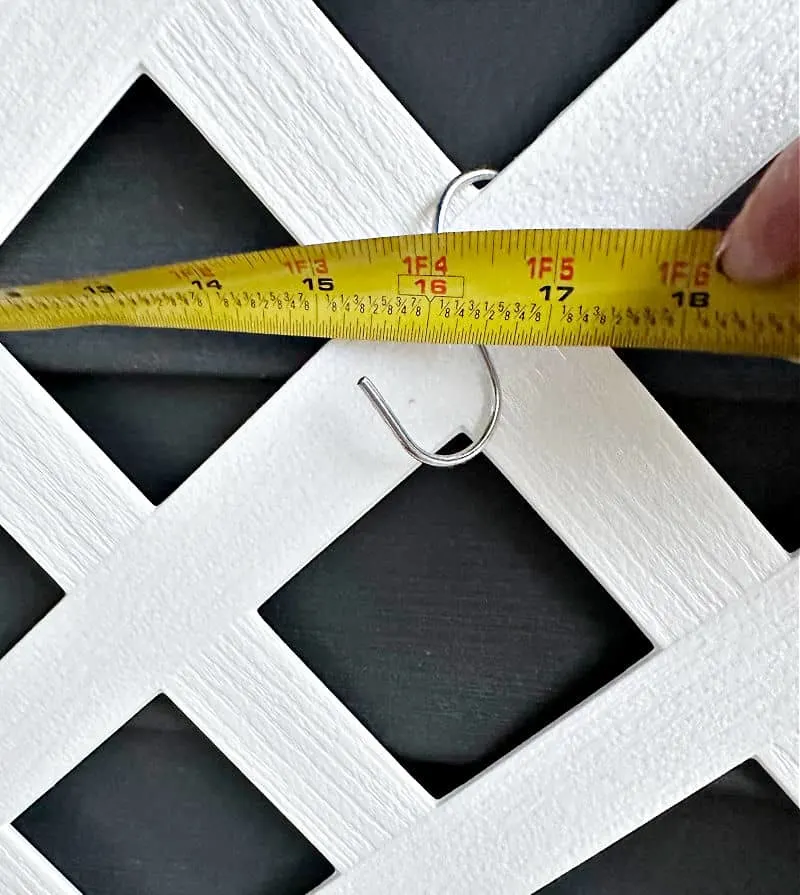
Simply use the included s-hooks to hang the plant to your lattice and you will be ready to enjoy your freshly grown herbs in no time!
I’m so happy with how this small space vertical herb garden turned out.
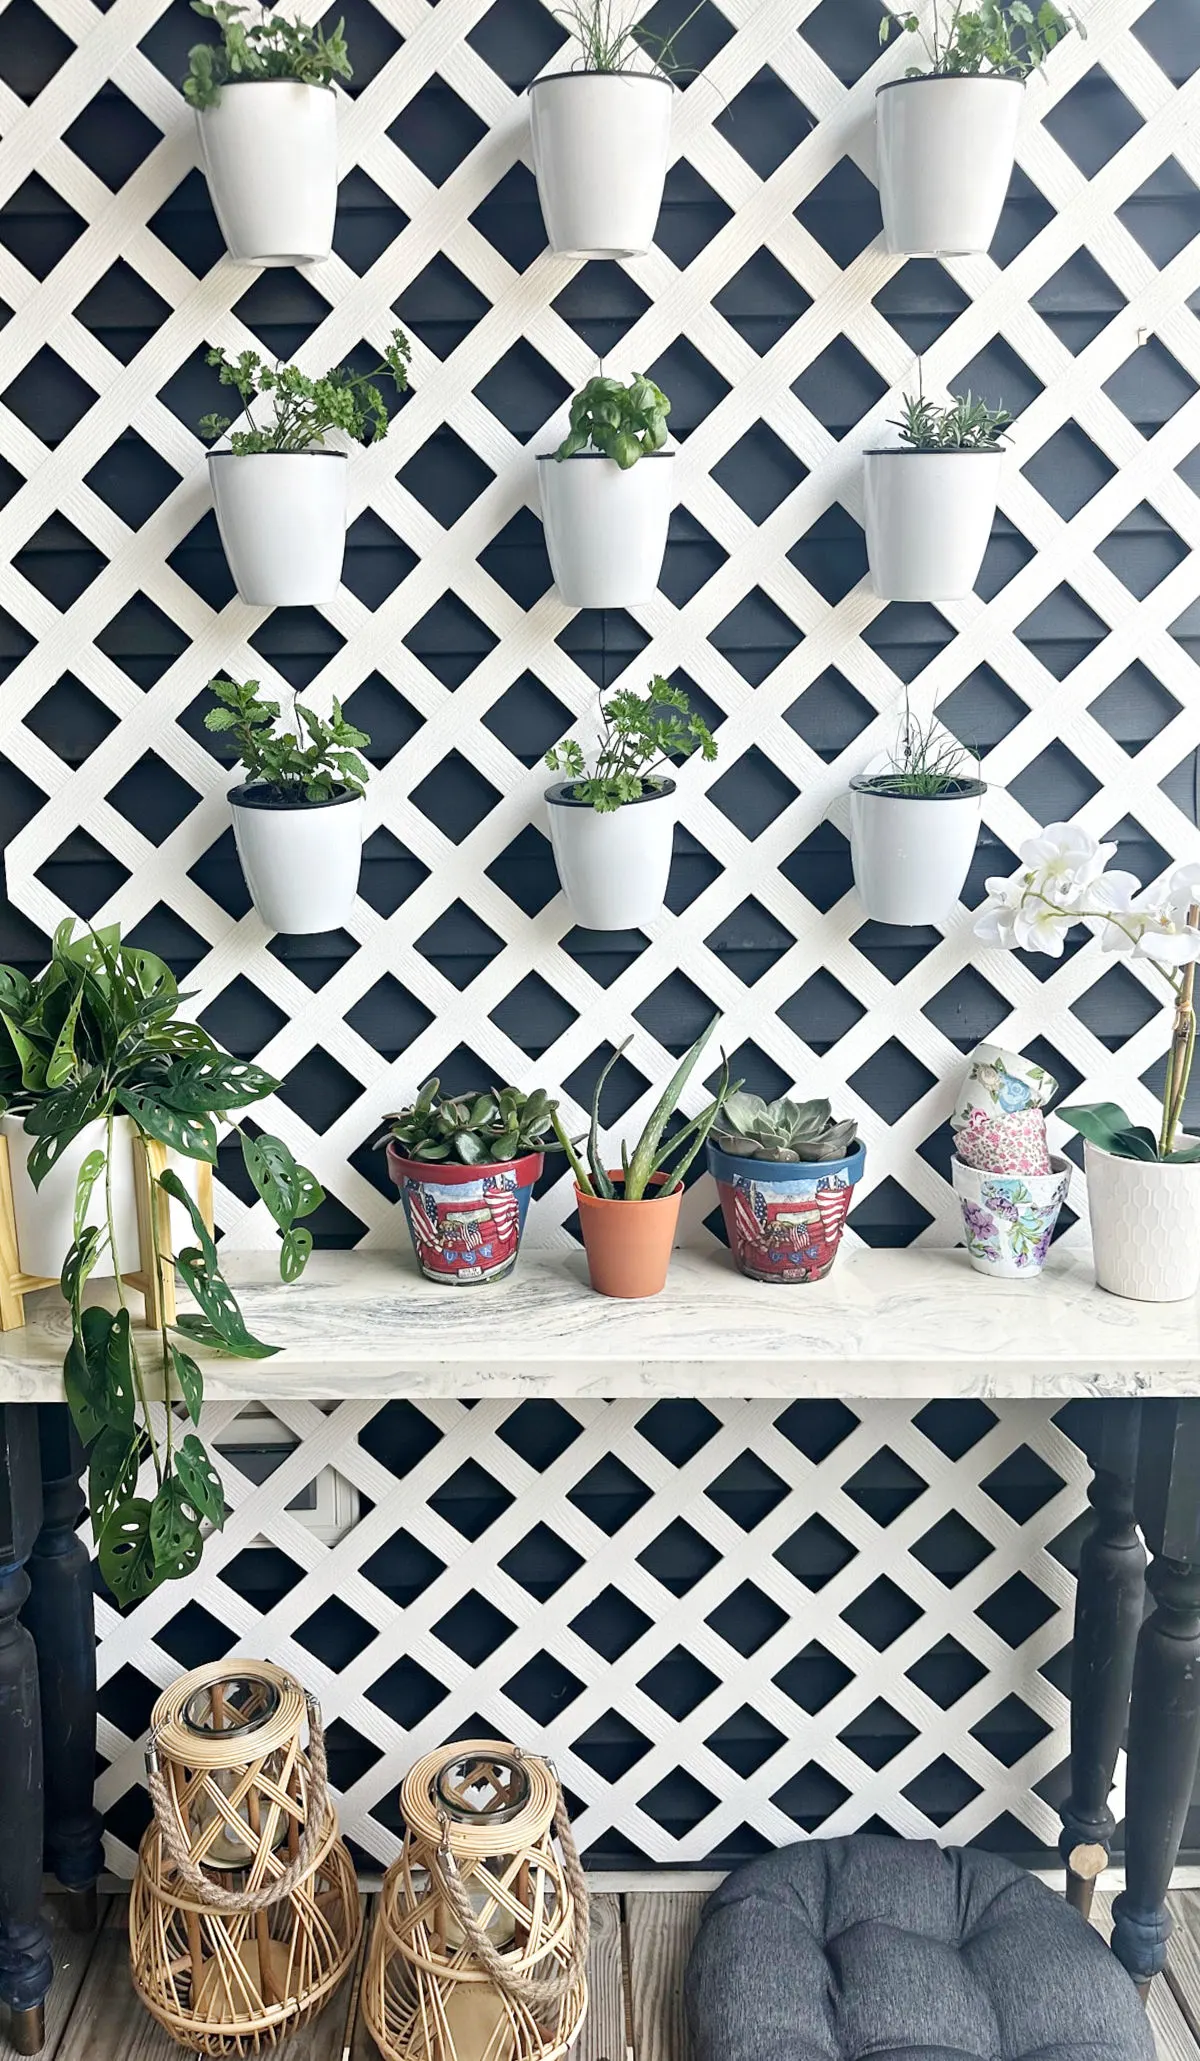
Of course, I couldn’t stop there. Why not add a narrow table below the hanging plants to use as a type of potting bench, or even just to display pretty plants?
This is completely unnecessary, but I had the perfect size marble top table in storage. Sometimes inspiration strikes at the last moment.
The table completes this space and also will come in handy if I have guests and want to use it as a serving station.

The gorgeous pair of rattan lanterns hold battery operated pillar candles.
I just bought them at Michaels Craft Store with my Mother’s Day gift card from my son. 🙂 I couldn’t find the exact link, but Amazon has pretty rattan lanterns HERE.
Please Save This to Pinterest
I’d be so grateful if you would share this on Facebook or save it to your favorite craft ideas board on Pinterest.
It helps my blog to grow and it doesn’t cost a thing! If you know a friend who would like it, you could also share it with them. 🙂
You may also enjoy my Gardening Board on Pinterest.
A vertical herb garden is a gardening technique that involves growing herbs in a vertical arrangement, typically on a wall, trellis, or other vertical structures. It maximizes space utilization by allowing herbs to grow vertically rather than horizontally.
Vertical herb gardens offer several benefits, including:
1. Space-saving: They allow you to grow herbs in small or limited spaces, making them ideal for urban environments or areas with limited ground space.
2. Improved accessibility: By growing herbs vertically, you can easily reach and harvest them without bending or stooping.
3. Enhanced aesthetics: Vertical gardens can serve as attractive decorative features, adding visual appeal to indoor or outdoor spaces.
4. Better air circulation: The vertical arrangement of plants in a vertical herb garden promotes better airflow, reducing the risk of diseases and pests.
5. Increased herb yield: When properly designed and maintained, vertical gardens can accommodate a larger number of herb plants, resulting in increased yields.
1. Ensure your herbs receive adequate water. Check the moisture level regularly and water when the top inch of soil feels dry. Avoid overwatering, as it can lead to root rot.
2. Most herbs require at least 6 hours of direct sunlight daily. Place your vertical garden in a location that provides sufficient sunlight for optimal growth.
3. Fertilization: Apply a balanced, water-soluble fertilizer according to the package instructions. Herbs generally don’t require heavy feeding, so be mindful of the dosage.
Thanks for stopping by. Happy planting!
Wait…here are even more easy gardening ideas:
Google Web Story: Easy DIY Vertical Herb Garden
You can find me on social media below:

Linda Primmer
Friday 23rd of June 2023
What a fabulous idea. Love the look and that the pots are self watering. Great for apartment living or rentals. Thanks for sharing at Love ❤️ Your Creativity.
ourcraftymom
Sunday 25th of June 2023
Thanks so much for hosting and visiting!