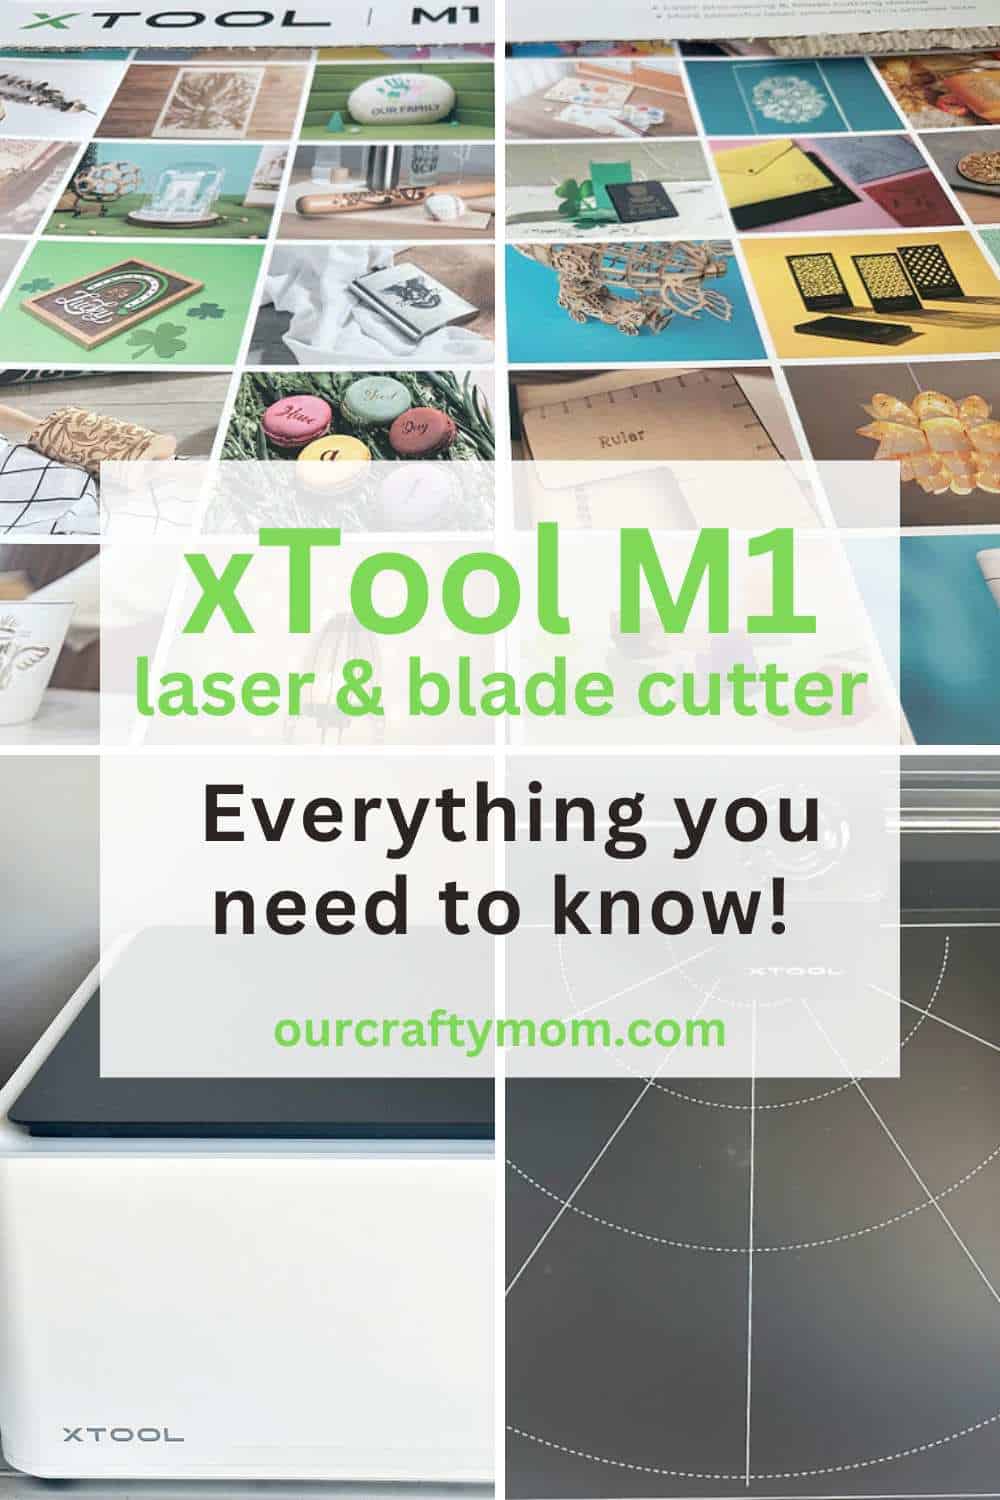
The xTool M1 combines laser engraving, laser cutting and blade cutting into one amazing machine. Let’s review all the details to get started.
If you haven’t heard of the xTool M1 machine, you are in for quite a treat!
I’ve been wanting one of these for quite some time after seeing the incredible projects made by some of my fellow bloggers.
So when xTool reached out to me to see if I was interested in reviewing this machine, I jumped at the chance!
Today is a beginner tutorial for unboxing and setting up the laser machine, as well as an initial project.
There is a lot to get to, so this article is detailed. But I want to go through all the steps to make it easy for you to get started.
Feel free to use the Table of Contents to jump to a specific section if desired.
Now, let’s get to the xTool M1 review!
This post is sponsored by xTool and contains affiliate links. I may receive a small commission at no extra cost to you. However, all opinions are 100% mine. I only promote product I believe in. Please see my full disclosure here.
What Is The xTool M1 Laser Engraver and Vinyl Cutter?
The xTool M1 laser engraver and vinyl cutter is the first desktop hybrid machine that integrates laser engraving, laser cutting and blade cutting into one powerful machine.
It allows you to create with a much wider range of materials than other cutting machines.
xTool M1 is powerful enough to cut basswood up to 8mm in one pass and produces ultra-fine engraving results.
In fact, it can cut or engrave over 500 materials including:
- wood
- paper (including tissue paper)
- foam
- opaque acrylic
- fabric
- felt
- leather
- vinyl
- rubber
- stone
It can also engrave (but not cut) plastic and stainless steel including coated metal, and anodized material.
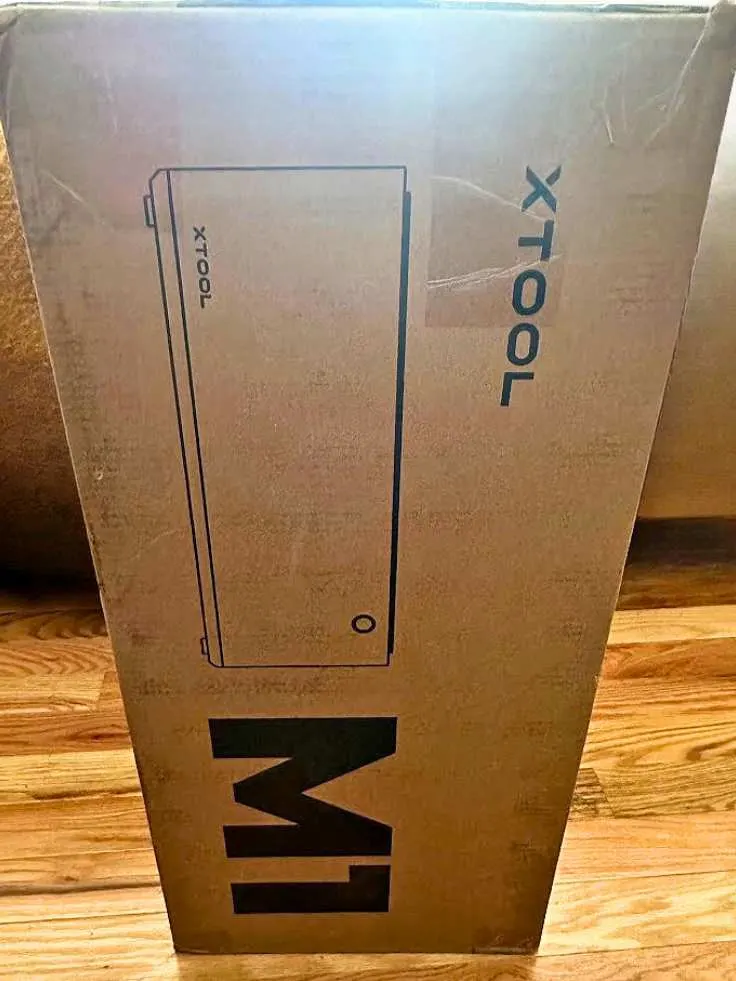
What’s in the box?
I received the xTool M1 10w which is noted on the xTool site as your first craft making machine.
It weighs about 21 pounds and measures at approximately 22″ x 18″ x 9″ making it a great size for a craft room or home office.
While absolutely an investment it’s a great way to get started on your laser machine journey.
Here’s what’s included:
- xTool M1 Laser & Blade Cutting Machine
- Power Adapter
- 5 replacement cutting blades
- Cutting Mats
- Exhaust port
- Instruction book
- Sample materials

How to Set Up The x-Tool M1
I was surprised at how simple the set-up was. The machine comes fully assembled so it took me about 20 minutes for the entire process including unboxing the machine.
Step 1. Remove the materials
Simply remove the machine from the box.

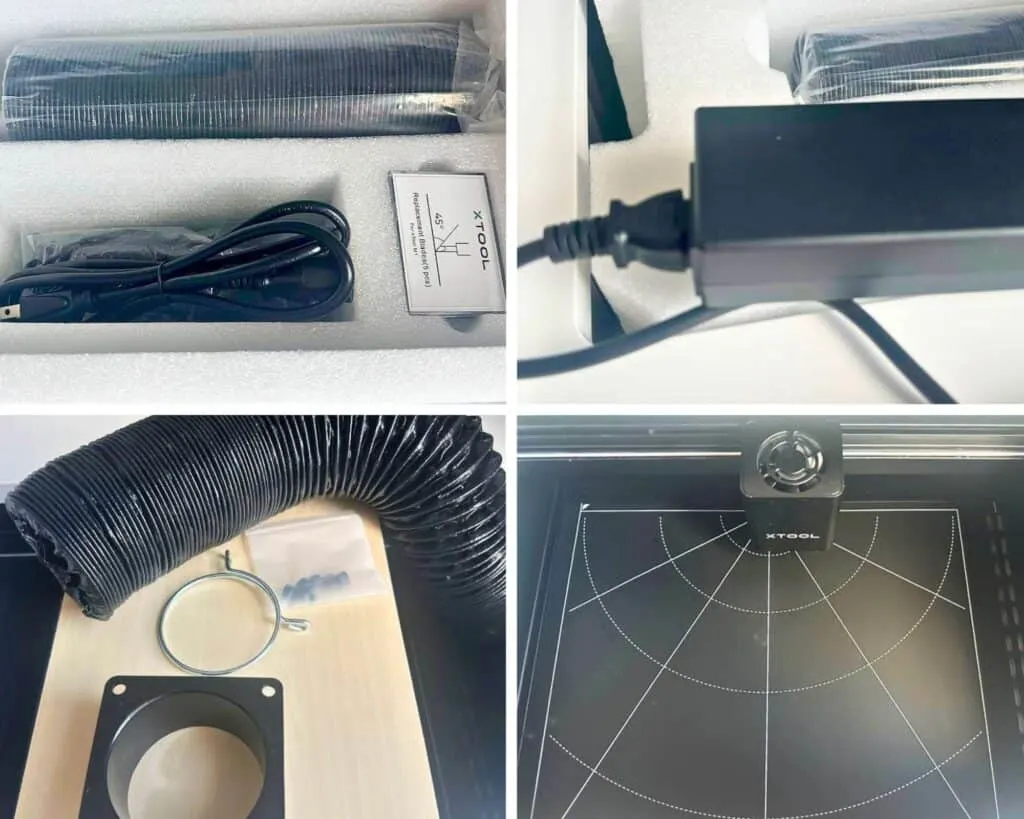
Set 2. Connect the ventilation system
Install the built-in ventilation system. You don’t even need any tools.
Just hand screw the 4 screws into the connector base, secure the hose and tighten with the included metal hose clasp.

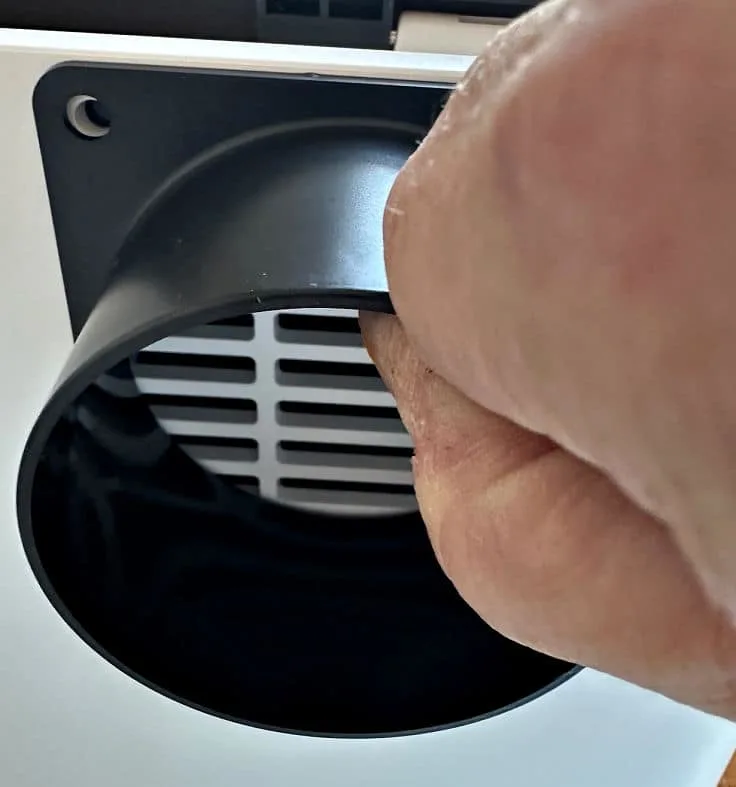

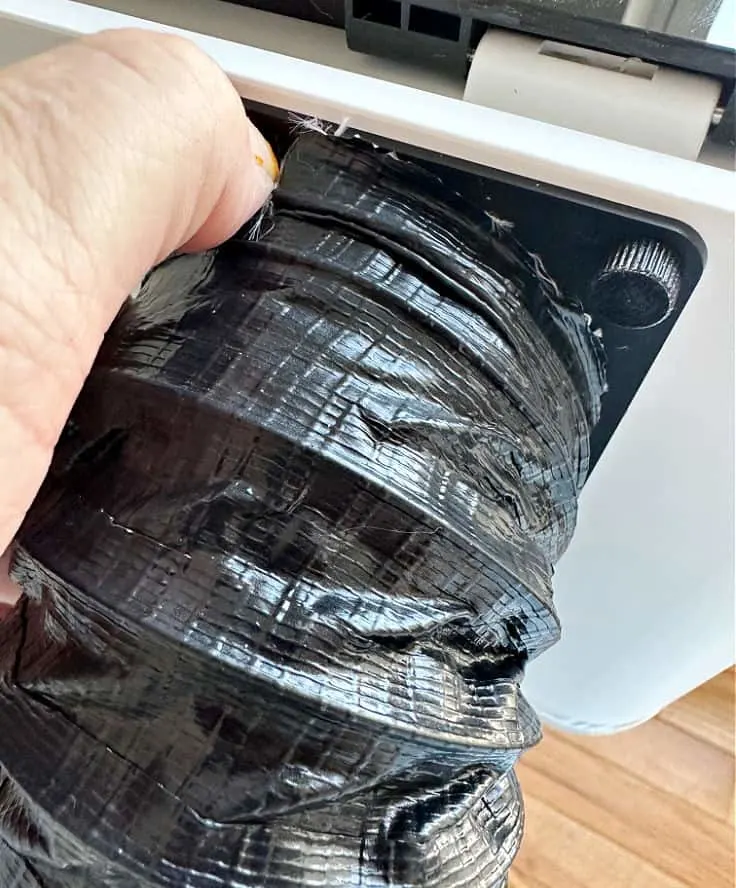


You will need to vent your xTool out a window or door when in use, so be sure to set it up with that in mind.
If you do not have a window or door available, you will need to use the xTool smoke purifier.
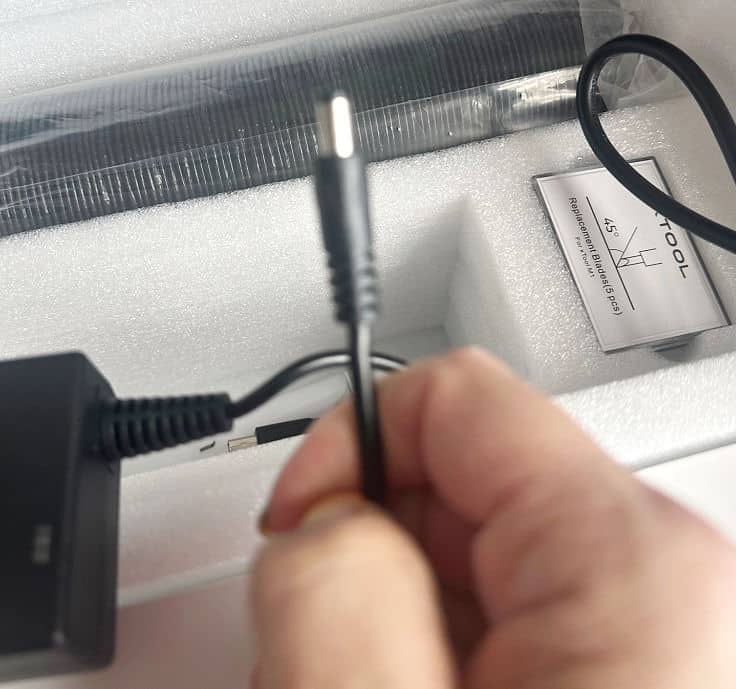
Step 3. Install the xTool M1 Creative Space Software
Now it’s time to download the software and connect your machine to your computer.
Please note at the time of this writing, there is no app available so you will need a desktop or laptop.
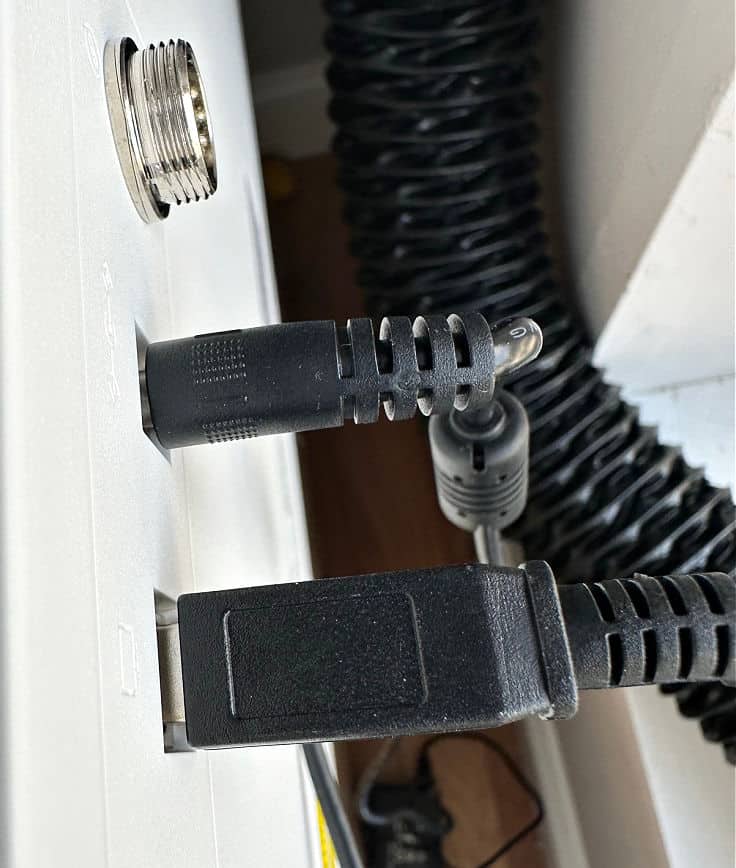
Simply attach and plug-in the power cord and connect the included usb from the back of the machine to your computer.


Open the xTool Creative Space website and download the installers.
Click “run the file” and complete the installation on your computer.
The xTool Creative Space software features an all-in-one graphic design tool that allows you to make incredible graphics quickly and easily!
It’s extremely user-friendly and works with both Windows and macOS.
Plus it works with common files like .dxf, .tif, .svg, .jpg, and more.
Step 4. Attach the blade
Now it’s time to attach the included point blade to the laser module. The M1 includes 5 blades, which is a great feature.
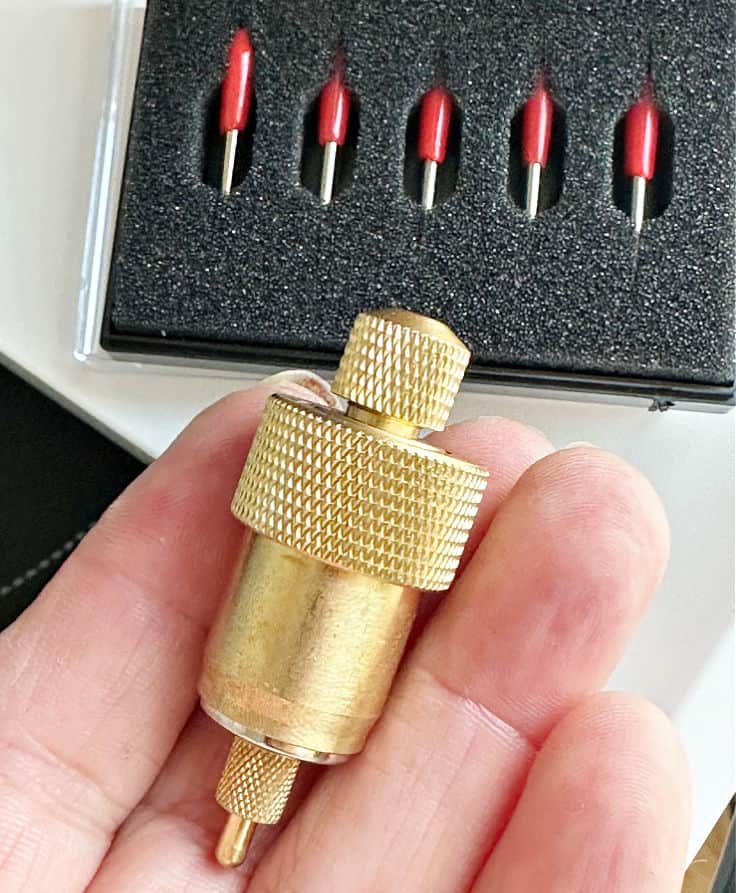

The blade and laser module include magnetic absorption so you don’t have to pull them hard.
Just remove the red cap from the blade and place it into the housing, then back into the machine.
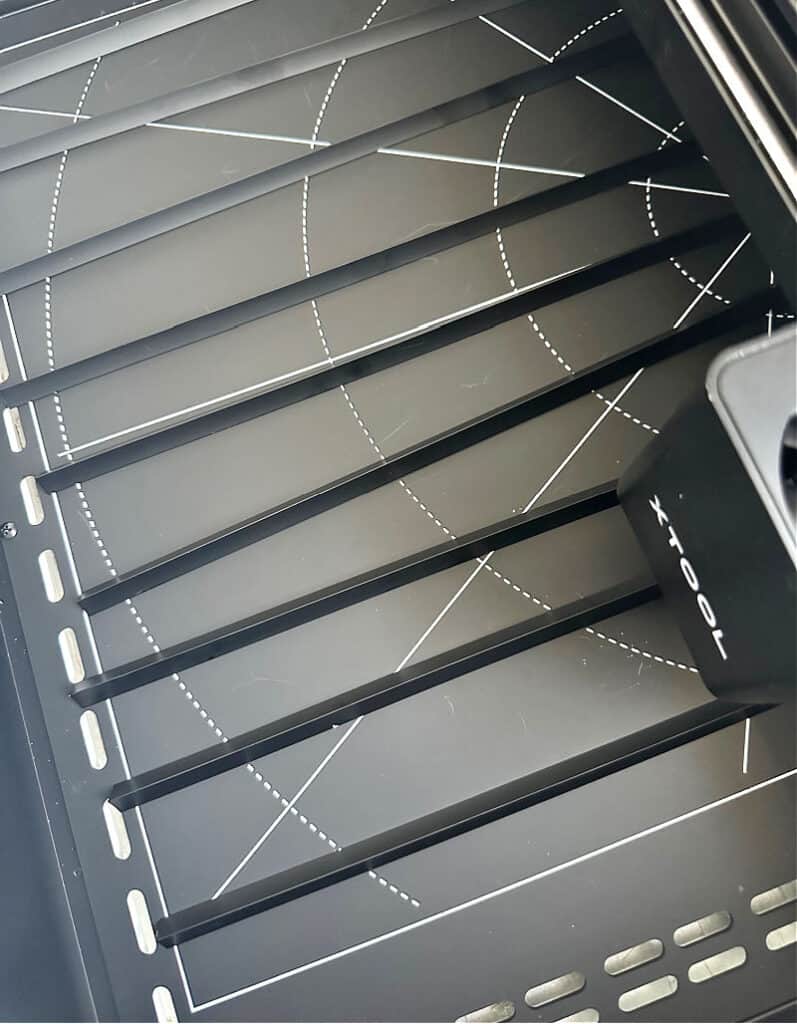
Step 5. Add triangular prisms
If you are working with wood or other materials you want to place the included triangular prisms into the machine.
These allow for better air circulation and cleaner cutting.

Step 6. Power on the machine
Now it’s time to get started on your first project. I do recommend starting out with a small project to get your feel for the machine.
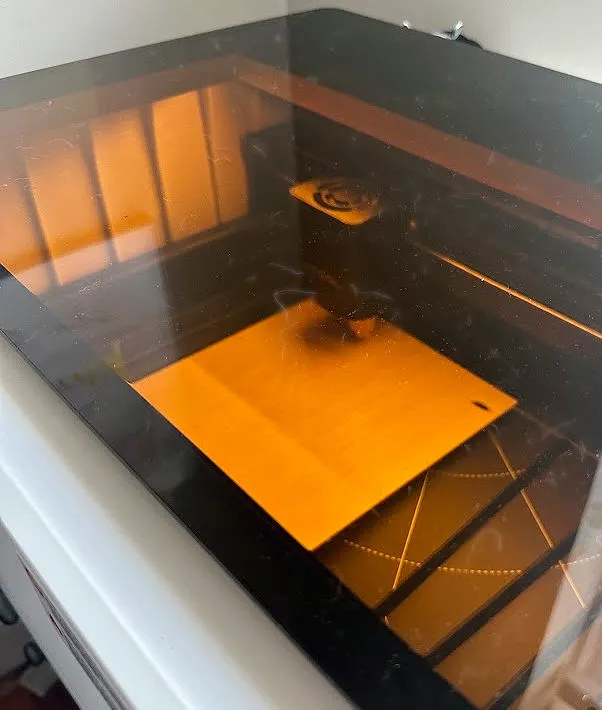
Power on the machine and wait for the indicator to turn a steady white.
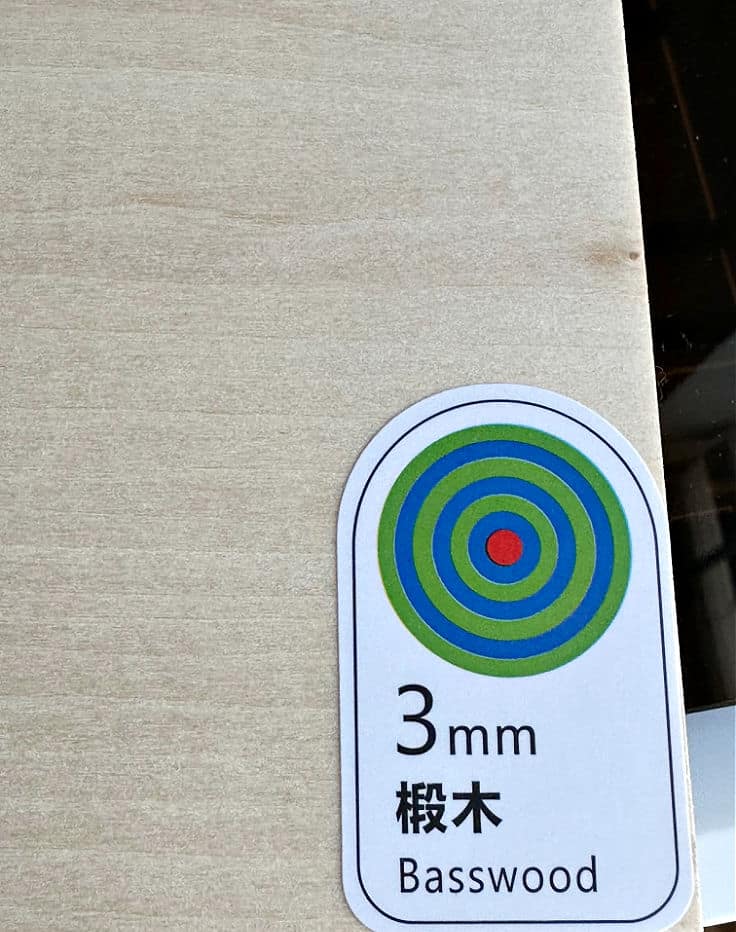
Place your material into the machine. I used a piece of 3 mm basswood that was included with the M1.

Add the design you want from the Creative Space Software. I went with a ghost for Halloween.
When you add the image hit refresh on your computer software and the camera will show the inside with the image.
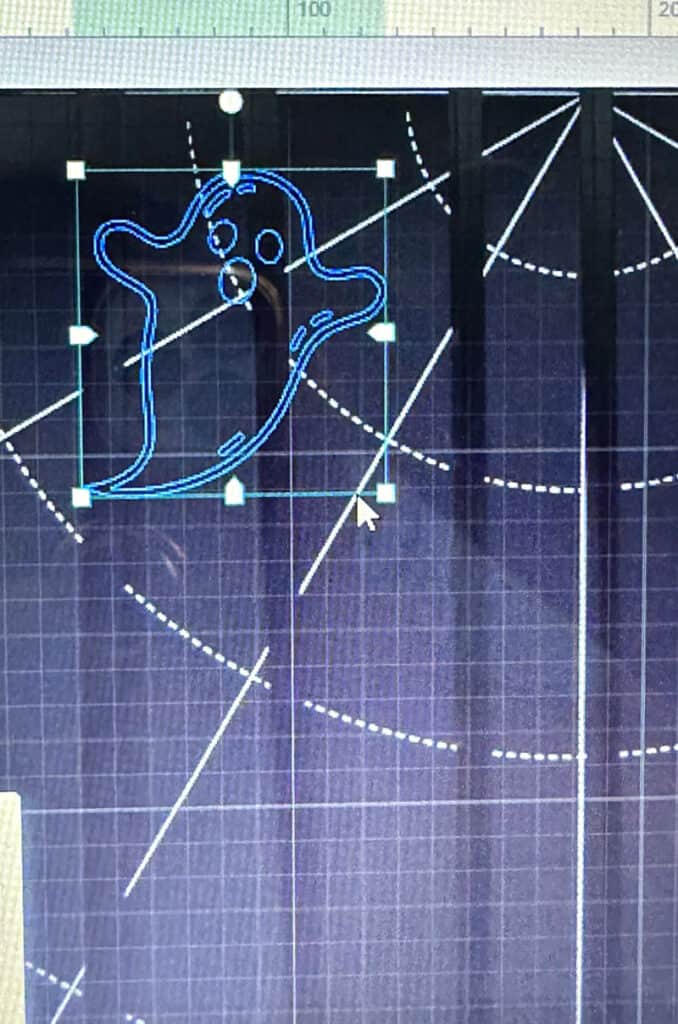
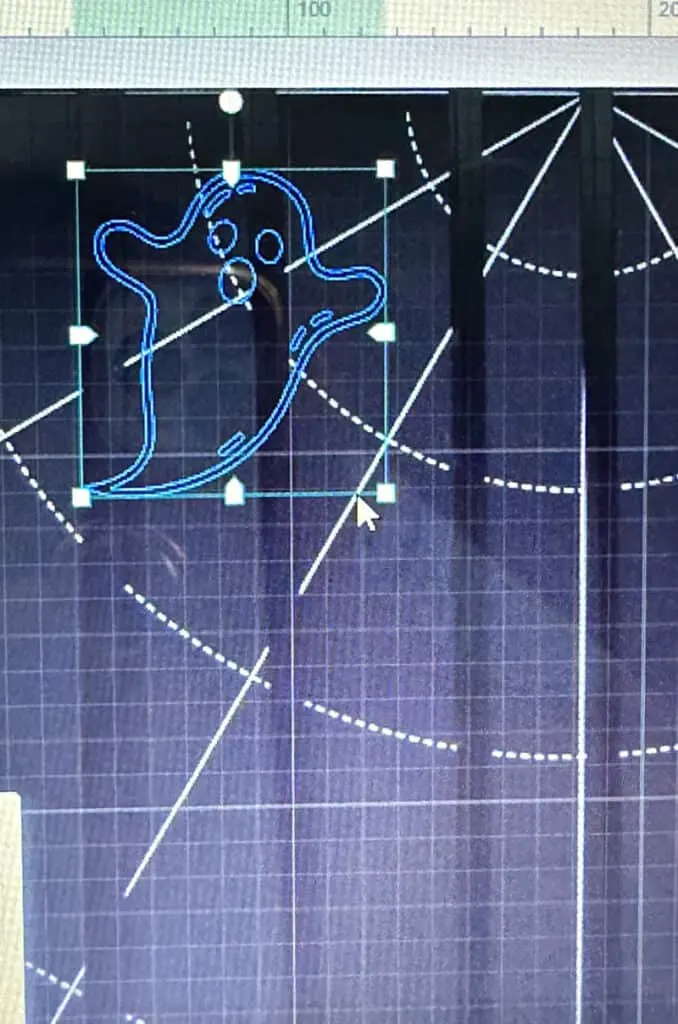
Adjust your design to the size that you want.
Step 7. Adjust the settings
Now you want to adjust the settings on the right side of the software. You will choose from 3 settings:
- Score
- Engrave
- Cut

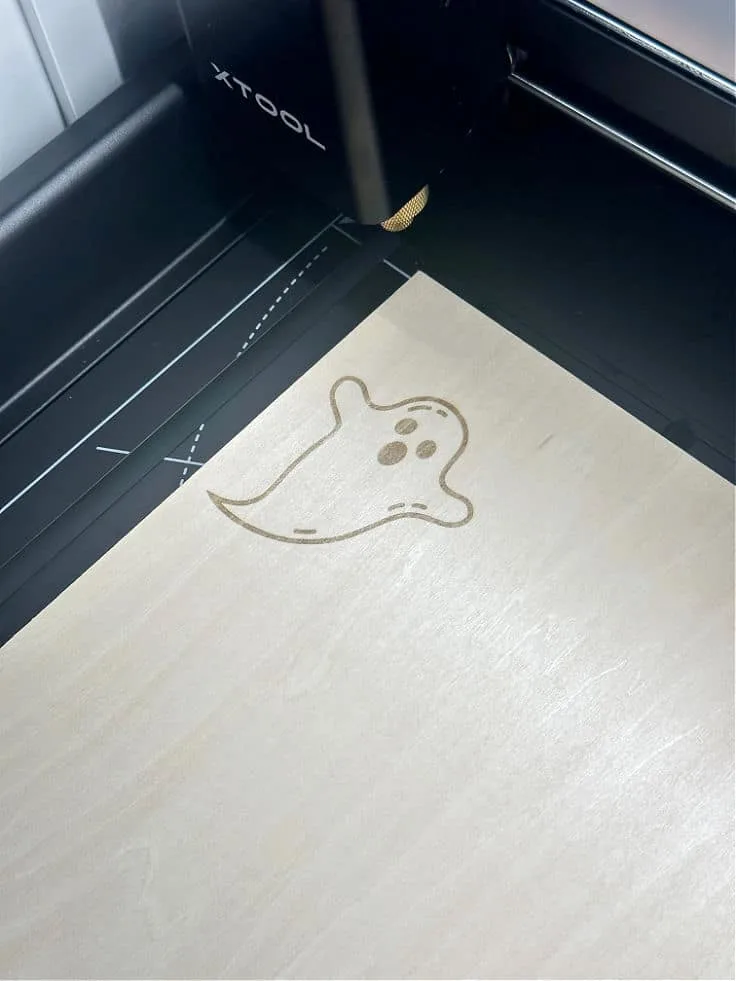
I chose to engrave the little ghost first to get an idea of what it would look like.
You also need to choose the correct type of material you are using.
For example, I highlighted the 3mm basswood. The software walks you through the necessary steps.
For more on this refer to the material settings guide discussed below.
As soon as it started, I was hooked! It is a seriously cool process. The software will let you know about how long it will take to finish.
It is recommended that you stay with the machine (or at least close by) while it is processing.
Look at how cute this little ghost is:

Since I felt a little more comfortable I decided to cut the ghost:
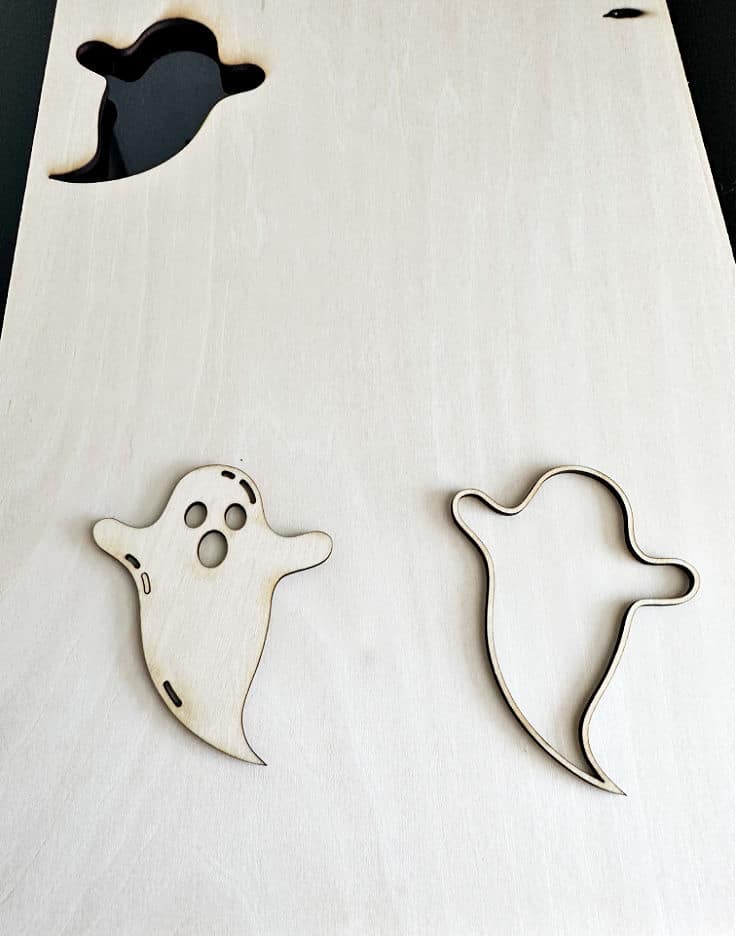
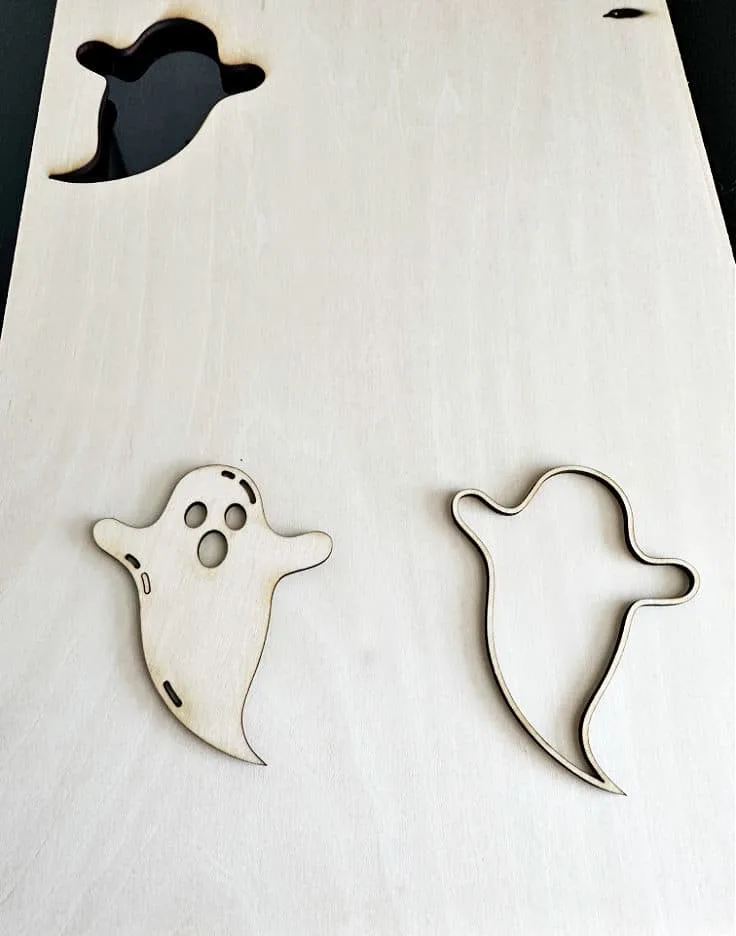
It came out great! Because I engraved it first I ended up with an outline of the ghost too which I plan to use for stenciling.
There are several projects I will be sharing in the coming weeks, but I wanted to start with the entire set-up process so you have an idea of what is involved.
Thank you so much for stopping by. I hope you found this guide helpful.
If you have any questions, please let me know below and I will do my best to help!
Material Settings Guide for xTool Machines
A helpful tip is to bookmark the material settings guide. It is basically a
“cheat sheet” for the specific settings you will need for the material you are using.
It is extremely helpful for laser cutting and engraving.
My plan is to laminate it so I can keep it next to the xTool.
xTool also carries a range of attachments and tools to take your machine to the next level.
While these are absolutely not needed, it’s nice to know there are more extensive products available as you learn and grow with laser cutting and engraving.
Here are a few that I have my eye on.
4-in-1 Rotary Attachment
At the top of my wish list is the rotary attachment. You can easily change the rotary to roller, chuck, sphere and ring.
Here are some things you can customize with the rotary attachment:
- wine glasses
- mugs
- cups
- tumblers
- ornament balls and other round items
- jewelry including rings
I’d love to be able to gift my friends and family with custom wine glasses and tumblers. Not to mention engraved jewelry.
If you are looking to sell items on Etsy or other platforms, this would be a game changer!
How Does Riser Base with Honeycomb Panel Work for Laser Engraver and Cutter?
The riser base with honeycomb panel does not come standard with the xTool M1, but it may be something to consider.
Here are some helpful tips as to why:
- Tailor-made to fit under the M1 and increases the height of the machine which accommodates objects with heights up to 121mm. So you can easily engrave more objects.
- It also provides a special cutting and engraving base for the objects. Due to the optimal heat dissipation, the surface of the object that is cut or engraved is clean; there is no discoloration. The cut is perfect and even from every corner.
- Due to its fine structure and even openings, the smoke created due to the laser machine easily escapes from the bottom.
- There is an acrylic cover block to prevent the escape of the blue light, debris, and smoke. The machine is enclosed, so better exhaustion can be achieved.
xTool M1 Air Assist Set
This is the second accessory on my list. The air assist set gives a cleaner and smoother laser cutting or engraving finish.
- Deeper and faster cutting
- Clean surface – cuts down on any burn marks
- Low working noise
- The air volume can be adjusted by the controller based on your engraving and cutting needs.
xTool Smoke Purifier
The xTool smoke purifier is something you may want to invest in if you are a small business owner or work in a fairly small space.
You don’t have to vent out a window as you need to without this smoke purifier. It also cuts down on noise and any smell while cutting wood.

What is my honest opinion of the xTool M1?
I wanted to ensure I had some time to work with the xTool and try out a few projects before reviewing the machine.
There is a learning curve, just like with any new tool.
But I’m happy to say I’m pretty obsessed with this laser machine and highly recommend it.
Here are some of the highlights:
- Can cut larger materials – with a working area of 12″ x 15″ perfect for cutting materials sized up to 11.75″ x 15″ or smaller.
- Dual laser technology – the xTool M1 can cut up to 10mm thick wood for endless DIY projects and gift ideas.
- Price point – while absolutely an investment, the M1 is much more affordable than other laser cutters like the Glowforge.
- Cuts or engraves over 500 materials – I LOVE that it cuts wood and other materials that I’m not able to cut with my cutting machine.
- Diode lasers – uses a diode laser which has a longer lifespan than other types of lasers making it perfect for at-home creators.
- Great for a small business owner, crafter, blogger or someone who enjoys creating.
- Easy set up – able to start creating right out of the box!
Having the option to cut vinyl and paper is a plus, but in all honesty I will probably still use my Cricut cutting machine for those projects and focus on this machine to laser engrave and for blade cutting.
If you are new to cutting machines, this hybrid machine is all you need!
I’d appreciate it if you would share this on Facebook or save it to your favorite DIY board on Pinterest.
It really helps my blog grow and doesn’t cost a thing!
Thanks so much for stopping by. Happy creating!
Google Web Story: xTool M1 Laser Machine Set Up
What Are Some Ideas For xTool M1 Projects?
- DIY coasters
- Engraved cutting boards
- Customized jewelry
- Engraved tumblers, mugs, wine glasses
- Christmas ornaments engraved and customized
- T-shirts, tote bags and other fabric projects
- Wood signs
- Leather journals
- Bookmarks
Visit Danielle from DIY Danielle for even more xTool M1 project ideas.
Connect your machine to the computer with a USB cable. Launch XCS, click on Connect Device, and go to the device setting. Your machine should appear under the USB section. Select it and connect.
Yes! Laser cutters are a top choice for cutting acrylic in various shapes with precise results. Refer to the instruction manual for your exact machine.
The x-Tool M1 can cut a variety of materials including basswood, vinyl, leather, and felt.

You can find me on social media below: