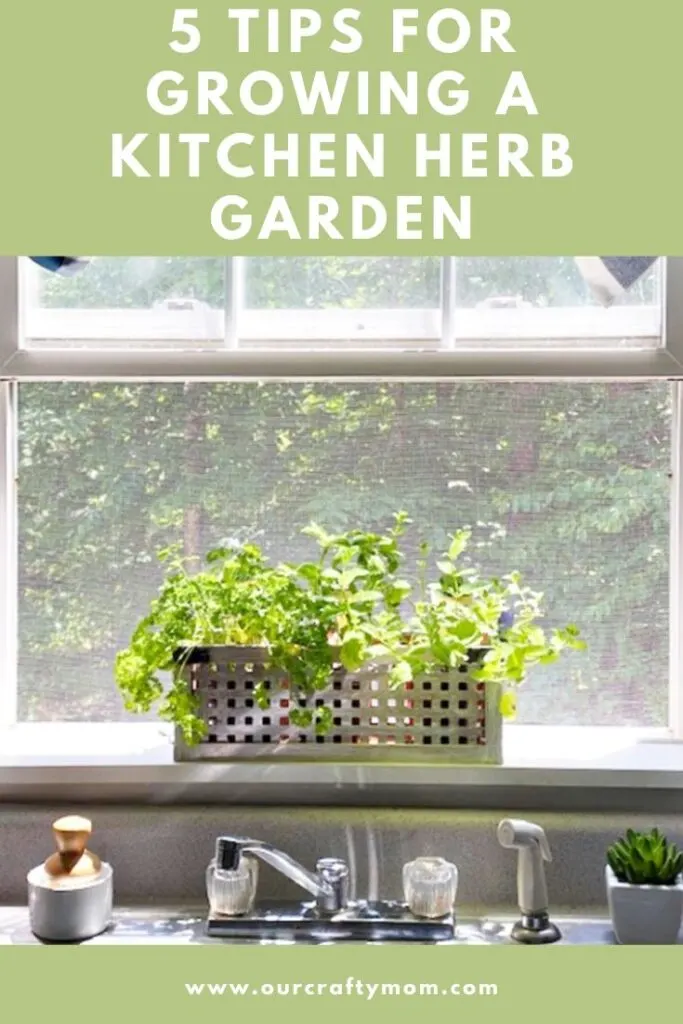
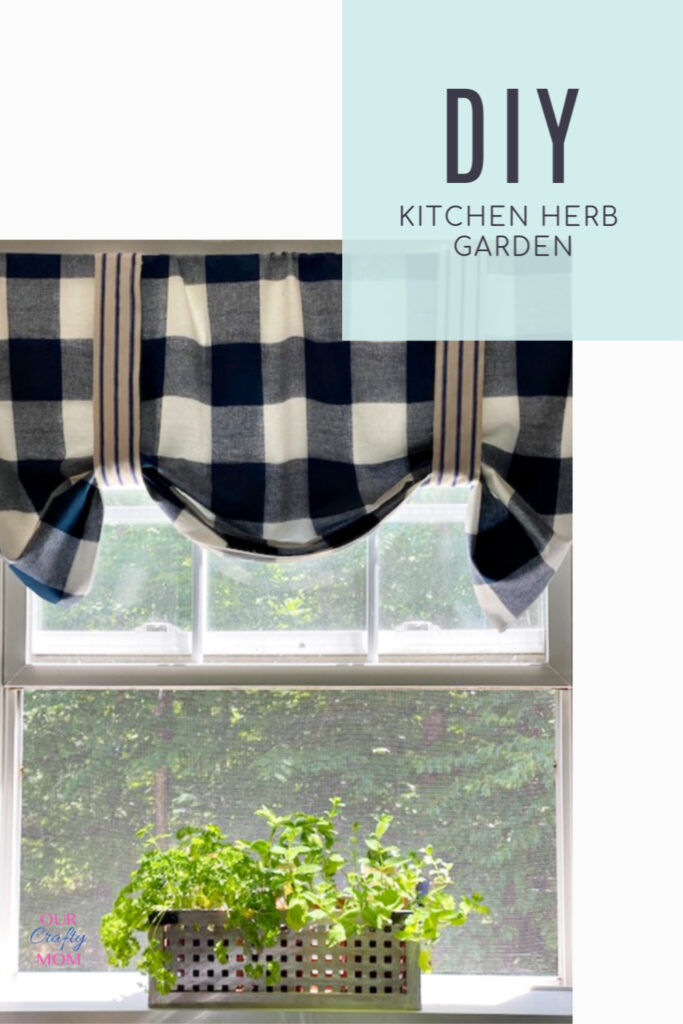
Learn how to grow a DIY kitchen herb garden with these 5 simple tips.

This is my 5th year growing a kitchen herb garden, and I’ve learned a few things along the way.
I’m the first to admit I don’t have a green thumb.
But, I enjoy container gardening, as I find they are easier to manage.
I start out great with flowering baskets and then get lazy once July rolls around.
I’m hoping this year will be different. Like most things, if you work at it, you will succeed!
The last few years, I’ve been successful with the kitchen herb gardens I’ve planted, and I wanted to share a few tips.
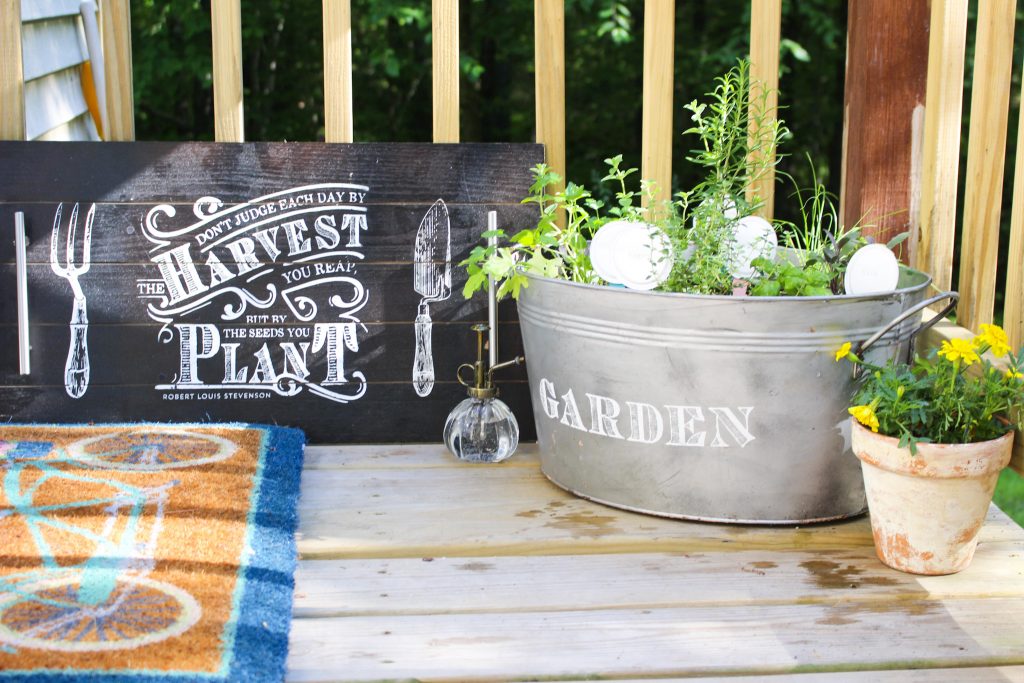
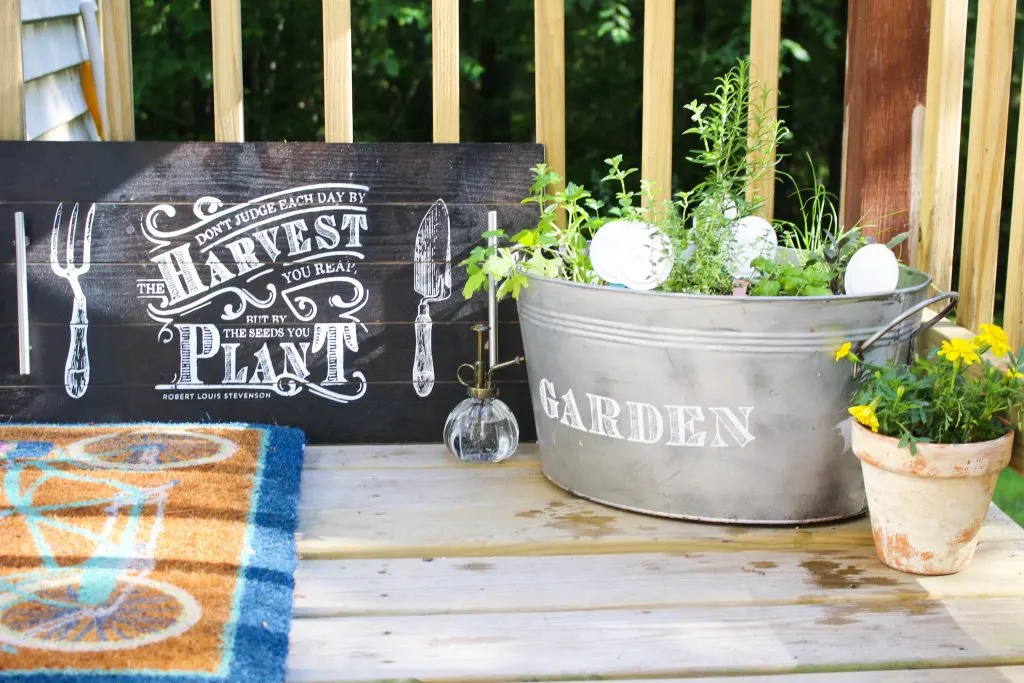
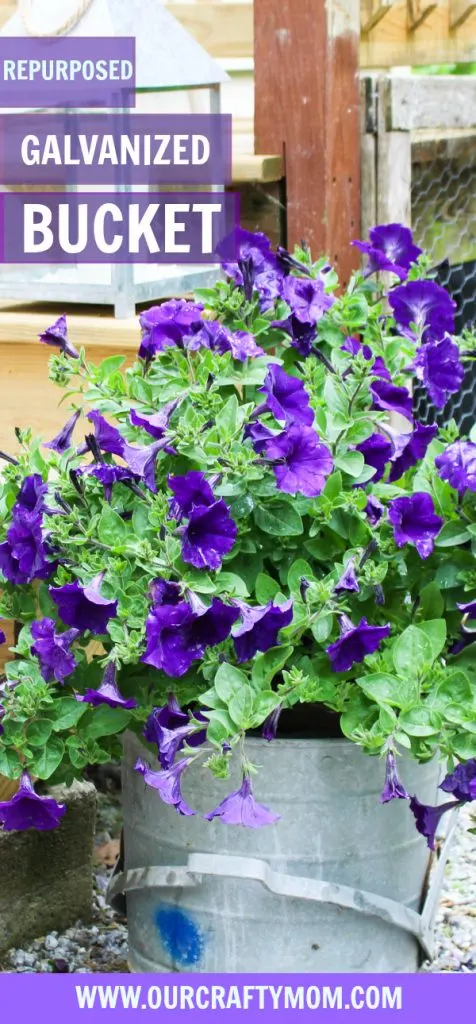
One of my favorites, was the herb garden I planted in a galvanized bucket:
This post contains affiliate links at no extra cost to you. Please see my full disclosure here.
Kitchen Herb Garden
It was kept on my side porch, right off the kitchen, so it was pretty convenient to care for and snip herbs while cooking.
These are the herbs that I planted in the galvanized bucket:
- thyme
- parsley
- basil
- rosemary
- sage
- chives
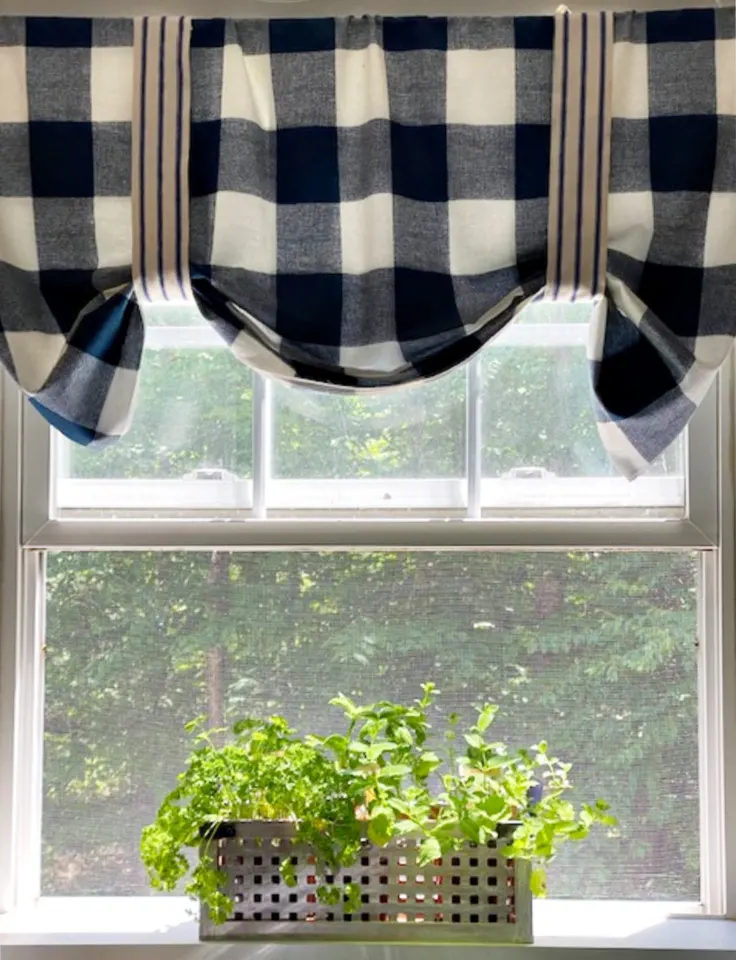
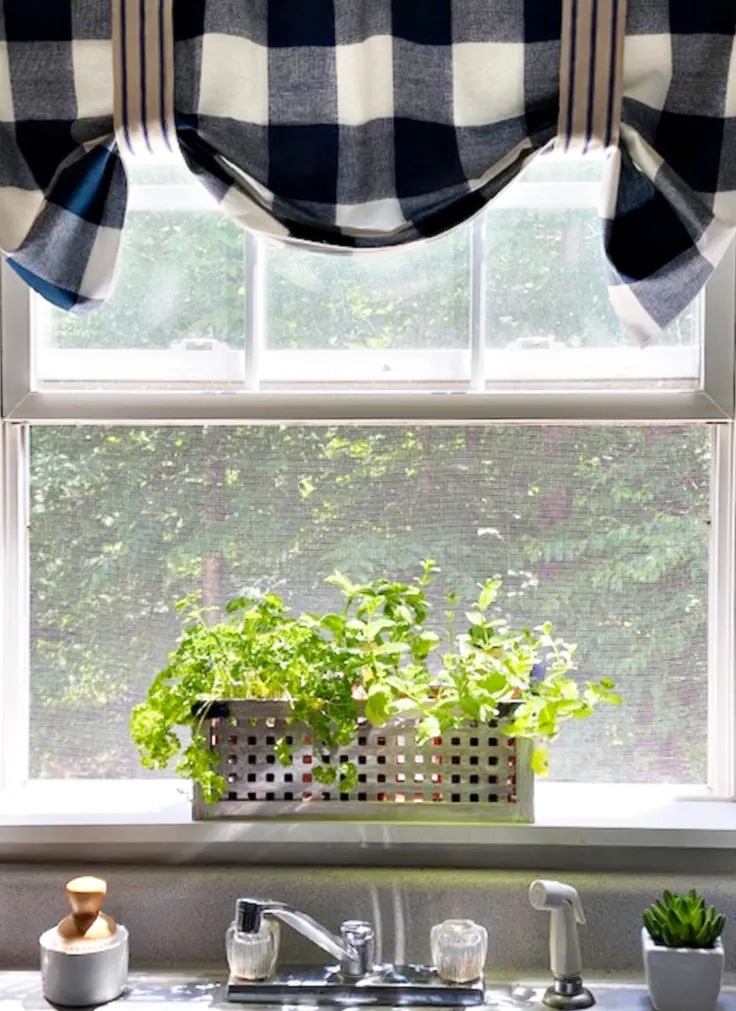
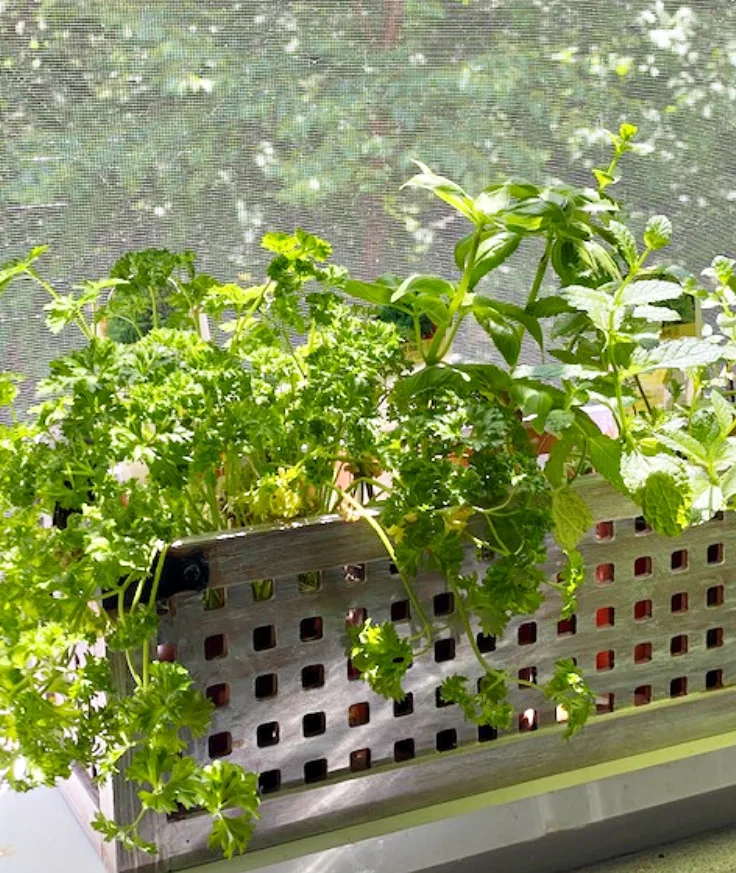
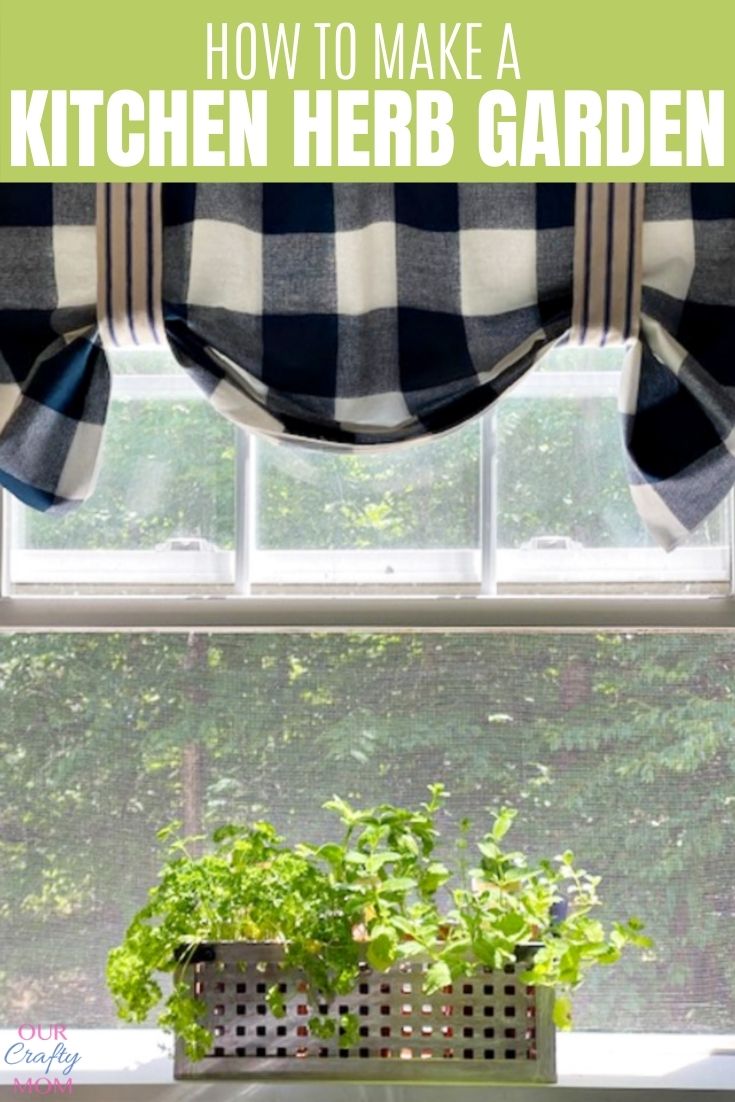
This year I decided to make it even easier and plant a windowsill kitchen herb garden.

5 Simple Tips For Growing A DIY Kitchen Herb Garden
1. Research the plants you choose.
Before planting your herb garden, do a little research to see what herbs can be planted together.
The folks at your local garden center are usually very helpful with answering questions.
Small-leaved herbs tend to grow better indoors, so for my indoor kitchen herb garden I went with basil, parsley and mint. I love mint in cocktails.

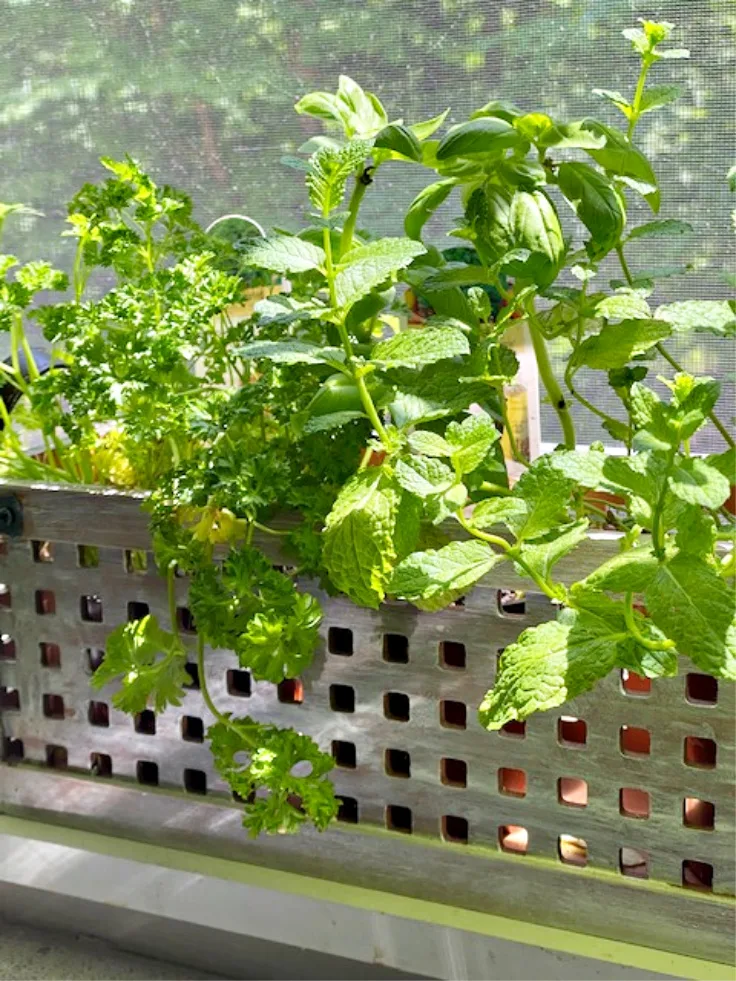
2. Make sure the herbs receive lots of light.
The kitchen windowsill is the perfect place for my small herb garden.
It gets direct sunlight and is in a nice bright location.

3. Don’t over water!
This was something I struggled with initially.
I was trying so hard to keep them alive, that I totally over watered them.
I usually set one day a week to do my watering now and it has been working out great.
Of course, if you see the first inch is dried out, give them some water.
4. Move the plants often.
Be sure to rotate your plants by moving them around so all the sides get enough sun light.
5. Don’t forget to fertilize.
This is another step I didn’t think about when I first started an herb garden.
I never fertilized! What a difference it makes.
My herb garden last year grew so fast and I was able to propagate plants to give to family and friends.
Once a month is recommended with a well-balanced fertilizer.
If you follow these 5 simple tips, you will have a convenient kitchen herb garden that you will enjoy using in your recipes!

Choose a fun container for your herb garden.
The beautiful container that I used for this kitchen herb garden came in last year’s Spring Decocrated Box. It’s the perfect size for a windowsill and fits 3 plants perfectly!
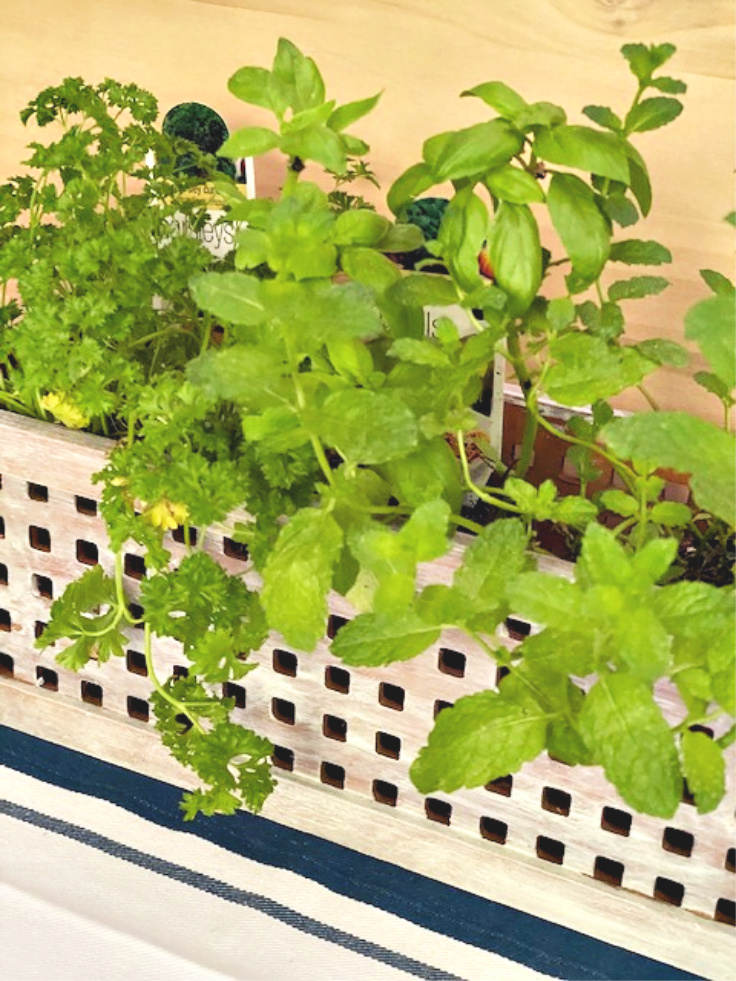

You can really have fun with the container you use.
You can repurpose mason jars, tin cans, spaghetti jars.
These make thoughtful gift ideas too. Just put a gift tag on and you are good to go.
Keep in mind they will need to be transferred as they grow.

I hope you enjoyed these 5 simple tips for growing a DIY kitchen herb garden.
Have you ever planted one? I’d love to hear what you used as a container.
Sharing is caring…please PIN the below image:


You may also enjoy these garden planter ideas:

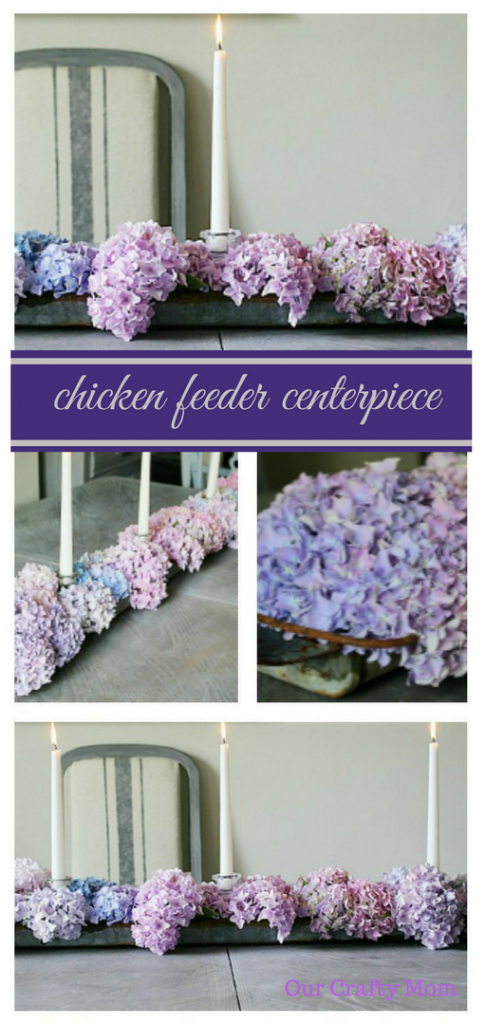
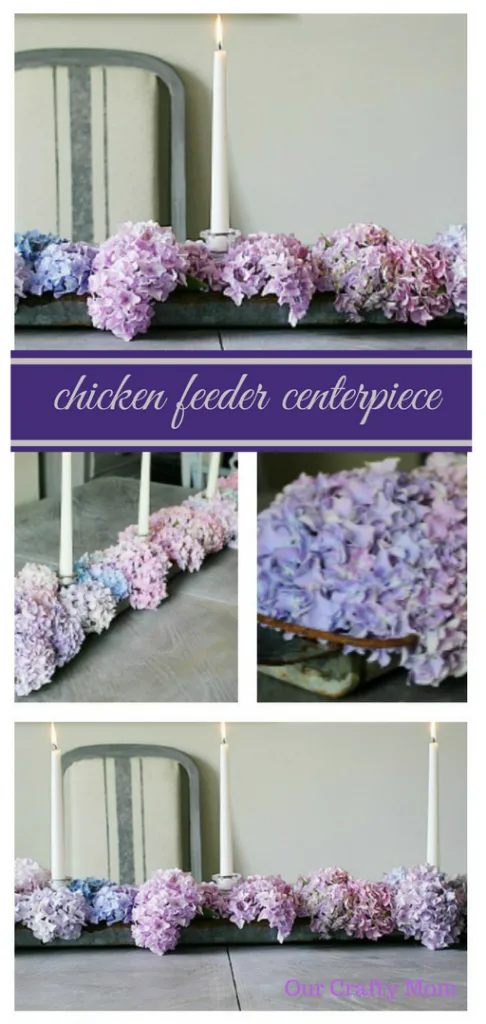
Upcycled Chicken Feeder Centerpiece
Follow me on social media below:
Nina
Sunday 28th of March 2021
Love this article, so much great information. Herbs are fantastic projects for kids as well.
Kim Purvis
Monday 15th of June 2020
I was going to try one of these this year. Thanks for the tip!
Deana Landers
Monday 15th of June 2020
Michelle, what a great place to have your herb garden . I love it
Barbara Chapman
Monday 15th of June 2020
Yummy! I love container gardens and have a large French-style planter outside with basil, cilantro, tomato plants and one red bell pepper. Can't wait to harvest the tomatoes as soon as they are ready!!! Enjoy your mini garden!!! <3