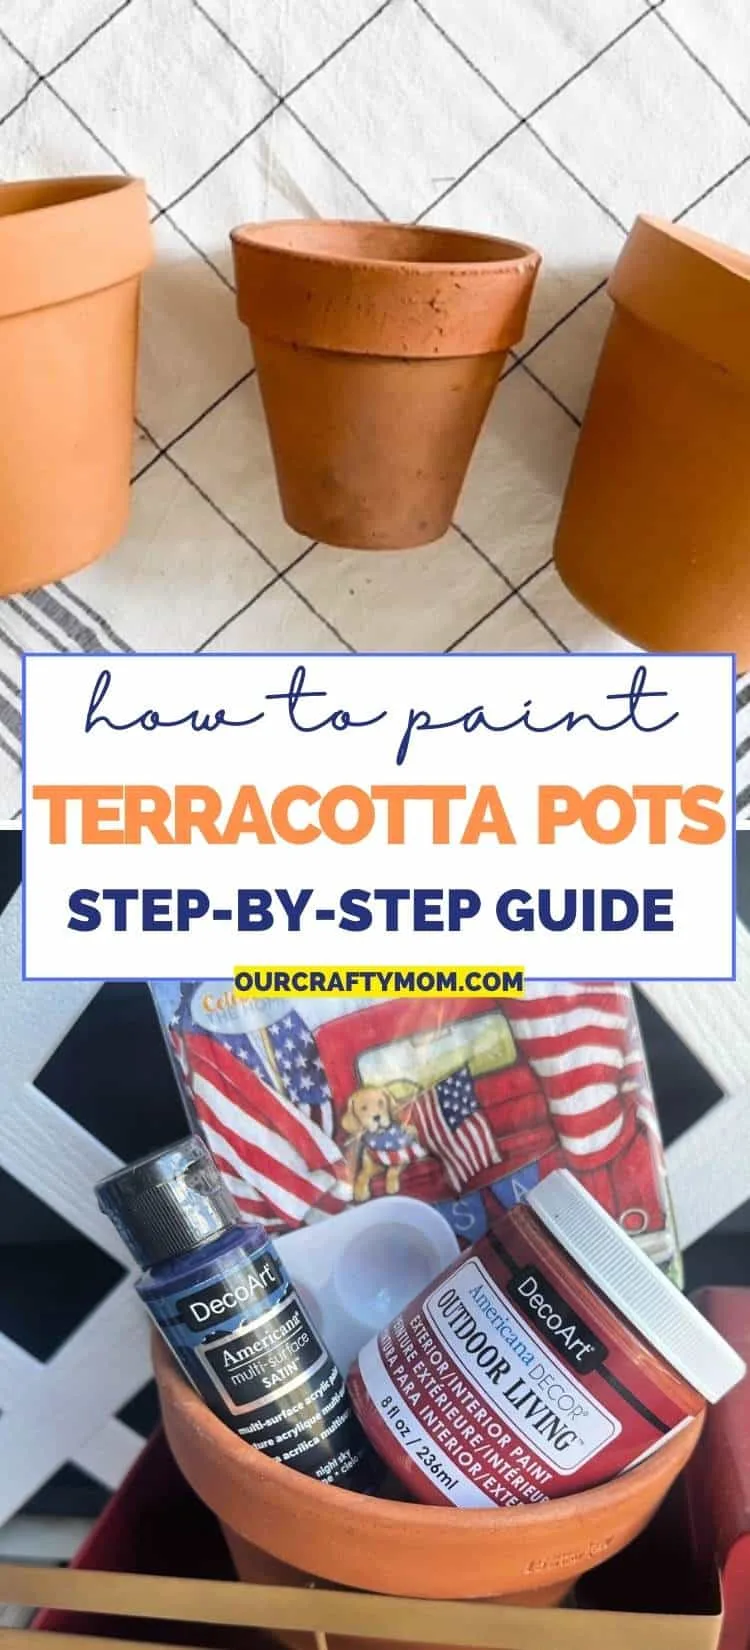
Learn all about painting terracotta pots, including the best paint to use, design ideas, and tips on how to seal the paint so it will last.
Terracotta pots are a popular choice for planting various plants and flowers, but sometimes they can look a bit boring. Why blend in when you can stand out?!
An easy way to do that is to paint them. Painted flower pots are a fun and simple way to add some color and personality to your garden or indoor plant collection.
Whether you’re looking to create a cohesive color scheme or want to let your creativity run wild, there are endless possibilities when it comes to choosing paint colors and designs for your flower pot.
This post is sponsored by DecoArt, however all opinions and love for this paint are 100% mine. This post contains affiliate links at no extra cost to you. Please see my full disclosure here.
How To Paint Terracotta Pots
In this article, I’ll guide you through the process of painting terracotta pots step-by-step, from selecting the right type of paint and preparing your pots, to sealing them for the best coverage and durability.
You will also find a printable craft tutorial at the bottom of this post to make it even easier for you to make your own.
I’ve painted many flower pots over the years. They are some of the most popular craft projects on the blog!
Be sure to check out my tutorial on terracotta pots decoupaged with napkins, as well as a simple DIY for fabric covered flower pots.
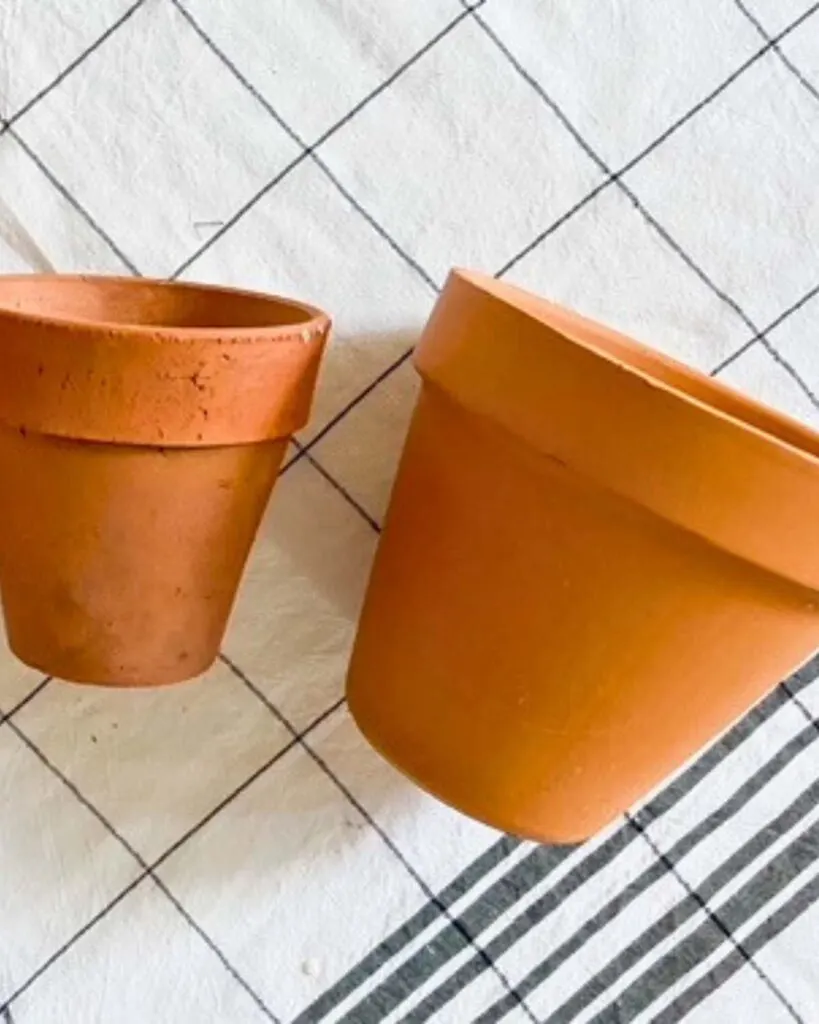
Prepare The Terracotta Pots For Painting
The first step is to prepare your flower pots by smoothing any rough spots with a fine-grit sandpaper, like a 220 grit.
Once smooth, clean the terracotta pot, even if it is new. Clay pots tend to get covered in a layer of dust that will affect the paint from adhering properly.
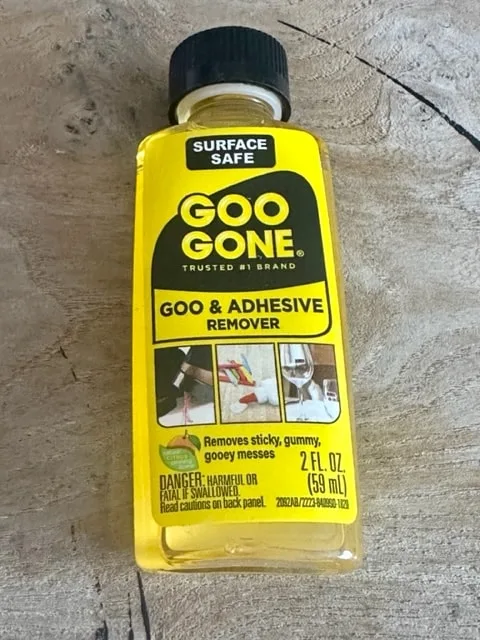
Remove any price tags or stickers. If you still have some residue left from the sticker, use goo gone adhesive remover.
It works like a charm.
Next, wash the pots with warm water and a bit of dish soap. Dry completely.
Use A Clay Pot Sealer
You want to coat the inside of the clay pot with a sealer.
Terracotta is extremely porous, so the first coat will soak in. You will need at least two coats.
What Paint To Use On Plain Terracotta Pots
Once your pots are clean and dry, it’s time to paint! One of the things I love about painting clay pots is they are extremely versatile.
But, you do want to ensure you paint the pot properly, especially if it will be exposed to the elements.
Here are some of the most common paint choices to use for your paint project:
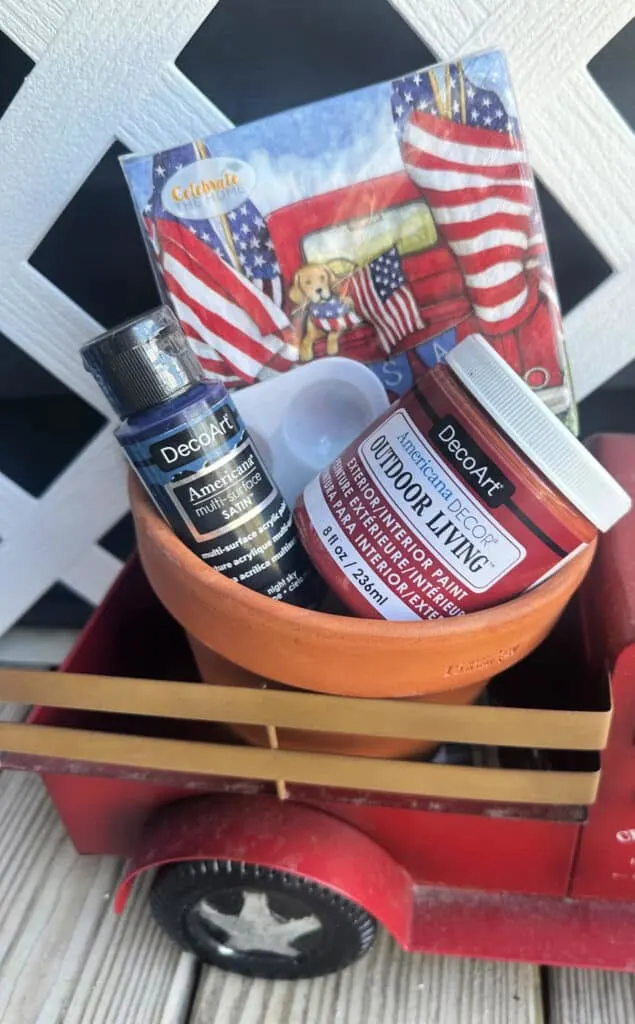
- Acrylic Paints – acrylic craft paint is the best choice for painting clay pots because it is highly pigmented. DecoArt Paint is my go-to acrylic paint for craft projects. The coverage is great, it is inexpensive, and it comes in a ton of beautiful colors. I used night sky for this DIY project.
- Chalk Paint– chalk paint is another great choice for painting terracotta. The coverage is amazing and you don’t need a base coat. You can see how I used chalk paint on flower pots here.
- Outdoor Paint– If you are placing your flower pots outside, outdoor paint is a good idea. It’s a water-based craft paint that is made specifically for outside, so it will hold up well to the elements. I went with the color ladybug for these patriotic painted pots.
- Spray Paint – spray paint also works well on flower pots. You want to make sure you paint outside, or in a well-ventilated area.
Paint Flower Pots With Foam Brushes
Now that we’ve talked about what paint to use, let’s talk about paint brushes. I’m a big fan of using a foam brush with acrylic paint for these reasons:
- they are inexpensive – you can even find them at the dollar store.
- easy to control – a foam brush helps minimize any waste of paint.
- smooth finish – you get a nice finish with minimal brush strokes.
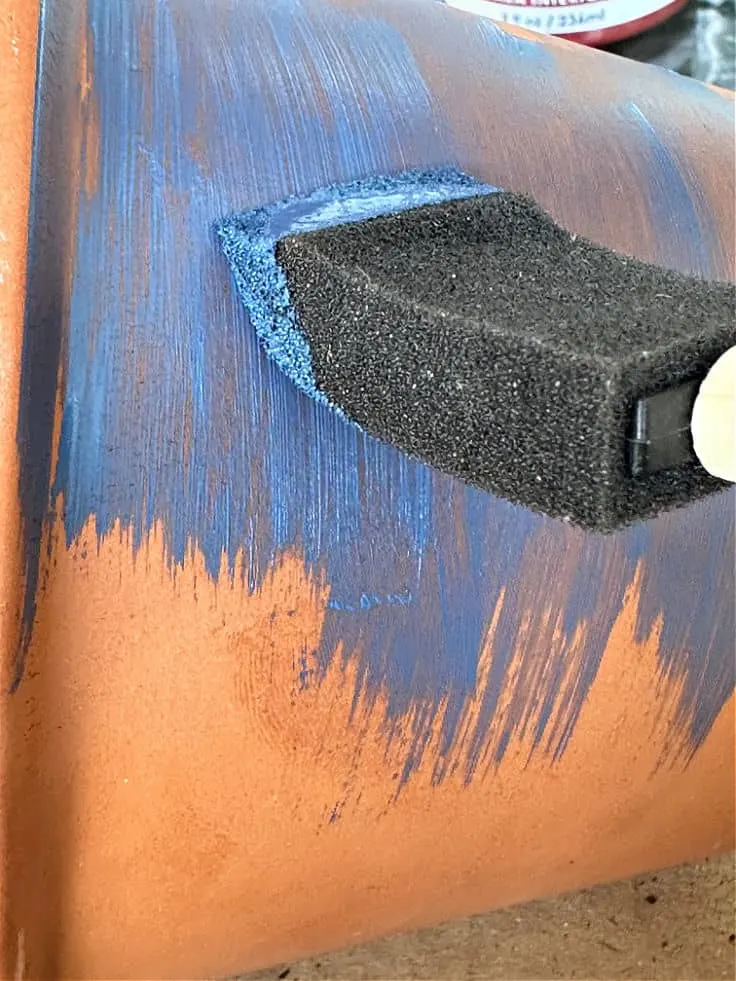
If you prefer to use a paint brush, I highly recommend either a Wooster shortcut or a Purdy angled brush.
The short handle makes it easy to hold. While a bit pricey, they will last for years if you clean them properly, unlike foam brushes which are a one time use.
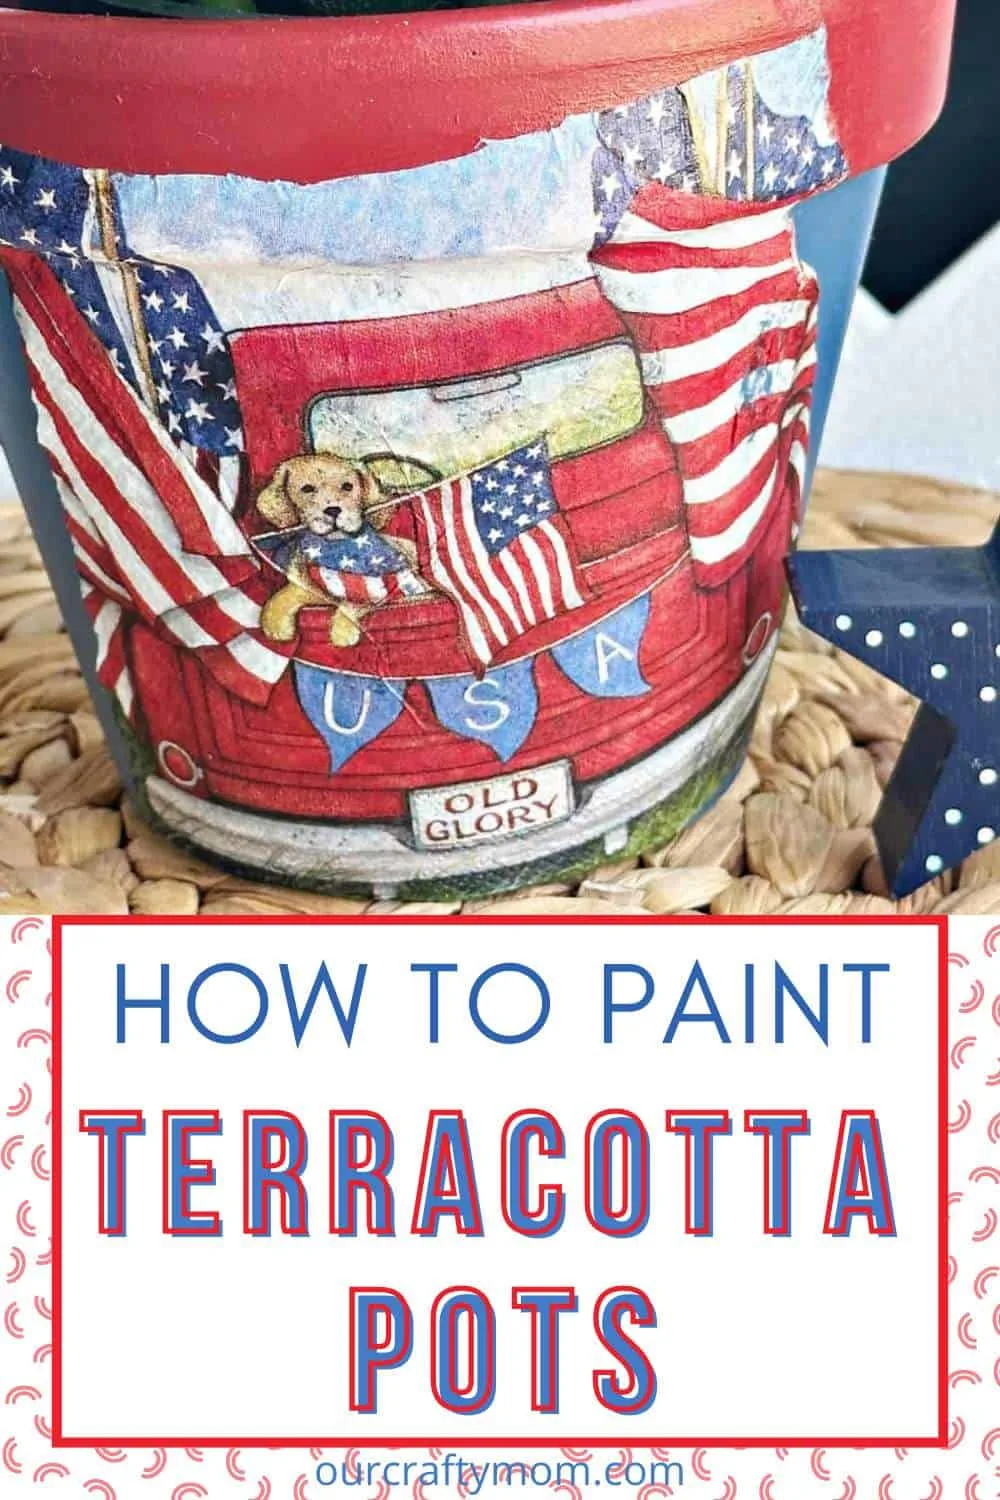
Since I love to decorate my outdoor space with a patriotic theme for summer, I chose to paint my flower pots in red and blue.
While I chose not to use a base coat, you can paint them white first for a more vibrant finish.
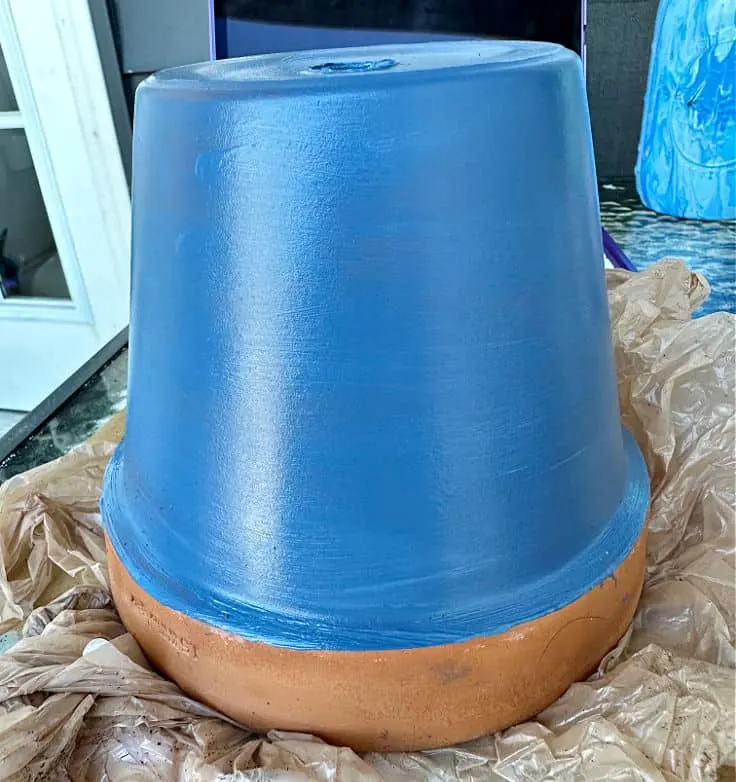
You will need at least 2-3 coats of paint. As I mentioned above, clay pots are porous and will soak up the paint.
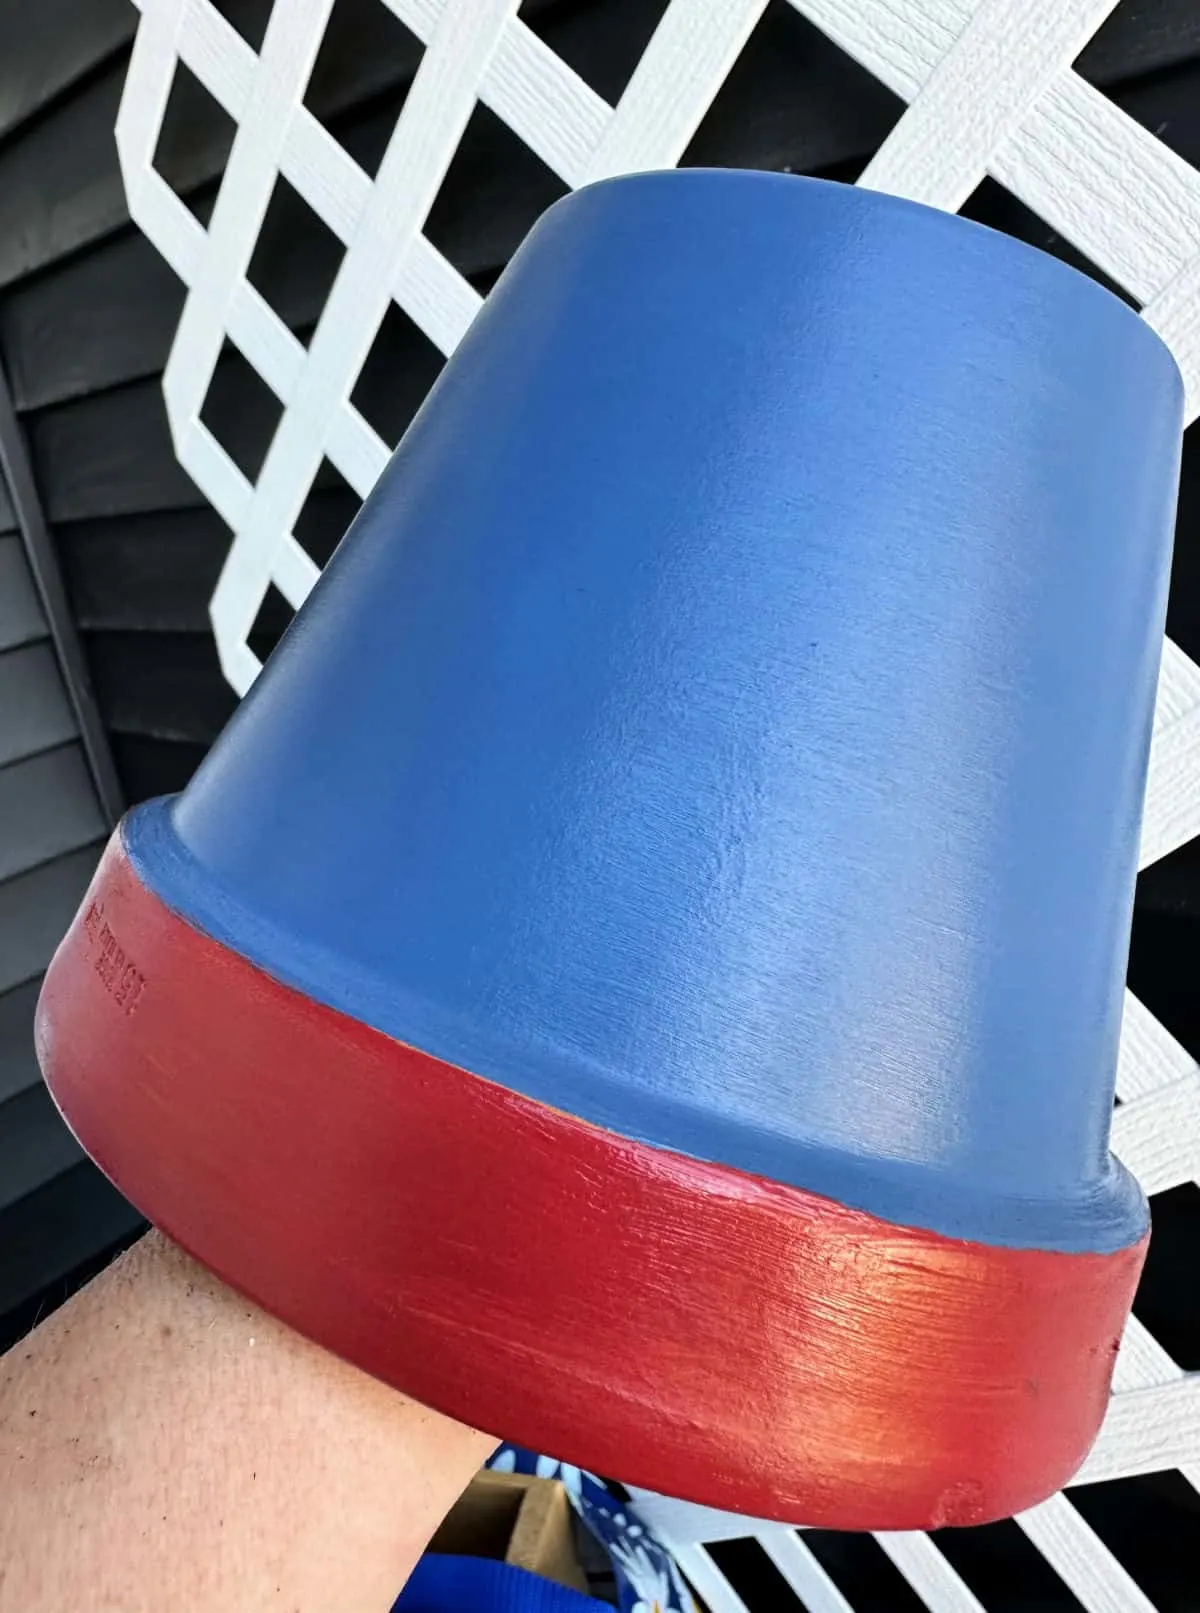
I decided to paint the brim red for an extra pop of color.
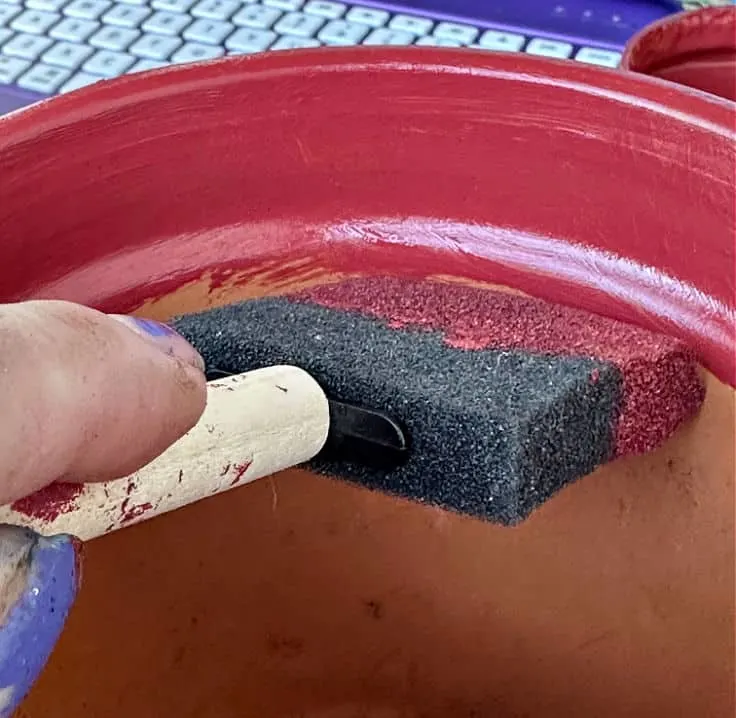
Don’t forget to paint the top quarter of the inside of the clay pot. You don’t want any unpainted area to show.
Let your painted pot completely dry. It should be completely dry in about 2 hours, but I usually let it sit overnight.
Adding Napkins To Terracotta Pots
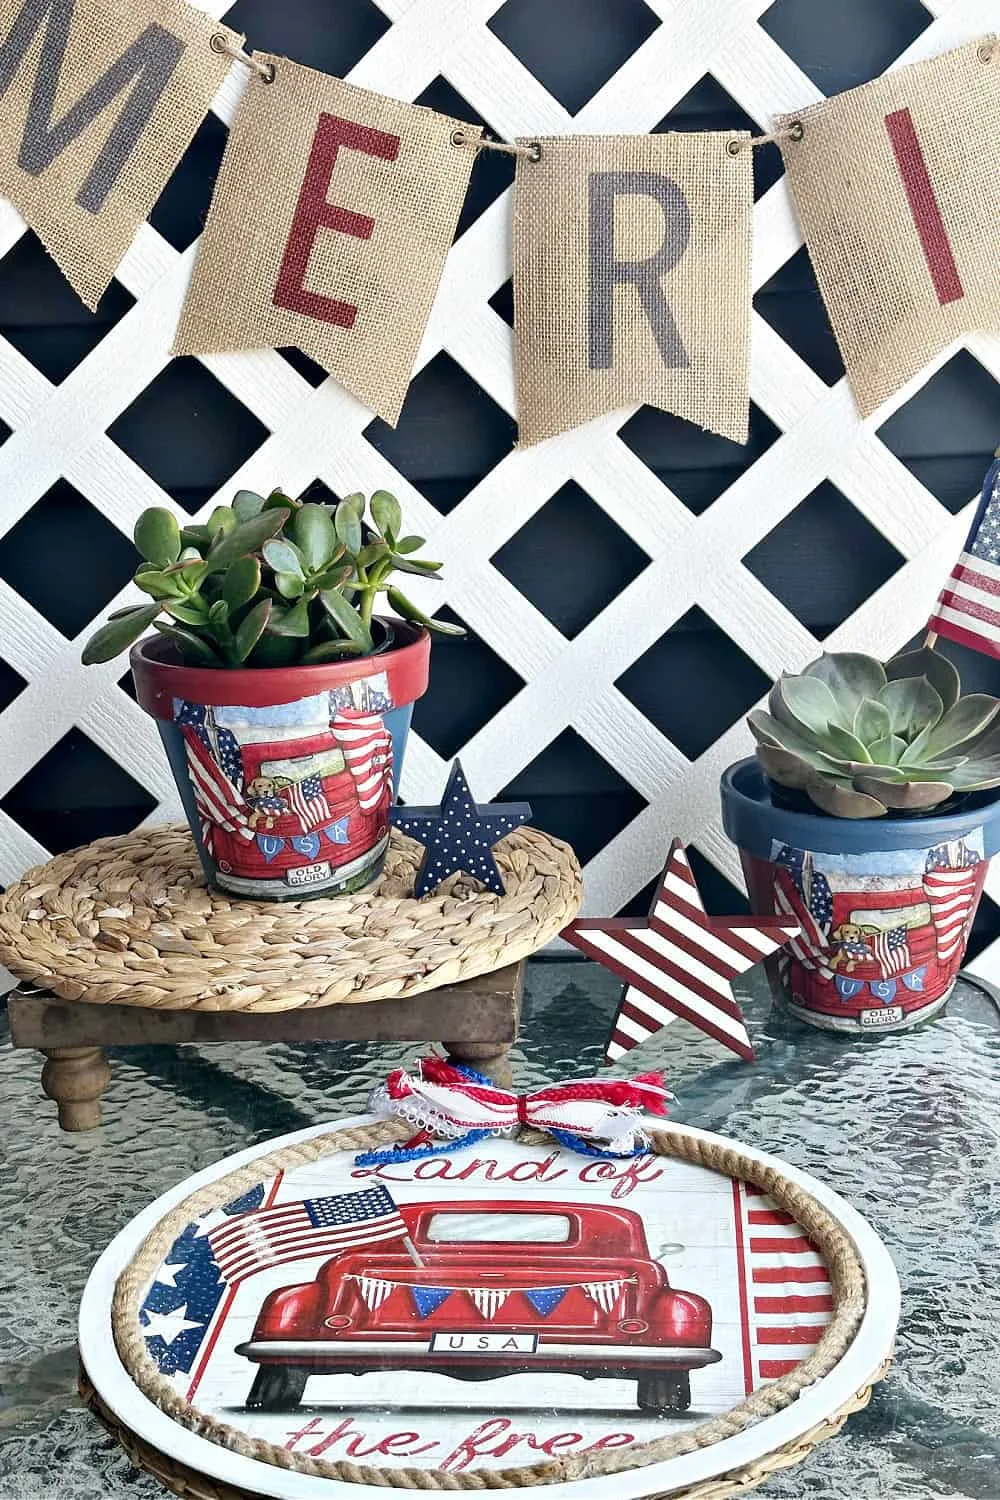
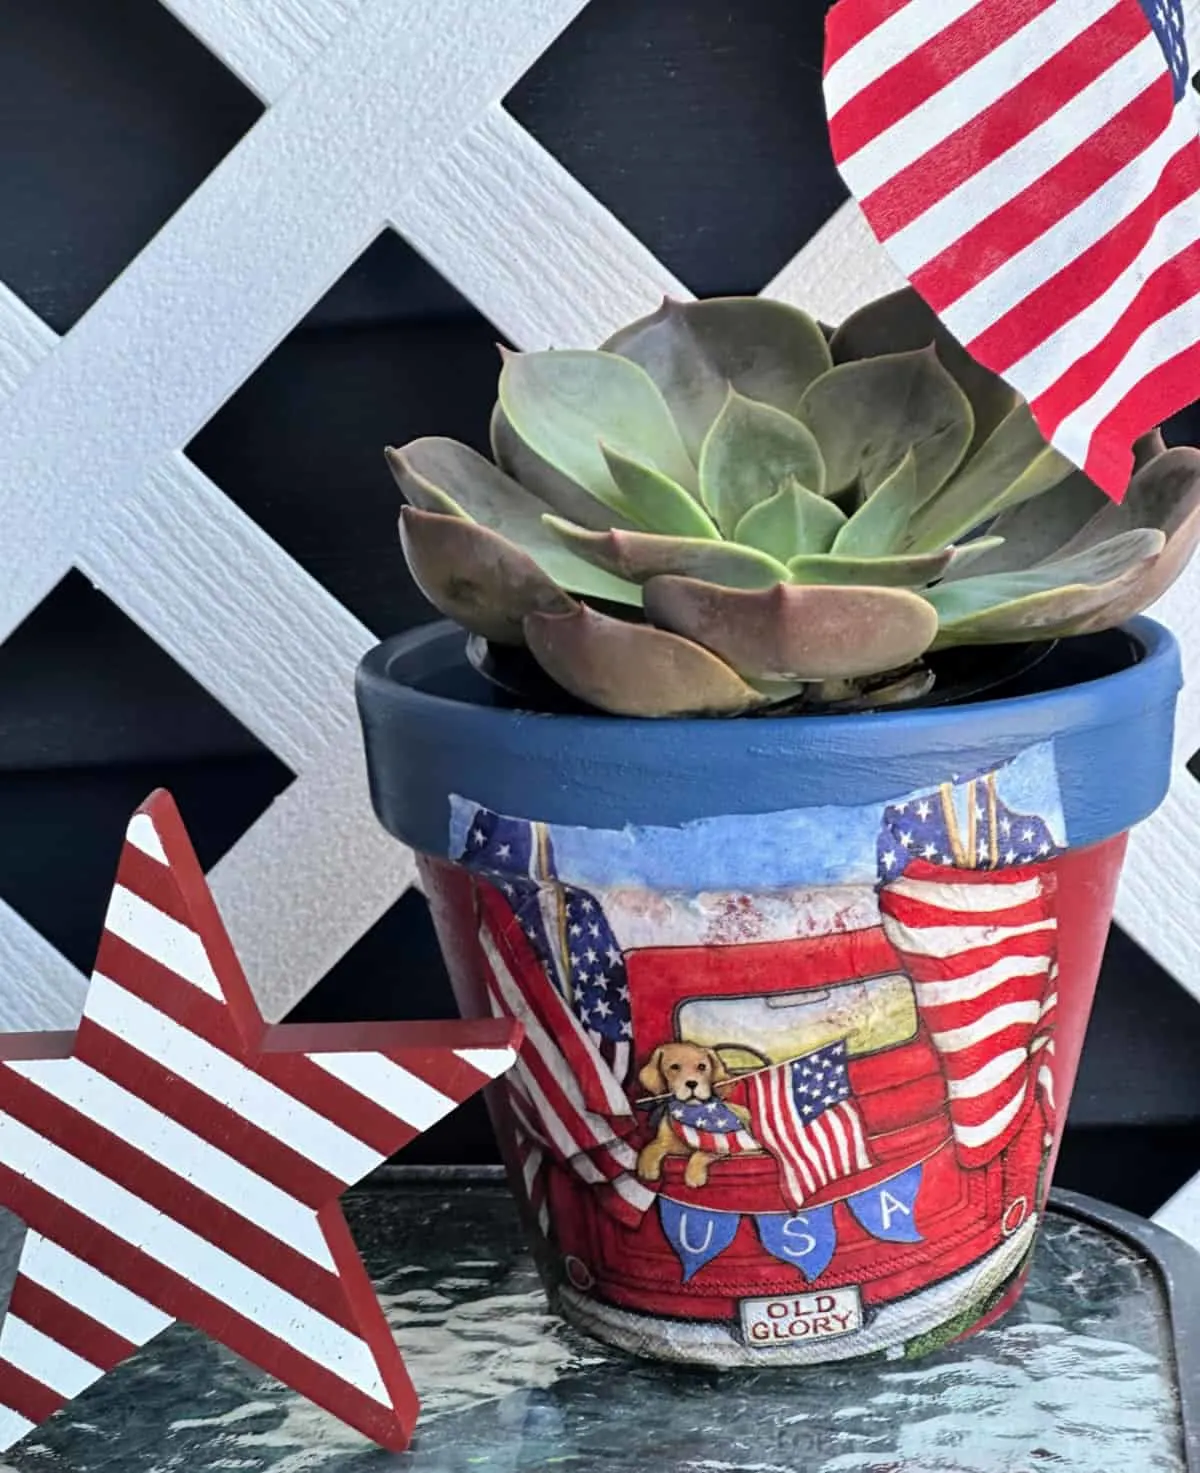
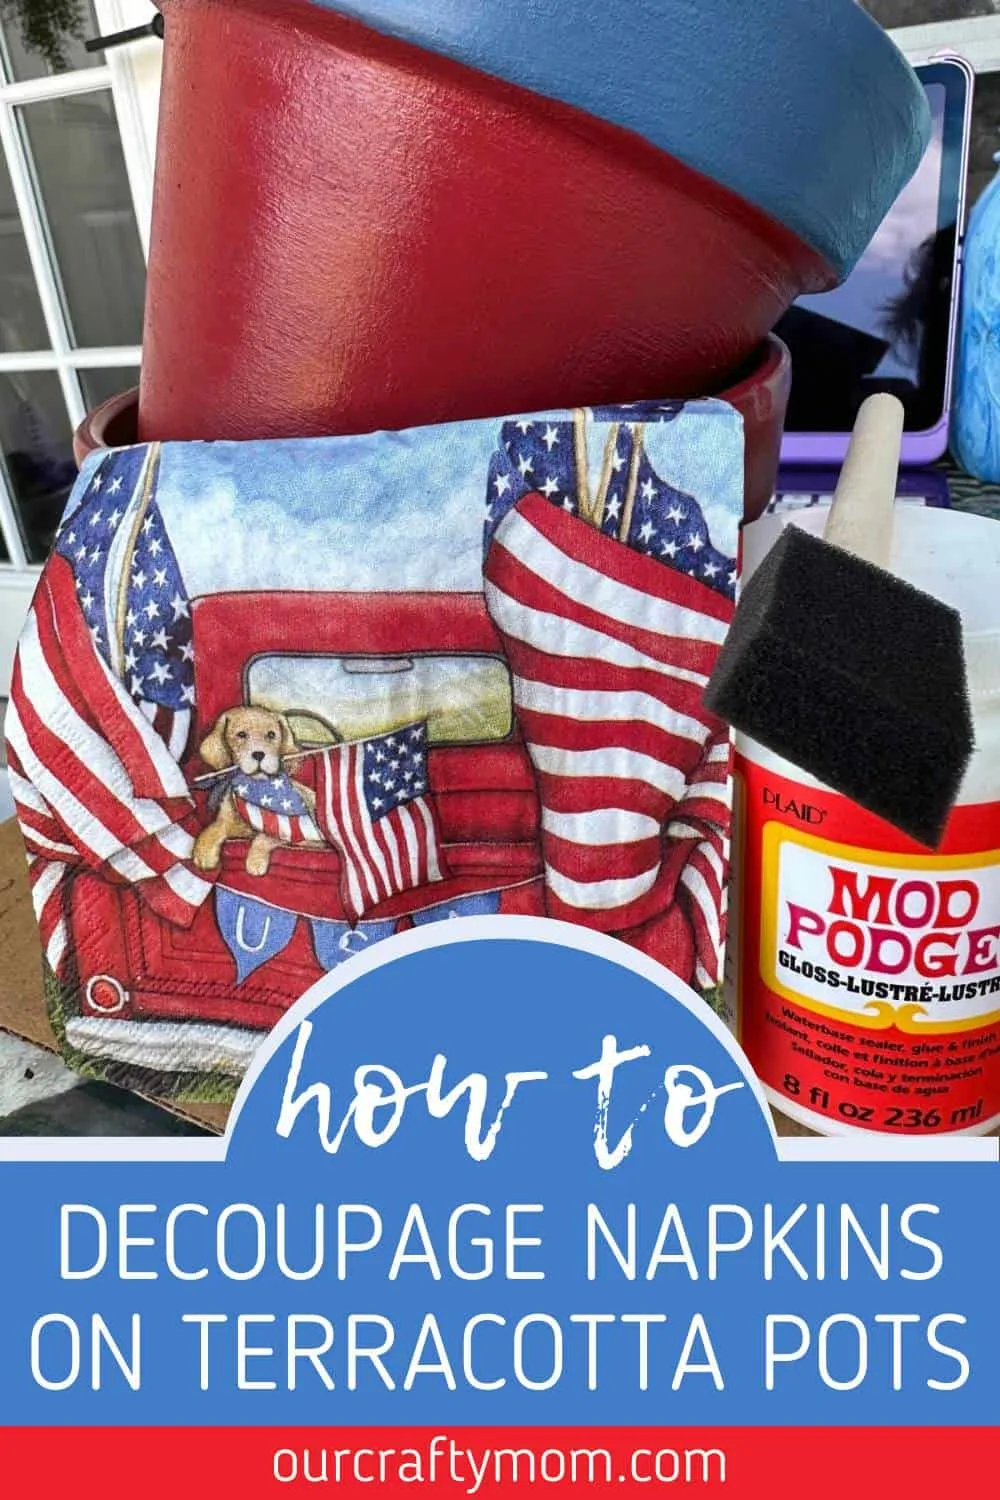
The possibilities are endless with design ideas for garden pots. I found the cutest patriotic napkins at Homegoods, so I decided to decoupage them onto the front of the pots.
Start by removing the top layer of the napkin. You only want to use the printed piece.
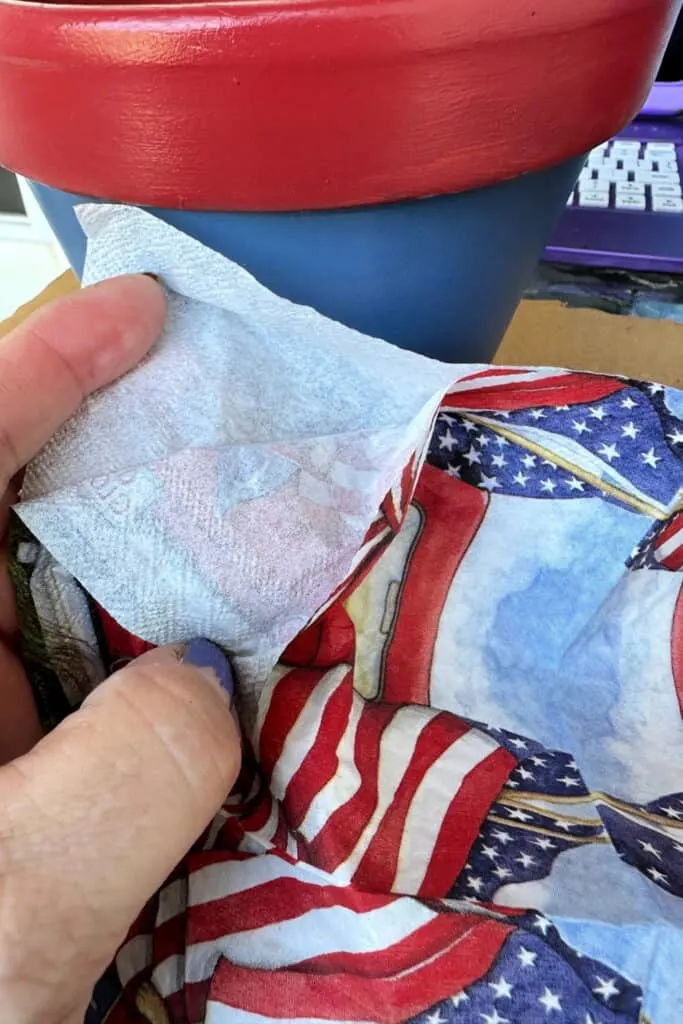
Use a foam brush to apply a layer of mod podge to the pot.
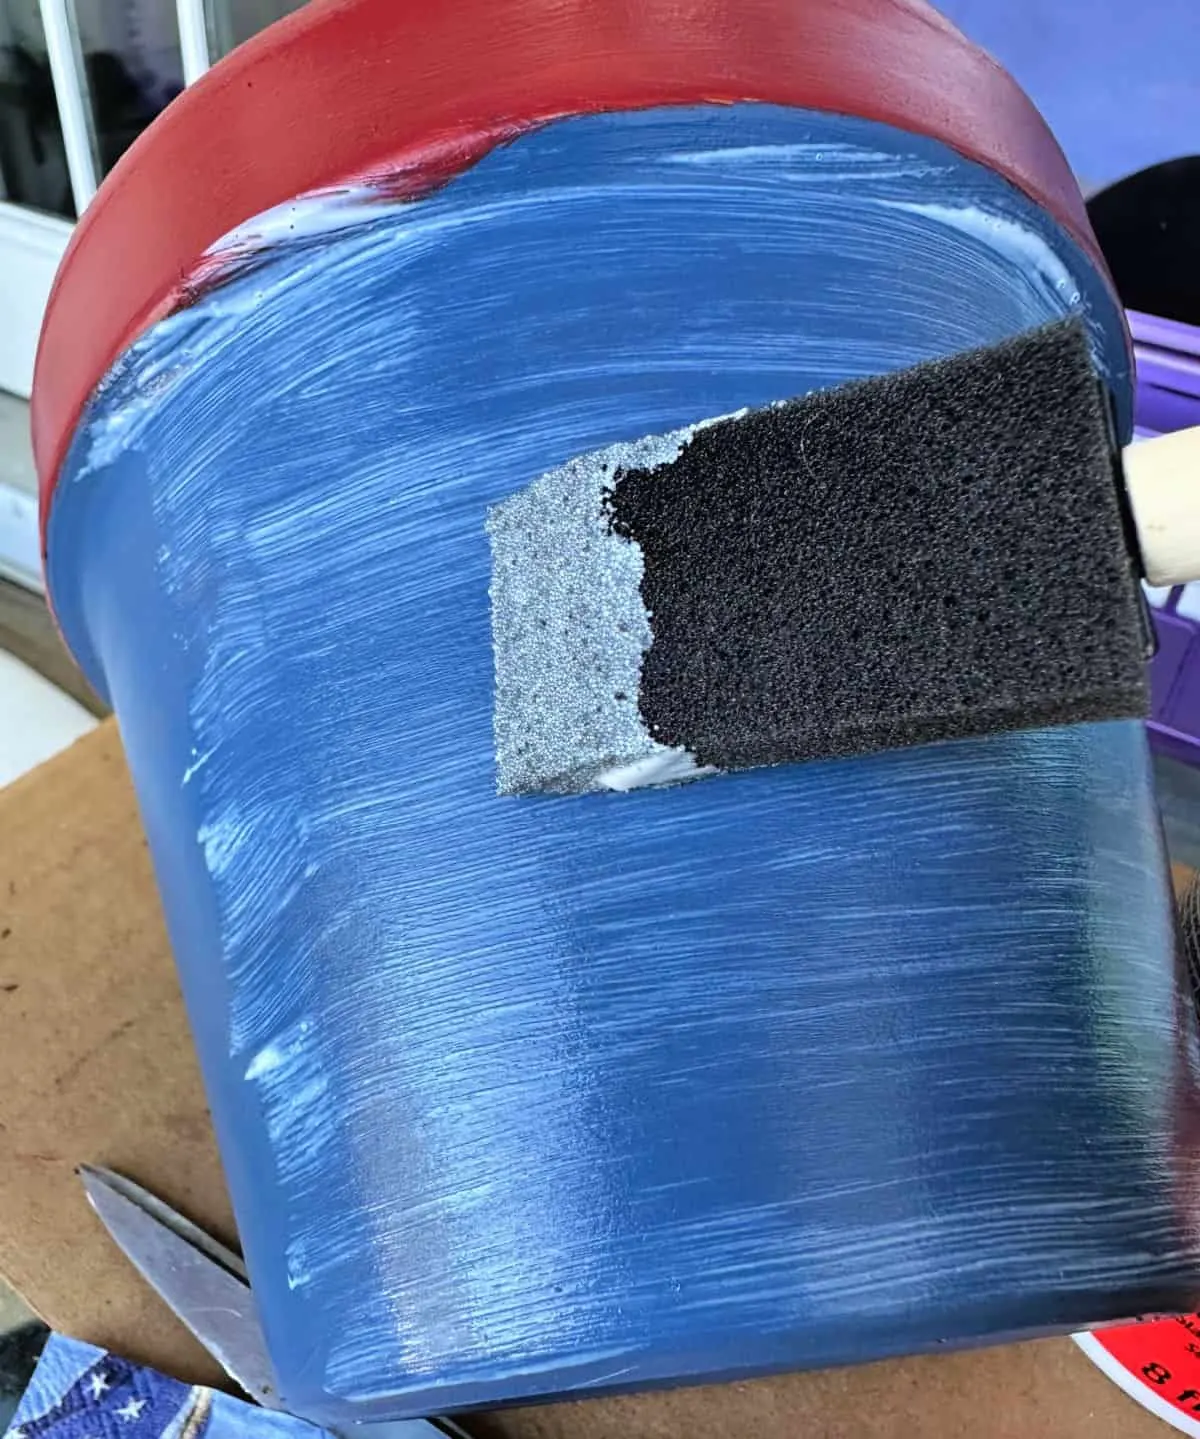
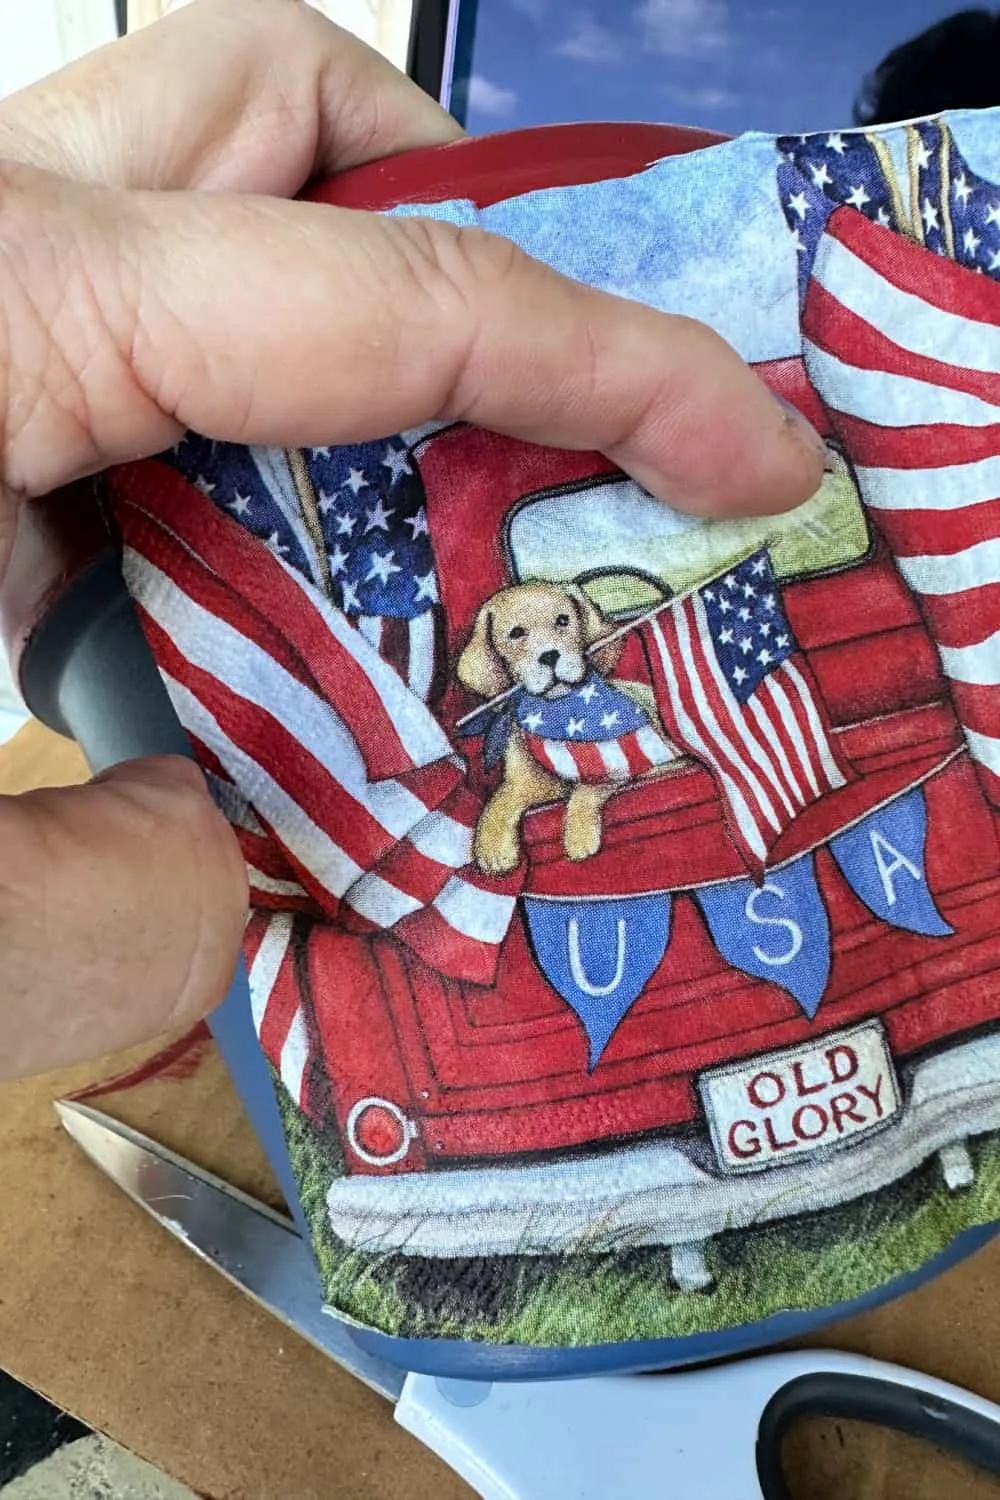
Cut a square piece of your design and place it onto the mod podge.
Pro Tip: use a plastic bag to smooth out any wrinkles in the napkin.
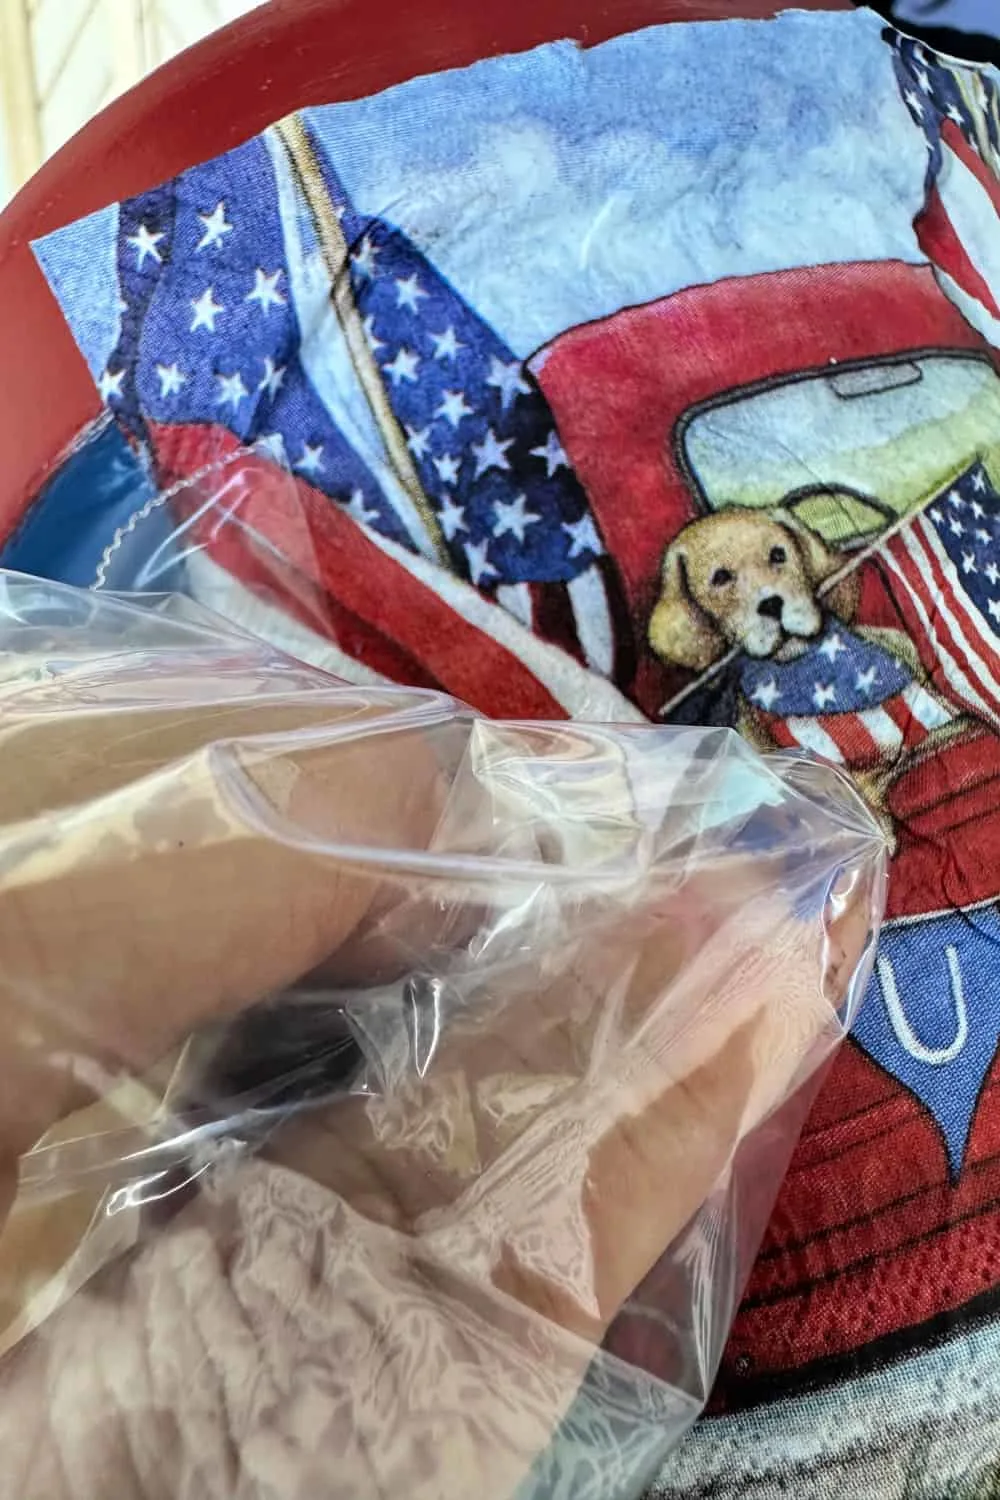
Napkins can tear easily and the plastic bag will help prevent that.
Another quick tip is to use a small brush with water to finish the edges of the napkin on the pot. It gives it a nice, clean look.
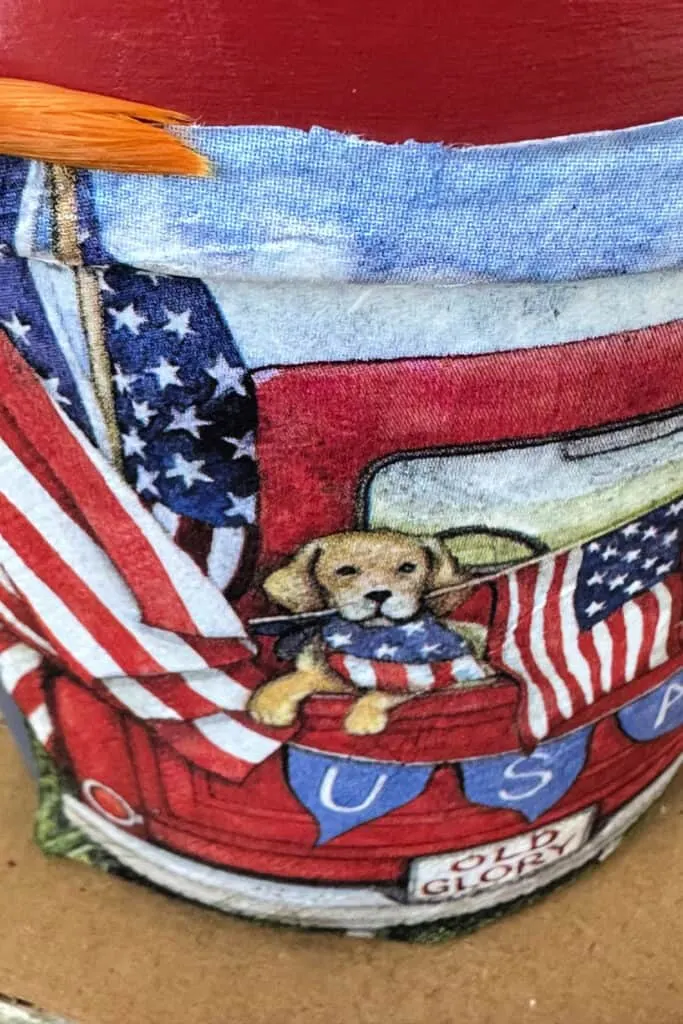
Isn’t the little pup just adorable? There was no way I could pass these up!
You can see my detailed tutorial on how to decoupage with napkins here.
How To Seal The Paint On Terracotta Pots
The last step is to seal the paint on the terracotta pots. Simply shake your can of sealer and spray a nice even coat onto the entire flower pot. Be sure to also cover the bottom.
If they are outside, add a second coat. Sealer will help the paint adhere more effectively.
Cover both the inside and outside of the flower pot.
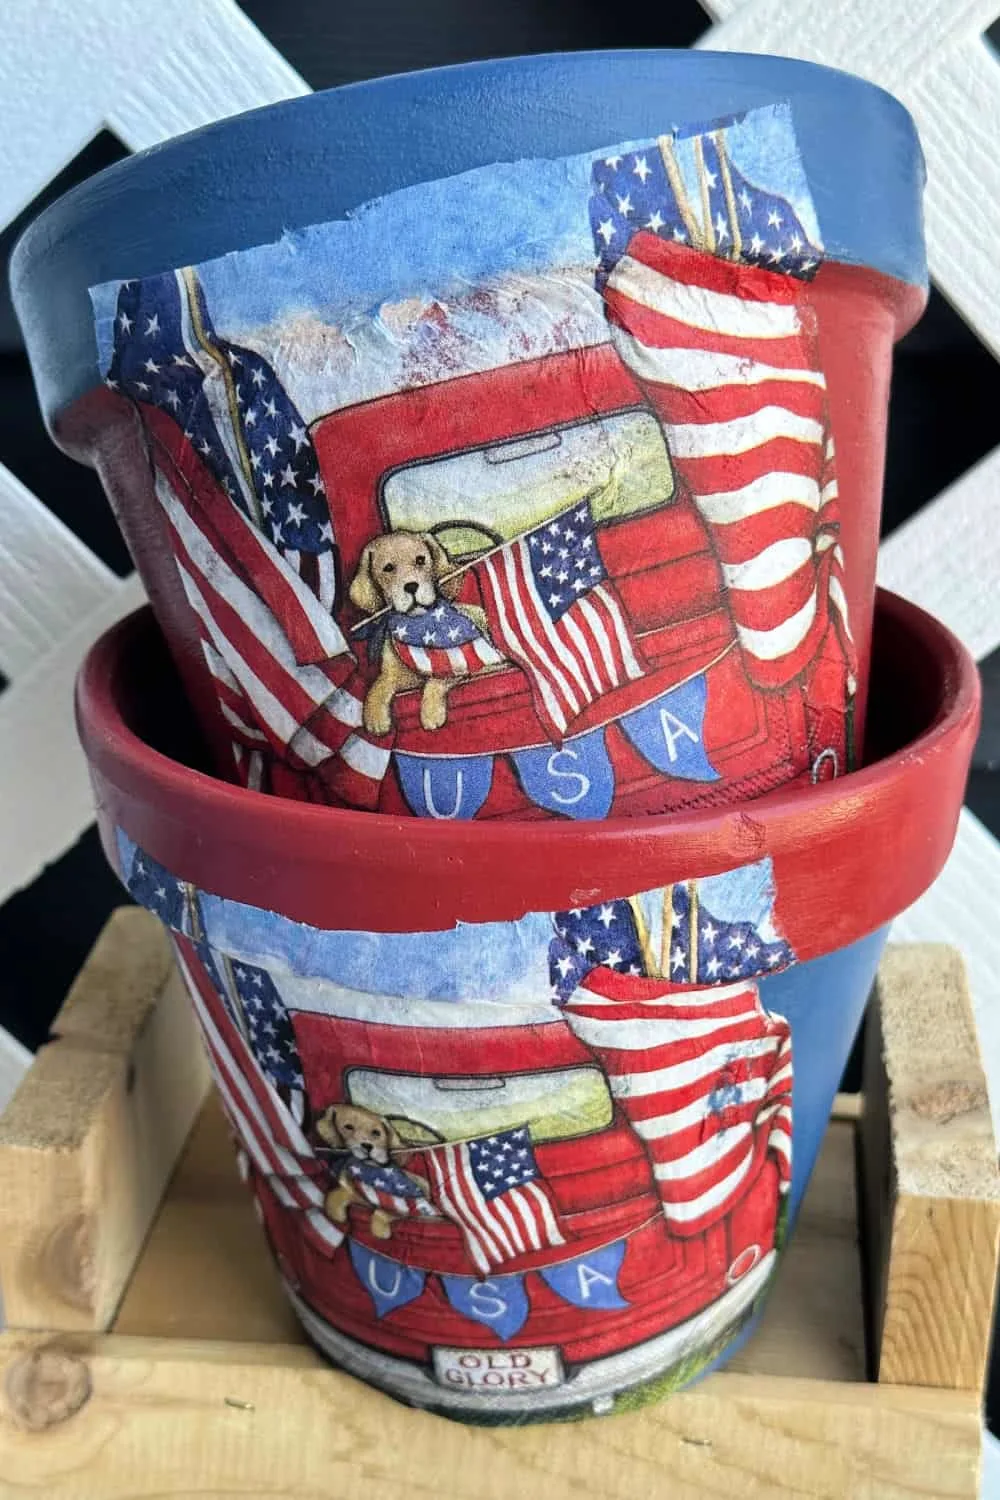
Now your beautifully painted terracotta pots are ready to display! Until our weather warms up a bit I placed succulents in mine.
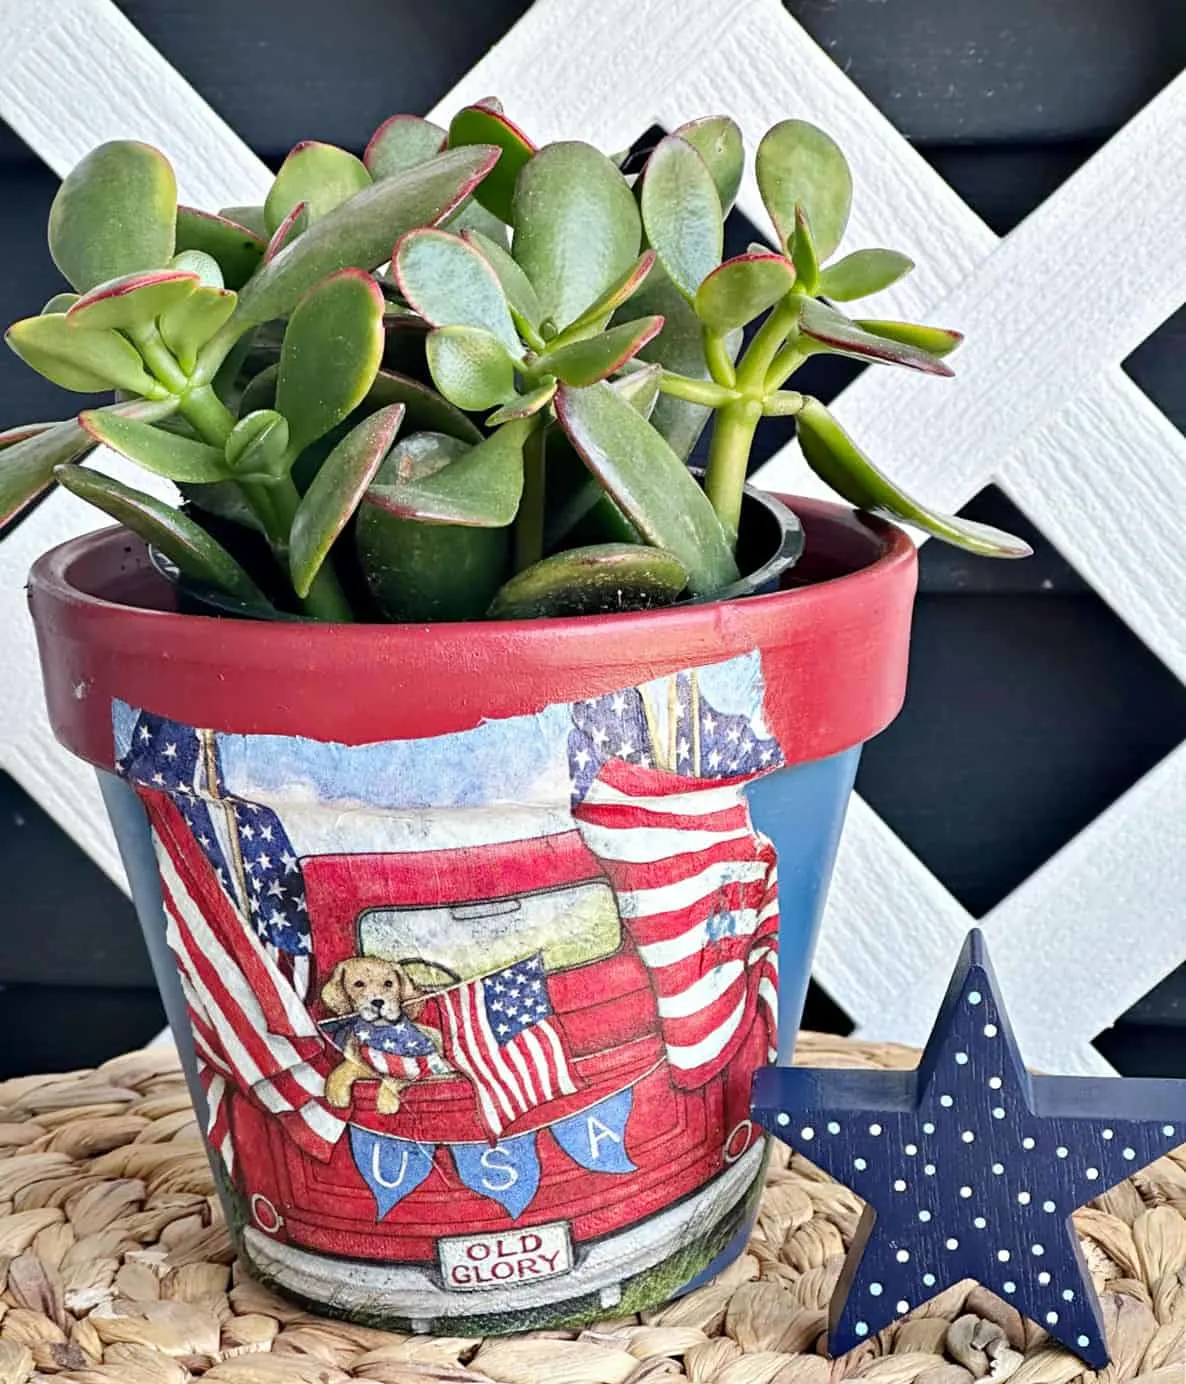
I love how they look, but I do plan to switch them out for some flowering plants once the weather allows.
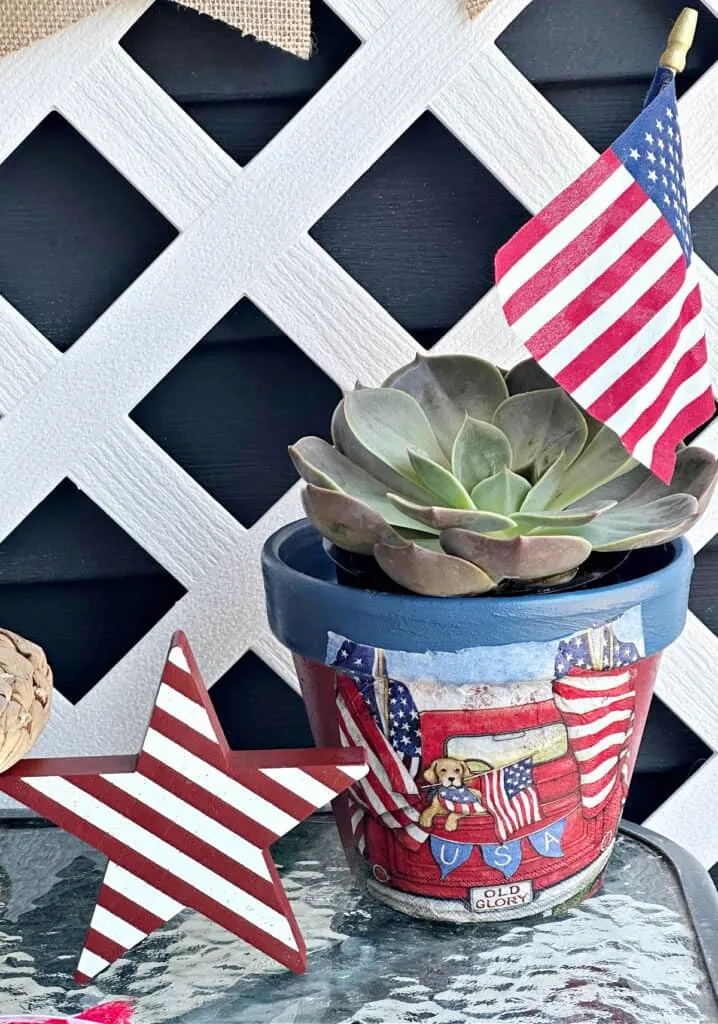
Here is a sneak peek of my summer balcony:
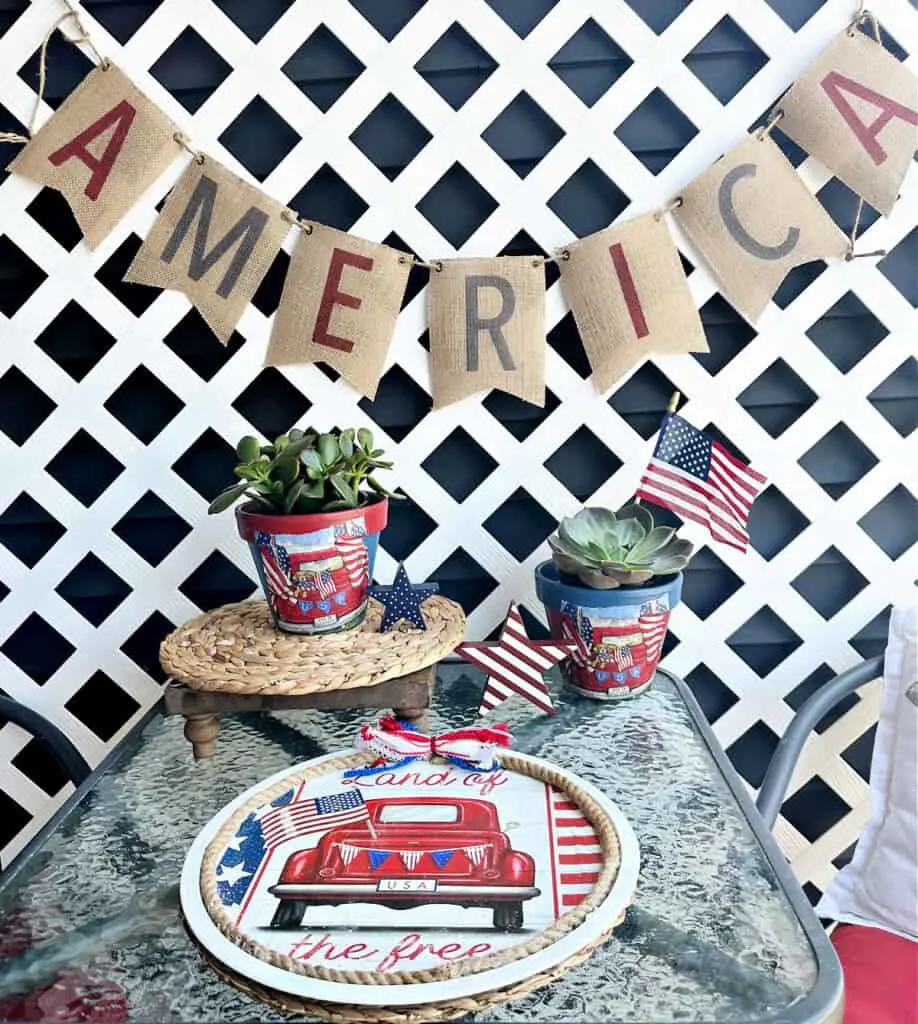
The beautiful America banner, wooden stars and hyacinth placemats are from my favorite Decocrated Subscription Box.
The good news is you can save 15% with my code CRAFTY15.
Painted Terracotta Pots Design Ideas
Here are several other ideas for painting terracotta pots:
- Use stencils to add fun designs like pink flamingos shown here.
- Paint different colors in alternating stripes or polka dots.
- Create zig zags or other modern designs.
- Have fun with a paint pour technique on your garden pot. It’s a super unique DIY!
- Get the kids involved with a handprint design great for Mother’s Day or Father’s Day.
I hope you found these tips helpful. The main thing is to have fun with it. I’m a firm believer that there are no mistakes with crafting! 🙂
Please Save This to Pinterest
I’d be so grateful if you would share this on Facebook or save it to your favorite craft ideas board on Pinterest.
It helps my blog to grow and it doesn’t cost a thing! If you know a friend who would like it, you could also share it with them. 🙂
Yes! I have used both spray paint and acrylic craft paint on clay pots. Both work great. Just be sure to follow the instructions for spray painting. The main tip is to spray light coats. If you spray with a thick coat, you will end up with drips and an uneven finish.
Once the paint is completely dry, you want to seal the flower pots. Shake your can of sealant and apply a steady, even, light coat to the inside and outside of your pot. You will need at least two coats for full coverage. Let dry.
Drying time will vary depending upon the type of paint you use. It’s best to paint thin coats and let it dry in between coats. To speed up the drying process, you can use a heat gun. Typically, 2-4 hours is recommended for drying time.
Thanks for stopping by. Happy crafting!
You can find me on social media below:

Donna @ Modern on Monticello
Wednesday 21st of June 2023
Love the napkins you chose. Anything patriotic always catches my eye. It is good to see you back at the link party. This post will be a feature this week. #HomeMattersParty
ourcraftymom
Thursday 22nd of June 2023
Thanks so much Donna! I am just celebrating 10 years of blogging and "getting back to my roots". I realized how much I missed the interaction and the inspiration. Home Matters will always be near and dear to my heart! :)
Allyson @ Southern Sunflowers
Wednesday 21st of June 2023
This is such a cute and festive craft that's easy enough for anyone to make! Thanks for sharing at the #HomeMattersParty.
ourcraftymom
Thursday 22nd of June 2023
Thanks so much!
MaryJo Materazp
Saturday 17th of June 2023
These came out super cute! Great seasonal decor idea. Thank you for then inspiration. XO- MaryJo
ourcraftymom
Saturday 17th of June 2023
I'm so glad you like them! Happy summer!