I’ve gathered up some of the prettiest free chinoiserie wall art printables and created a simple DIY note card holder to go with them.
If you’re like me, you love a good free printable. And if you love chinoiserie as much as I do, then you’re in for a real treat today!
So, whether you’re looking for some new decor ideas or just need a place to store your cards, these downloads are sure to come in handy. Enjoy!
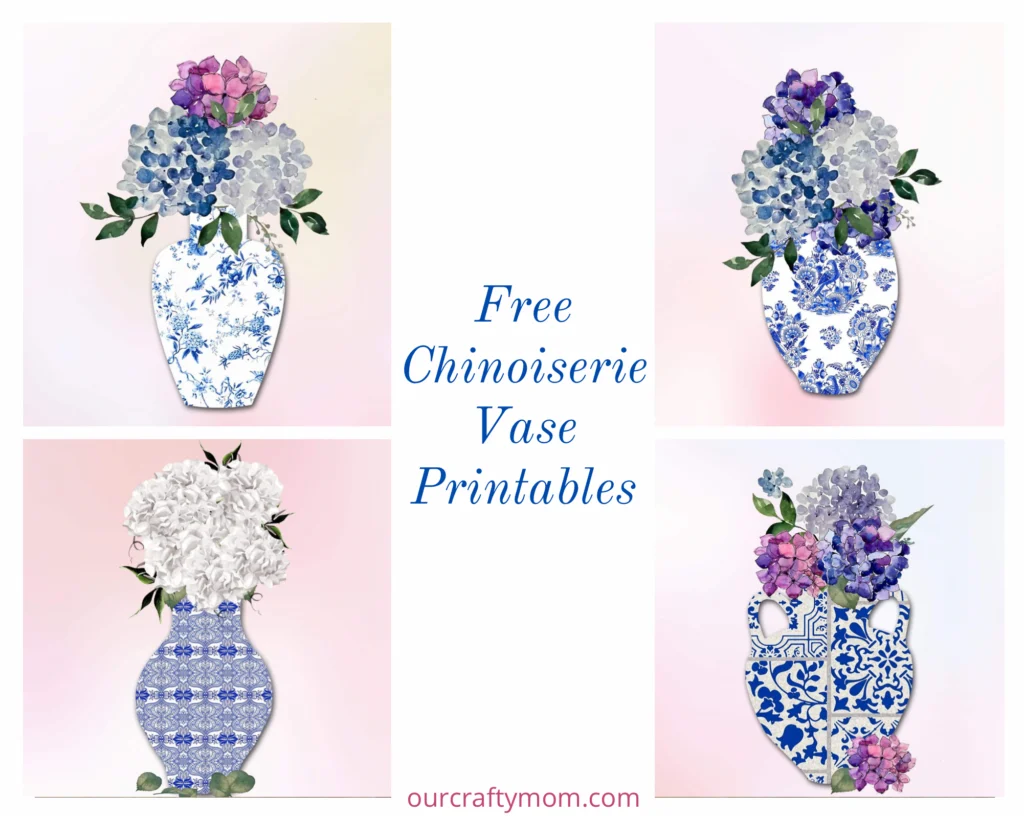
I’ve been waiting to share these chinoiserie wall art printables with you for a few weeks.
If you follow me on Instagram or Facebook you may have seen the decoupage chinoiserie vase I made HERE or the Dollar Tree chinoiserie upcycle shown HERE.
As you can see, I LOVE all things chinoiserie chic!
When I first started sharing monthly free printables, I knew immediately I wanted chinoiserie printables to gift to my fellow blue and white decor lovers.
This set of printables is part of my monthly series where I gift you with 4 different watercolor designs that you can download FREE just for visiting Our Crafty Mom.
In case you missed them, here are links to the other printables in the series:
See all the printables shared from the monthly freebies below:
- Spring Printables with Decoupage Crafts
- St. Patrick’s Day Printables
- Vintage Watercolor Printables
- Adorable Red Truck Printables
It’s my way of saying thank you for the support over the past 8 years. I hope you enjoy this series as much as I do!
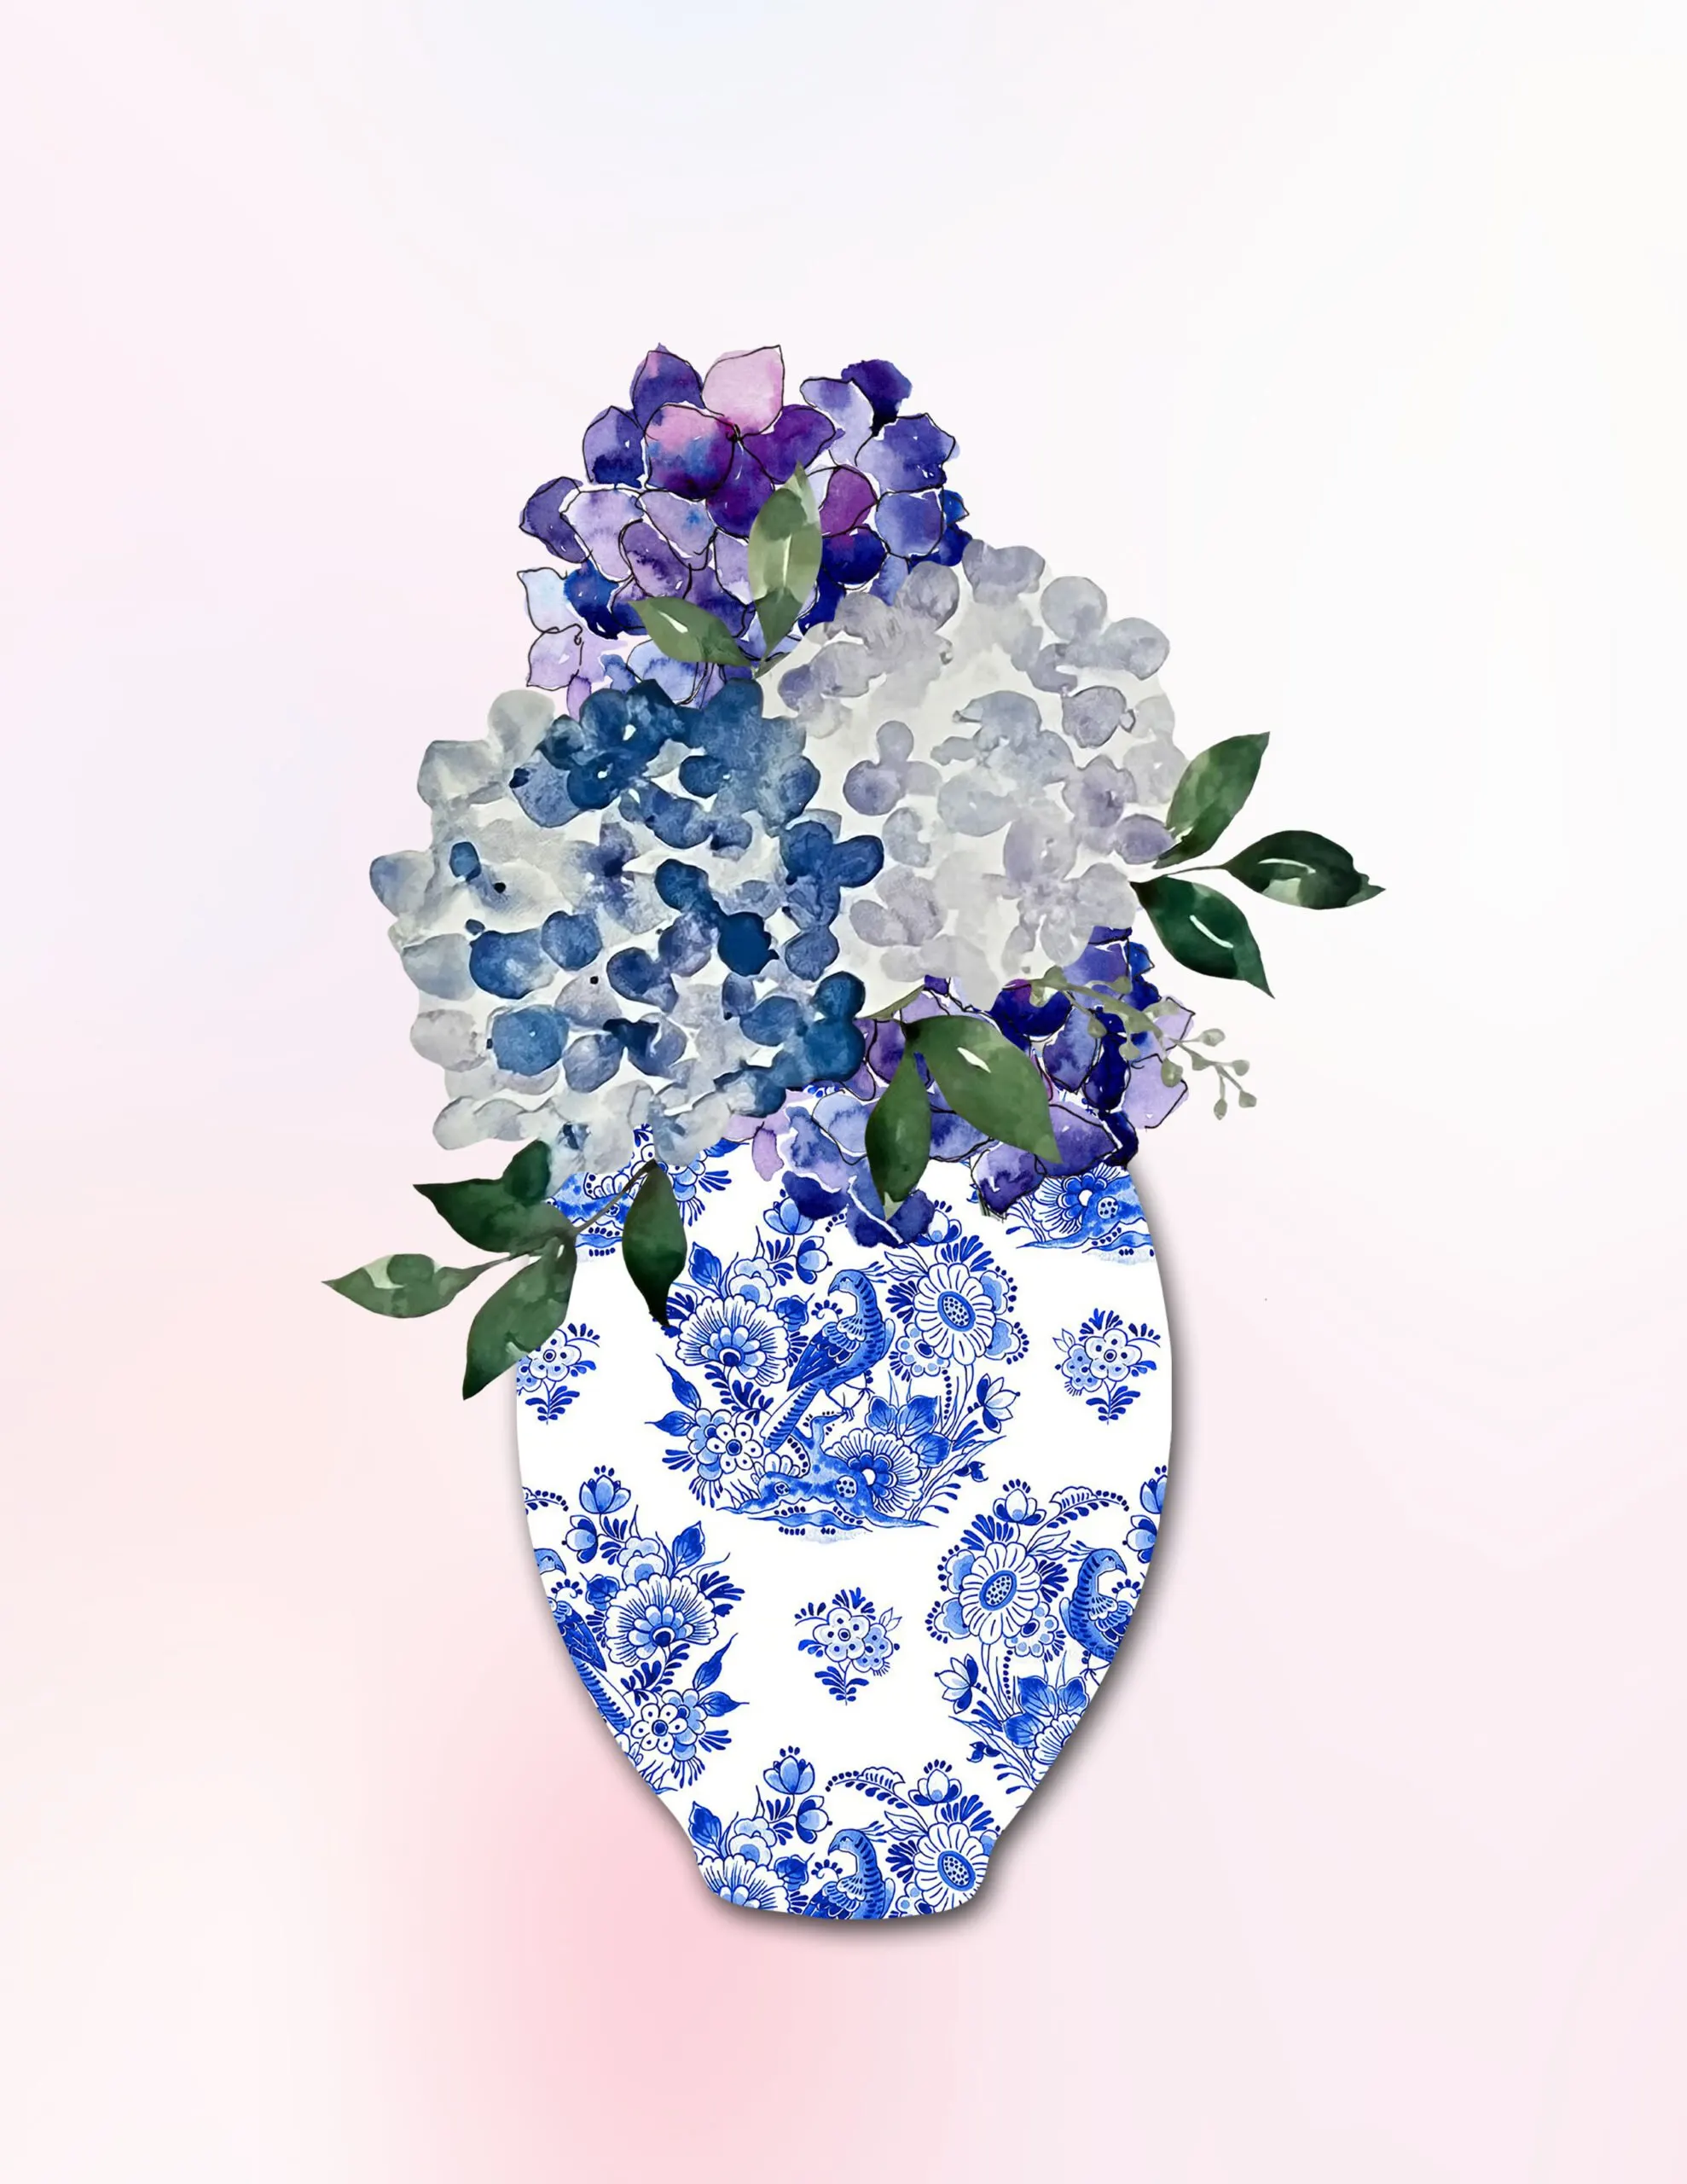
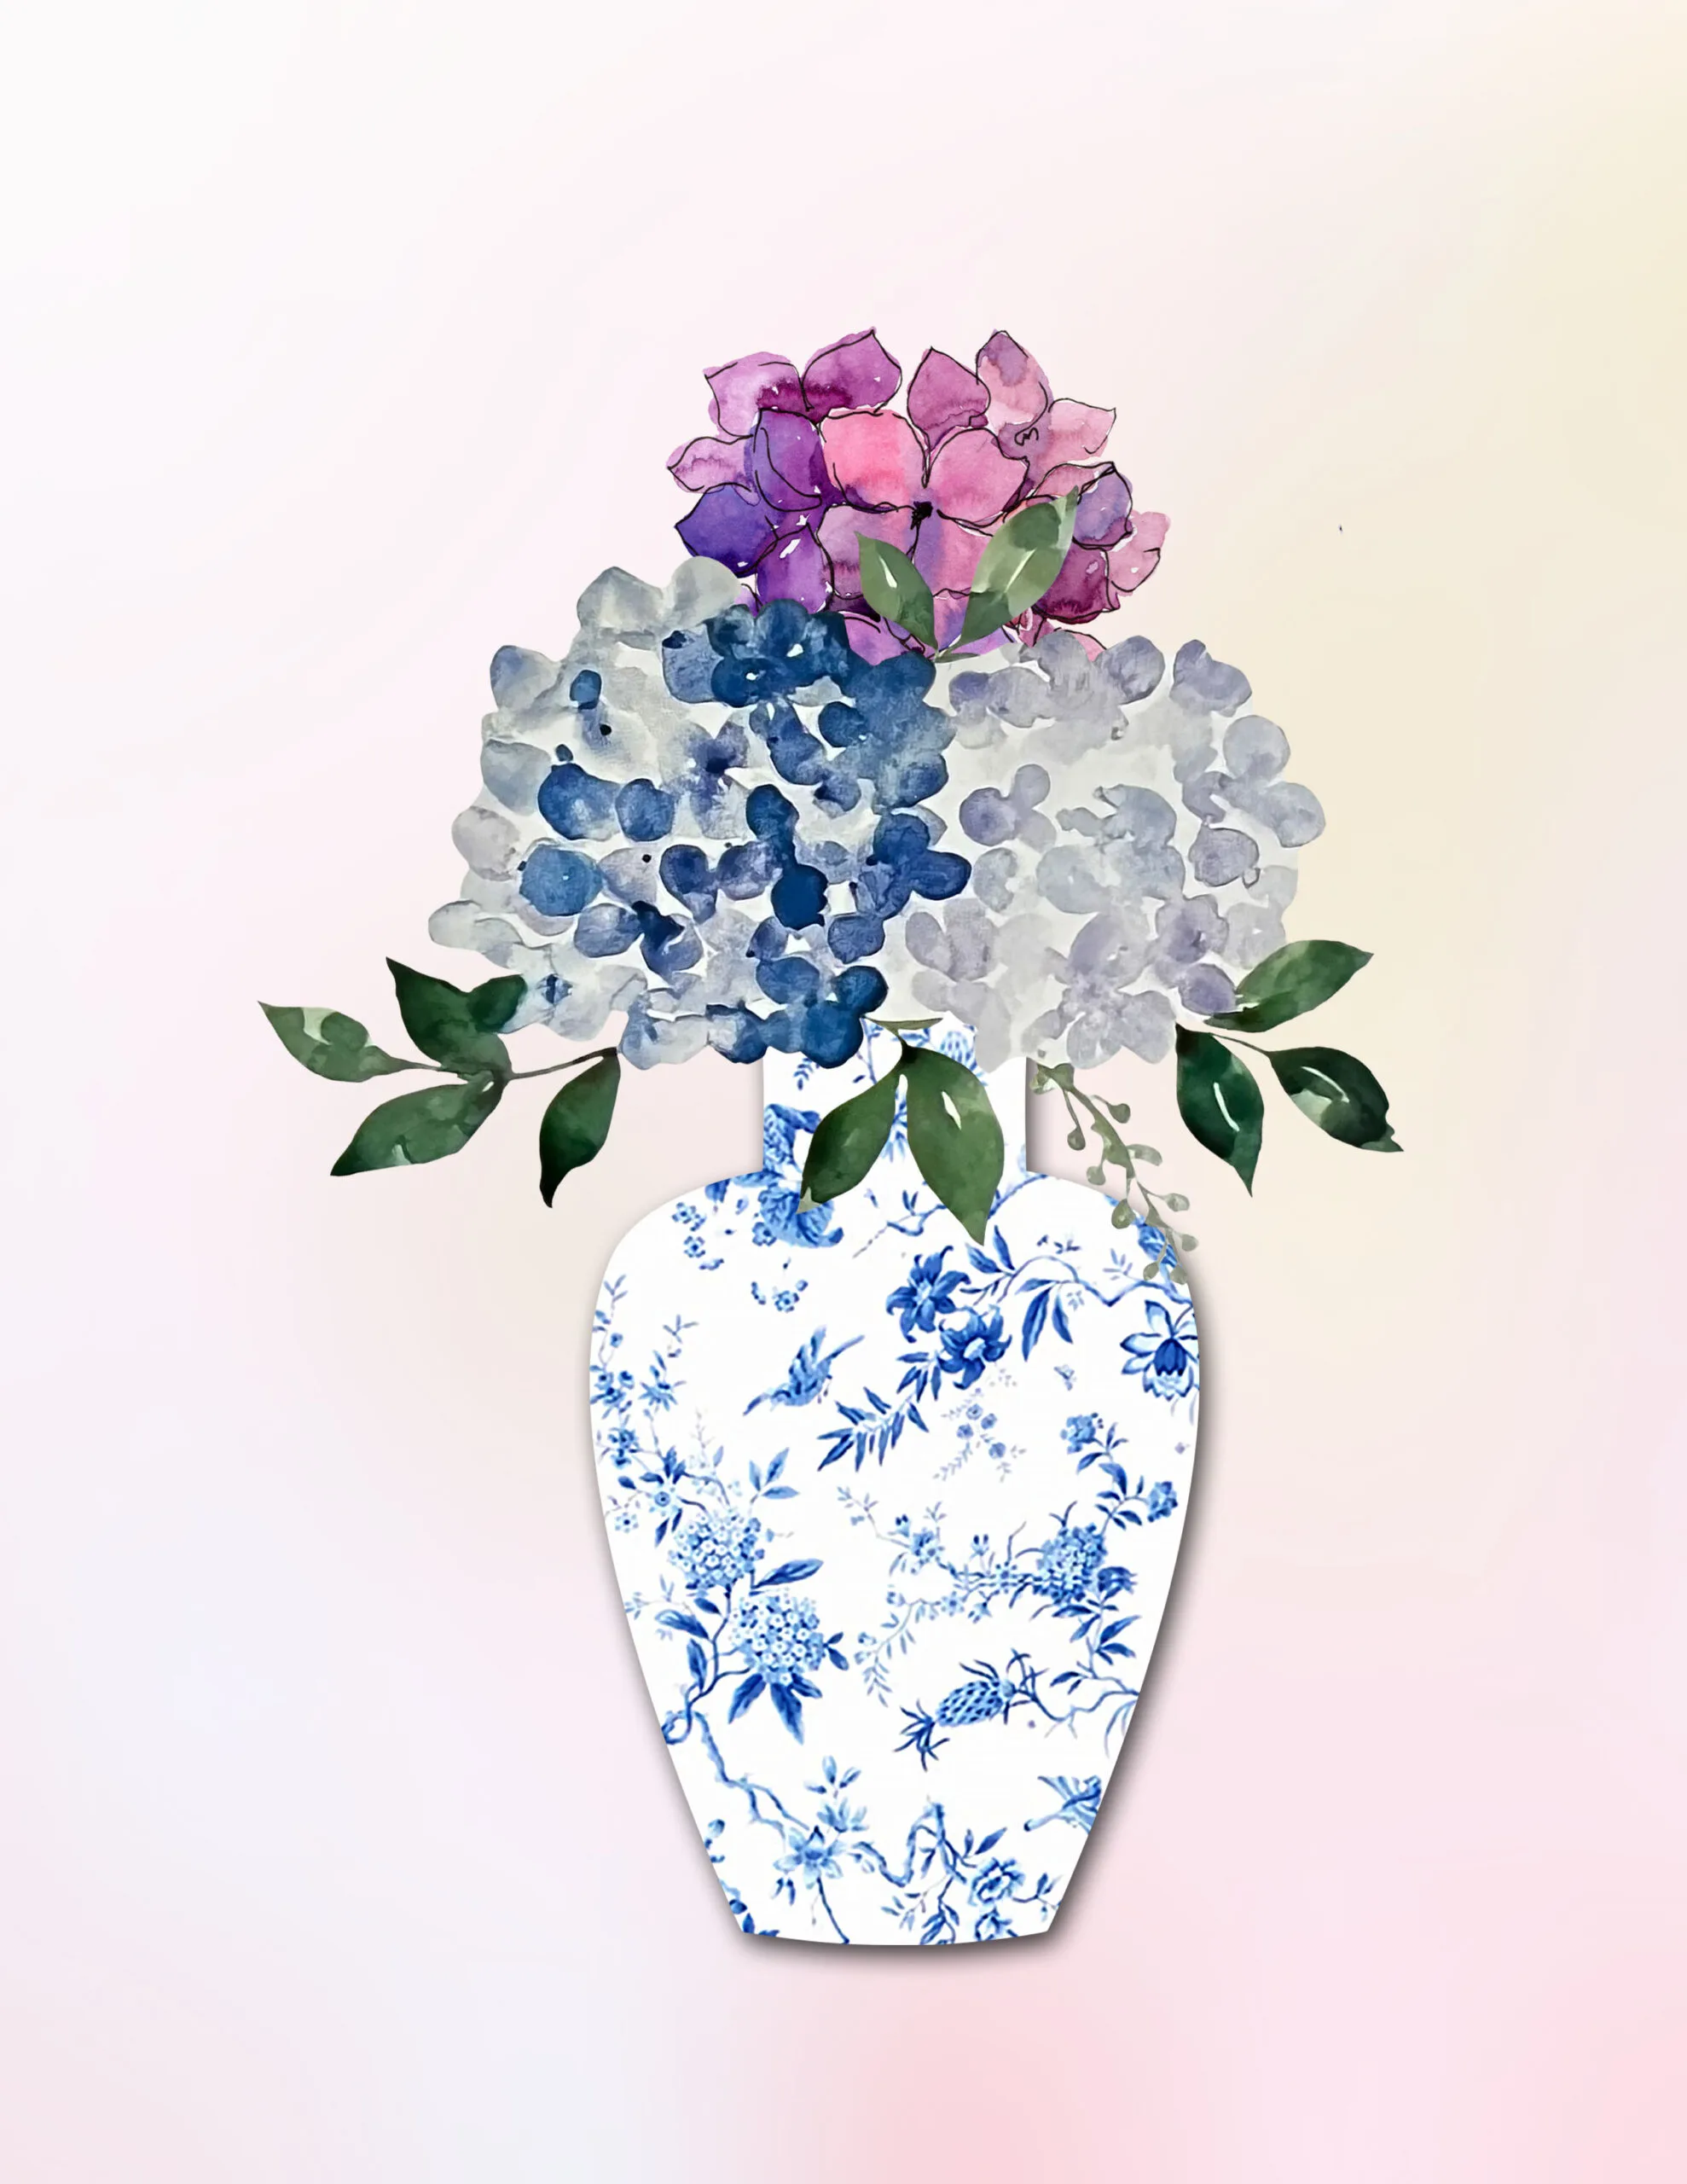
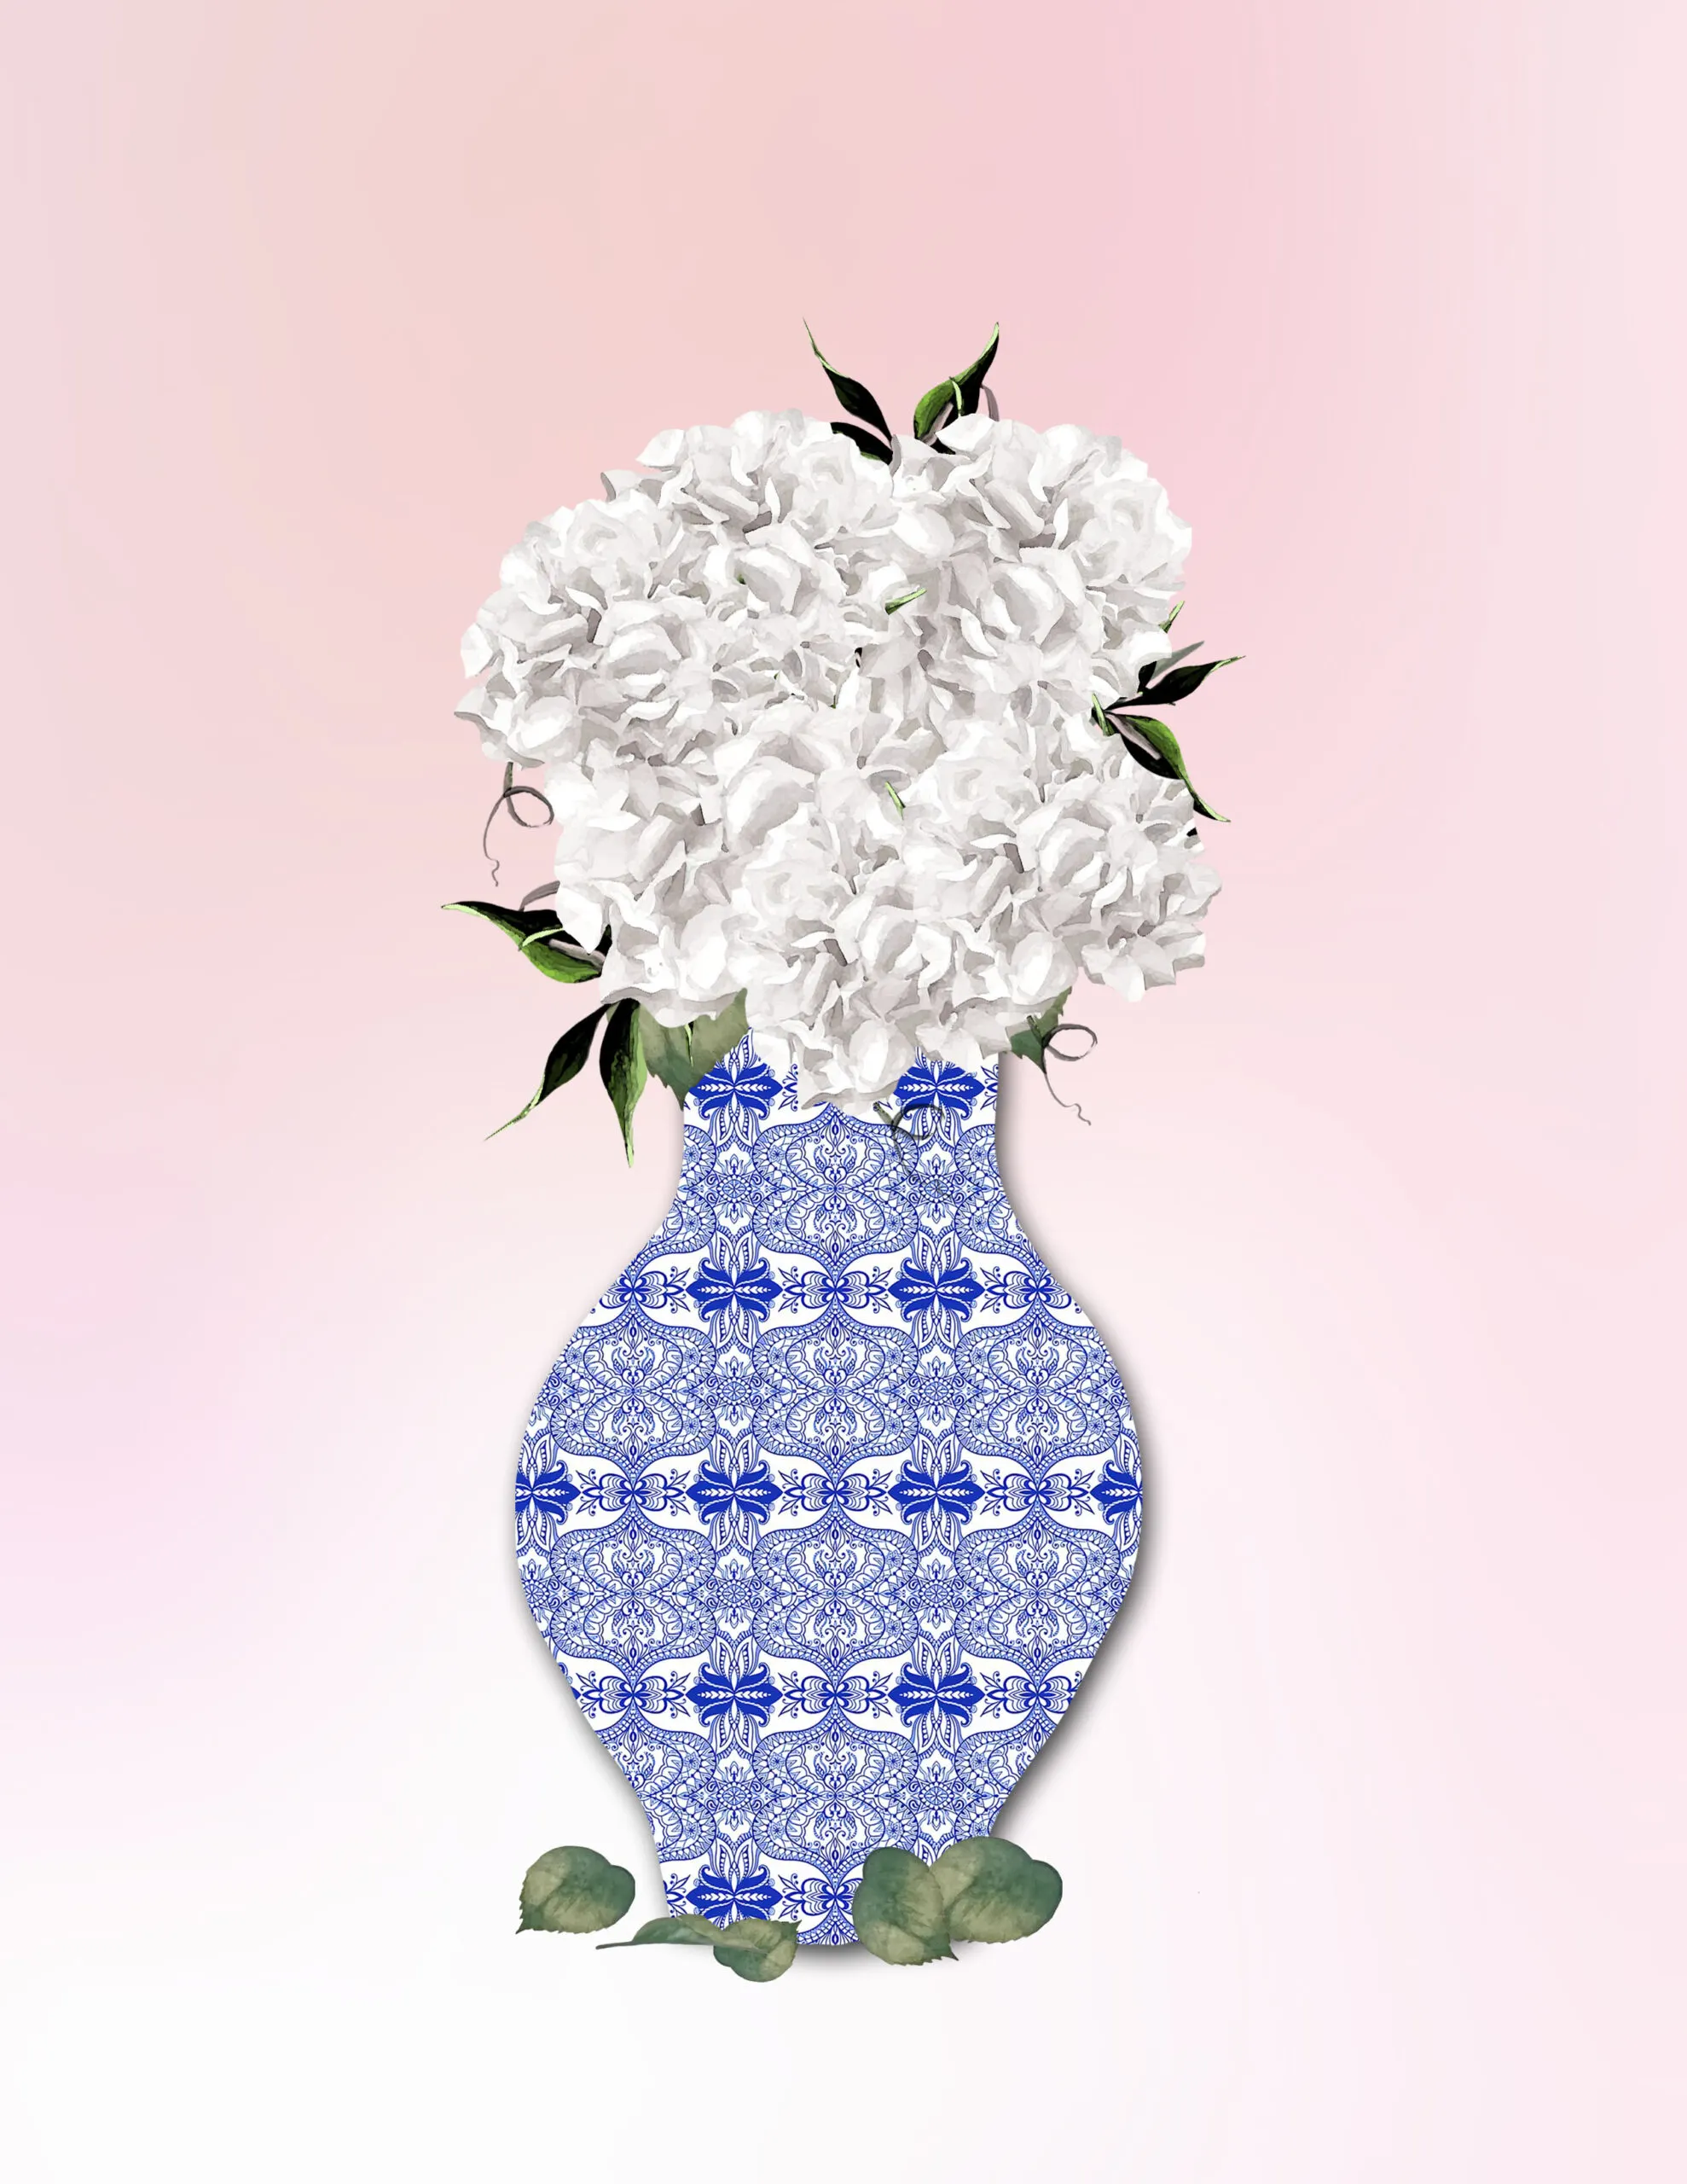
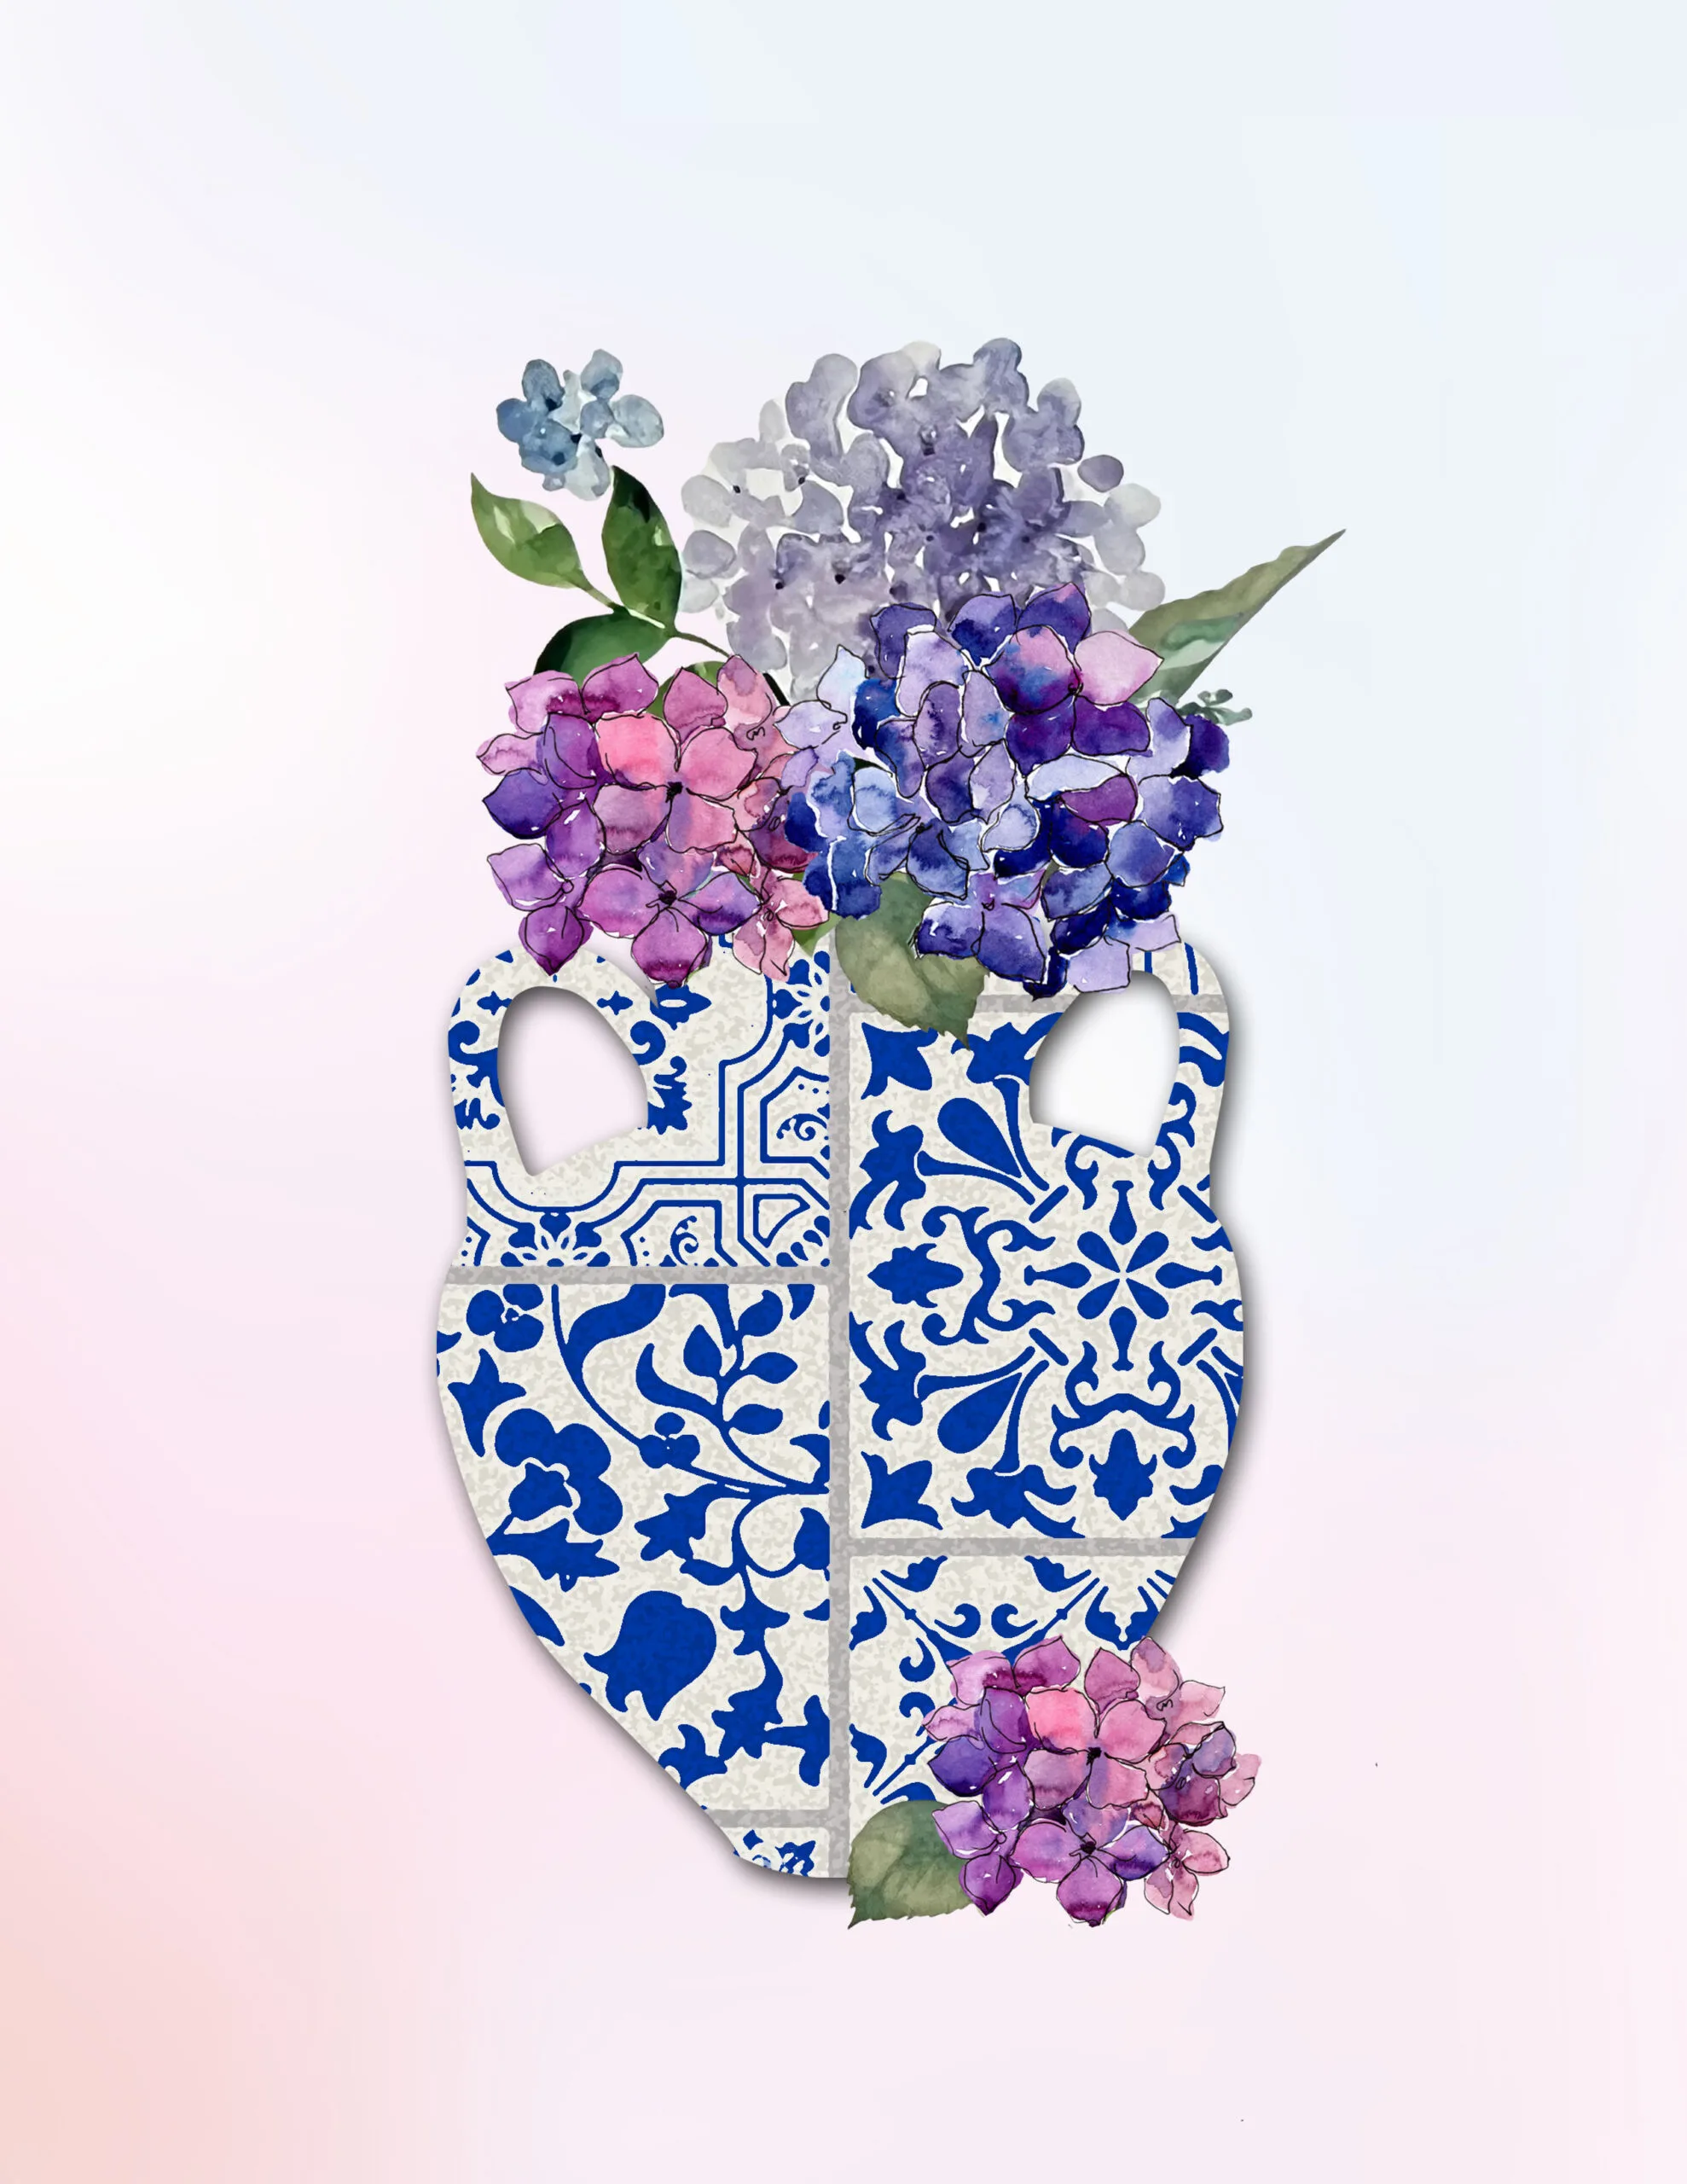
Download Chinoiserie Printables
Simply right click on the image and save to your computer or print.
How to Decorate with Chinoiserie Wall Art Printables
Here are some simple tips for decorating your home with printables:
- Find free printables online and print them out on your printer
- Frame the prints with inexpensive frames from a craft store, Ikea, or Dollar Tree
- Hang the framed prints on a blank wall in your home for instant art
- Change up the prints every few months to keep things fresh
- Use different colors, patterns, and fonts to create a unique look for your home
Each month I update a small gallery wall in my living room with a new set of 4 printables.
You can even keep the old prints in the frame backing so you can reuse them next season!
It’s a budget-friendly way to always keep your wall art current for holidays and seasons.
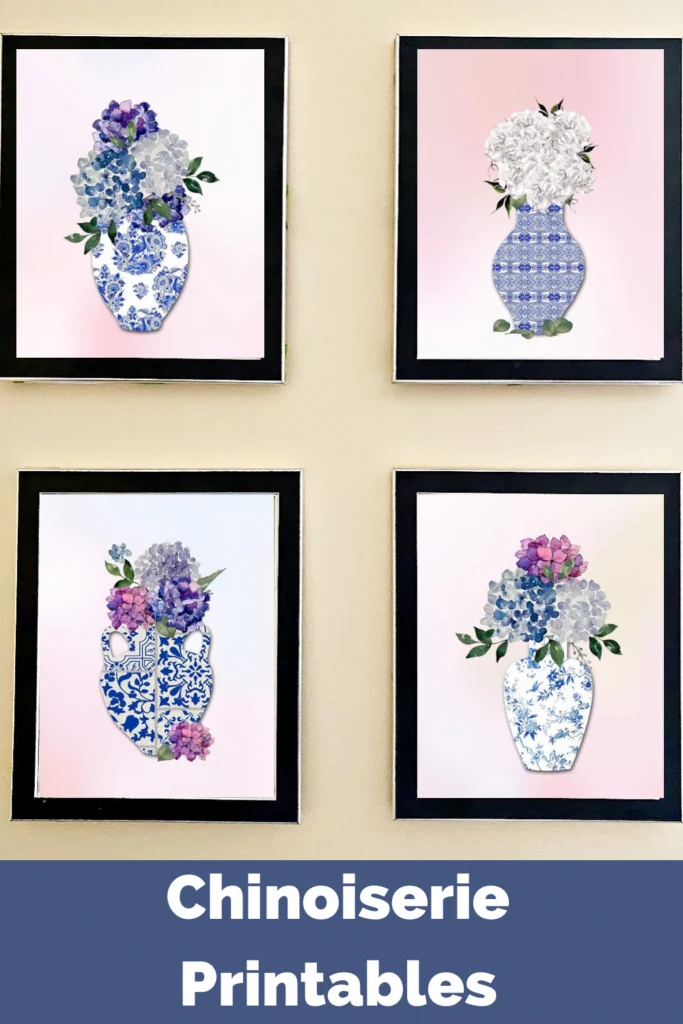
For this month’s freebie, I also wanted to share another way to decorate with these printables.
These blue and white vase wall art designs are the perfect shape and size to use as note cards.
But, why stop there? Create a pretty note card box holder to gift them in! Think about gifts for Mother’s Day, birthdays, hostess gifts, or just because.
How to Make a Note Card Box
- Chinoiserie Printables
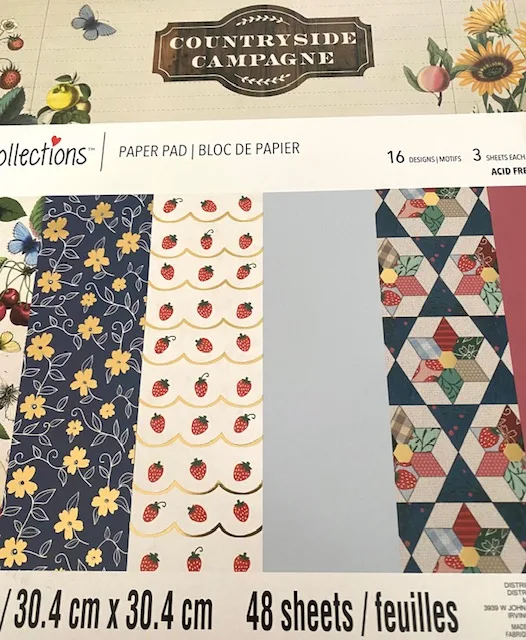
- Cardstock & Decorative Paper – similar (mine is from Michaels shown below)
- Envelopes
- Gorilla Glue Pen or double sided tape
- Ribbon
- Paper Cutter with Scoring Tool
Step 1. Download the printables below
For the note cards you want to print the designs 2 to a page so they will print out at 4.25″x5.5″.
I recommend printing them on heavier card stock. The standard copy paper will be too thin for notecards.
For my note cards, I printed them out at Staples on white card stock. I love the weight of the paper and the color turned out beautifully.
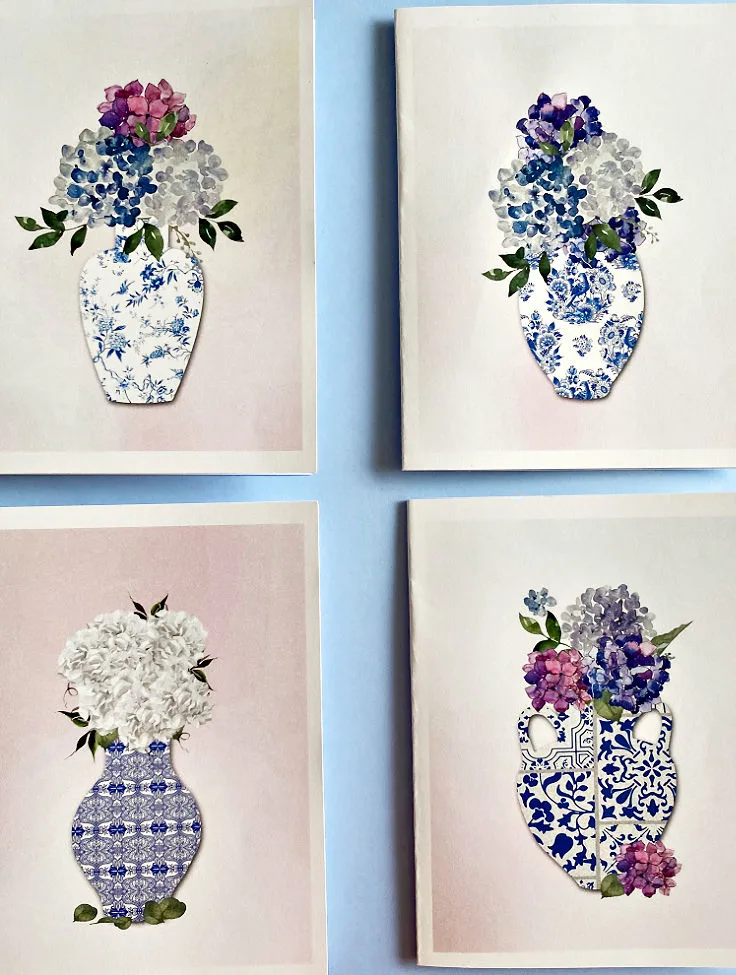
With two designs to a page, you get eight note cards for under three dollars.
Of course, if you have a printer at home you can print them right at home!
Let me know in the comments if you have a printer that you love as my daughter needs one for grad school. 🙂
Step 2. Cut the note cards
Now you want to cut the printables in two so you can fold them in half for the note cards.
I love my Cricut paper cutter and definitely recommend it. You want to make sure the cards are cut evenly and this is the easiest way.
Fold the cards in half with a nice crease using your scoring tool attachment (or bone folder) and set them aside.
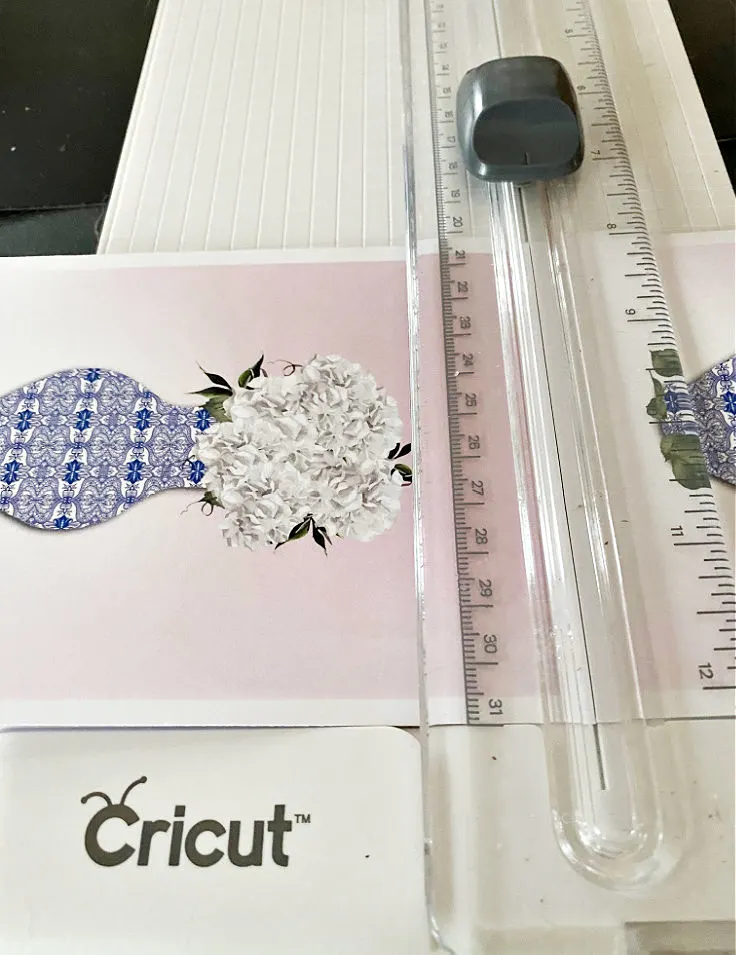
Step 3. Create the note card holder base
For the card box base, you will need 1 piece of 12″x12″ paper.
- Cut paper to 10″x 11 1/2″.
- Score on the 10″ side at 2 3/4″ & 7 1/4″
- Score on the 11 1/2″ side at 2 3/4″ & 8 3/4″
- Trim each end a tiny but at an angle, so the corners will fit.
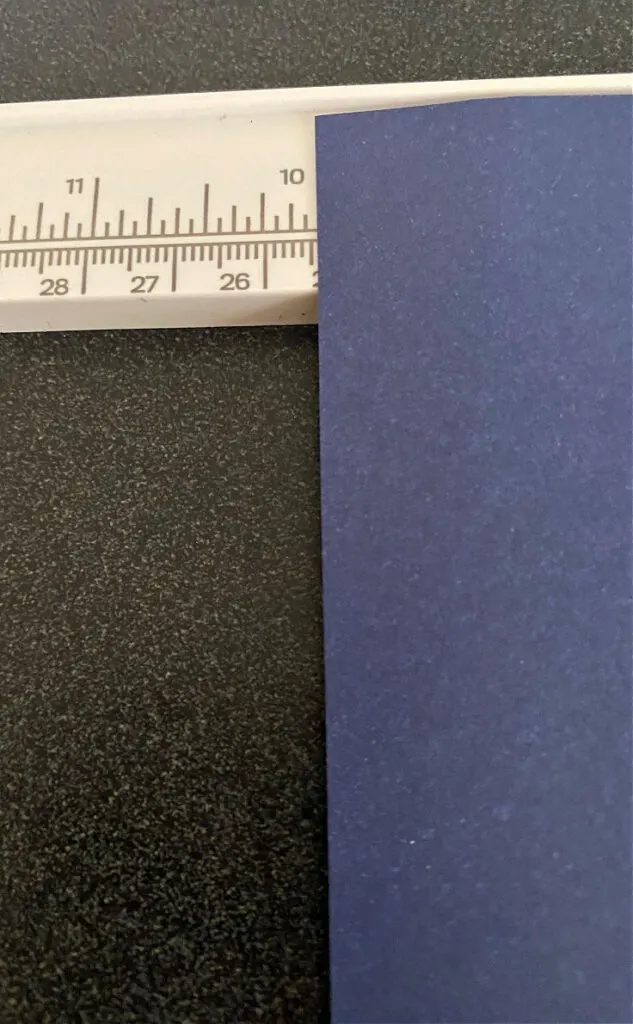
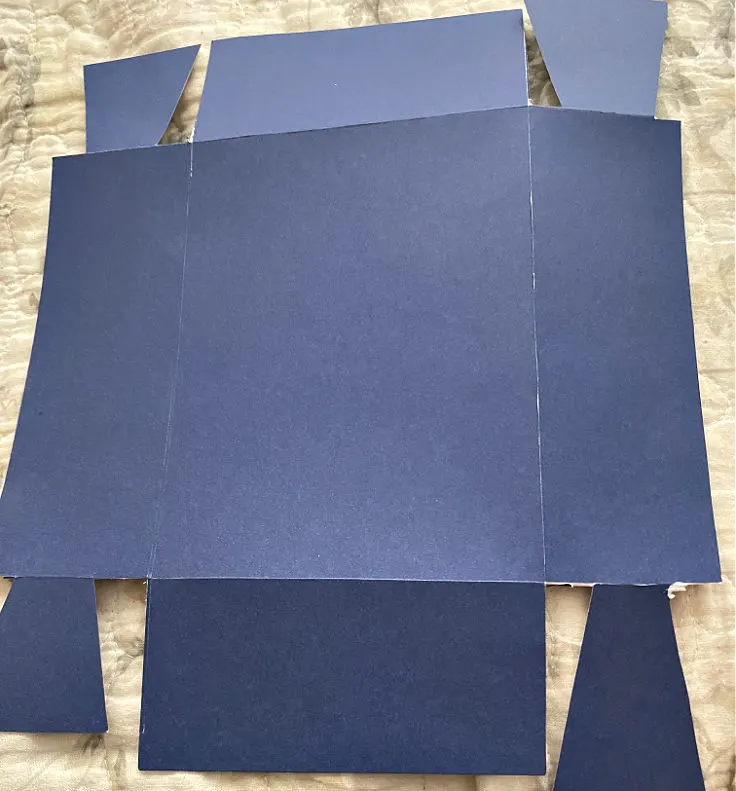
Once you have all the scores, fold and secure them with red tape or a glue pen.
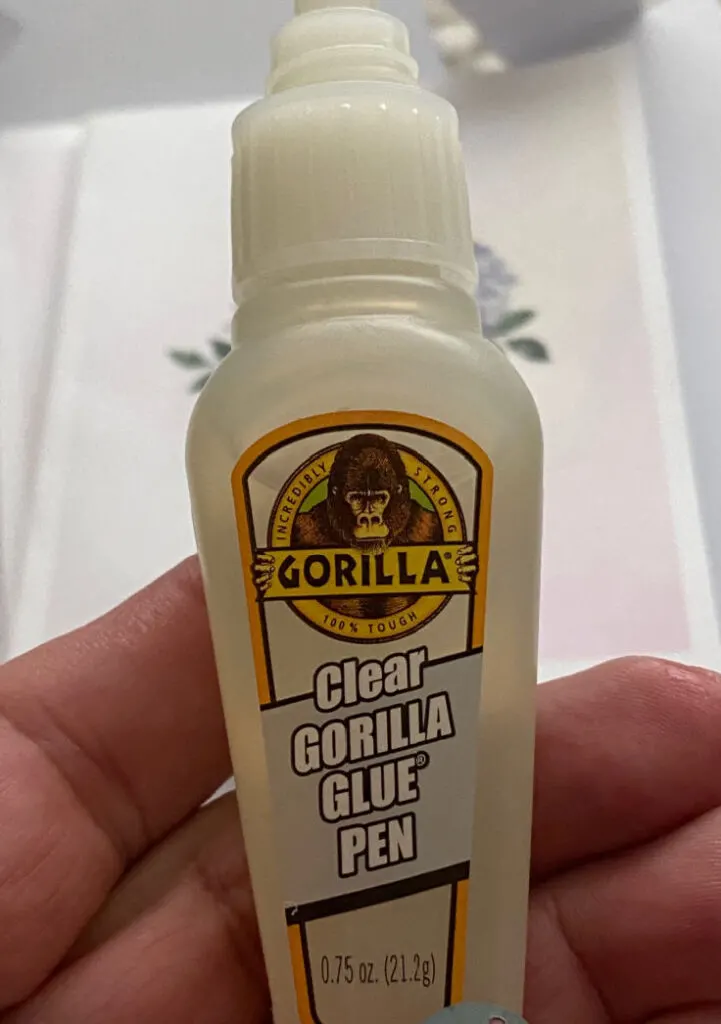
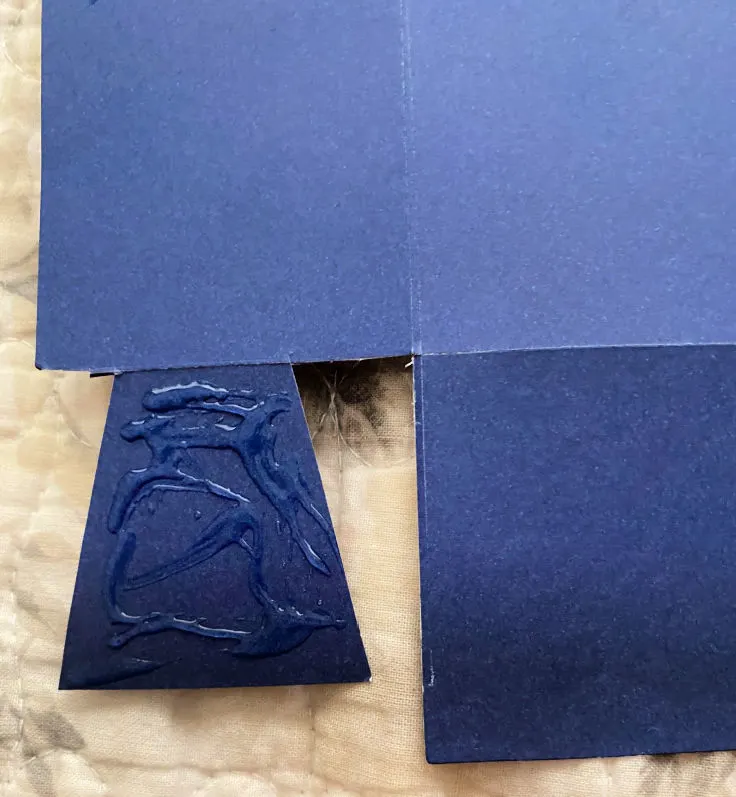
Step 4. Create a note card holder cover
For the card box cover you will need 1 piece of 8″x10″. Choose coordinating paper to highlight your card base.
- Cut paper to 7″x9″.
- Score on all sides at 1 1/4″.
- Cut on solid lines.
- Fold and secure with red tape or a glue pen.
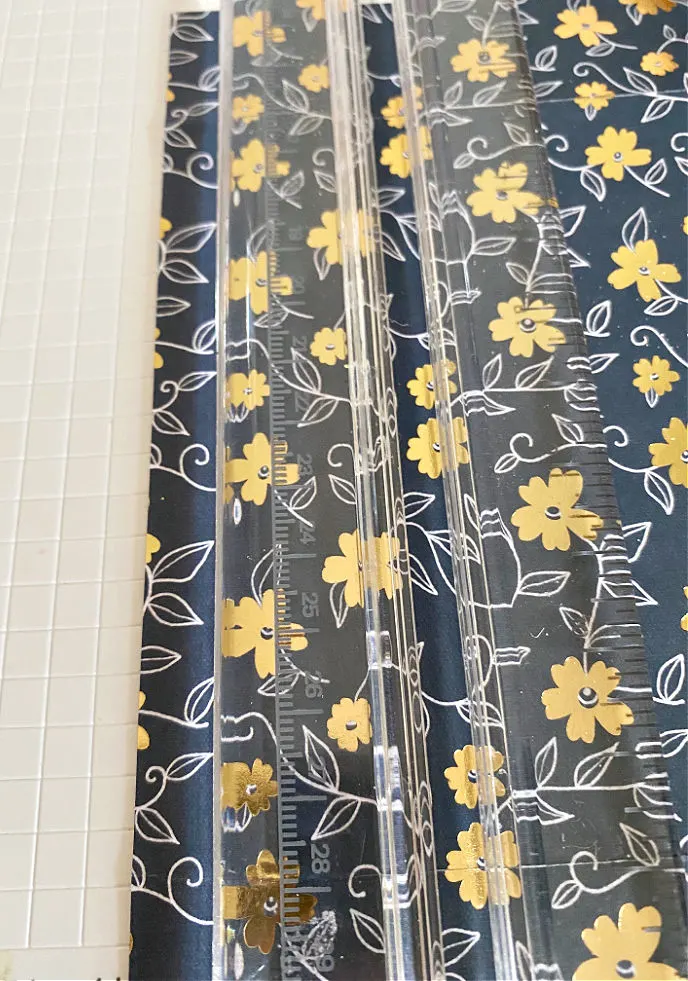
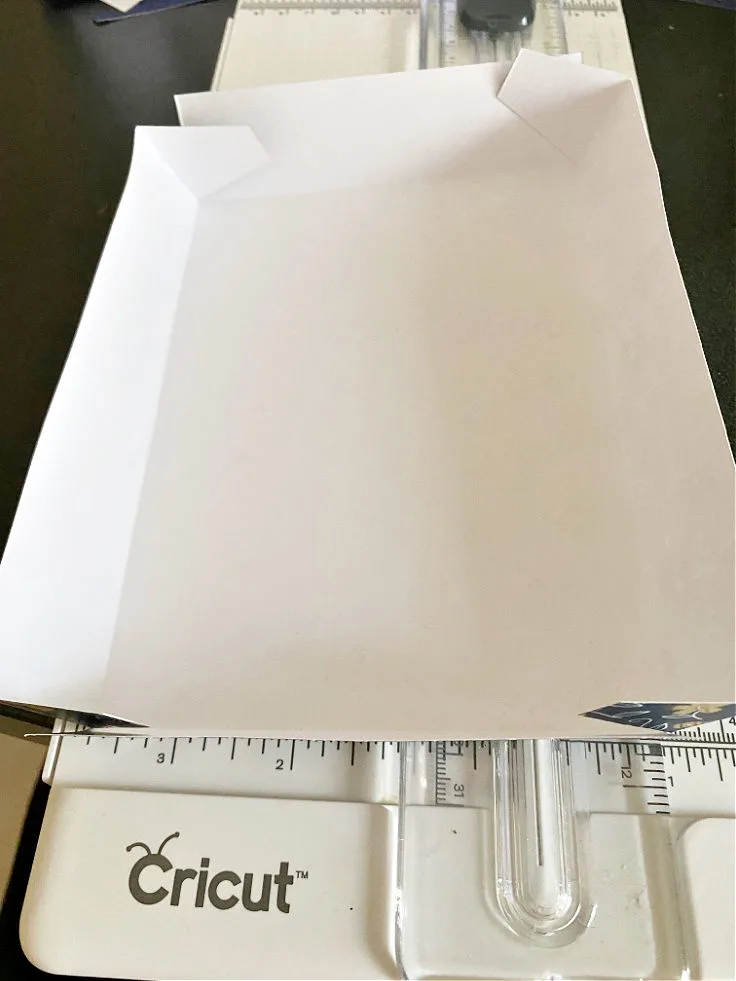
If you choose to use a glue pen, it does need to set for a few minutes. I used small clothespins to hold it while it dried.
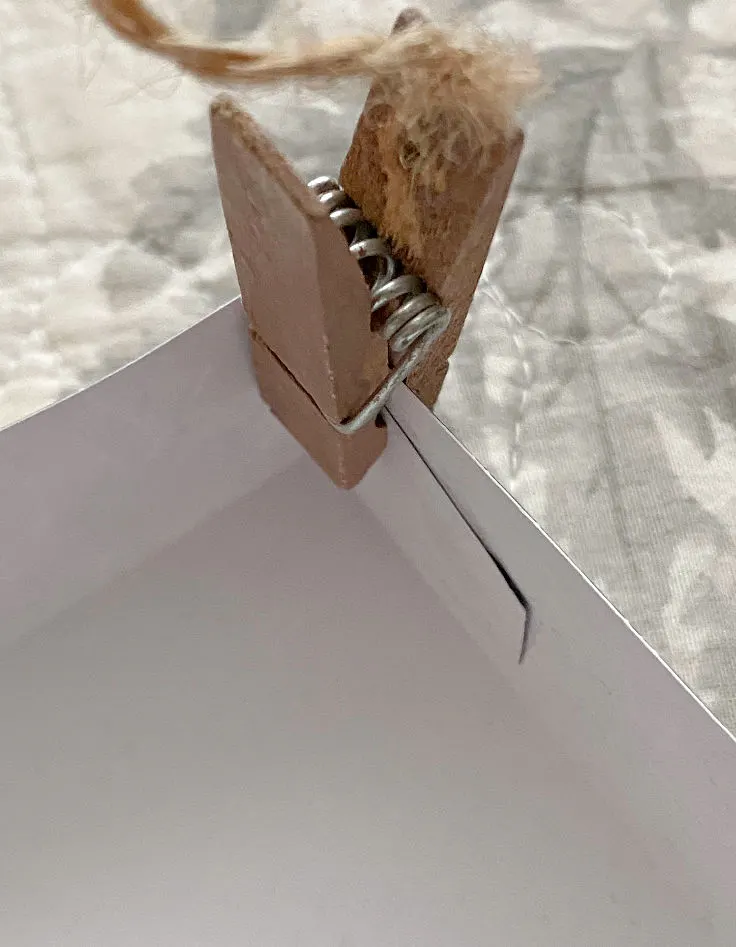
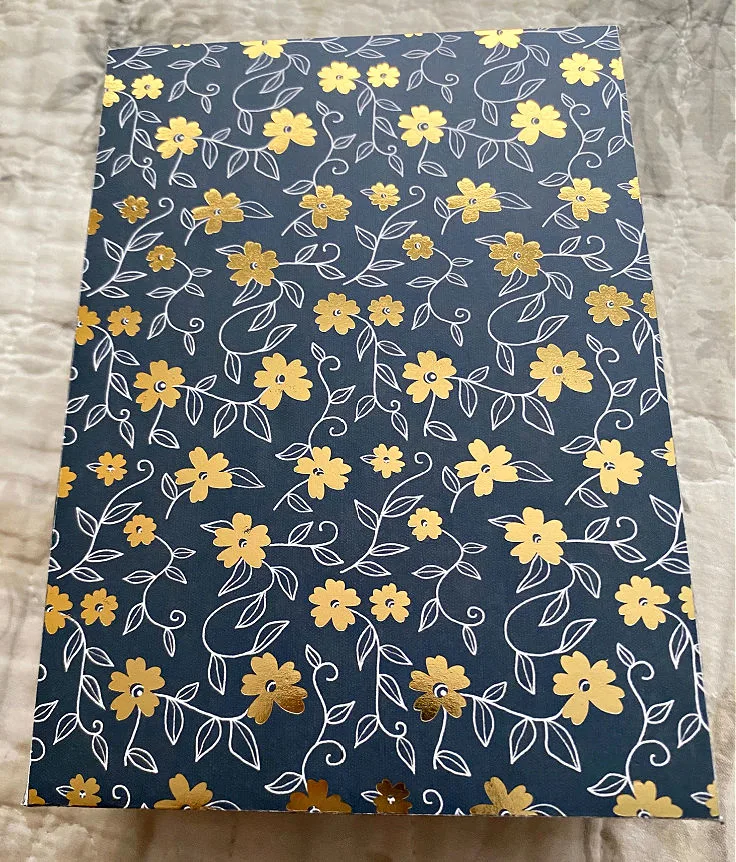
This deep navy and metallic floral paper is just lovely and looks great with the blue and white chinoiserie design.
Step 5. Add paper shreds and cards
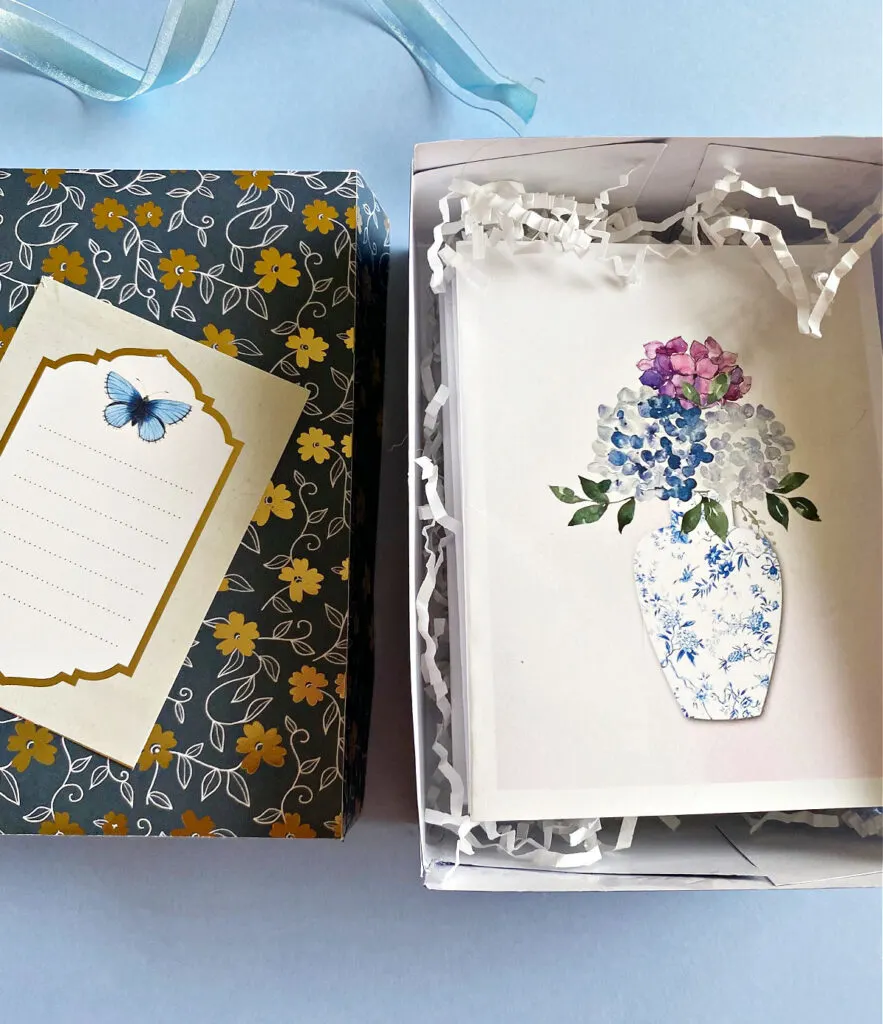
Once your card box is made and glue is set, you can add some paper shreds along with your pretty chinoiserie note cards.
Step 6. Add ribbon and tag
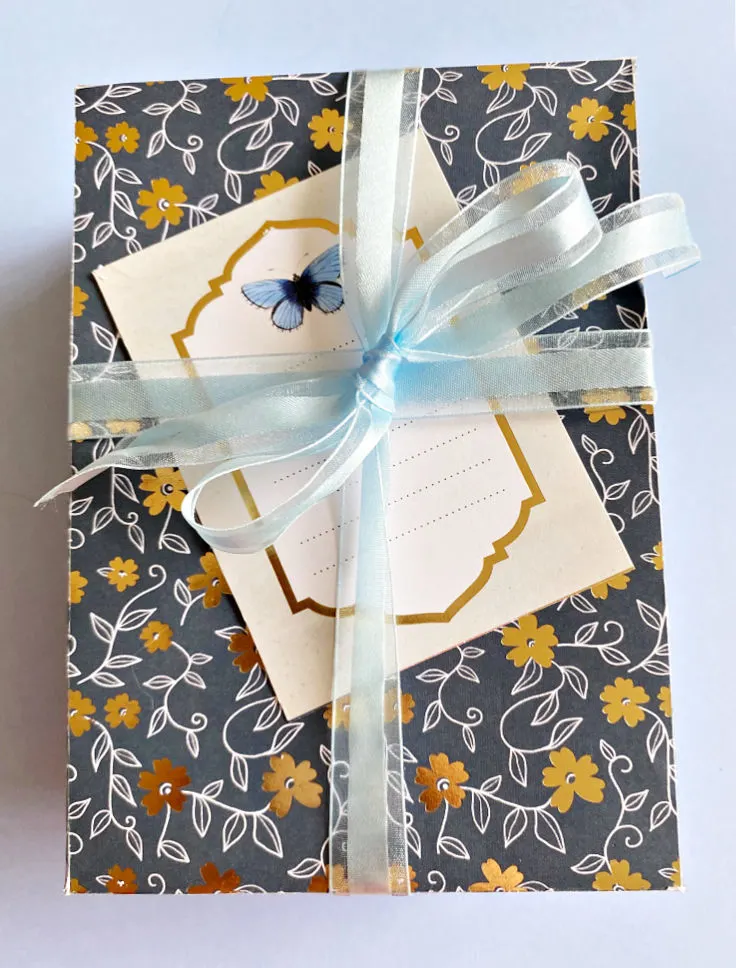
Now you can decorate the box however you like. I simply wrapped it with a pretty satin bow and a gift tag.
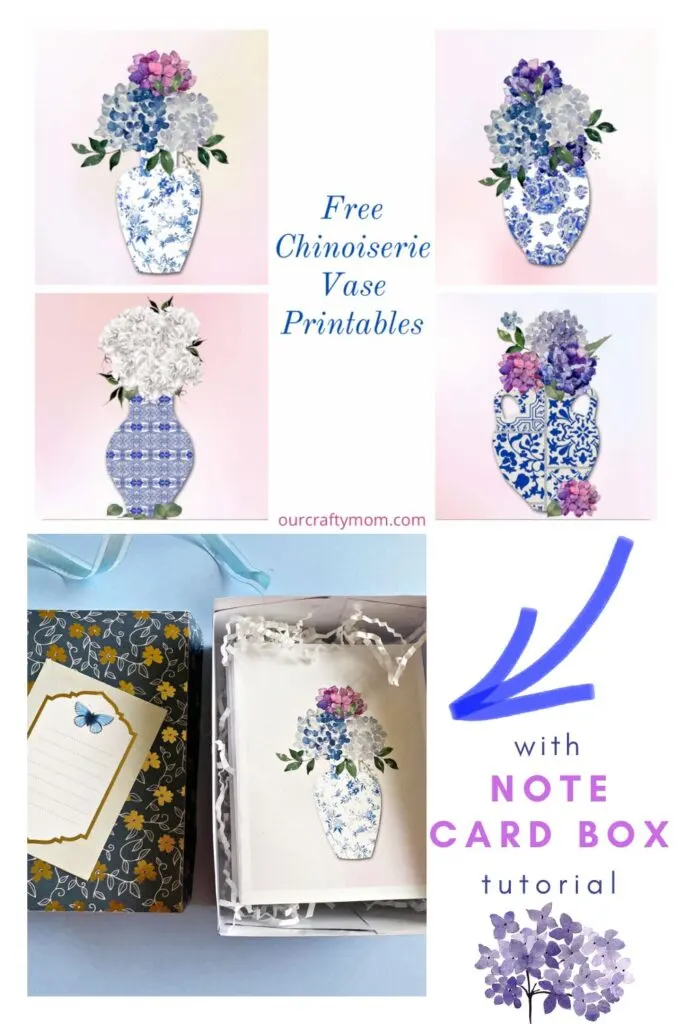
Save this for later by pinning the below image:
Thank you so much for visiting. Happy crafting!
Per Merriam Webster chinoiserie is defined as “a style in art (as in decoration) reflecting Chinese qualities or motifs also: an object or decoration in this style”
The simple answer is it’s timeless. It dates back to the 17th and 18th centuries when it was (and still is) incredibly popular in Europe. The blue and white detailing and intricate designs are bold and colorful.
You want to embrace the bold designs in chinoiserie and really showcase the motifs.
Incorporate lots of rich texture to compliment the design style.
Introduce deep Intense color to really play up the detailing in chinoiserie vases, rugs, and more.
Embrace blue & white as quintessential as a “classic little black dress”.
Go big or go home! Chinoiserie decor is all about a maximalist design style.
Here are even more free printables:
- Floral Watercolor Mason Jars
- Free Summer Printables
- Fall Watercolor Printables
- 20 Free Printables For Your Home
- Red Truck Watercolor Printables
You can find me on social media below:
