
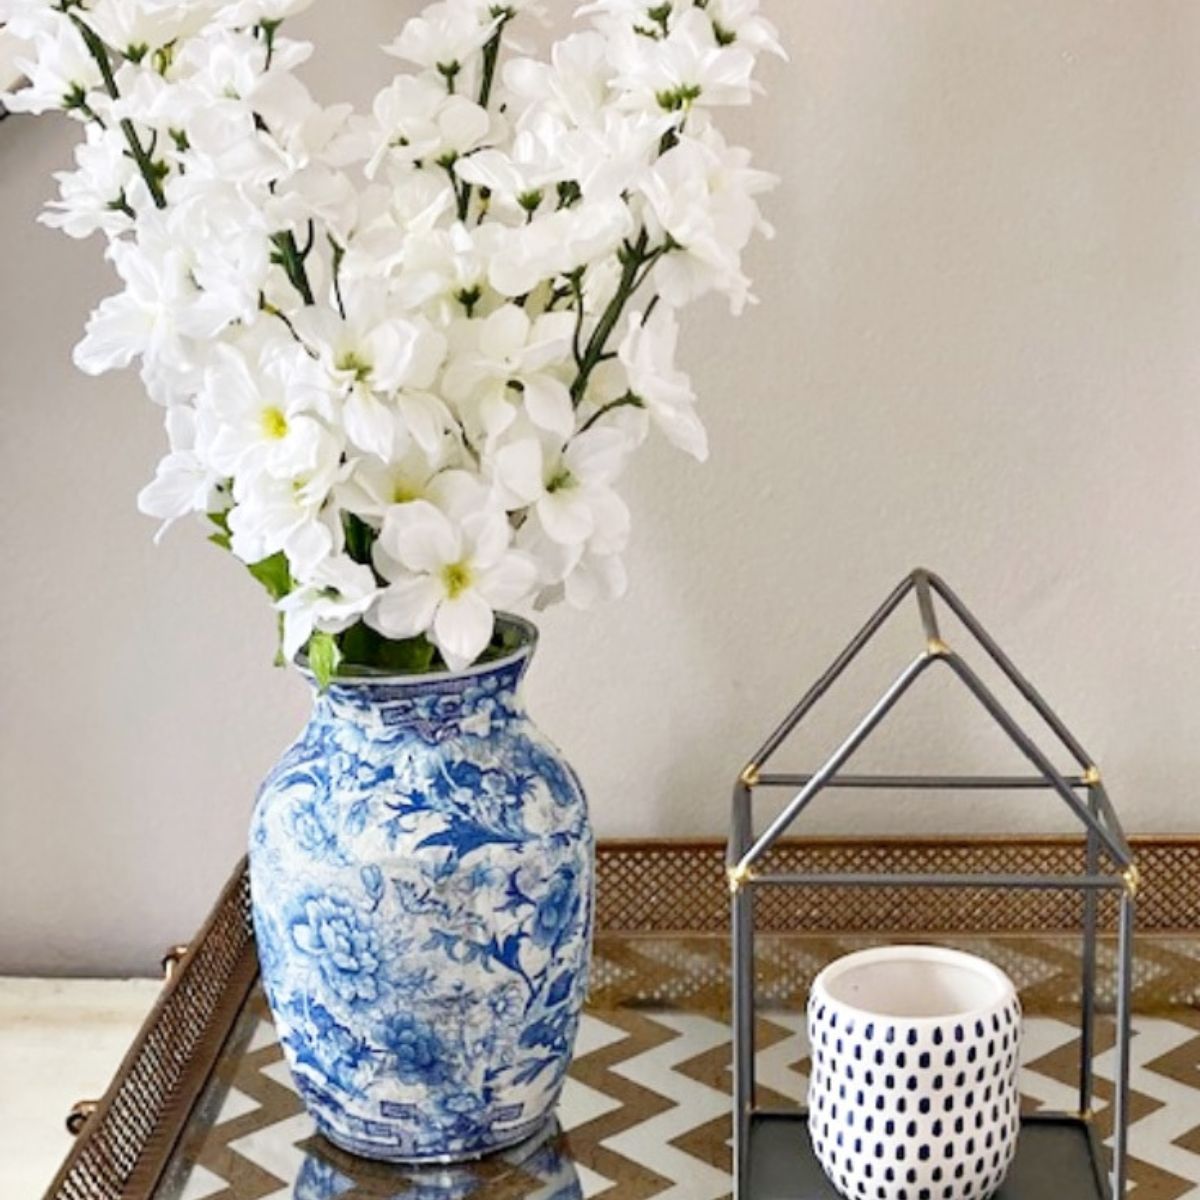
Learn how to decoupage a vase with napkins and Mod Podge. This easy DIY chinoiserie glass vase starts with a Dollar Store vase and costs $3.
Decoupage Chinoiserie Vase
Table of Contents
Want to decoupage a vase without spending much? This DIY chinoiserie vase starts with a Dollar Store glass vase, a few pretty napkins, and Mod Podge.
It costs about $3 per vase, and you can make it in an afternoon.
✨ Quick Takeaways
- Learn the essential materials and tools you need to start your decoupage project successfully
- Discover step-by-step techniques for applying decorative paper to a glass vase without bubbles or wrinkles
- Get practical tips for achieving a professional-looking chinoiserie finish
- Understand the best way to seal and finish your vase so it lasts
I originally made this vase for a Pinterest Challenge. The idea behind the challenge is to not just pin, but to actually make it happen.
The theme was Spring projects, so I chose a DIY chinoiserie vase for my Spring tablescape. It has since become one of my most-loved thrifty projects.
Decoupage on Glass Vase
This is the pin that inspired me. I also have to give a shout out to Amy from Atta Girl Says, who started my obsession with all things chinoiserie.
I first tried my hand at chinoiserie with these DIY chinoiserie ornaments. They were so much fun that I knew there would be more chinoiserie in my life. It helps that my home is decorated in shades of blue and white.
If you love the blue and white look as much as I do, take a look at the blue and white Dollar Store glasses I painted. They’re just as easy.
How to Decoupage a Glass Vase
Decoupage simply means gluing paper to a surface and sealing it with a clear finish. Glass works well because it’s smooth and nonporous.
Mod Podge grips it nicely, and the napkin turns almost see-through once it’s coated. That’s why a printed napkin looks like it was painted right onto the vase.
Chinoiserie is a style known for delicate blue and white scenes of birds, branches, and florals. A patterned napkin gives you that look without any painting skills.
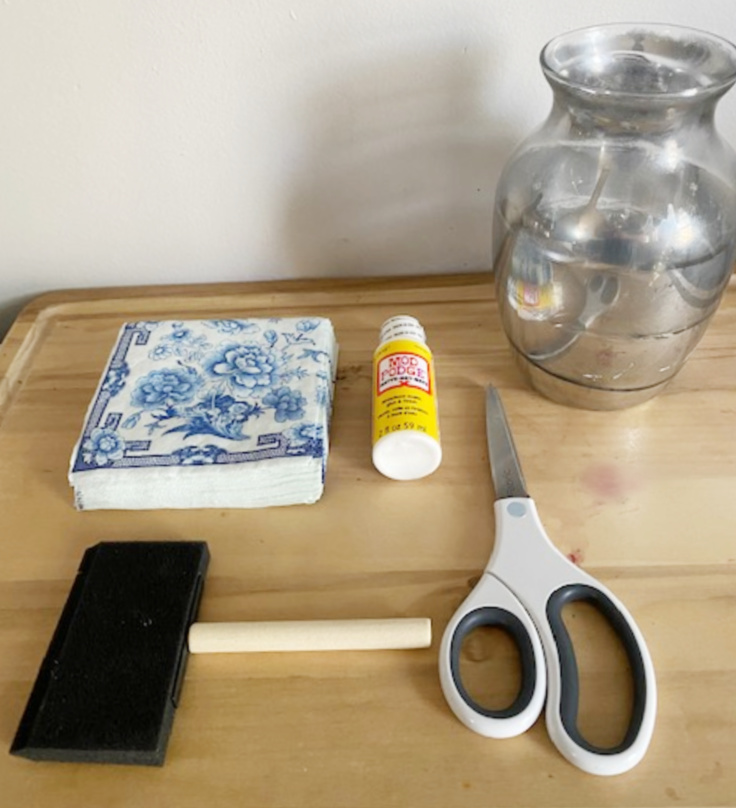
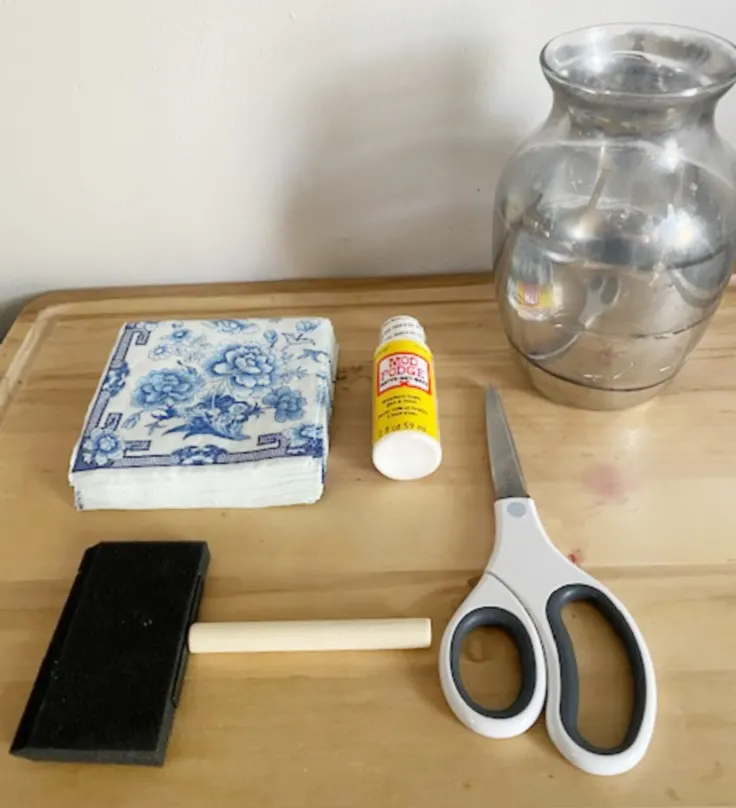
Supplies Needed to Decoupage a Vase
Tip: Any inexpensive glass vase works. Look for one with gentle curves and few or no ridges. Smooth sides make it much easier to keep the napkin flat.
Step-by-Step Instructions
Step 1: Clean the Glass
Wash the vase and dry it well. Wipe it down with rubbing alcohol if you can, so the glass is free of dust, fingerprints, and any oily film. Mod Podge sticks best to a clean surface.
Step 2: Separate the Napkin Layers
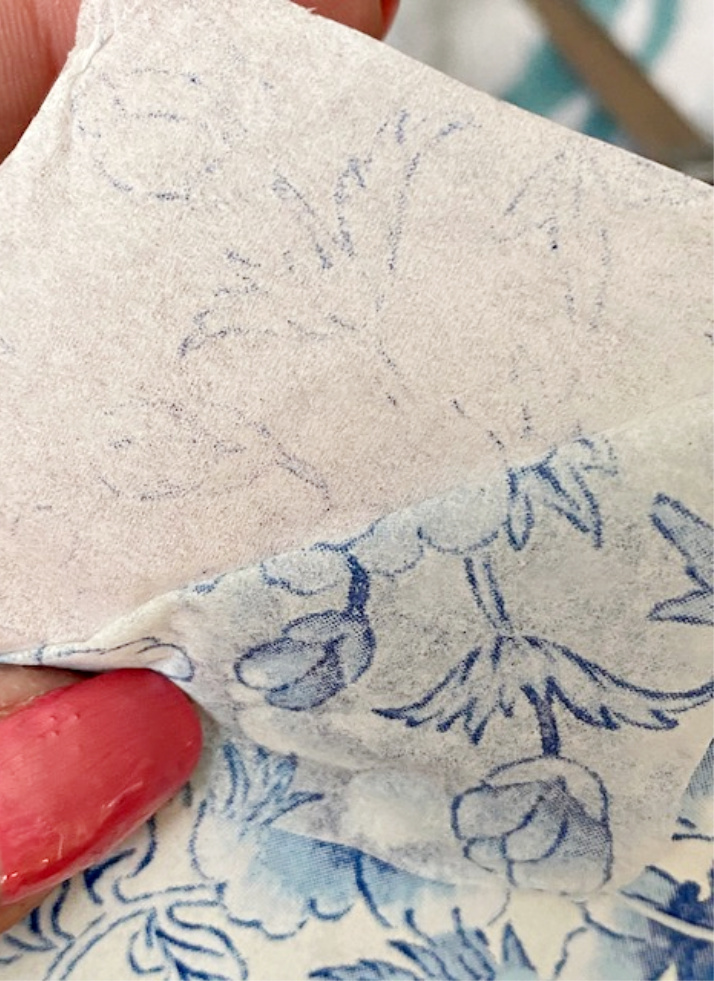
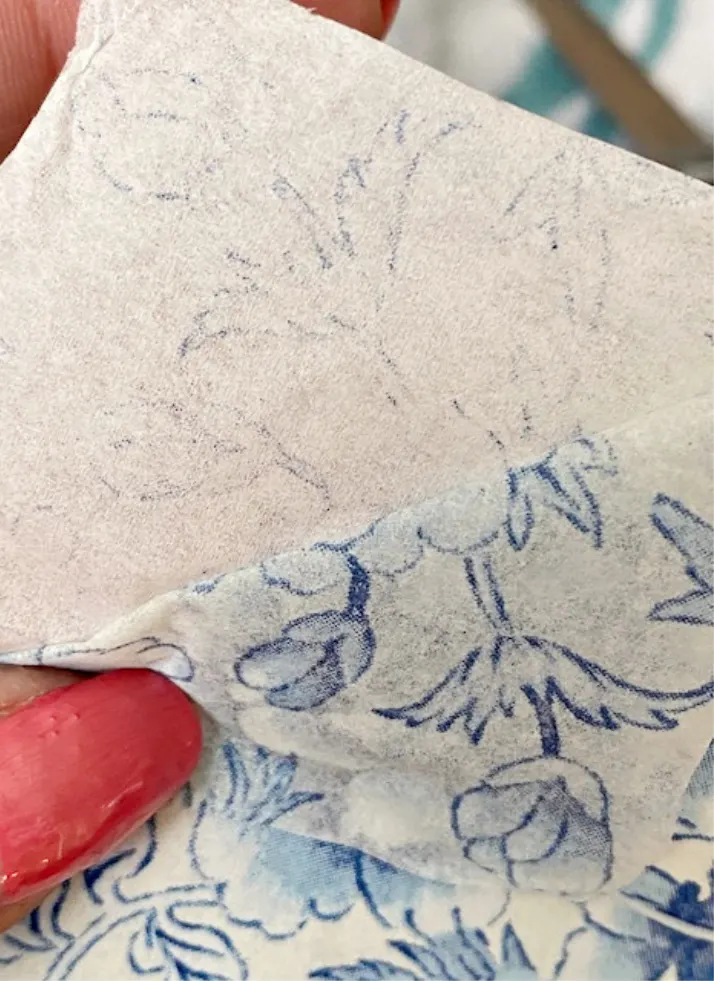
Most decorative napkins are 2-ply or 3-ply. Peel off the plain white layers so only the printed chinoiserie layer remains. This thin layer lays flat and blends into the glass.
Step 3: Cut the Napkin
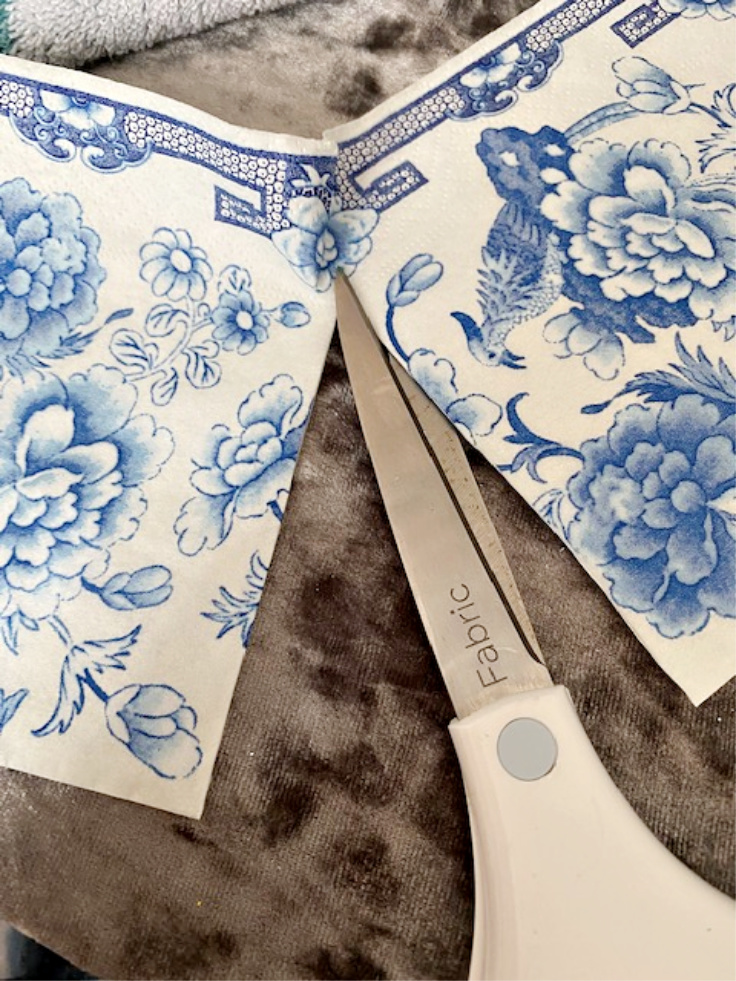
Cut the napkin to the size you want. I found it easier to start with a large square for the center of the vase, then add smaller pieces around it.
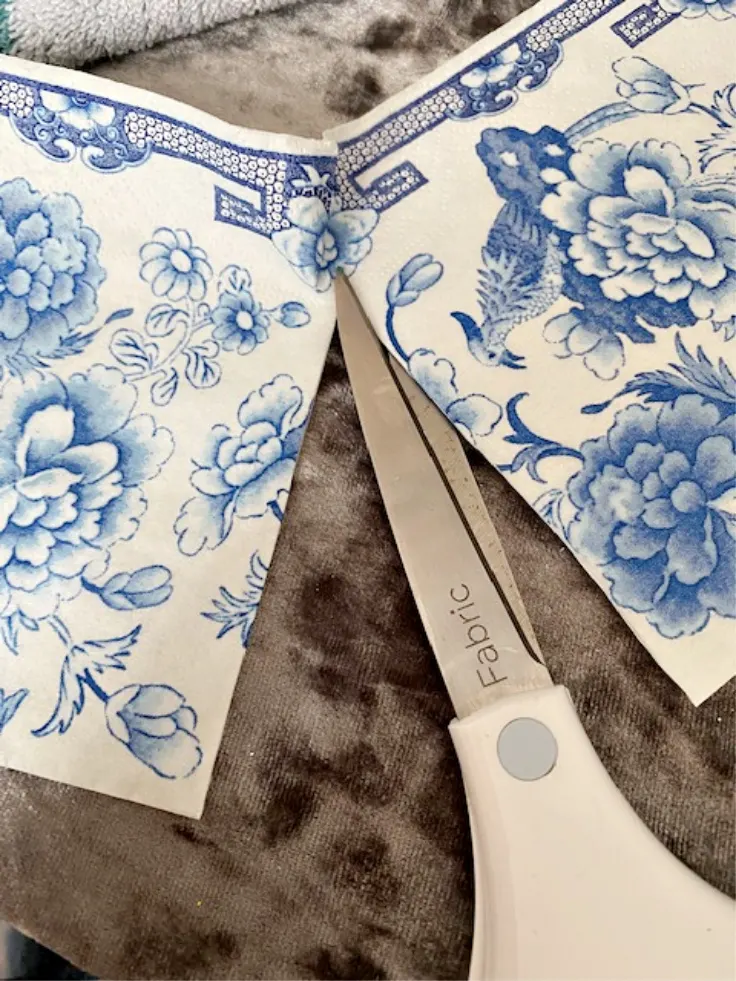
Step 4: Brush Mod Podge onto the Vase
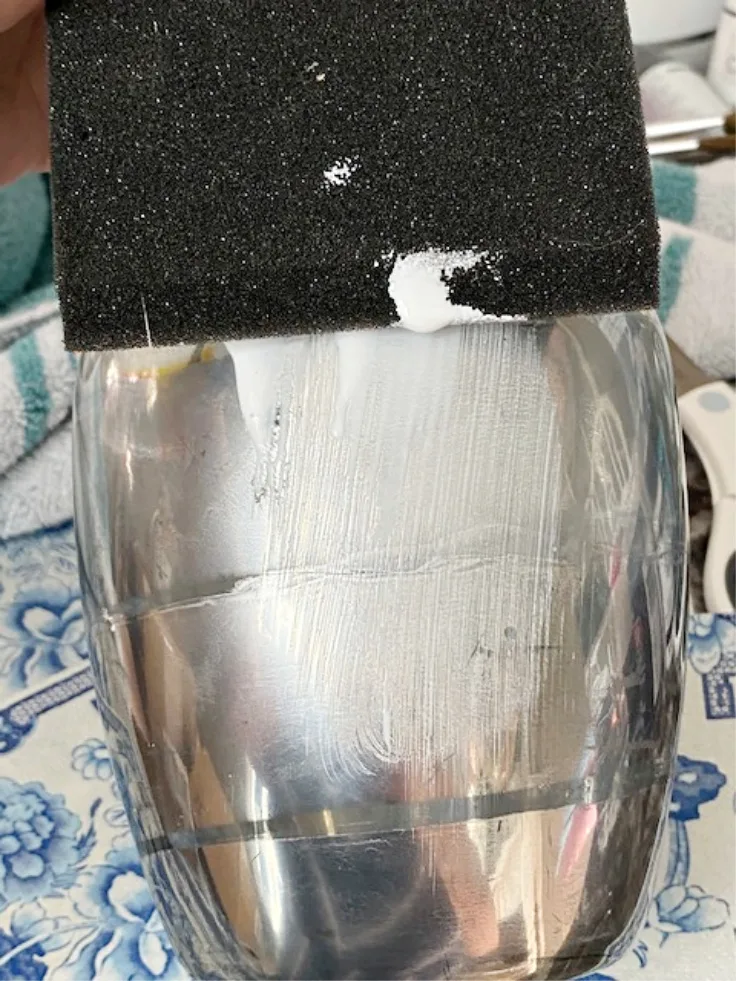
Use the foam brush to paint Mod Podge directly onto the vase, one section at a time. A thin, even coat works better than a thick one.
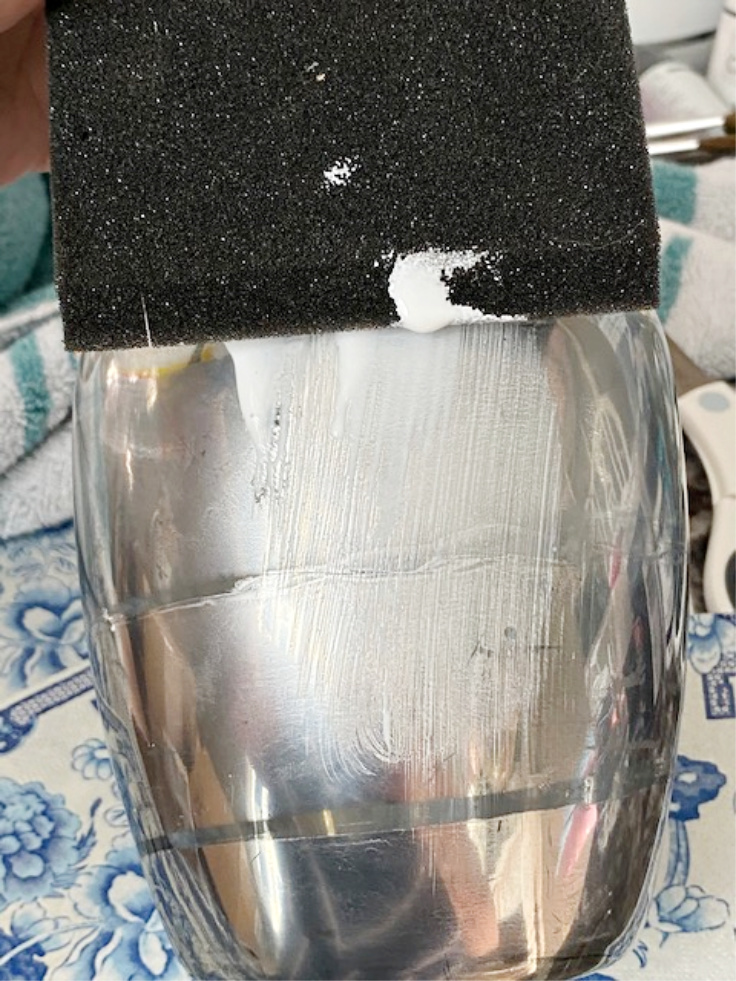
Step 5: Smooth the Napkin onto the Vase
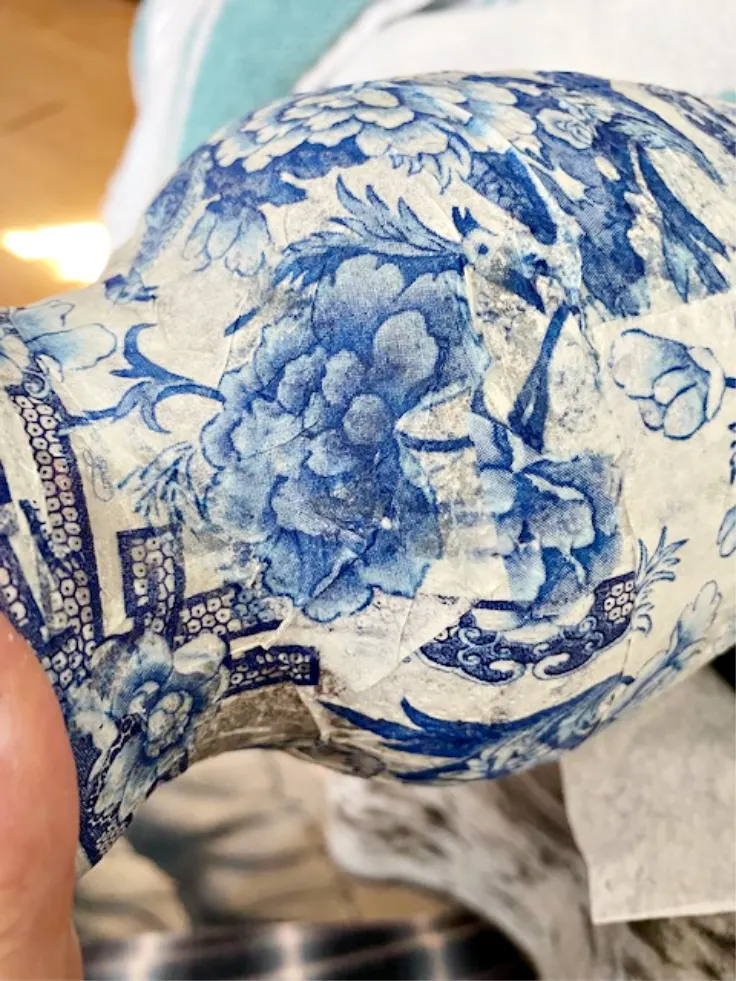
Lay the napkin piece onto the wet Mod Podge and smooth it out gently with your fingers or the brush. Start in the center and work toward the edges to push out wrinkles and air bubbles.
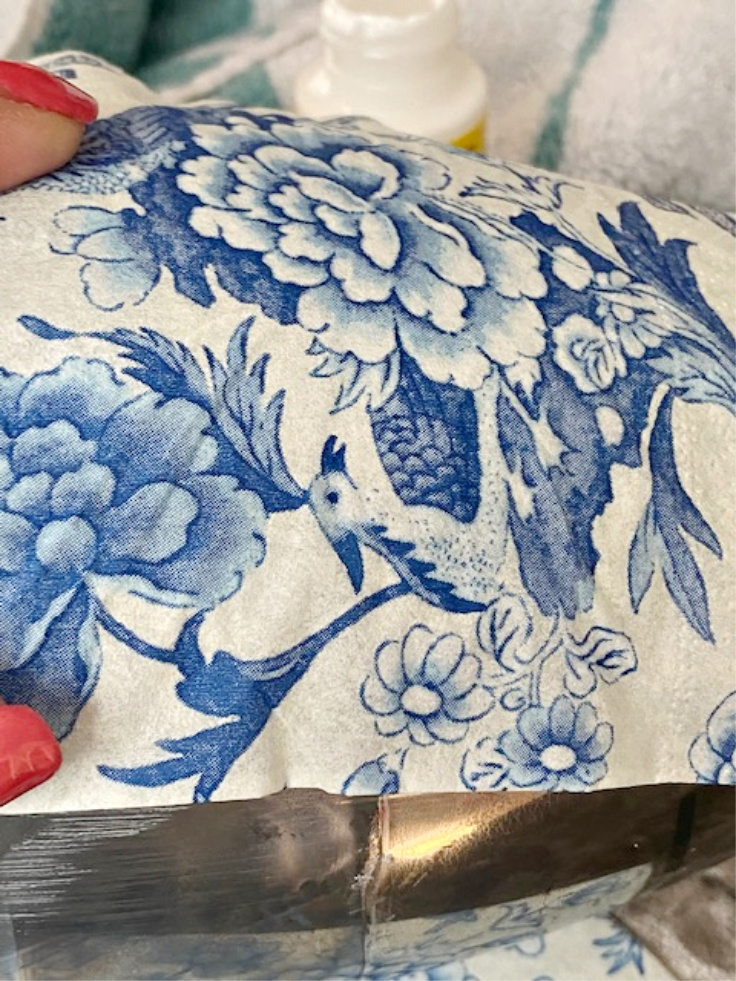
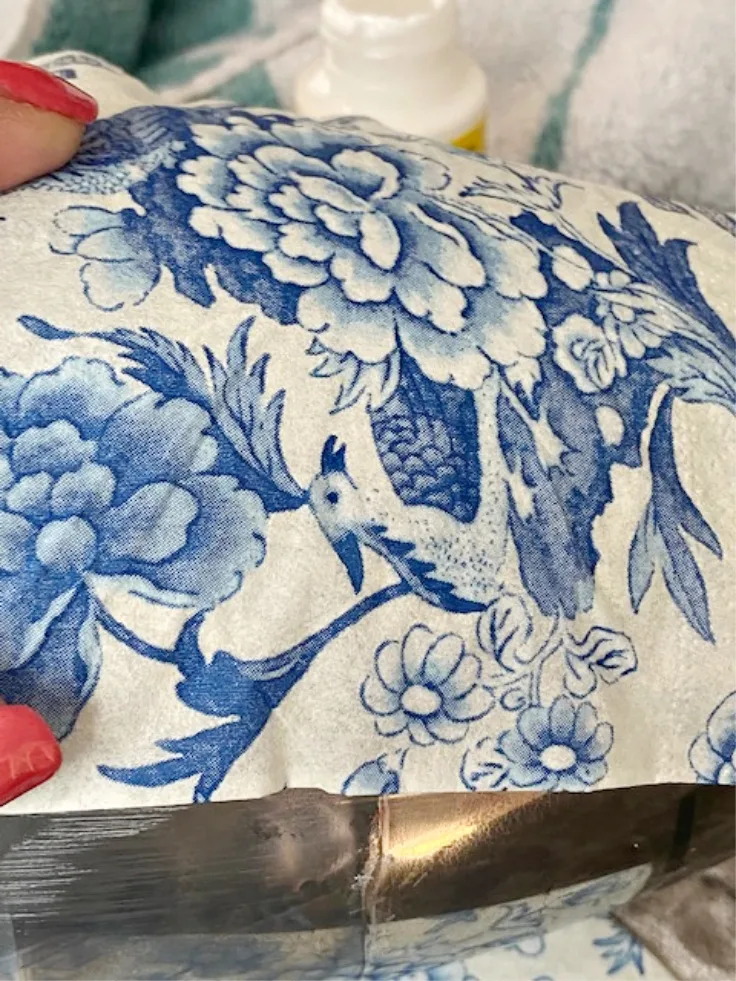
Step 6: Cover the Rest of the Vase
Repeat the process, brushing on Mod Podge and adding napkin pieces, until the vase is covered. Overlap the edges slightly and line up the pattern where you can so the seams are hard to see.
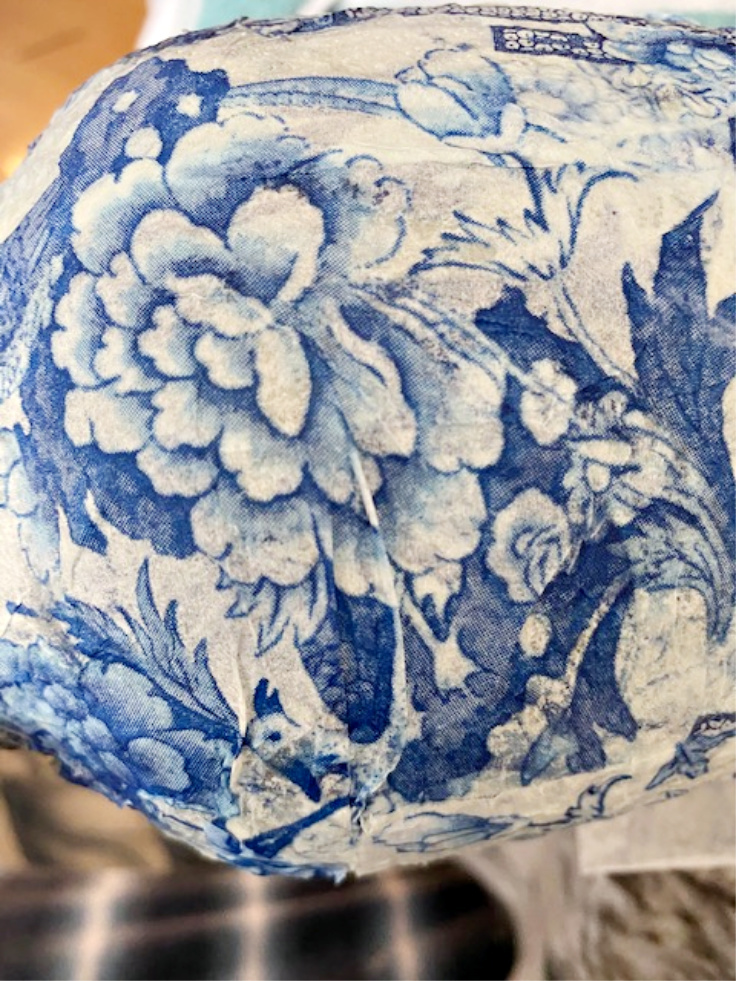
Step 7: Let It Dry, Then Add a Top Coat
Let the Mod Podge dry completely, then brush on a top coat to seal the napkin. Add a second top coat for extra protection once the first is dry.
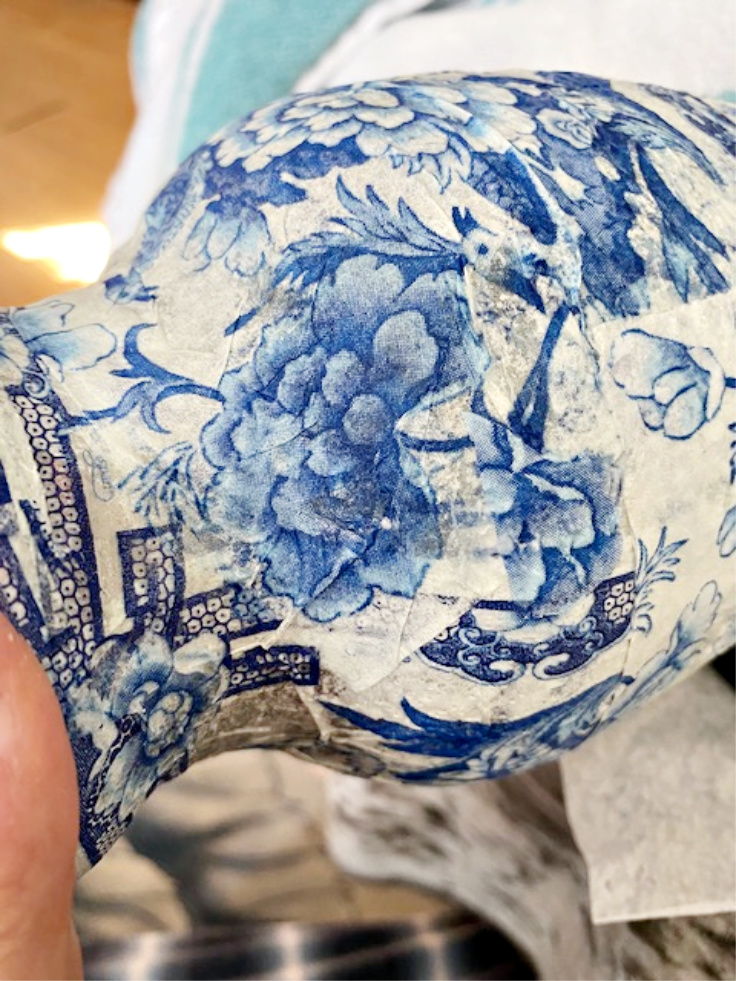
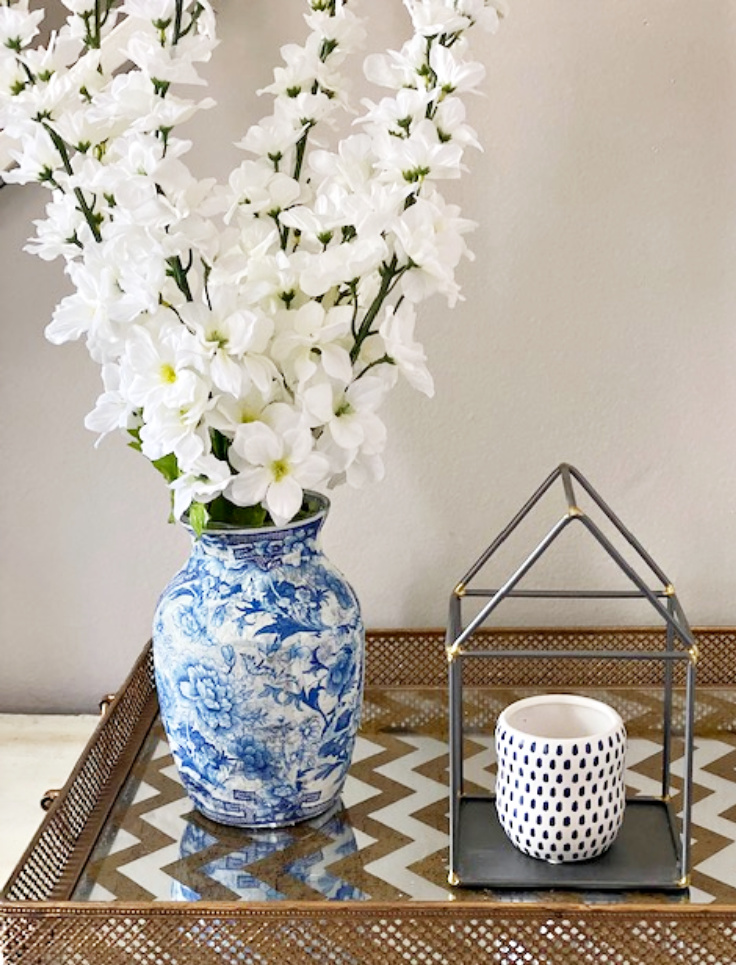
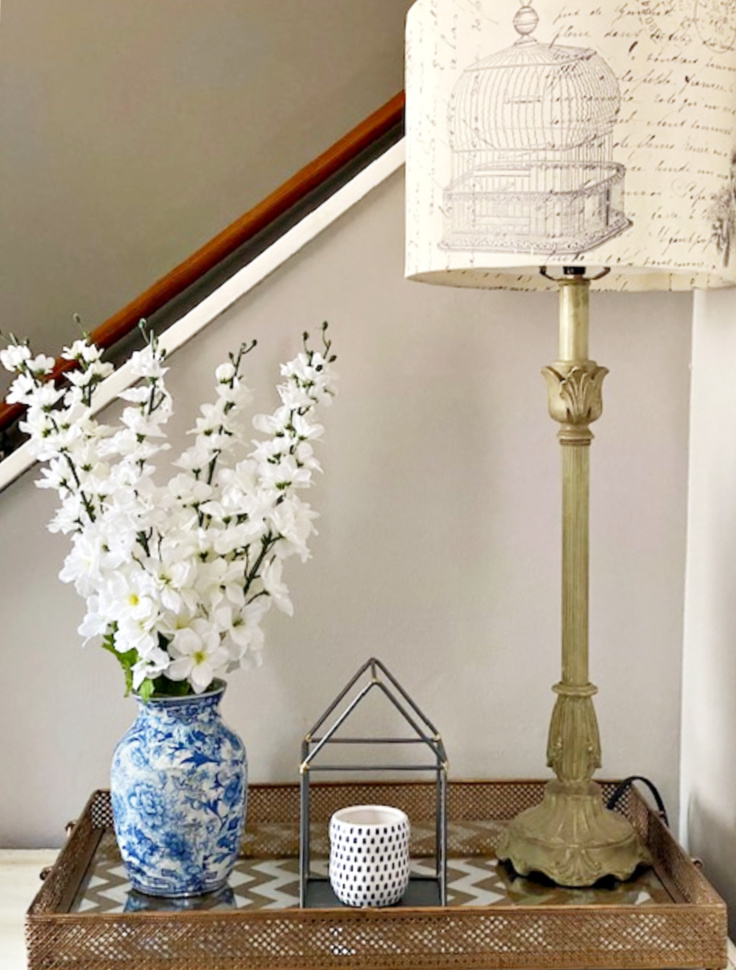
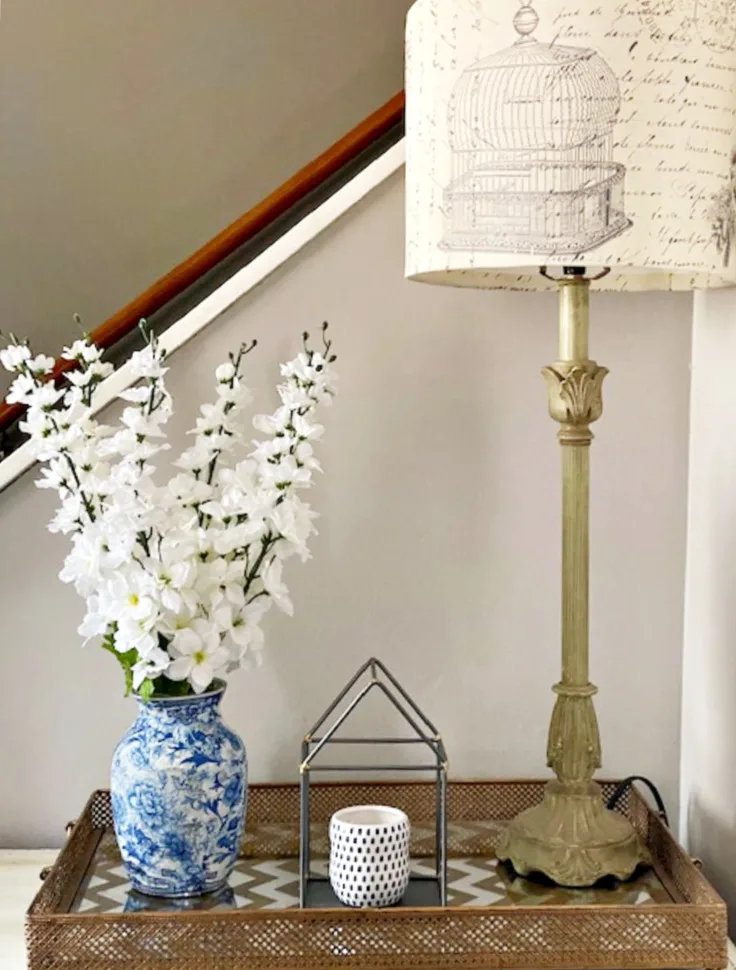
See how easy that was? My Spring tablescape that year was chinoiserie themed, and this vase was the centerpiece with fresh tulips.
Tips for Decoupage on a Glass Vase
- Use thin coats. Too much Mod Podge makes the napkin wrinkle and tear.
- Work in small sections. Mod Podge starts to set, so brush on only as much as you can cover right away.
- Tear or cut around motifs. Trimming close to the birds and flowers hides the edges better than using a full square.
- Keep it for dry or faux flowers, or use a liner. Decoupage on the outside is decorative. If you want fresh flowers, set a jar or plastic liner inside the vase so the finish doesn’t sit in water.
- Wipe clean, don’t soak. Use a damp cloth and skip the dishwasher.
Common Mistakes and How to Avoid Them
- Leaving the white layers on. Thick napkin layers look bumpy. Remove them.
- Skipping the cleaning step. Dust and fingerprints cause peeling later.
- Pressing too hard. Wet napkin tears easily, so smooth it gently.
- Rushing the top coat. Let each layer dry first so the finish stays clear.
Pin For Later
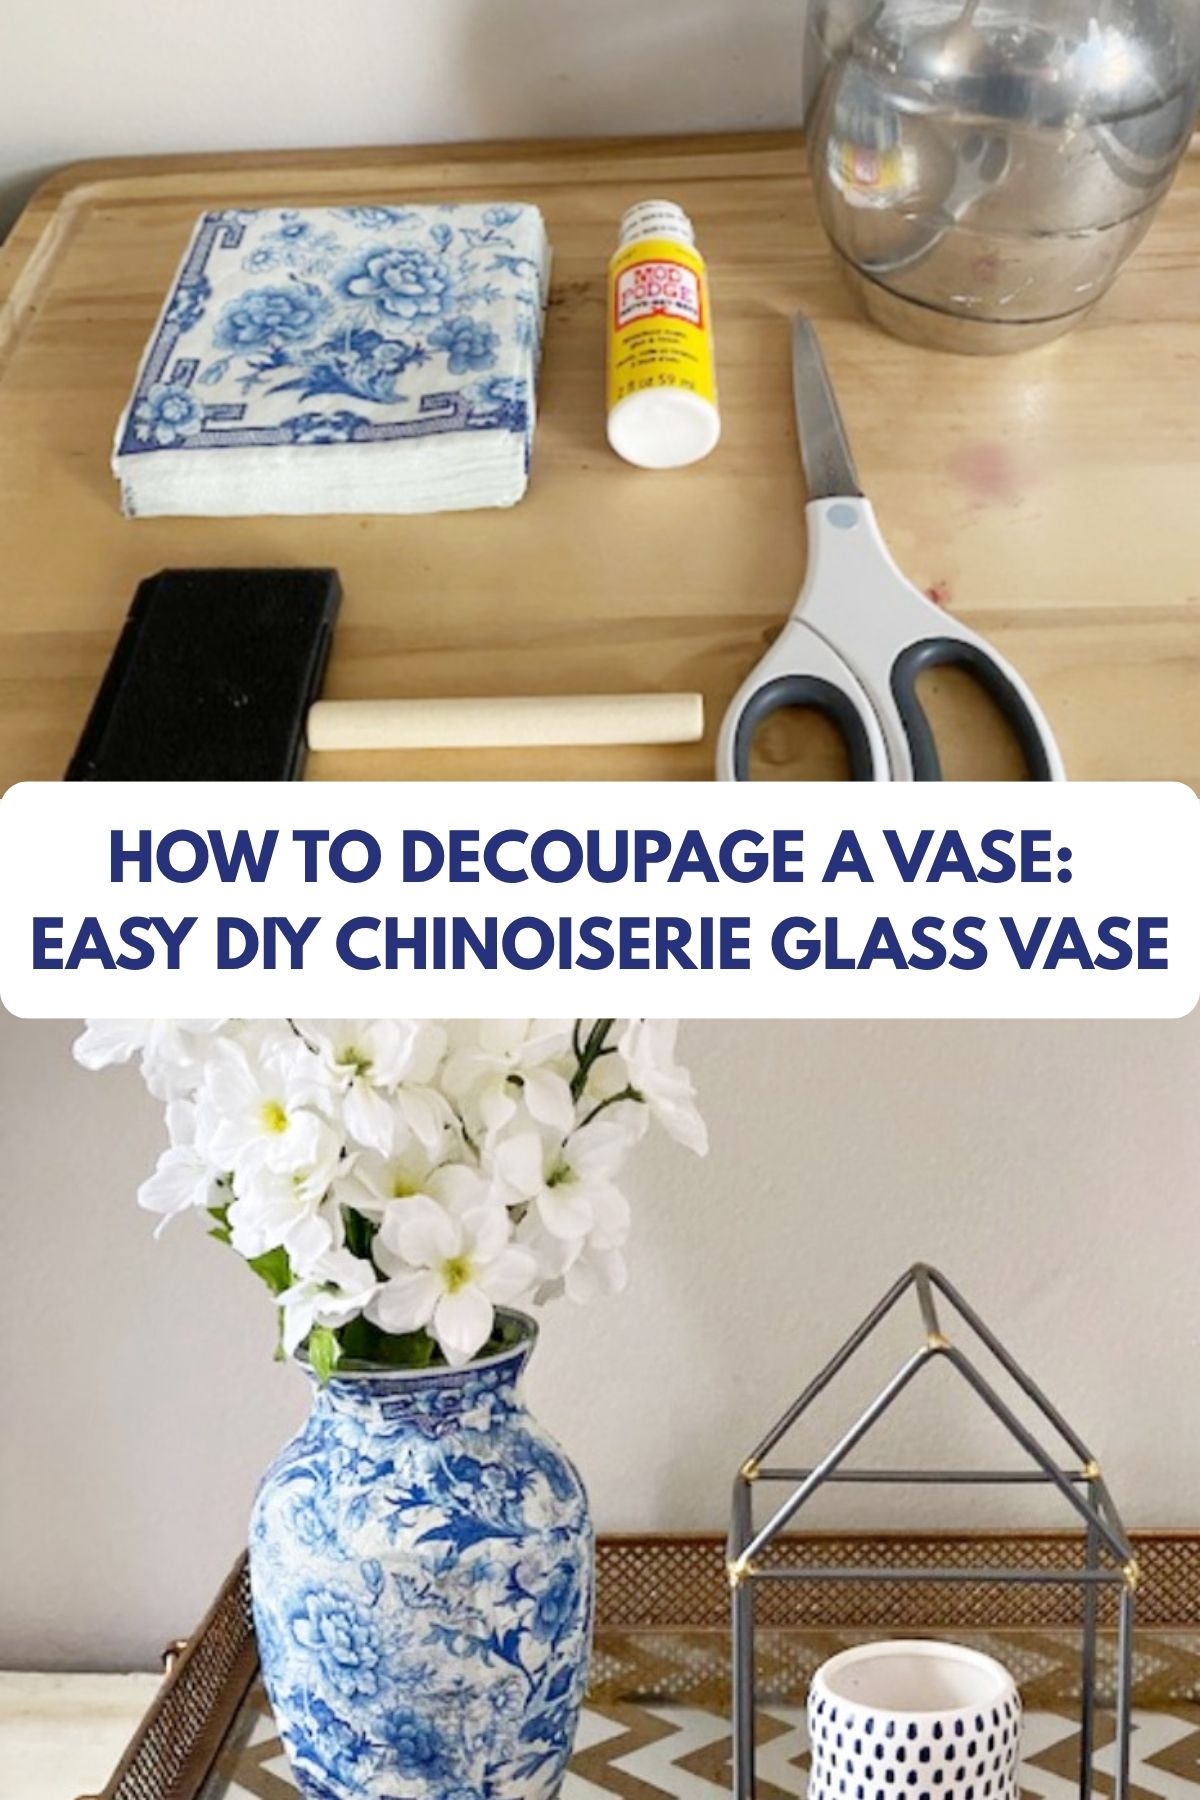
Share this article with your friends on Pinterest by pinning the below image.
It helps my blog grow and doesn’t cost a thing! 🙂
Decoupage Vase FAQ
Yes. Glass is a great surface for decoupage. Clean it well, and Mod Podge will stick without any primer.
Thin paper napkins are my favorite. Once you remove the extra layers, they nearly disappear into the glue and give a painted look. Tissue paper also works.
Yes. Use the exact same steps. Just make sure the surface is clean and dry.
Absolutely. Follow the same process.
Brush on two or more thin coats of Mod Podge over the dried napkin, letting each coat dry between layers.
More Decoupage and Chinoiserie Ideas
Want more? Check out these:
- 27 Super Easy and Creative DIY Decoupage Craft Ideas
- How to Reverse Decoupage on Glass
- Chinoiserie Pumpkin and Hydrangea Centerpiece
- Free Chinoiserie Wall Art Printables
For more thrifty Dollar Store projects, try the Dollar Store Farmhouse Basket or the Picture Frame Lantern.
You can find me on social media below:
Cathy-
Thursday 2nd of May 2024
Love it! Just got my napkins and will be doing this!
Ellie Stotz
Thursday 2nd of March 2023
Beautiful I did ornaments for Christmas. I will do your vase next. I love blue and white .thank you♥️
ourcraftymom
Friday 3rd of March 2023
So glad you like it! I bet the ornaments are beautiful!
Lynn Du plessis
Tuesday 24th of January 2023
Hi there I would like to do a fase in Blue and White, where can I buy the paper napkins 🙏
Zahra
Thursday 16th of February 2023
@ourcraftymom,
Hi, I really like this. Can this be done on ceramic? Aldo you specified glass in the description but your vase looks stainless steel?
ourcraftymom
Tuesday 24th of January 2023
I’m so glad you like it! Here is my affiliate link to the exact ones I used from Amazon. https://amzn.to/3ZXAUVN
Happy crafting!
Ethel watson
Sunday 18th of December 2022
Could you use this method on a lamp shade?
ourcraftymom
Monday 19th of December 2022
Absolutely! Just follow the same exact process. :)
gail
Wednesday 2nd of December 2020
I love easy decoupage projects, and I have never done a vase! But I do see one in my future!! gail