
What paint goes on wine glasses? Glass paint and a q-tip make easy polka dots. Get the beginner tutorial, baking tips and holiday gift ideas.

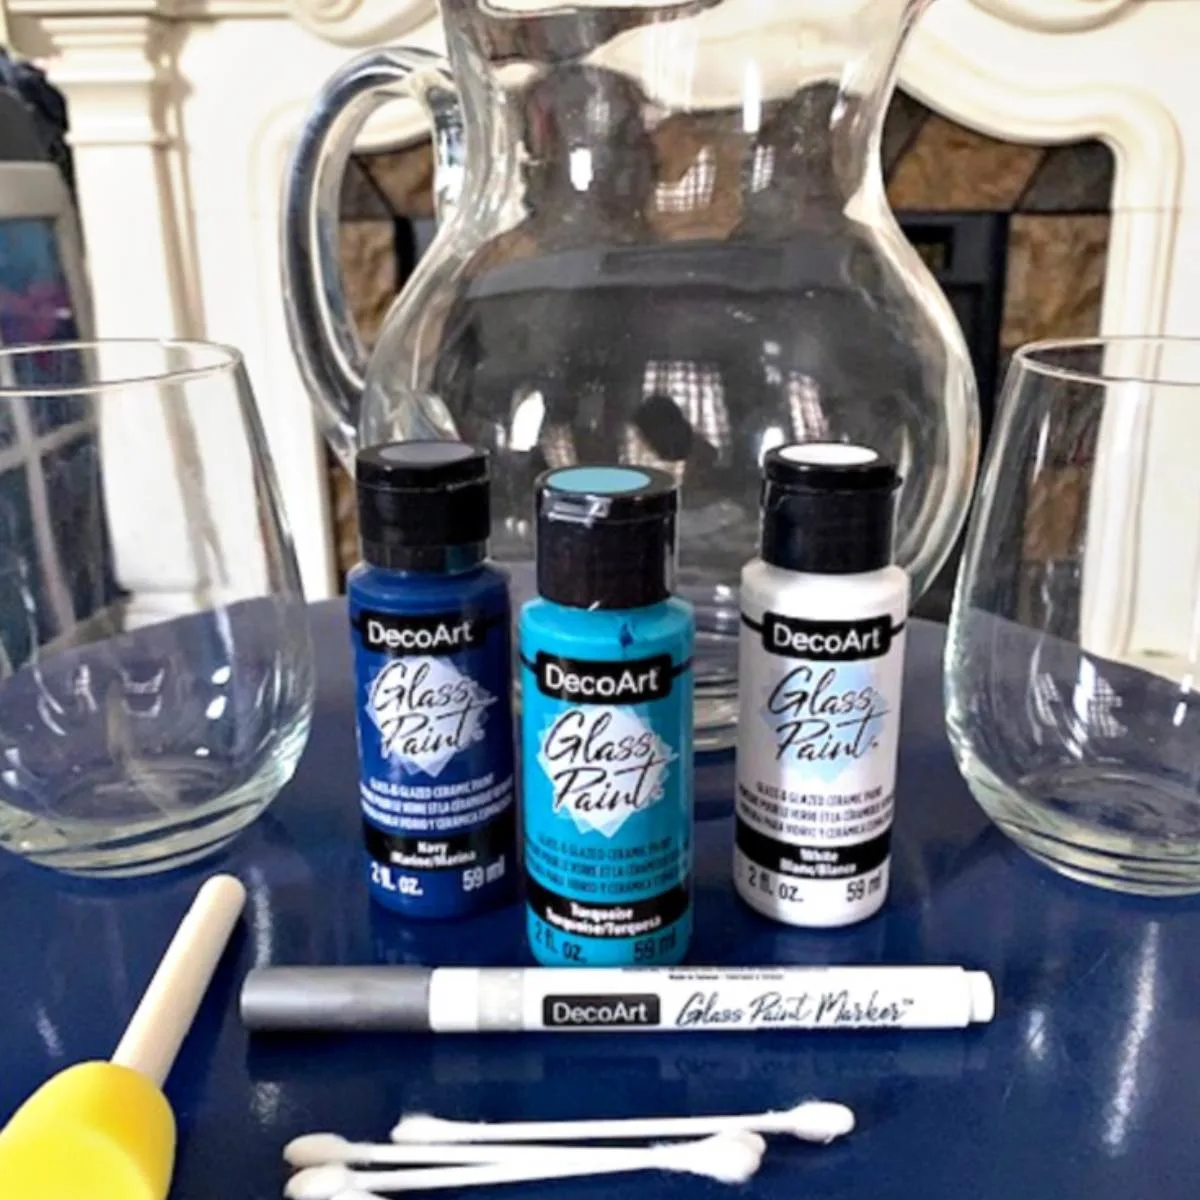
DIY hand painted wine glasses are one of the easiest crafts you can make with a q-tip, a bottle of glass paint and about 15 minutes.
This beginner-friendly tutorial shows you how to paint wine glasses with polka dots, how to bake the paint so it lasts, and which colors to choose for Halloween, Thanksgiving, Christmas and every party in between.
This post is sponsored by DecoArt and contains affiliate links at no extra cost to you. Please see my full disclosure here.
This post is sponsored by DecoArt and contains affiliate links at no extra cost to you. Please see my full disclosure here.
Quick Project Snapshot
- Skill level: Easy. No painting experience needed.
- Time: About 15 minutes of painting, plus drying and baking time.
- Cost: About $5 per glass.
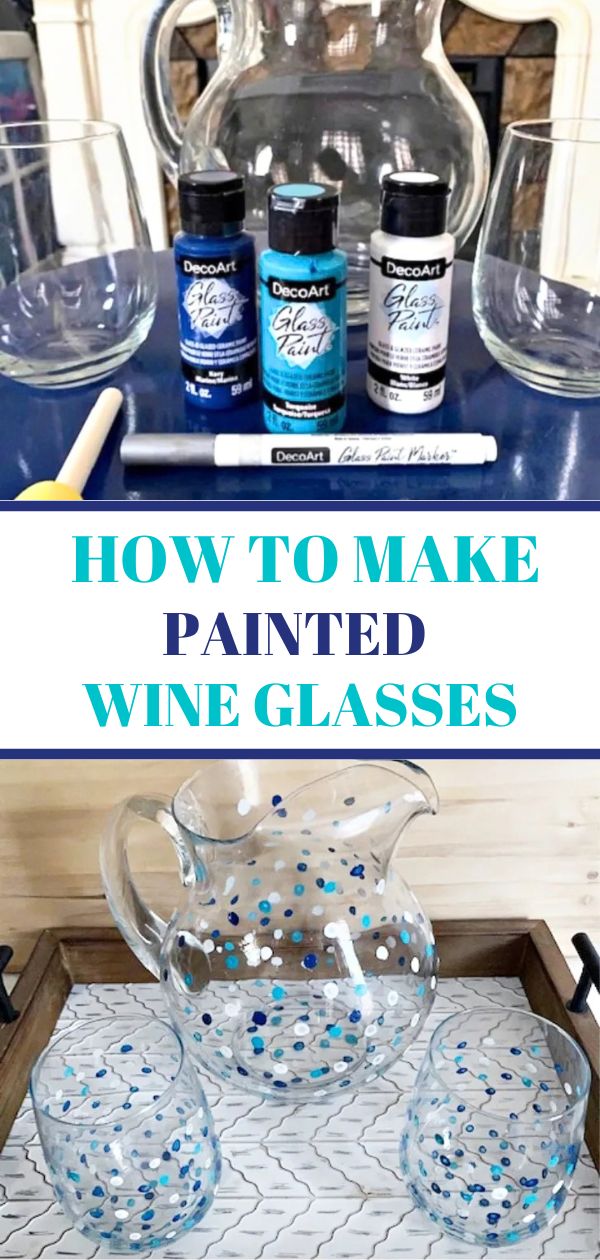
- Best paint: Water-based glass paint. I used DecoArt Glass Paint in navy, white and turquoise.
- Tools: A q-tip for perfect dots and rubbing alcohol to clean the glass.
- Make it dishwasher safe: Bake in a cold oven set to 275°F for 30 minutes, then let the glasses cool.
- Fully cured: 4 days. Hand wash gently until then.
This is my second time painting on wine glasses. The first time I used alcohol ink, and while I was happy with how they looked, they were not easy to paint.
These polka dot painted wine glasses were so much simpler, which makes them a great first project if you have never tried wine glass painting.
Several readers have asked whether they can use acrylic paint instead. You can, but glass paint is the better choice because it is made for glass.
You get a much more vivid look with no additives needed. DecoArt’s glass paint comes in ten bright colors, cleans up with soap and water, and is sold at Michael’s, Amazon and most craft stores.
When the glasses are done, add a set of wine glass charms so everyone can tell their glass apart. Want more design inspiration after this tutorial?
Browse these 15 easy wine glass painting ideas for beginners.
What Paint Goes on Wine Glasses?
Table of Contents
Water-based glass paint is the best paint for wine glasses. It is made to stick to glass, it self-levels so brush strokes fade, and the colors come out bright without any additives. DecoArt’s version cleans up with soap and water, which makes it easy for beginners.
| Paint type | How it works on glass | Good to know |
|---|---|---|
| Glass paint (DecoArt) | Vivid color, minimal streaks, 1 to 2 coats | Bake for a dishwasher-safe finish |
| Acrylic paint | Works, but the look is less vivid | Follow the baking directions on that paint’s label |
| Alcohol ink | Pretty results, but hard to control | See my alcohol ink wine glasses |
One safety note from the label: this paint is not for direct contact with food. Keep it on the outside of the glass and well away from the rim.
Supplies for Painted Wine Glasses
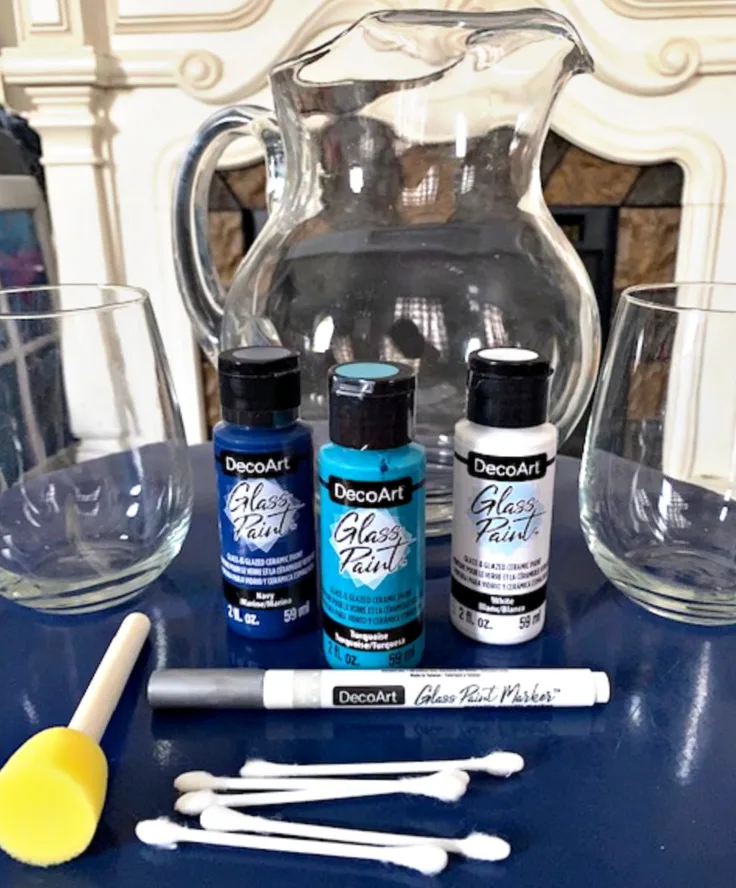
- DecoArt Glass Paint in two or three colors. I used navy, white and turquoise.
- Q-tips, one for each color
- Rubbing alcohol and a cotton ball
- Wine glasses. Mine came from the dollar store, but thrift stores are great too. I found some for 50 cents each.
- Painter’s tape (optional) to mark where your painting stops
- A cookie sheet for baking

How to Choose Wine Glasses to Paint (Dollar Store and Thrift Store Picks)
You do not need fancy glassware for wine glass painting. Plain, inexpensive glasses give you a blank canvas, and a mismatched thrift store set can look charming once everything is painted in the same colors.
Before you buy, check a few things:
- Smooth, clear glass. Dots go on more evenly when the surface has no heavy etching or texture.
- Gently curved or straight sides. Stemless glasses are easy to hold while you dab. This Libbey stemless wine glass party set is a good option if you want a full set.
- No chips or cracks. You will be heating the glasses in the oven, so skip any that are damaged.
- A matching set. Grab four to six of the same glass if you plan to give them as a gift.
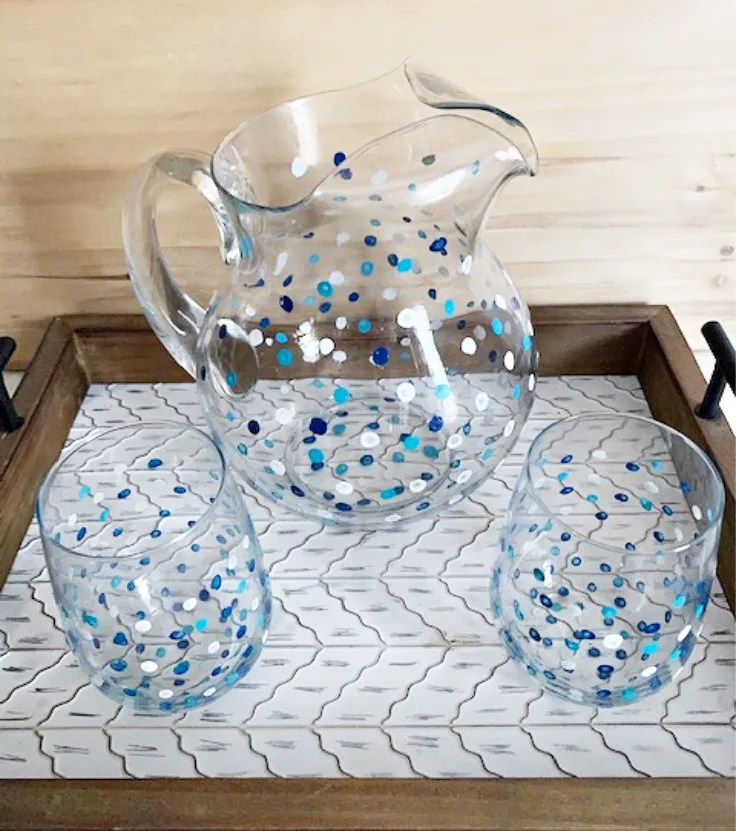
Don’t forget other glass pieces. I also painted a thrift store glass pitcher, and it looked so cute next to the glasses at an outdoor picnic or barbecue.
How to Paint Wine Glasses with a Q-Tip (Step by Step)
These steps make one polka dot wine glass in about 15 minutes of hands-on time. Repeat them for every glass in your set.
Step 1: Clean the Glass
Wipe the glass with a cotton ball and rubbing alcohol to remove fingerprints and dust. Paint sticks best to a clean, dry surface.
Step 2: Dab on Your First Color
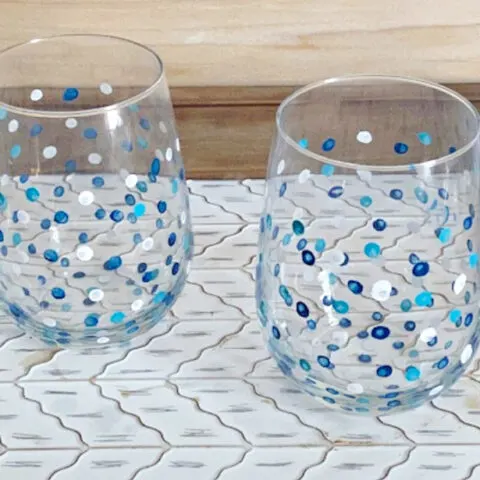
Dip a q-tip in the glass paint and dab it onto the glass, starting at the bottom. Each dab makes a perfect polka dot. It is easiest to start with one color.

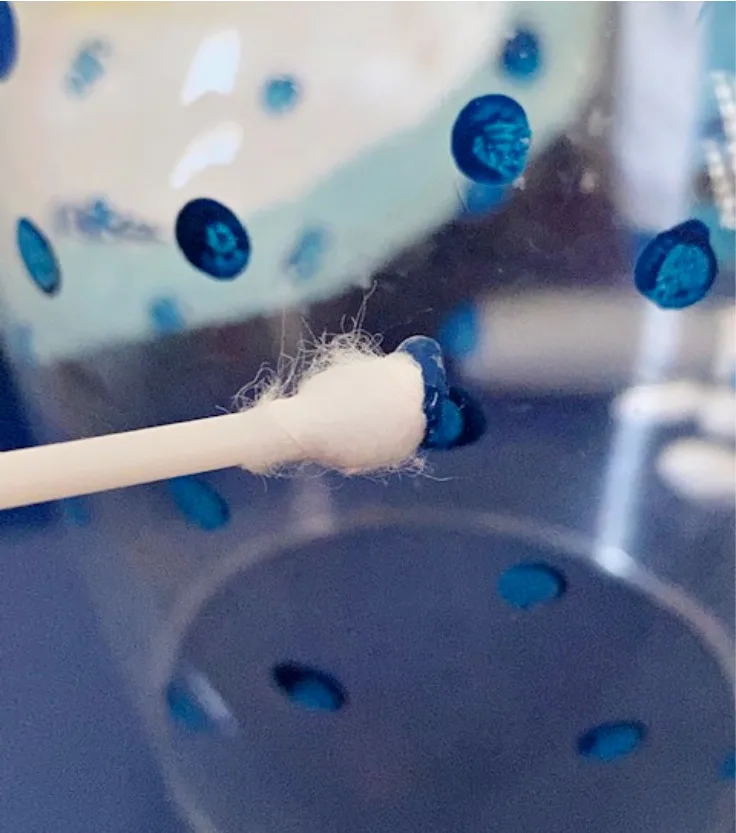
Stop about three-quarters of the way up the glass. Do not add paint near the top, because that is where your mouth touches the glass.
If you want a guide, put a strip of painter’s tape around the glass to mark where to stop.

Step 3: Repeat with a Second Paint Color
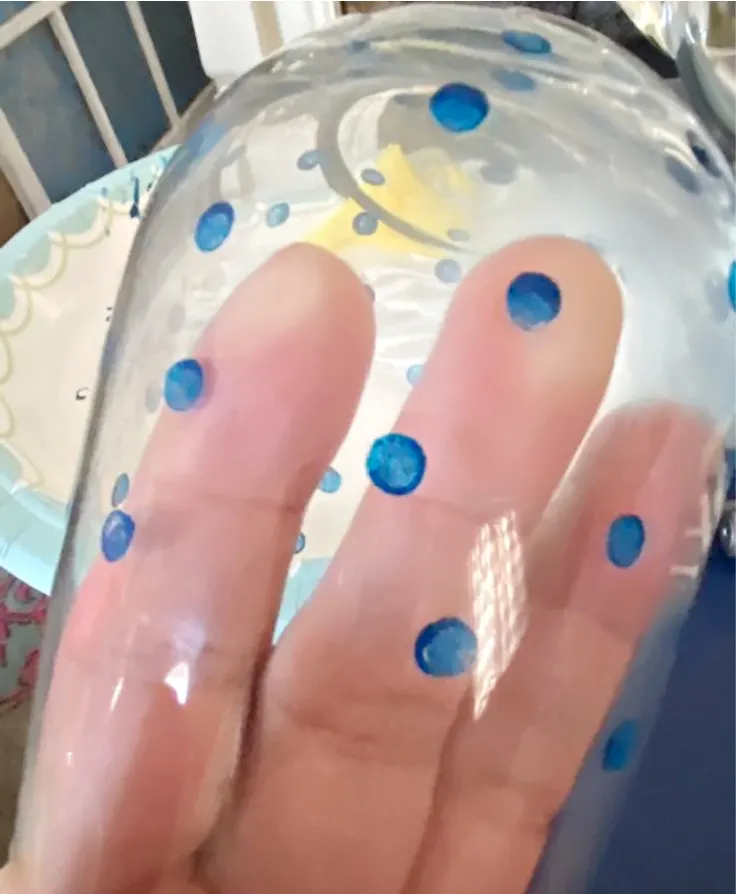
Pick a second color and use a fresh q-tip to dab it between the first dots. Space the dots out, pack them close together, or be a rebel and let them connect.
Step 4: Add a Third Color
I used three colors, so finish with your last color and a clean q-tip. Step back and fill any gaps until the pattern looks balanced.

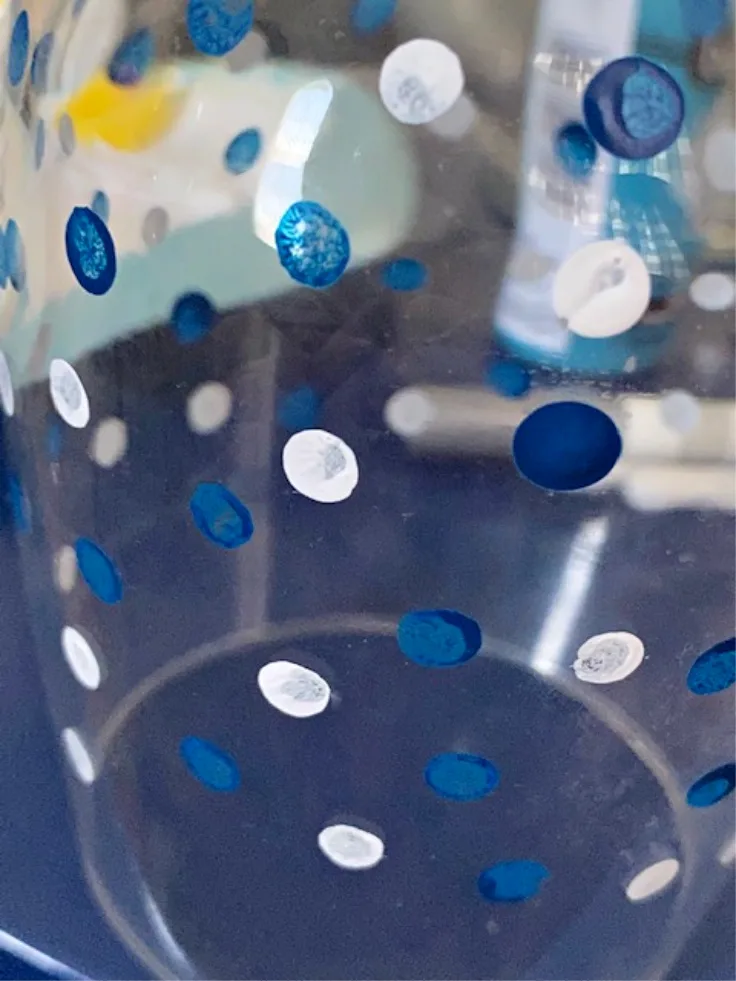
Step 5: Let the Paint Dry and Cure
Let the painted glass sit for at least four hours, or overnight to be safe. Then move on to baking if you want the glass to be dishwasher safe.
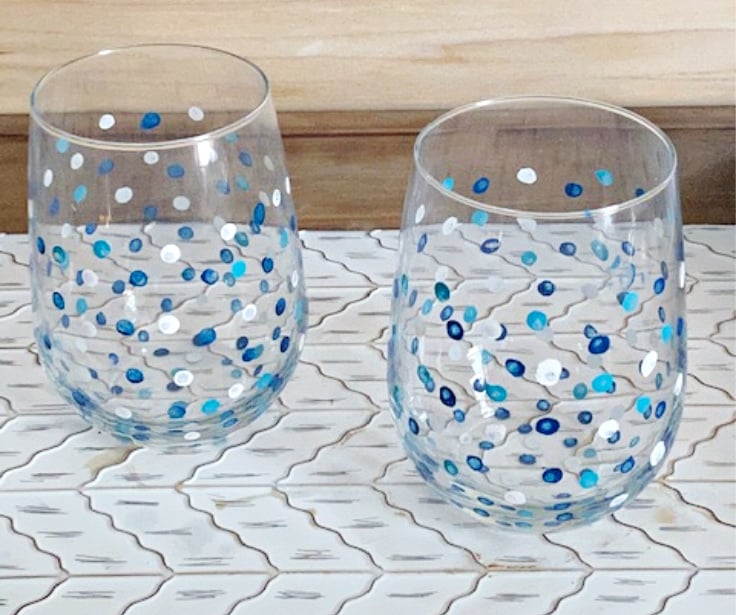
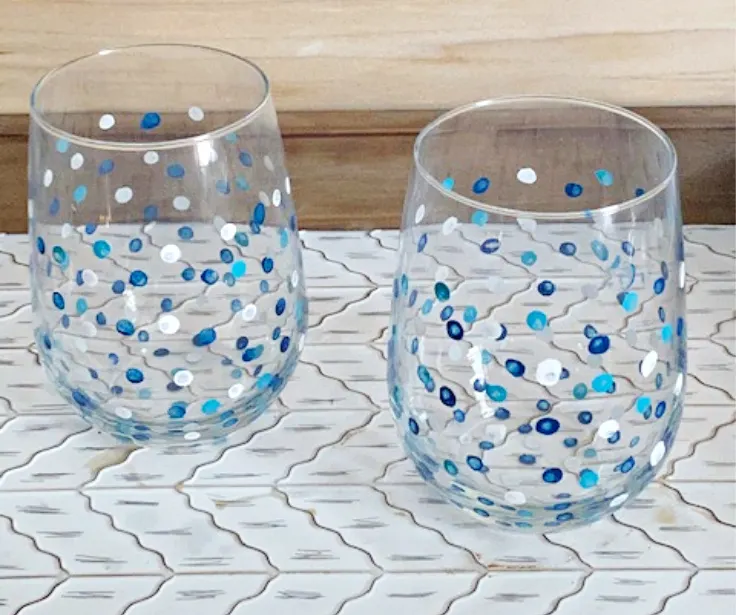
How to Bake Painted Wine Glasses (and Make Them Dishwasher Safe)
Step 6: Bake the Glasses in the Oven
Baking is what makes the paint top-rack dishwasher safe. Here is how I do it with DecoArt glass paint:
- Set the painted glasses on a cookie sheet and place them in a cold oven. Do not preheat.
- Set the oven to 275°F and start a 30-minute timer.
- When the timer ends, turn the oven off. Let the glasses cool in the oven with the door partly open before you take them out.
I have never had a glass break this way, and I bake coffee mugs the same way. This paint does not need a sealer or extra finish. The bake is the finishing step.
Do You Have to Bake Painted Wine Glasses?
No. If you only plan to hand wash your glasses, you can skip the oven. Just be gentle, because the paint can take a full four days to cure.

| How you will use them | What to do |
|---|---|
| Hand wash only | Skip baking. Let the paint cure for 4 days and wash gently. |
| Top-rack dishwasher | Bake at 275°F for 30 minutes, then cool in the oven. |
| Everyday sipping | Keep paint off the rim and the inside of the glass. |
Always check the label on your own paint. Baking directions can vary by brand and by paint type.
Wine Glass Painting Ideas for Every Occasion
The same q-tip technique works for every season. Swap the paint colors and you have painted wine glasses ideas for Halloween, Thanksgiving, Christmas and beyond. Plan ahead: the paint needs about 4 days to fully cure, so start at least a week before the event or gift exchange.
Halloween Wine Glasses
Use black, white, orange and purple dots for spooky polka dot glasses that look great on a party table. If your paint set includes yellow, try orange, yellow and white dots for a candy corn look.
For more Halloween glass crafts, see my pumpkin wine glass candle holders, Halloween icon glasses and ghost mug.
Thanksgiving Wine Glasses
Choose burnt orange, mustard, cream and deep teal for warm autumn colors. Paint a set of four to six and put one at each place setting, or wrap two as a hostess gift.
They pair well with my teal and orange Thanksgiving tablescape and this thrift store Thanksgiving tablescape. If you want a fall floral design, try my sunflower glass painting.
Christmas Wine Glasses
Red, green and white dots look festive without being fussy, and navy, white and silver feels more wintry. Painted glasses make an easy handmade Christmas gift for neighbors, teachers, coworkers and hosts.
Tuck a pair into a DIY wine gift bag and add one of these free printable wine labels. Bake and cure the glasses before you wrap them.
New Year’s Eve Glasses
Black, white and gold dots (or silver, if your paint line has a metallic) create a confetti look for a midnight toast. The same dotting method works on champagne flutes, as long as you keep the paint away from the rim.
Valentine’s Day and Galentine’s Glasses
Use red, pink and white. Dab a few dots close together in a heart shape, or keep the classic polka dot pattern. A pair of painted glasses and a bottle of wine is a sweet, budget-friendly Valentine’s Day gift.
Gifts, Parties and Date Nights
Use red, white and blue dots for summer cookouts and the Fourth of July.
Paint an upcycled wine bottle with the same process and pair it with two painted glasses for a gift.
Put together a DIY kit with glasses, glass paint and q-tips for a friend who loves to craft.
Plan a paint party with friends.
Make it a craft night for a bachelorette party.
Turn it into a unique date night.
Tips for Painting Wine Glasses with DecoArt Glass Paint
- Less is more. This glass paint self-levels, so a thin layer leaves minimal marks.
- Shake the bottle well before you start.
- Apply one to two coats. Let each coat set before adding another.
- Use a fresh q-tip for each color so your dots stay crisp.
- Allow four days to fully cure. Hand wash gently during that time.
- Clean up with soap and water. The paint is water-based.
- Keep it away from food contact. Paint only the outside of the glass.
Common Mistakes to Avoid When Painting Wine Glasses
- Painting the rim. Stop about three-quarters of the way up so paint never touches your mouth.
- Skipping the alcohol wipe. Fingerprints and dust keep paint from sticking evenly.
- Loading the q-tip with too much paint. Thick dots can pool or drip. Dab lightly.
- Heating the oven first. Start the glasses in a cold oven and let them cool inside it.
- Running them through the dishwasher too soon. Bake first, then use the top rack only.
- Skipping the label. If you swap in a different paint, follow that paint’s cure and bake directions.
Frequently Asked Questions About Painting Wine Glasses
Water-based glass paint is the best choice. It is made for glass, gives bright color and needs no additives. Acrylic paint can also work, but the look is less vivid.
Yes. Several readers have asked, and it can be done. I prefer glass paint for the richer color. If you use acrylic, follow the directions on that paint’s label for drying and baking.
With DecoArt glass paint, put the glasses on a cookie sheet in a cold oven, set it to 275°F and bake for 30 minutes. Let them cool in the oven. Baking times and temperatures differ by brand, so always check your label.
Nothing extra is needed with this paint. I do not use a sealer. Baking is the finishing step.
They can be top-rack dishwasher safe if you bake them first. If you skip baking, hand wash them gently, since the paint can take four days to cure.
Let the paint dry at least four hours, or overnight, before baking. Full cure takes about four days.
Yes, as long as you keep the paint off the rim and the inside of the glass. The paint is not meant for direct contact with food, which is why you stop about three-quarters of the way up the glass.
Wipe wet paint away with soap and water, since this paint is water-based. For a mistake that has already dried, a cotton ball with rubbing alcohol usually helps. Test it on a small spot first.
Try polka dots, seasonal color palettes, or dots in a heart shape. See the occasion ideas above, or browse my easy wine glass painting ideas for beginners.
Make Your Own Hand Painted Wine Glasses
Now it is your turn. Pour yourself a glass of wine, or your favorite drink, and let your inner artist shine. If you try this project, leave a comment below or share a photo on Pinterest. I would love to see your painted glasses!
Please pin this image to save the tutorial for later.

How to Make DIY Hand Painted Wine Glasses
Learn how easy it is to make your own hand painted wine glasses with a few simple supplies.
Materials
- Wine Glass
- Glass Paint
- Q-Tip
- Rubbing Alcohol
- Cotton Ball
Instructions
1. Clean the glass with rubbing alcohol to remove any fingerprints or dust.
2. Dab paint onto the glass with a q-tip, starting at the bottom and stopping about three-quarters of the way up. Keep paint off the rim.
3. Choose a second color and dab it on with a fresh q-tip.
4. Add polka dots with a third color.
5. Let the paint dry for at least four hours, or overnight.
6. For a dishwasher-safe finish, place the glasses on a cookie sheet in a cold oven. Set it to 275°F and bake for 30 minutes. Let them cool in the oven with the door partly open. Allow four days for a full cure.
Recommended Products
As an Amazon Associate and member of other affiliate programs, I earn from qualifying purchases.

Now it’s time to make your own hand-painted wine glasses? So pour yourself a glass of wine, or your favorite beverage, and let your inner artist shine!
Follow me on social media below:
Karen
Saturday 17th of July 2021
What do you put them on in the oven, just the rack or a cookie sheet? Cute gift idea, Thanks!
ourcraftymom
Sunday 18th of July 2021
You can put them on a cookie sheet. I'm glad you like them!
Shatara
Thursday 24th of December 2020
Hello quick question. Did you use a finish on the glass before putting in the oven?
ourcraftymom
Thursday 24th of December 2020
Hi. No finish. Just bake it on the low temp and you are good to go. Be sure to let the oven cool before removing them. Share a picture when they're done. I'd love to see!
Martha
Sunday 28th of June 2020
Can you tell me if you start counting your 30 minutes in the oven when the oven comes to temperature or as soon as you put your wine glass in the cool oven and set the temp? I’m assuming you put it in the oven set the timer and the oven temp. When the timer beeps turn off the oven and let it cool in the oven.
ourcraftymom
Saturday 4th of July 2020
I actually put it in a cool oven and set the temp. Then let it cool in the oven. I've had no issues with the glass breaking. I do this with coffee mugs too. :)
Marty Walden
Wednesday 1st of April 2020
These are so adorable, Michelle! You are amazing. Thanks for sharing!
Michelle Leslie
Tuesday 31st of March 2020
What a cute idea Michelle and it's a fun thing to do under lockdown too. Thanks a mil for the idea