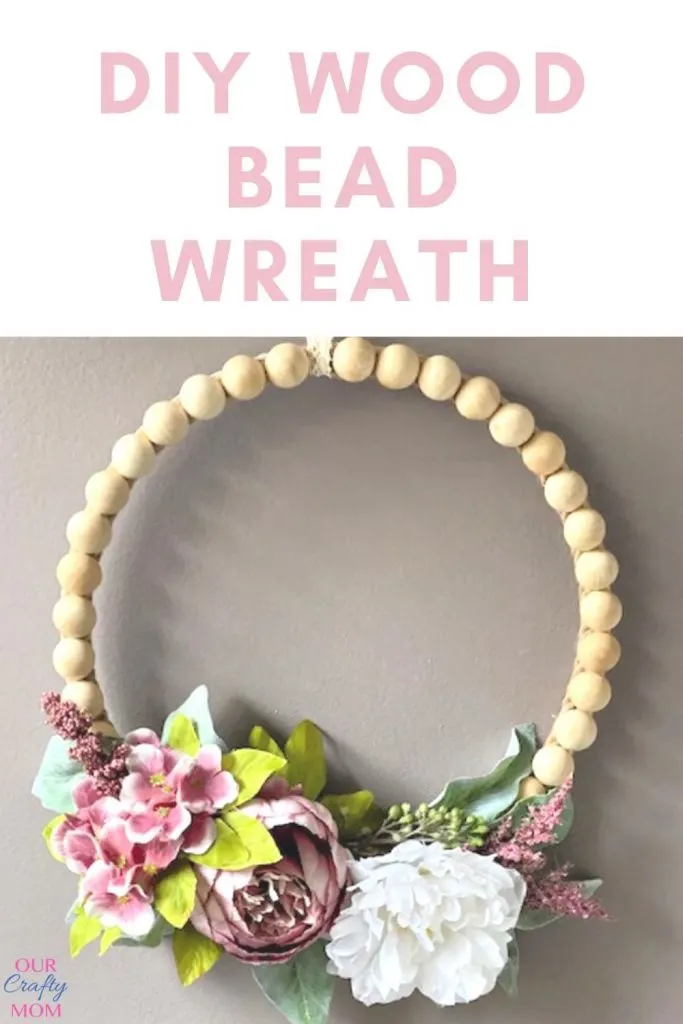
Decorate your home for Spring with a pretty DIY split wood bead floral wreath.
This post contains affiliate links at no extra cost to you. Please see my full disclosure here.
Hello, friends! I’m thrilled to be participating in a fun spring ideas tour with some very talented home bloggers.
Every day this week there will be spring decorating ideas for your mantel, tablescape, and porch, as well as spring crafts and recipes.
A big thank you to Paula from Virginia Sweet Pea for hosting this event.

In these difficult times, it’s nice to be able to have a little time to unwind and enjoy some creative inspiration.
If you are a regular visitor, you know I love crafting with wood beads.
They are inexpensive and can also be used in so many different ways.
One of my favorites were these oyster shell blessing beads.
I’ve also used pretty yellow craft beads to make napkin rings.
The color is so bright and cheerful and perfect for a spring or summer tablescape.
Like so many of you, I LOVE to scroll through Pinterest each night before bed.
A gorgeous oversized split wood bead wreath from Lolly Jane stopped me in my tracks.
While I’ve used wood beads many times, I had no idea they made split wood beads.
This inspired me to order a bag and create a smaller version for my own home. Gotta love Pinterest!
Thankfully I still have quite a few beads left for other projects.
I’m thinking of a small mirror next.
How to Make a Wood Bead Wreath
Here is what you need if you want to make your own spring wreath.
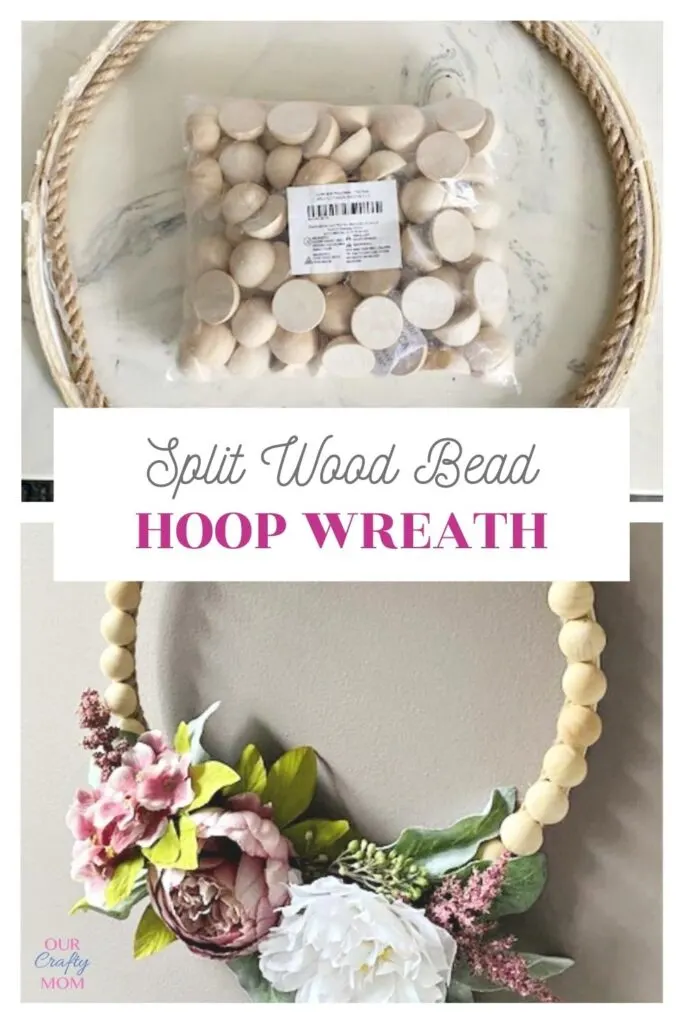
Supplies Needed For DIY Split Wood Bead Floral Wreath
- Wood Beads
- 10″ Embroidery Hoop
- Hot Glue Gun
- Wire Cuttersj
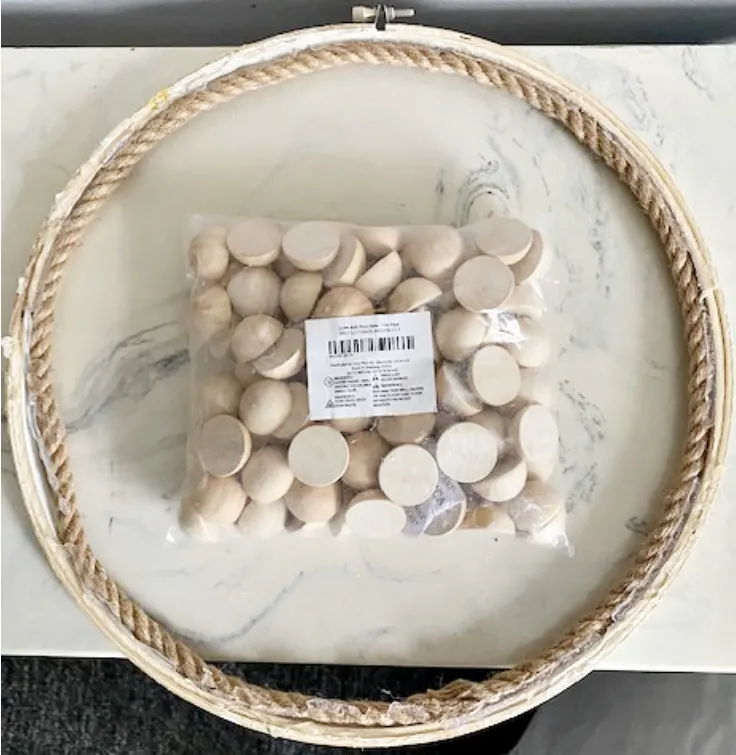
I always try to use up items from my craft room before buying anything and luckily had an old embroidery hoop wreath in my stash.
Step 1.
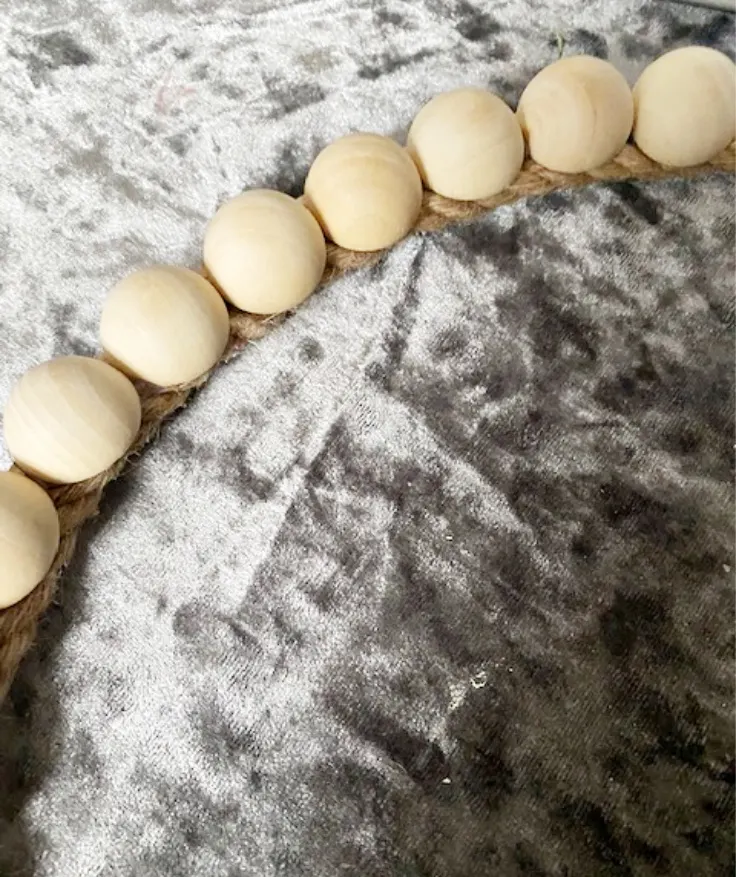
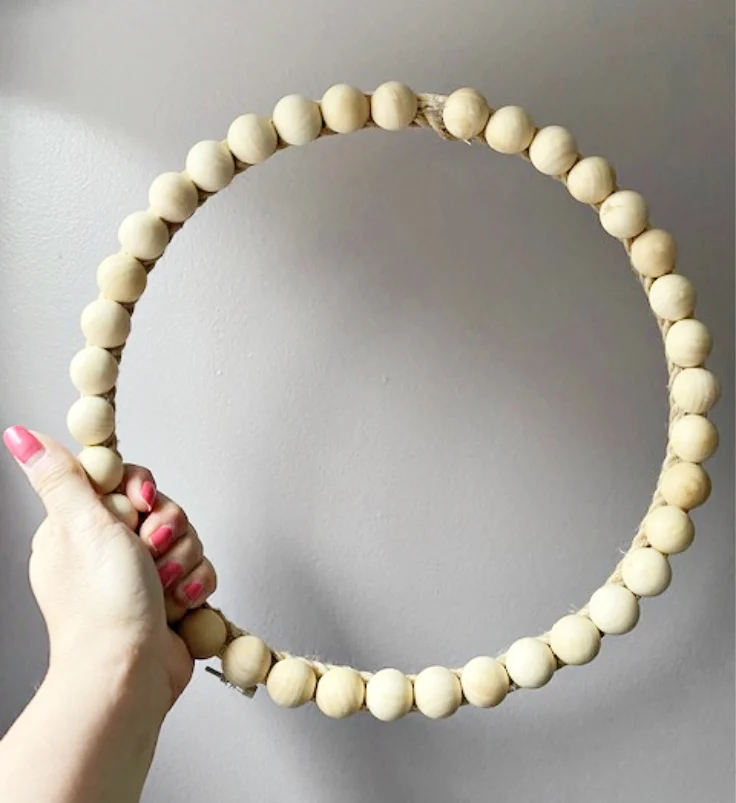
Use the hot glue gun to add the split wood beads to the embroidery hoop.
I added the glue to the wood bead and then started at the top center of the hoop.
Step 2.
Repeat until the hoop is fully covered with wood beads.
I ended up using 38 for a 10″ embroidery hoop. The bag comes with 100!
Step 3.
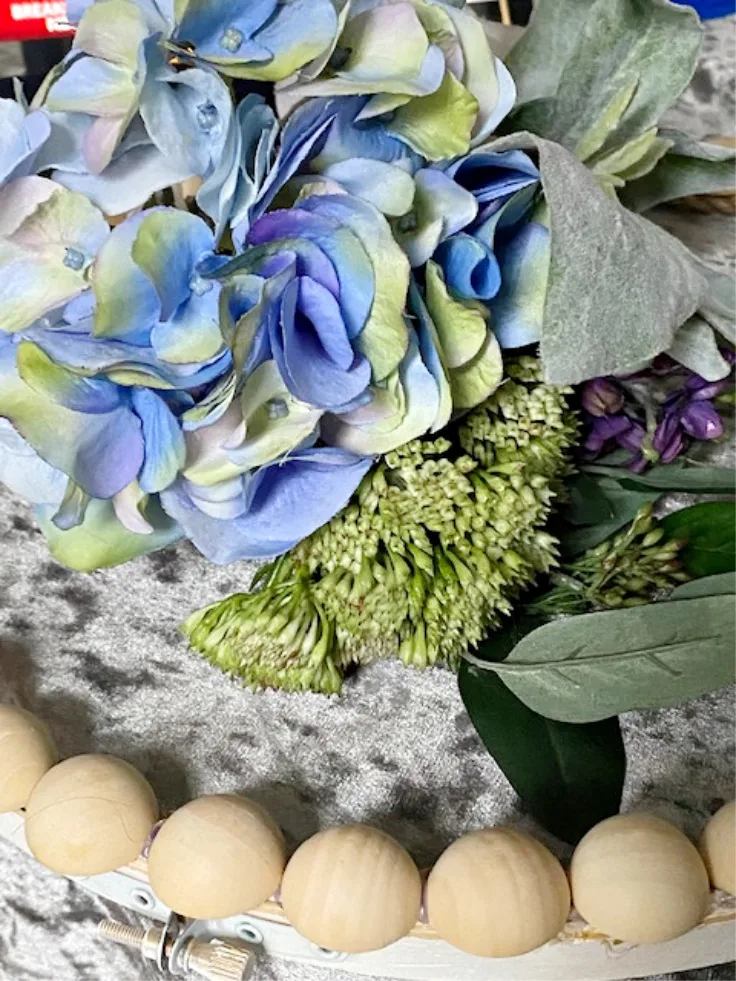
Use the wire cutters to cut apart the flowers for easier placement.
My daughter received a multi-purpose tool kit that is perfect for DIY projects. I’ve pretty much taken it over! 🙂
Step 4.
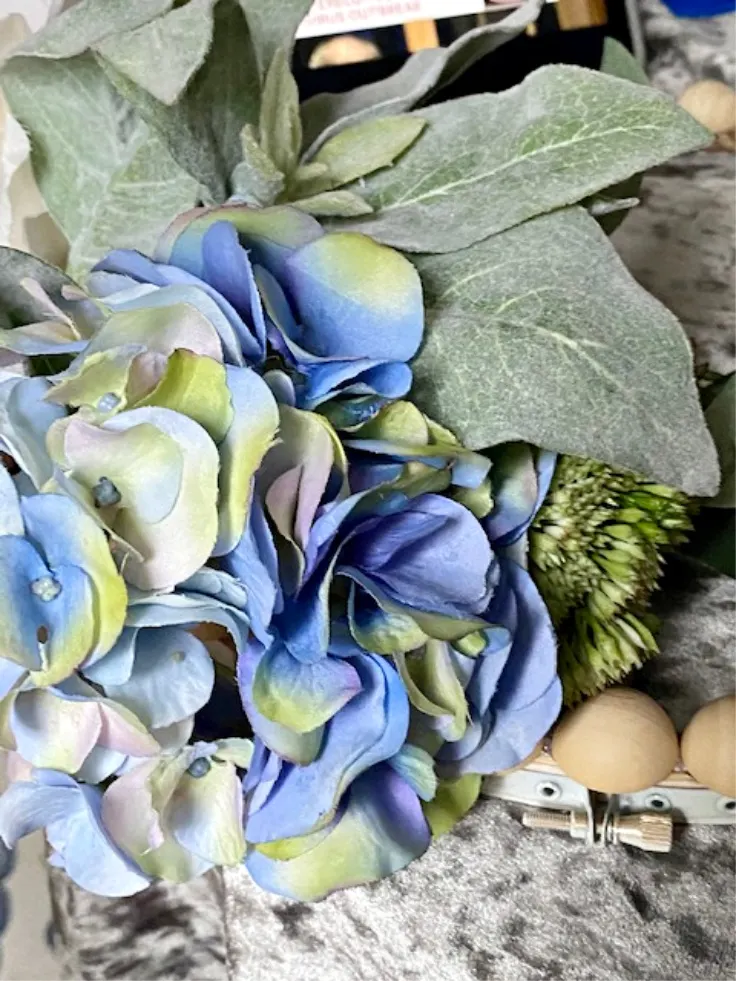
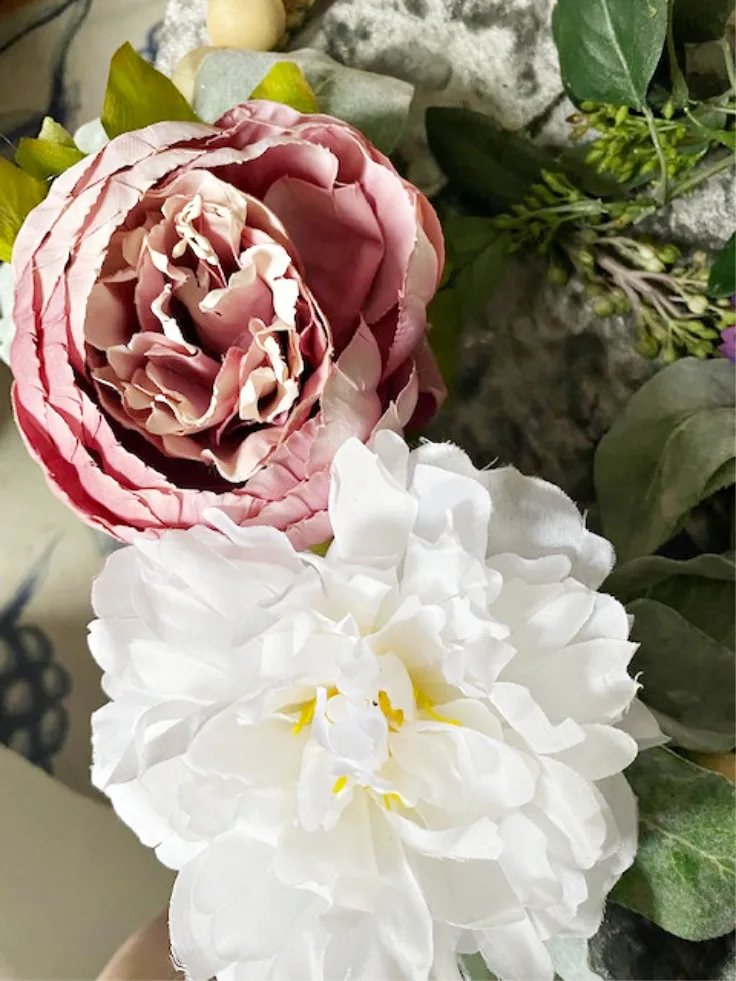
Arrange the flowers around the hoop starting with the larger flowers first and hot glue.
It’s easier to add the hot glue to the wreath form so you don’t burn your fingers.
I chose to just add the florals along the bottom of the wreath.
I really wanted the wood beads to be the main feature in the wreath.
Step 5.
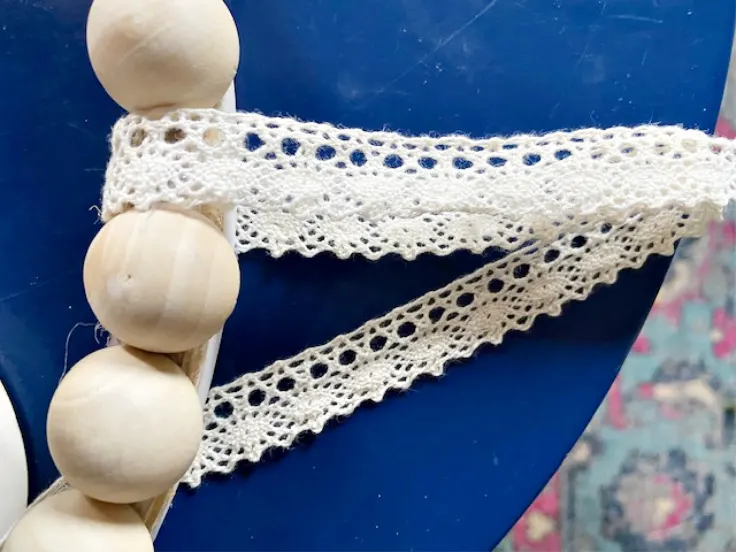
Attach a ribbon for hanging. Would you believe this pretty lace ribbon is from the Dollar Store?
This entire project took under 30 minutes start to finish! I’m all about quick and easy crafts.
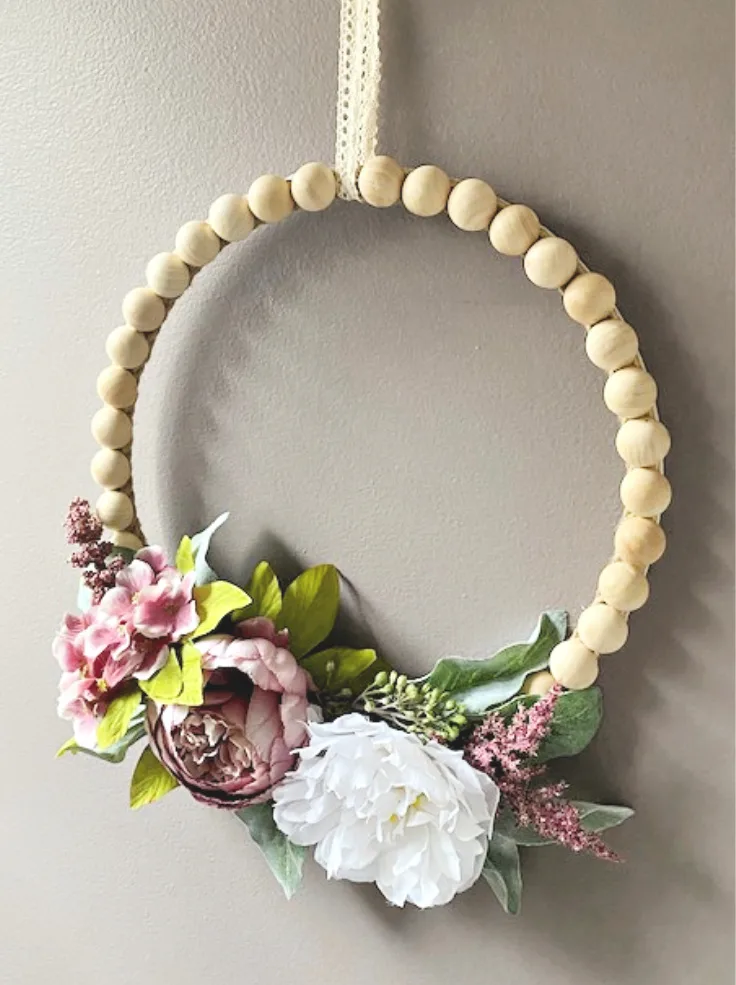
This DIY floral wreath can really be used in any style decor.
It can be hung on a covered porch and also looks great layered on a mirror, basket or a chalkboard like I show below.
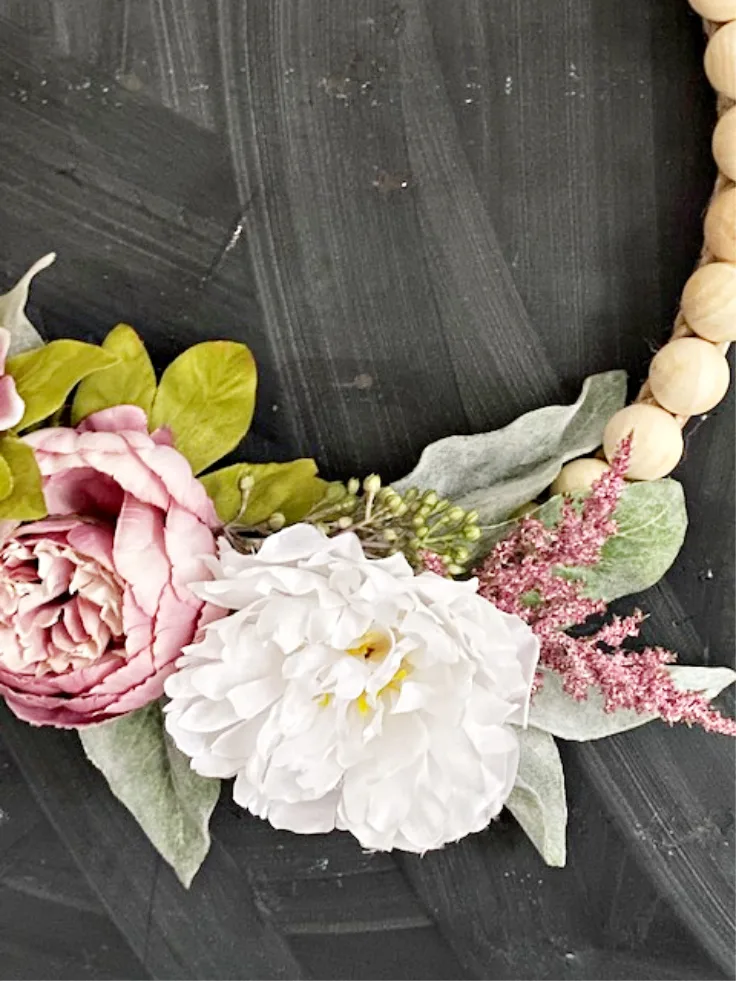
I hope you enjoyed this DIY wreath. Be sure to visit the other bloggers participating in the spring ideas tour.
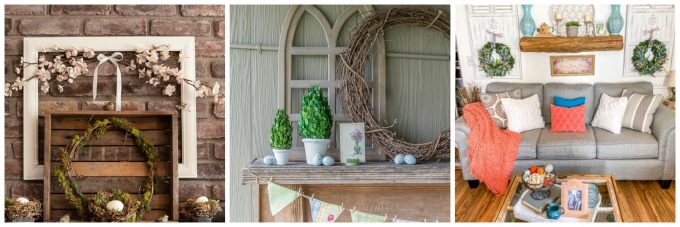
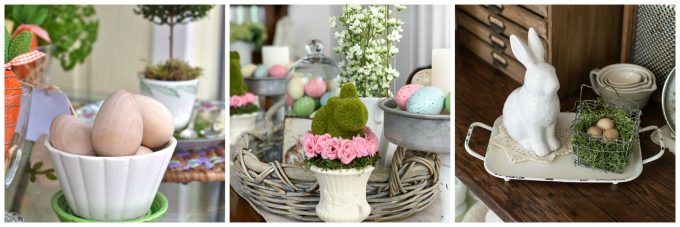
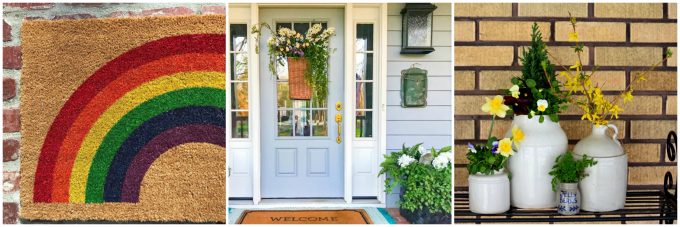
You can see a sneak peak of their projects in the below photos.
Just click on the link under the photo to see the full tutorials.
There are truly so many gorgeous spring ideas to inspire you.
I’m anxiously awaiting warmer weather so I can decorate my front porch.

Wednesday ~ DIY

Thursday ~ Recipes

Friday ~ Porches and Decks

nan
Thursday 16th of November 2023
In one of the photos there is rope around hoop. This is not mentioned in the directions When do you add the rope and what size is it Thank you Your projects are wonderfull
Sarah @ The DIY Mommy
Monday 13th of April 2020
I am in love with your wreath, it is simply beautiful. Added bonus on your time spent, so great!
ourcraftymom
Monday 13th of April 2020
Thank you so much! It was a fun way to make. :)
Amber Ferguson
Friday 10th of April 2020
I really love the look of split wood bead decor but they are usually out of my price range. Your creative idea for a beautiful split wood bead wreath is awesome!
So happy to hop with you again. Happy Easter!
Jaxs
Monday 6th of April 2020
I adore the sweet sophistication of this simple wreath! It's so charming. Looking forward to trying something like this.
Julie
Saturday 28th of March 2020
Oh, my goodness!!! Michelle, it’s so nice to get to know you... I actually thought the beads were whole when I saw this! This is so cool and such a cute idea!! Bravo!!