Add a boho vibe to your room with a DIY accent wall using removable wallpaper.

Accent walls are back – better than ever! See how I created a DIY accent wall in my new reading room with removable wallpaper.
It’s a great way to add dimension and color on a budget. Plus, it’s easy to apply, and renter-friendly too.
If you get bored with it, or are moving, you can remove it. The key here is to keep it to one main wall, so it is not overwhelming.
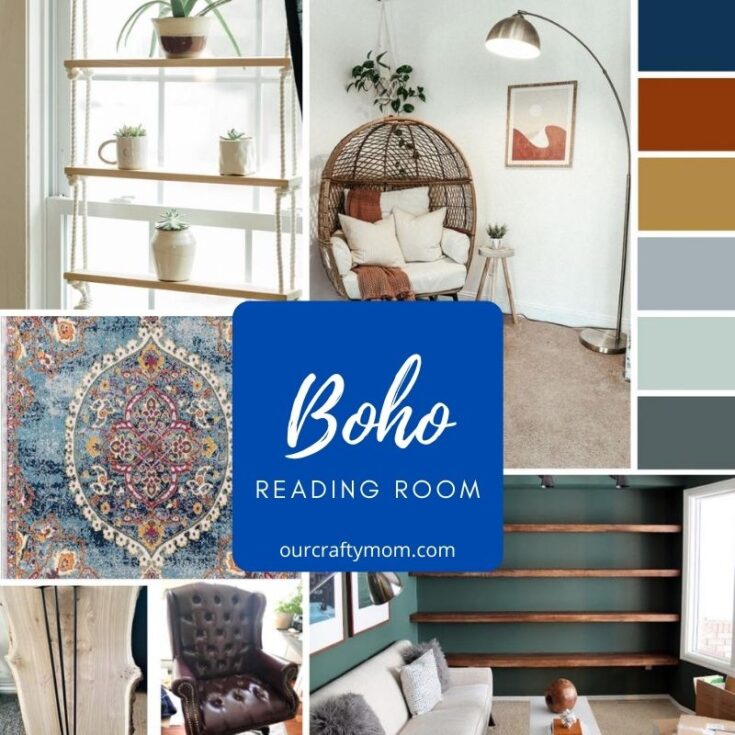
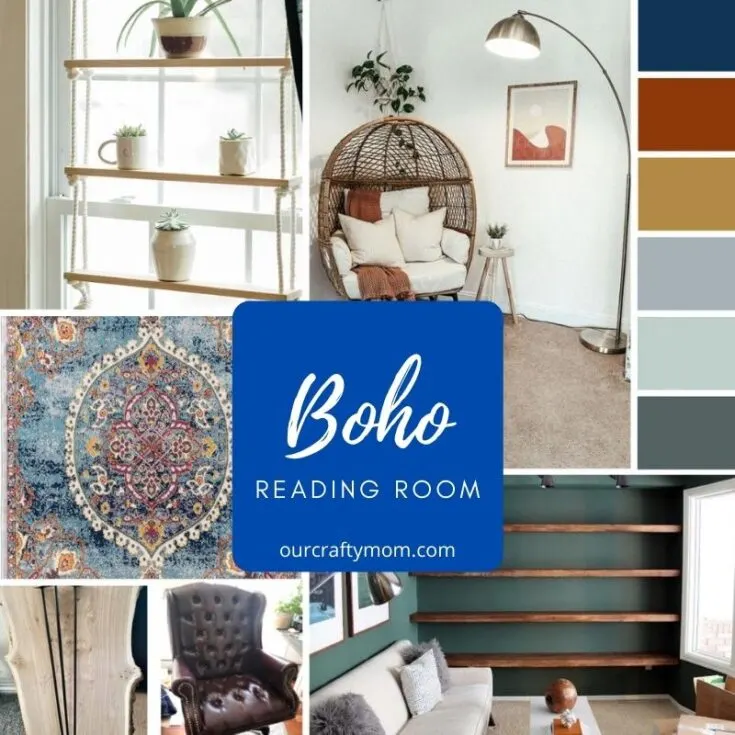
I shared my plans for this room in week 1 of the $100 room challenge. My plans are coming together, though I am about a week behind schedule.
This post contains affiliate links at no extra cost to you. Please see my full disclosure here.
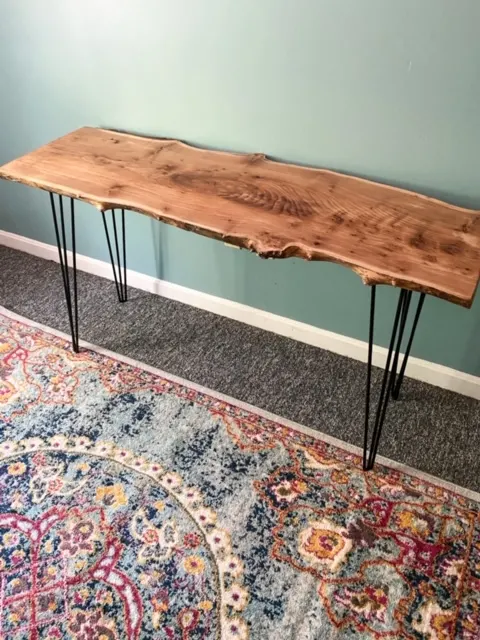
The good news is I am totally on budget! The wood slab desk is something I have been wanting to create for months. It’s definitely a statement piece.

Here are the things I had on my check list for this room:
- Curtains
- DIY Floating Bookshelves
- DIY Wood Plant Shelves
- Reading Chair
- DIY Floor Lamp
- DIY Ceiling Light
- DIY Side Table
- If budget allows, feature wall.
I’m so excited to share that I have accomplished everything so far, with the exception of the floating bookshelves.
I do have the supplies, but need another pair of hands to help hang them. So, those will be added this weekend.
Here is what I’ve spent:
- area rug $45
- removable wallpaper 3 rolls @14.99 each total $44.97
- gold spray paint $4.97 at Walmart
- sisal rope – for plant shelves $4.97
Total spent to date: $99.91 🙂
I’m very lucky to live in the tax free state of New Hampshire, and with $100 budget every little bit helps! Also, being a thrifter has been a big help.
There were so many things in my basement that I had completely forgotten about. I was able to paint a floor lamp, reuse curtains and refinish a side table for the room.
I really want you to get the full impact of the before and after of this space, so I am holding off on showing the photos until the full reveal.
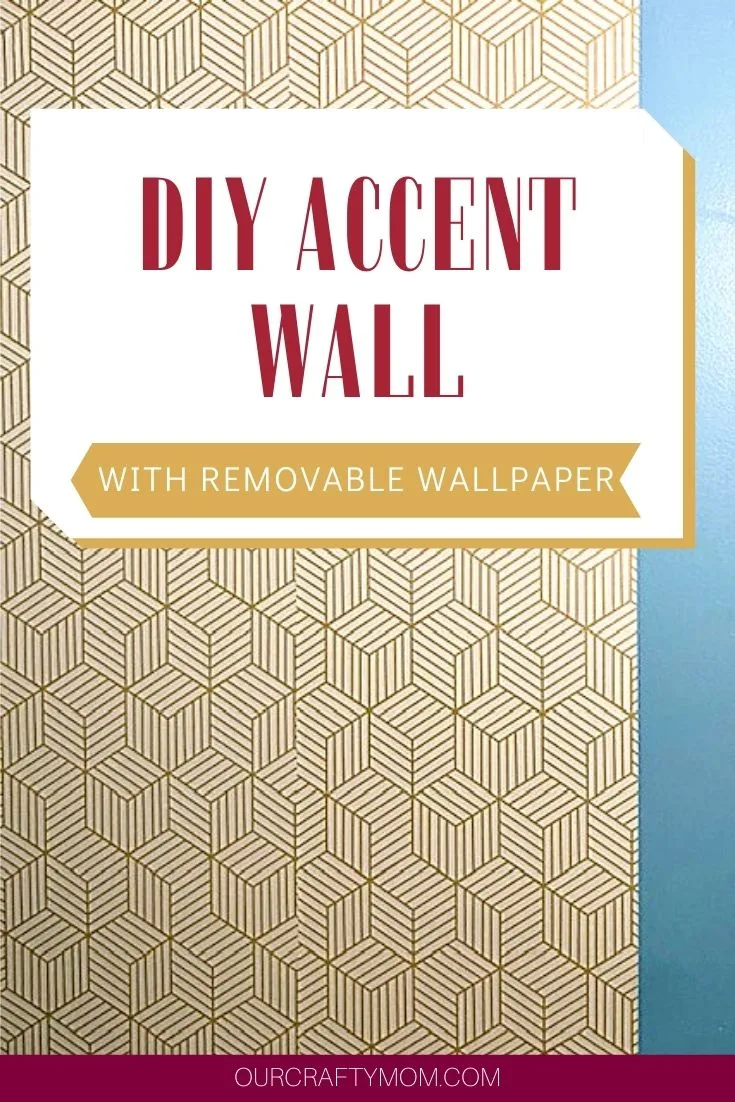
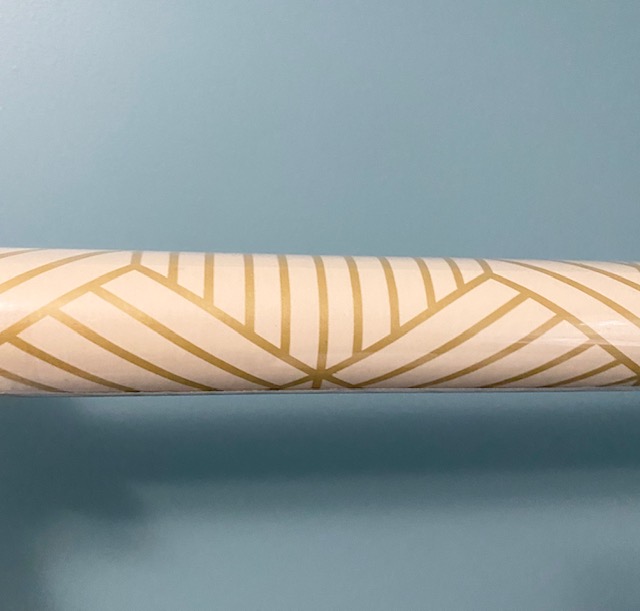
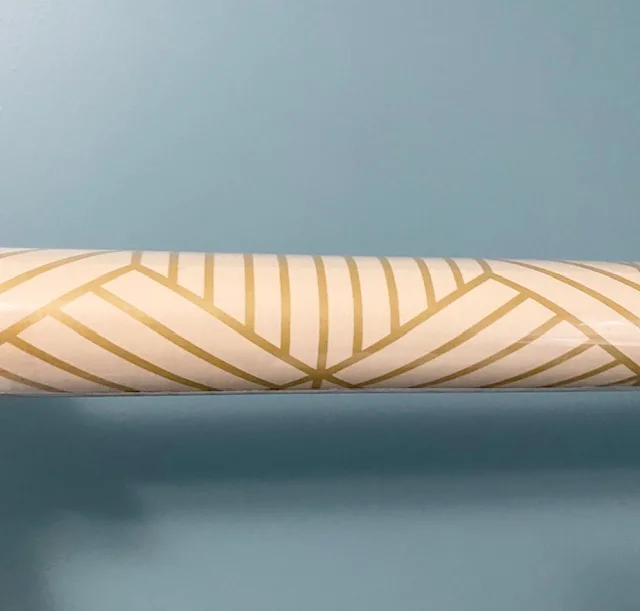
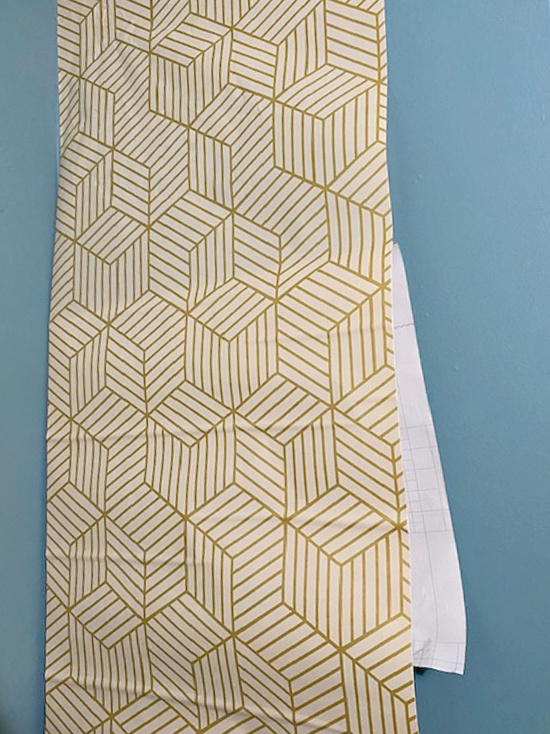
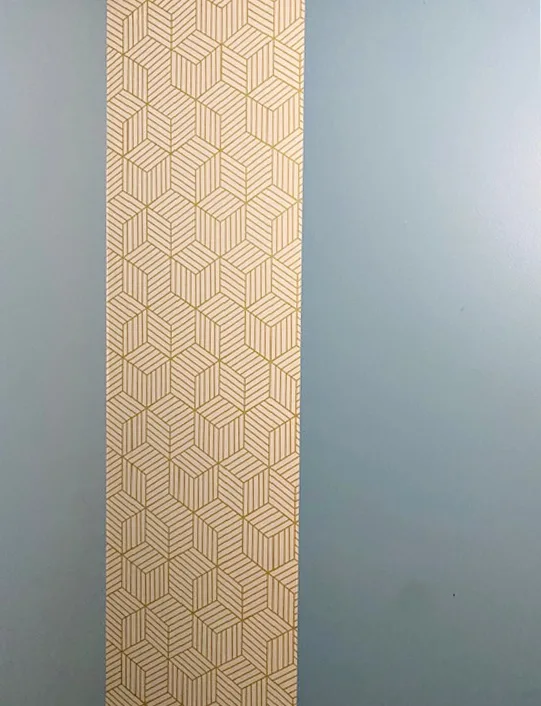
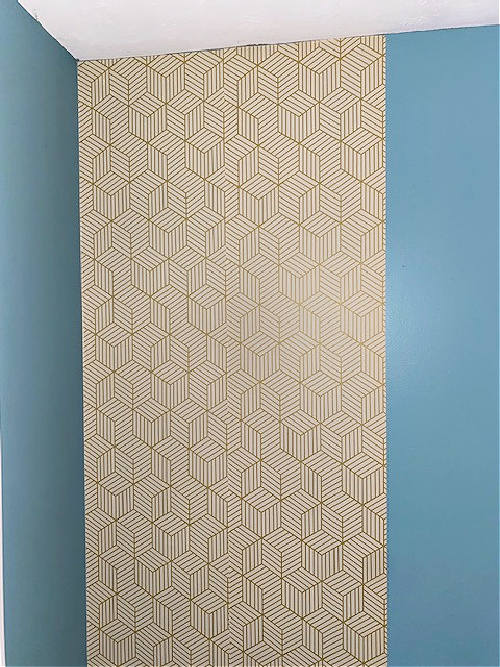
For the accent wall, I wanted to pull out the gold color in the rug, so when I spotted this modern gold and cream removable wallpaper, I knew it would be perfect. This
This is my third time using removable wallpaper, and I learned a few tricks along the way that I wanted to share with you.
My first time using it was in my kitchen where I installed a peel and stick subway tile backsplash. While I’m happy with how it turned out, I made some mistakes and ended up having to start over.
The second time around I added a modern wallpaper in my craft room. This time around it went much easier. I tend to be a very impatient DIY’er/crafter.
That was my mistake with the subway tile backsplash. You need to take your time and make sure you measure the cuts for each piece and slowly remove the backing.
If you do that, it will come out great!
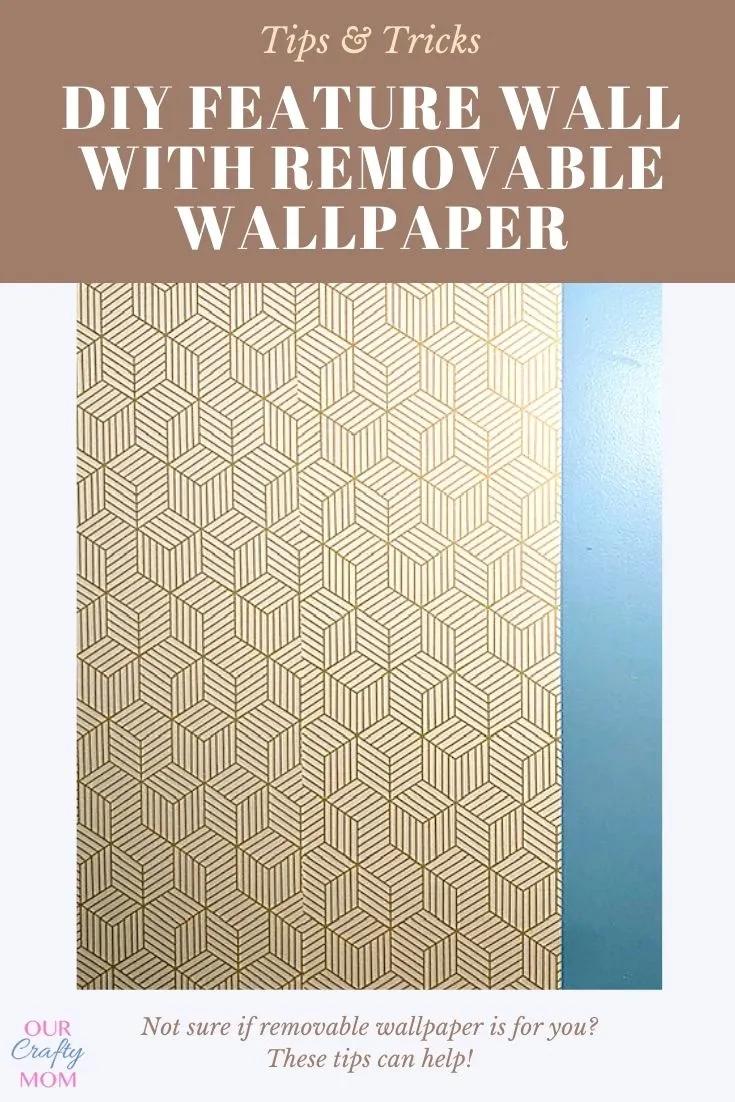
Tips For Applying Removable Wallpaper
- Make sure the wall is smooth and free of any bumps and fill in any nail holes.
- Measure the wall, from the ceiling to the floor, where the wallpaper is going.
- Remove any outlet covers.
- Cut the wallpaper, leaving an extra 2-3″.

- Apply to the wall one small section at a time, slowly peeling back the film.
- My biggest tip is to only remove a small amount of the film at a time. If the ends of the wallpaper get stuck together, it is tough to pull apart.
- Use a squeegee to smooth out air bubbles.
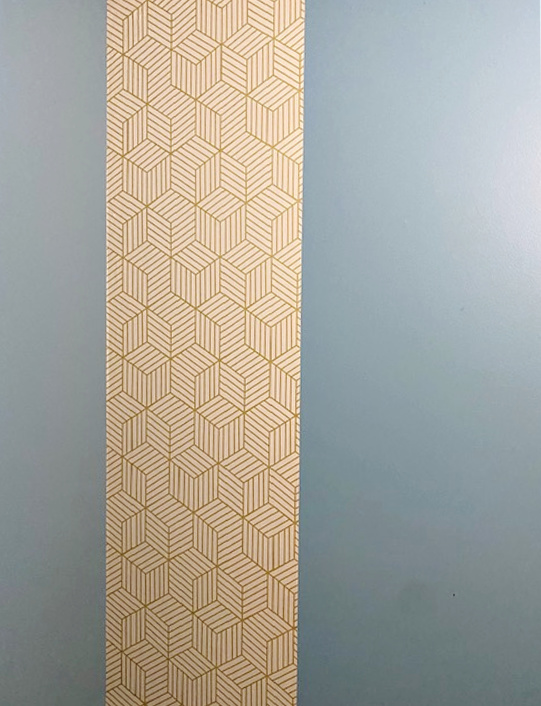
- Continue adding the wallpaper in small sections until the wall is covered.
- Use an x-acto knife to remove any wallpaper from the outlets.

- Reattach the outlet covers.
- Trim any extra wallpaper from the edges.
This wall took about 2 hours start to finish. You could definitely cut this time with a second person. I hope you come back to see the final reveal this weekend.

For even more ideas in the #100roomchallenge, check out the links below. It is seriously amazing to see what these talented bloggers have achieved for under $100!
I’d love it if you would follow me on social media:
Marcus
Friday 2nd of April 2021
Interesting pattern!
Diane Price
Sunday 21st of February 2021
I love your DIY approach! Will try to do this at home too.