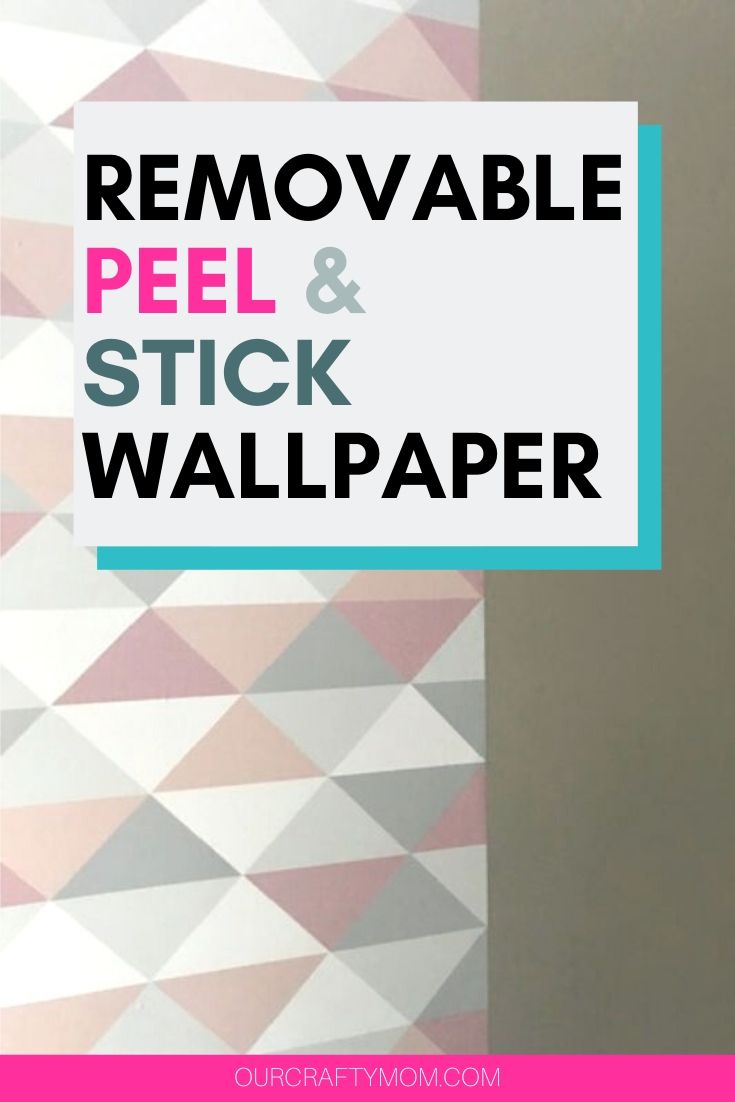
Create a gorgeous DIY feature wall using peel and stick wallpaper, and it’s renter friendly!
This post contains affiliate links at no extra cost to you. Please see my full disclosure here.
Hello friends! I can’t wait to share the progress I’ve made in my craft room makeover for the $100 Room Challenge hosted by Lemons, Lavender and Laundry.
With only $100 to spend in this makeover, I have to be very frugal with every penny I spend. In Week 1 of the challenge, I shared my plans for the room, which included a feature wall.
As I’m renting, I can’t do anything permanent in the room. Luckily I like the color of the paint, which is a neutral gray color.
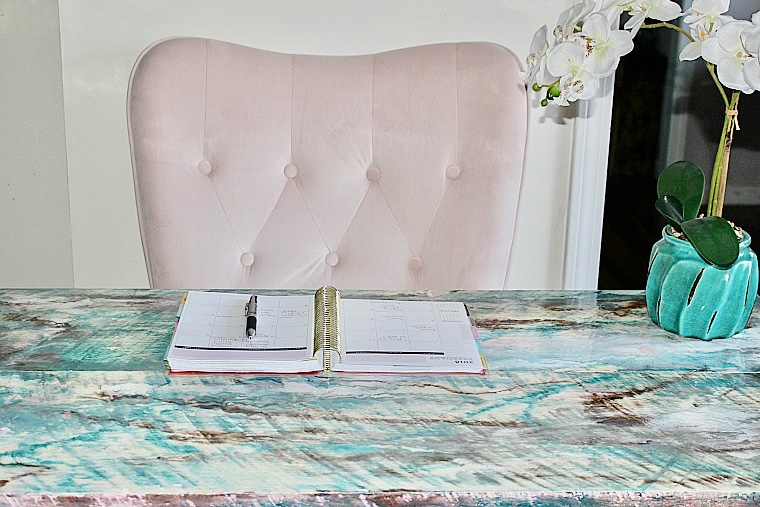
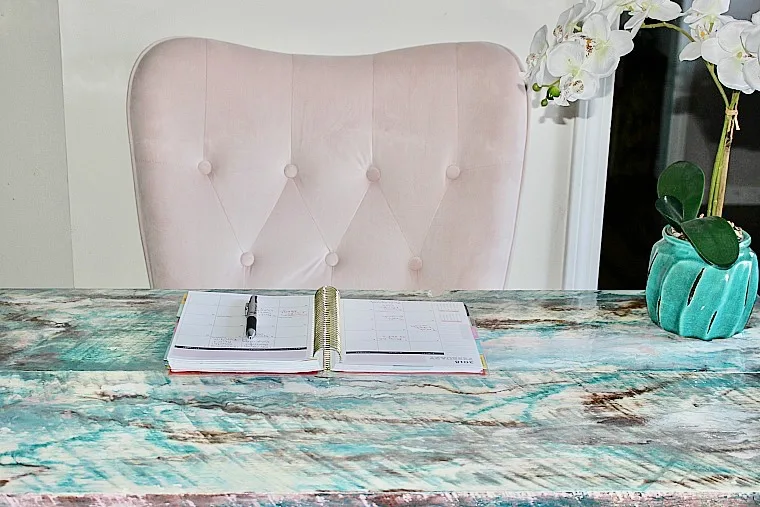
This space will also be my office, so I wanted to incorporate soft pinks and blues to compliment the Epoxy Resin Desk I made last year:
When I gave my kitchen a makeover, I used a peel and stick subway tile which you can see here:

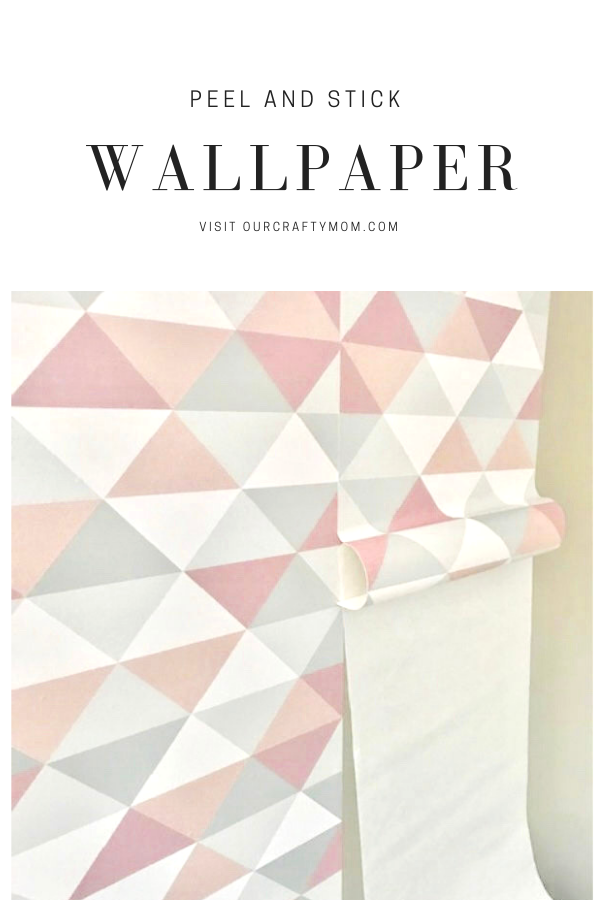
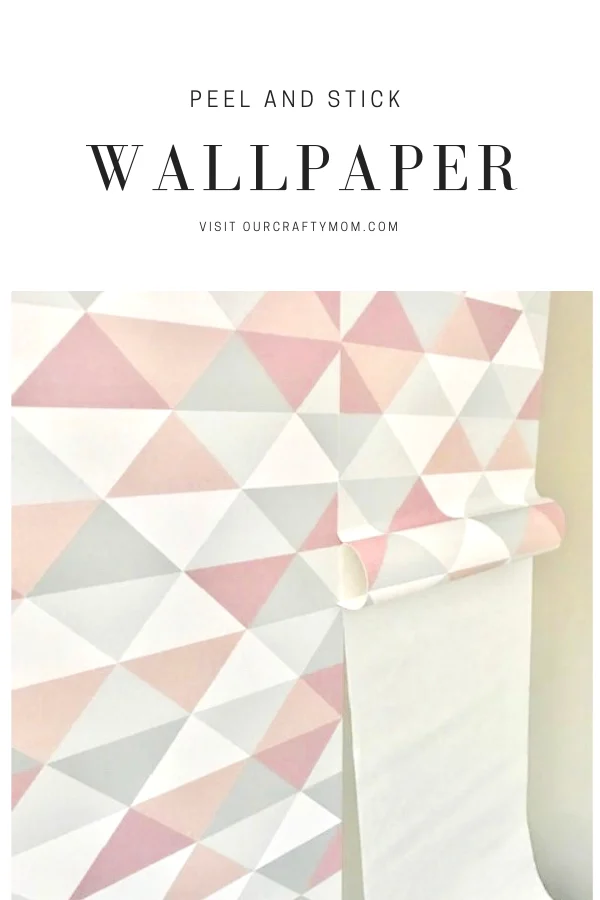
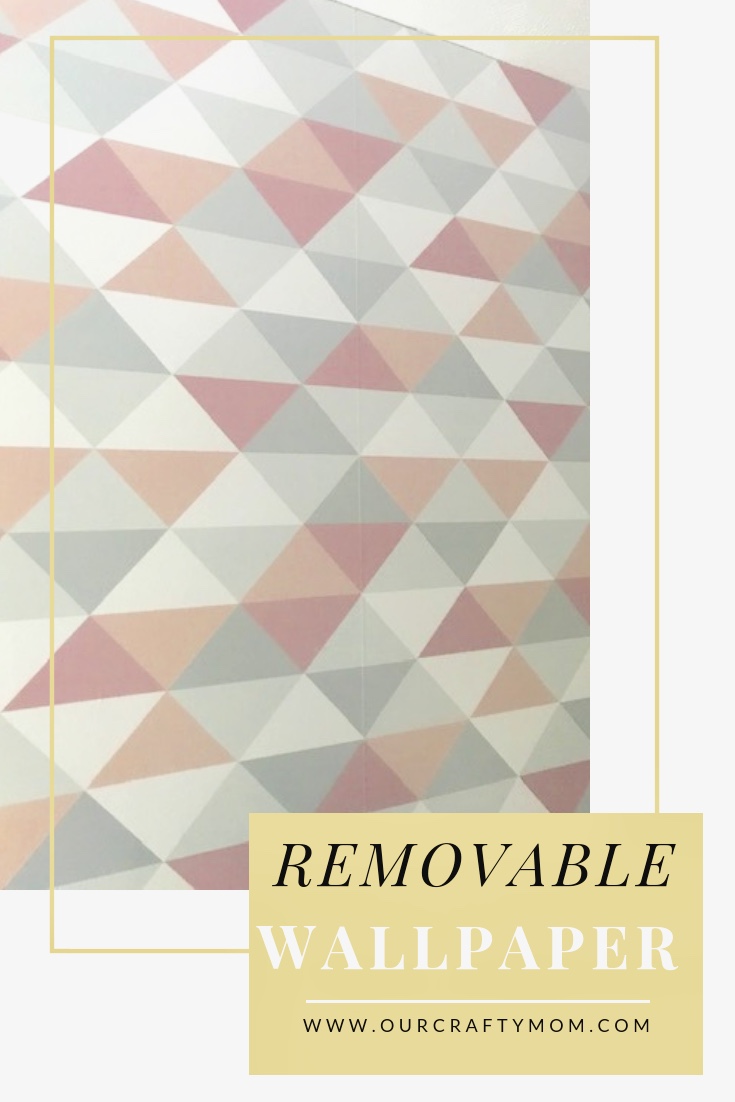
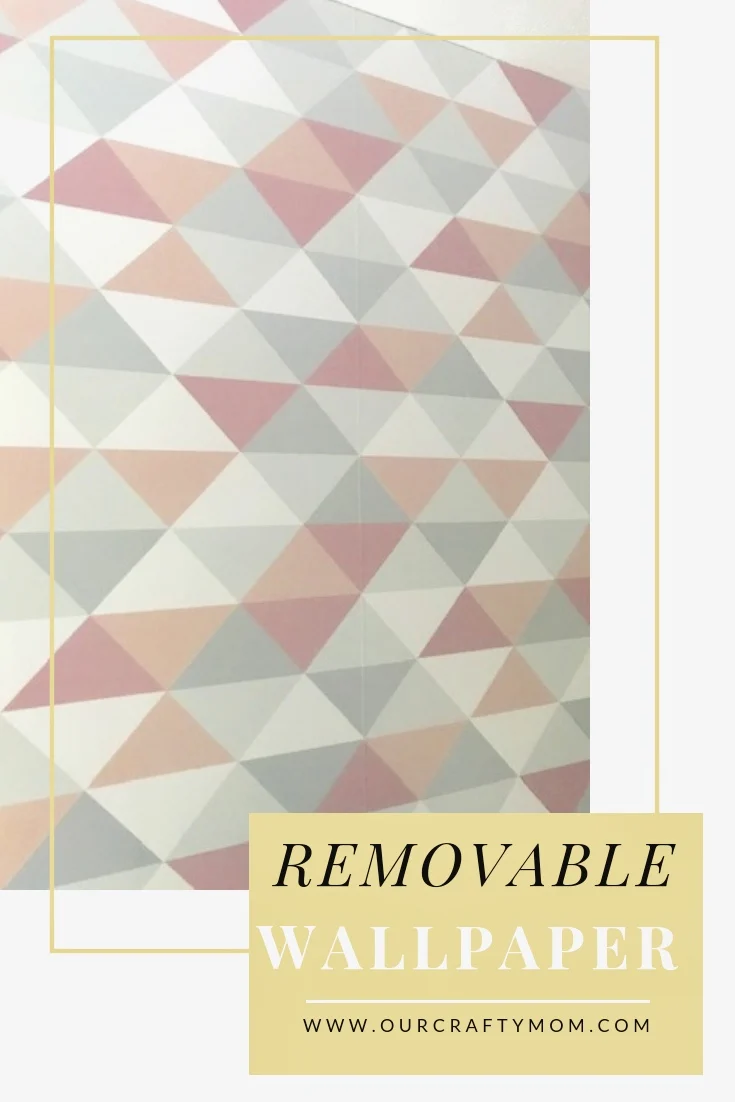
Peel And Stick Wallpaper
It was so easy to install and they have so many different designs, so I knew it would be perfect for the craft room feature wall.
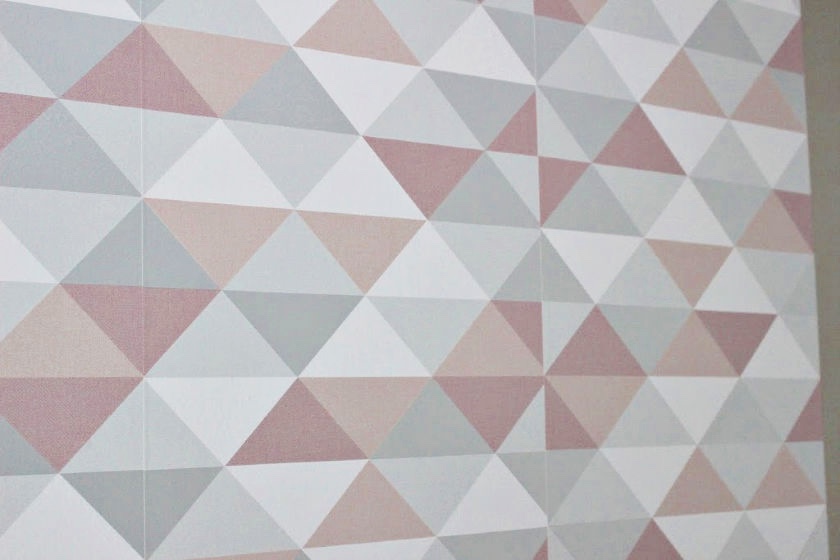
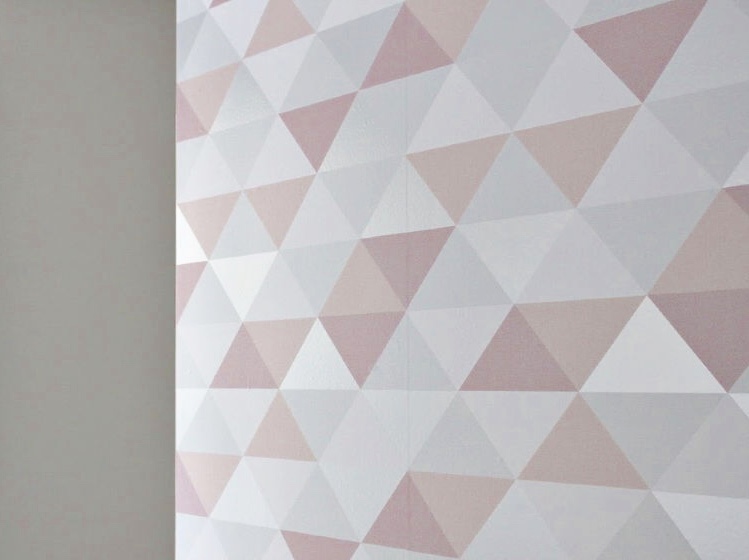
I searched Amazon and found one that I loved. It has colors of pinks, silvers and white and was only $35 for a roll:
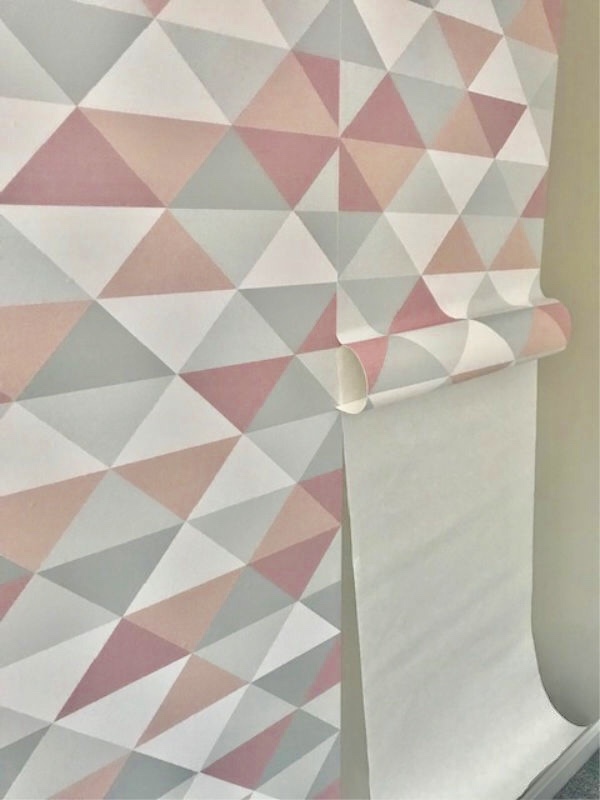
For those of you that haven’t tried peel and stick wallpaper yet, it is incredibly easy to install. In fact, it is as simple as removing the backing and sticking it to the wall.
I measured the wall and cut the roll into four long pieces to fit this feature wall.
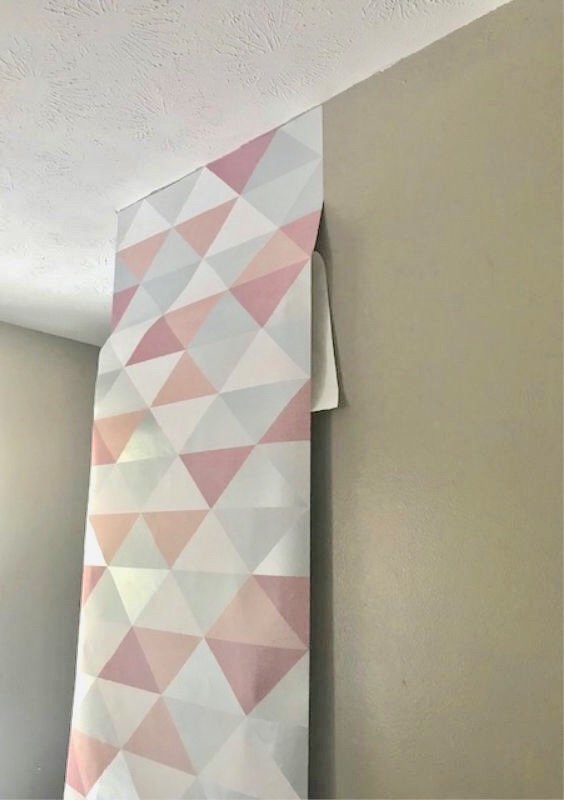

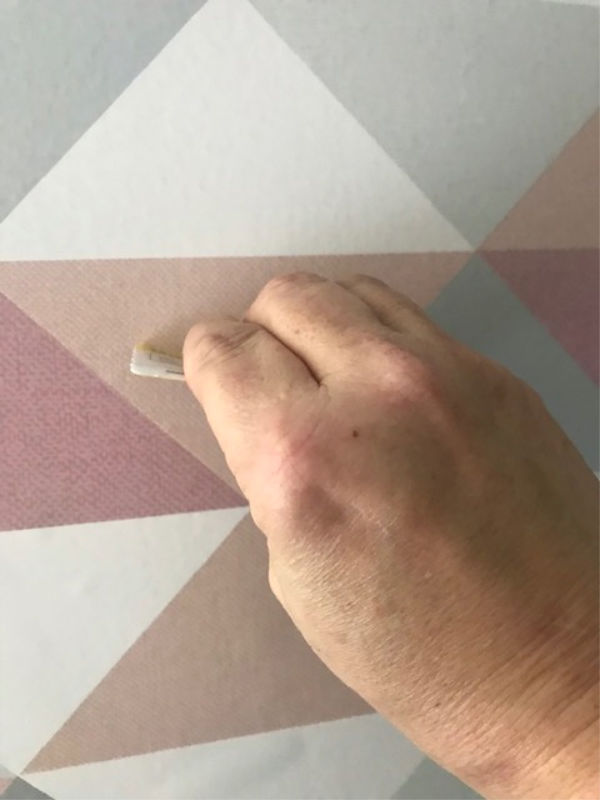
Start at one end and smooth the wallpaper down as you go. I actually used a credit card to smooth out any air bubbles.
The great thing is, if you place it down unevenly, you can just peel it back up and reapply. It is pretty much fool proof!

[Tweet “How To DIY A Feature Wall With Peel And Stick Wallpaper @ourcraftymom #100roomchallenge #removablewallpaper #craftroommakeover #renterfriendly #diydecor #featurewall”]
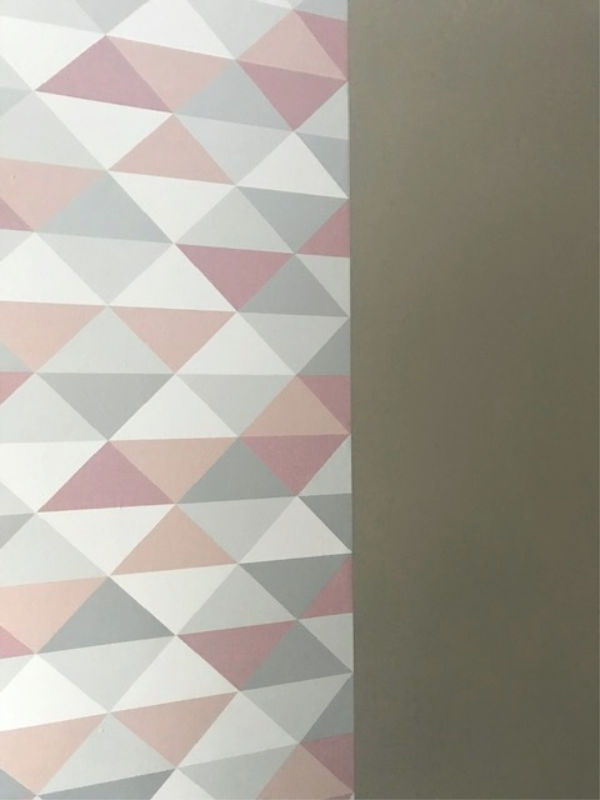
Look at the difference between the paint and the wallpaper. It is so bright and cheerful!
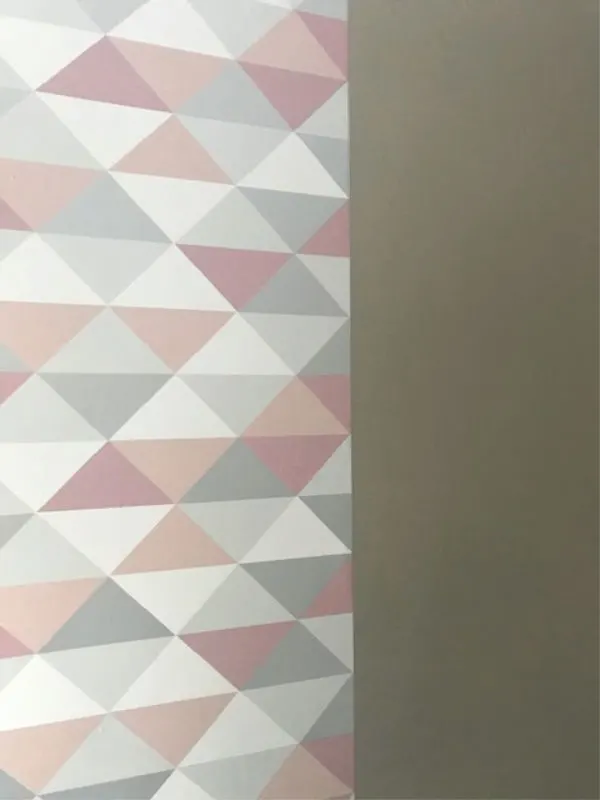
It’s Renter Friendly!
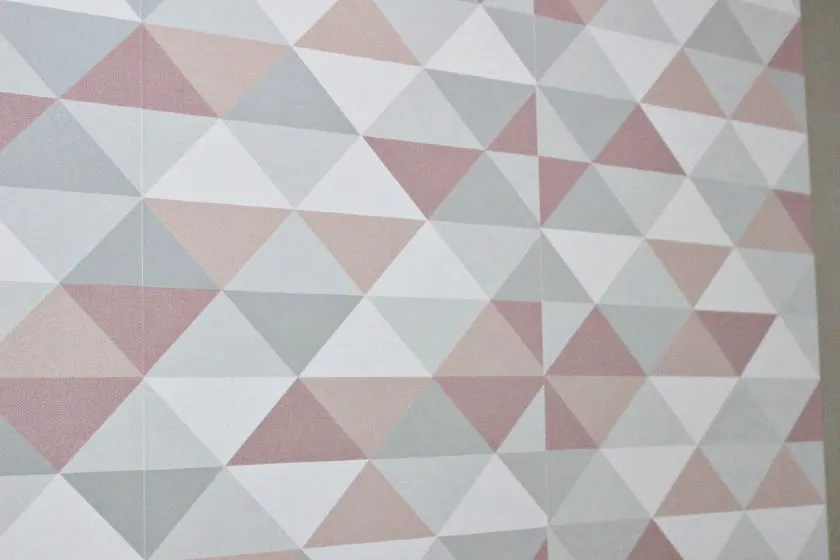
I was able to finish this wall in about 30 minutes-you can’t beat that! Plus, it was $35 and required no tools, no adhesive and one person can hang it.
I’m all about quick and easy updates and this removable wallpaper is definitely it!

The best part is, if you get tired of it, just remove it. It peels off very easily and does not damage the wall.
If you are renting, this is a great way to decorate your space without worrying about the landlord getting upset. The days of scraping wallpaper or using a steamer to remove wallpaper are long gone!

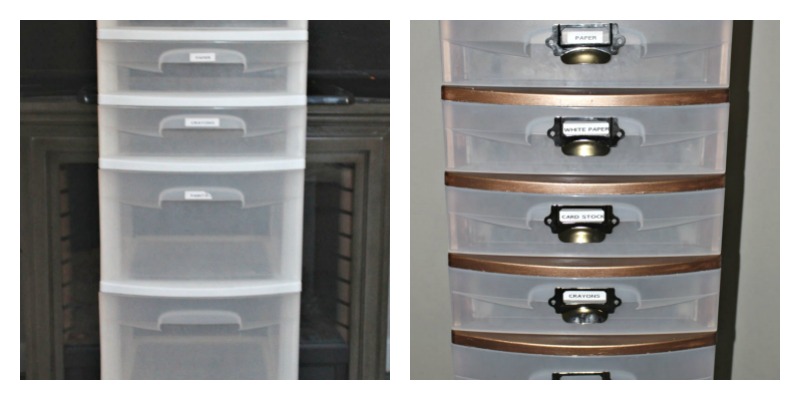
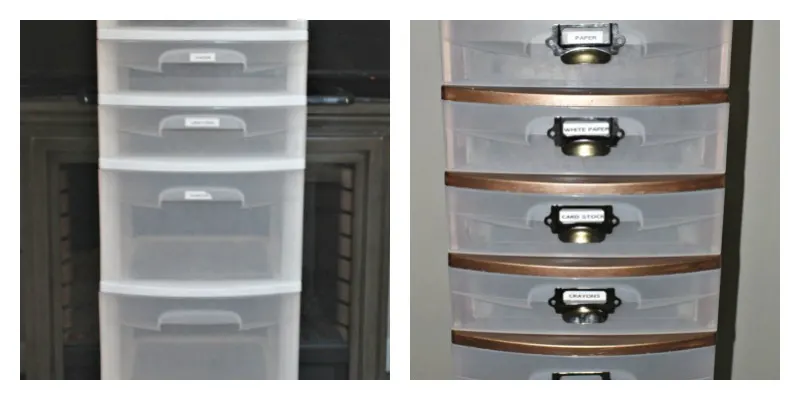
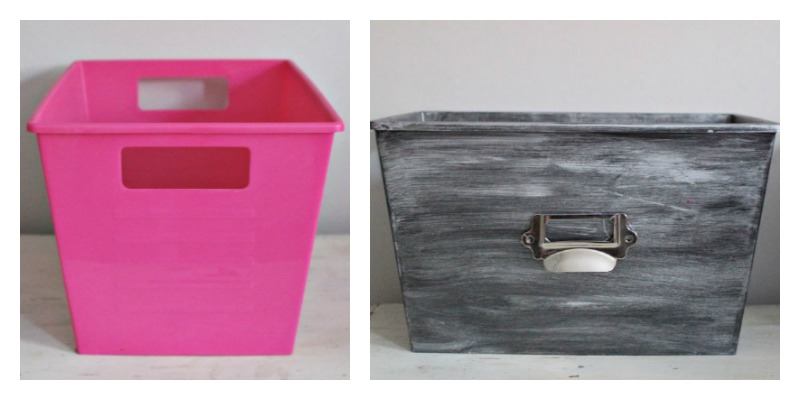
Storage Ideas
Unfortunately, I was unable to post for Week 2, but I did finish a few other projects for the room. Storage is key in a craft room, so I fixed up some inexpensive storage bins to make them a little prettier.
You can see the rolling storage cart that I updated here

and the Dollar Store bins I made over here.

This week I plan to focus on the bookcases and also a couple of DIY art projects. My budget is still looking good and I am hoping to be able to add a small area rug.
Fingers crossed there are no unexpected costs!
Here is what is on the list:
- Paint bookcases
- DIY Art Projects
- Organize crafts
- Curtains
- Bring in craft table and media cabinet
- Decor-including small rug if budget allows
I’m feeling pretty good about my progress so far. The room faces the front of the house, so the lighting is so much better than my old craft room.
This will be such a help with taking photos of vignettes and craft projects. Thank you for stopping by. Hope you will visit some of the other bloggers linked below. Enjoy!
Sharing is caring-please pin for later! 🙂
Let me know if you give this peel and stick wallpaper a try, or if you have already used it. Leave me a picture or comment below.
I’d love it if you would follow me on social media below:
Pinterest
Facebook
Instagram
Twitter
Neha
Tuesday 27th of October 2020
Amazing!!! wall-sticker is great for new look and storage ideas best.
Happy Hiller
Tuesday 7th of January 2020
Thanks for your guide! And for the idea! Glad I popped by your blog :)
40+ DIY Home Projects Anyone Can Do - My Creative Days
Wednesday 24th of July 2019
[…] How To DIY A Feature Wall With Peel And Stick Wallpaper […]
20 Fun Valentine’s Day Crafts And DIY Ideas
Sunday 20th of January 2019
[…] Feature Wall With Peel And Stick Wallpaper […]
Sherry Denise Cole
Saturday 19th of January 2019
I love the wallpaper so much and you have made this look easy to install. I need to put this in my home somewhere.