Welcome to Week 5 of the One Room Challenge. I can’t wait to show you this budget and renter friendly peel and stick subway tile backsplash that I just added to my kitchen. We are so close to the finish line!


This post contains affiliate links at no extra cost to you. Please see my full disclosure here.
So, I am a little bit late with this week’s post for the One Room Challenge, but it is totally worth it-trust me! If you have been following along with this budget friendly kitchen makeover, you know that I am renting so I have to be careful with what I do in the home. One of the reasons I wanted to share this makeover with you, is to show that you can make simple and inexpensive updates even if you are renting. I am a big believer in making your house a home, no matter if you live in a 4,000 sq foot home, or a 1,500 sq foot rental and everything in between. Let’s get to it!


I hope you’ve been following along with all of the talented bloggers participating in the One Room Challenge. There is so much to see and ideas for just about every room and every style house that you can imagine. There is only one week left so we are down to the wire! You can check out what I shared the first four weeks here:
How To Install A Peel And Stick Subway Tile Backsplash
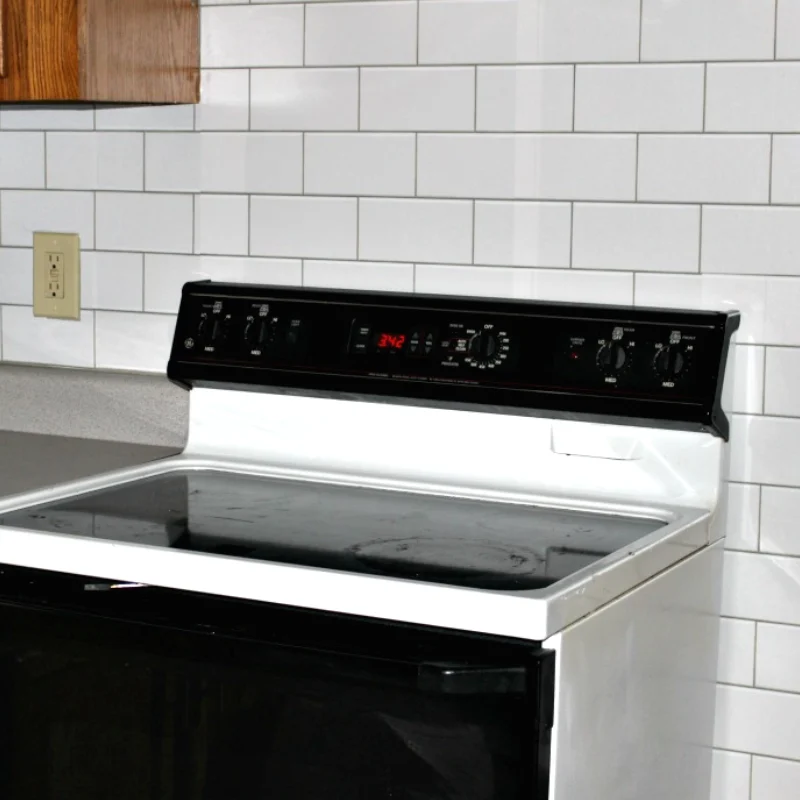
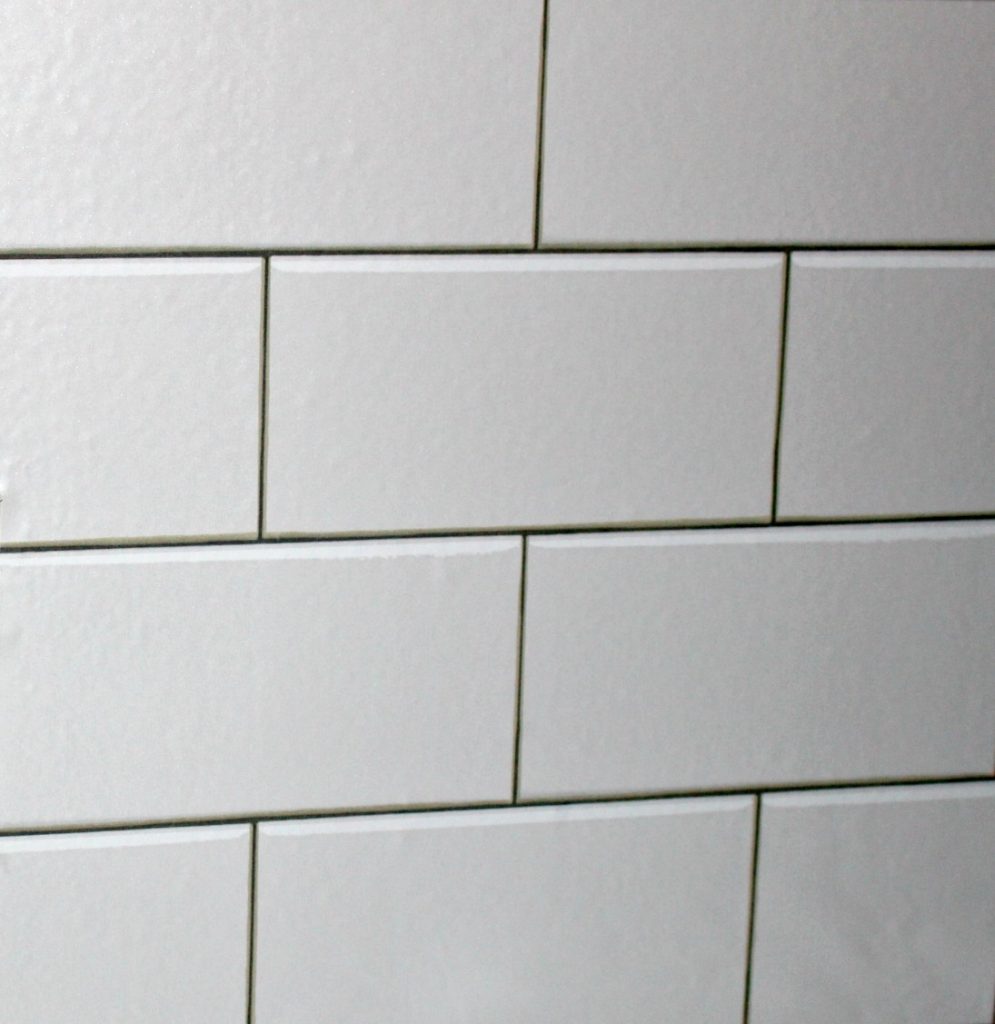
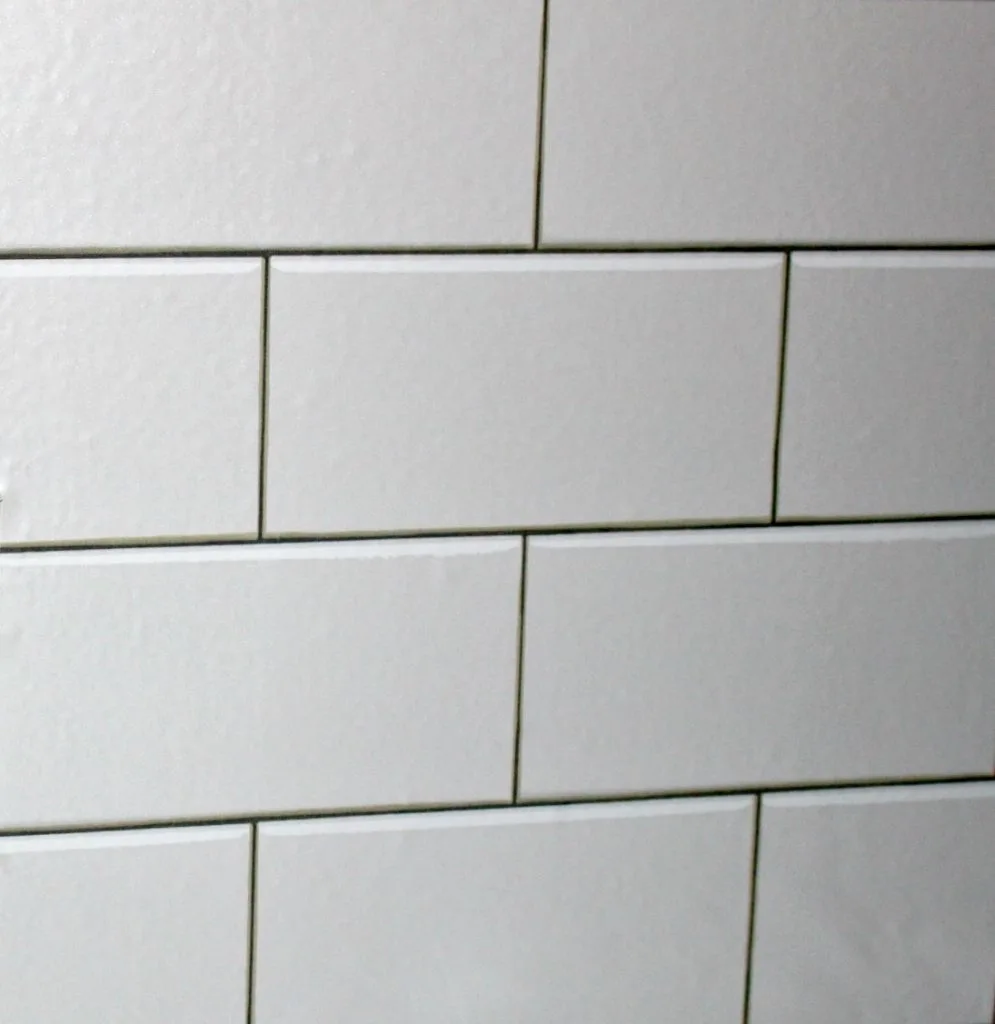
The main thing that I wanted to accomplish in this kitchen was to lighten it and modernize it somewhat. I wanted to compliment the navy and white buffalo check curtains and color scheme. At first I planned to bring in a blue backsplash, but I change my mind a lot, and at some point may not be into blues. Hey, a girl’s allowed to change her mind, right? So, I decided to stick with a classic white subway tile backsplash and I am so glad I did. Check this out:


It not only brightens the kitchen, but it also enhances the look of the oak cabinets, that I originally wanted to paint. The gorgeous hardware really stands out too. You won’t believe how quick and easy this was. Plus, if I move or want to change it out, I can easily remove it with no damage to the walls.
Supplies

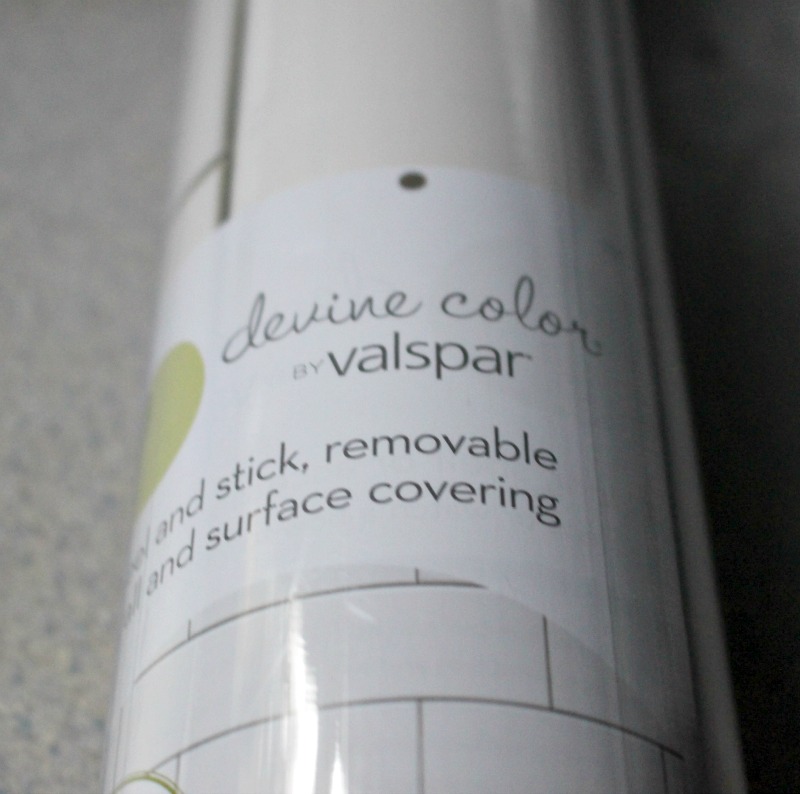
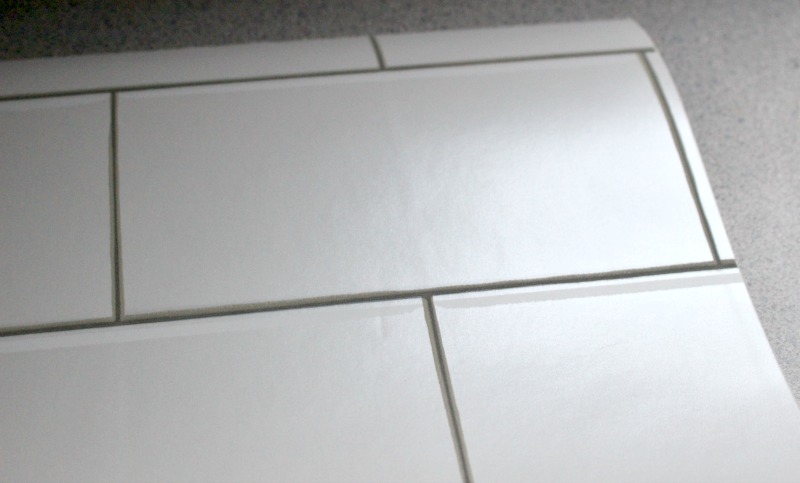
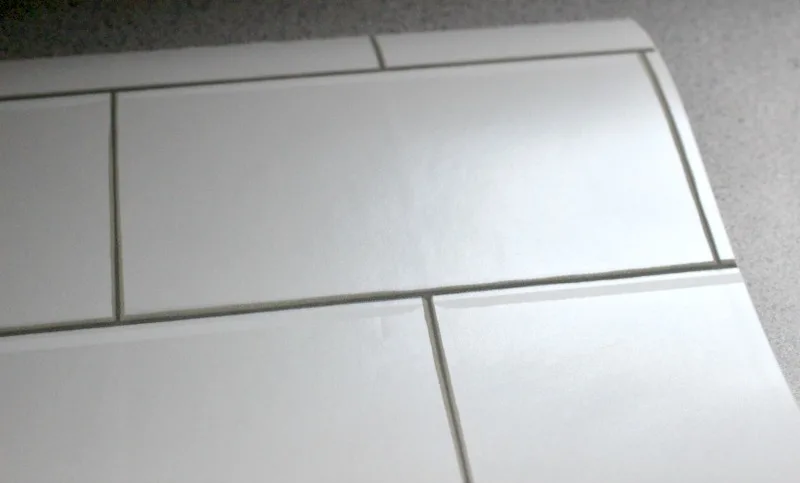
Subway Tile Removable Wallpaper (similar)
Fiskars Craft Knife

[Tweet “How To Install A Peel And Stick Subway Tile Backsplash #ourcraftymom @oneroomchallenge @BHG @devinecolor #peelandstickwallpaper #kitchenbacksplash #oneroomchallenge #bhgorc “]
I have done a lot of research on removable peel and stick tile and it was all pretty positive. Basically, it is a great solution if you don’t want to invest the time and money in actually installing tile. You guys, this role from Target was only $34.99 and was more than enough to cover the small kitchen.
Instructions:
Simply remove the roll and line it up to the wall area that you plan to hang it on. Be sure the walls are clean and dry. I started at the outside and worked my way in. If you line it up incorrectly, no worries. Just remove it and reapply. Use a credit card to smooth it out and remove any bubbles. It is very sticky and may take a couple of tries to get it lined up, but once you start it is finished in no time. The entire backsplash was done in under an hour. How cool is that?


The hardest part was cutting around the outlets. The best way to do it is to make a template with paper and use the craft knife to cut it out prior to hanging.
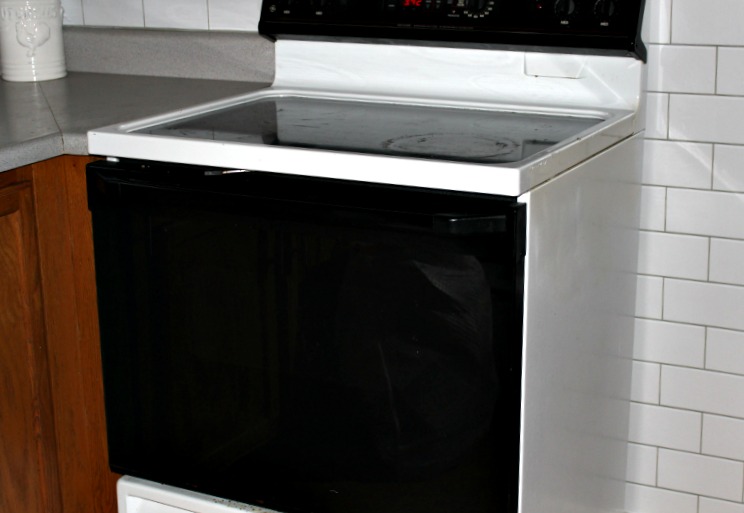

I decided to have the tile go all the way down the side of the stove on the small wall and love how finished it looks. This is seriously the best $35 I have ever spent! There have been other updates this week, but I can’t show you yet. We have to save something for the reveal next week-yay! Here is what I have completed so far:
- Dining Room Chairs ✓
- Lighting ✓
- New Cabinet Hardware ✓
- Backsplash ✓
Still to come:
- Island
- Decorating, rugs, wall art
- Storage
**PIN FOR LATER**

Let me know if you give this peel and stick backsplash a try, or if you have already used it. Leave me a picture or comment below. I’d love it if you would follow me on social media below:
Pinterest
Facebook
Instagram
Twitter
Elizabeth Reynolds
Wednesday 29th of April 2020
Why can I not open comments? When I want to see the answer of a question I can not open it. Am I the only one having this problem?
ourcraftymom
Wednesday 29th of April 2020
Elizabeth, I am not sure why you can't open comments. I can answer your question. How can I help?
Allison
Monday 11th of March 2019
Could I use this in a bathroom with lots of moisture
ourcraftymom
Monday 18th of March 2019
Hi. I would be afraid to use this in a bathroom because of the moisture, but maybe email the manufacturer and see what they say? It has been just about 6 months now and it is not peeling or coming off at all and it is in a kitchen. Hope that helps!
Kitchen Makeover On A Budget - One Room Challenge Reveal
Monday 12th of November 2018
[…] favorite thing that I did in the kitchen was add the Subway Tile Backsplash. If you didn’t see last week, this is peel and stick! It is so easy to install and you […]
Loni
Saturday 10th of November 2018
Boy did you share this at the right time for me! We're hoping to paint the kitchen cabinets soon and I would love to add a back splash to the kitchen but we can't afford to go all out and tile it, this will work perfectly!!! Thank you for sharing!
Debbie E
Wednesday 7th of November 2018
This is awesome. I needed an idea on how to cover up my nasty kitchen walls. Thank you