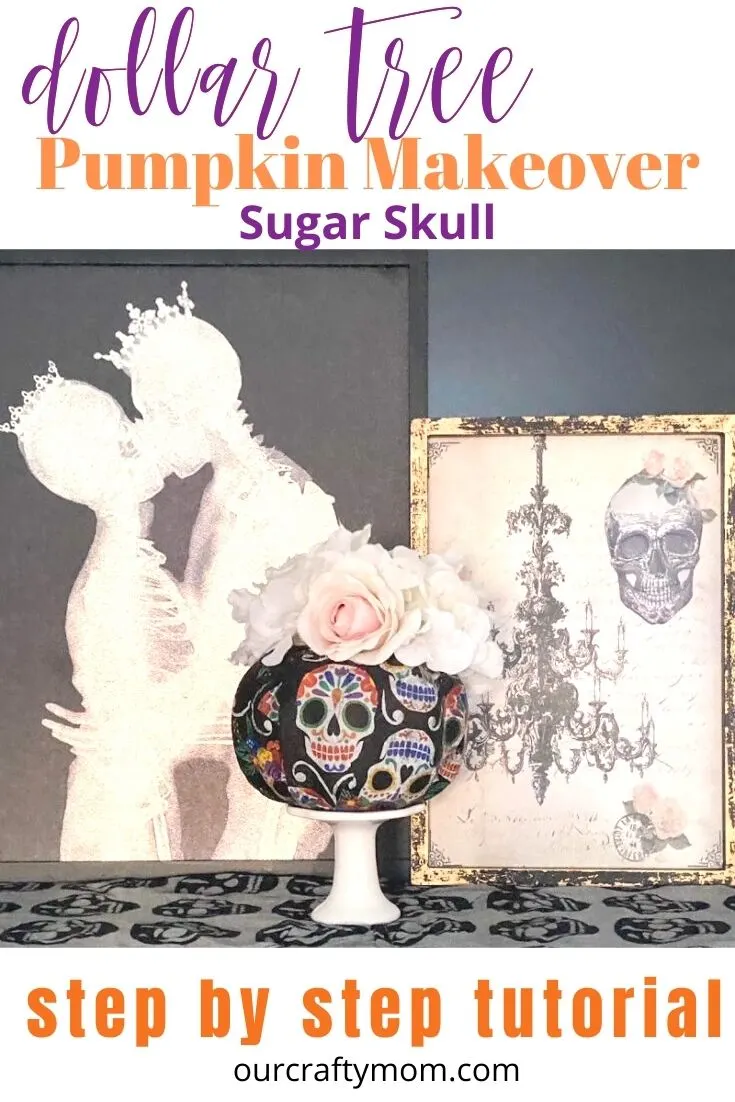
Make a Super Cool Day of the Dead Pumpkin for Halloween using a Dollar Tree foam pumpkin, mod podge, and napkins from the dollar spot.
This decoupage technique is so easy and fun to use with seasonal napkins…
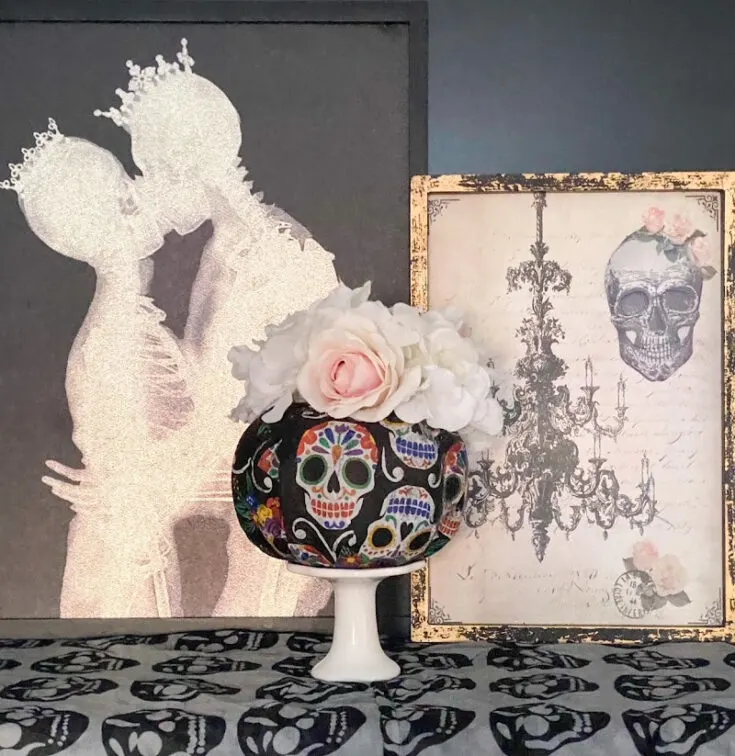
Some friends are also sharing pumpkin craft ideas today! Be sure to visit each for some amazing pumpkin craft inspiration.
The links are at the end of this post, so please read to the end so you can see all the pumpkin goodness!
For my pumpkin craft, I’m sharing a sugar skull day of the dead pumpkin. My daughter loves sugar skulls and Halloween.
She’s been collecting some really cool artwork and ceramic skulls since college.
We were looking at the dollar spot at Target and were shocked to see really nice Day of the Dead napkins for $1!
She asked what I could make with them and I told her they would be perfect to decoupage on pumpkins. I’ve been on a decoupage kick lately.
There are just so many things you can create with them. If you are a regular visitor here (thank you) you know I love to makeover Dollar Tree foam pumpkins.
Here are several pumpkin makeovers I’ve created:
Dollar Store Pumpkin Makeovers
- Decoupage Dollar Store Pumpkins
- Dollar Store Pumpkin Makeover
- Dollar Store Pumpkin Topiary
- Dollar Store Velvet Pumpkins
- Faux Concrete Dollar Store Pumpkins
- Buffalo Check Pumpkins
Supplies for Day of the Dead Pumpkins
- Day of the Dead Napkins
- Foam Pumpkin – Dollar Tree
- Mod Podge
- Craft Scissors
- Black Paint
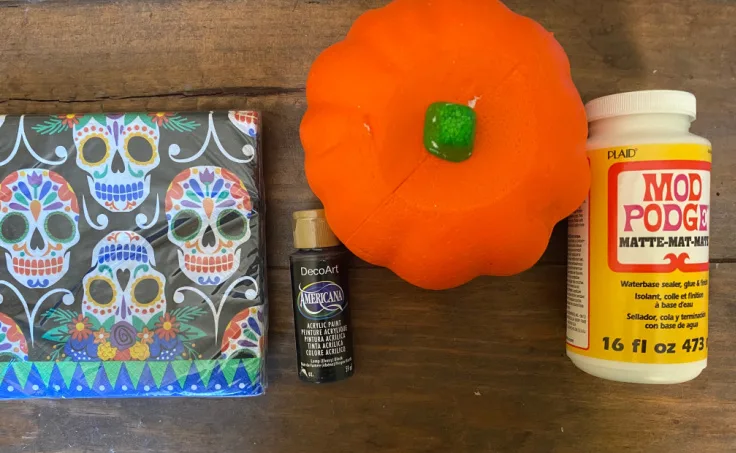
How to Make a Day of the Dead Pumpkin
Start by painting the orange foam pumpkin with black paint. Even though the pumpkin will be covered with napkins, it’s still good to paint it so the black napkins blend better.
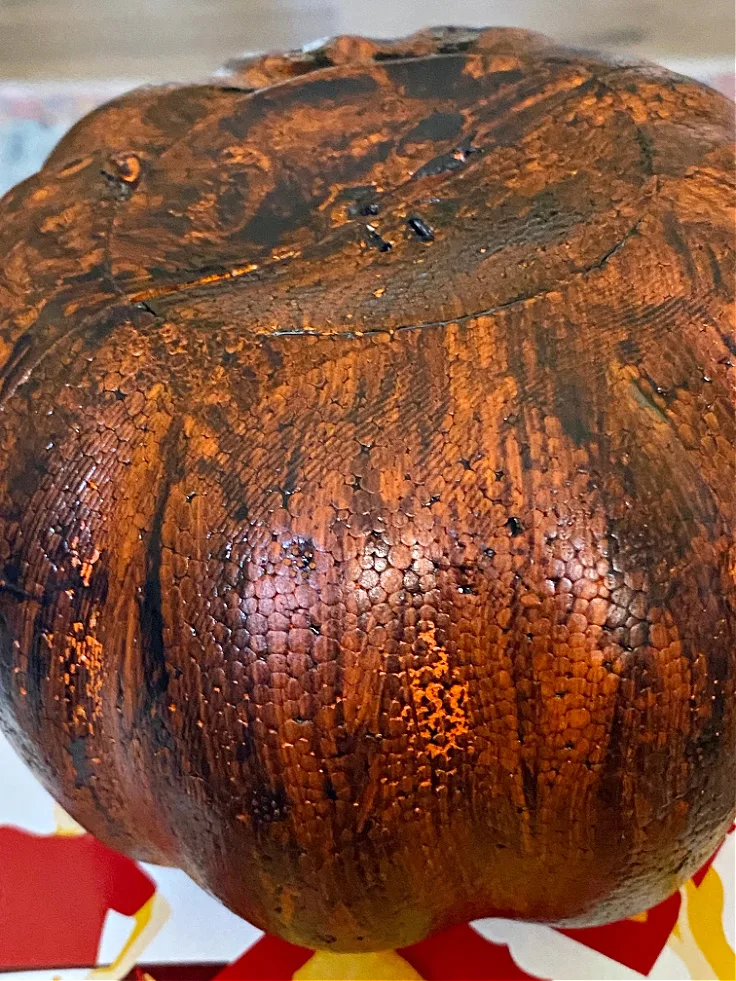
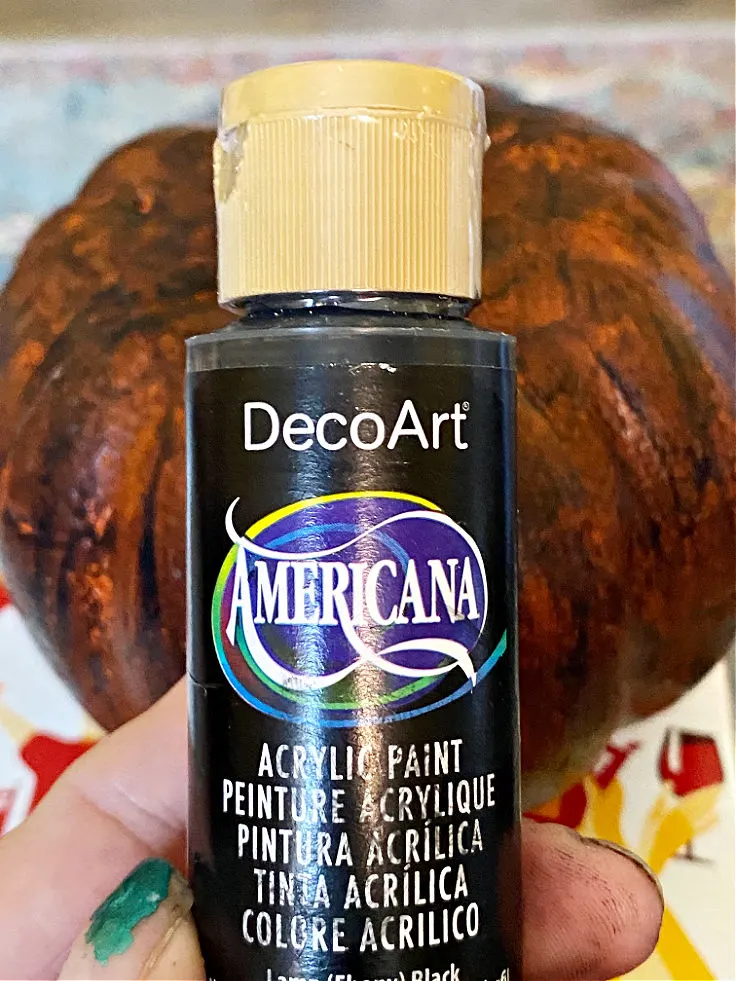
You will need 2-3 coats of paint. This is the paint I used:
Next up, remove the top printed layer of the napkin and cut it into four square pieces.
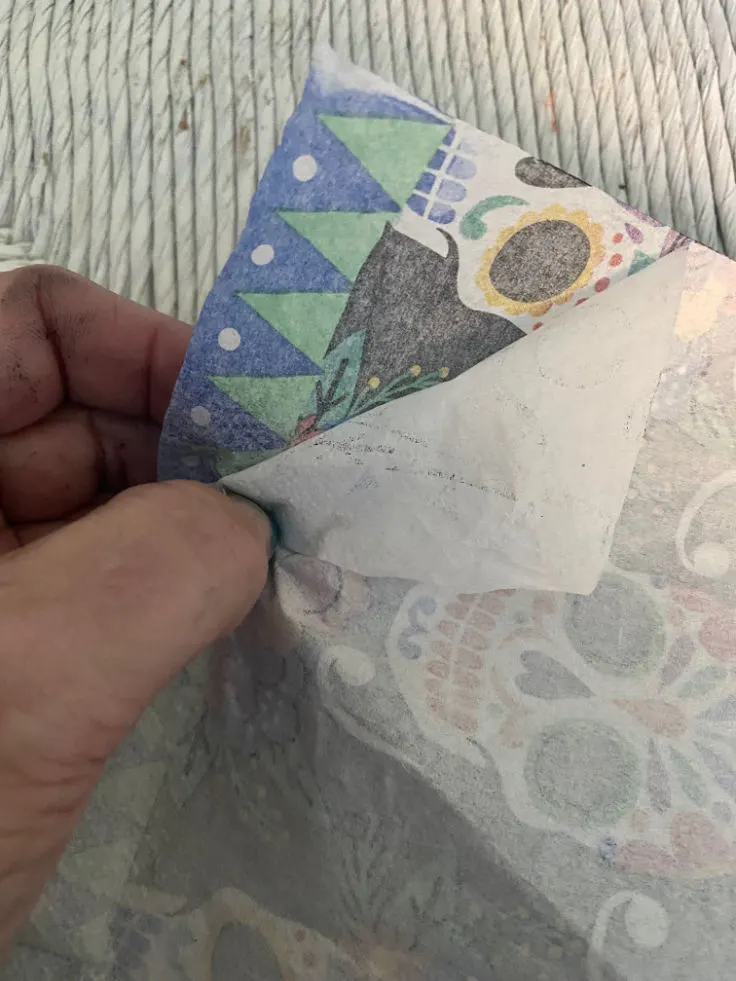
Add a good amount of mod podge to the pumpkin. Wait a minute or two until it gets tacky.
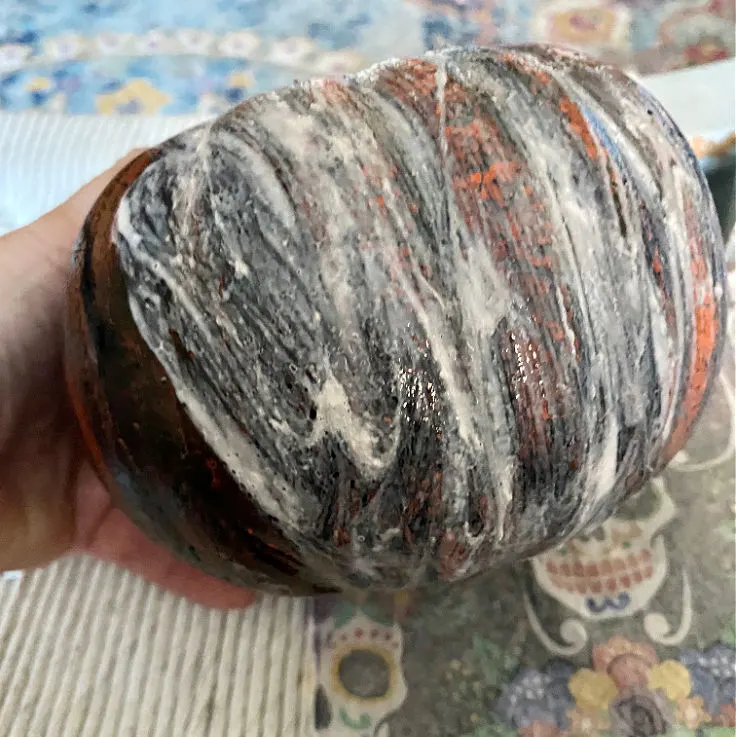
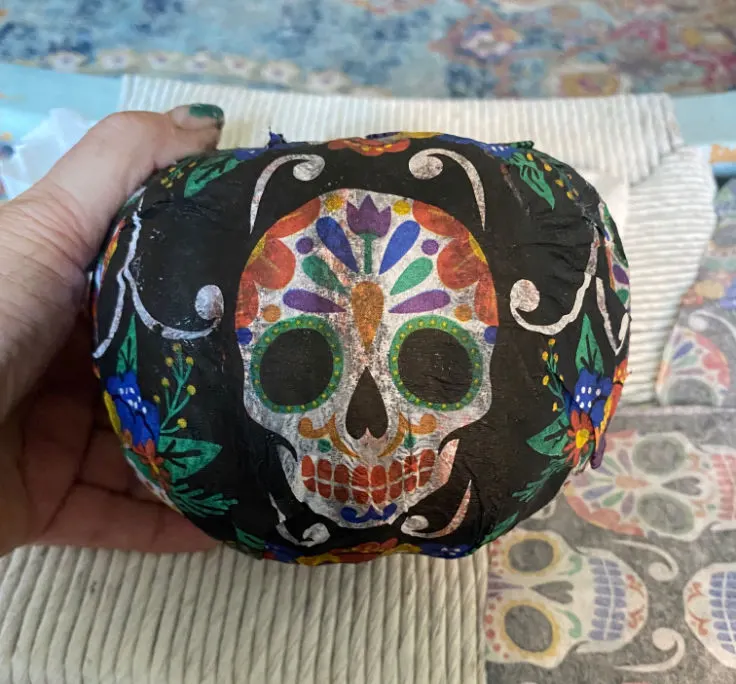
Then you can place the napkin square on the pumpkin. Lightly press it down. Using a plastic bag smooth out any of the wrinkles.
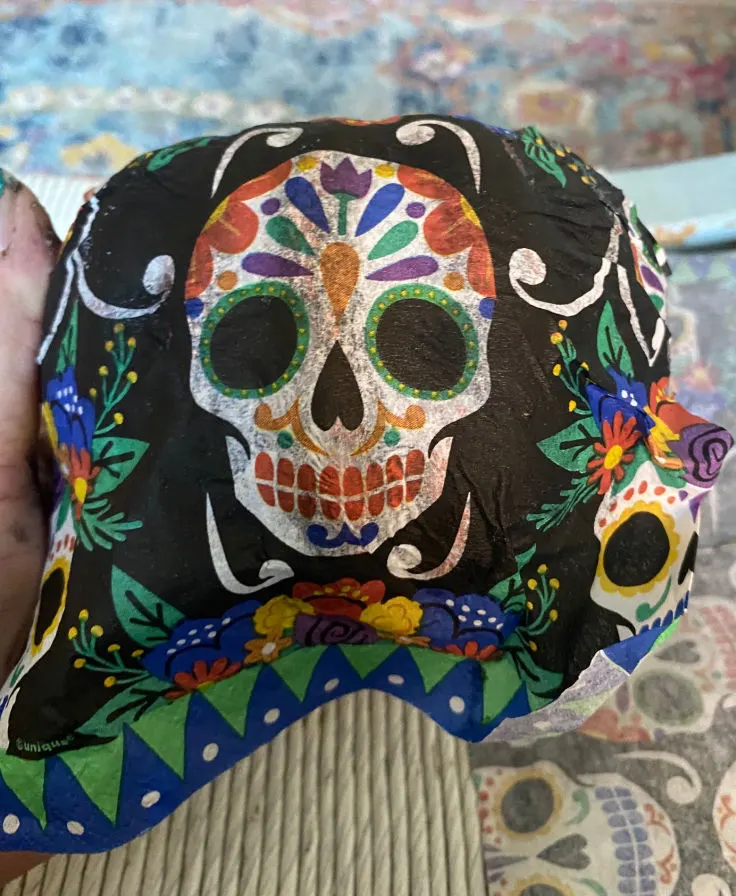
Follow the same process by adding mod podge to the pumpkin. Place the second napkin square onto the next section of the pumpkin. Lightly tap it down and smooth any wrinkles.
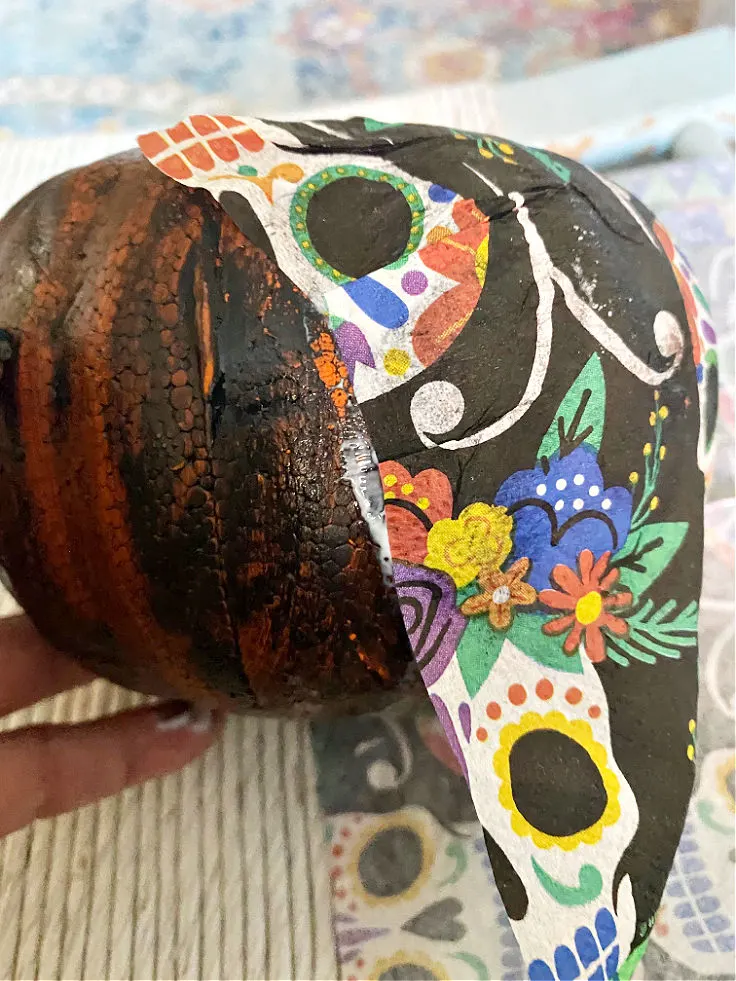
This size pumpkin took 3 squares to fully cover the pumpkin. Add a coat of mod podge to the outside of the pumpkin. Let dry.
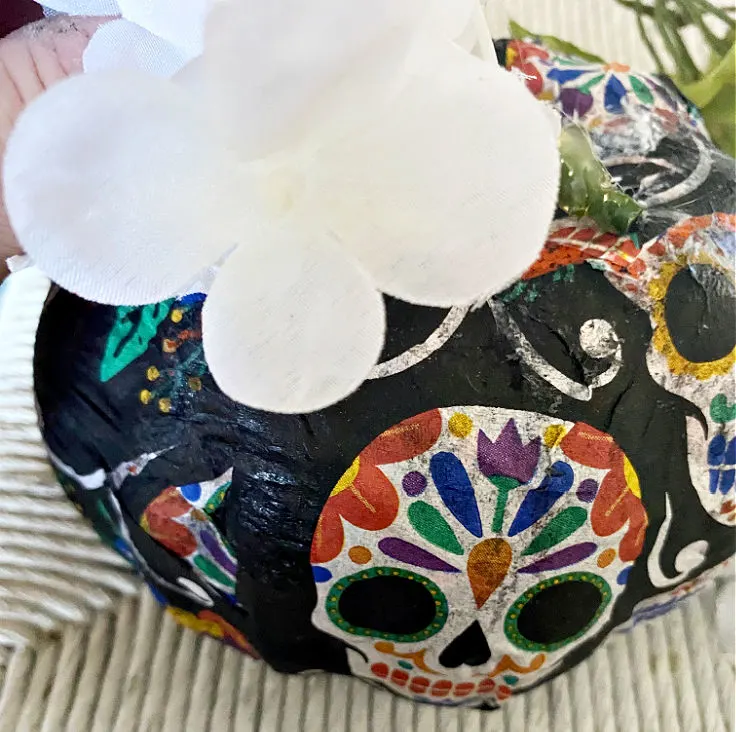
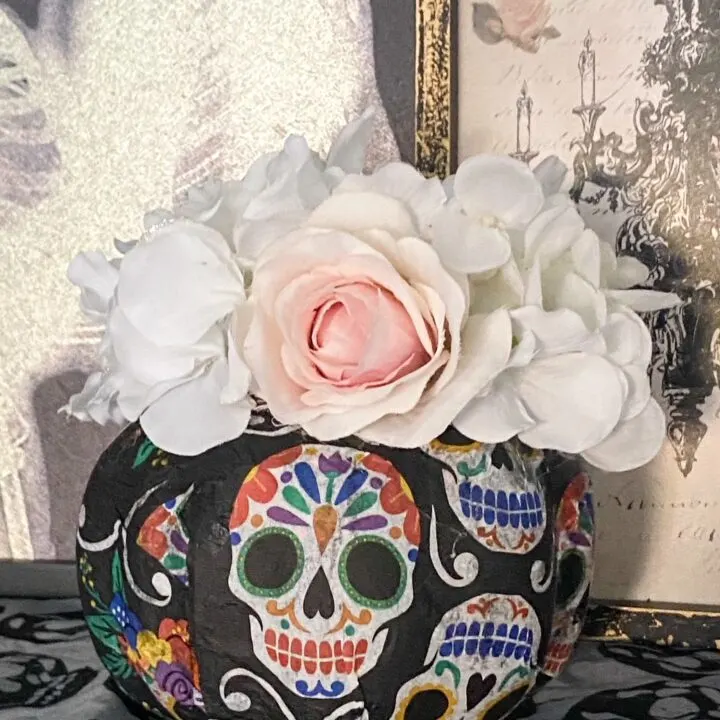
To make the sugar skull complete, hot glue flowers in your choice of color, to the top of the pumpkin.
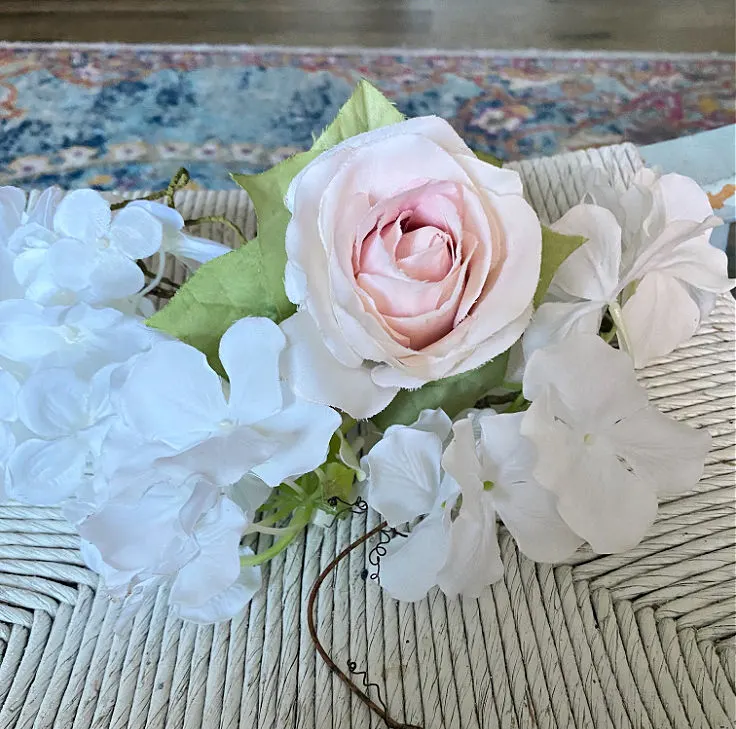
I stuck with white and blush colors, but you can go with rich colors of purple and rust if you like.
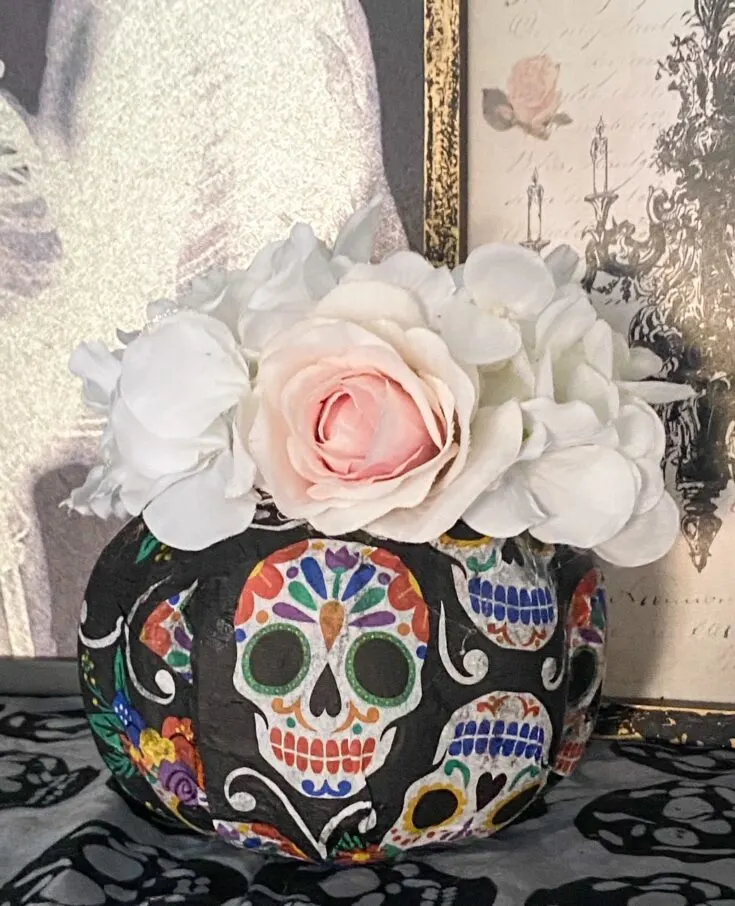
My daughter LOVES how it turned out, especially when displayed with some of her collection. I have to say I do like the King and Queen Skull artwork.
And the skull in the smaller frame has white and pink flowers, so it definitely blends well.

Save for later by pinning:
Subscribe to my email:
Before you go, I’d love for you to subscribe to my email. It’s a great way to stay current on all the fun crafts, easy recipes and home decorating ideas.
I hope you enjoyed this simple Day of the Dead Pumpkin for Halloween. Enjoy the rest of the pumpkins shown below:
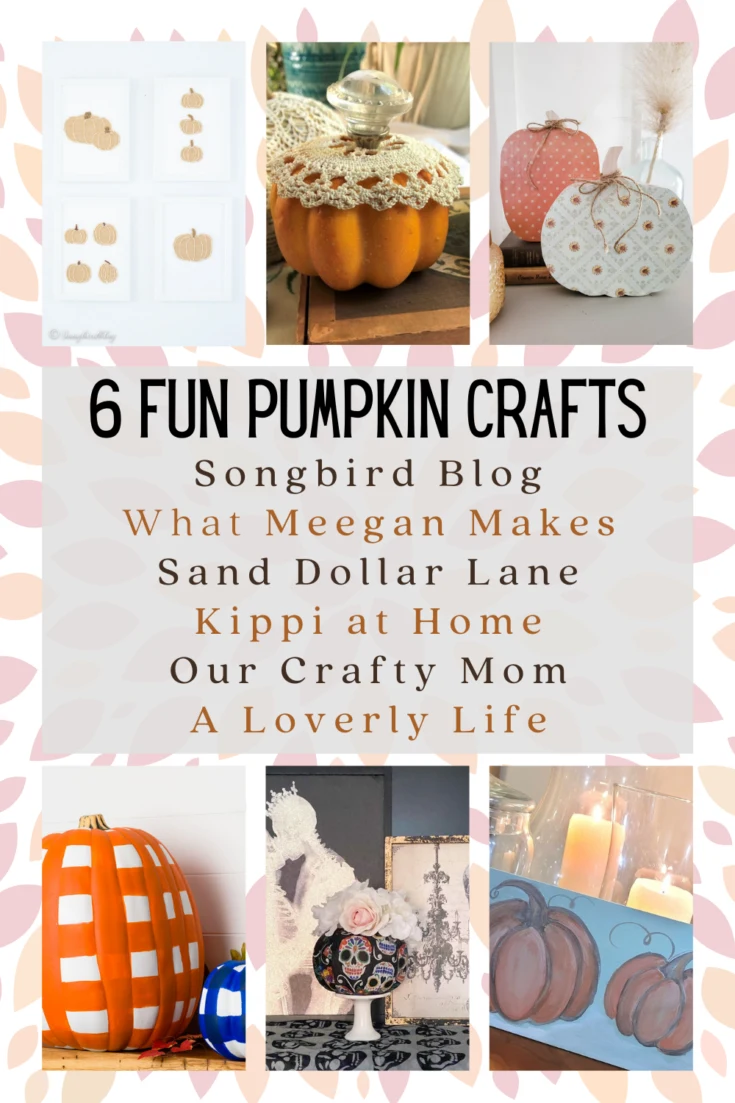
Marianne from Songbird Blog is showing her
Pumpkin Wall Art.
Meegan from What Meegan Makes is sharing how to
Decorate Pumpkins with Vintage Doilies.
Leen from Sand Dollar Lane is showing
How to Decorate Wooden Pumpkins.
Kippi from Kippi at Home has a tutorial on
Buffalo Check Pumpkins.
Michelle from Our Crafty Mom is showing us her
Day of the Dead Pumpkin.
Juliet from A Loverly Life is sharing a tutorial on
How to Paint Pumpkins on Wood.
Thank you so much for stopping by. Have a good day and Happy Halloween!
Make a Super Cool Day of the Dead Pumpkin for Halloween
Pick up a dollar store foam pumpkin, some Day of the Dead napkins and make a really cool sugar skull pumpkin! It's quick, easy, and fun!
Materials
- Day of the Dead Napkins
- Foam Pumpkin
- Mod Podge
- Craft Scissors
- Black Paint
Tools
- Hot Glue Gun
Instructions
- Paint the orange pumpkin with black paint.
- Remove the top printed layer of the napkin and cut it into four square pieces.
- Add a good amount of mod podge to the pumpkin. Wait a minute or two until it gets tacky.
- Place the napkin square on the pumpkin. Lightly press it down.
- Use a plastic bag to smooth out any of the wrinkles.
- Place the second napkin square onto the next section of the pumpkin.
- Lightly tap it down and smooth any wrinkles.
- Add a coat of mod podge to the outside of the pumpkin. Let dry.
- Hot glue flowers in your choice of color, to the top of the pumpkin.
Recommended Products
As an Amazon Associate and member of other affiliate programs, I earn from qualifying purchases.
-
 DecoArt Americana Acrylic Paint, 2-Ounce, Lamp Black (DAO67-3)
 -
 Scissors, iBayam 8" Multipurpose Scissors Bulk 3-Pack, Ultra Sharp Blade Shears, Comfort-Grip Handles, Sturdy Sharp Scissors for Office Home School Sewing Fabric Craft Supplies, Right/Left Handed
 -
 Mod Podge CS11302 Waterbase Sealer, Glue and Finish, 16 oz, Matte, 16 Fl Oz
 -
 Foam Carvable Pumpkin Decoration
 -
 Unique Skull Day of The Dead Party Bundle | Luncheon & Beverage Napkins, Square 7" Dessert Plates | Halloween Parties Dia de Los Muertos

Juliet | A loverly life
Saturday 16th of October 2021
Michelle, your sugar skull pumpkin is amazing. What a fabulous DIY. Using the napkin to decoupage makes it so easy!
ourcraftymom
Sunday 17th of October 2021
Thanks so much! So many fun pumpkins!
meegan
Saturday 16th of October 2021
I love the pattern of the napkins, Michelle! So fun for celebrating Day of The Dead and Halloween. Thanks for the tutorial and how to decoupage using a napkin. Have a great weekend.
ourcraftymom
Sunday 17th of October 2021
Thanks Meegan! I was so excited when I found them!
Marianne
Friday 15th of October 2021
Wow those are cute and spooky at the same time. I have recently discovered the joy of napkin decoupage too! What a fun craft technique is that. I love the inspired idea of creating Halloween pumpkins with those awesome napkins.
ourcraftymom
Sunday 17th of October 2021
Yes! Napkin decoupage is slightly addictive! Thanks for visiting. :)