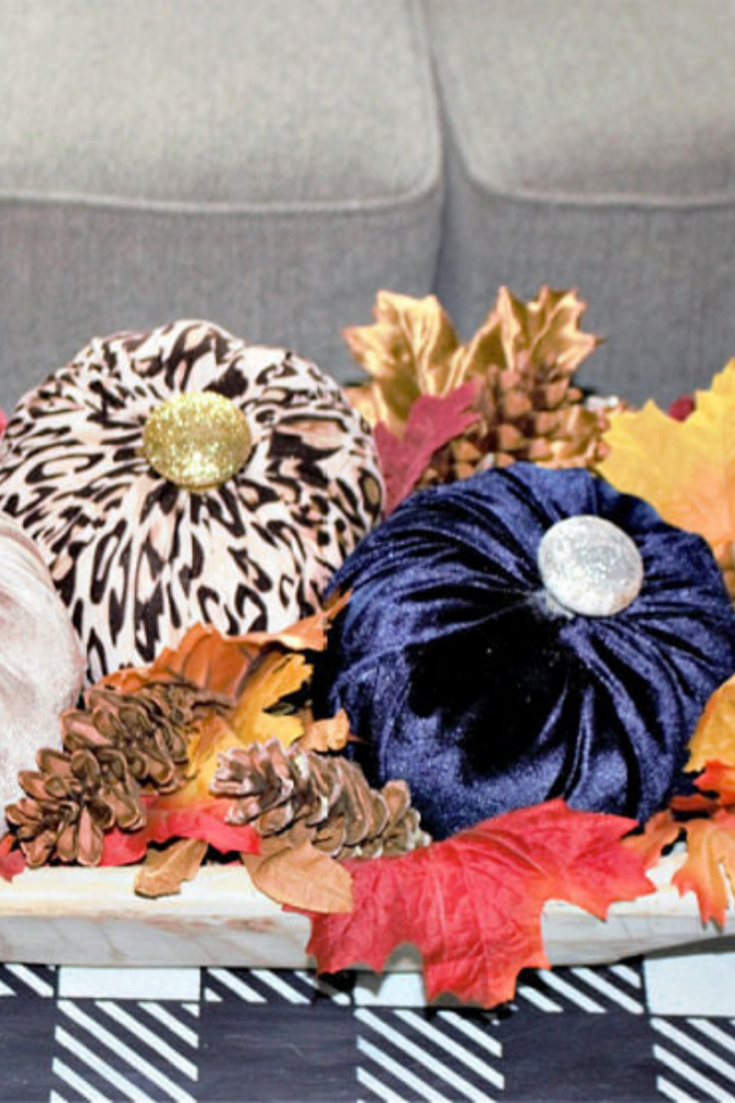
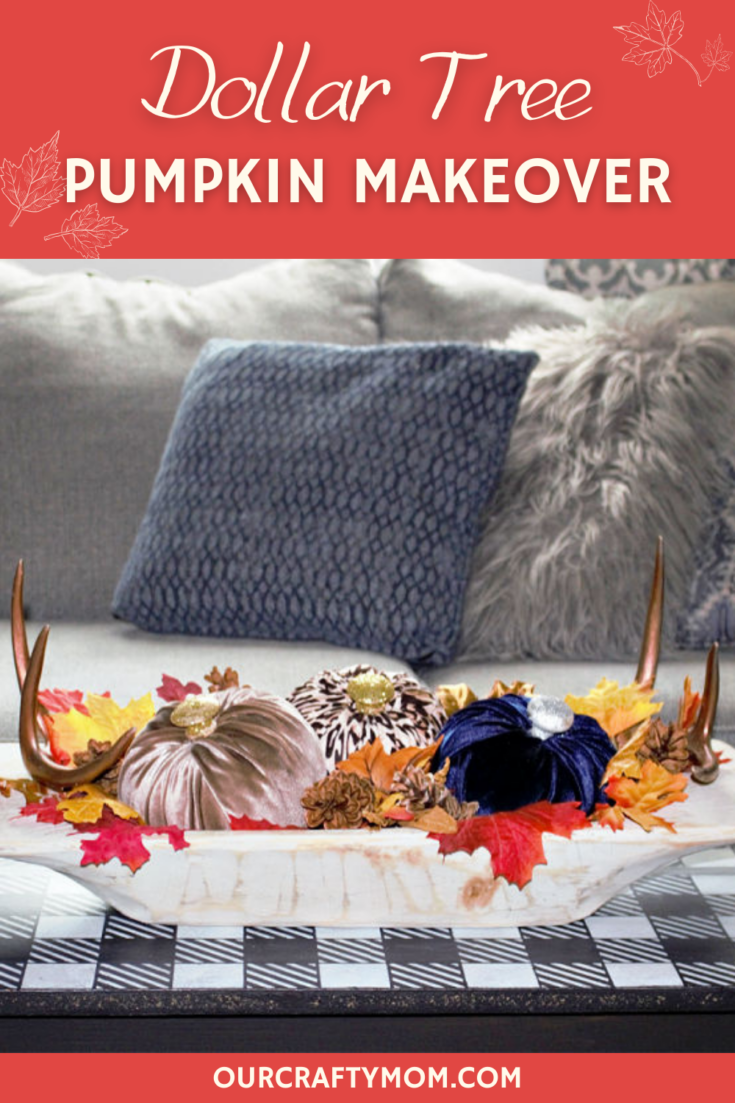
This dollar store pumpkin makeover includes a a little bit of glitz and glam with leopard, velvet and glitter…

I’m sharing this dollar store pumpkin makeover as part of this month’s Thrifty Style Team’s challenge.
I received product from Fabric Wholesale Direct used in this post. This post contains affiliate links at no extra cost to you. Please see my full disclosure here.
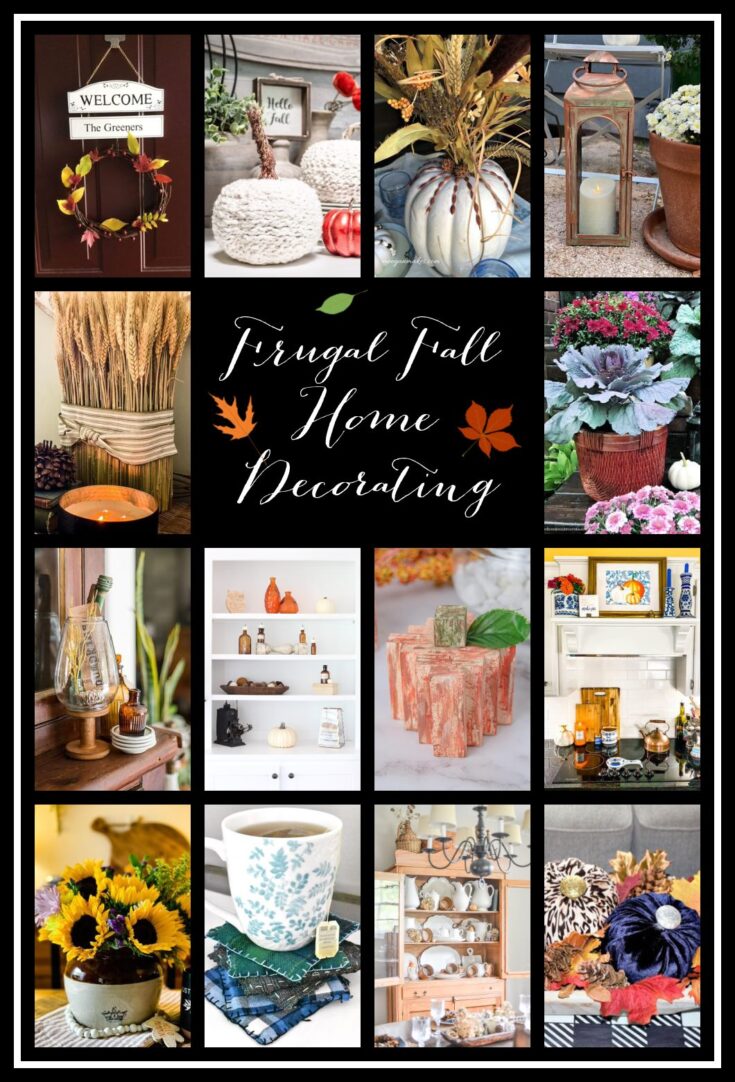
There are 14 frugal fall home decorating and craft ideas shared this month by a group of super talented bloggers.
You can check out all the beautiful projects with the links at the end of this post.
![]()
![]()
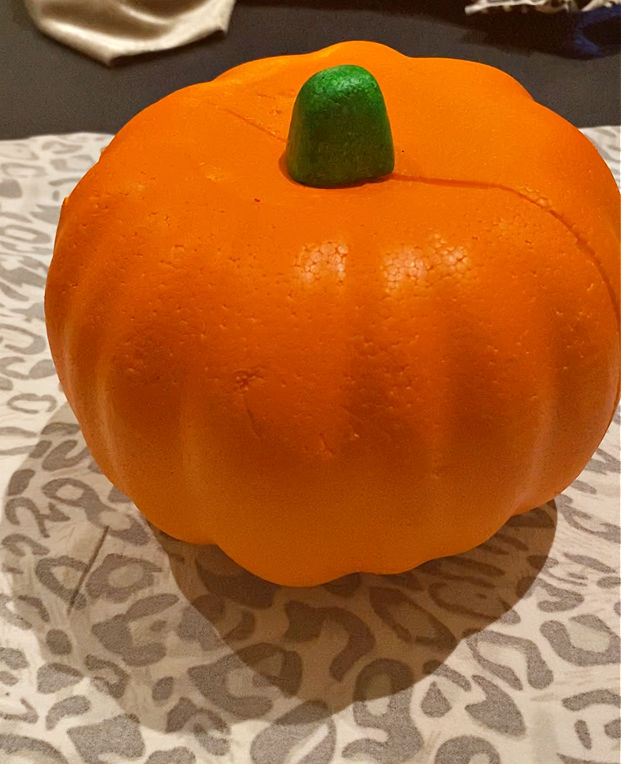
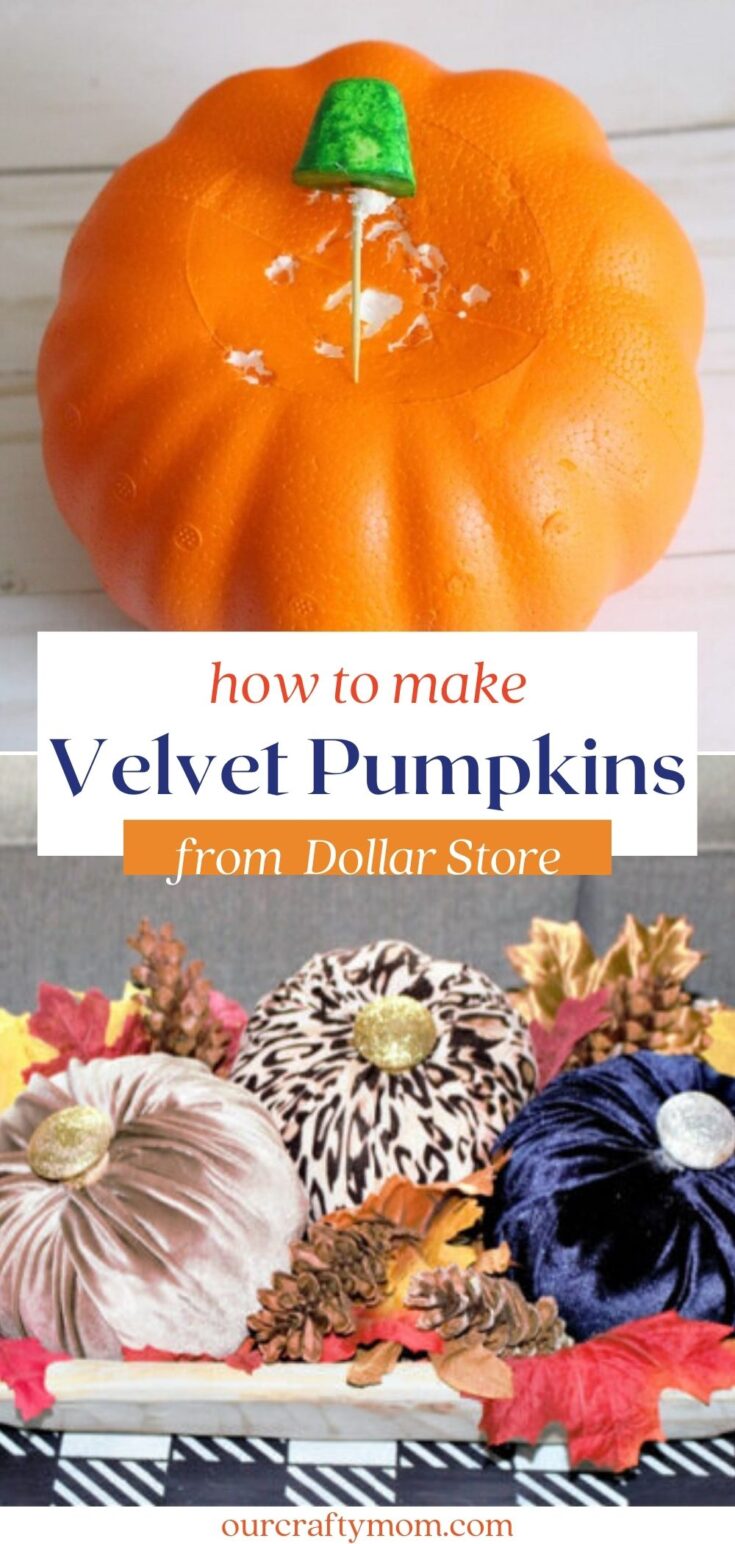
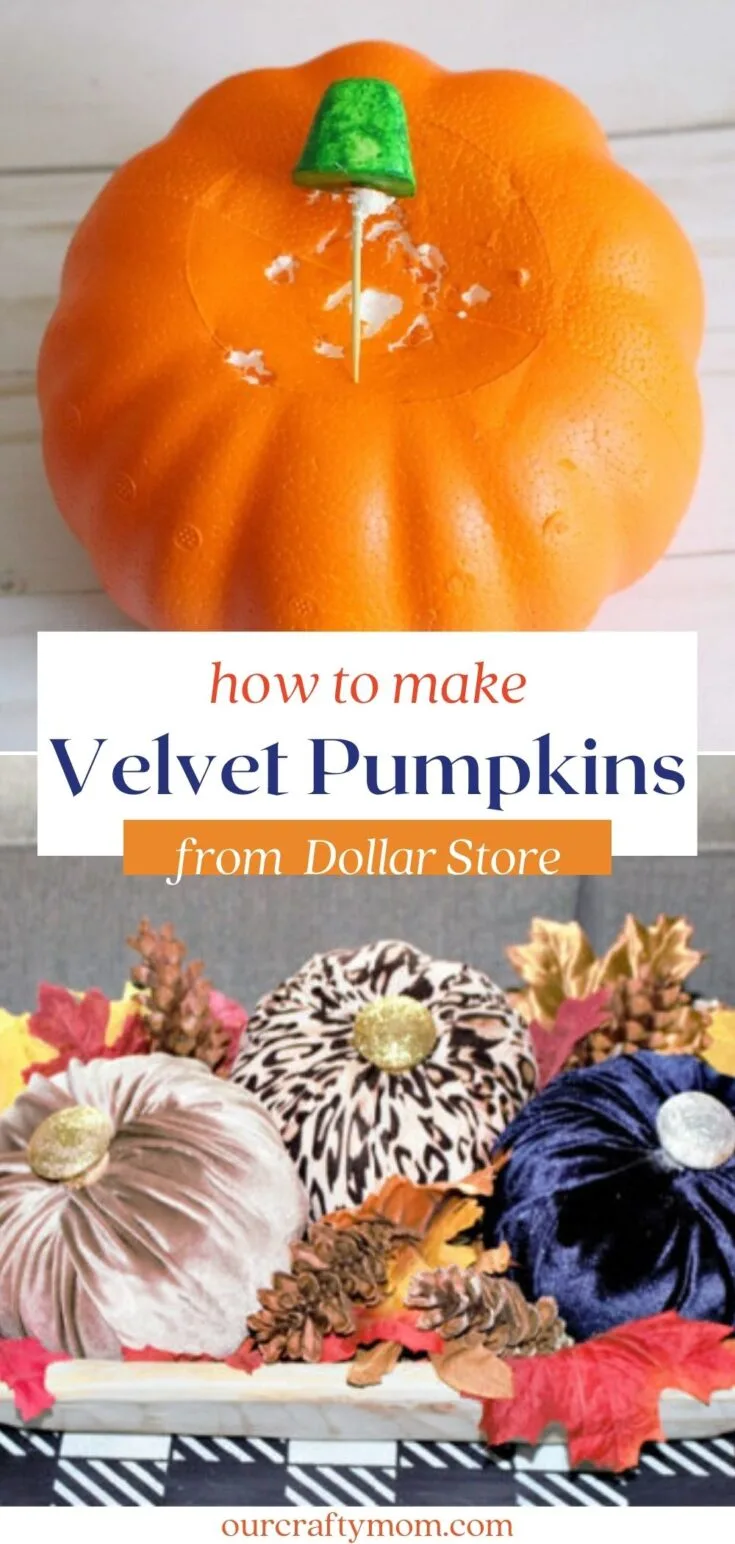
As soon as September rolls around each year I pick up a few orange foam pumpkins at Dollar Tree and have a little fun giving them a makeover.
There are so many simple ways you can update them.
I’m always glad I buy them early, because they sell out fast. If your local Dollar Tree doesn’t have what you need in stock, you can order it online with free shipping to your local store.
That’s great to keep in mind with the busy holiday season approaching.
Here are several pumpkin makeovers I’ve made:
Dollar Store Pumpkin Makeovers
- Decoupage Dollar Store Pumpkins
- Dollar Store Pumpkin Topiary
- Dollar Store Velvet Pumpkins
- Faux Concrete Dollar Store Pumpkins
- Buffalo Check Pumpkins
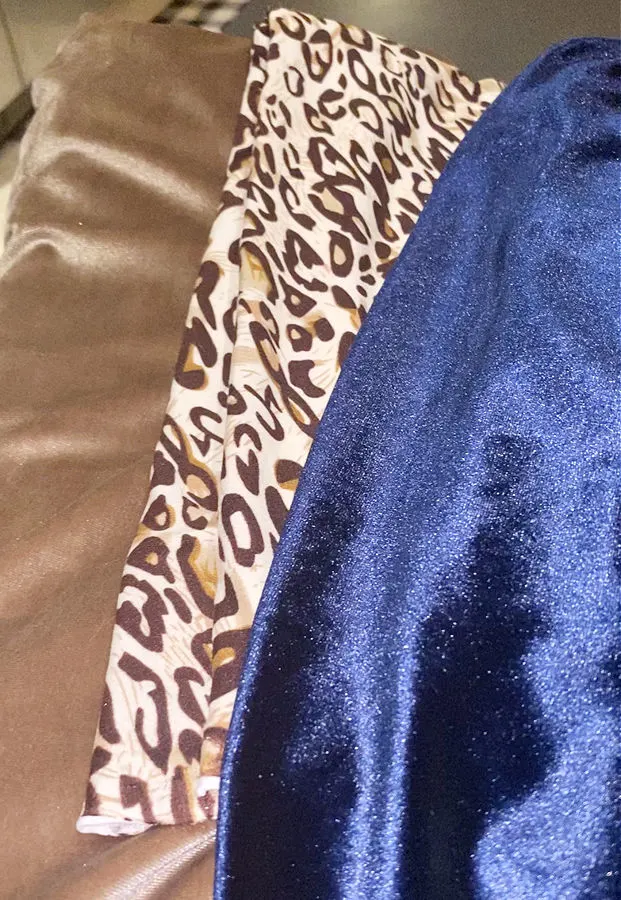
This year I received beautiful velvet and leopard fabric from Fabric Wholesale Direct. It came at the perfect time to use for this pumpkin makeover.

Here is the easy tutorial:
Supplies for Dollar Store Pumpkin Makeover
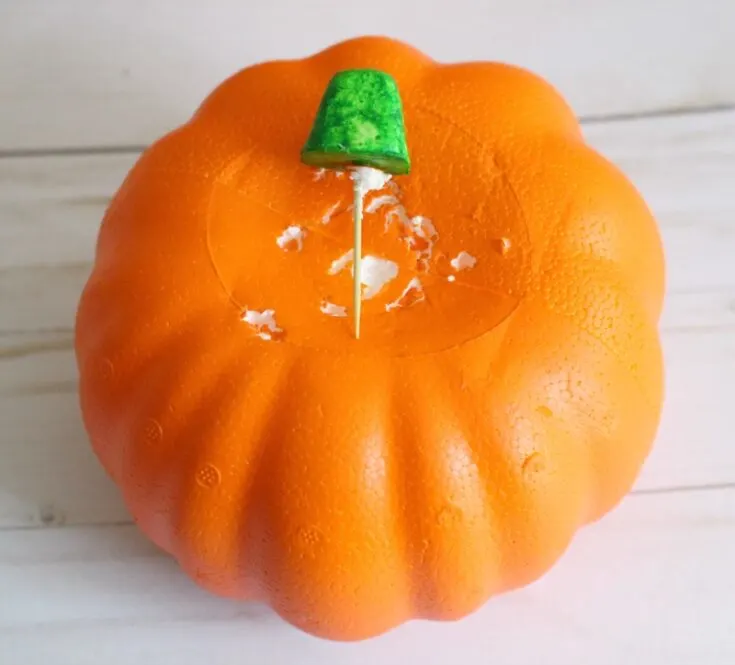
Step 1.
Remove the stem from the dollar store pumpkin. It actually pulls right out. You can reuse it if you want.
But, I would either paint it or add glitter to it, because it’s not very pretty. 🙂

Step 2.
Lay your fabric on a flat surface. Cut out a 14″ square. A rotary cutter works great for this.
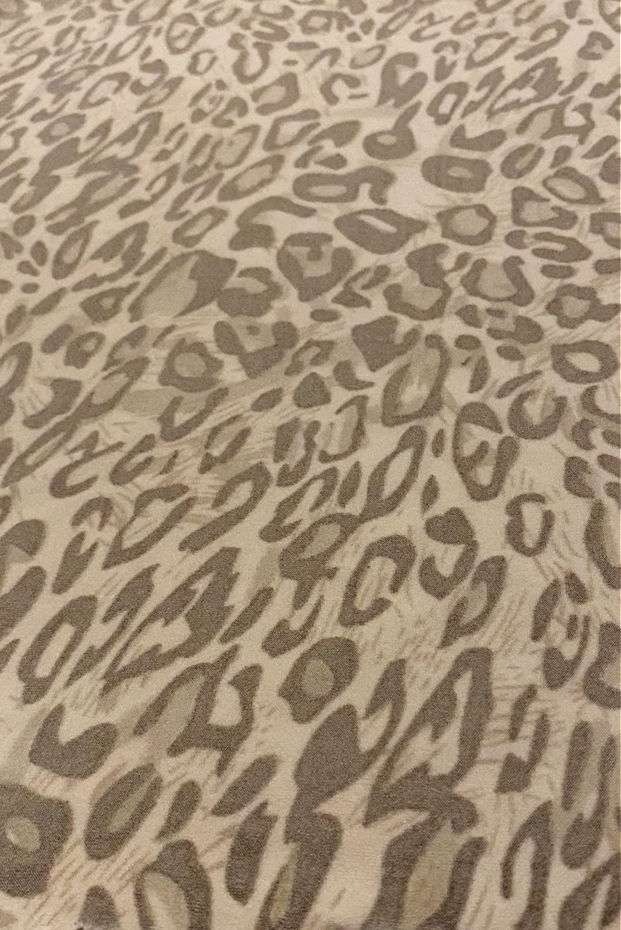
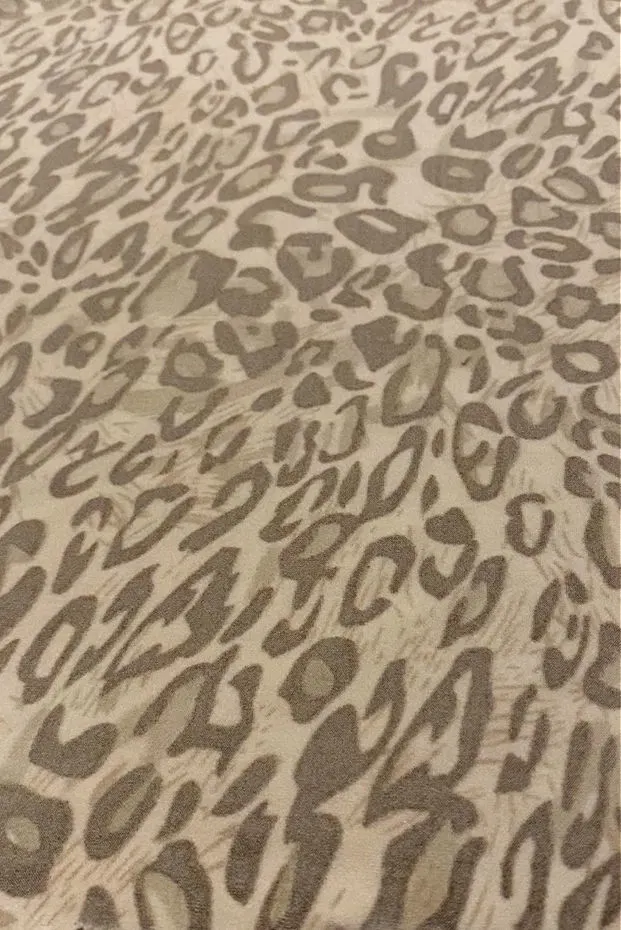
How fun is that leopard print? It’s the perfect partner to the rich navy blue and mocha velvet.
Step 3.
Place your foam pumpkin in the center of the fabric square.

[Tweet “Dollar Store Pumpkin Makeover With Velvet and Leopard @ourcraftymom #ourcraftymom #dollarstorepumpkinmakeover #thriftystyleteam”]
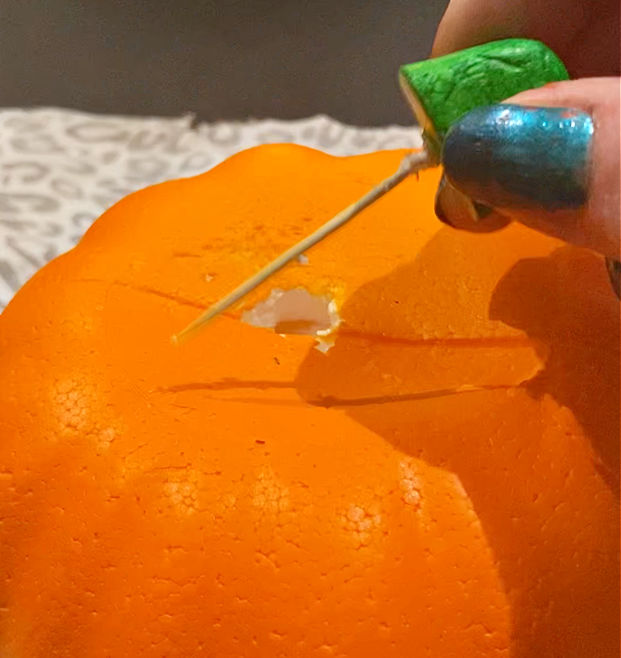

Step 4.
Use a craft knife, or scissors, to make the center hole a little larger.
Bring each corner of the fabric up and push it inside the pumpkin. You can pull the fabric into folds so it is nice and neat.

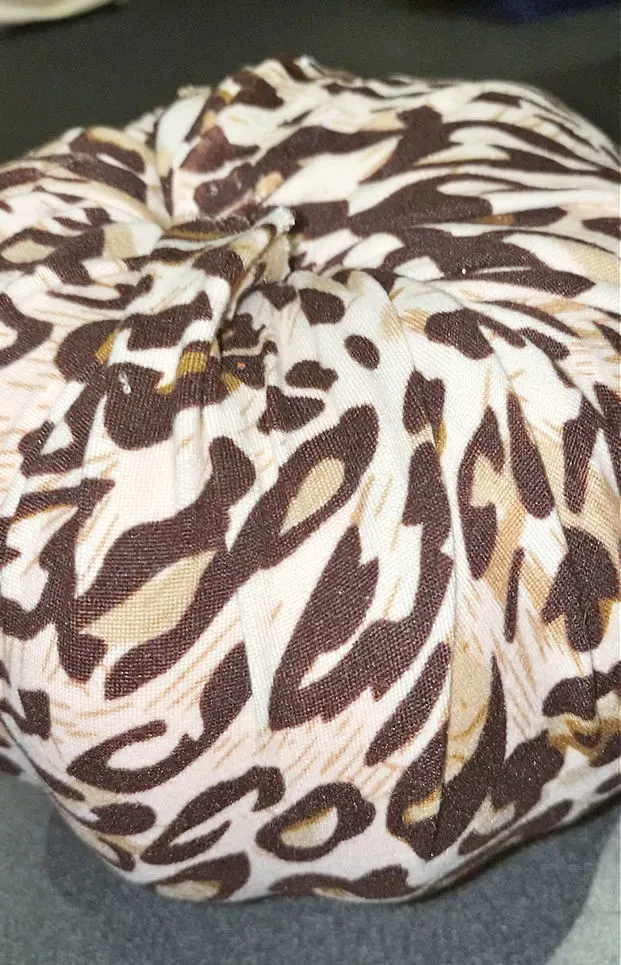
The great thing about this technique is you really don’t even need any hot glue.
You can definitely add a few drops for a little extra security, but really the fabric will be nice and snug tucked inside the pumpkin.
Step 5.
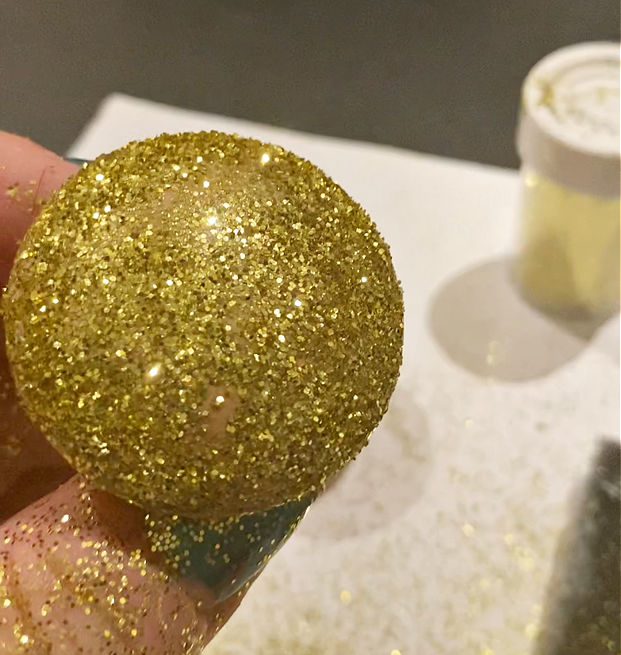
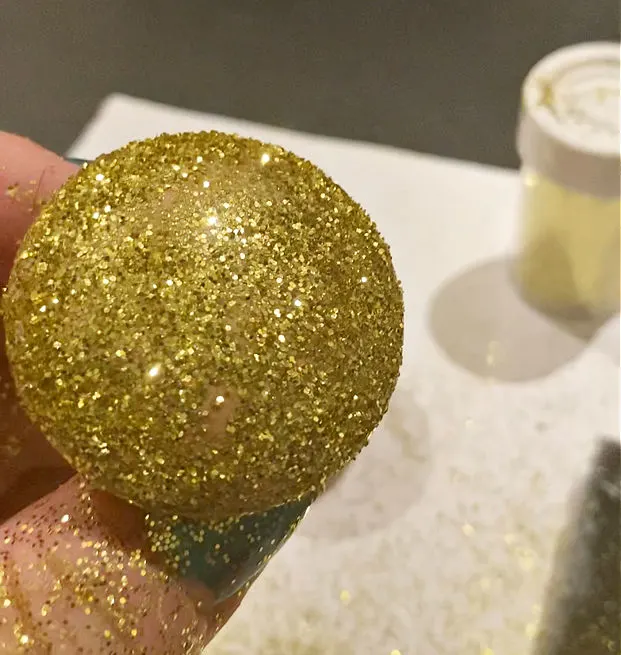
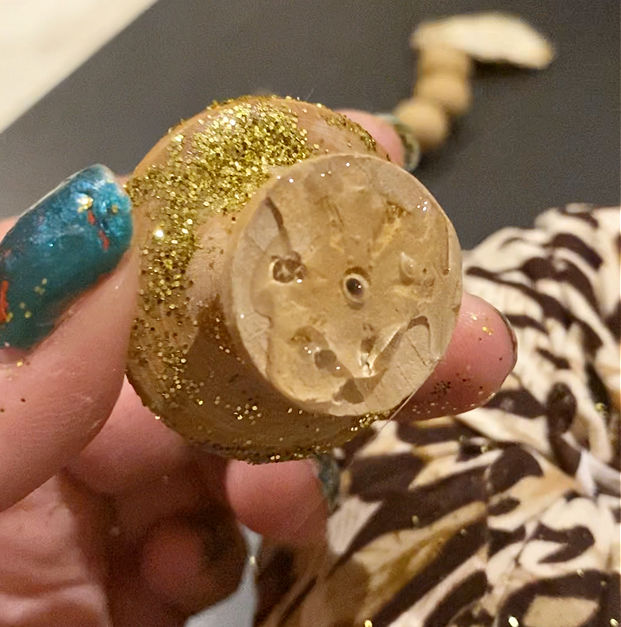
Now it’s time to decorate the stems. I had a few wooden knobs in my craft stash. They make the perfect pumpkin stem.

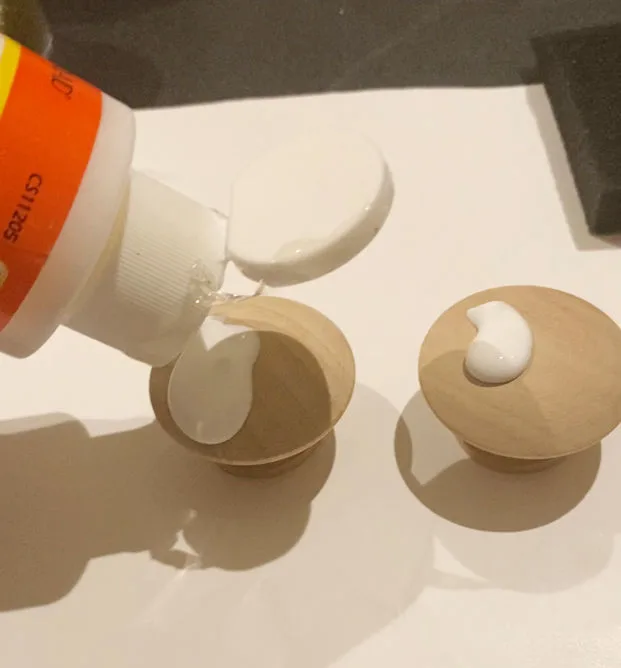
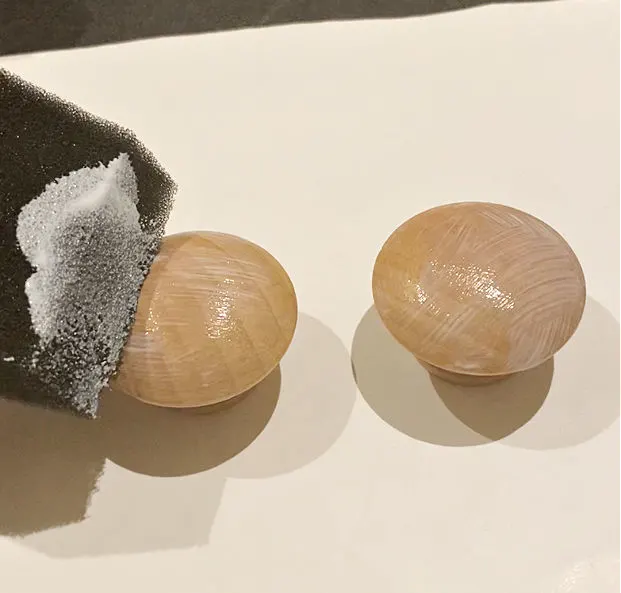
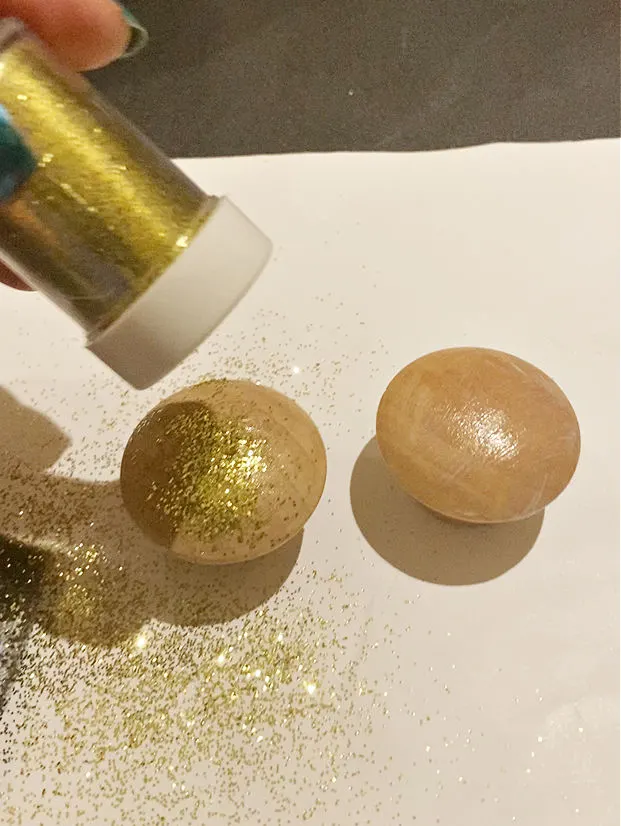
Simply cover them with mod podge and glitter.

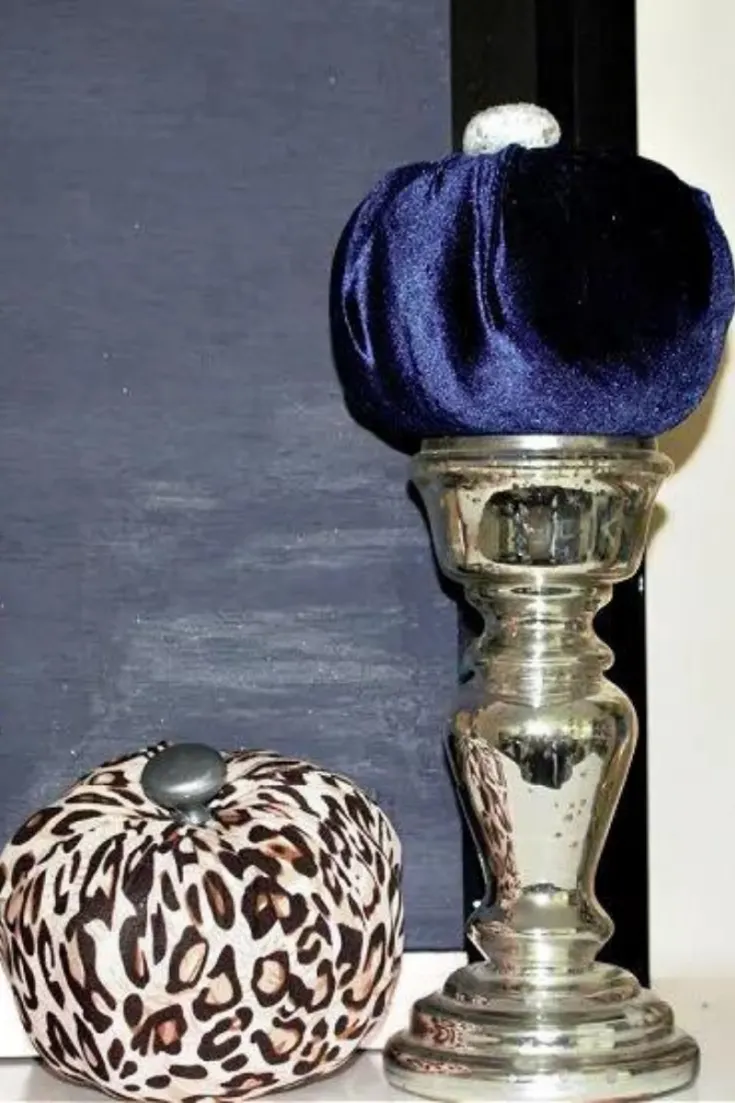
The gold looks great with the leopard fabric and I used silver with the navy.
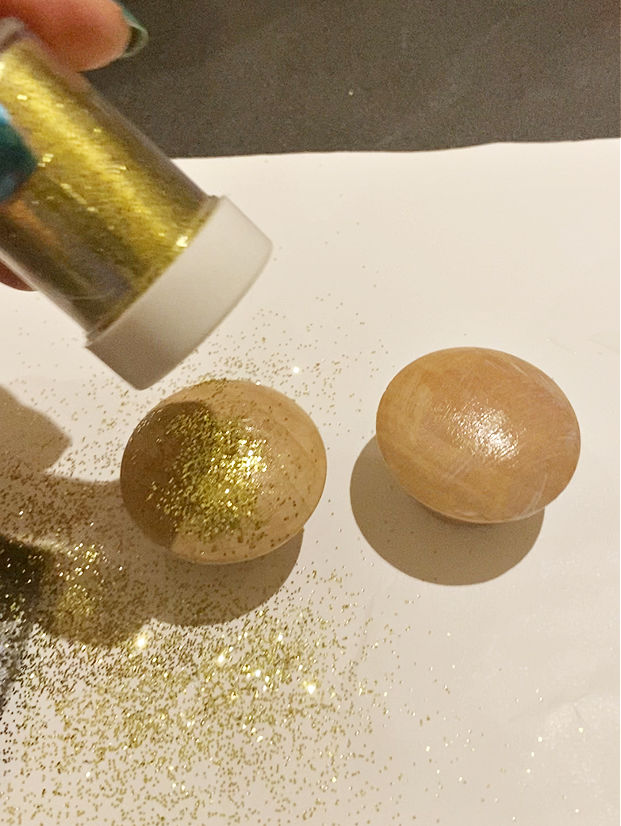
I’m all about a little bling!
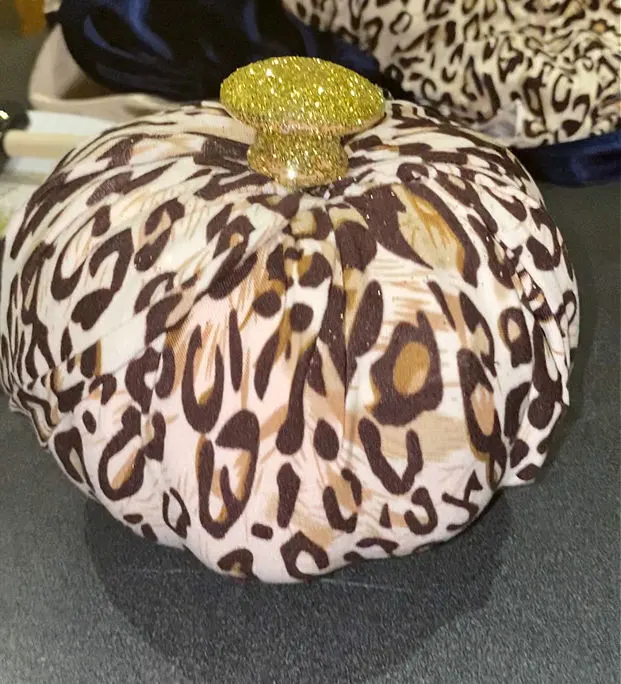
Step 6.
Secure the knob to the top of the pumpkin with a dollop of hot glue.

That’s all there is to it. Wasn’t that so easy? Each one took only about 15 minutes to make.

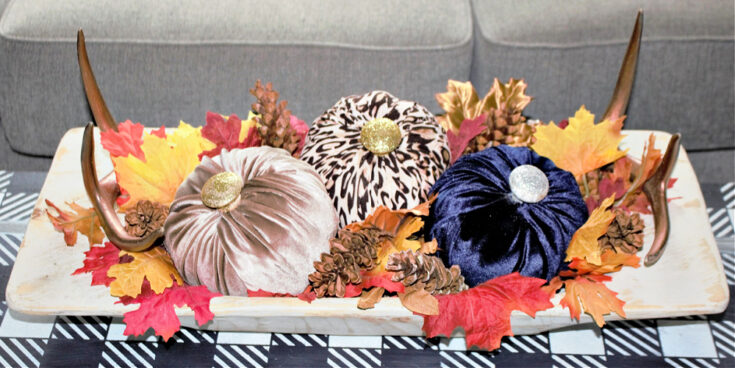
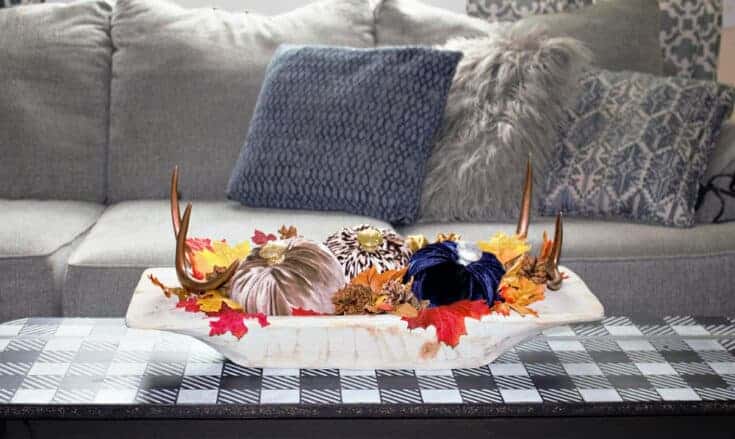
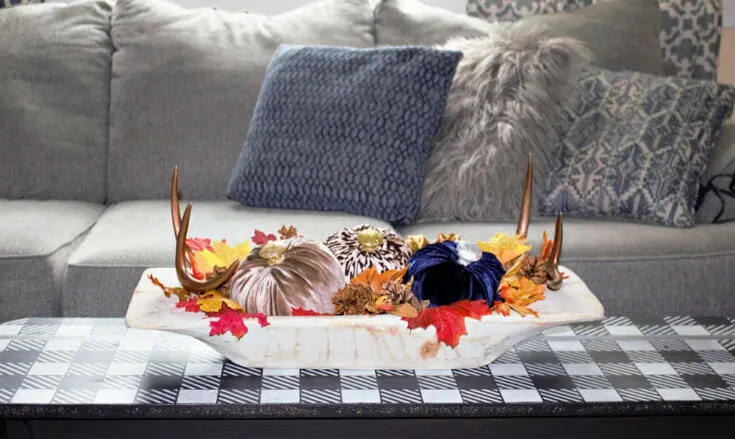
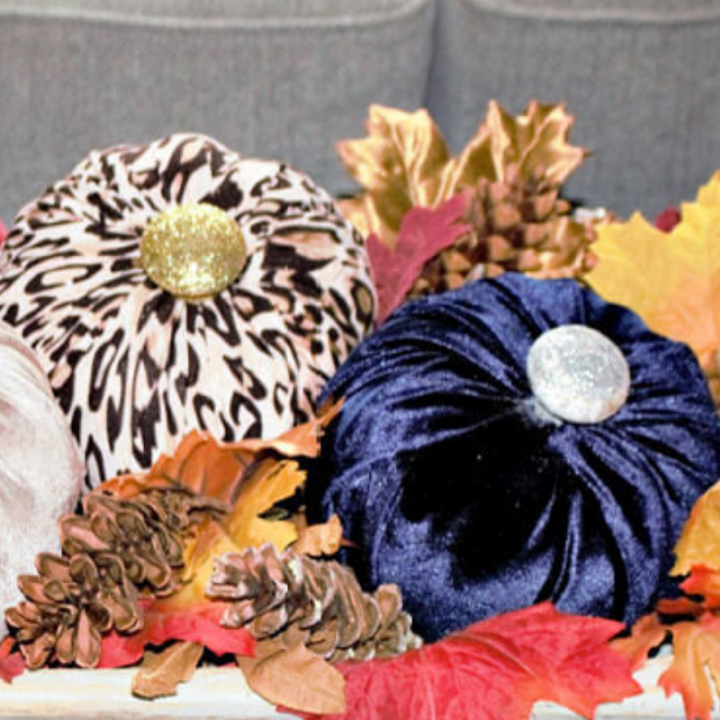
Look how pretty they look in my vintage dough bowl with just a few leaves and pine cones:

What do you think? Which Dollar Tree pumpkin makeover is your favorite? I’d love to hear your comments below.

Also, if you’ve updated any foam pumpkins and you’d like to share, I’d LOVE to see them!
You can also see how I decorated with these velvet pumpkins in my blue and orange fall mantel.
Sharing is caring…please PIN the below image:

Visit the talented bloggers below to see their frugal fall home decorating projects.

Redhead Can Decorate – 3 Thrifty Fall Planter Cover Ideas
Our Crafty Mom – Dollar Store Pumpkin Makeover With Velvet
DIY Beautify – Easy Crochet Chain Sweater Pumpkins
2 Bees In A Pod – Fall Living Room with Thrifted Decor
The How To Home – Vintage Bean Pot Vase filled with a Sunflower Bouquet
Vinyet Etc. – Fall Cloche with Thrifted Finds
Sweet Pea – Dollar Tree Tumbling Tower Block Pumpkins
What Meegan Makes – How To Make a Faux Pumpkin Centerpiece
Postcards From The Ridge – Decorating Ideas That Will Make Your Wallet Happy
Lora B. Create & Ponder – DIY Plaid Flannel Coasters
The Tattered Pew – How To Quickly Get The Look of Aged Copper
I Should Be Mopping The Floor –White and Blue Fall Decor in the Kitchen
Chas’ Crazy Creations – Fall Nature Decorating An Easy How To Guide
Cottage On Bunker Hill – Dried Wheat Centerpiece
Subscribe to my email:
Before you go, I’d love for you to subscribe to my email. It’s a great way to stay current on all the fun crafts, easy recipes and home decorating ideas.
Thank you so much for stopping by. Have a good day and happy fall!
You may also enjoy these fall decorating ideas:
- Fall Decorating Ideas with Decocrated
- Autumn Accessories for the Home
- Beautiful Fall Tablescape in Blue and Orange
- Farmhouse Tiered Tray For Fall
You can find me on social media below:

Dollar Store Pumpkin Makeover With Velvet and Leopard
Make a beautiful, and super easy, velvet pumpkin in rich shades of navy blue and leopard. All you need are a few dollar store pumpkins and fabric!
Materials
- Orange Foam Pumpkins
- Navy Blue and Leopard Velvet Fabric
- Mod Podge
- Foam Brush
Tools
- Rotary Cutter
- Hot Glue Gun
Instructions
- Remove the stem from the dollar store pumpkin.
- Lay your fabric on a flat surface.
- Cut out a 14″ square with a rotary cutter.
- Place your foam pumpkin in the center of the fabric square.
- Use a craft knife to make the center hole a little larger.
- Bring each corner of the fabric up and push it inside the pumpkin.
- You can pull the fabric into folds so it is nice and neat.
- Decorate the stems. Cover them with mod podge and glitter.
- Secure the knob to the top of the pumpkin with a dollop of hot glue
Recommended Products
As an Amazon Associate and member of other affiliate programs, I earn from qualifying purchases.
-

 Artlicious - Foam Paint Brush Value Pack (One Inch - 25 Pack)
 -
 Mod Podge CS11302 Waterbase Sealer, Glue and Finish, 16 oz, Matte, 16 Fl Oz
 -
 Fiskars Classic (45mm) Comfort Loop Rotary Cutter, 1, Steel and Orange
 -
 Stretch Velvet Fabric 60'' Wide by The Yard for Sewing Apparel Costumes Craft (5 Yard, Royal Blue)
 -
 Surebonder Auto Shut Off Hot Glue Gun, Dual Temperature, Full Size, 2.5X Power of Full Size Glue Guns, Easy-Adjust Temp for Multiple Projects (Ultra Series )
Angie @ Postcards from the Ridge
Tuesday 14th of September 2021
Michelle, this is such a cute makeover to those dollar store pumpkins. So much better than the orange!
Kristi
Monday 13th of September 2021
These are just adorable, Michelle! Loving the fabrics you chose, too. So pretty.
Lora Bloomquist
Sunday 12th of September 2021
I am amazed at how many different ways you can upcycle those inexpensive pumpkins; so many ideas out there!
Sandi Allen
Sunday 12th of September 2021
These pumpkin make overs are Beautiful. Love them.
meegan
Saturday 11th of September 2021
What a beautiful way to update and beautify a dollar store pumpkin. It's gorgeous!