Give $3 thrift store vases a glow up with this easy DIY rope vase tutorial inspired by Pottery Barn. Budget friendly and beautiful!
This post contains affiliate links. If you shop the links in this post there is no additional cost to you, but I may earn a small commission. Please see my full disclosure here.
It’s time for this month’s Thrift Store Decor Team challenge. We have a full house this month with 10 thrifty projects that will definitely inspire you to pop by your local thrift store.
Be sure to read to the bottom of this post to check out the links for all of the creative DIY projects.
Pottery Barn Artisan Rope Vase
Like so many of you, I love scrolling through the Pottery Barn website and admiring all the beautiful decor.
I was especially drawn to these artisan vases, but at $99-$119 each, they just weren’t happening. So of course, I decided to try making my own!
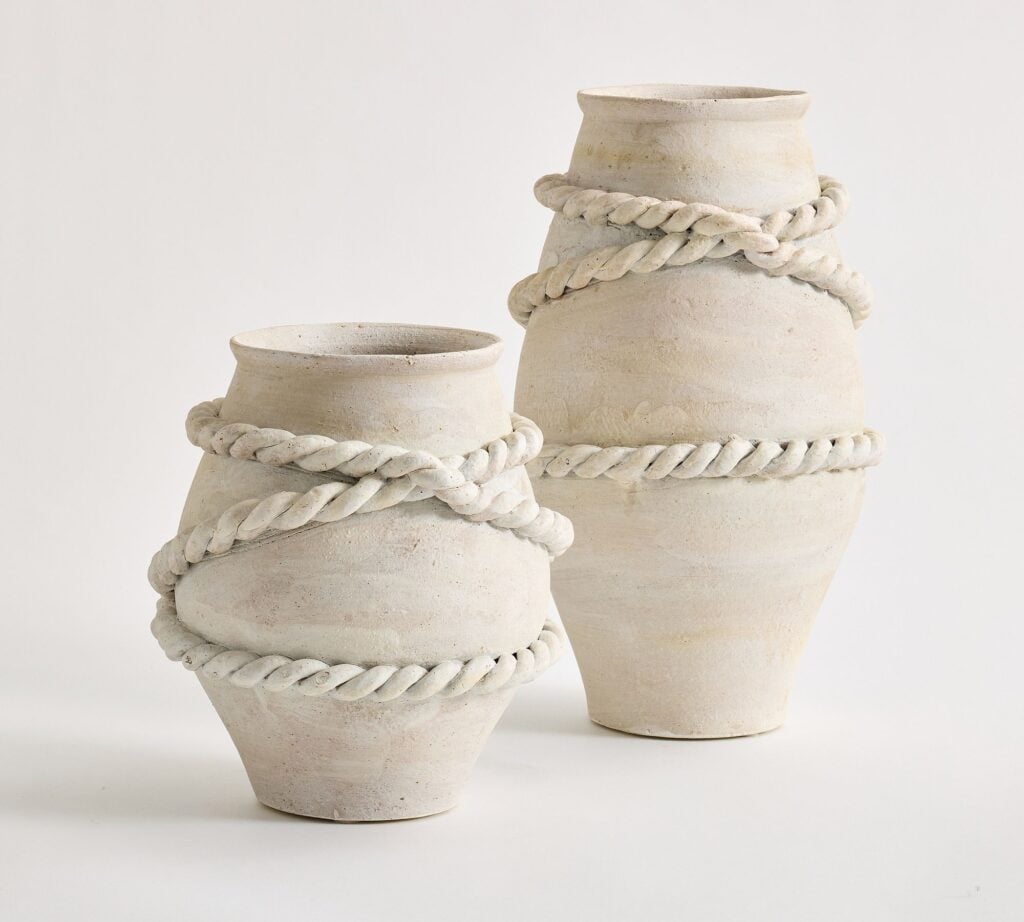
Photo Credit: Pottery Barn
Thrift Store Vases
Whenever I go thrifting, I make a beeline for the home decor section. I almost never leave without a vase or some kind of china…especially teacups!
When I spotted these vases for $3 for the set, I scooped them up right away. I almost never have a plan, which is part of the fun.
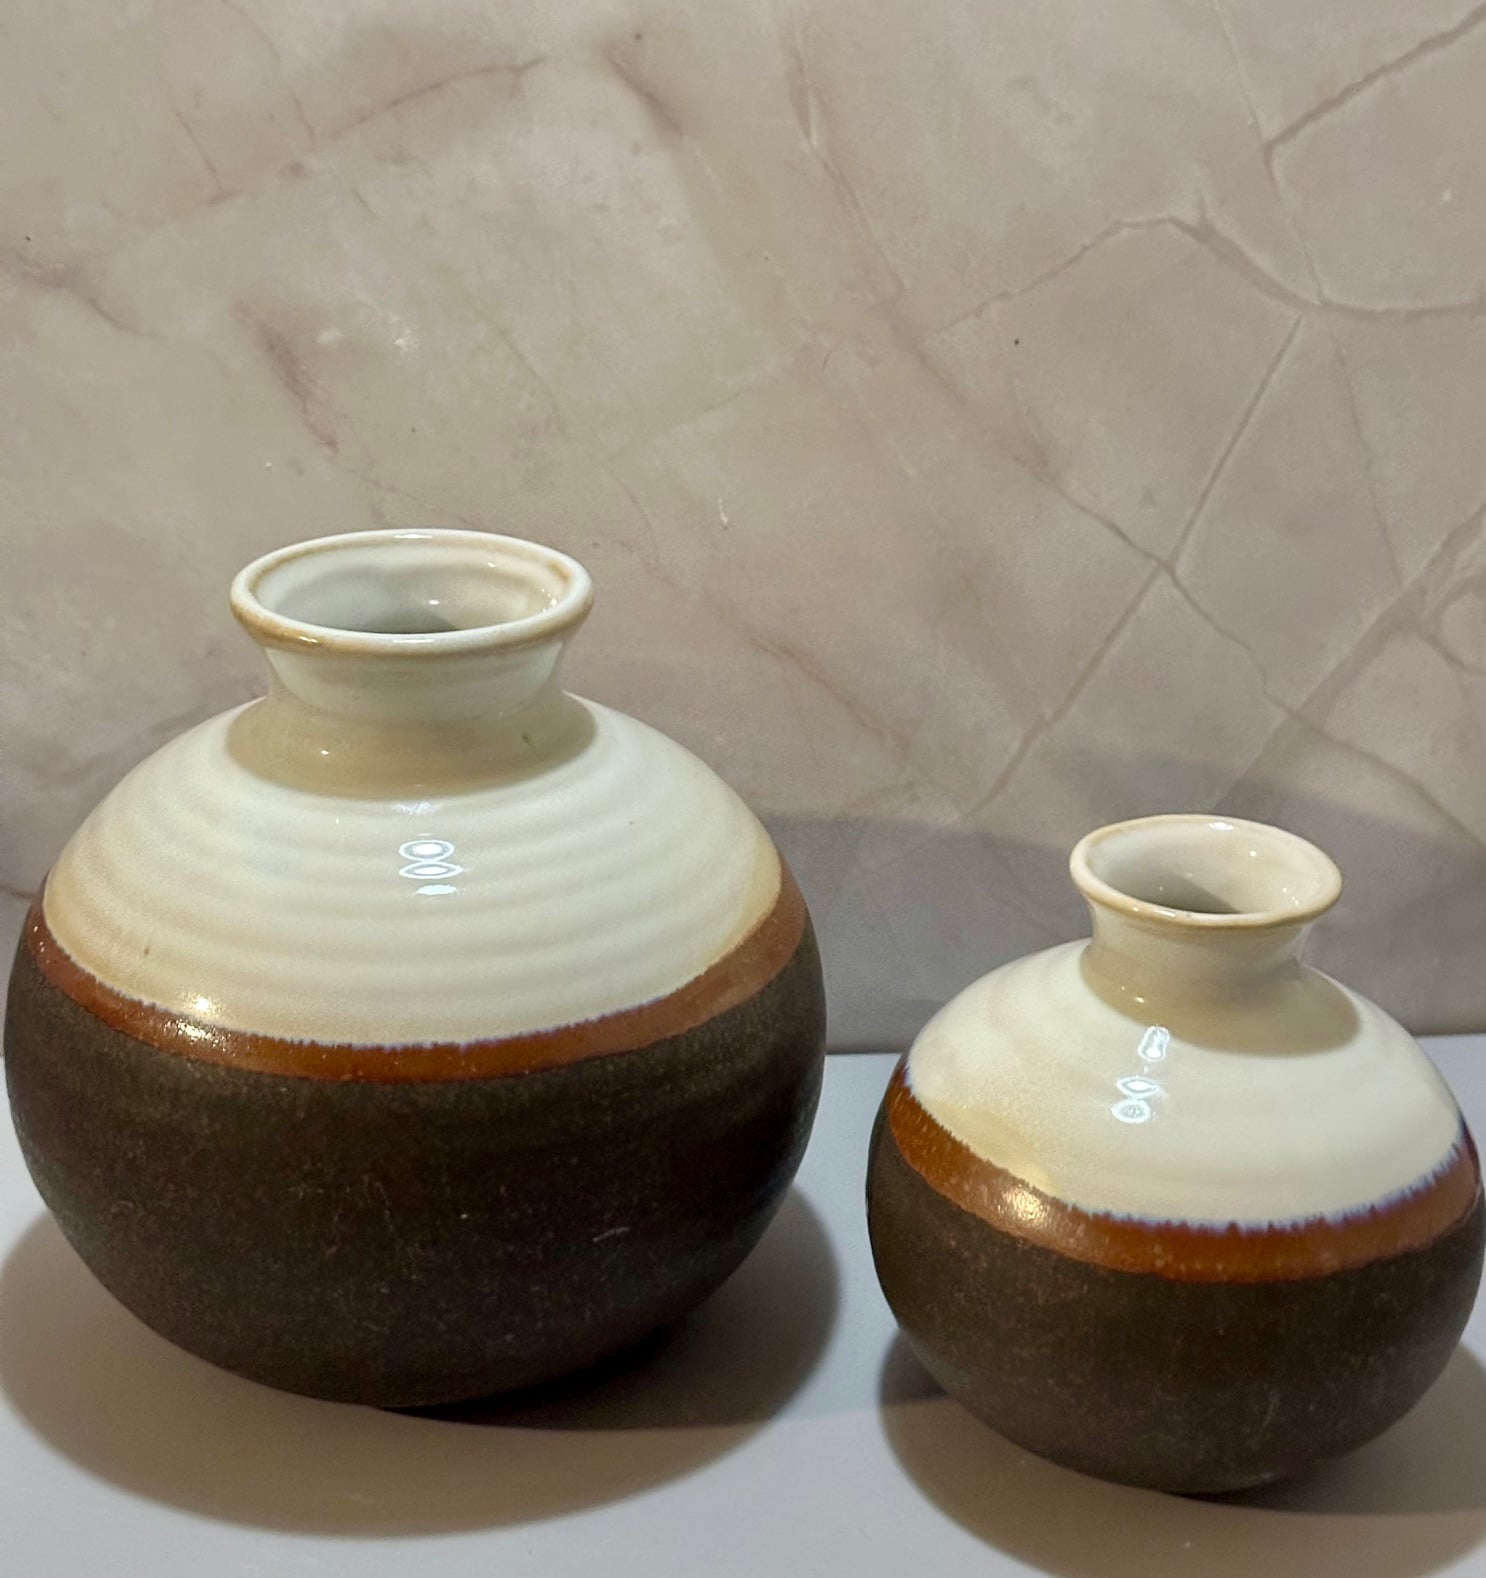
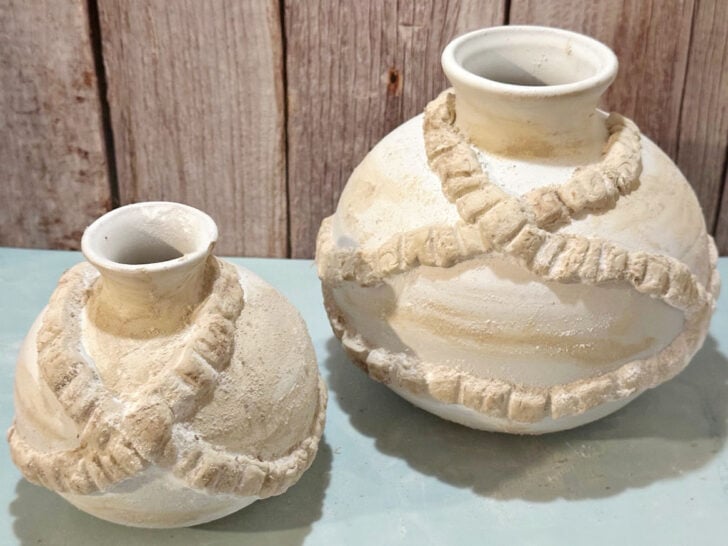
Last week, I transformed glass vases with napkins, but this time I’m trying something new. I’m using clay to create artisan-style vases with a faux stone finish and I love how they turned out.
Let’s get to the tutorial!
Supplies
- Vases – look for pottery style or ceramic vases. I don’t recommend using glass vases for this technique. It can be done, but it would require a bit more work.
- White Paint – I took the easy route and went with spray paint. Use whatever white paint you have on hand.
- Air Dry Clay – I’ve been working off of this Crayola 5 lb tub since before Christmas and it is still fresh.
- Mold – mine was a clearance fondant mold at Michaels, but Amazon has a set that includes a rope mold that would work great for this rope vase.
- E-6000 Glue – these convenient mini sizes are perfect for small projects.
- Acrylic Paint – I used oyster beige by DecoArt, but you can use any light beige. Be sure to check the craft store, as the 2 oz. bottles are often under $2-3.
- Baking Soda – this is a great way to add a faux stone look.
- Stain – This walnut gel stain worked great to give a little extra dimension.
- Small Paint Brush – to add the acrylic paint and gel stain.
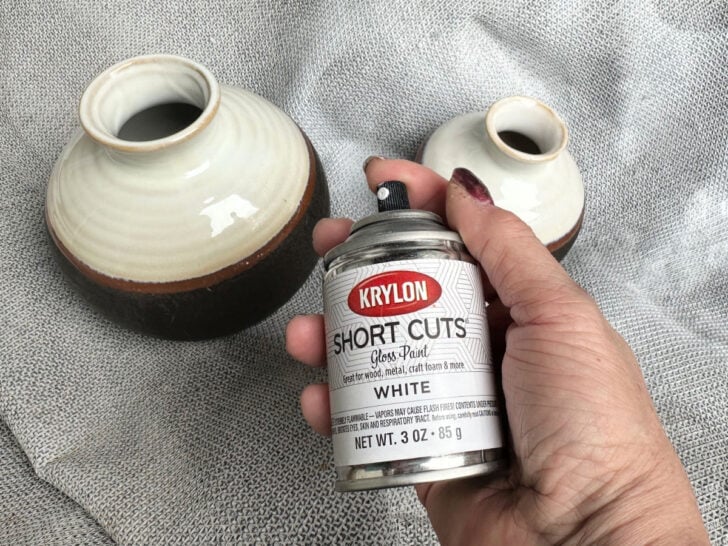
The below supply photo shows the vases after I spray painted them.
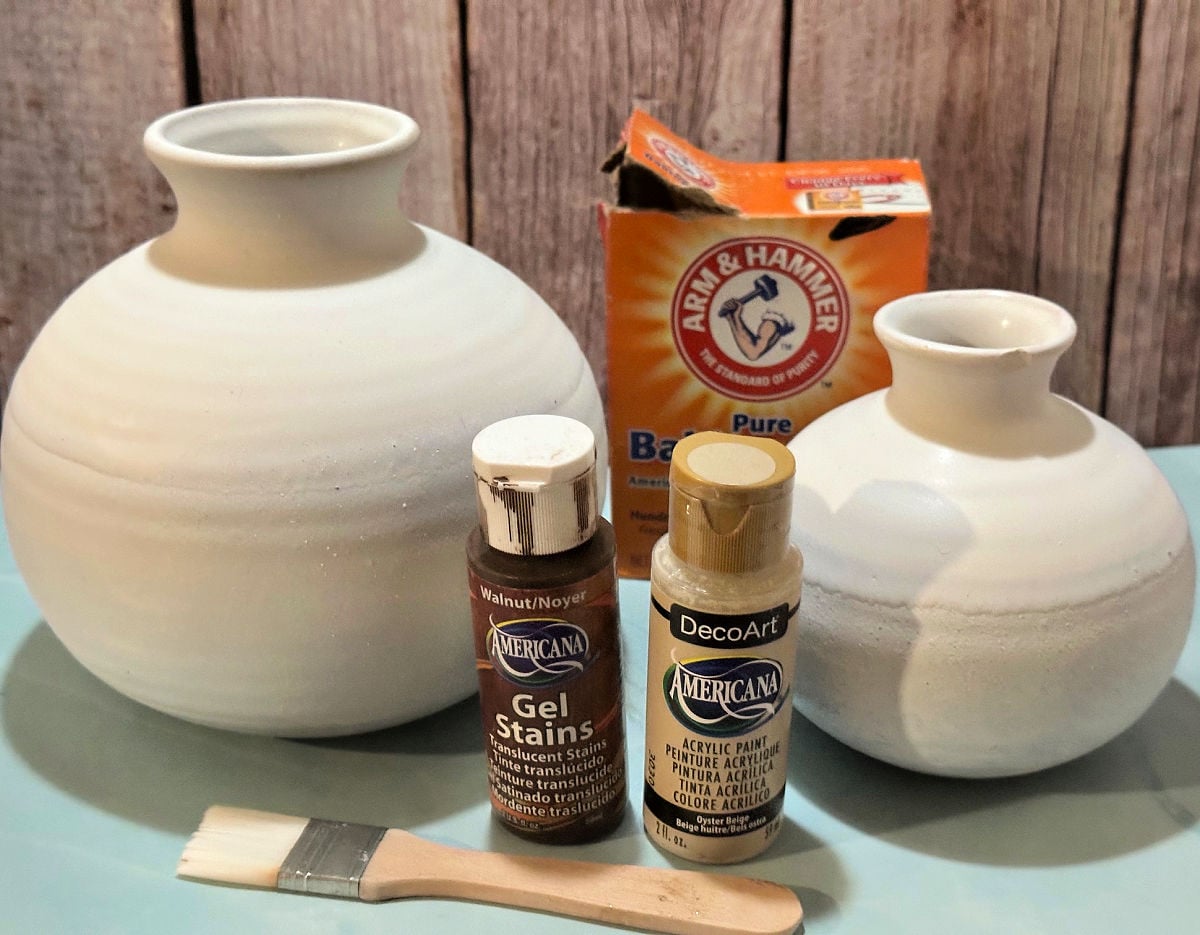
Step 1. Paint the Vases
Paint your vases with 1-2 coats of white paint, depending on the paint you use. I gave them 2 coats of short cuts spray paint. Let dry.
Step 2. Form the Clay Trim
Add a bit of flour to the mold to help prevent sticking. Roll out a small section of clay and place it into the mold. Press it into the mold so it forms the design.
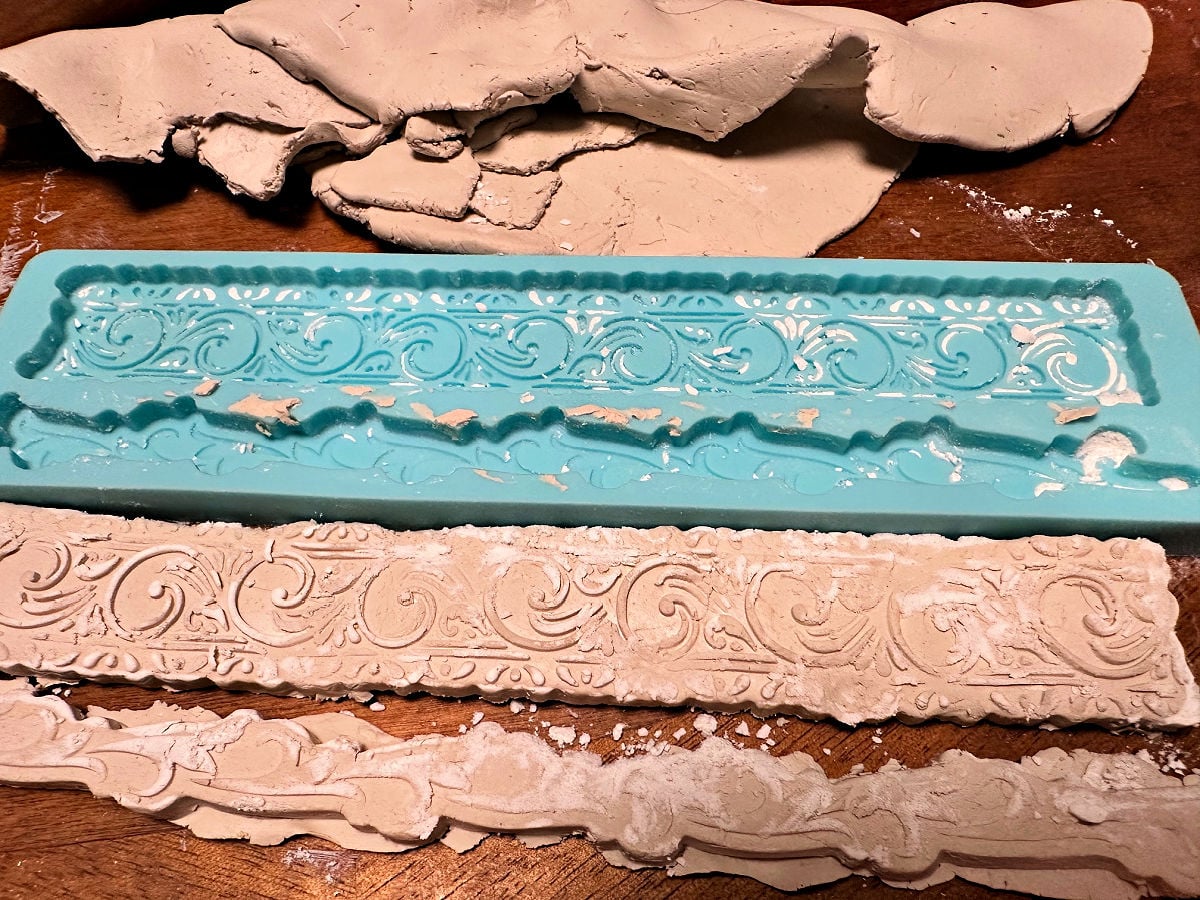
Flip the mold over and slowly bend the back up to remove the clay. Clean off any excess pieces.
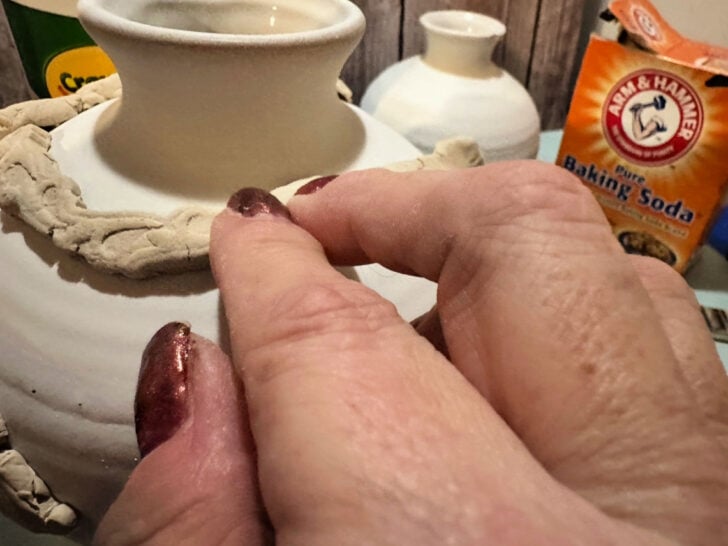
Step 3. Attach the Clay Trim
Immediately attach the clay trim to the vase using a bit of E-6000 to secure it. This clay dries surprisingly fast, so don’t wait to attach it. No need to bake this clay!
Quick note: it is important to remember that a Pottery Barn dupe or “inspired by” project is not meant to be 100% duplicate. It is always nice to add your own creative spin. After all, that is what creativity is all about.
That being said, I do feel you could create a knock-off of the Pottery Barn Rope Vase if you used the rope mold. Another option is to roll out 2-3 long pieces of clay to roll together for a rope design,
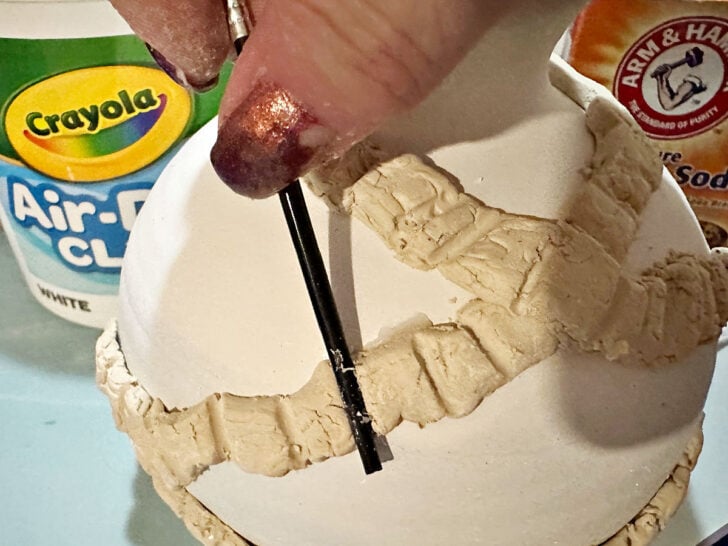
The next step is to form indents into the clay using the paint brush handle. This gives it a similar look to the rope trim, though not exact.
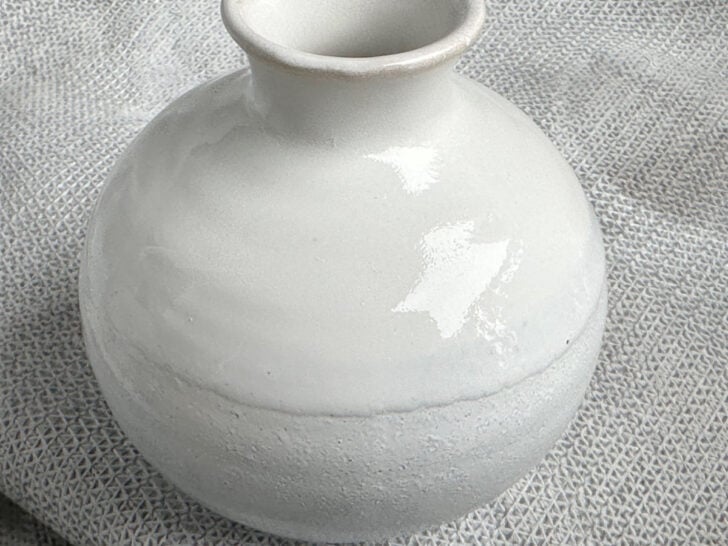
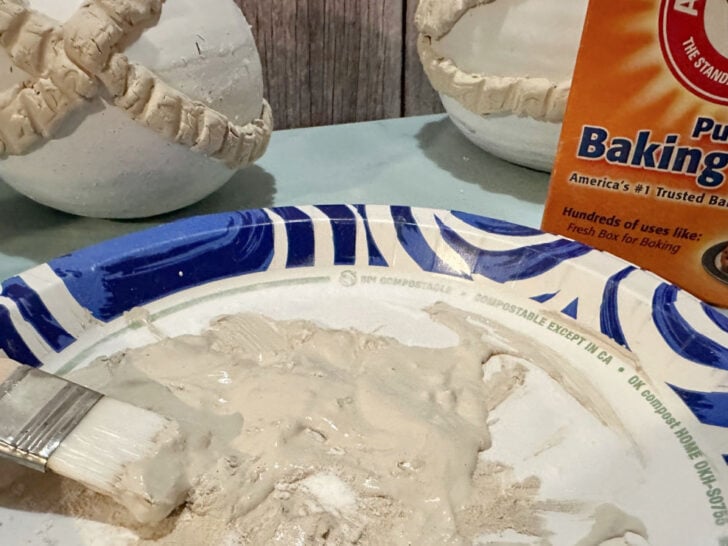
Step 4. Add Baking Soda to Paint
You were probably wondering what the baking soda was for. Now is the time to find out. Baking soda is a great way to add texture to paint and perfect for achieving a faux paint finish.
Pour a bit of the oyster beige paint onto a paper plate. Add baking soda and blend. There is no exact amount, simply test it until you get the consistency that you like.
Lightly dry brush the paint onto the vases to add dimension and texture.
Quick tip: a dry brush technique is when you add paint to your brush, then pounce most of it off. I use a paper towel and dab the brush until there is barely any paint on it.
For another fun baking soda craft, check out my terracotta pumpkin. It is also inspired by Pottery Barn!
Step 5. Add Walnut Gel Stain
Use your narrow brush to add walnut gel to the clay and lightly around the vases. Sprinkle a bit of baking soda on it while the paint is still wet. Let dry overnight.
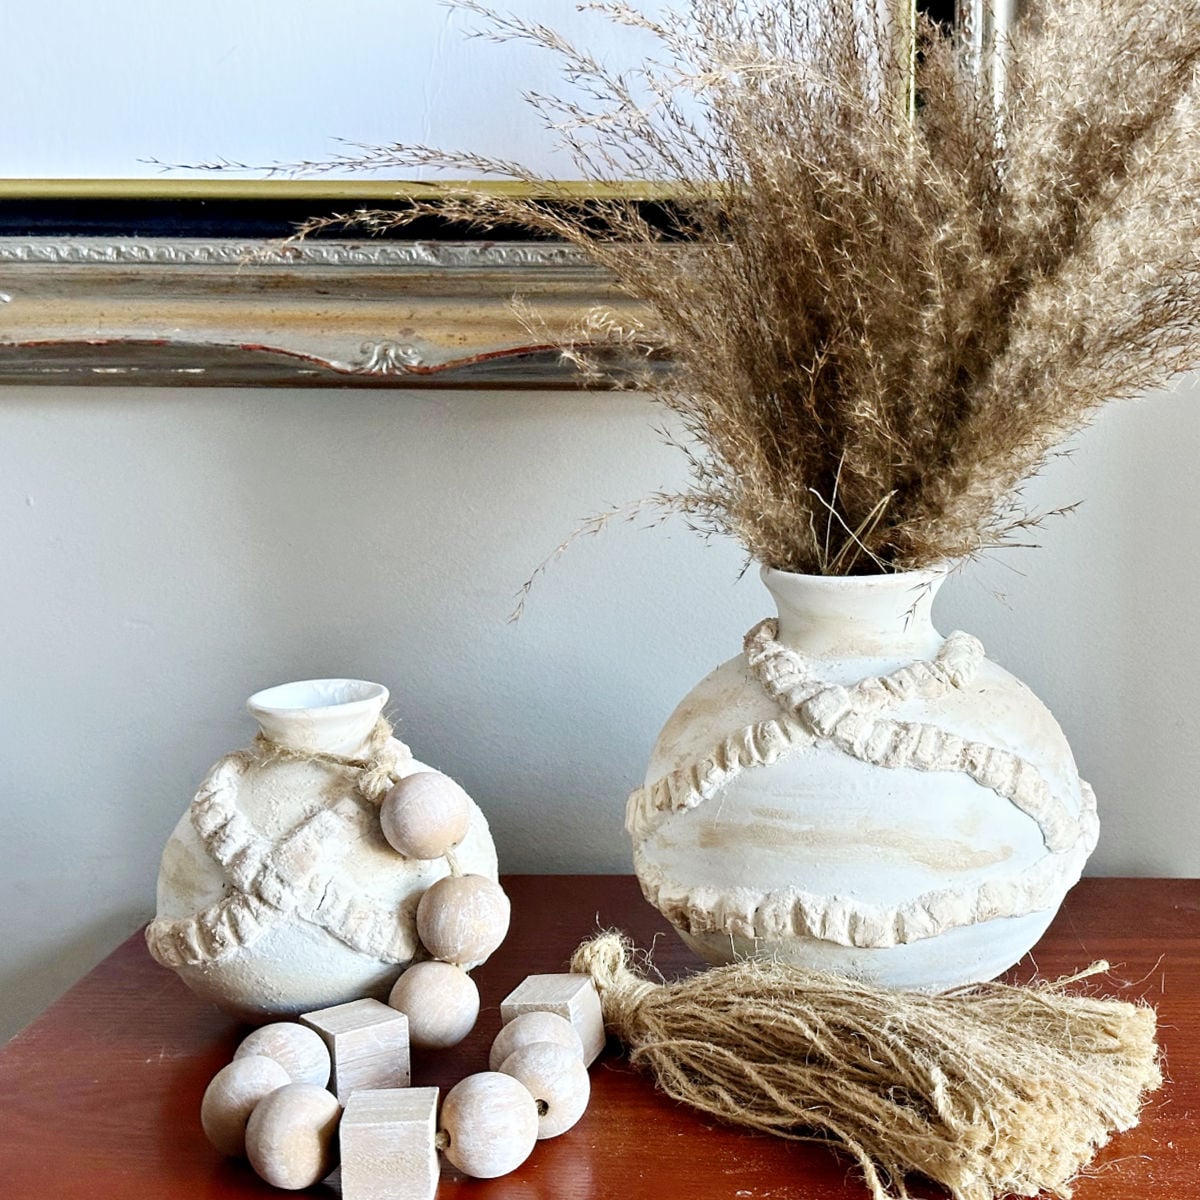
I will add an updated photo showing how I styled these vases on my bookshelves this weekend. I have to put away all of my Easter decor first.
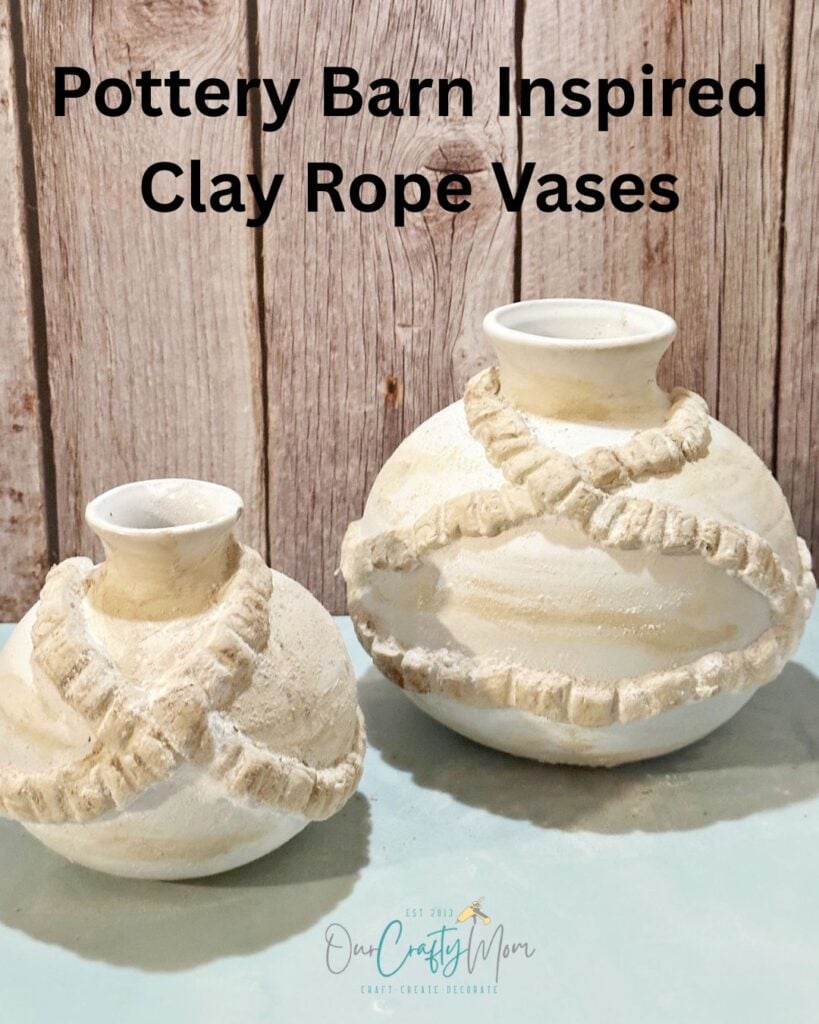
PIN FOR LATER
I’d love it if you would share this article with your friends on Pinterest by pinning the below image.
It helps my blog grow and doesn’t cost a thing! 🙂
Thrift Store Decor Tour
Now, it’s time to hop on over to see the rest of the Thrift Store Decor Tour. You can take the tour by clicking the links below the “before” makeovers photo collage.

- Shop at Blu – Metal Outdoor Side Table Upcycle
- Exquisitely Unremarkable – DIY Decal Pitcher Makeover
- My Uncommon Slice of Suburbia – Easy Decorative Moss Balls for Spring
- Redhead Can Decorate – How I Transformed Our Foyer with a Thrift Store Room Divider
- Sadie Seasongoods – Geometric Abstract Art from a Collage Frame
- Our Southern Home – Piano Bench Makeover with New Color and Fabric
- My Repurposed Life – Can This Become a Lamp?
- Funky Junk Interiors – Rustic TV Stand Dresser Makeover with Easy Wood Strip Drawers
- Our Crafty Mom – DIY Rope Vase Pottery Barn Dupe
- Songbird – Vintage Tool Decor Idea
Thanks so much for stopping by. Happy thrifting!


Follow me on social media below: