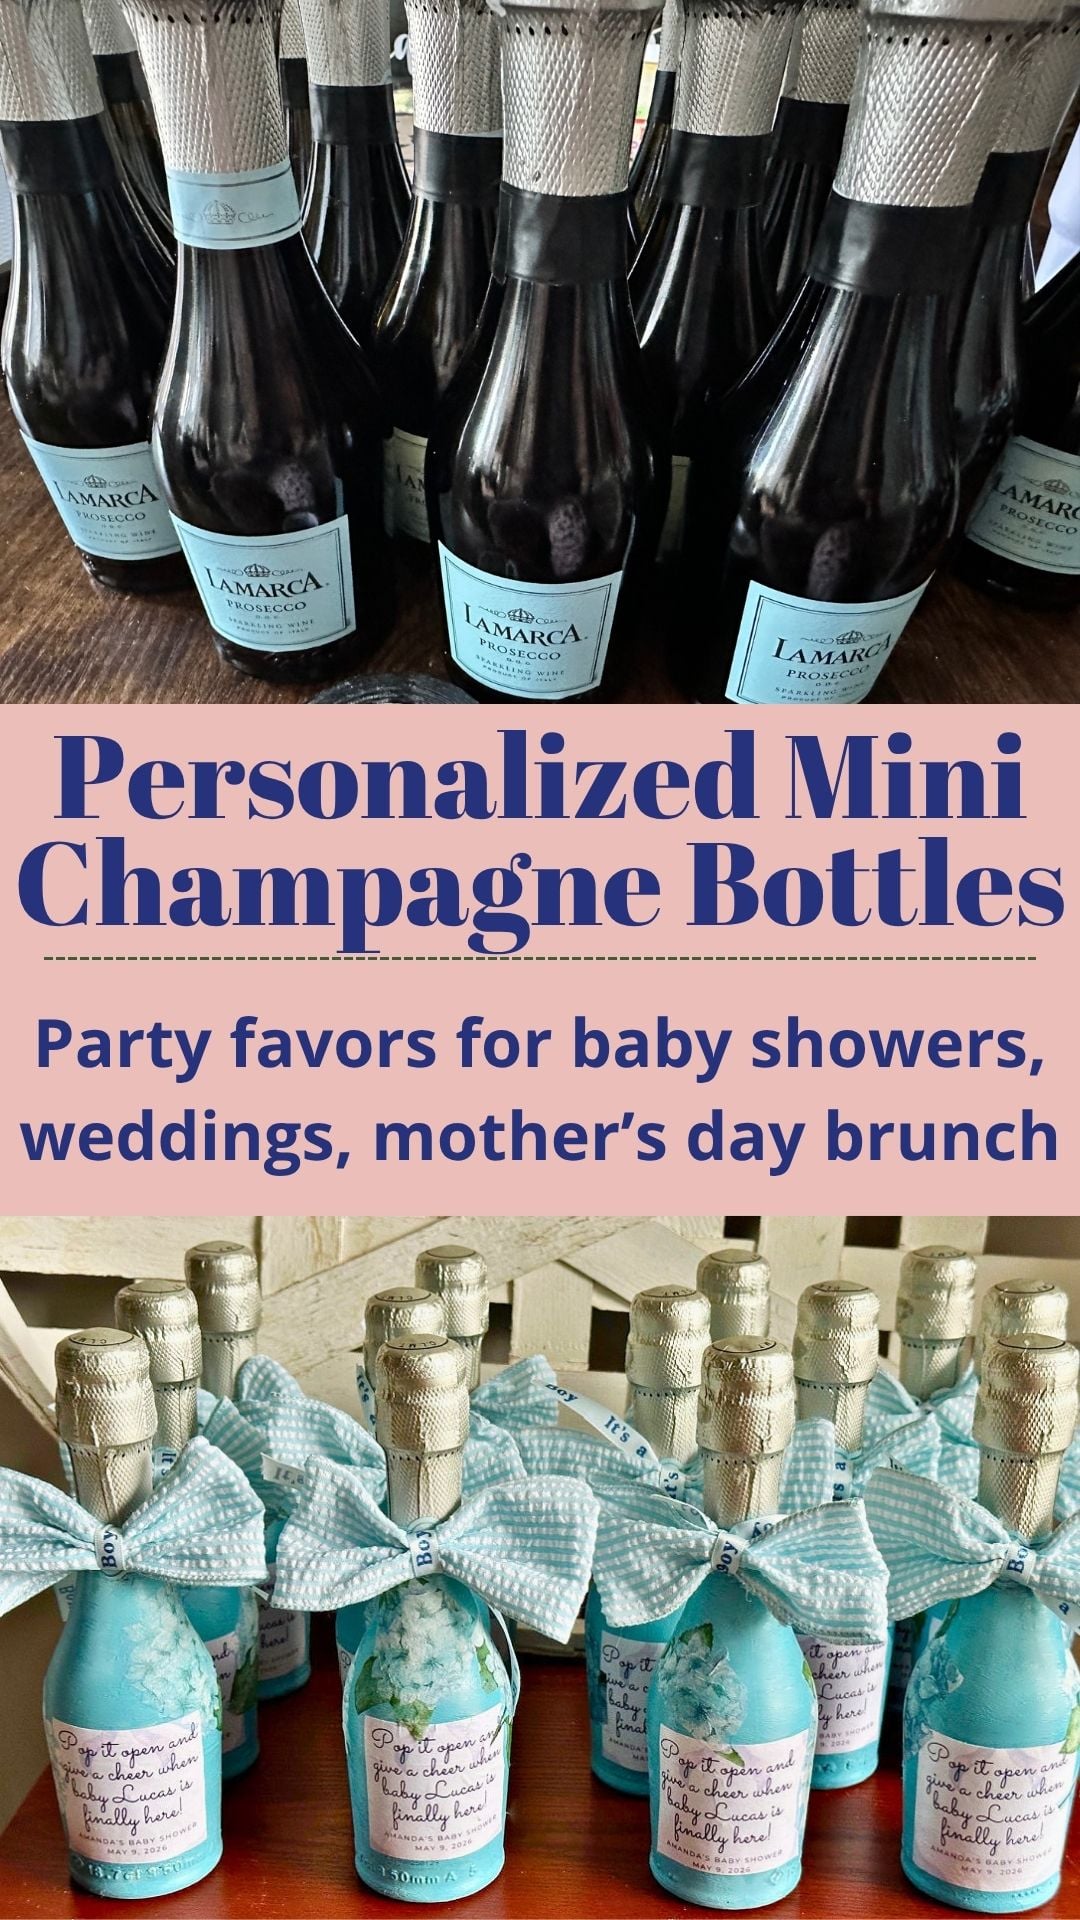
DIY personalized mini champagne bottles for any celebration. These simple, stylish party favors work for weddings, showers, and Mother’s Day.
This post contains affiliate links at no extra cost to you. Please see my full disclosure here.
DIY Baby Shower Favors
Looking for a baby boy or baby girl party favor idea that guests will actually love?
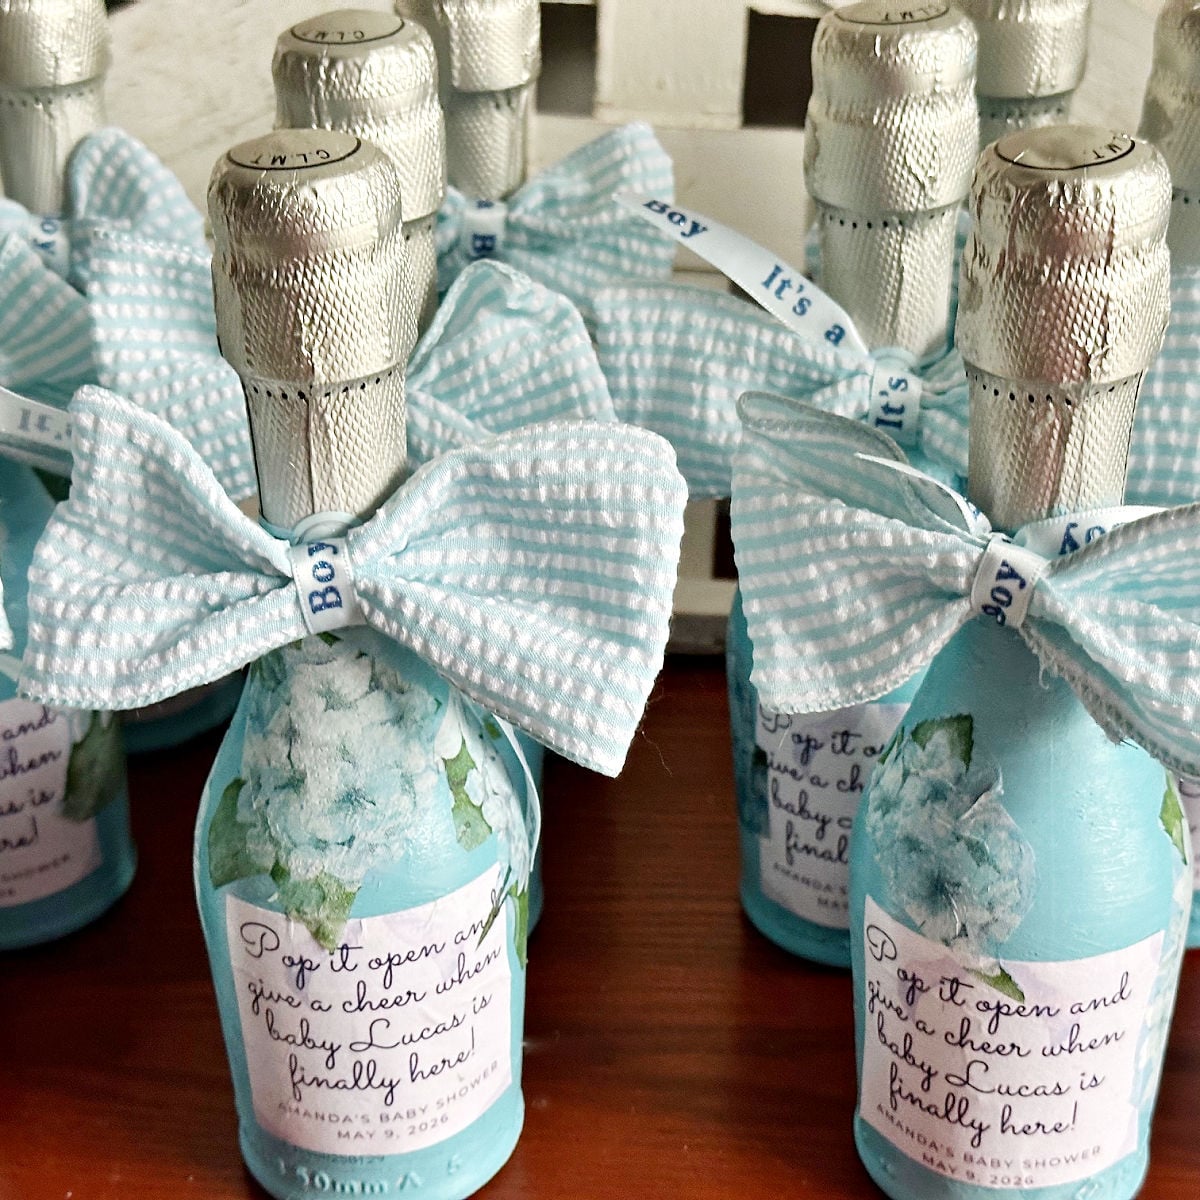
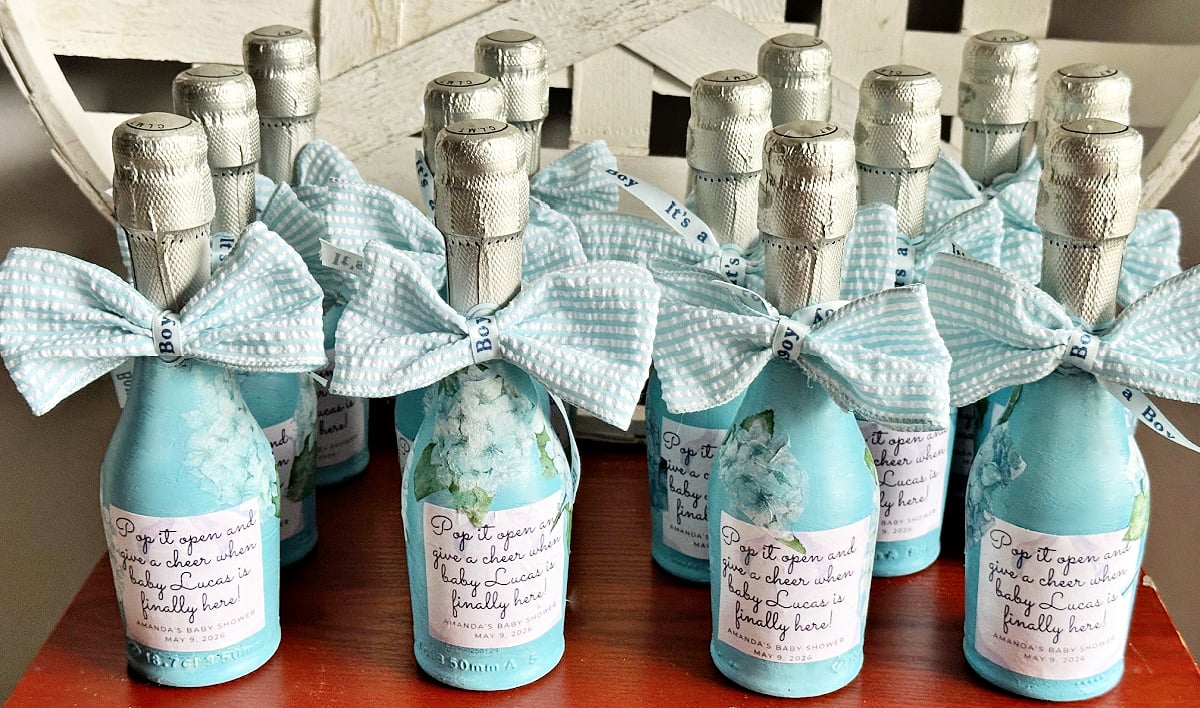
These DIY baby shower favors, made with mini champagne bottles, are a fun and easy way to create favors that feel personal and thoughtful without a lot of effort.
Whether you are celebrating a baby boy or baby girl, you can customize tags, colors, and details to match your party theme perfectly.
This simple party favor idea also works well for a wedding, just customize the tag for the type of party. It is an easy way to create favors that can actually be enjoyed after the celebration ends.
Here is what you need to make your own mini champagne bottle party favors.
Supplies for Favors
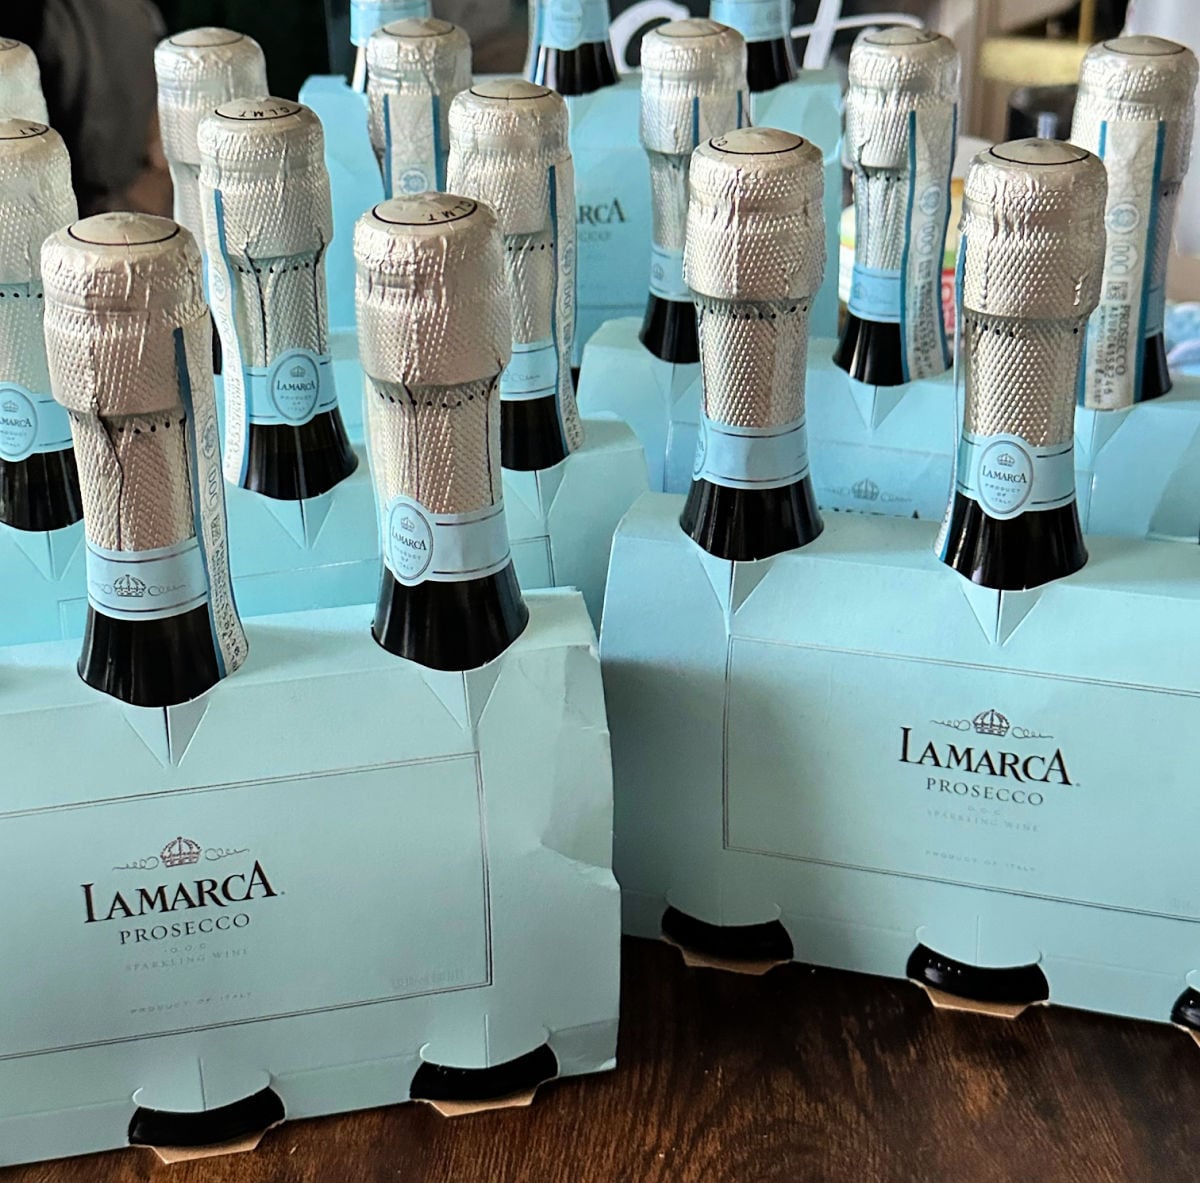
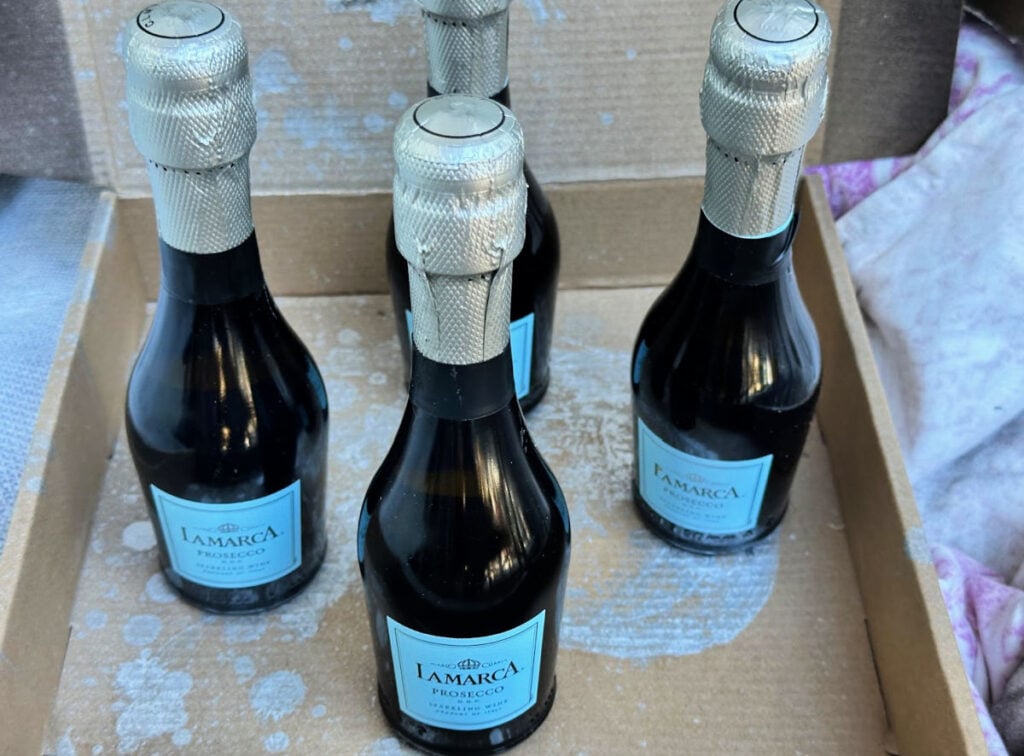
- Mini Champagne Bottles – I went with Lamarca prosecco bottles. You can also use small wine bottles, or other brand champagne bottles. Check around for the best price. I found multi-packs of 3 at Target on sale for under $14, making them about $4.68 a piece. For a non-alcoholic option, use sparkling cider.
- Painter’s Tape – to tape off below the silver foil.
- Download Free Printable Below – you can also use a printable label or stickers.
- Craft Scissors – to cut labels and ribbon.
- Mod Podge – I chose to use a gloss finish, but you can use a matte if you prefer.
- Chip Brush – or foam brush
- Ribbon – check out the sales at Michaels or Home Depot. I was able to get buy 2 get 3 free of assorted ribbon.
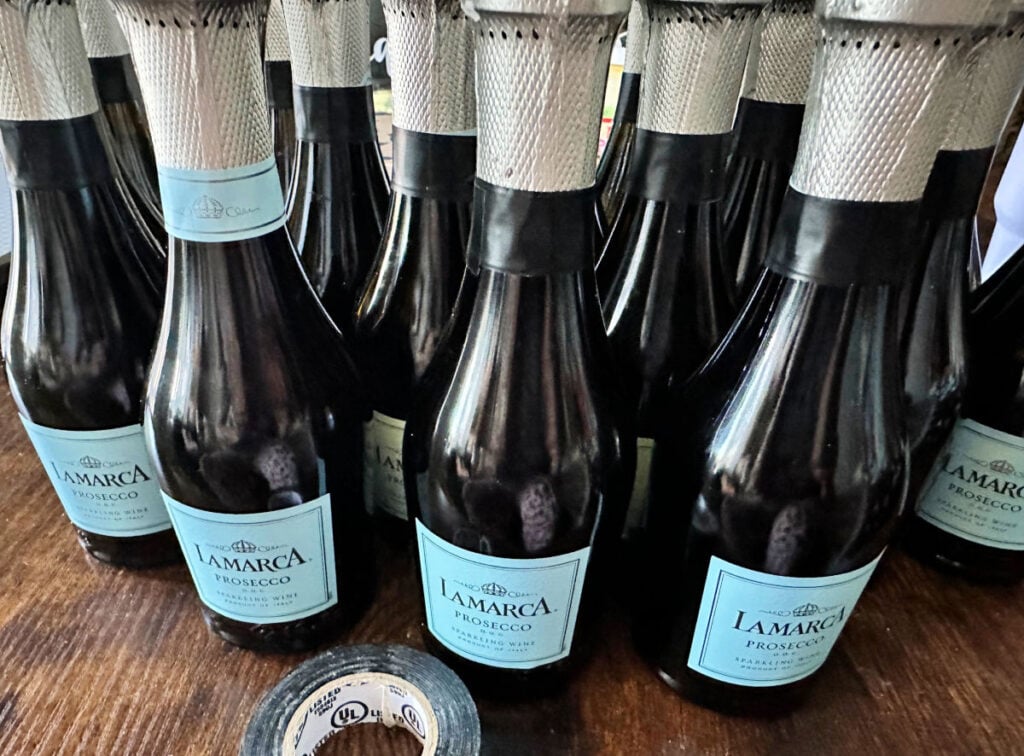
Step 1. Tape the Champagne Bottles
Start by taping off the champagne bottles below the silver foil. I didn’t bother removing the LaMarca label as I knew I would be covering it.
You can certainly remove it if you are worried about it being to thick with the new label.
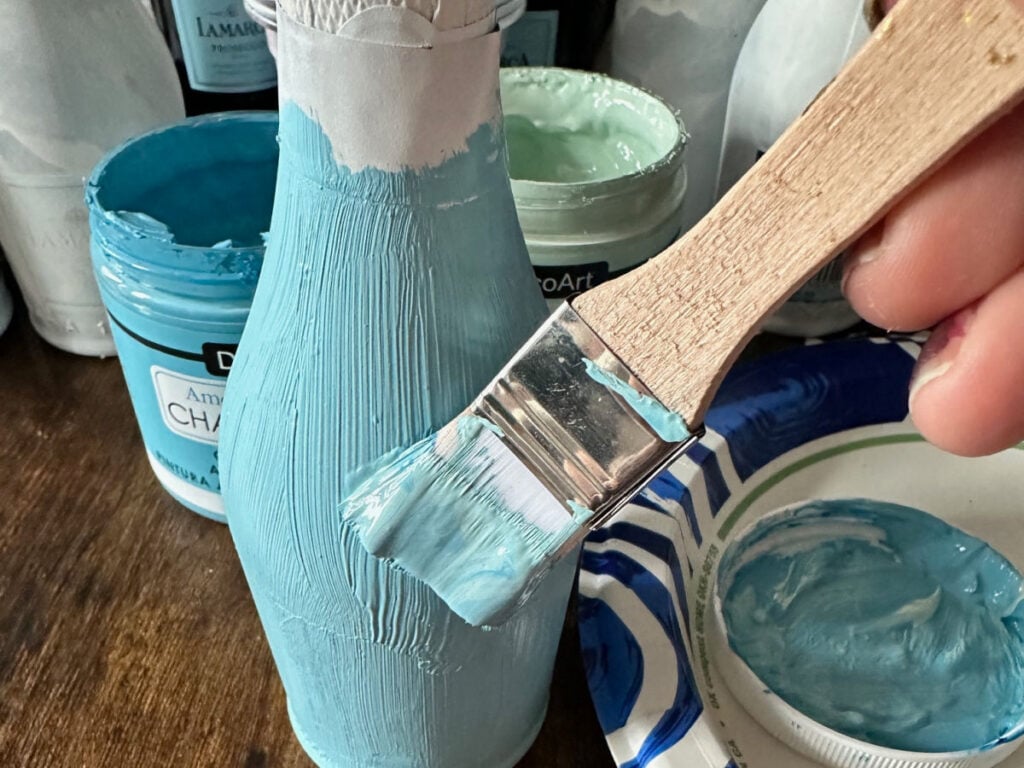
Step 2. Paint the Bottles
Next up, paint the glass bottles with your chosen paint color. Chalk paint works great and you don’t need a primer. Two coats is all you need for full coverage. Let dry.
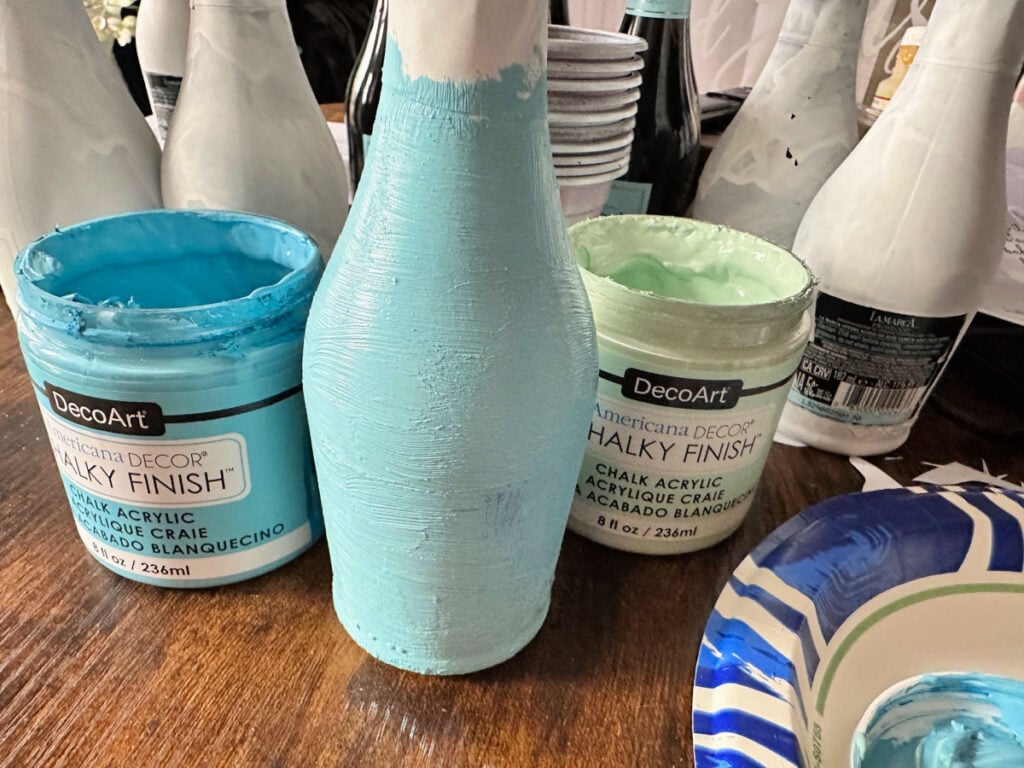
Quick tip: you may notice the bottles are painted white in the above photos. I don’t recommend spray painting unless the temperature is above 55 degrees and not windy. I attempted to paint outside when it was windy and about 45 degrees, because I am impatient. The result was runny paint.
Step 3. Decoupage Champagne Bottle with Napkins
Now it’s time for the fun part-decorating the bottles! I used the same napkins that I used on these hydrangea centerpieces.
You can find several tutorials on how to decoupage on my blog.
Here are the basic steps:
- Remove the second layer from the napkin, leaving just the printed layer.
- Cut the napkin pieces to the size you want.
- Use your paint brush to paint mod podge directly on the bottle.
- Carefully smooth the cut napkin onto the mod podge. To help prevent tearing, use plastic wrap to remove any wrinkles.
- Repeat this process until you are happy with the placement of the design.
- Allow the mod podge to dry then add a top coat of mod podge.
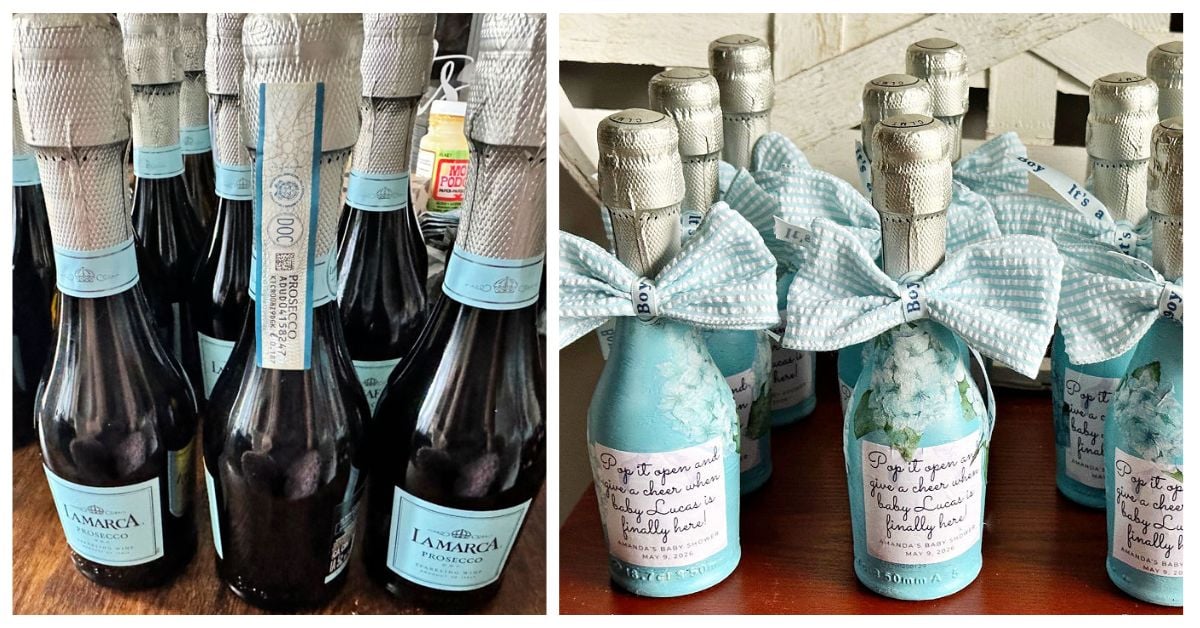
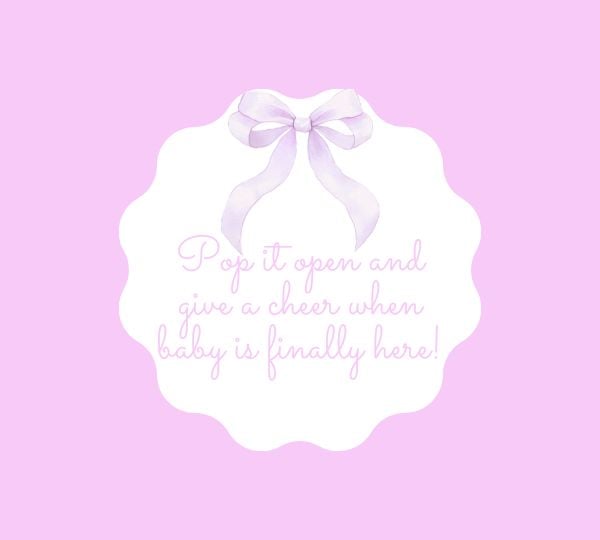
Step 4. Download “When She Pops” Printable
I’ve included the free printable in both pink and blue that you can download free and add it to your mini bottles.
Simply click the download button below the image. You can cut it to a square, as shown on my prosecco bottles, or cut the scallop images.

Attach it to the bottle with mod podge.
Step 5. Add Ribbon
The final step is to add a pretty bow in your chosen style and color. The pretty striped ribbon is just perfect for a baby boy shower!
That’s all there is to it. Make as many decorated champagne bottles that you need. Cheers!
I hope you enjoyed these decoupage wine bottles ideas. If you make your own, please be sure to tag @ourcraftymom on Facebook so we can see it.
Happy crafting!


PIN FOR LATER
I’d love it if you would share this article with your friends on Pinterest by pinning the below image.
It helps my blog grow and doesn’t cost a thing! 🙂
You may also enjoy these 20 baby shower snack ideas and these 15 dreamy nursery bedding ideas.
Here are some of my most popular decoupage home decor and craft ideas:
- How to Decoupage Candles
- Decoupage with Napkins on Dollar Tree Planters
- Tin Can Wall Pocket Planters
- Decoupage Furniture Ideas
- Chinoiserie Vase
- 27 Decoupage Ideas
Follow me on social media below: