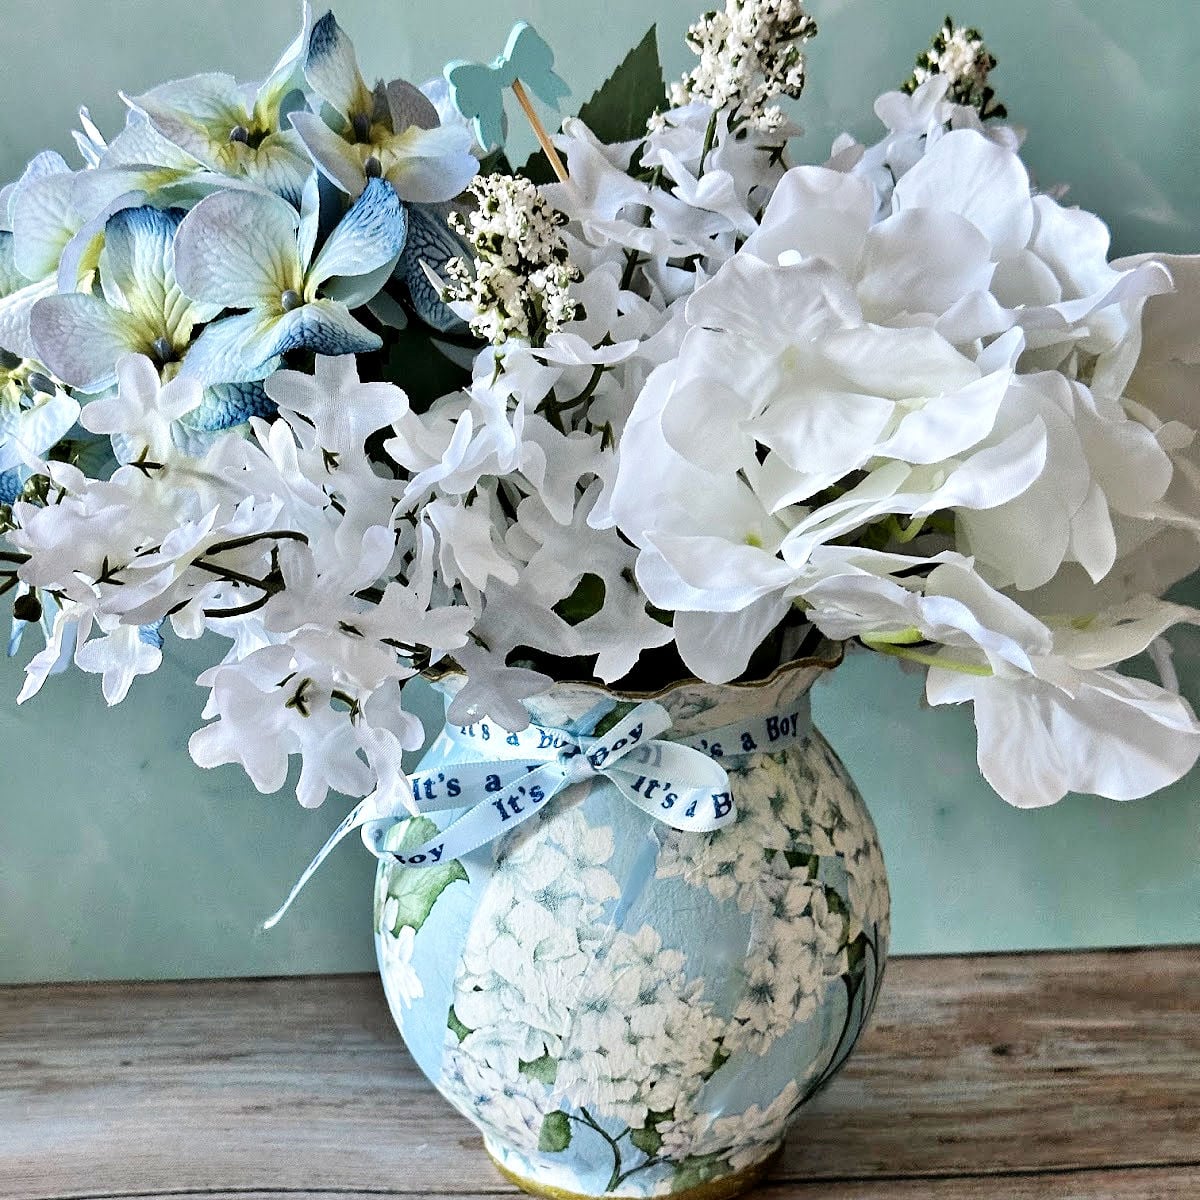
Create sweet baby shower centerpieces with budget friendly ideas using hydrangeas, glass vases and pretty napkins for a baby in bloom theme.
This post contains affiliate links at no extra cost to you. Please see my full disclosure here.
Baby Shower Centerpieces DIY
If you follow me on social media, you may have heard our happy family news that my daughter, Amanda, is expecting her first baby!
I’m excitedly planning the baby shower for my grandson in May. Amanda wanted a baby in bloom theme, specifically with hydrangeas and blue bows.
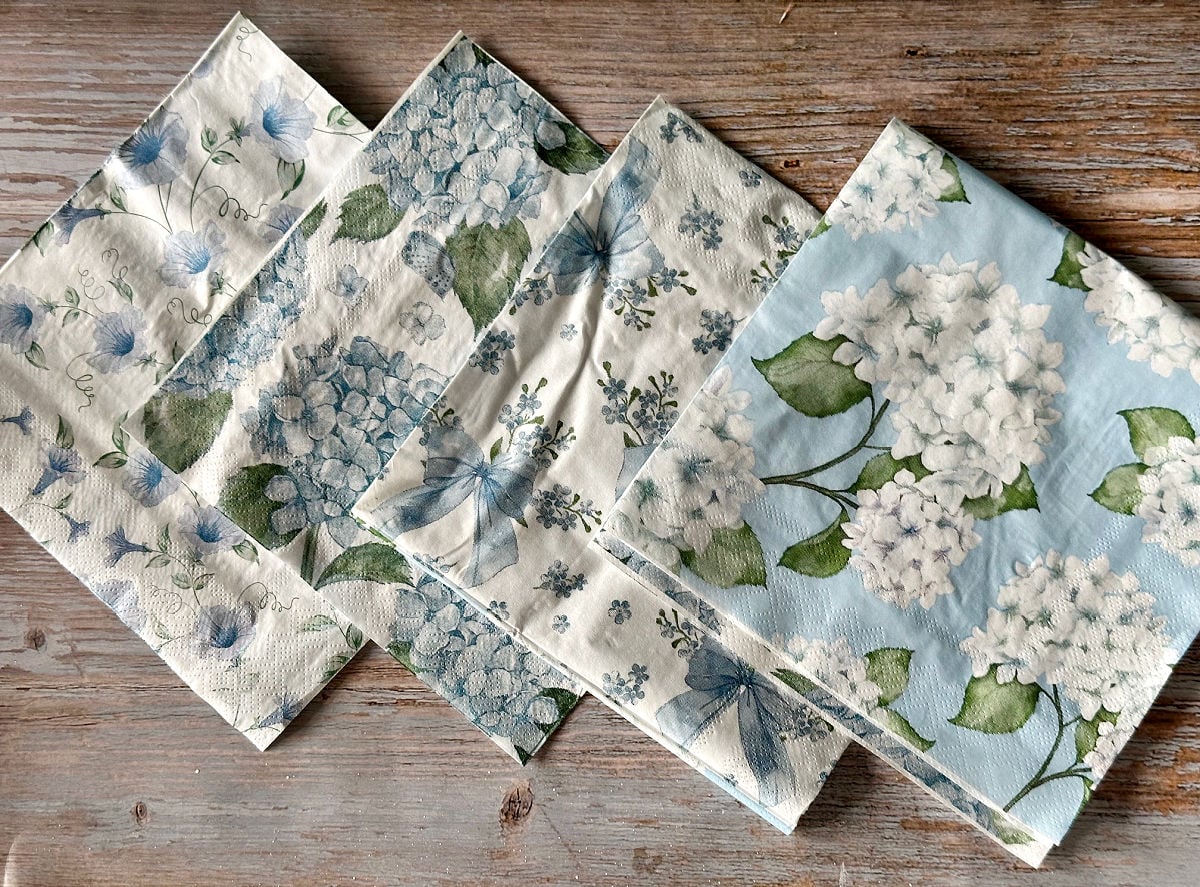
We both fell in love with these plates and napkins from Amazon:

Aren’t they gorgeous? We are having a small outdoor celebration with about 25 people and this plate and napkin set is for 50. So that means I had plenty of extra napkins to play with.
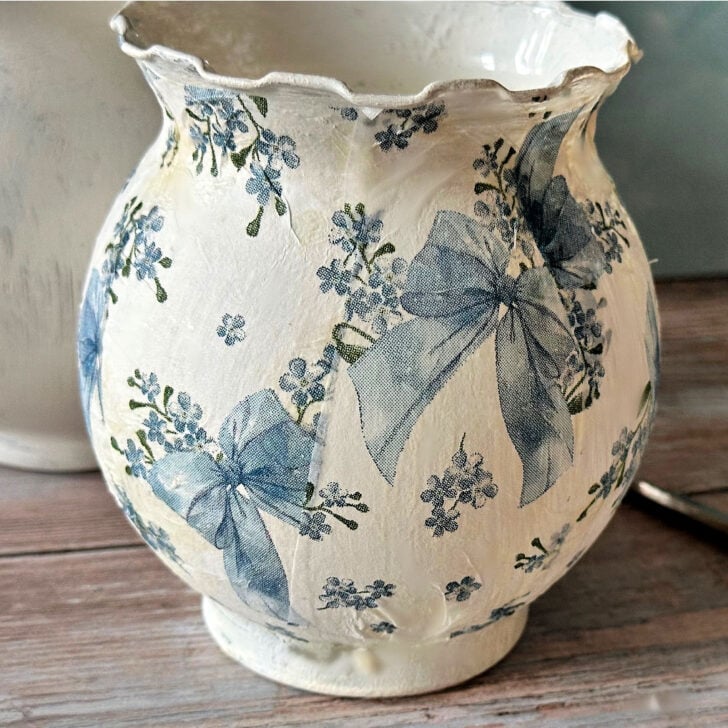
I’m a huge fan of using mod podge to decoupage with napkins and knew these napkins would look gorgeous on glass vases to use as baby shower table decorations.
Supplies Needed for Shower Centerpieces
Here is what I used to make these pretty baby boy shower centerpieces.
- Glass Vases – Mine were just a single dollar each at my local Goodwill. There were literally two shelves full of glass vases in all different shapes and sizes. Don’t forget to check out your local thrift store.
- White Paint – I used acrylic paint, but you can use any white paint that you have handy.
- Blue and White Hydrangea and Bows Napkins
- Mod Podge
- Foam Brush
- Blue Hydrangeas – I picked up these lovely florals at Michaels and they were on sale 40% off.
- Assorted White Florals – Mine were from my Dollar Tree stash.
- Gold Leaf Markers
- Coquette Bow Picks – These were added for an extra sweet touch.
How to Make a Glass Vase Centerpiece
Let’s get to the easy tutorial, so you can make your own hydrangea centerpieces.
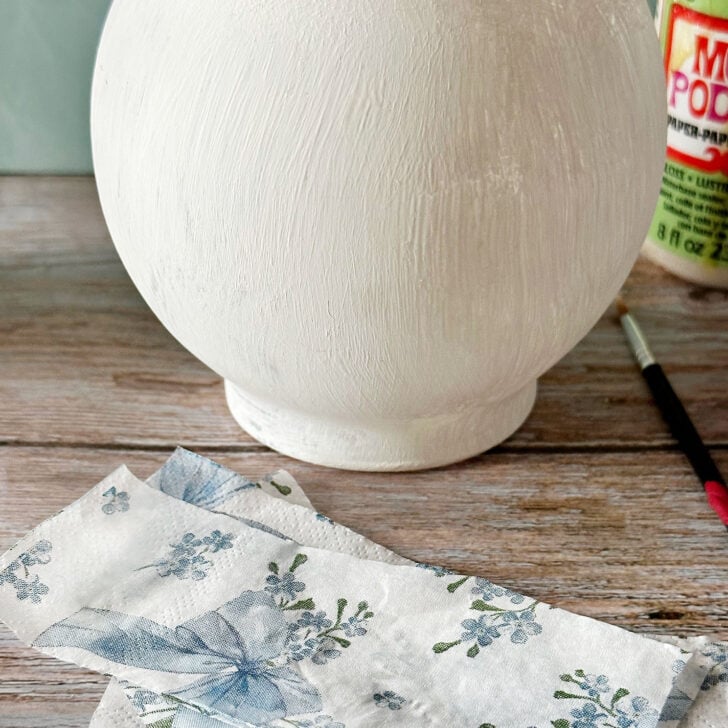
Step 1. Clean the Glass Vases
Clean the vases with rubbing alcohol to make sure they are free from dust, grime or fingerprints.
Step 2. Paint Each Vase
Once the vases are clean, use your brush to paint each vase with white acrylic paint, or any white paint you have on hand.
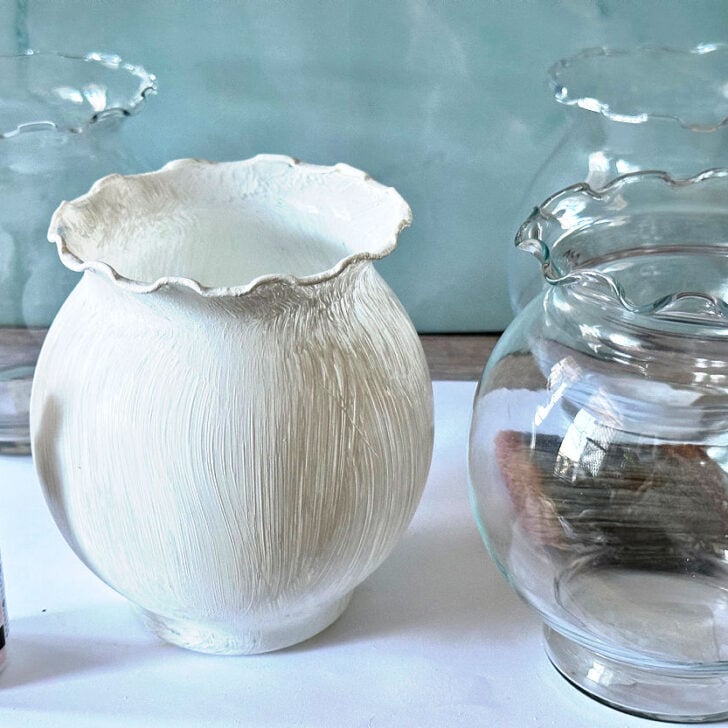
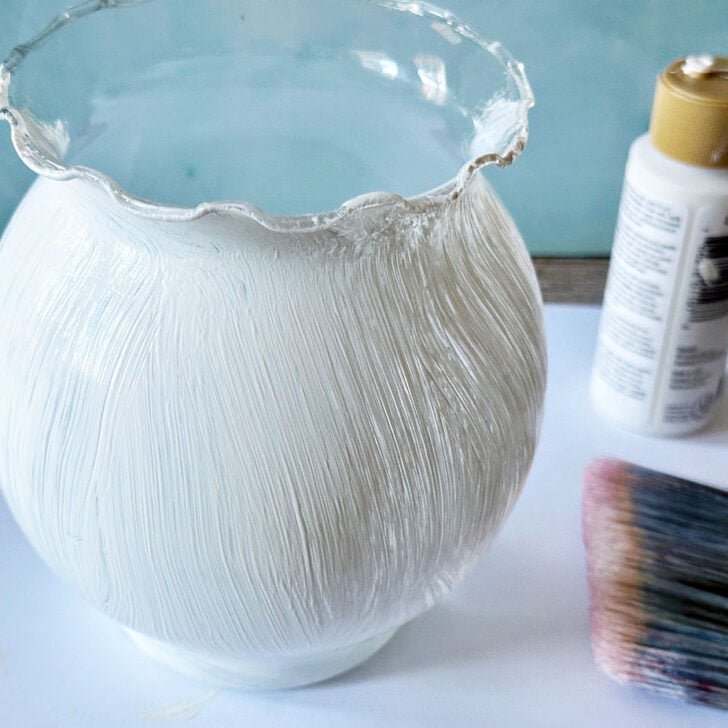
Don’t worry about the paint being a bit streaky. The napkins will cover that. I’ve had several readers ask why the vase should be painted if you are covering them with napkins.
The reason is the napkin design will not show up as bright on glass. It helps to paint the vase the background image of your napkin.
You may be able to notice the difference in the color in this DIY glass vase. It was one of the first ones I crafted, so I was still a bit of a newbie with decoupage on glass.
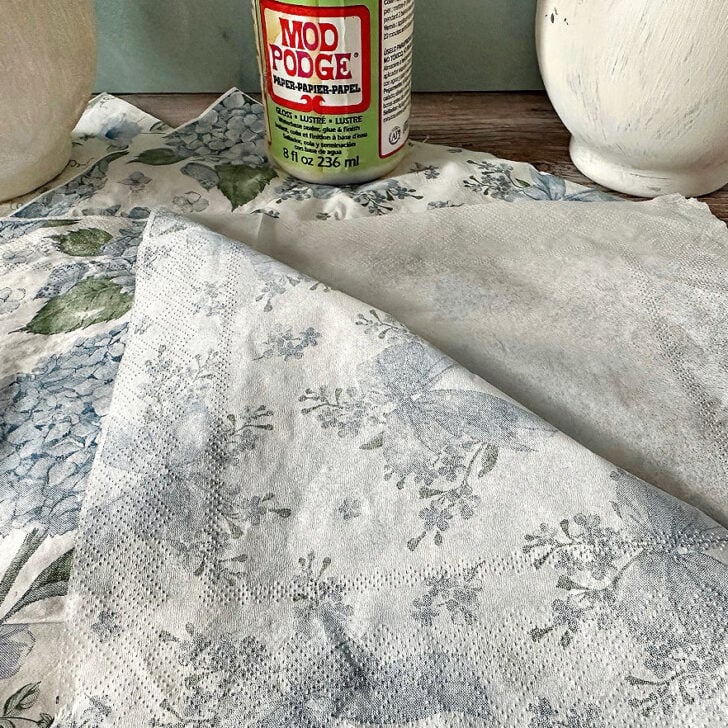
Step 3. Remove the Bottom Napkin Layer
Remove the second layer from the napkin, leaving just the printed layer. You can either dispose of this blank napkin, or save it in a big pile for some unknown future craft project. 🙂
Step 4. Add Mod Podge to Vase
Start adding a thin layer of mod podge to a section of the vase. It helps to cut your napkin in strips, as there will be less wrinkles.
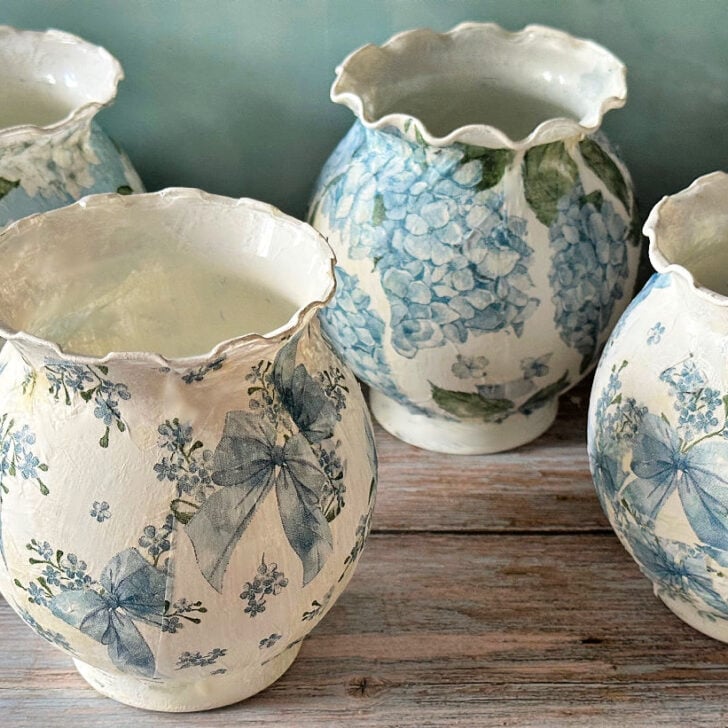
I’m not sure which napkin is my favorite. Which one do you like best?
Step 5. Add the Napkin Strips
Begin adding the napkin strips to the glass vase, smoothing it out to remove any wrinkles.
Quick tip: to keep the napkin from tearing, use a plastic bag or piece of plastic wrap when adhering the napkin to the vase.
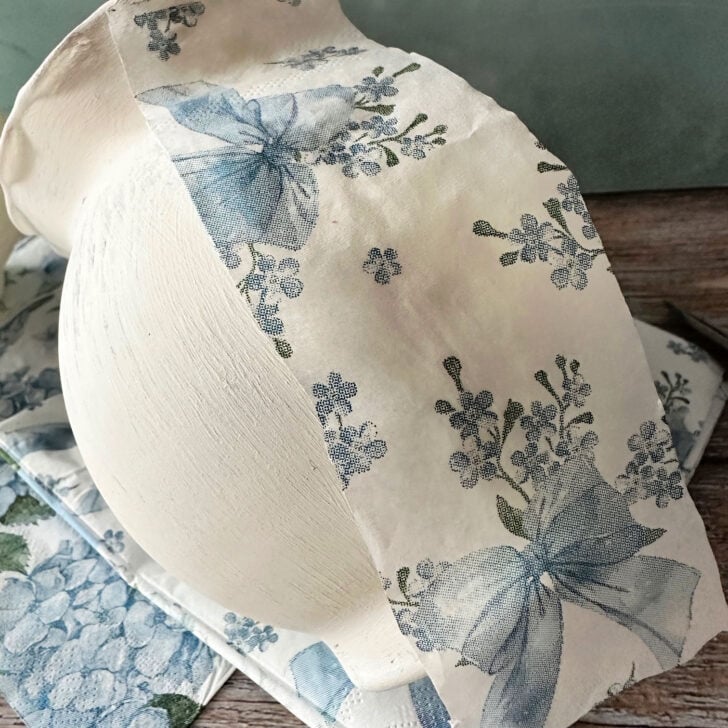
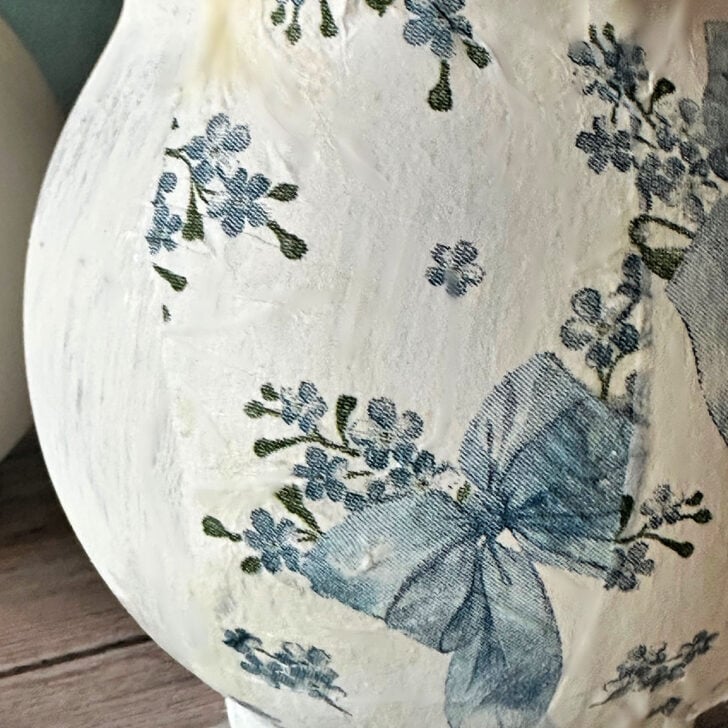
Step 6. Continue Adding Napkins
Repeat the above process until the vase is entirely covered. Cover with another coat of mod podge.
We are having 4 round tables, so I completed 4 vases. As these will be used outside, it is recommended to seal them with a clear acrylic sealer.
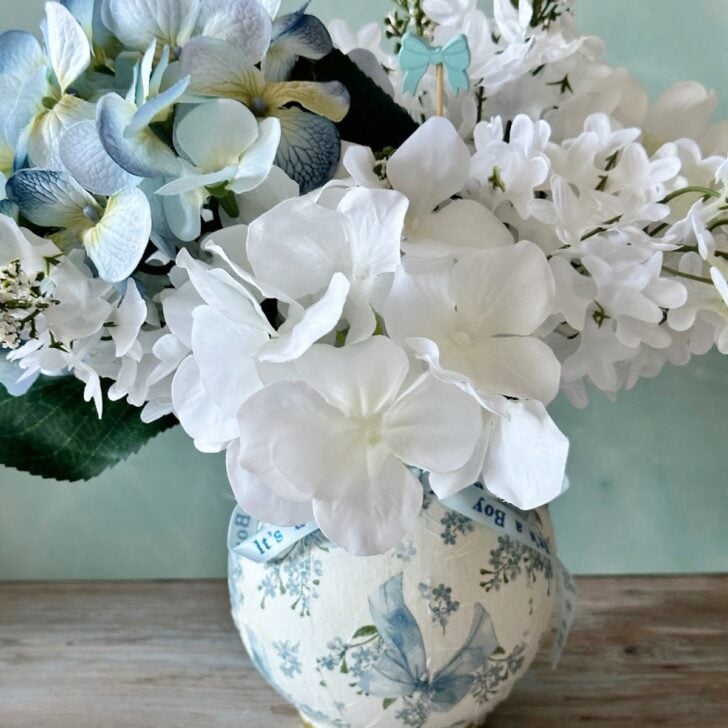
Step 7. Create Floral Centerpieces
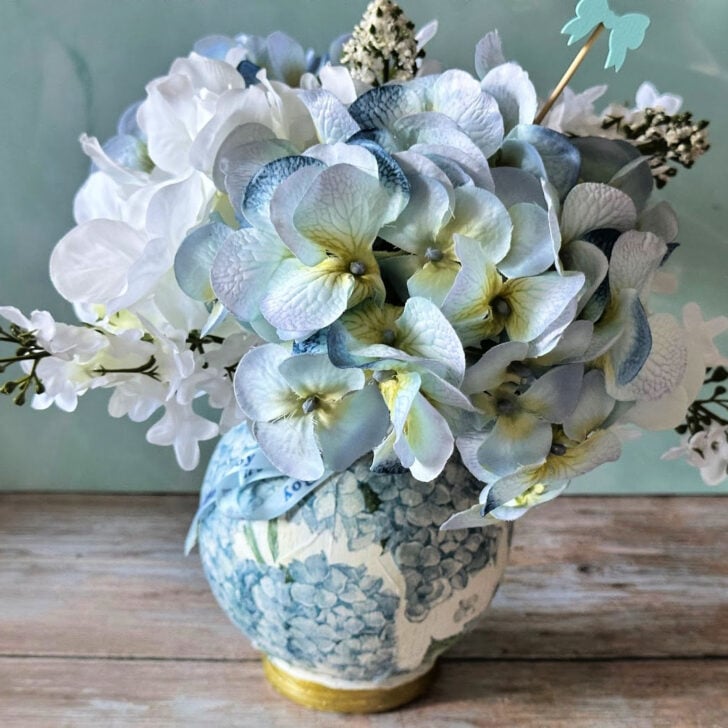
Now it’s time to add florals to the vases. Start by trimming each flower stem to fit the vase. I chose to keep the height low so they don’t obstruct the view at the table when talking to guests.
There is nothing worse than trying to look at someone over a large centerpiece!
Step 8. Add Gold to Bottom of Vase
This is completely optional, but I love how elegant it looks. At the last minute I decided to use gold leaf markers on the bottom of each vase.
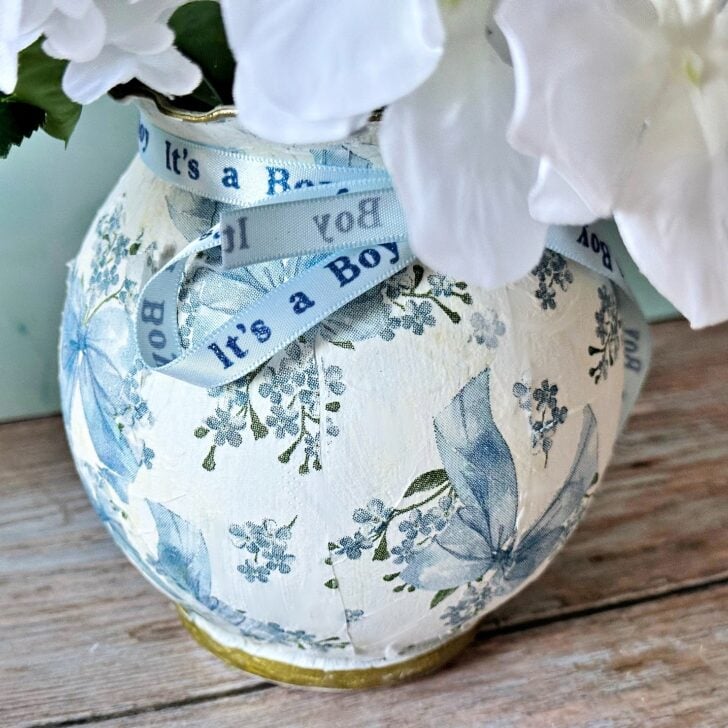
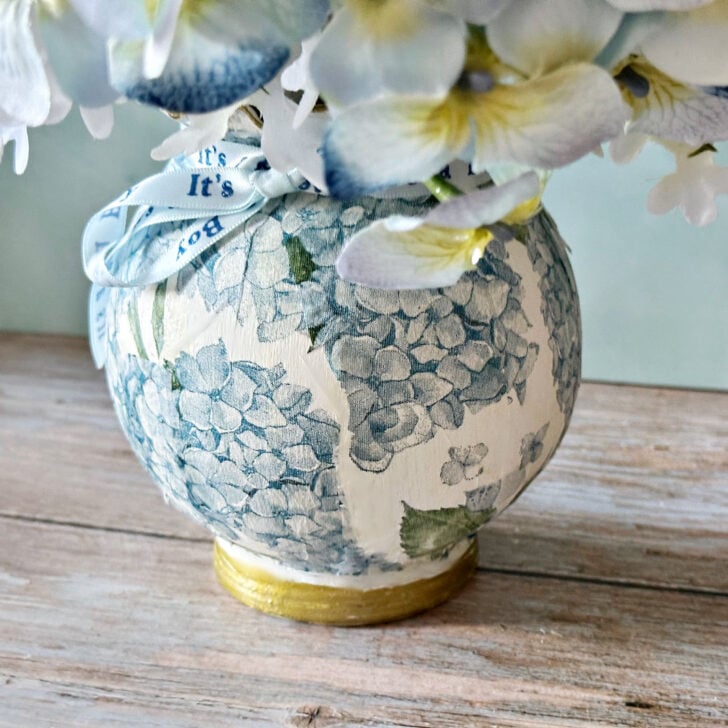
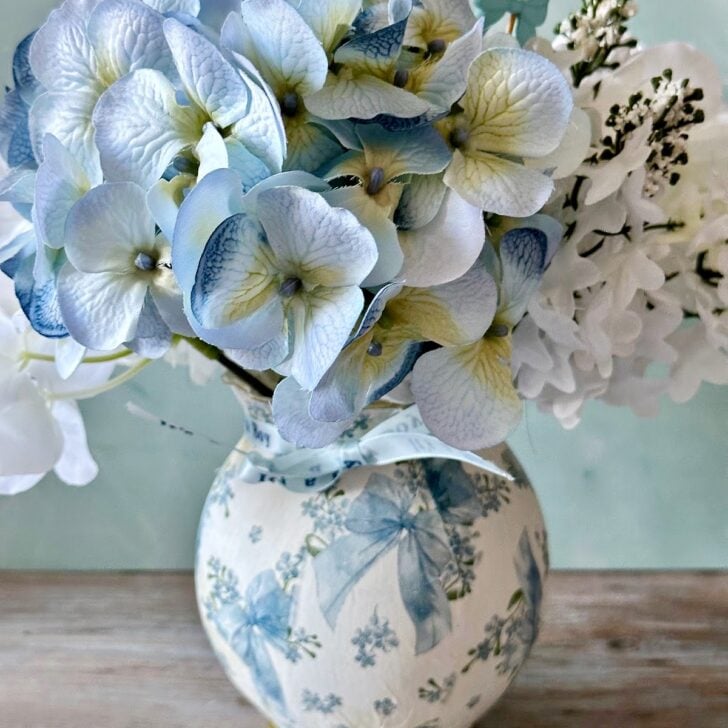
The blue background hydrangea napkin in the below image is a close second favorite. You can see the sweet little bows in these images as well as the it’s a boy ribbon I added.
My plan is to place one of these it’s a boy picks ordered from Amazon. I’ll share updated photos from the shower to show how this all came together-on a budget!

I hope you enjoyed these baby shower centerpiece ideas. Please let me know if you are inspired to make your own. Be sure to tag @ourcraftymom on Facebook so we can see it.
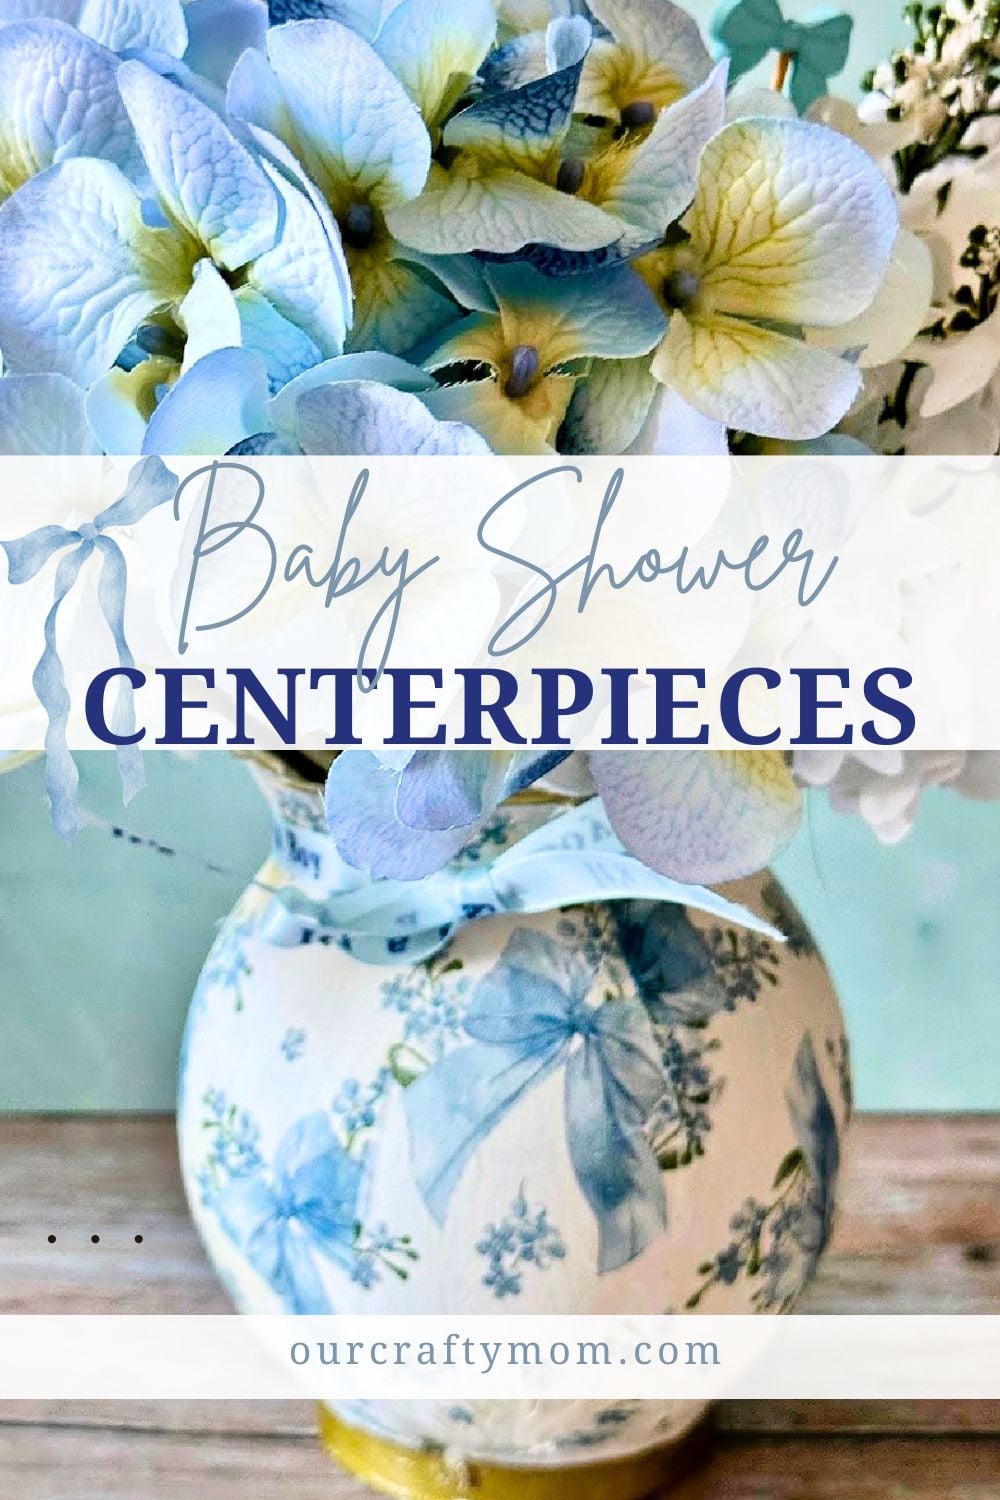
PIN FOR LATER
I’d love it if you would share this article with your friends on Pinterest by pinning the below image.
It helps my blog grow and doesn’t cost a thing! 🙂
You may also enjoy these 20 baby shower snack ideas and these 15 dreamy nursery bedding ideas.
Thanks so much for stopping by. Happy crafting!


Here are some of my most popular decoupage home decor and craft ideas:
- How to Decoupage Candles
- Decoupage with Napkins on Dollar Tree Planters
- Tin Can Wall Pocket Planters
- Decoupage Furniture Ideas
- Chinoiserie Vase
- 27 Decoupage Ideas
Follow me on social media below: