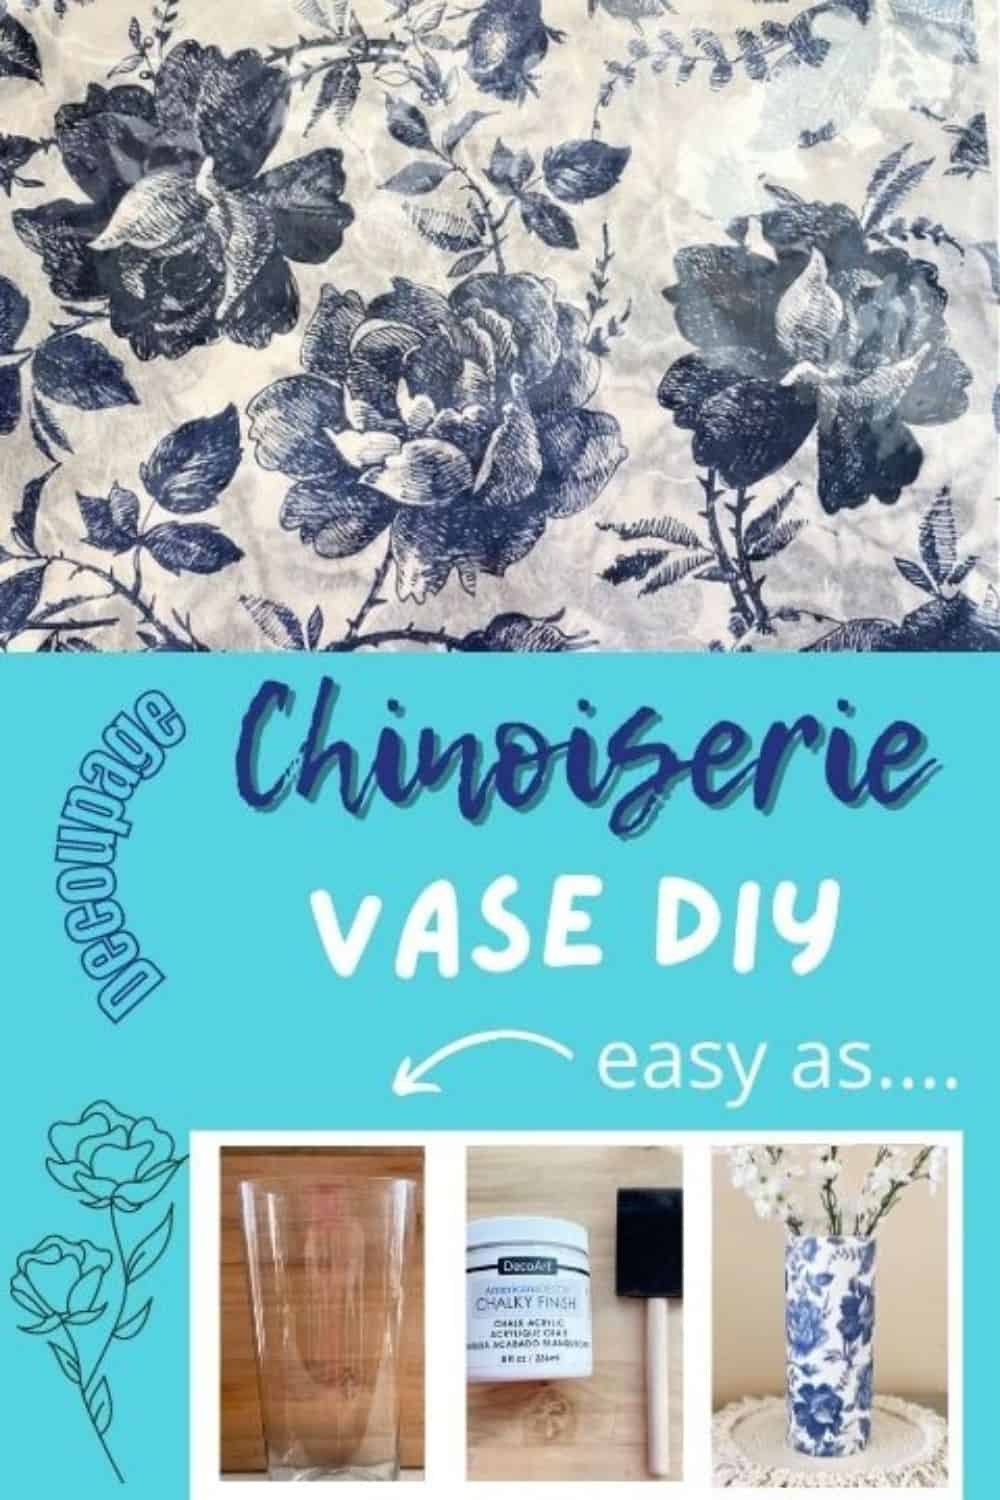
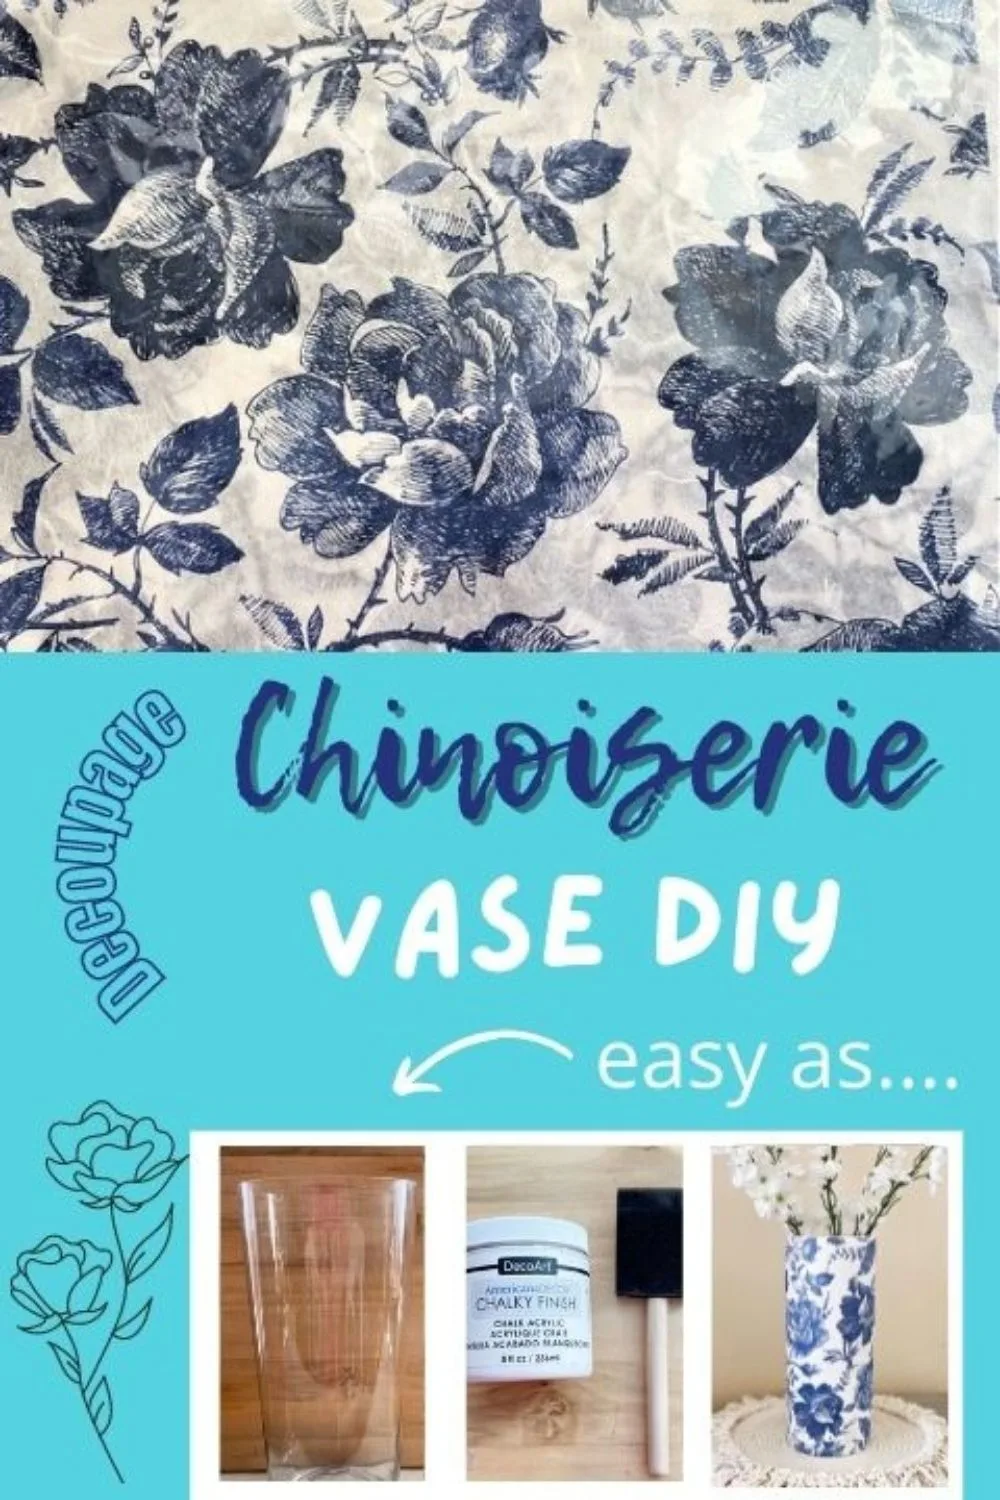
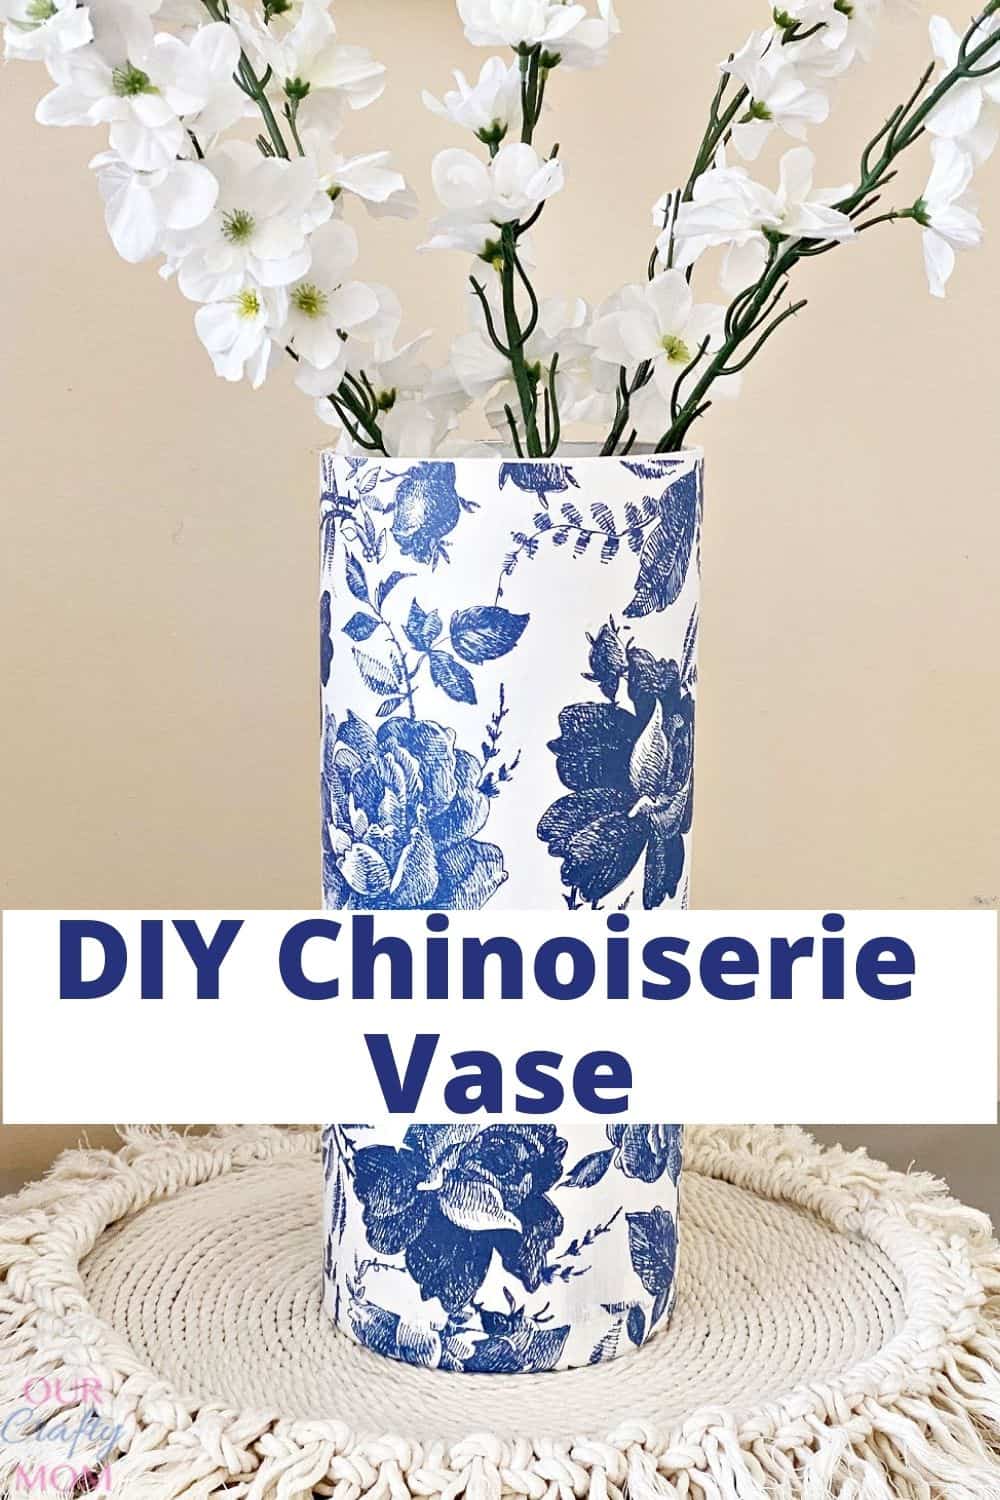
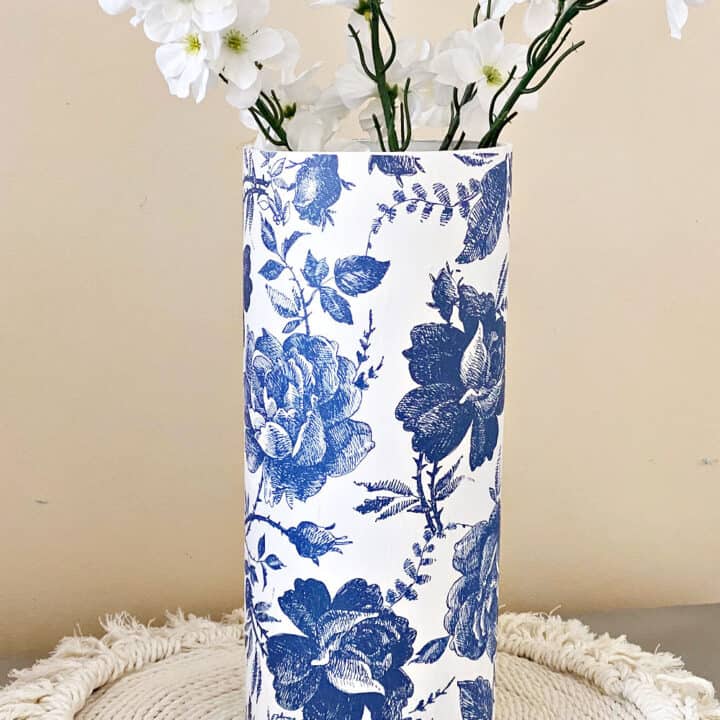
This chinoiserie vase is a beautiful and easy decoupage craft that anyone can make. It’s super simple, fun, and best of all – affordable!

Have you ever wanted to add a touch of chinoiserie chic to your home décor without spending a fortune?
Well, today’s project is perfect for you! I’m going to show you how to decoupage a plain glass vase with beautiful blue and white chinoiserie decoupage paper.
If you are a regular visitor, (thank you) you know what a fan I am of decoupage crafts and home decor. Be sure to check out this post with 27 Decoupage Ideas.
One of the reasons I enjoy it is because it’s so versatile. You can create small projects like mason jar crafts, to large projects like furniture.
Here are a few of my most popular decoupage projects:
- How to Decoupage with Napkins
- How to Decoupage on Glass
- How to Make Buffalo Check Plates with Mod Podge
- How to Decoupage on Wood – Broadway Table
This chinoiserie vase DIY has been on my to-do list for several months.
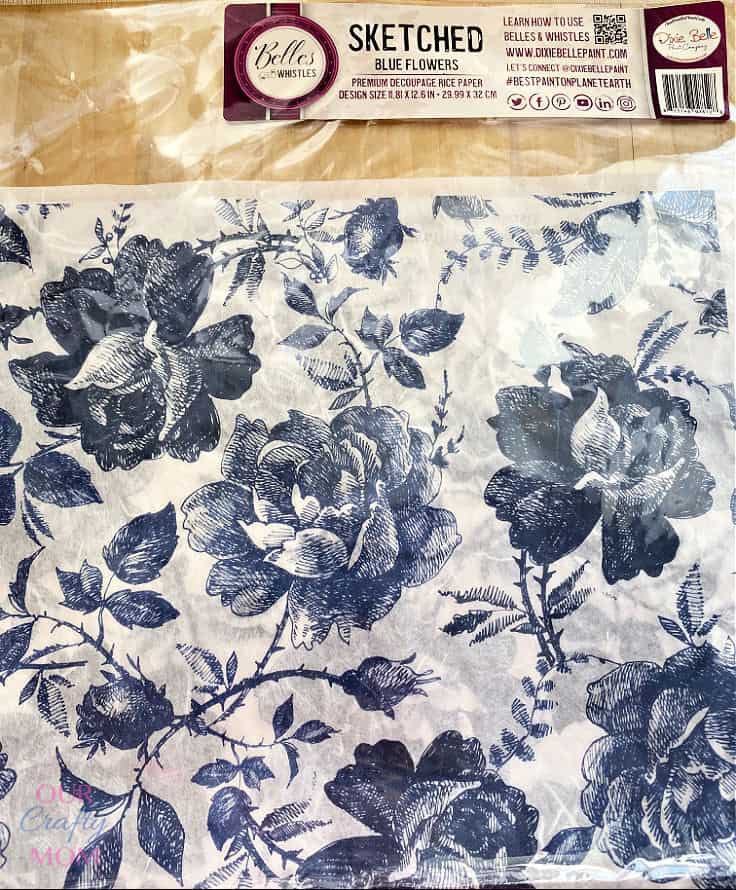
I received the most beautiful blue and white decoupage rice paper from Dixie Belle.
Rice paper is perfect to use with mod podge and it adheres beautifully to glass.

In case you missed it, you have to see my favorite cottage core window DIY also made with rice paper.
While decorating my spring mantel, I was looking for a large vase to anchor one side.
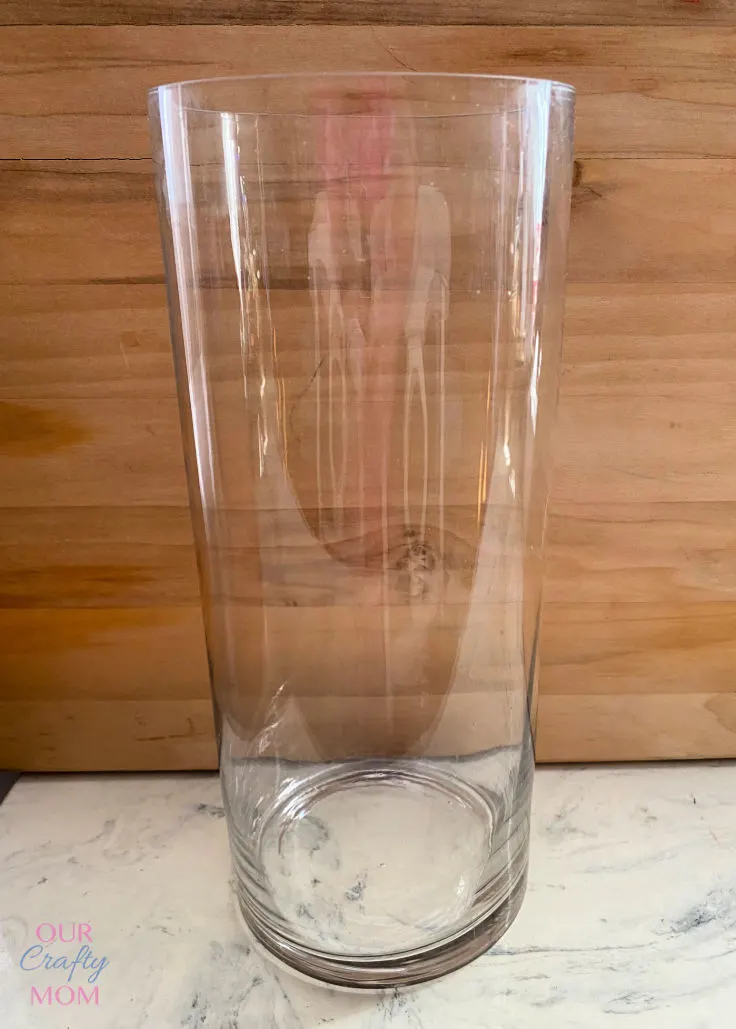
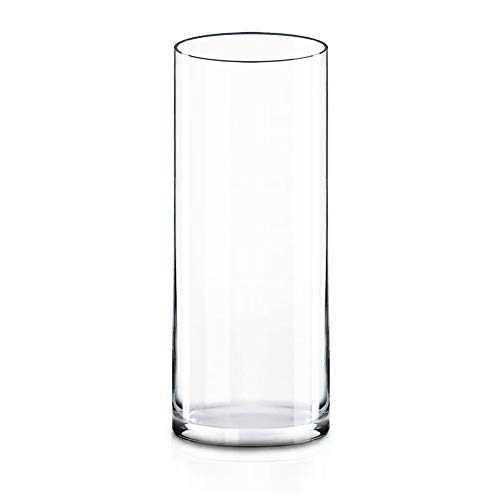
I remembered this tall cylinder glass vase I had from my niece’s wedding and had a lightbulb moment!
Why not turn a plain glass vase into a gorgeous piece that looks like it’s from a high-end boutique?
Supplies Needed to Make a Chinoiserie Vase
- Glass Cylinder Vase – similar to what I used
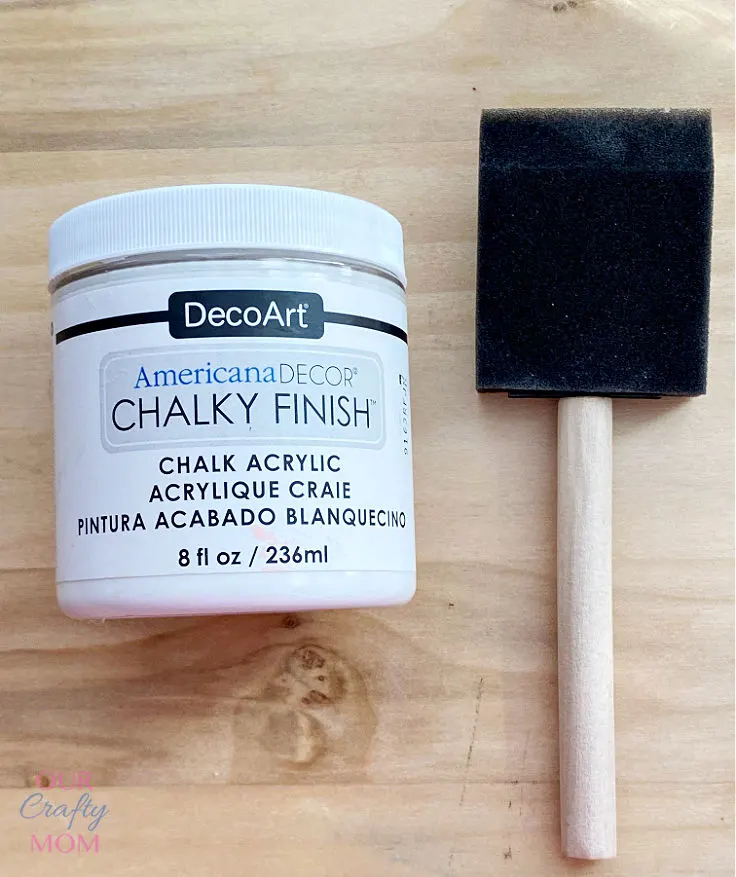
- Mod Podge I used a matte finish
- Foam Brush
- White Chalk Paint
- decoupage rice paper
How to Make a Chinoiserie Vase with Decoupage Rice Paper
Step 1. Clean your glass
Start by cleaning your glass with rubbing alcohol.
You want to get rid of any fingerprints, dust, or grime.
If you don’t have rubbing alcohol handy, you can use vodka but I’d save that for the martinis.

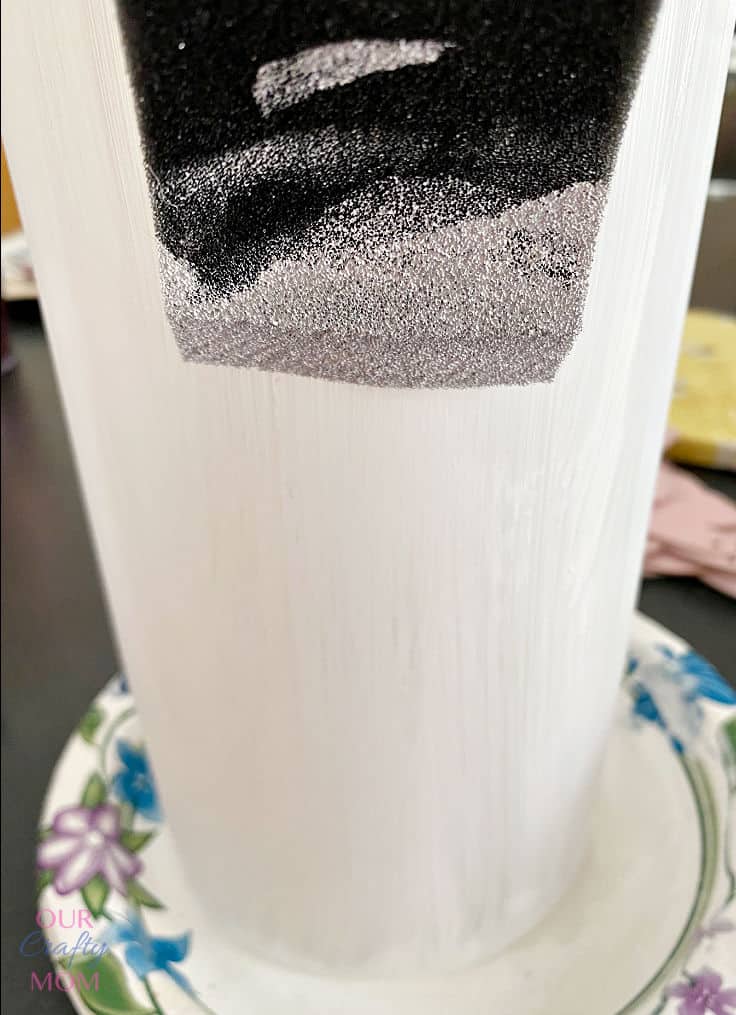
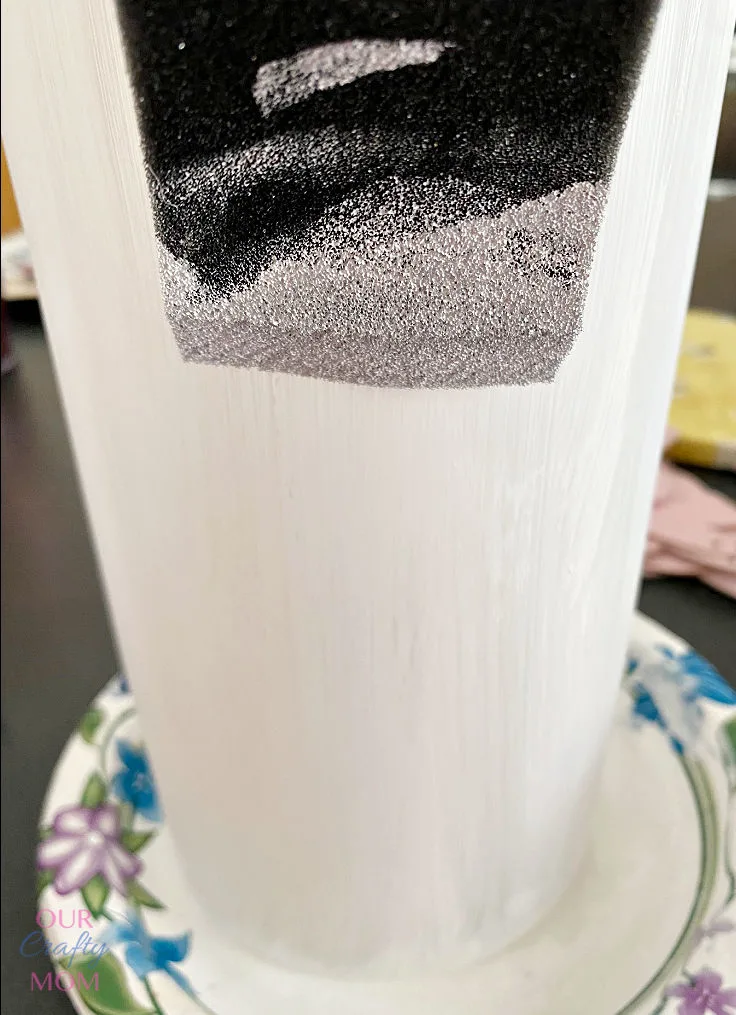
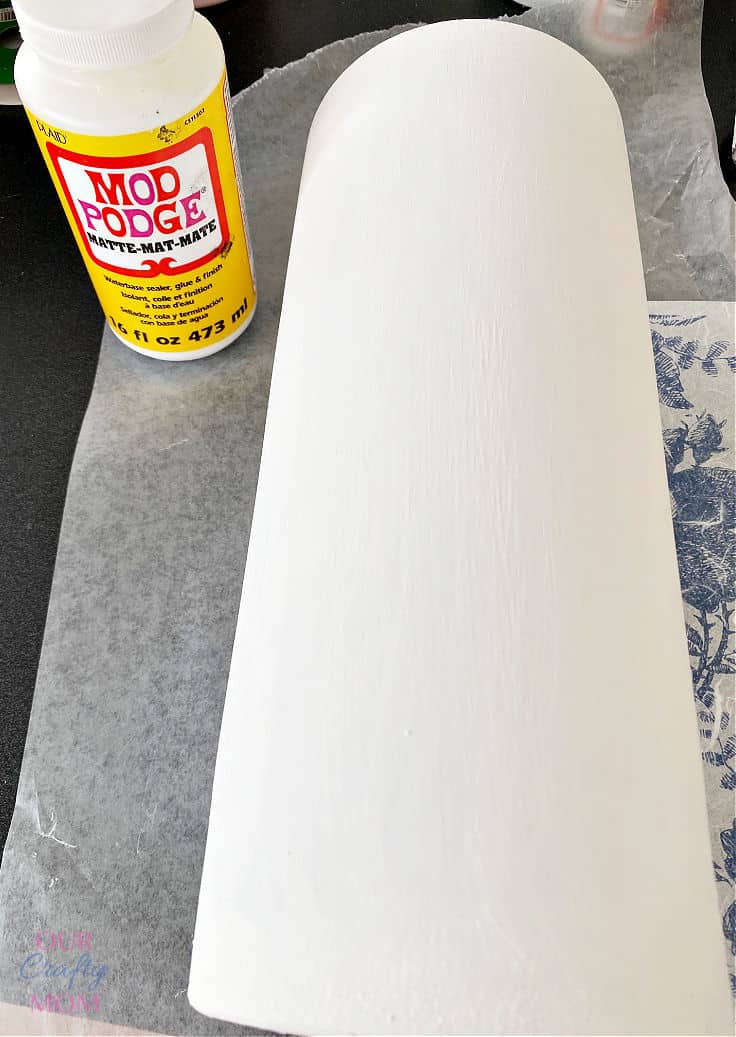
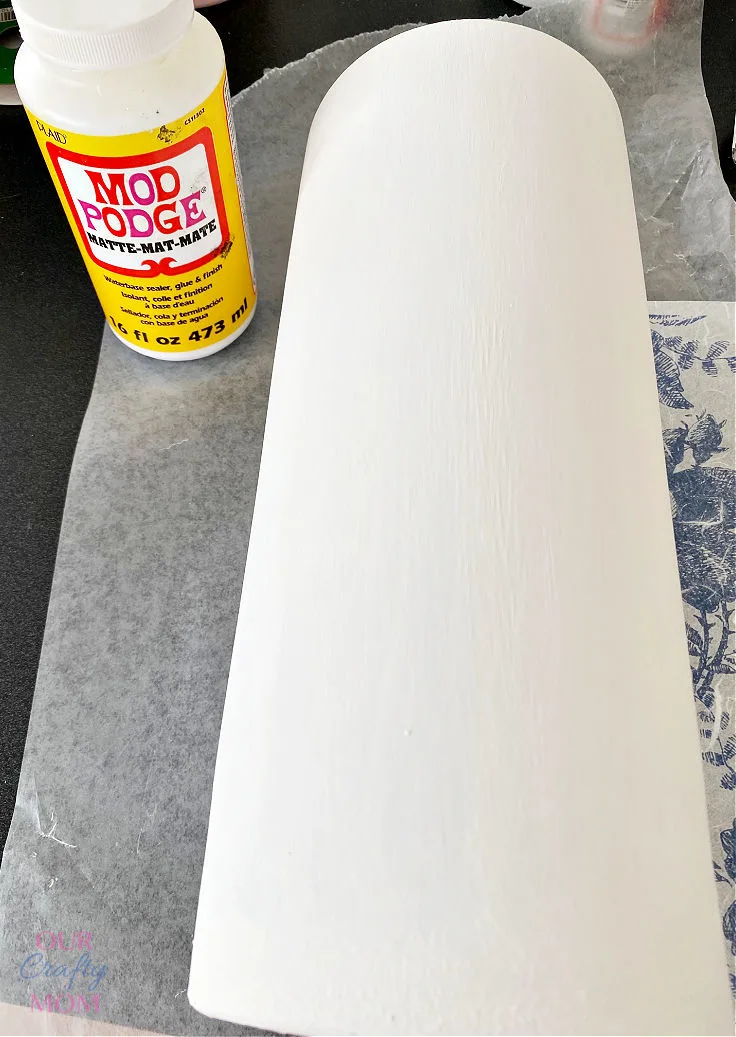
Step 2. Paint your vase
Give your vase about 2-3 coats of chalk paint, letting it dry in between coats.

I’ve had people ask why paint the vase if you are covering it with rice paper?
The reason is the colors of the paper will show up much more vibrant and bright on a white background than clear glass.
You can see a similar vase I made with Decoupage napkins where I did not paint it first. It still looks pretty, but not as vibrant.
Step 3. Paint your vase
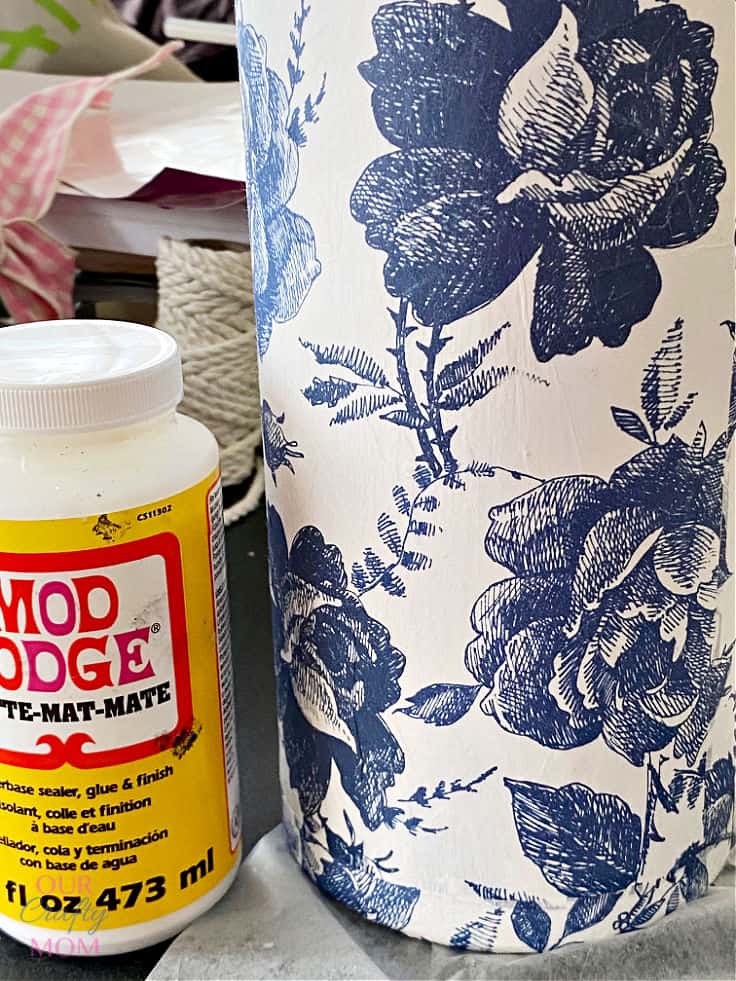
Once the paint is completely dry, brush mod podge onto the glass vase with a small craft brush.
Step 4. Add your rice paper or napkins
Now it’s time to add the rice paper or whatever material you are using to decoupage the vase.

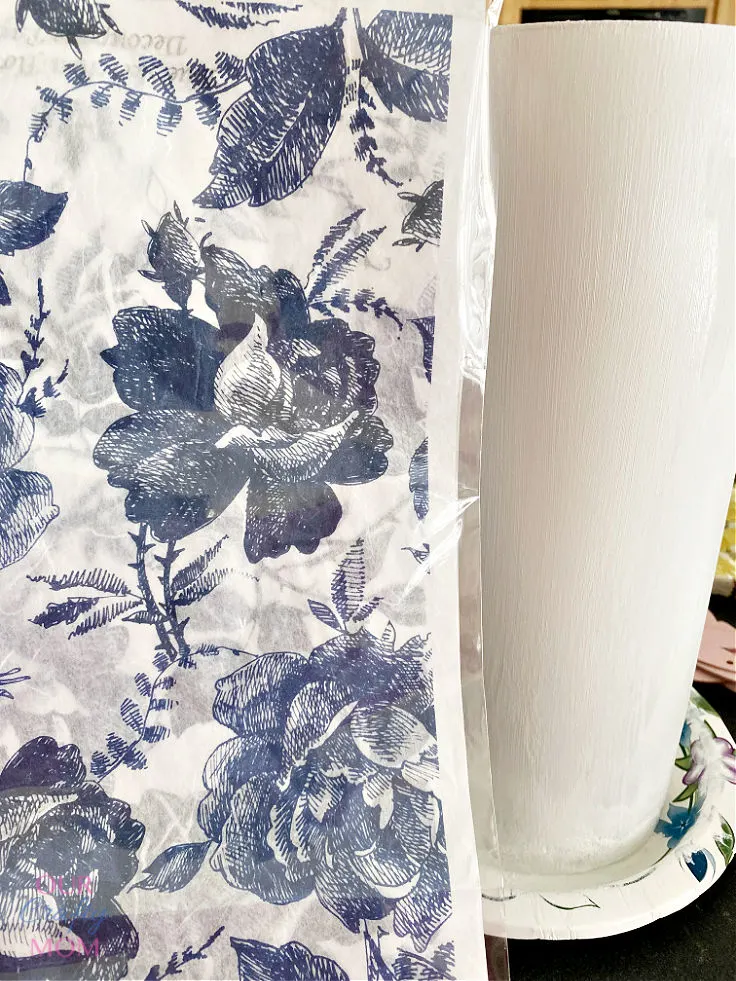
The paper I was using just happened to be the perfect size for the vase, so I had minimal cutting.
If you are working with a smaller project, I recommend working in sections and cutting the napkins, or paper into quarters.

Slowly add the paper and lightly tap it onto the vase. Rice paper is thicker than napkins so it won’t tear as easily but you still want to be gentle.
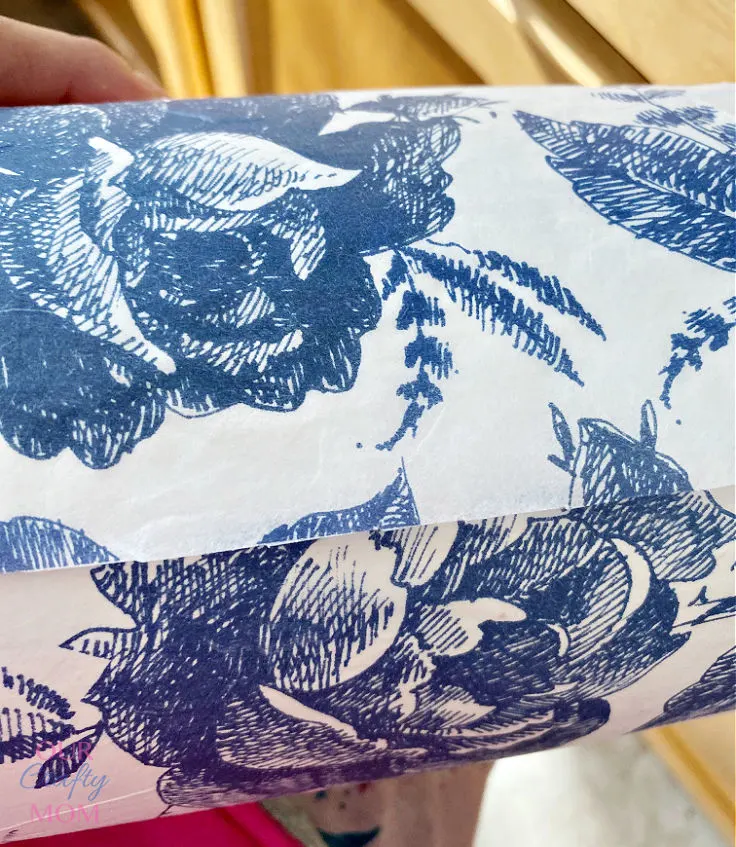
Step 5. Continue adding mod podge and paper
Repeat this process until the vase is covered.
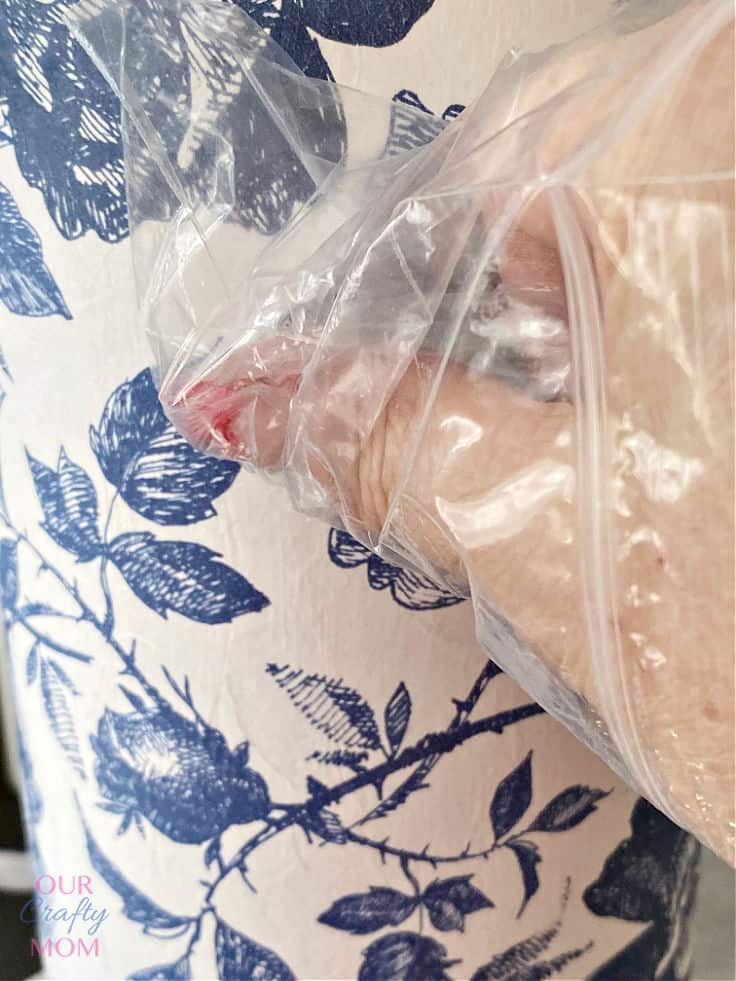
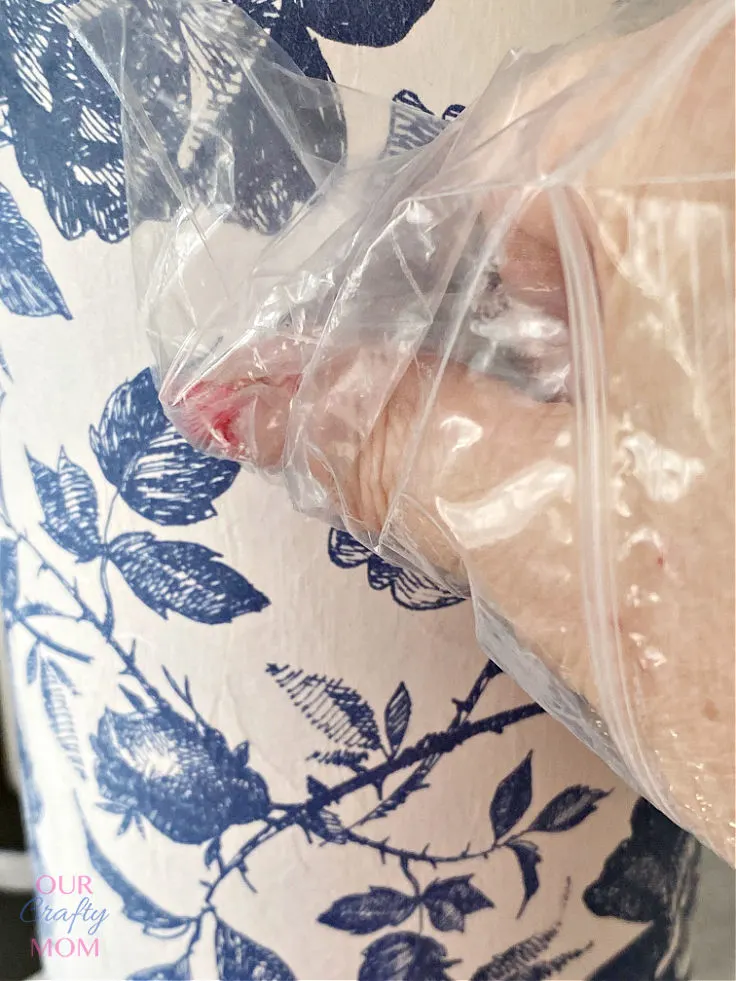
Quick tip: Use a plastic baggie to remove any wrinkles. You will have less tearing.
Step 6. Add a top coat of mod podge
Apply another layer of mod podge to the rice paper and let it dry for 1-2 hours.
The great thing about mod podge is it dries transparent!

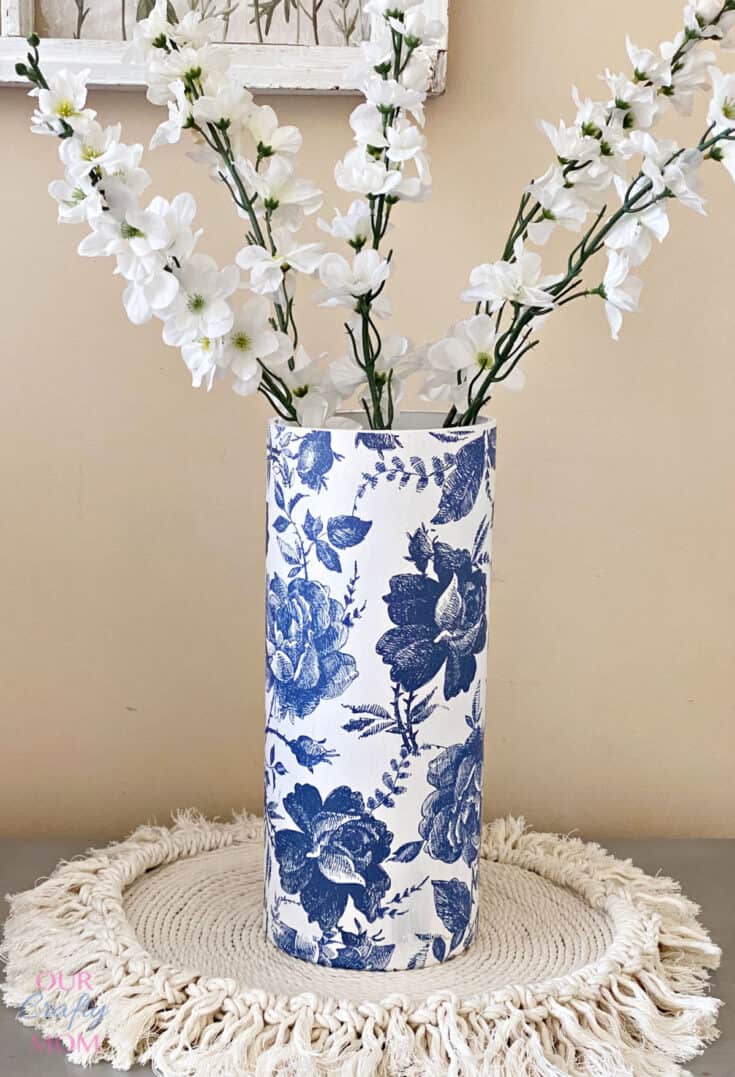
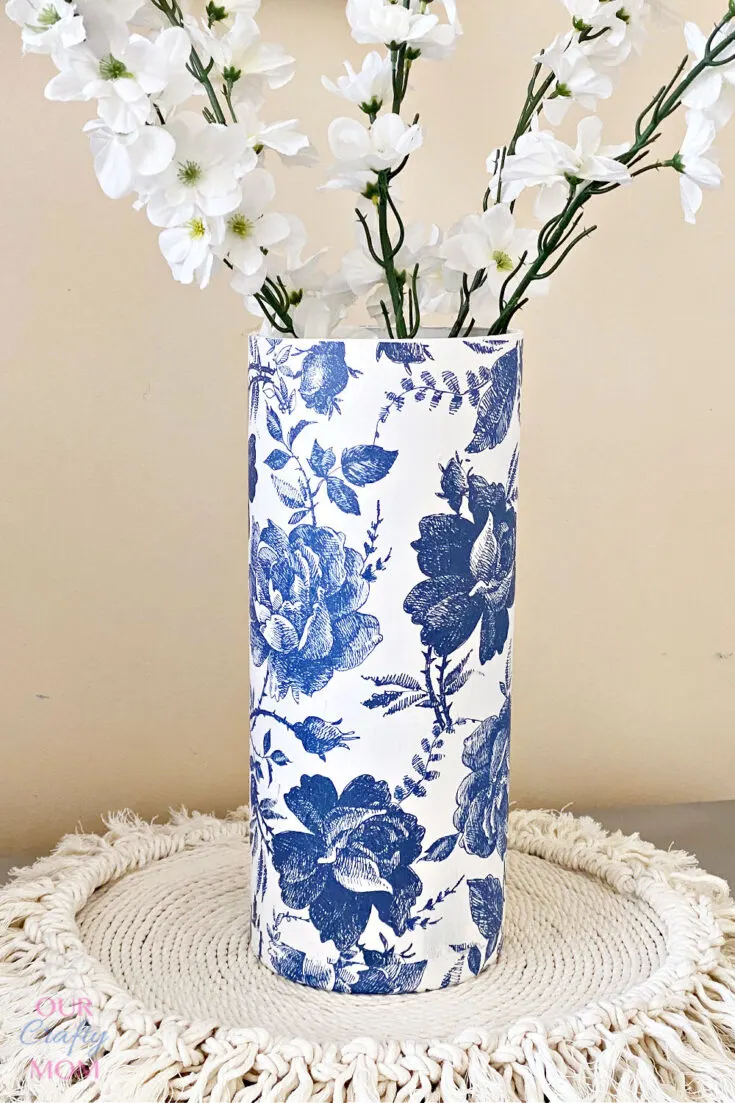
That’s all there is to it. Your beautiful chinoiserie vase is ready to display.
You can spray a clear acrylic sealer on the vase, but I chose to leave it off.
I really liked the look of the flowers and didn’t want any shine.
Be sure to allow a full 28 days for the mod podge to cure.

Save this for later by PINNING the below image:


Chinoiserie Vase (Decoupage Craft)
Using just a few supplies, you can turn an inexpensive vase into something special. Keep reading for all the details on how to make your own chinoiserie vase.
Materials
- Glass Cylinder Vase
- Mod Podge
- Foam Brush
- White Chalk Paint
- decoupage rice paper
Tools
- Scissors
Instructions
- Clean your glass with rubbing alcohol.
- Paint your vase with 2-3 coats of chalk paint. Let dry between coats.
- Brush mod podge onto the glass vase with a small craft brush.
- Add the rice paper or napkins to decoupage the vase.
- Repeat this process until the vase is covered.
- Apply another layer of mod podge to the rice paper and let dry for 1-2 hours.
Recommended Products
As an Amazon Associate and member of other affiliate programs, I earn from qualifying purchases.
-
 CYS Excel Glass Cylinder Vase (H:14" D:5") | Multiple Size Choices Glass Flower Vase Centerpieces | Hurricane Floating Candle Holder Vase
 -
 Americana Décor Acrylic Chalky Finish Paint: Everlasting White, 8 oz
 -
 Yexixsr Foam Brush, 27 Pcs Sponge Paint Brush, Foam Paint Brushes, Foam Brushes for Painting, Sponge Brush for Staining, Foam Brushes for Polyurethane, Sponge Brushes for Painting
 -
 Mod Podge CS11302 Waterbase Sealer, Glue and Finish, 16 oz, Matte, 16 Fl Oz
I hope you enjoyed this tutorial for a chinoiserie vase using mod podge and rice paper.
If you are a fan of quick and easy crafts be sure to sign up for my email.
It’s the best way to stay up to date on all the easy crafts, home decorating ideas, and simple recipes.
If you give this a try, be sure to share a pic on my Facebook page.
Happy crafting! 😃
Here are even more budget-friendly home decorating ideas:
You can find me on social media below: