Learn how to decoupage candles without mod podge using this easy DIY method. Create beautiful custom taper and pillar candles in minutes!

This post contains affiliate links. If you shop the links in this post there is no additional cost to you, but I may earn a small commission. Please see my full disclosure here.
Decoupage Candles
We may be expecting another big snowstorm tonight, but inside I’m dreaming of all things spring! I’ve been having a little crafty fun with bunny crafts the past week.
I started with this cute Dollar Tree bunny craft and also designed a set of 3 adorable bunny bathroom prints that you can download free!
Today is all about decoupage with napkins. If you follow me on Pinterest, you know I love a good decoupage craft, so it was only a matter of time before I tried it on candles!
I’m not sure why it took me so long, because they’re so easy and affordable to make.
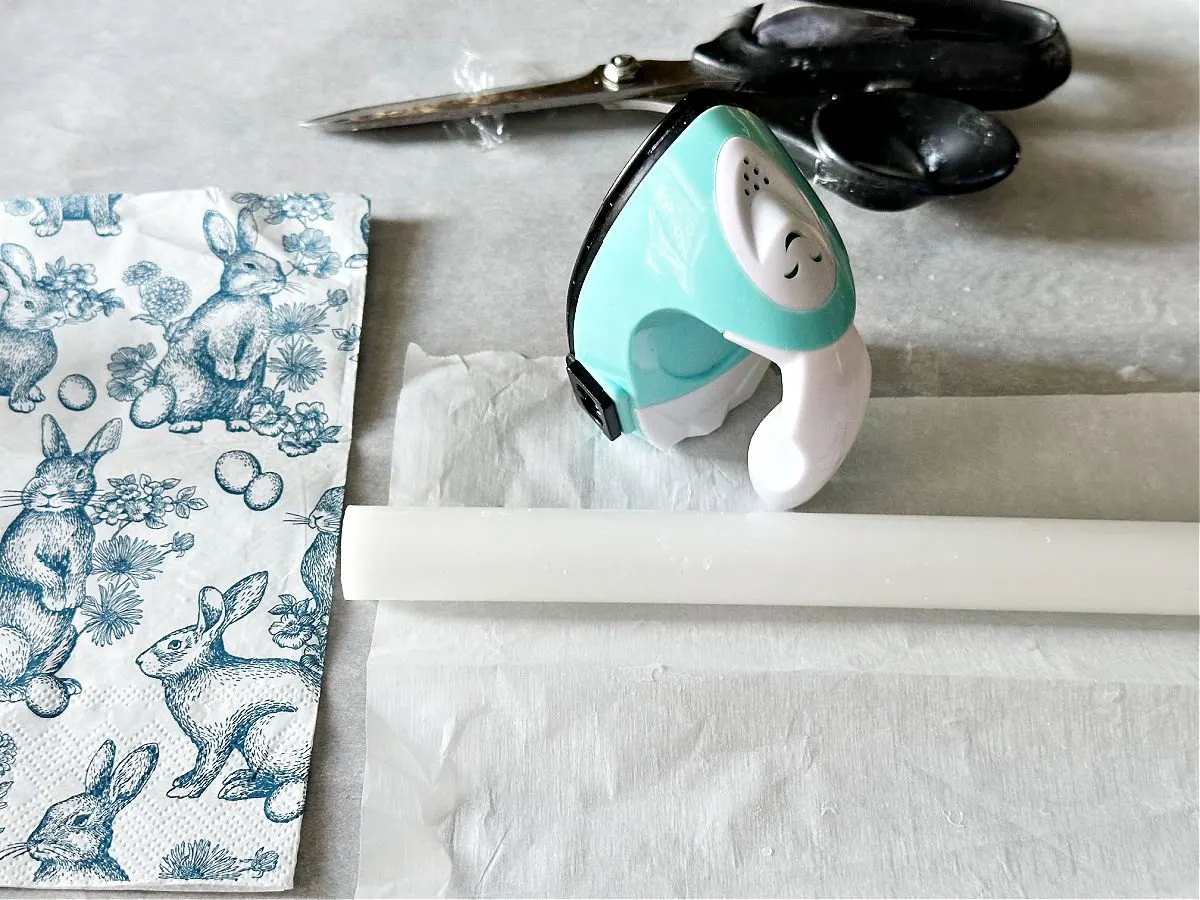
Supplies Needed to Decoupage Candles
You only need a few supplies to make your own candles. Grab your favorite napkins or tissue paper along with your choice of candles and let’s get crafty.
- Real Wax LED Taper Candles – you can also use regular wax candlesticks
- Bunny Chinoiserie Napkins – or whatever napkins or tissue paper that you like.
- Mini Craft Iron – I love this little iron! It’s perfect for small decoupage crafts.
- Parchment Paper – don’t skip this step.

How to Decoupage Flameless Candles
This is a surprisingly simple DIY project, no mod podge or glue needed. While I’m showing how to decoupage flameless taper candles, you can use the same method on regular wax tapers and even pillar candles.
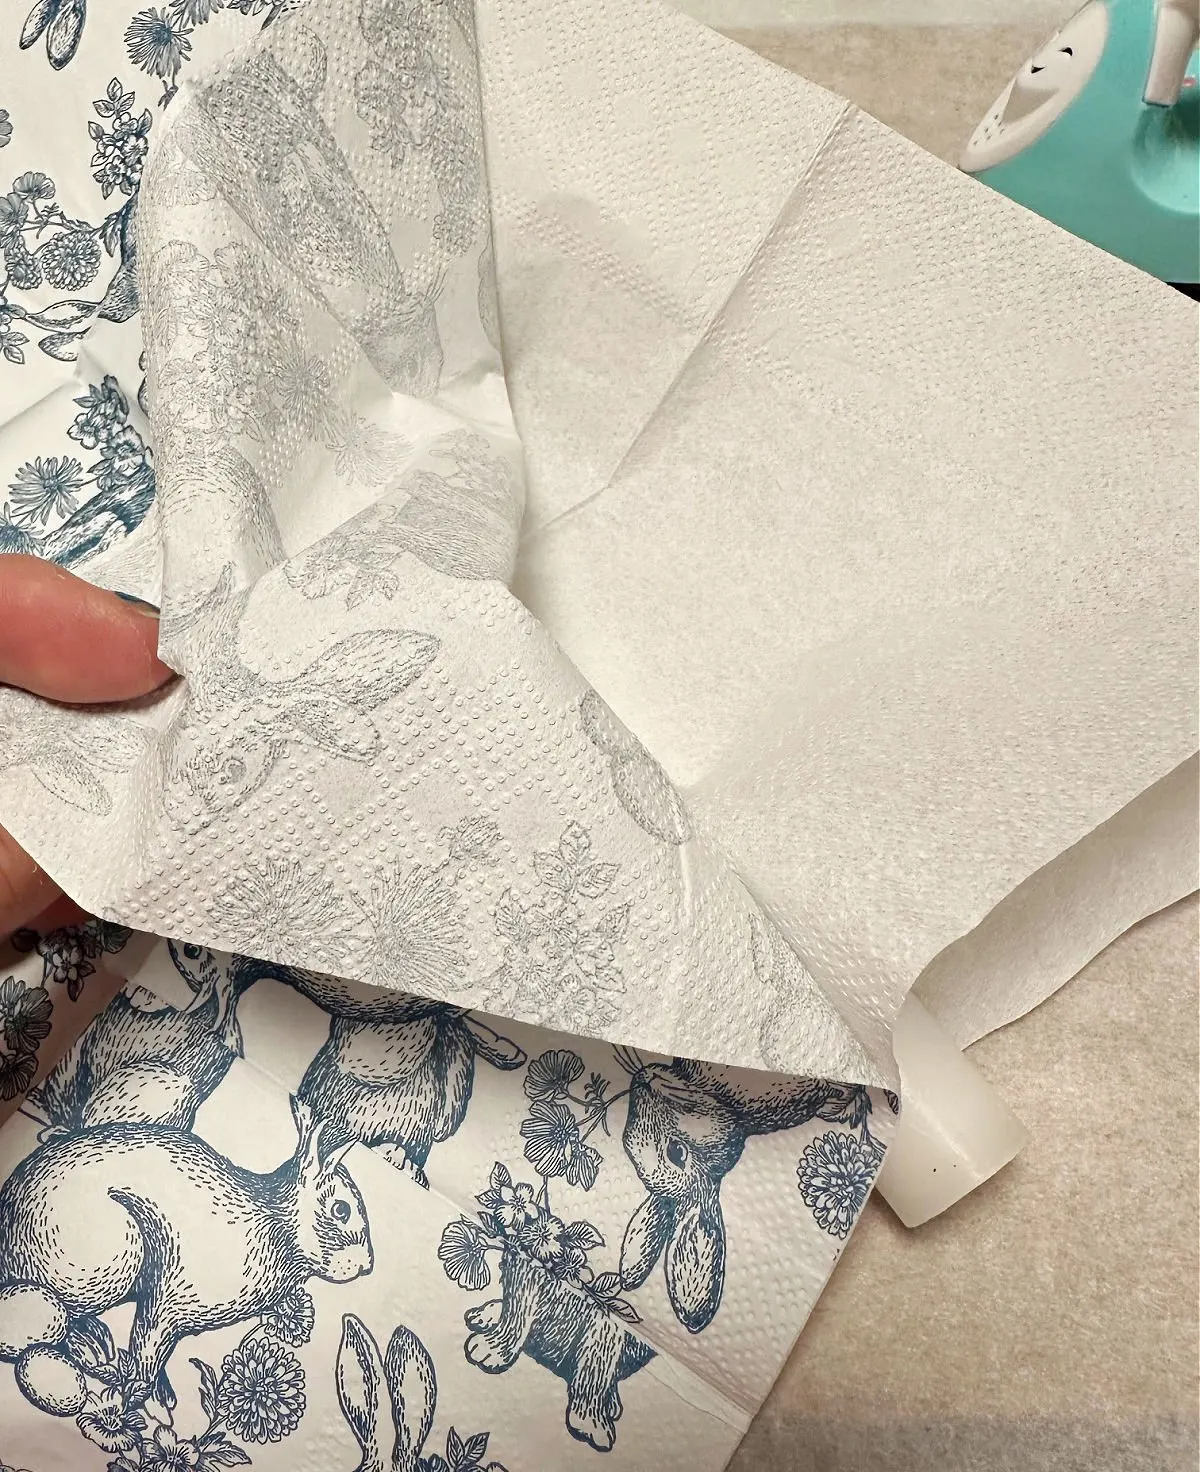
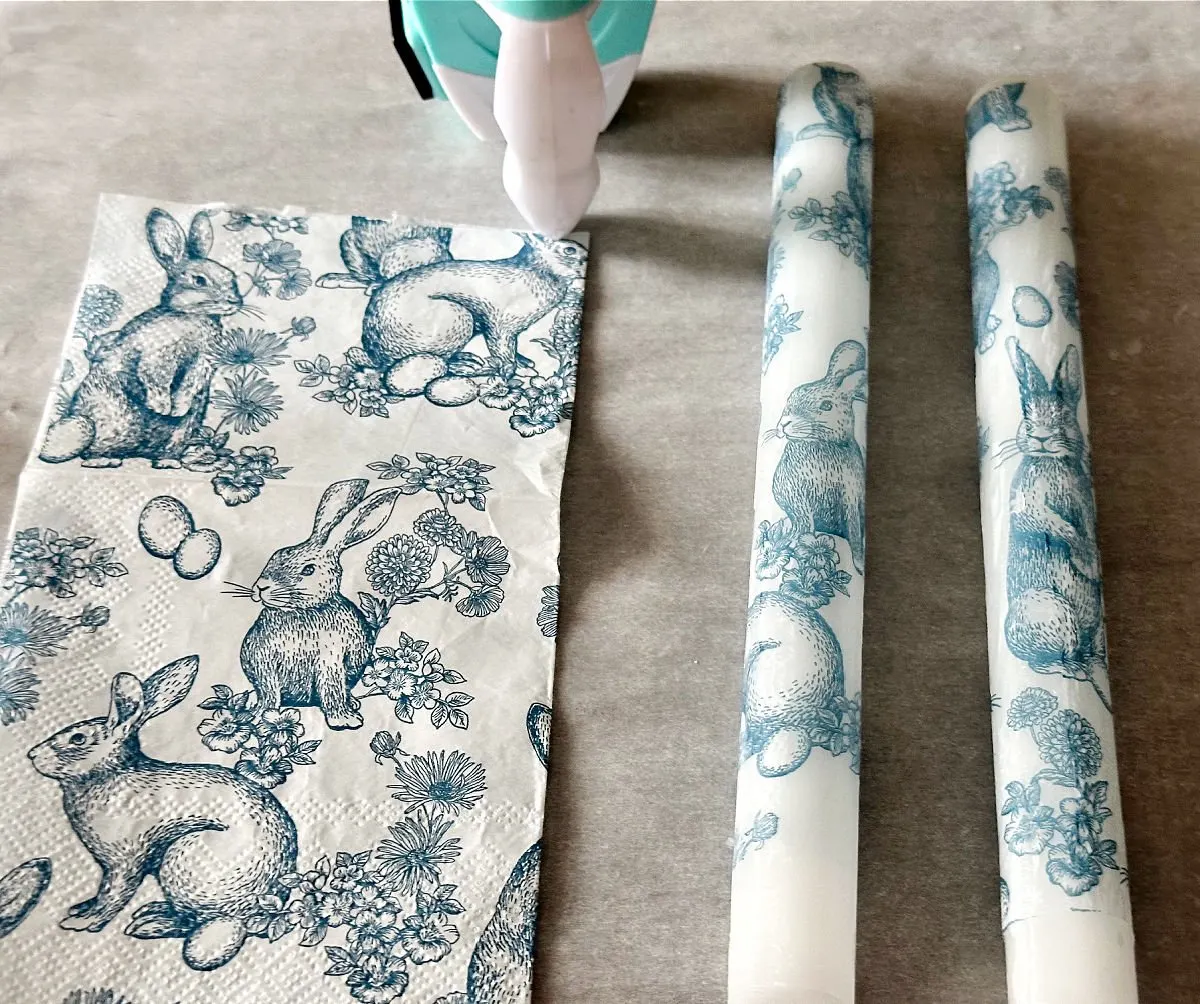
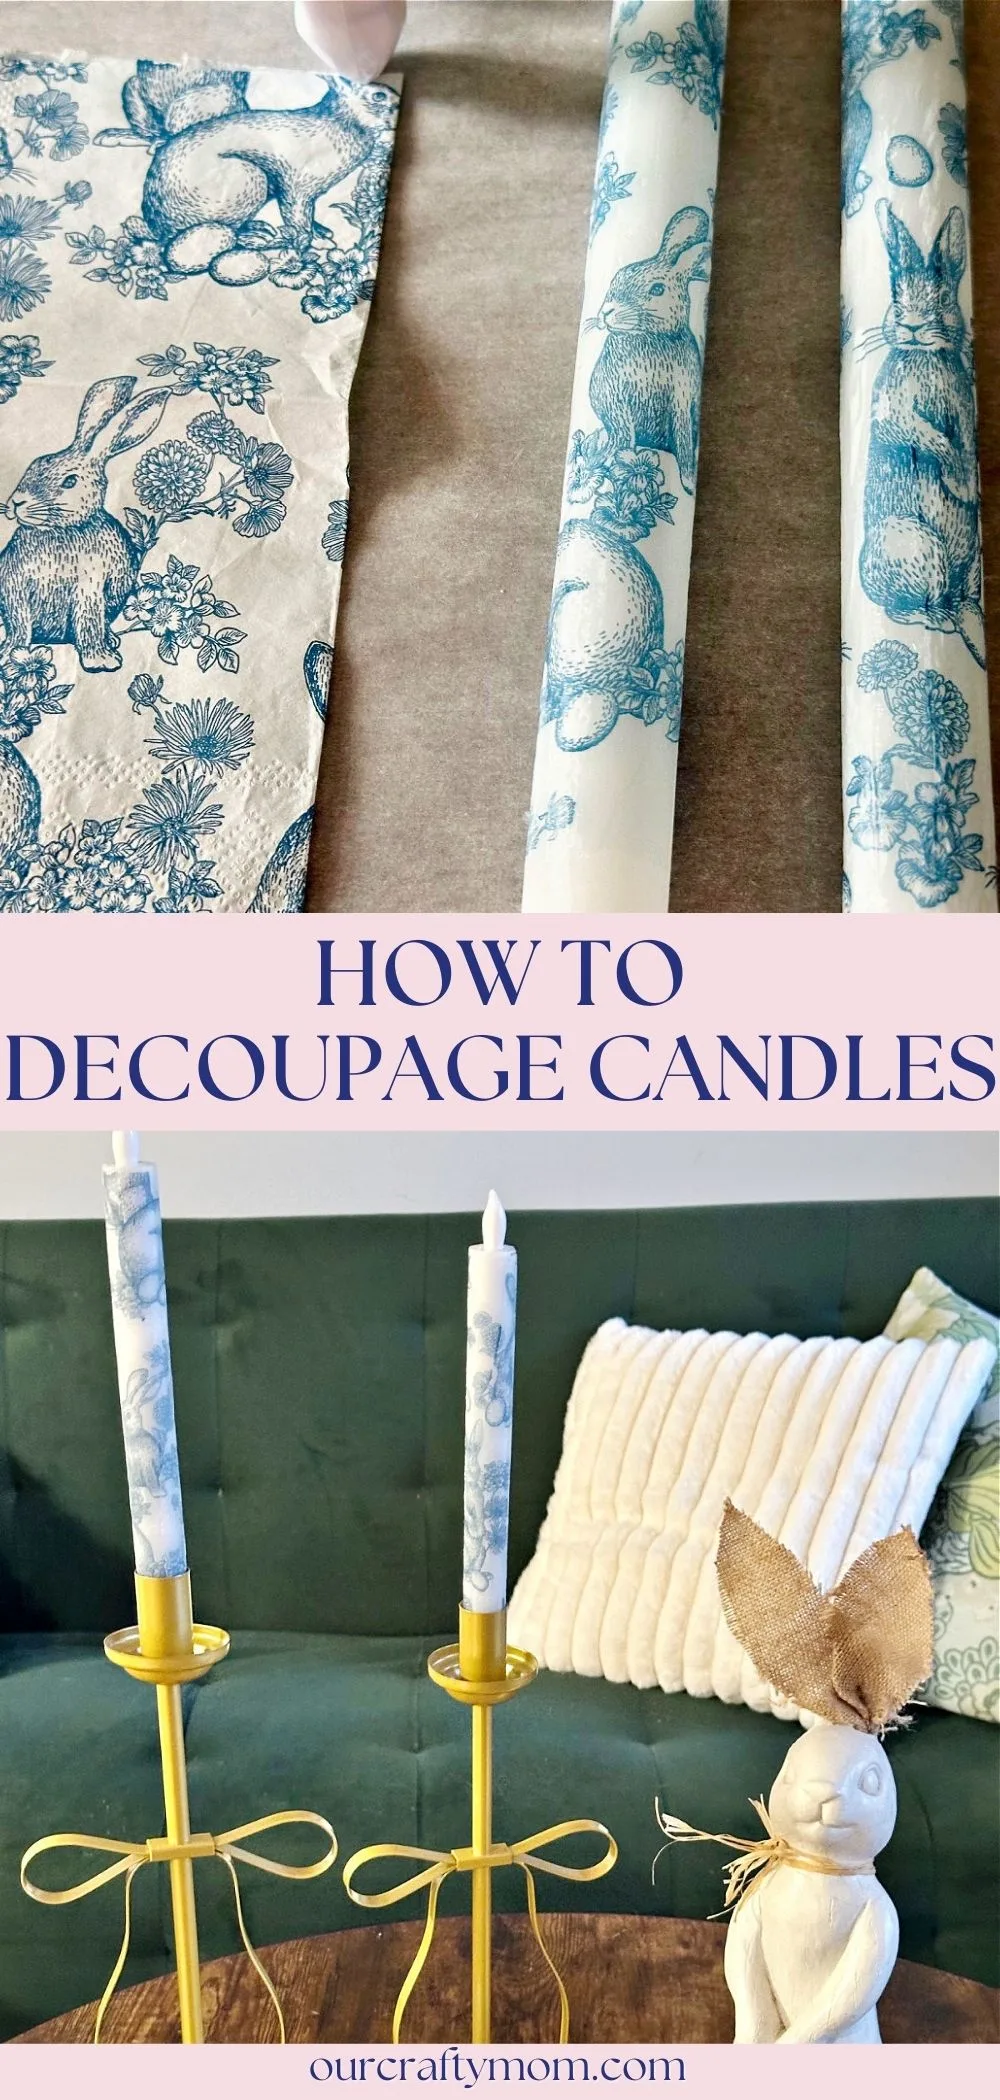
Step 1. Remove the Top Layer of the Napkin
The first thing you want to do is remove the top layer of the napkin. Most napkins are 2-3 ply and you only need the printed layer for decoupage napkin crafts.
Quick tip: place a piece of scotch tape on the corner of the bottom of the napkin to help remove the top layer.

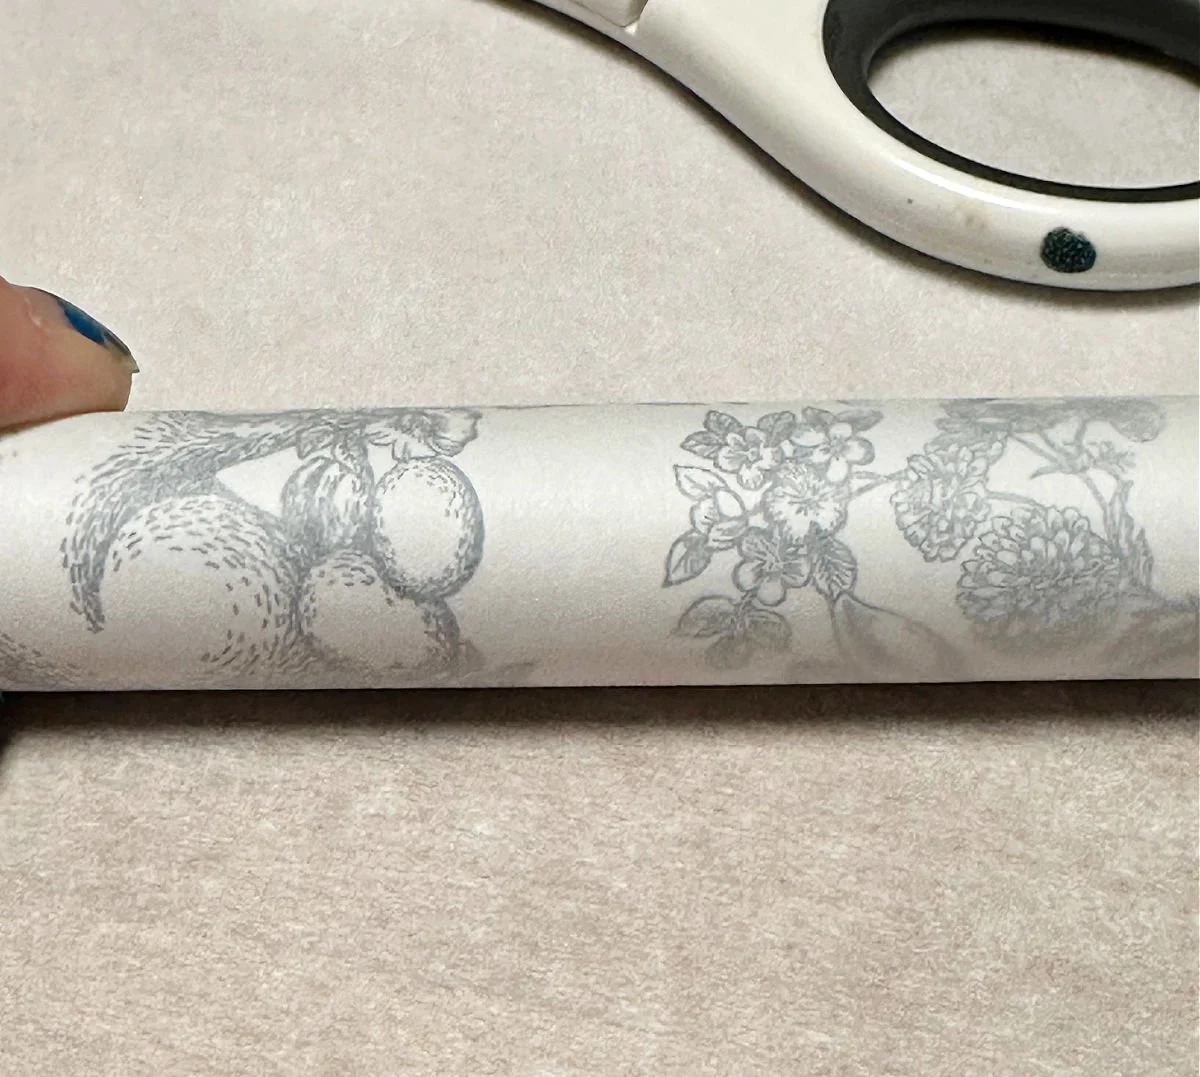
Step 2. Trim the Napkin
Decide if you want to cover the entire candle with the napkin design, or if you want to cut portions of the image to place on the candle.
I chose to cover the entire candle, as I love the look of the chinoiserie bunnies. If you prefer, you can cut the images and place them on the candles where you like them.

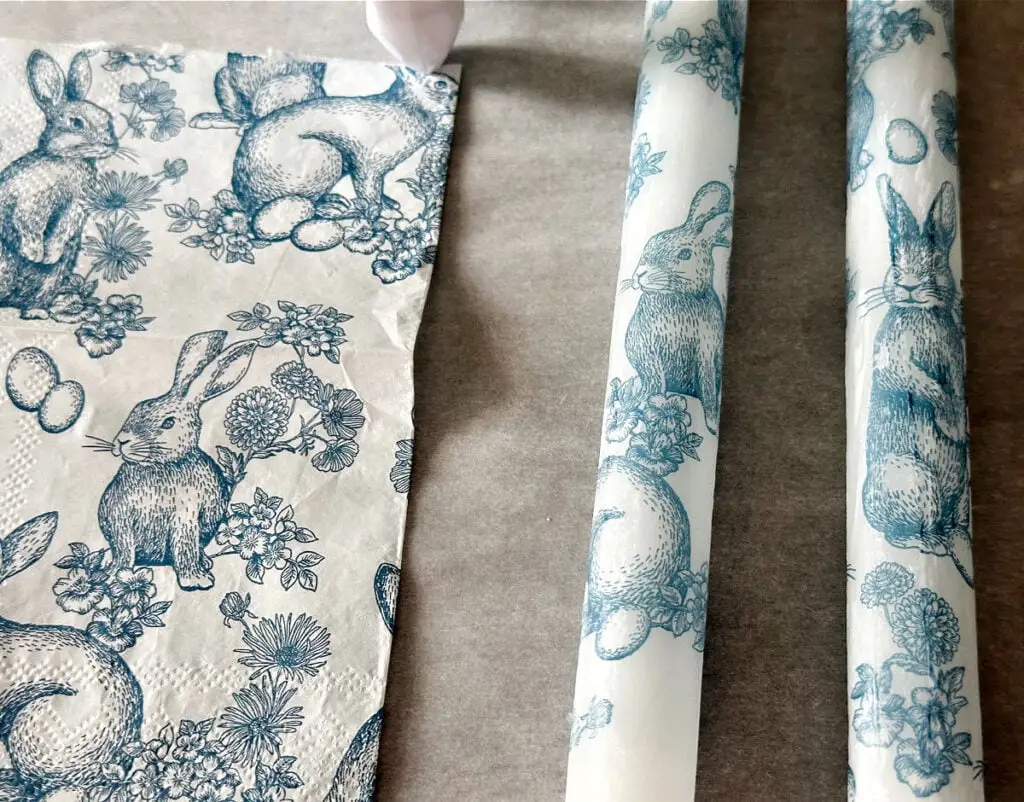
Step 3. Cover with Parchment Paper
It’s important to cover the napkin with parchment paper. This will help keep the wax from melting.

Step 4. Iron Over the Parchment Paper
Now for the magic! Use your iron on a low setting to transfer the image to the candle. You will need to go over the entire image to ensure it is transferred.
Be sure not to keep the iron in one place too long, as the wax will melt and the candle may become uneven.
You will be able to tell when the image transfers, as the wax becomes a bit darker and the parchment paper will lift a bit.
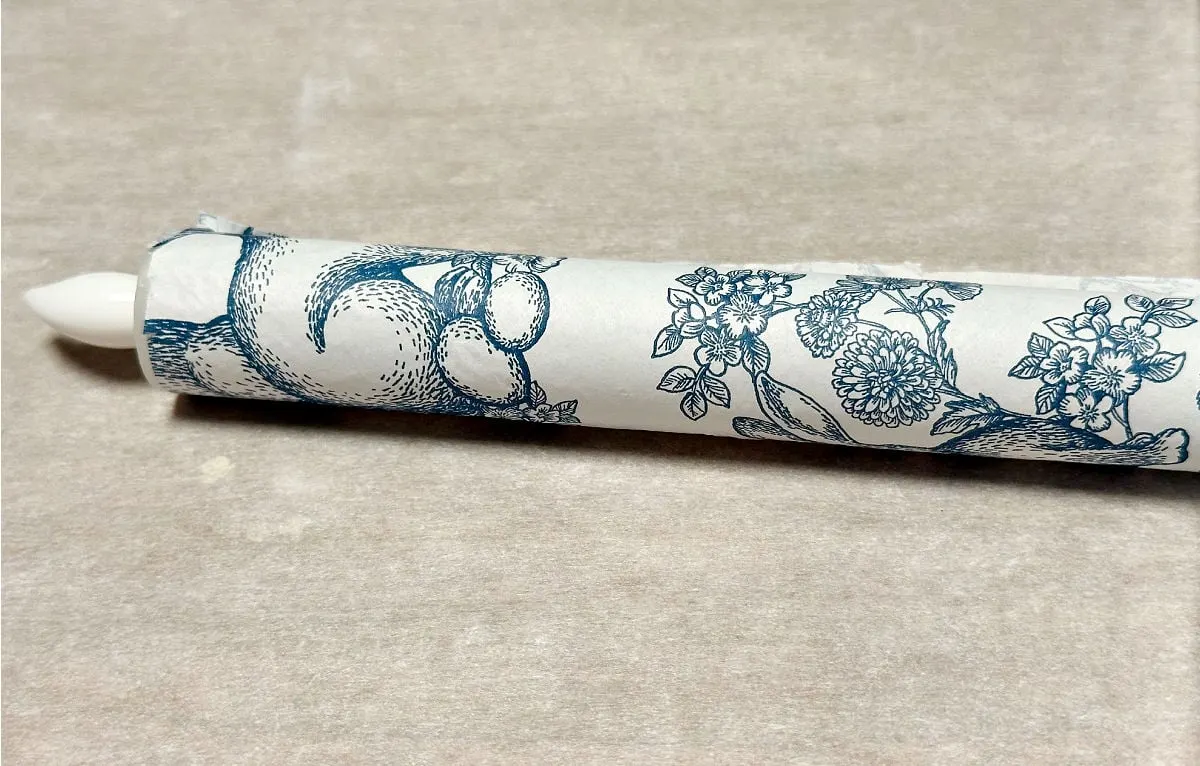
Remove the parchment paper to see your amazing handiwork!

Don’t worry if some of your image does not transfer. You can lightly use the iron to go over the image. Just be sure to clean your iron after to remove any wax.
This was my first time transferring an image without mod podge and I am so impressed with this technique.
The image becomes a part of the candle.

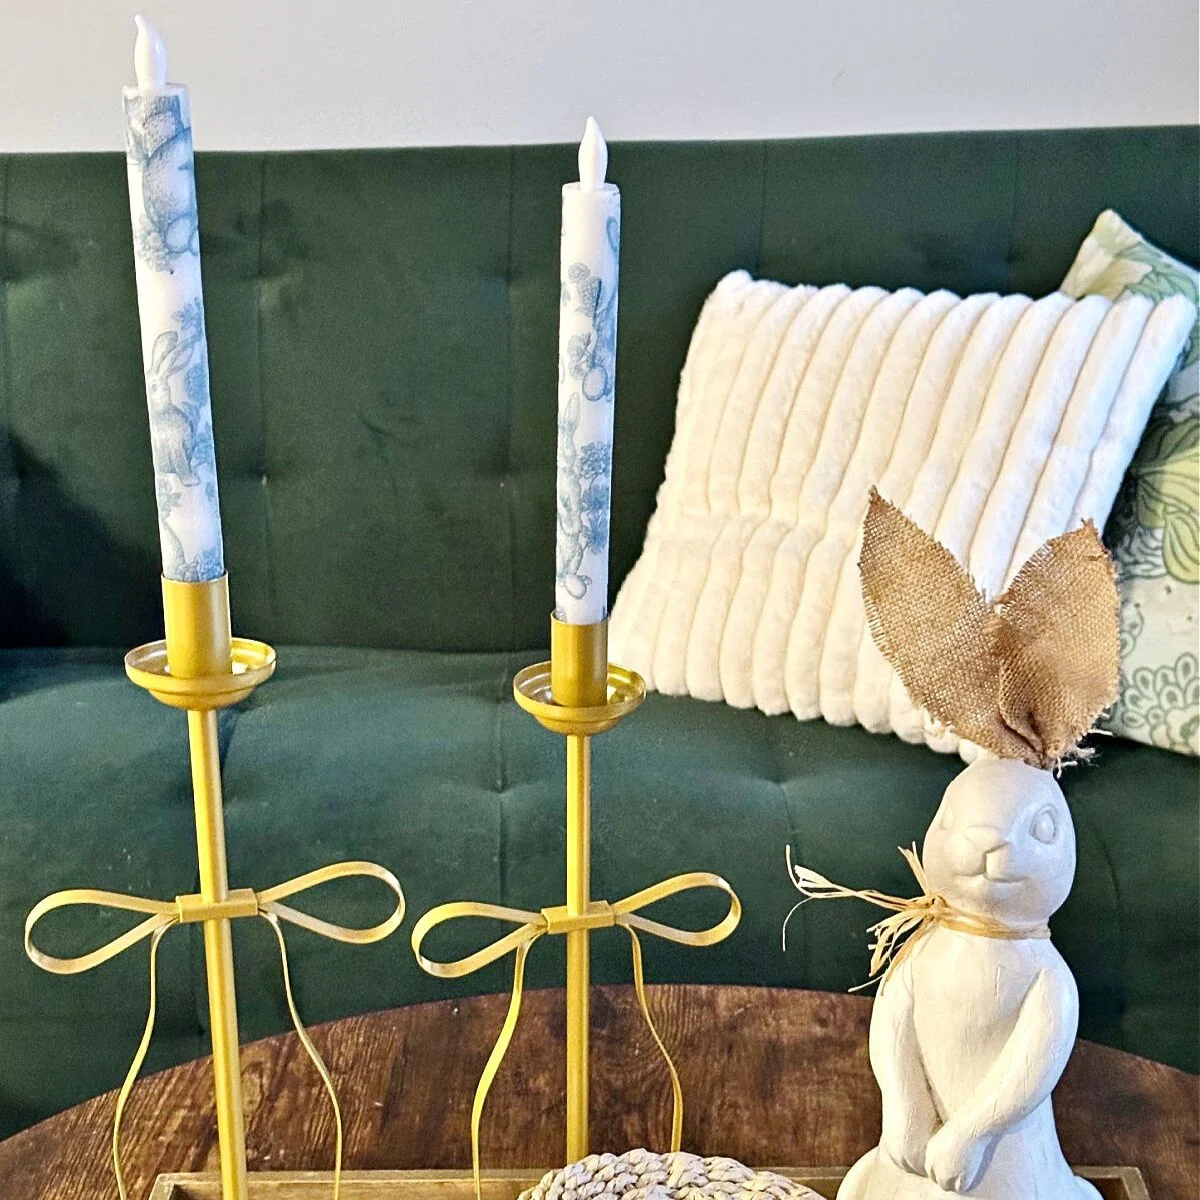
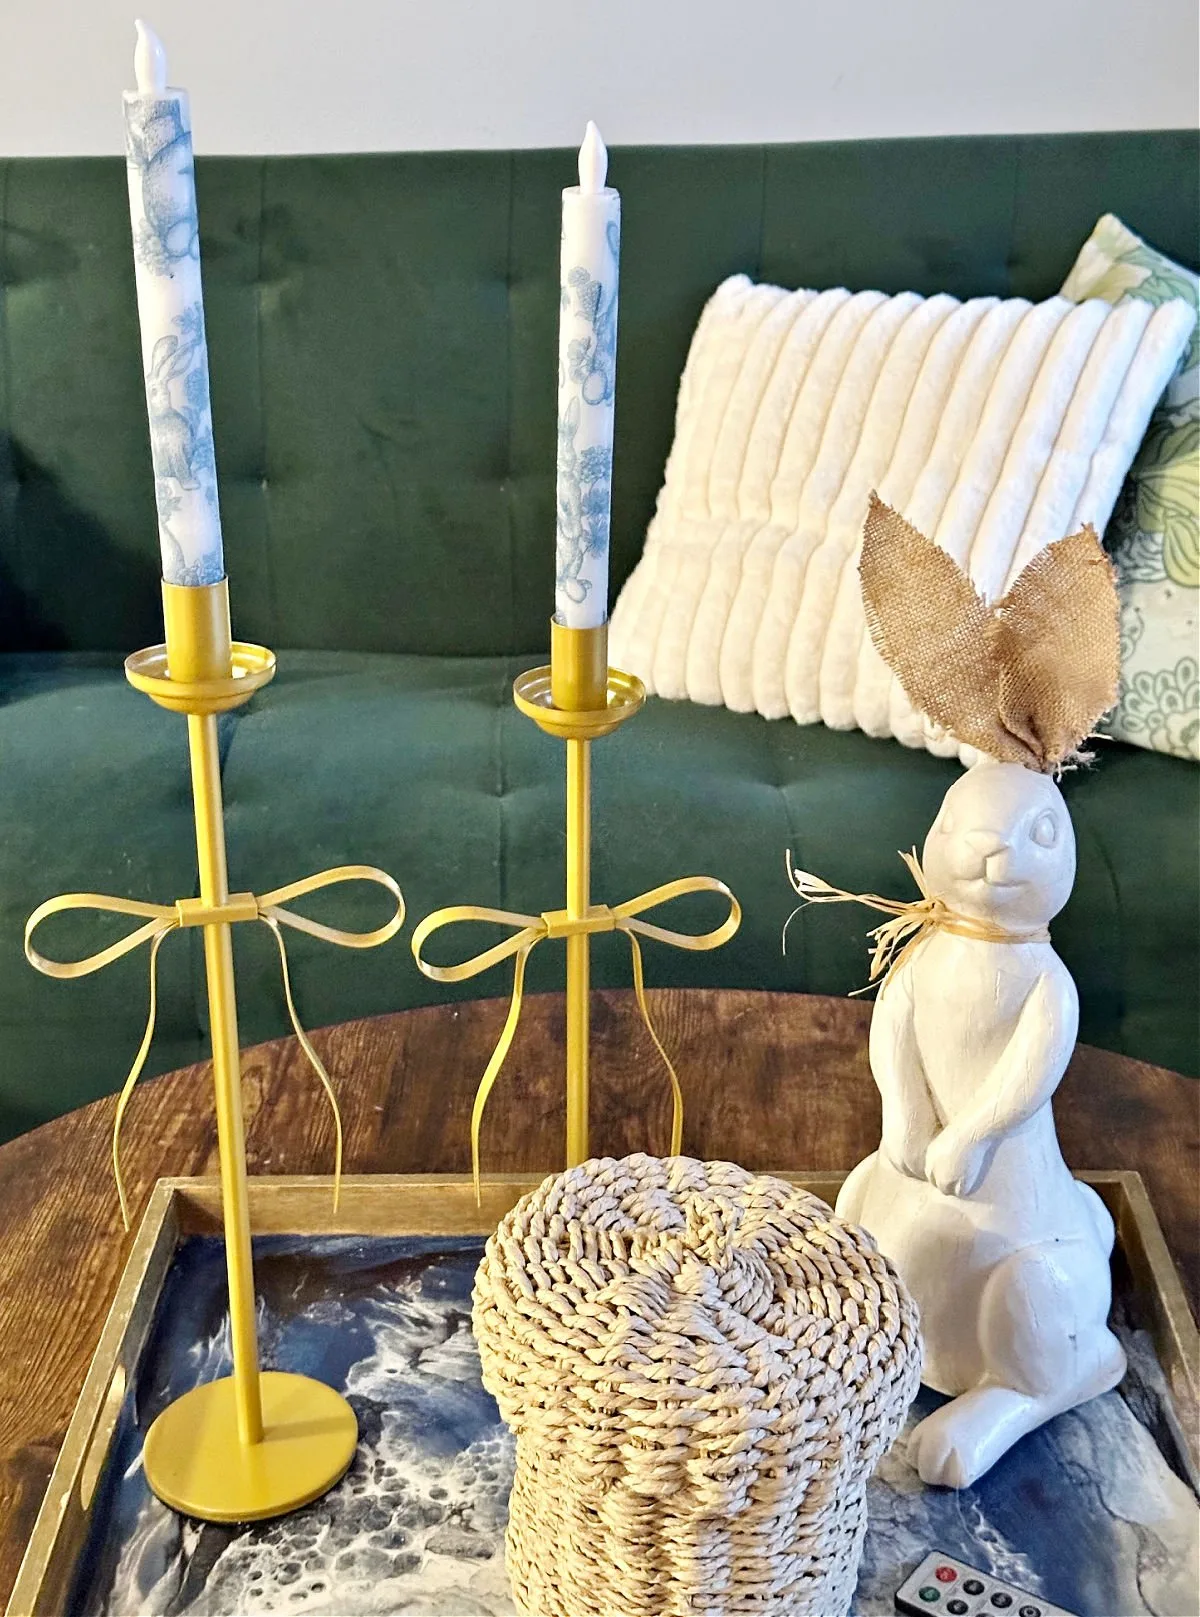
Decorate With Your Beautiful Bunny Candles
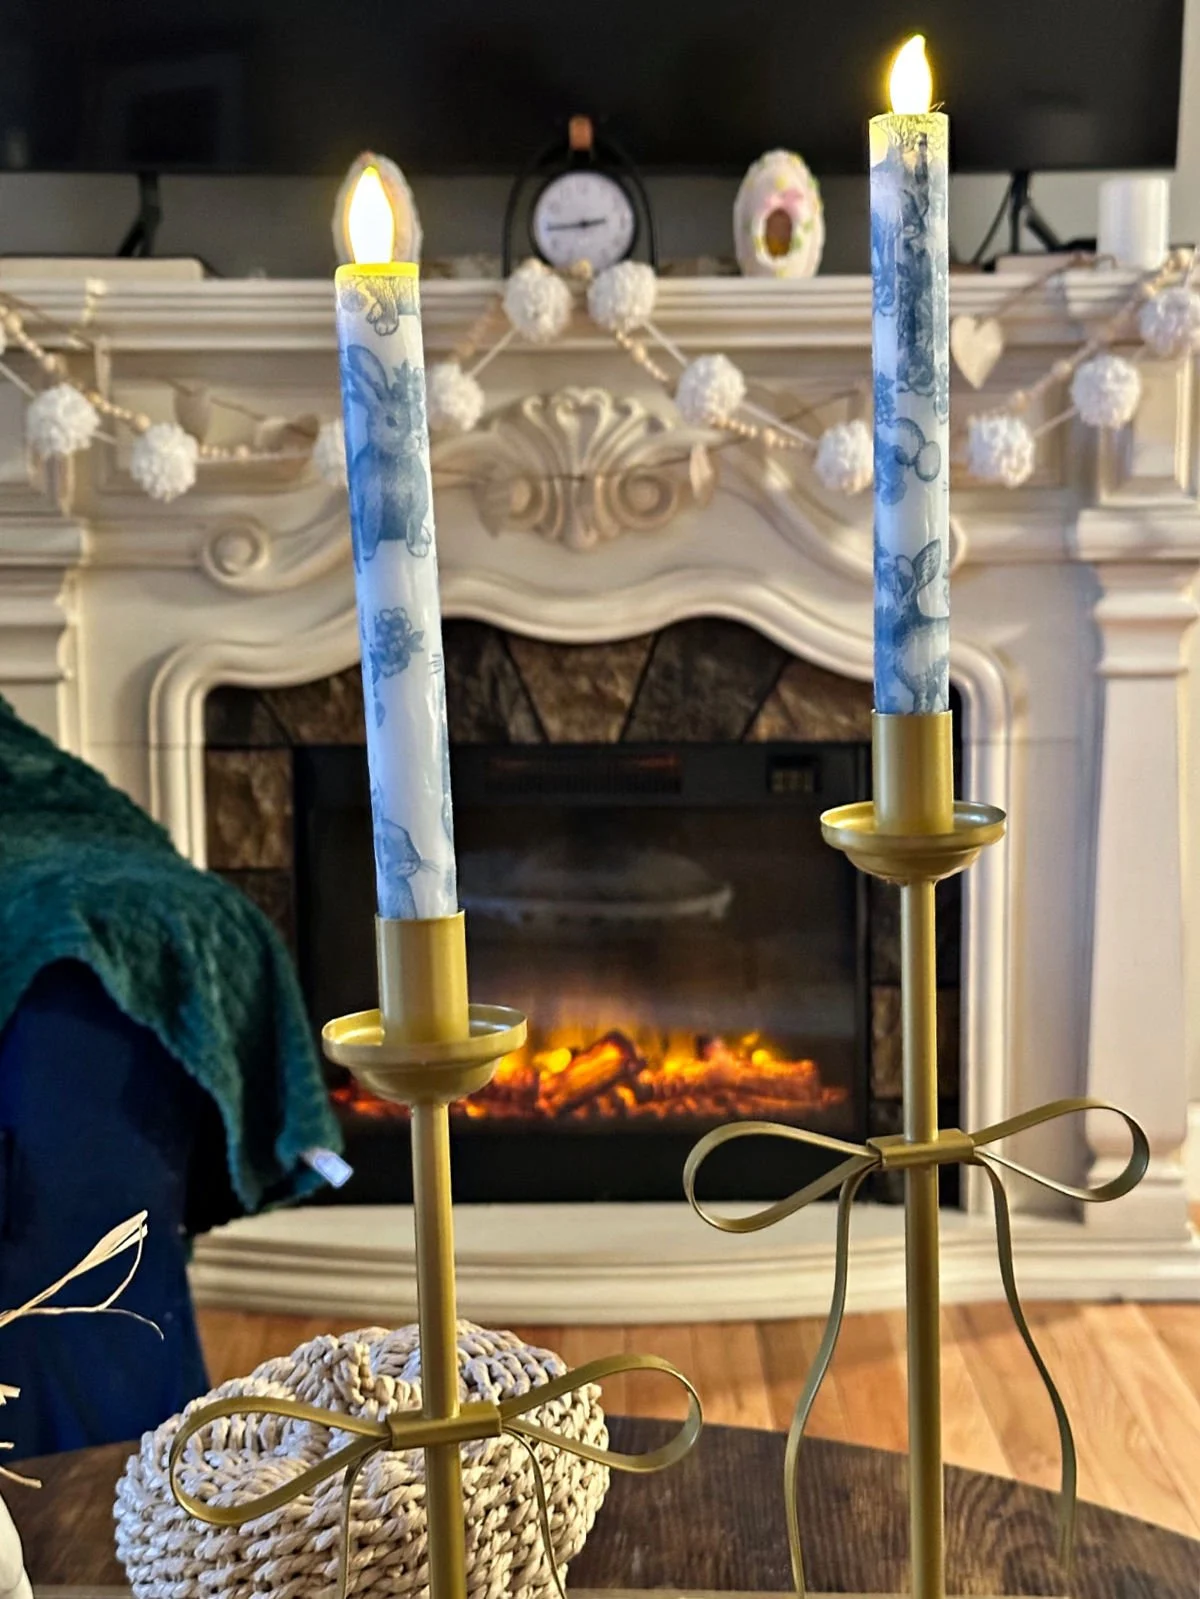
Now, it’s time to display your pretty spring candles in your favorite candle holders. I fell in love with these bow taper candle holders and love how they look on my coffee table.

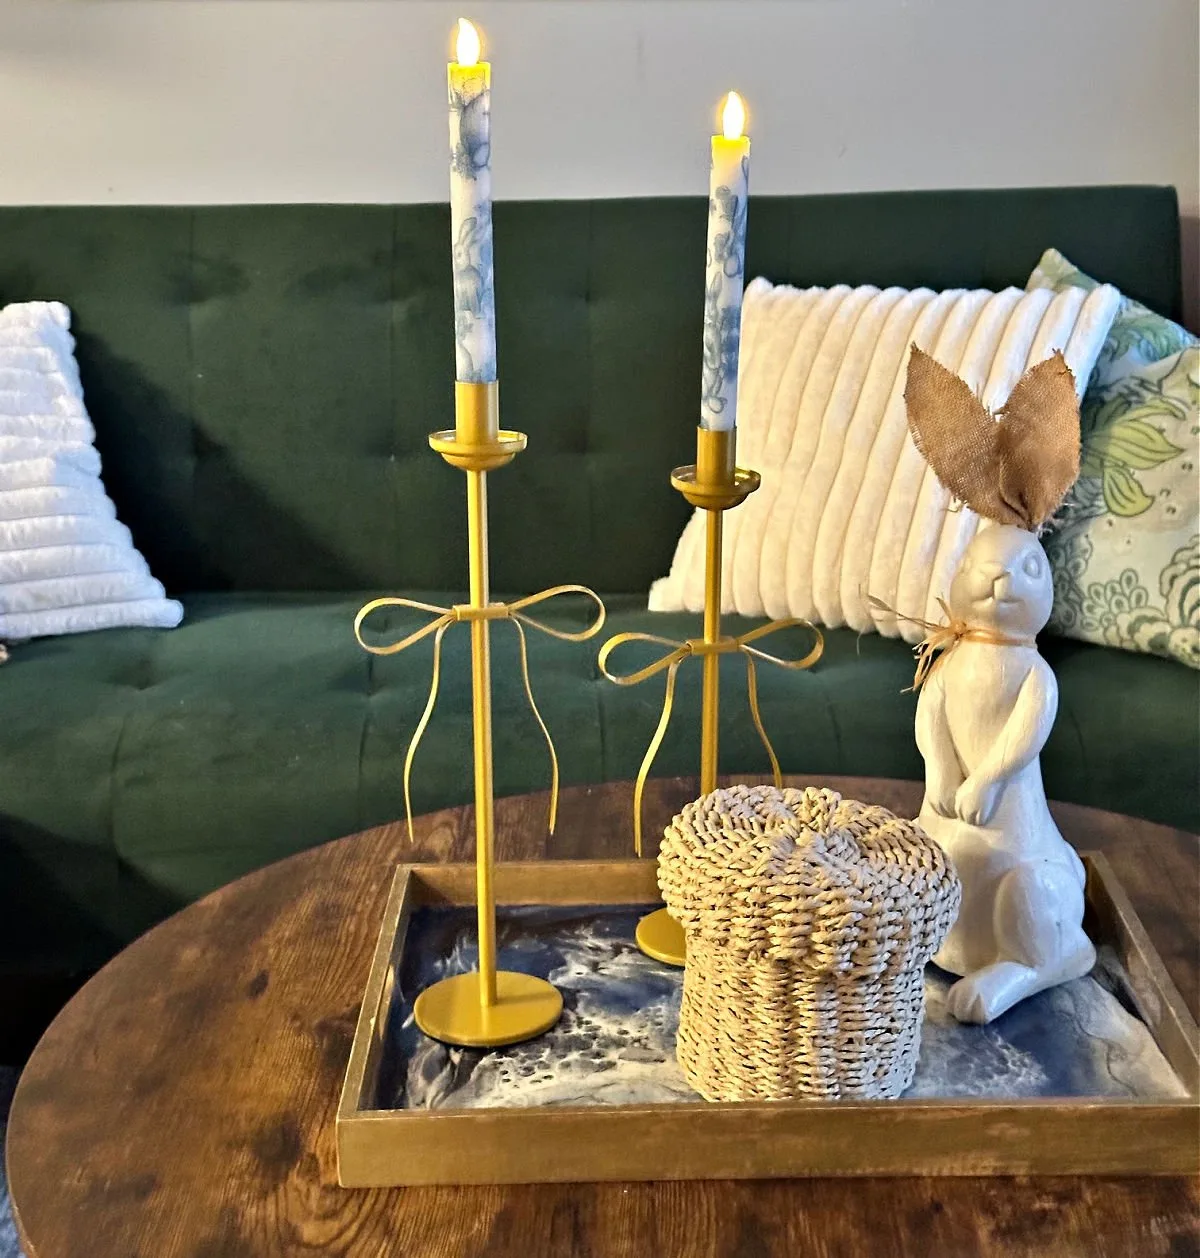
These LED taper candles come with a remote and have a timer for 4 or 8 hours. They set a cozy vibe watching television at night and I don’t have to worry about my cat with a burning candle.

I definitely see myself making more decoupage candles to change out for each season and holiday.

PIN FOR LATER
I’d love it if you would share this article with your friends on Pinterest by pinning the below image.
It helps my blog grow and doesn’t cost a thing! 🙂

Thanks so much for stopping by. Happy crafting!


Yes, you can burn decoupage candles, but as with any candle, never leave unattended. The great thing about these candles are they are made with LED candles.
Paper napkins are best because they are thin and blend into the wax. White or light-colored candles work best to show off the design.
You may also enjoy these spring home decor and craft ideas:
- Dollar Tree Easter Crafts
- Free Printables Easter Wall Art
- 101 DIY Easter Decorations
- Fluffy Bunny Wreath
- Martha Stewart Inspired Floral Easter Basket
Follow me on social media below: