
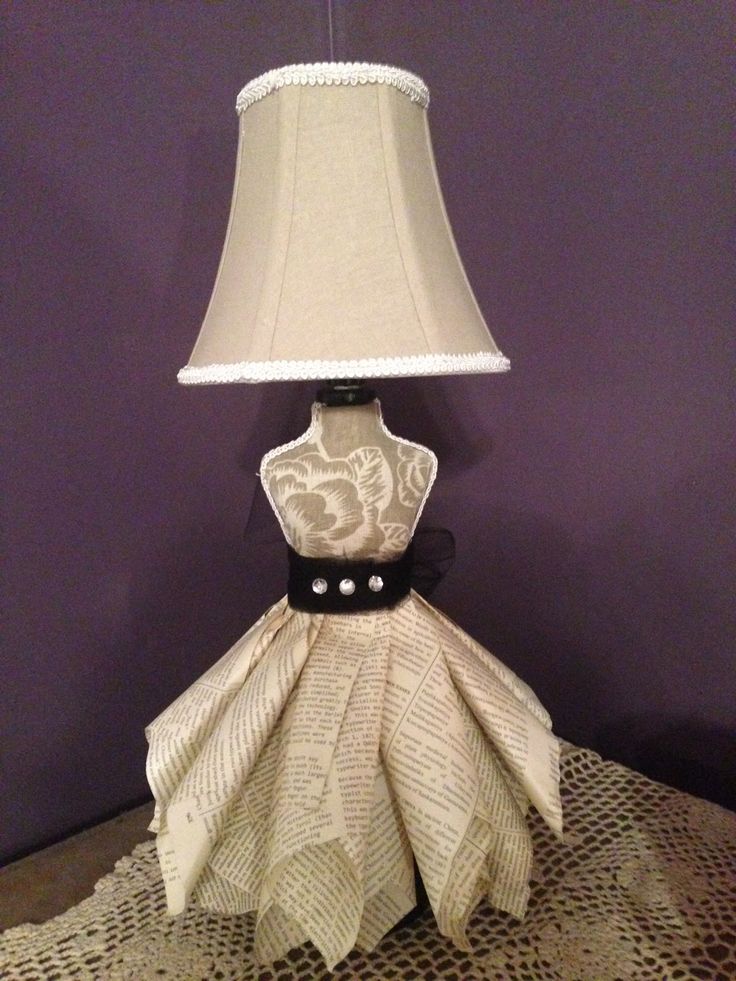
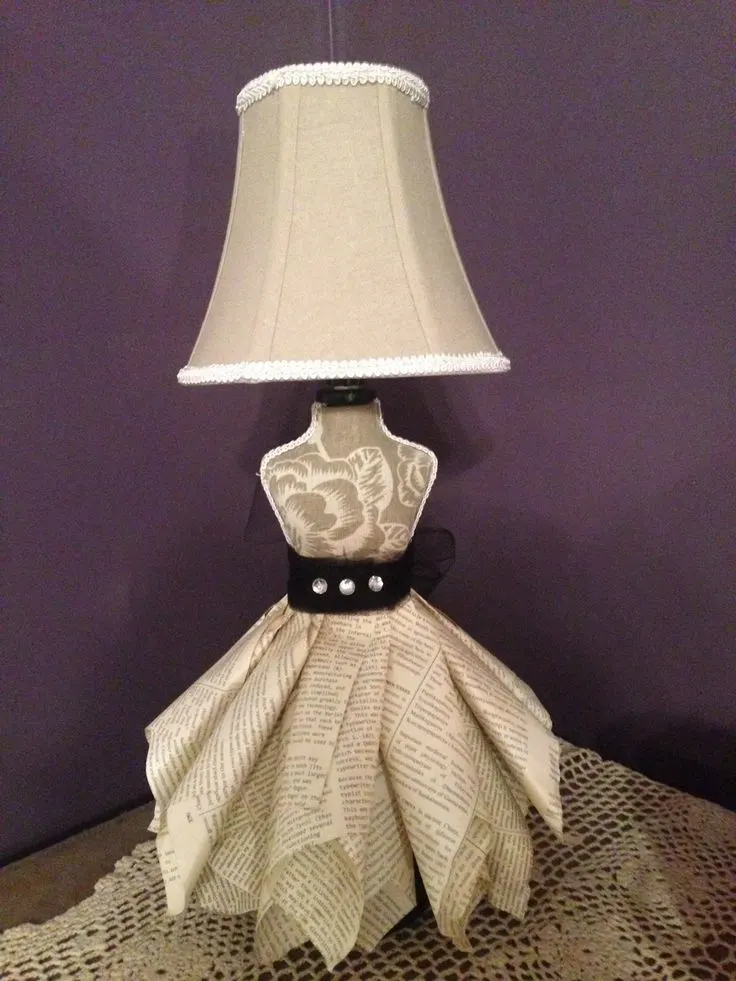
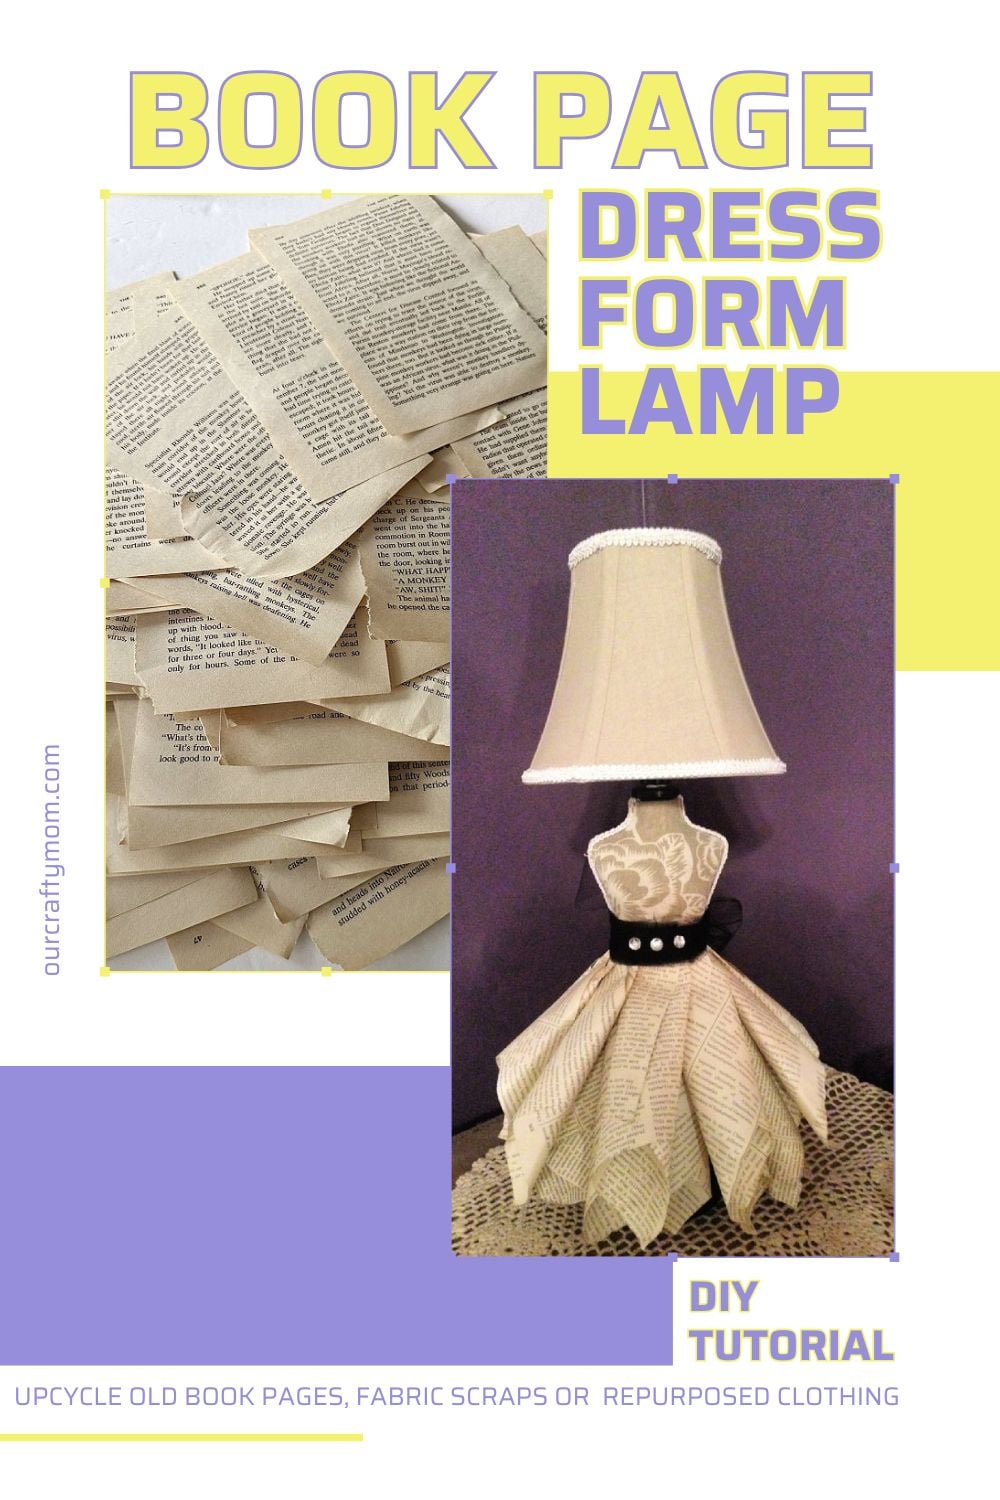
Turn old book pages into the cutest DIY dress form lamp. You can also use fabric scraps or repurposed clothing for this budget-friendly craft.
This post contains affiliate links. If you shop the links in this post there is no additional cost to you, but I may earn a small commission. Please see my full disclosure here.
Dress Form Lamp
Table of Contents
I’ve been a crafter for many years—probably 35+ years! So, I’ve made a ton of projects over the years. There have definitely been some hits and misses.
This book page lamp is one of my hits! When I finished making it, I may have even done a little happy dance.
It sat on my bedroom dresser for many years before I passed it on to my great-niece. This a surprisingly simple DIY.
Here is what you need to make your own.
Supplies Needed to Make a Dress Form Lamp
- Lamp Form: I found the beautiful dress form lamp several years ago at Homegoods. You may also be able to find one at Hobby Lobby, Michaels, thrift stores or flea markets. I did find a few dress forms available on Amazon, however they are not lamps. They are linked here if you are interested: 1. Dress Form Mannequin 2. Dress Form Mannequin 3. Dress Form Mannequin
- Old Book Pages: to make the lamp skirt. You can find cheap books at Dollar Tree, or old books at yard sales, flea markets and thrift stores.
- Tulle Ribbon: for the waist of the dress form. Change out the color of the tulle however you like. Pink would be lovely for a child’s room.
- Rhinestones: adds a bit of glam to the lamp shade dress.
- Hot Glue Gun: this cordless glue gun is one of my favorites. I’ve also found the gorilla glue gun to work really well.
- Stapler: to secure the folded book pages.
How to Make a Book Page Dress Form Lamp
Here are the easy steps for making this dress form lamp.
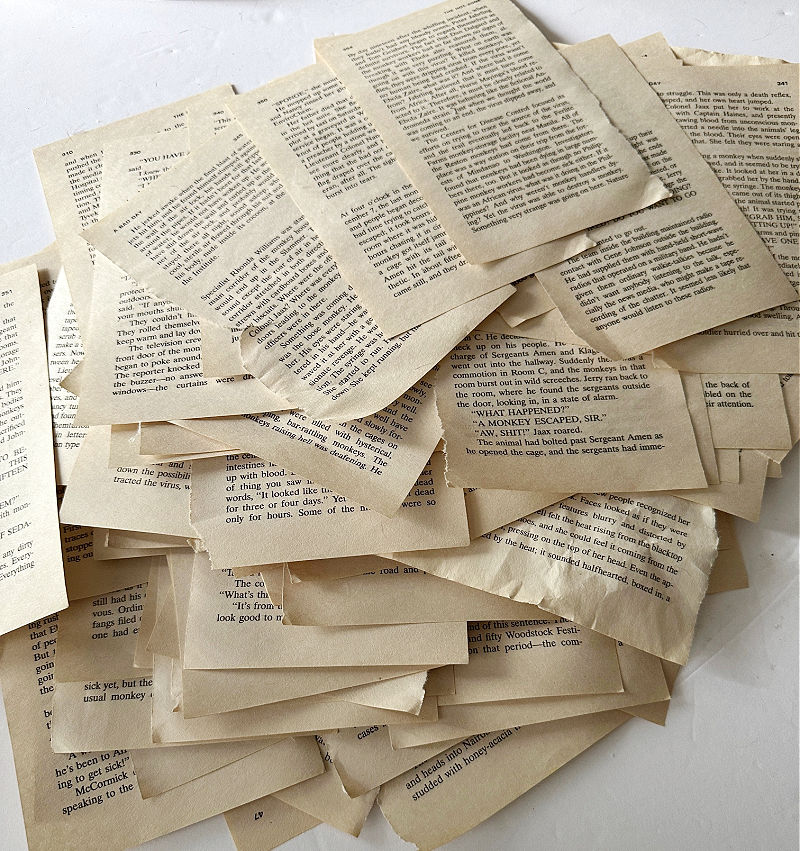
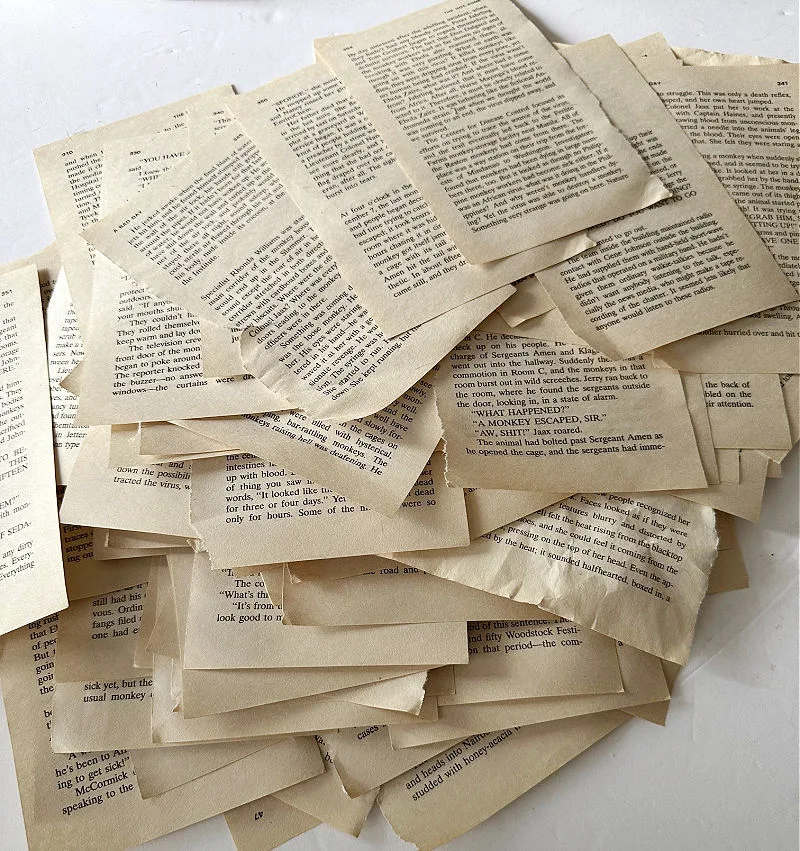
Step 1. Remove Book Pages
Start by removing several book pages from your chosen book. You can use a ruler to tear the pages neatly if you like.
Step 2. Staple Book Pages
Fold the book page in the corner and staple it at the top. Staple as close to the top as possible, so it is not visible under the tulle.
Step 3. Add Hot Glue
Secure the rest of the folded book page using either hot glue, or a double-sided adhesive.
Step 4. Secure Book Pages to Dress Form
Use hot glue to attach the book pages to the dress form. I wanted the skirt to be full so I layered the pages.
Step 5. Add Tulle and Rhinestones
Add your tulle around the waste to cover the top of the book pages. Add a little sparkle with rhinestones.
It only took about 30-45 minutes to complete this dress form lamp craft project from start to finish.
PIN FOR LATER
I’d love it if you would share this article with your friends on Pinterest by pinning the below image.
It helps my blog grow and doesn’t cost a thing! 🙂
You may also like this Pottery Barn inspired wood bead lamp or this thrift store lampshade makeover.
Thanks for stopping by. Happy crafting!


Follow me on social media below:
Michelle Beaton
Wednesday 20th of August 2014
So cute! Love the newspaper skirt! Thanks so much for stopping by Creative Spark Link Party! We hope you stop by again today to link up! https://bit.ly/1ml6d2u
Kimberly Lewis
Monday 18th of August 2014
This looks amazing! Pinned. It is always a pleasure to have you be a part of our party! Please join us tonight at 7 pm. https://loulougirls.blogspot.comHappy Monday! Lou Lou Girls
Creative Dream
Friday 15th of August 2014
Very cute! Thank you for sharing this post at City of Creative Dream's City of Links last Friday! I appreciate you taking the time to party with me. Hope to see you again this week :)
Michelle James
Sunday 17th of August 2014
I look forward to your party & will be visiting again
Narelle Heath
Friday 15th of August 2014
That is just gorgeous. I'll have to keep it in mind for when my daughter gets a bit older.
Michelle James
Friday 15th of August 2014
Thank you Narelle. I wish I had thought of it when my daughter was a little younger! She leaves for College in 2 wks & unfortunately, I don't think it would look "cool" to have this lamp on her desk :)
Good Time Charlie
Wednesday 13th of August 2014
This is so adorable!!! Thank you for linking up at The Handmade Hangout! Featuring at Redouxinteriors tomorrow evening :)
Michelle James
Wednesday 13th of August 2014
Yay! I am so excited! I absolutely love your party! Thank you so much! Have a great week.