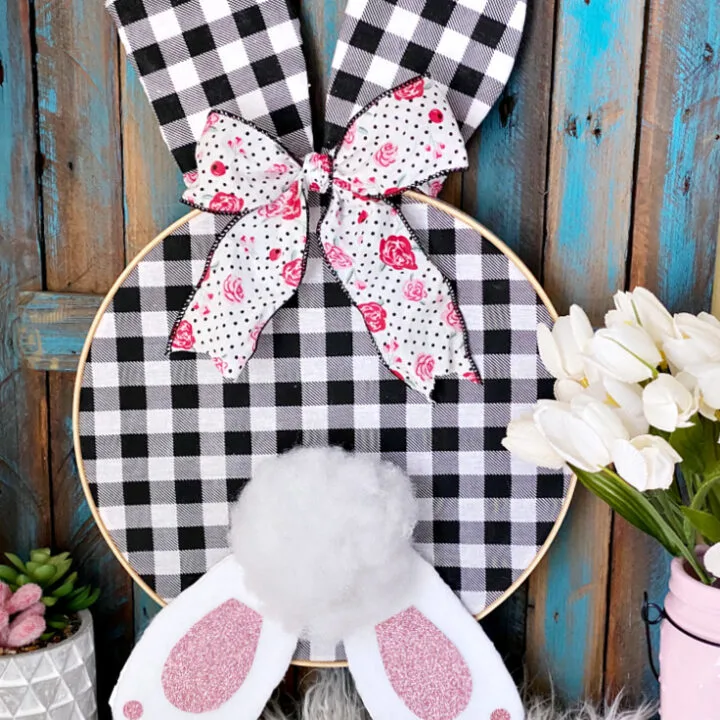
This easy DIY Spring Embroidery Hoop Bunny Door Hanger will make a beautiful addition to your Easter decor.

This post contains affiliate links at no extra cost to you. Please see my full disclosure here.
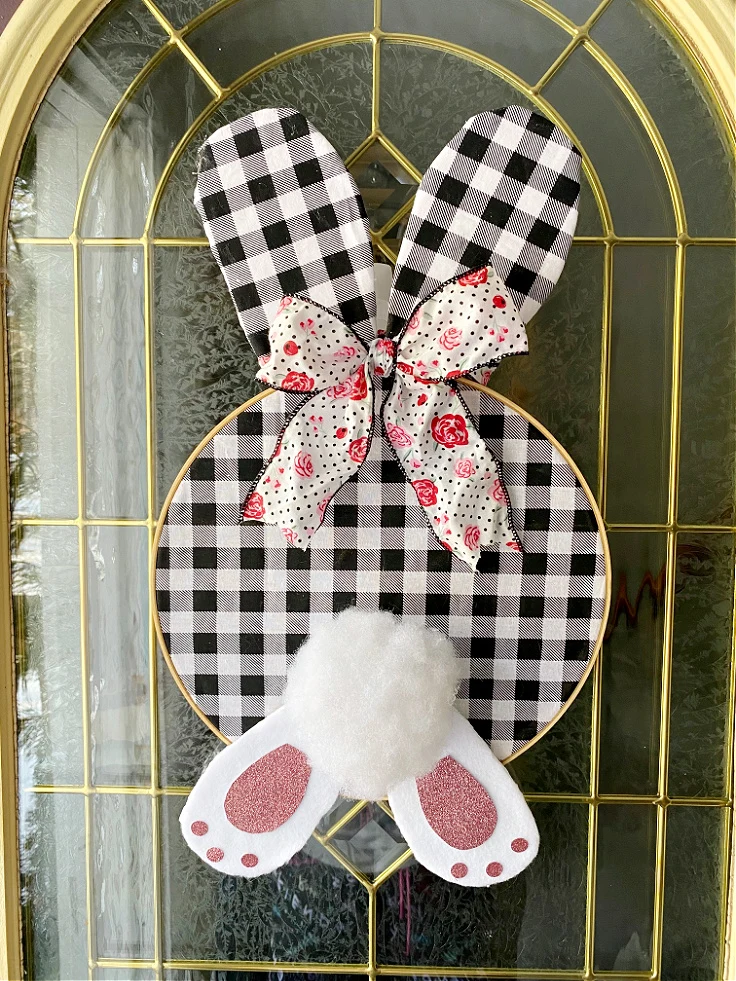
Bunny Door Hanger Wreath
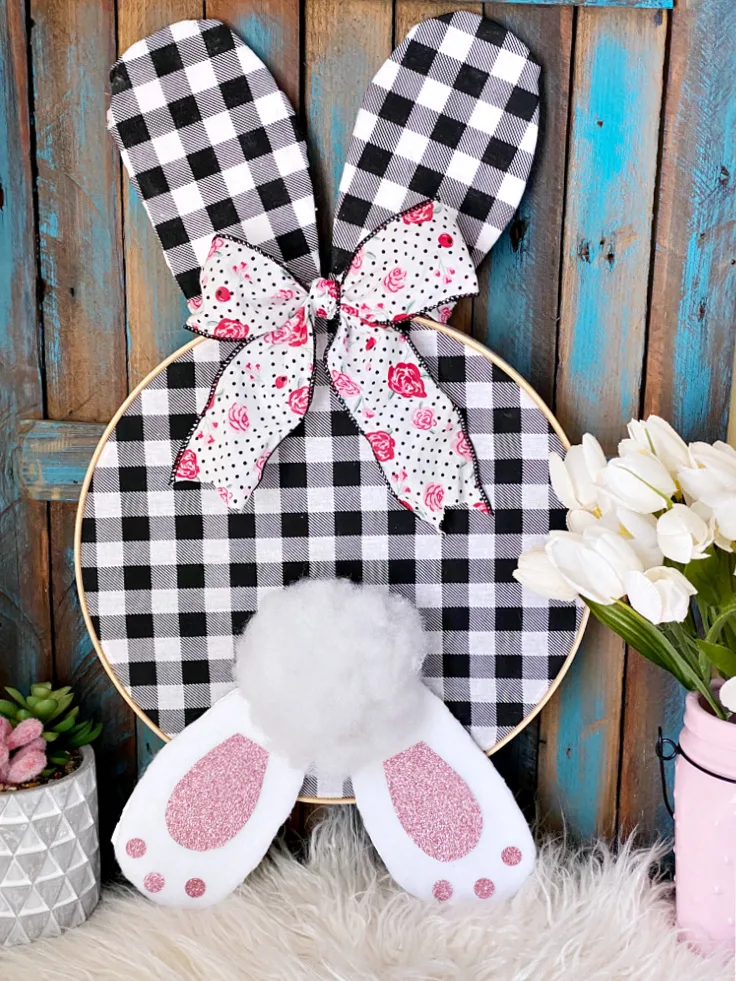
This embroidery hoop bunny door hanger may be my favorite embroidery hoop craft yet!
There is just something so sweet about this little buffalo check cutie.
This is sometimes called a bunny butt craft because you are technically looking at the back of the bunny.
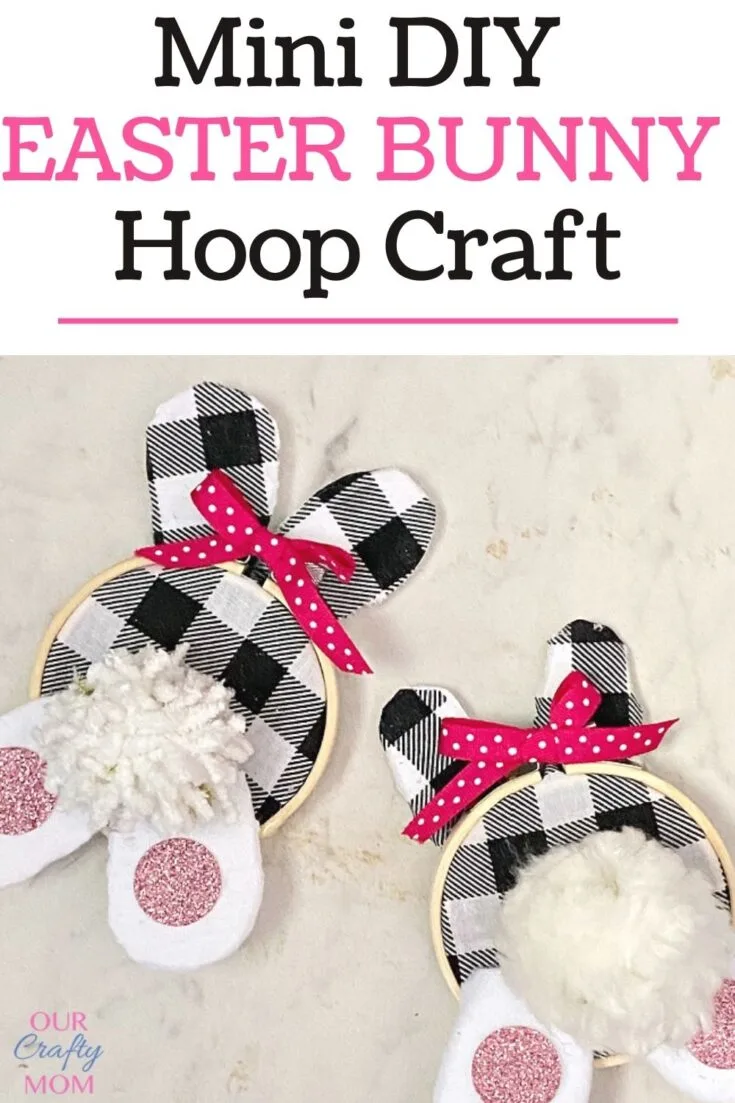
Here is a mini version of this Easter bunny using the same process:
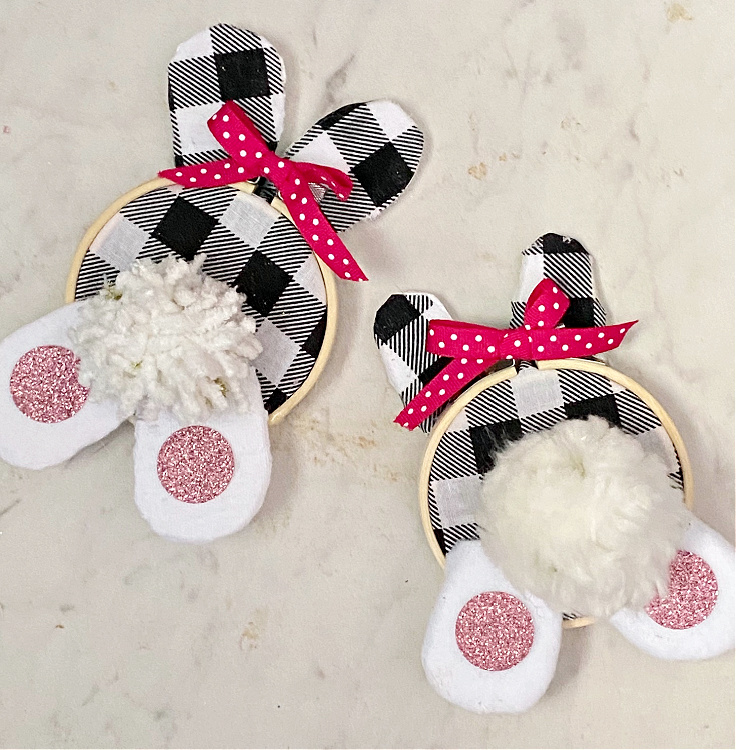
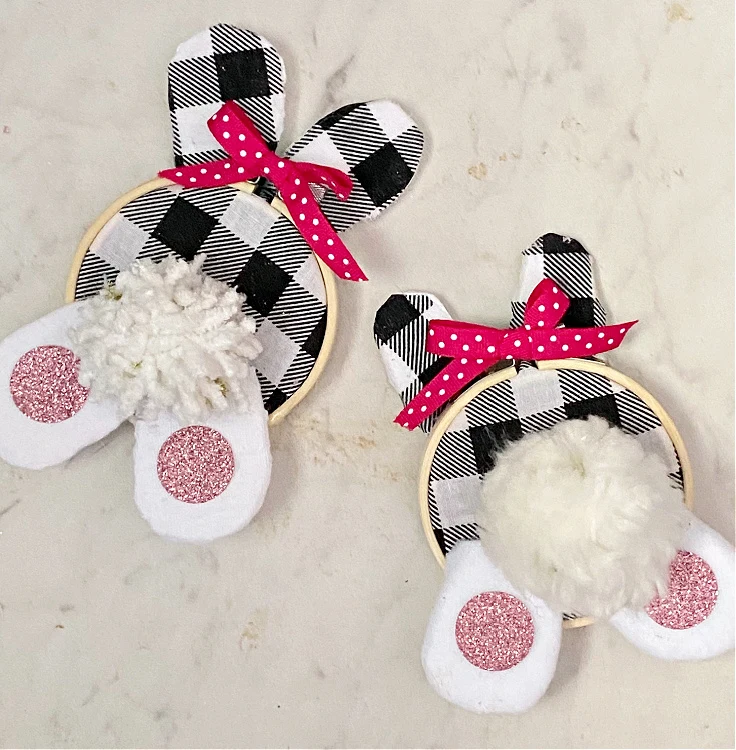
How cute are they?! If you want to make the smaller bunny, use a 3″ embroidery hoop.

Supplies For Spring Bunny Door Hanger
- 12″ Embroidery Hoop
- Batting – for bunny tail
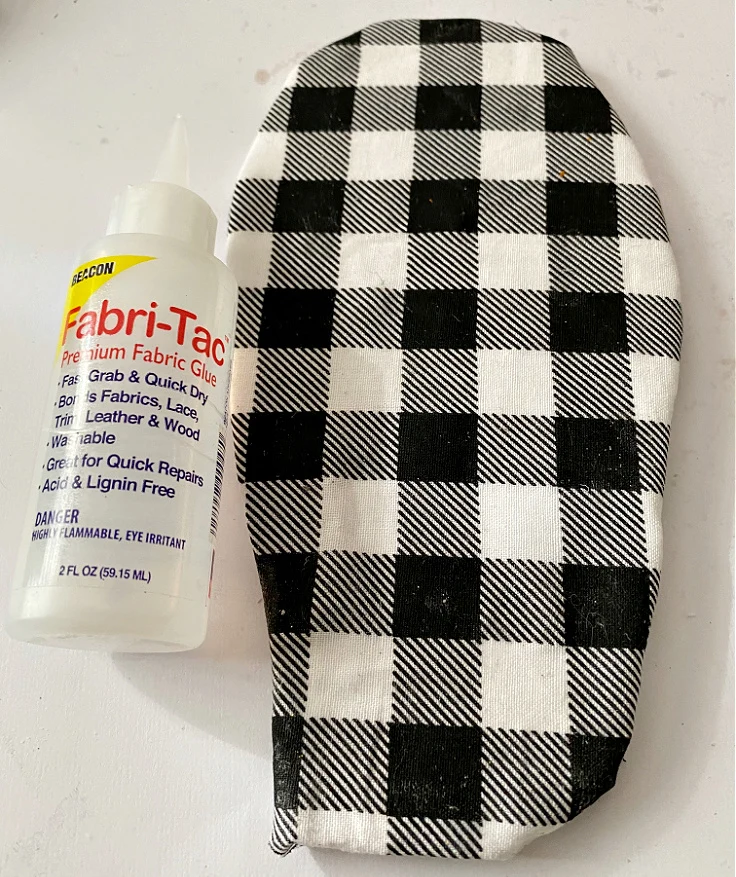
- Fabri-Tac Fabric Glue
- Cordless Hot Glue Gun – this is my favorite glue gun!
- Buffalo Check Fabric – or any fabric of your choice
- White Felt – for feet
- Pink Glitter Cardstock
- Foam Board – Dollar Tree
- Circle Punch – you can also just cut circles for the bunny feet
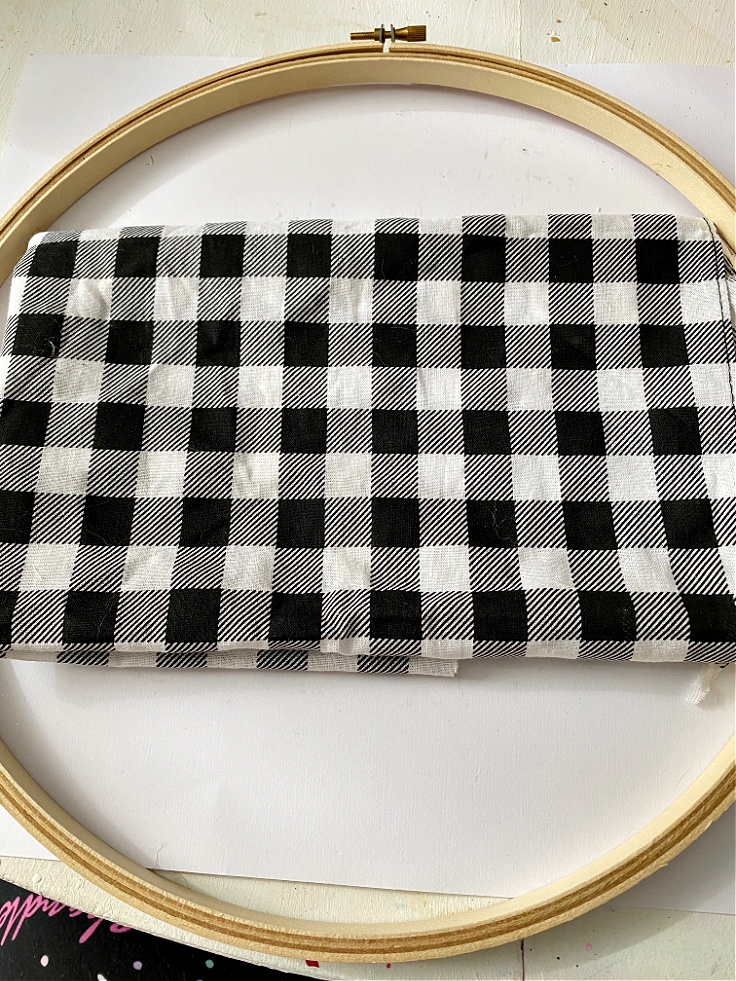

Step 1. Place buffalo check fabric on the hoop.
Place the embroidery hoop on the buffalo check fabric and mark where you want the fabric to go.
Cut a large square to fit the hoop.
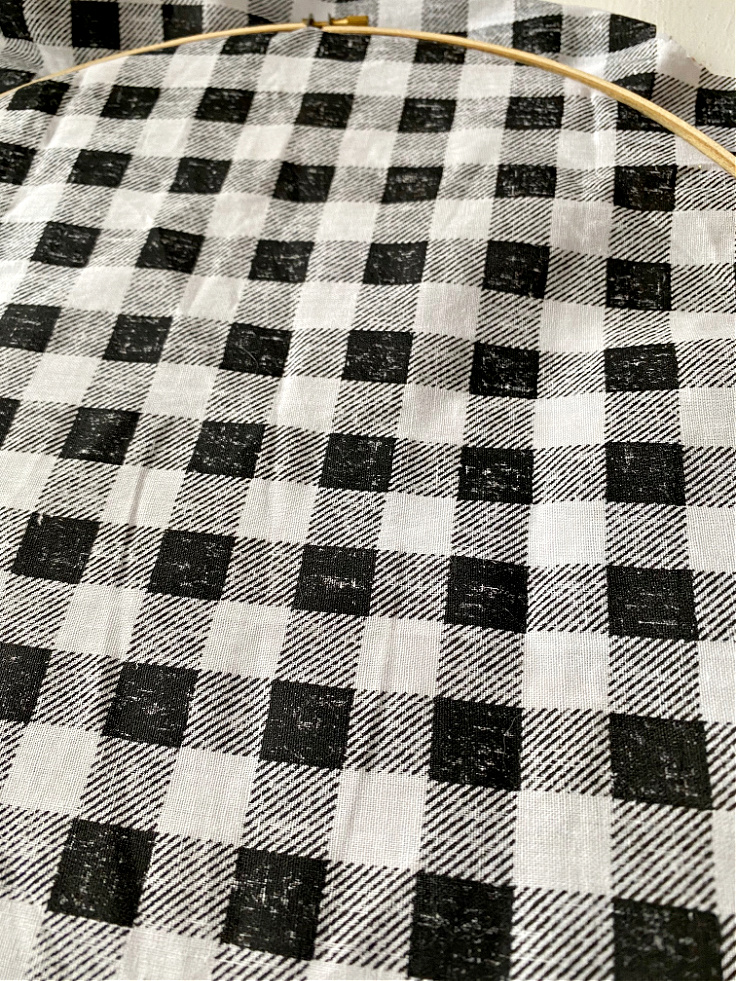
Step 2. Open the embroidery hoop screw.
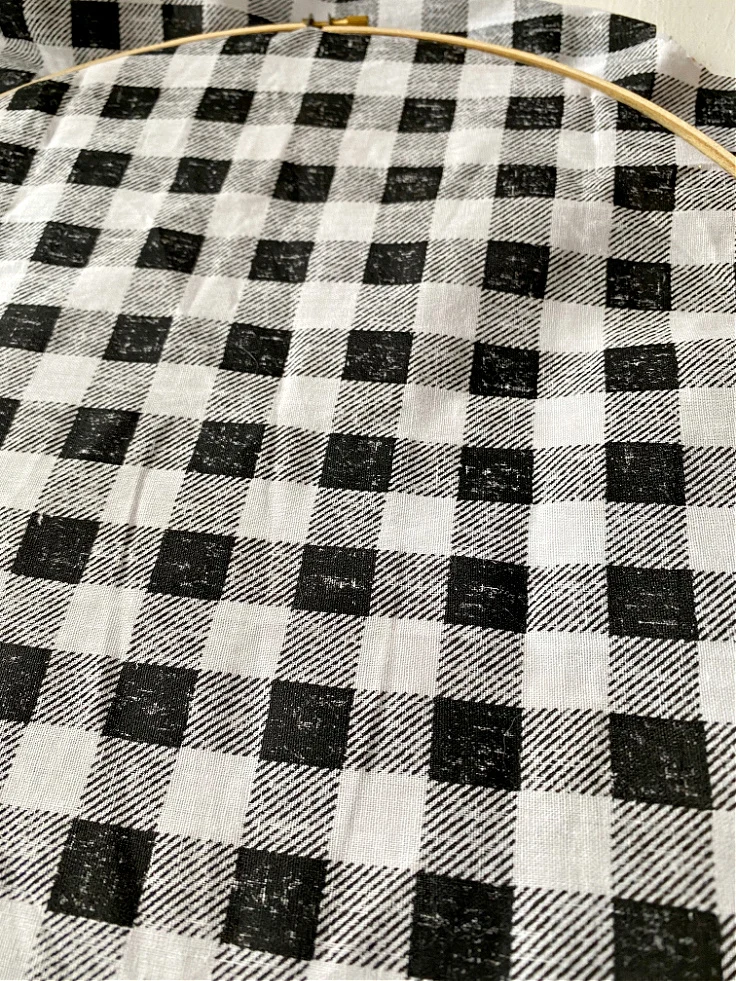
Loosen the screw on the embroidery hoop and place the buffalo check fabric on top of the larger hoop.
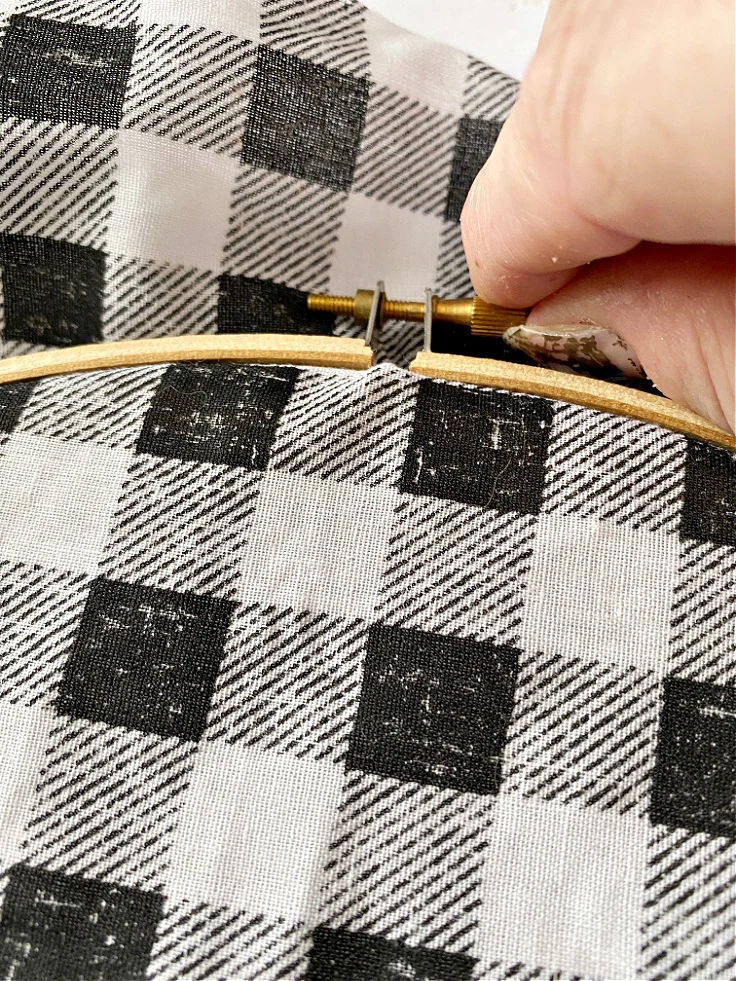
Place the smaller hoop on top until it is secure and tighten the screw.
Trim any fabric excess.

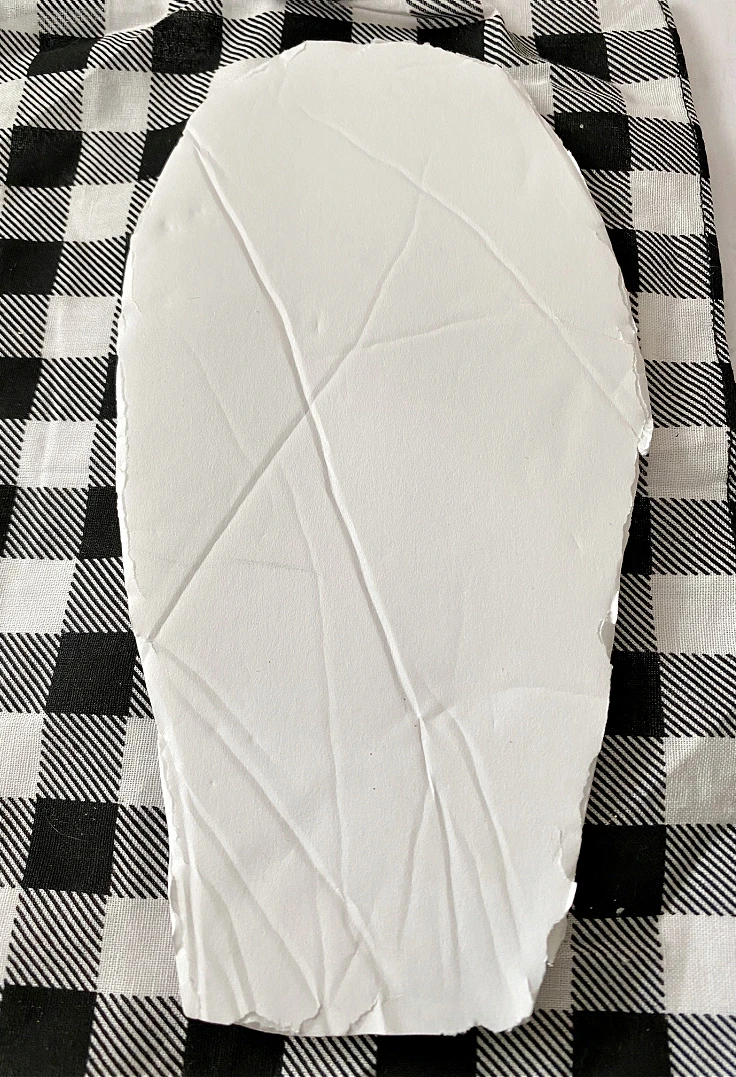
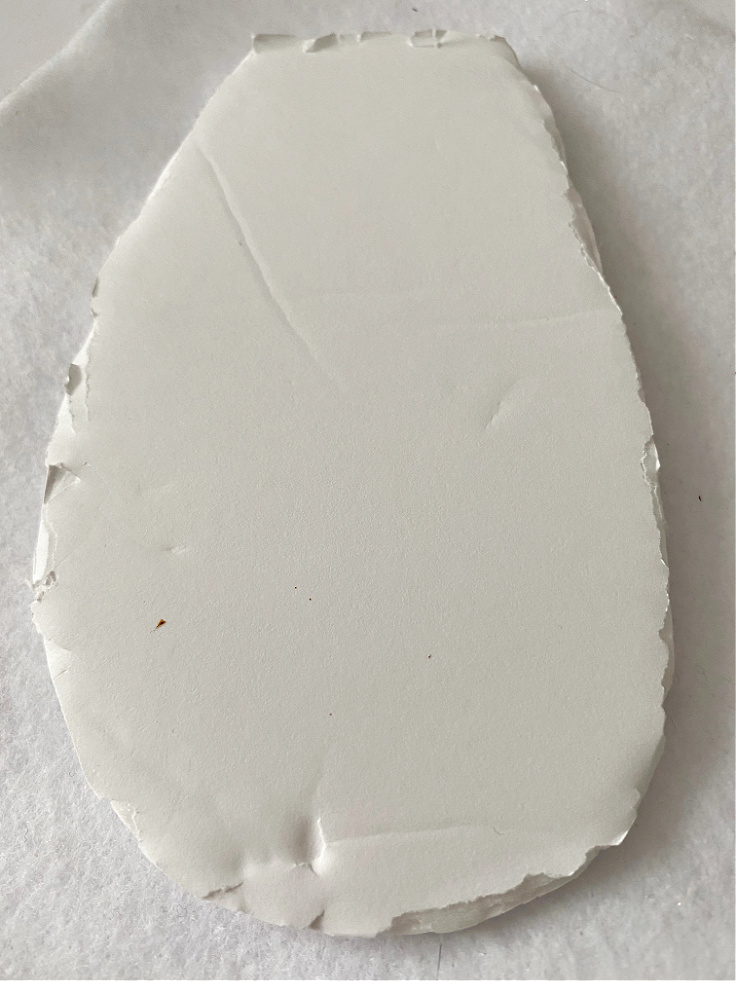
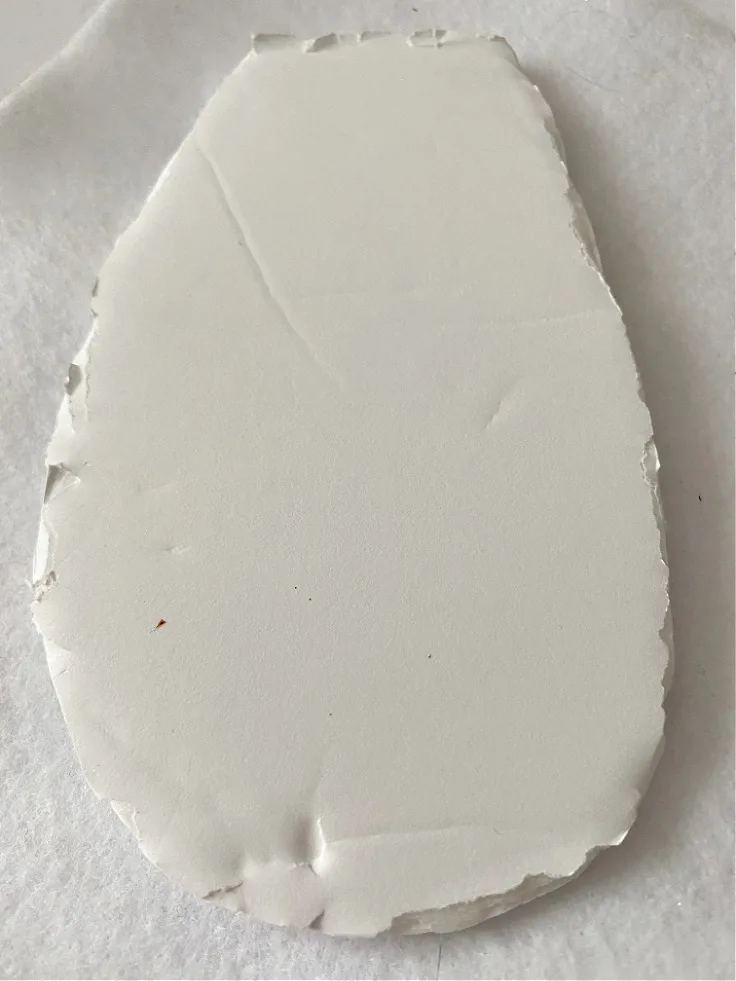
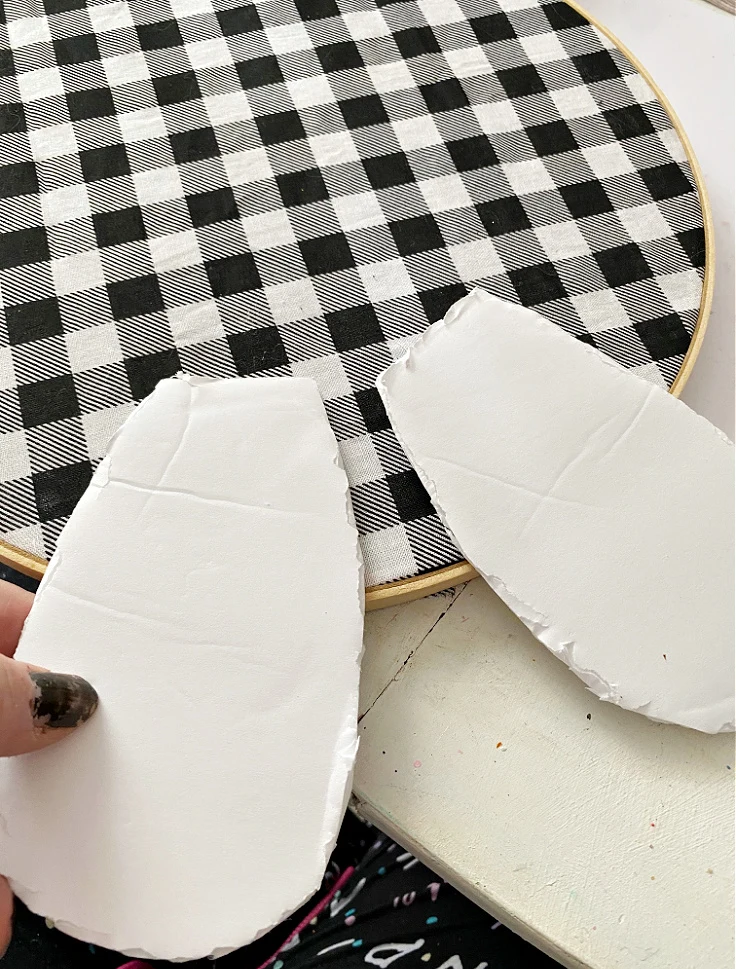
Step 3. Cut out the foam pieces for the bunny ears and feet.
Determine the size you want for the bunny ears and feet.
Cut out 2 of each with the foam board.

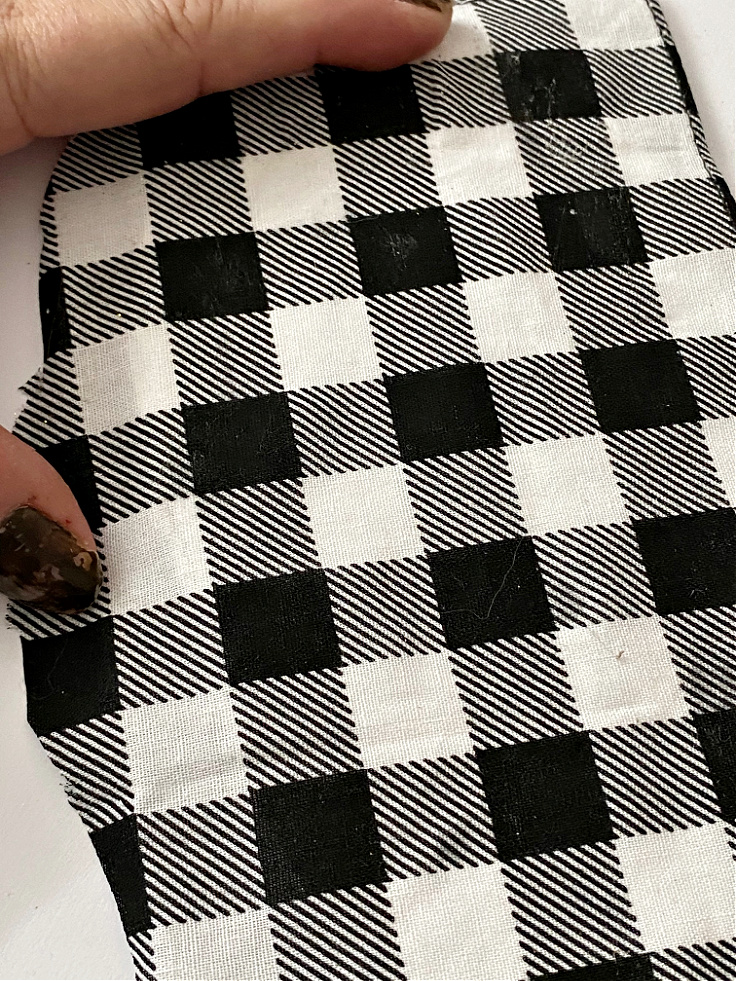
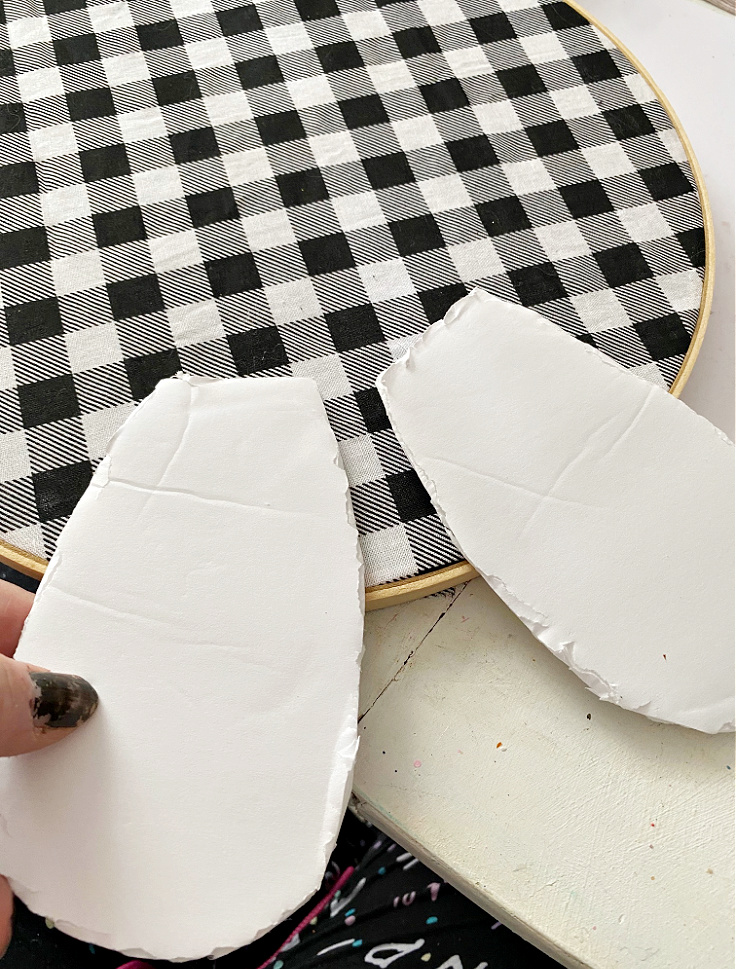
Step 4. Place buffalo check fabric on top of the foam ears.
Place the buffalo check fabric on top of the foam ears and cut the fabric to size.
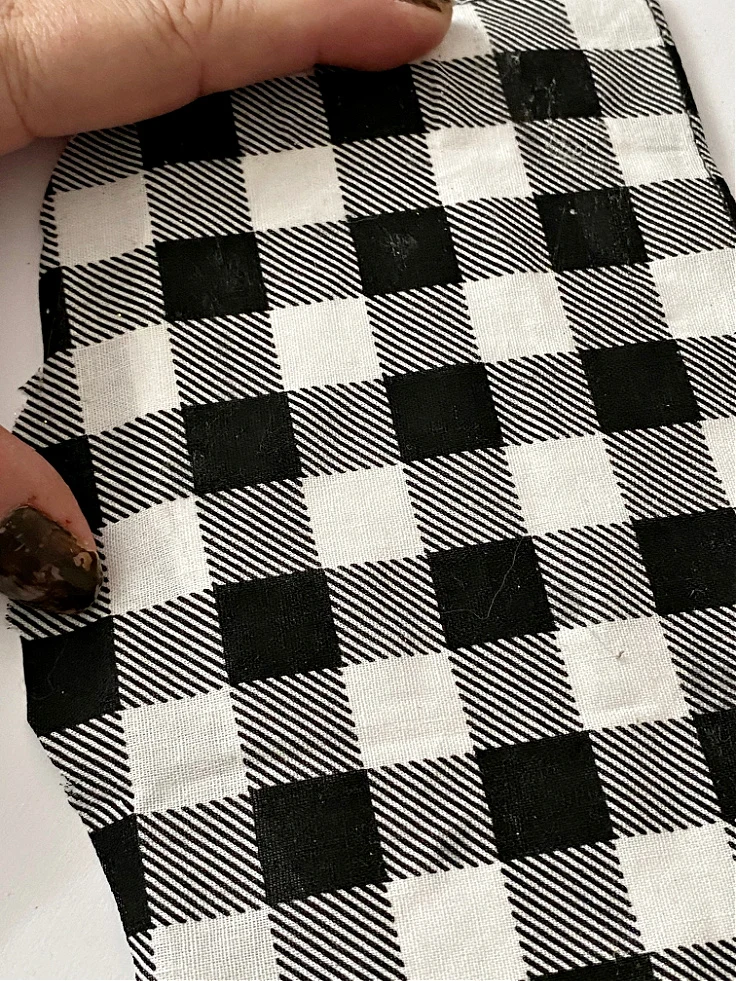
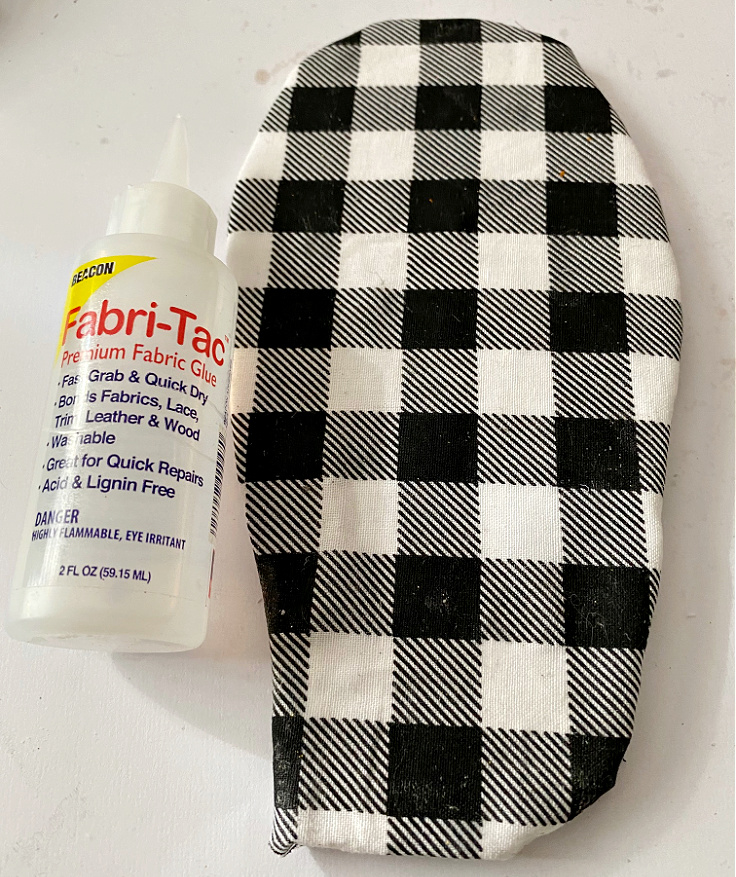
Step 5. Secure the buffalo check fabric with Fabri-Tac
Use Beacon Fabri-Tac to secure the fabric to the foam ears.
This fabric glue works wonders! It is very quick to bond and a little goes a long way.
Step 6. Glue the buffalo check ears to the bunny hoop
Glue the bunny ears to the top center of the hoop wreath.
Be sure to place them at an angle, so they look like bunny ears.
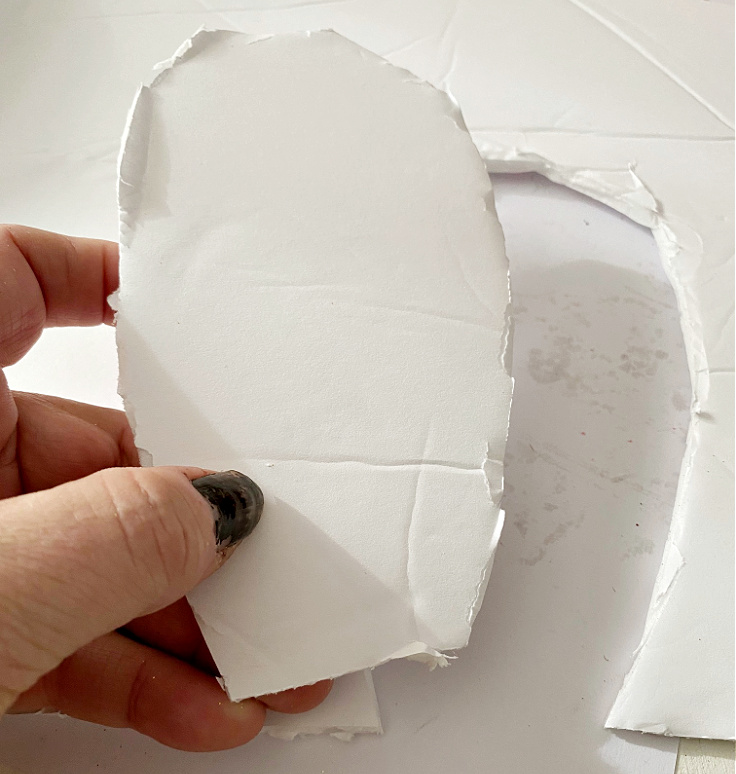
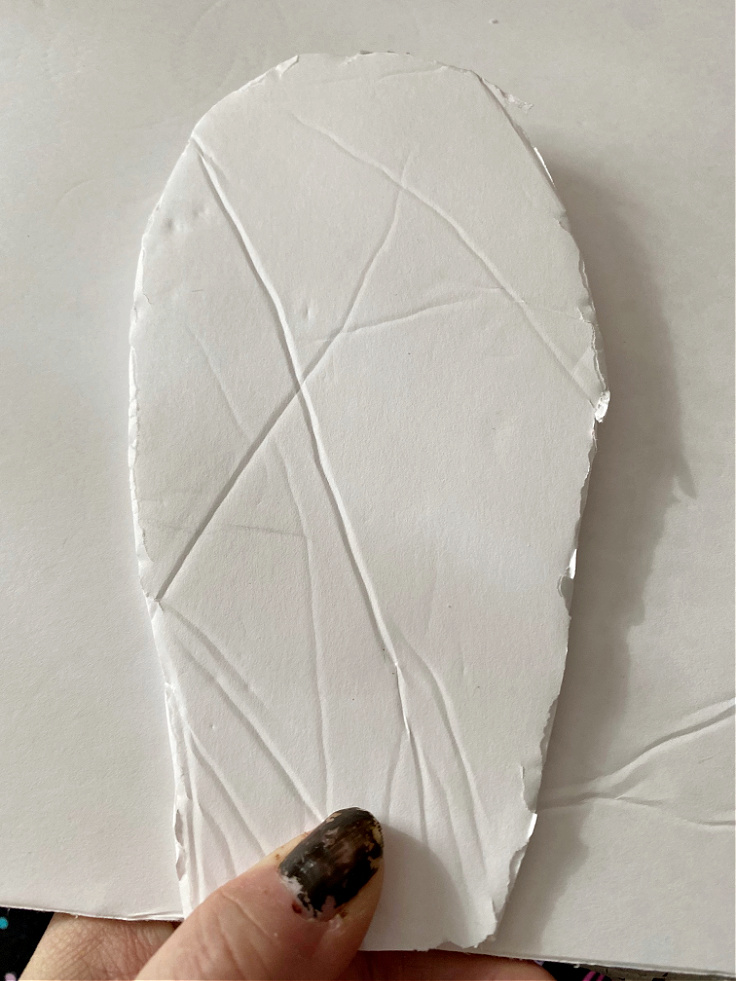
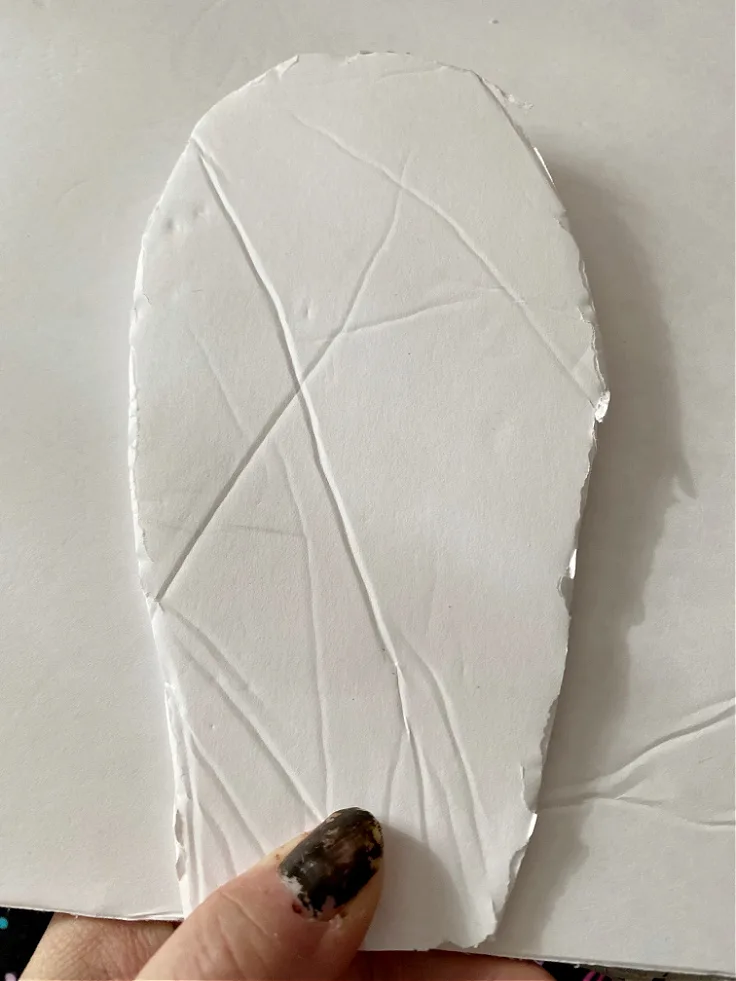
Step 7. Place the foam for the bunny feet on white felt
Cut out white felt using the foam bunny feet as a template.
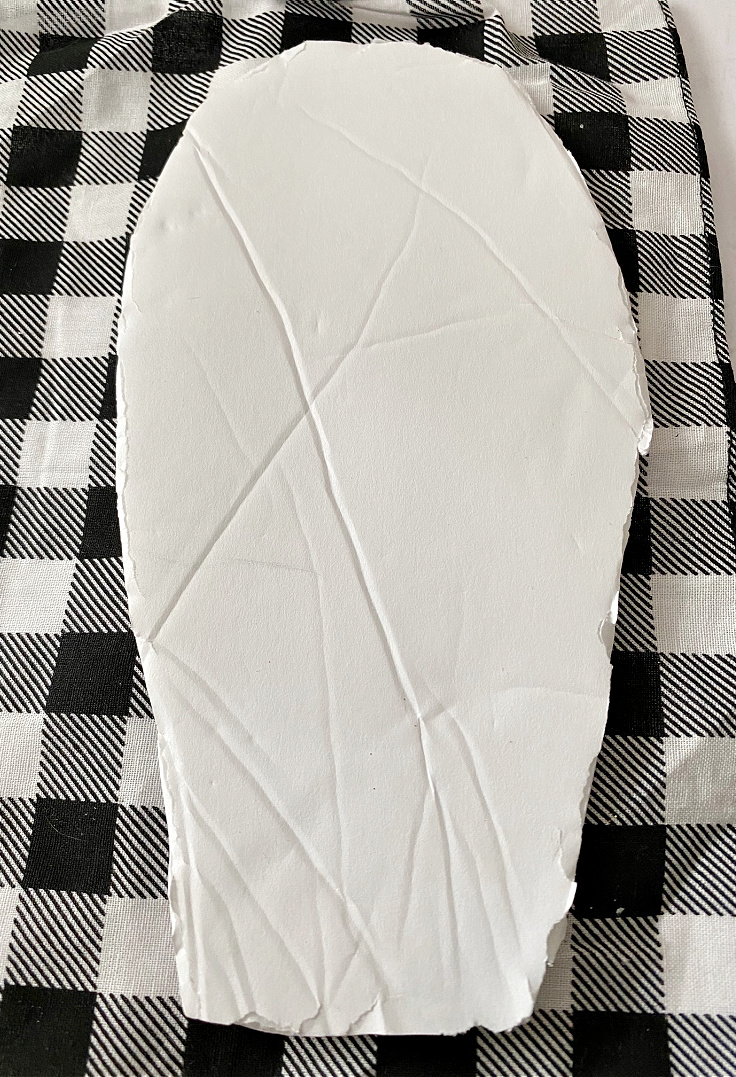
Step 8. Use Fabri-Tac to glue the felt to the bunny feet
Place fabric glue on the felt and secure it to the foam feet template.
Glue the feet to the bottom of the hoop wreath.
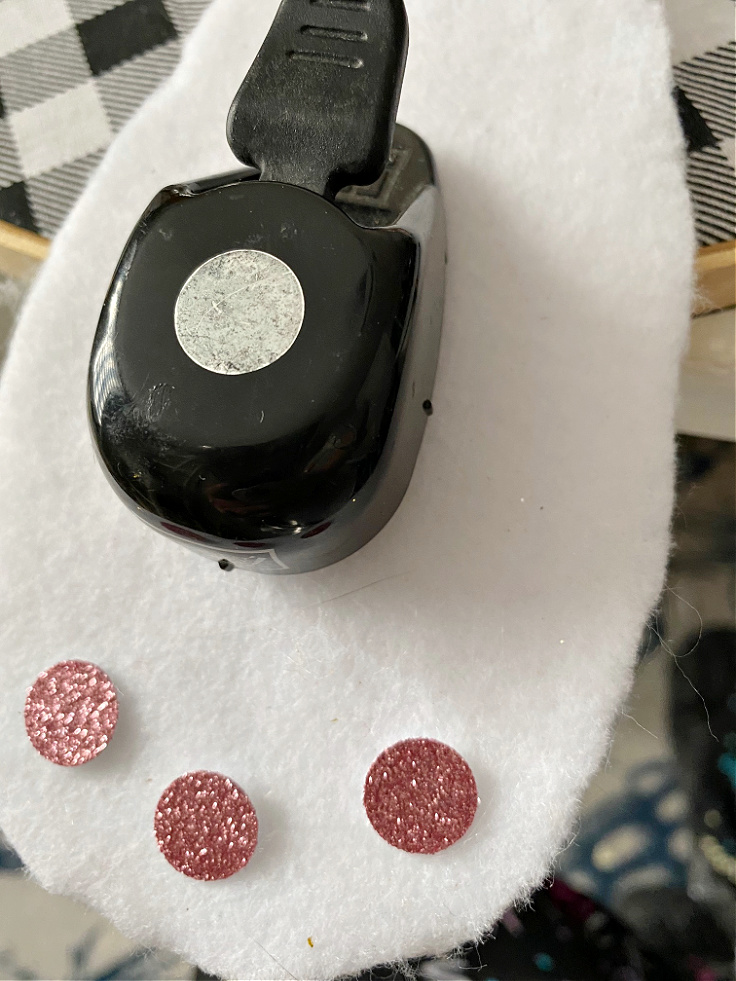
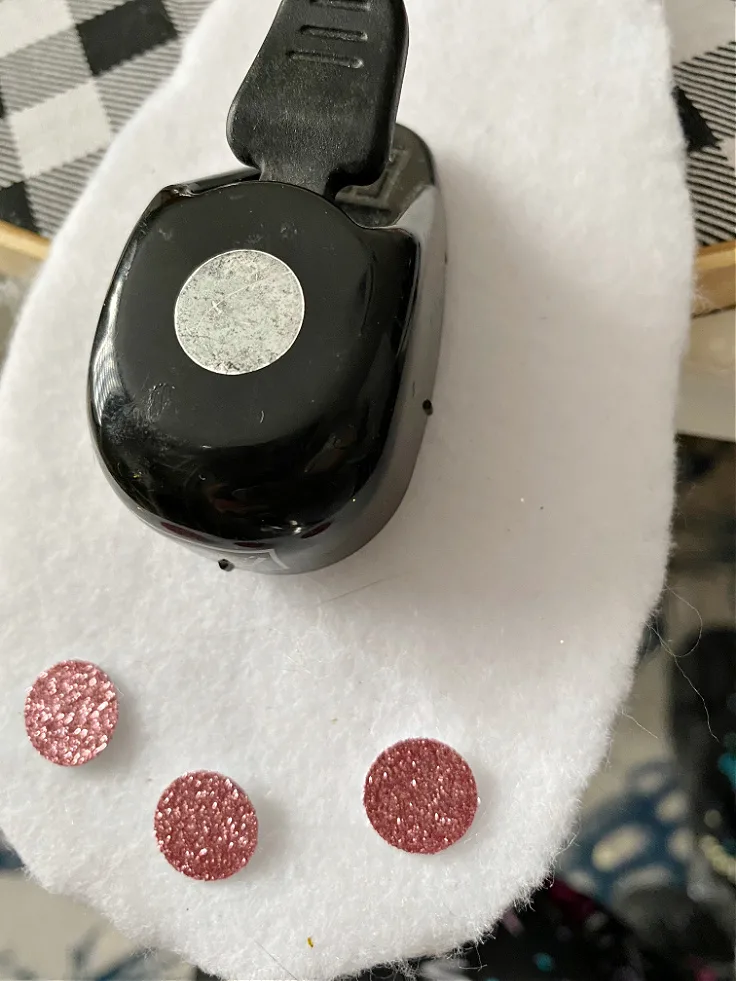
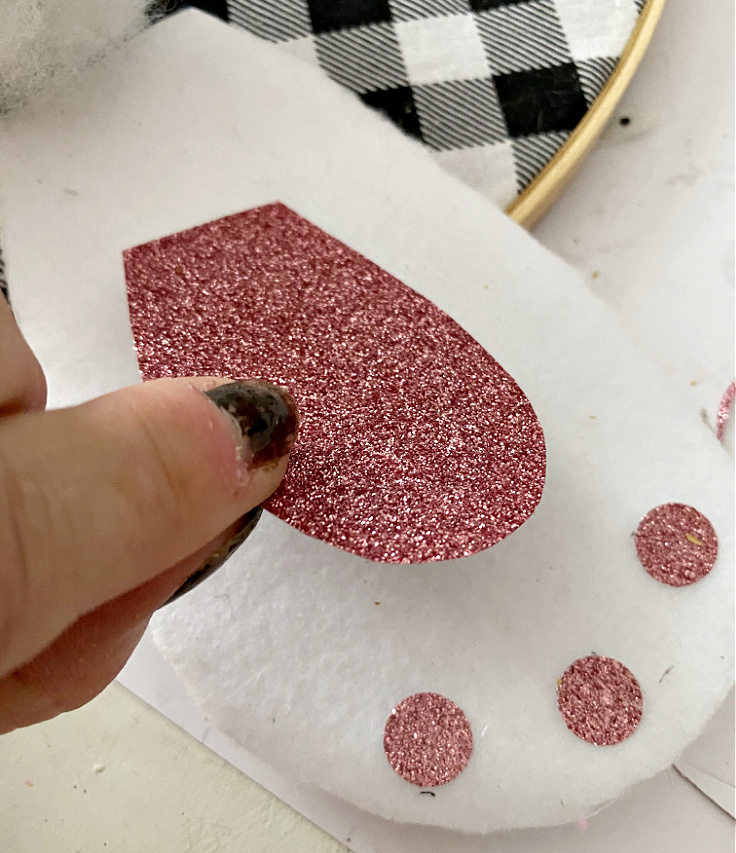
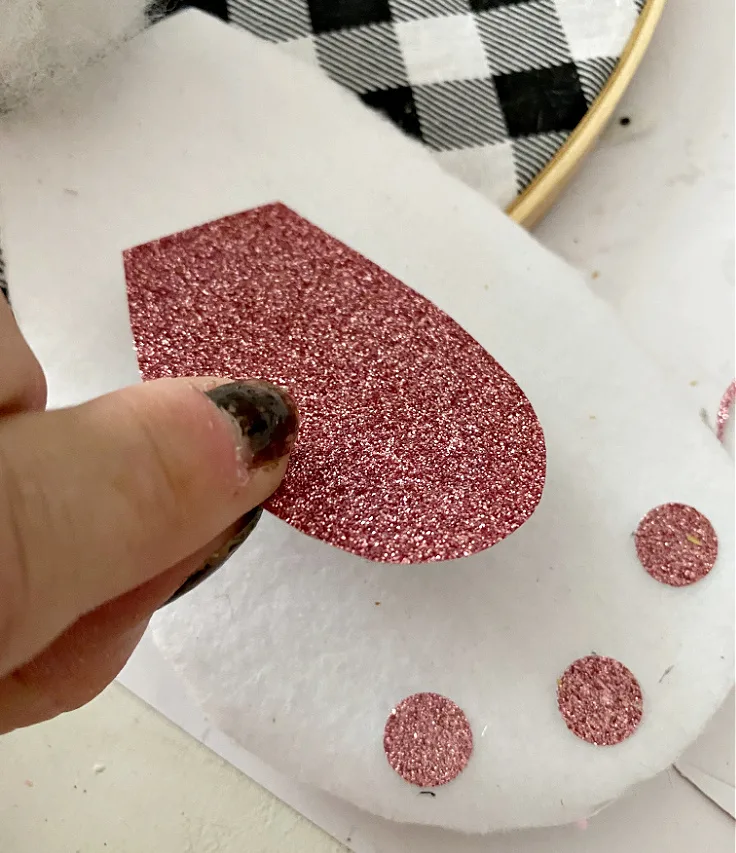
Step 9. Add pink glitter cardstock to the bunny feet.
Use a round hole punch, or cut circles and glue to the bunny feet, for the pads and toes.
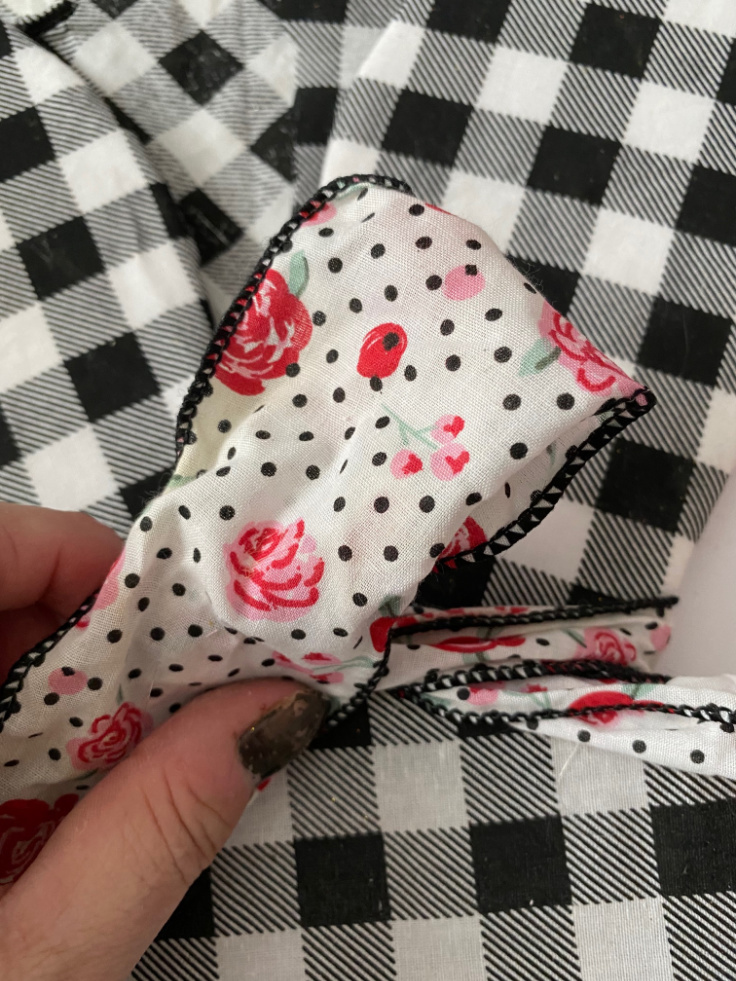
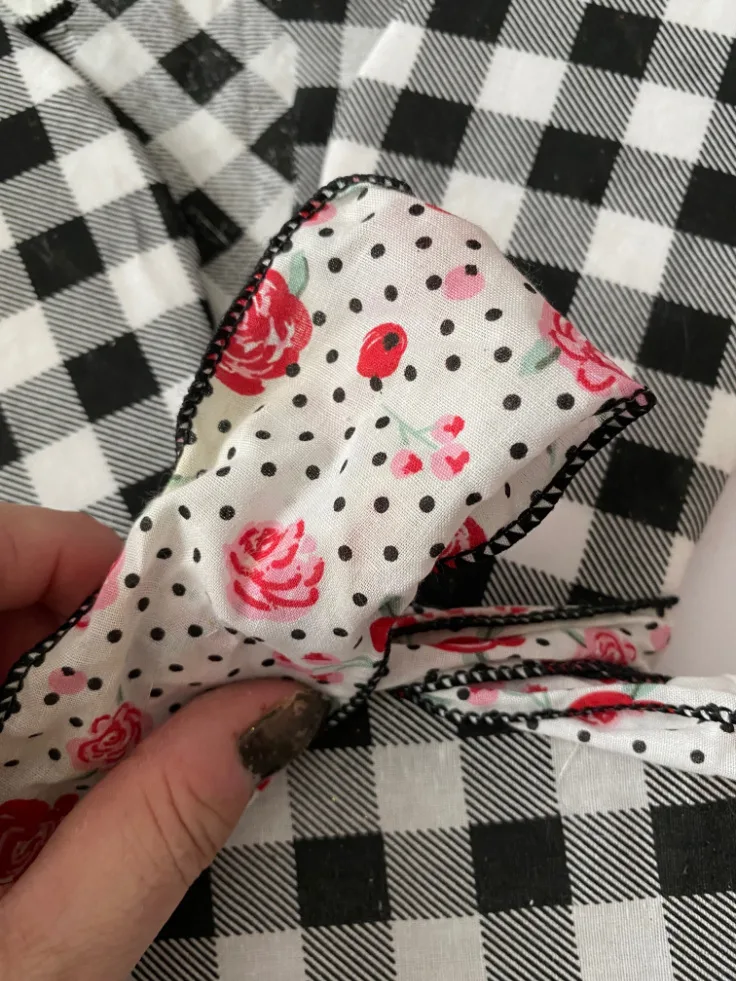
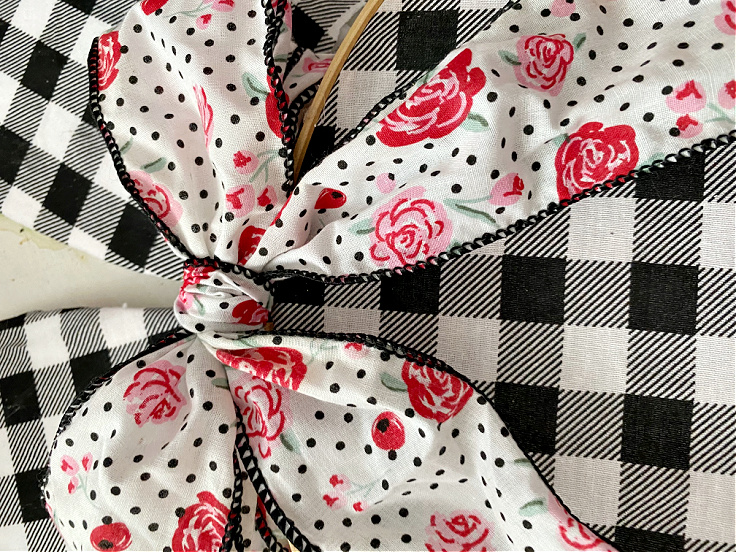
Step 10. Make a pretty bow
Use ribbon of your choice to make a pretty bow and tie it around the embroidery hoop screw.
I used a simple shoestring bow.

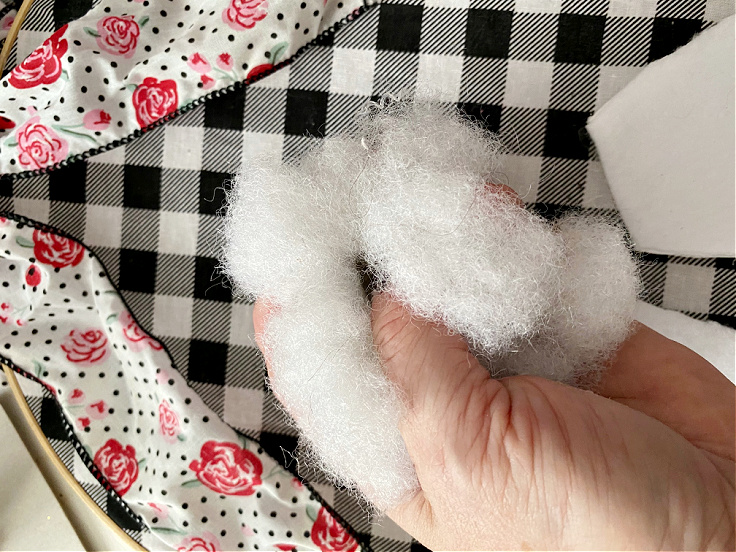
Step 11. Create a bunny tail out of batting
Gather a handful of batting and create a ball for the bunny tail.
You can also use a large pompom tail if you like.
I show a pompom tail on the smaller embroidery hoop bunny.

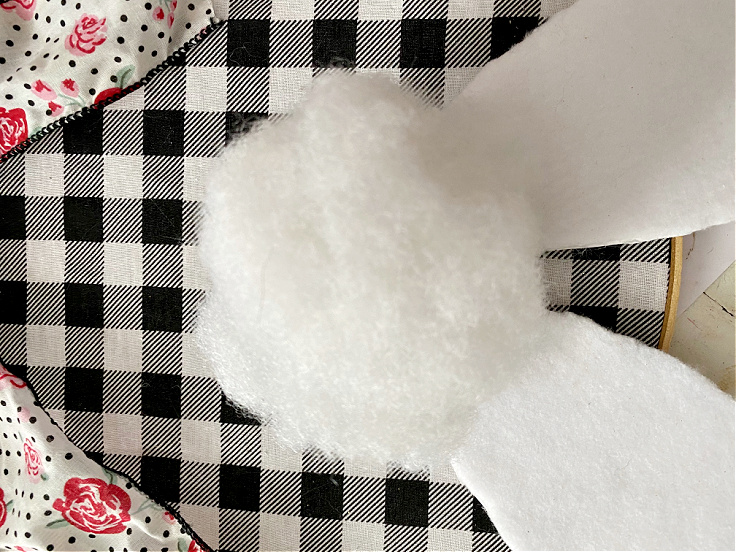
Step 12. Glue the bunny tail
Place fabric glue on the wreath where you want the bunny tail to go and secure it to the wreath.
You can also use hot glue.

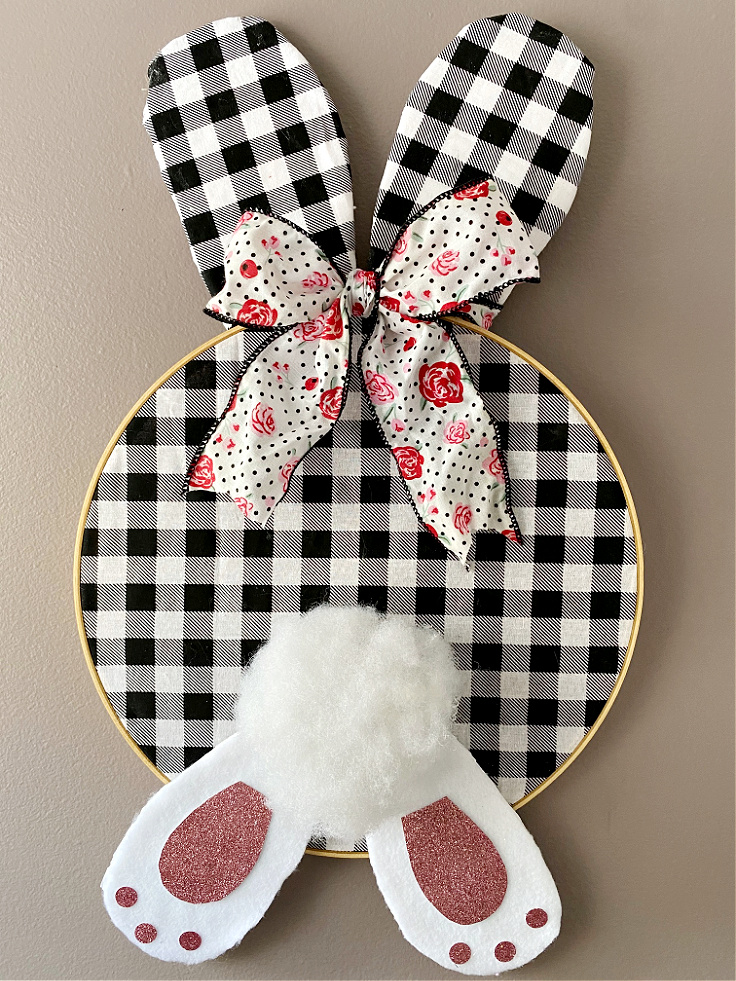
That’s all there is to it. This hoop bunny wreath can be displayed in so many different ways.
It looks great hung on a wall:
Or hung on your front door:

I love how it looks in a sweet spring vignette on a DIY pallet door:
And the little bunny hoops would be a sweet little gift for the kiddos.
I may add these to my niece’s Easter baskets.


You can even add their name in the vinyl. Wouldn’t that be cute?
I hope you enjoyed this simple Spring Easter craft. Here are even more embroidery hoop crafts.
Thank you for stopping by and I hope you have a great day!


How To Make A Spring Embroidery Hoop Bunny Door Hanger
Learn how to make an adorable DIY Spring Easter bunny hoop wreath with just a few supplies. You can use buffalo check fabric, or any fabric that you like. Plus, you can make the door hanger any size you like too using a different size embroidery hoop.
Materials
- 12″ Embroidery Hoop
- Batting
- Fabri-Tac Fabric Glue
- Buffalo Check Fabric
- White Felt
- Pink Glitter Cardstock
Tools
- Fabric Scissors
- Circle Punch
- Cordless Hot Glue Gun
Instructions
- Cut a large square of buffalo check fabric to fit the embroidery hoop.
- Loosen the screw on the embroidery hoop and secure the fabric in the hoop.
- Tighten the screw and trim any excess fabric.
- Cut out 2 bunny ears and 2 bunny feet from the foam board.
- Place the buffalo check fabric on top of the foam ears and cut to size.
- Use Beacon Fabri-Tac to secure the fabric to the foam ears.
- Glue the bunny ears to the top center of the hoop wreath.
- Cut out white felt for the foam bunny feet and glue to the foam template.
- Glue the feet to the bottom of the hoop wreath.
- Cut circles and glue to the bunny feet, for the pads and toes.
- Make a pretty bow and tie it around the embroidery hoop screw.
- Create a ball for the bunny tail with batting.
- Glue to the top center of the bunny feet.
- Display your Spring embroidery hoop bunny door hanger.
Recommended Products
As an Amazon Associate and member of other affiliate programs, I earn from qualifying purchases.
-

 GIEMSON Embroidery Hoops 3 Pieces 8 inch, 10 inch, 12 inch Round Adjustable Bamboo Circle Cross Stitch for Embroidery and Art Craft Sewing
 -
 Beacon Fabri-Tac 2oz
 -
 Surebonder CL-800F 60-Watt Cordless High Temperature Glue Gun
 -
 Premier Prints Anderson Check Cotton Duck, Yard, Black/White
 -
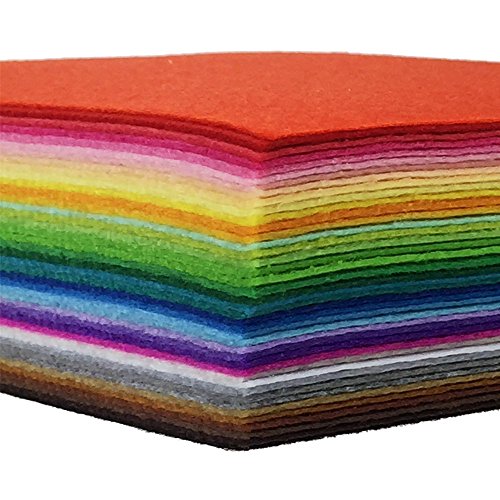 42pcs Felt Fabric Sheet 4"x4" Assorted Color DIY Craft Squares Nonwoven 1mm Thick
 -
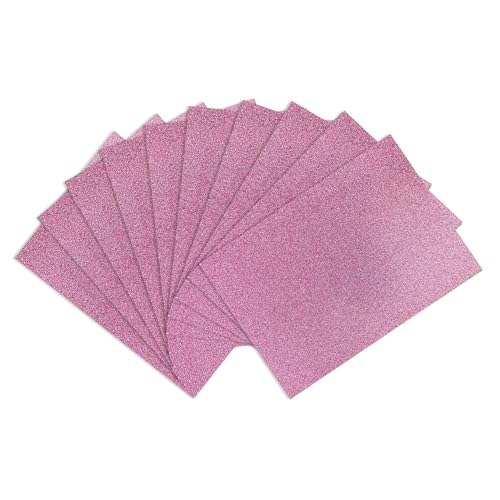 YZH Crafts Glitter Cardstock Paper,No-Shed Shimmer Glitter Paper, 10 Sheets, 8 Inch X 12 Inch, A4 Size (Pink)


Google Web Story: Spring Bunny Front Door Wreath
You may also like this super cute and fluffy Dollar Tree bunny wreath.
Follow me on social media below:
Paula@SweetPea
Friday 19th of February 2021
This is adorable!
Deana Landers
Wednesday 10th of February 2021
Michelle, this is such a sweet bunny wreath. My granddaughters are coming next week. I'll have to them this one.
Kim Purvis
Wednesday 10th of February 2021
So super cute lady! Love those bunny butts. Pinned!
Maria
Monday 8th of February 2021
What a sweet Easter wreath! The mini version is adorable!
Anita Holland
Monday 8th of February 2021
Michelle, this project really made me smile, it is just too cute. And great that you upcycled most of the materials.