This DIY Terrarium is made with Dollar Tree frames and can be completed for under $10!
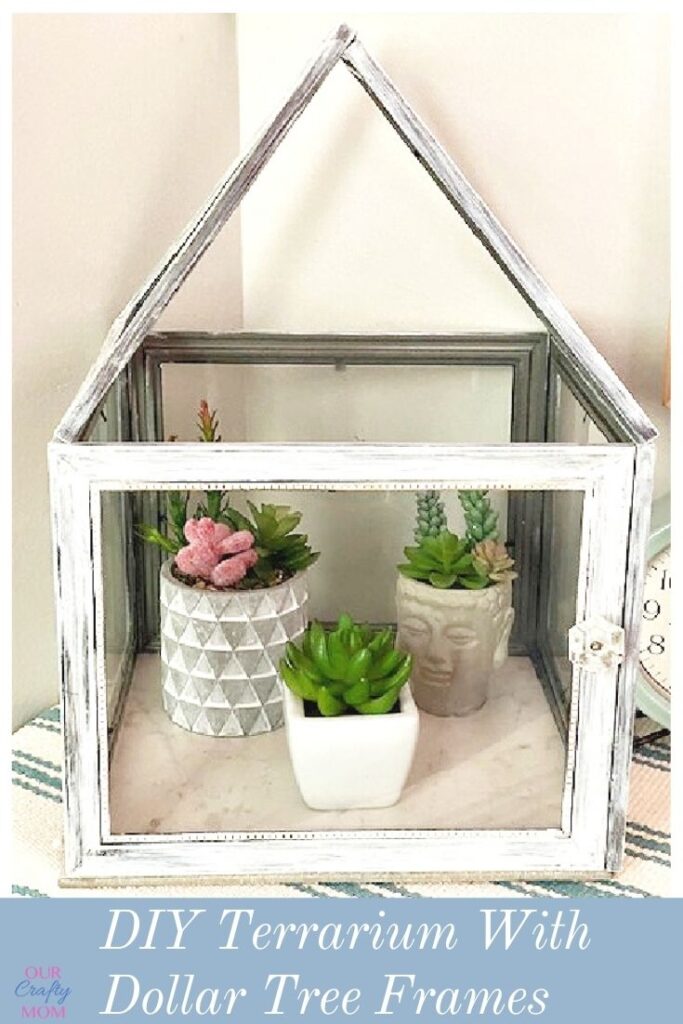

DIY Terrarium with Dollar Tree Frames
I’ve been on a bit of a crafting whirlwind the past couple of weeks.
My niece’s joint birthday party is coming up, as well as a few other family birthdays.
My oldest niece is amazing with plants and has a total green thumb.
I thought it would be fun to make her a DIY terrarium that she could use to display a few plants or even a larger orchid.
I made a similar version a few years ago using smaller picture frames and it’s always been a favorite dollar store craft.
This time I wanted to go much larger so it would really make a statement, and also hold a few more pieces.
Another idea is to use picture frames to create a DIY card box for a graduation party or wedding.
This post is sponsored by DecoArt and contains affiliate links at no extra cost to you. Please see my full disclosure here.

Here is what you need to make this pretty terrarium:
Supplies Needed For A DIY Terrarium
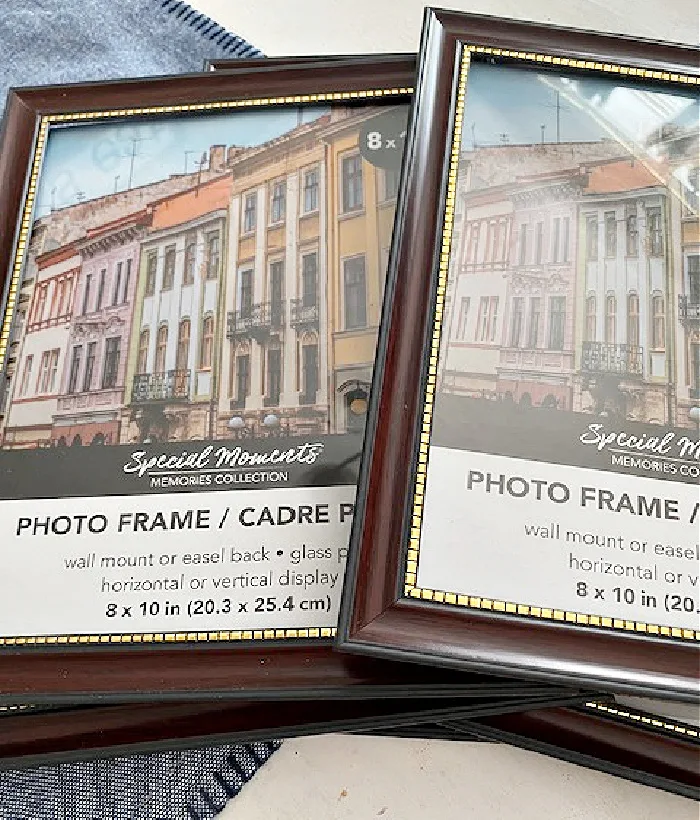
- 6 – 8×10 Dollar Tree Frames
- DecoArt Suede Paint
- Foam Brush
- 1 – 12×12 Ceramic Tile (optional)
- Glass knob
- E-6000

You can finish this terrarium in about an hour, minus drying time.
Remove the glass from the picture frames.

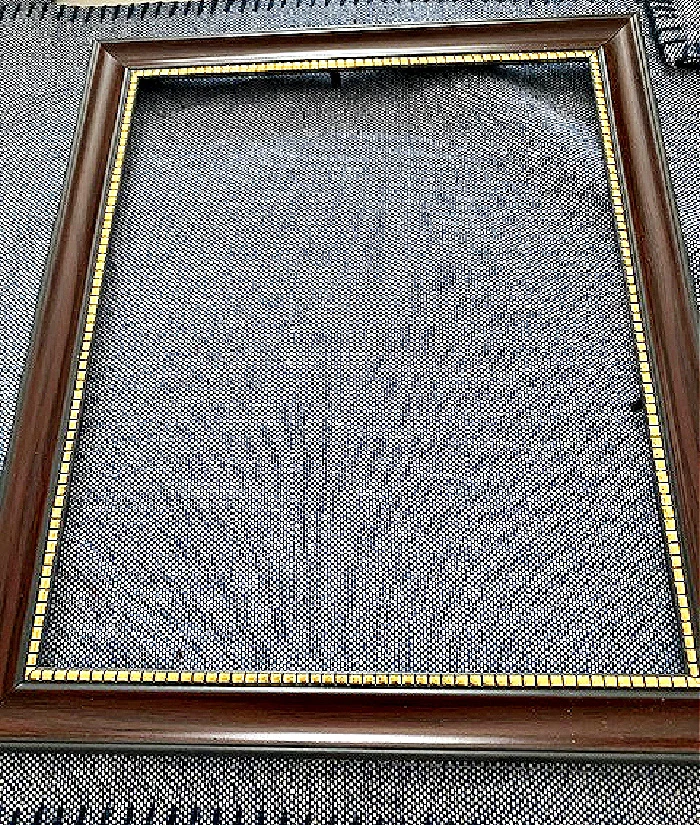
Paint the frames with whatever color paint that you like.
I used a really cool suede paint in a neutral color.
You can see how I used suede paint in navy to update a popcorn tin into a planter.
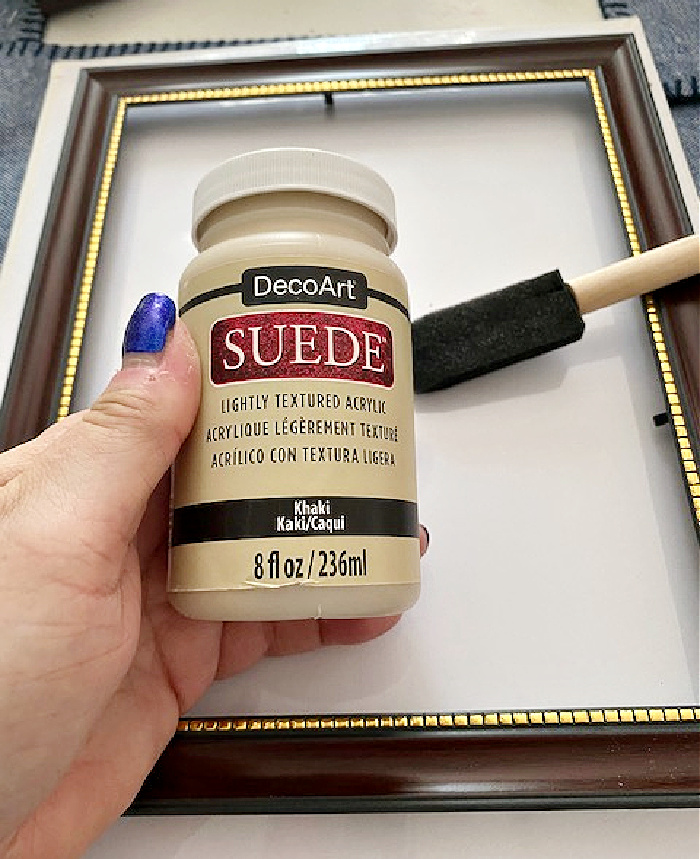

This paint has such great coverage and you only need a coat or two depending on the coverage you are looking for.

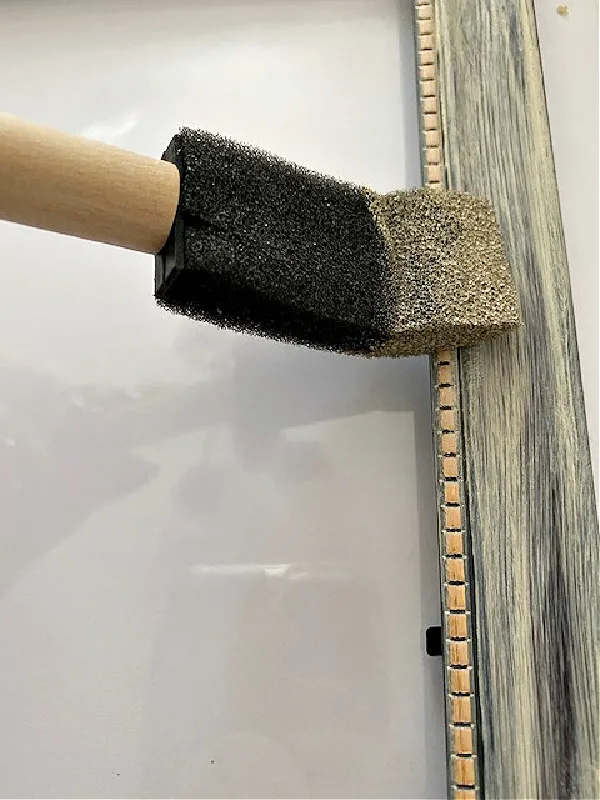
Foam brushes come in so handy for these types of paint projects.
I always make sure I have them on hand. Plus you can just toss them when you are done.
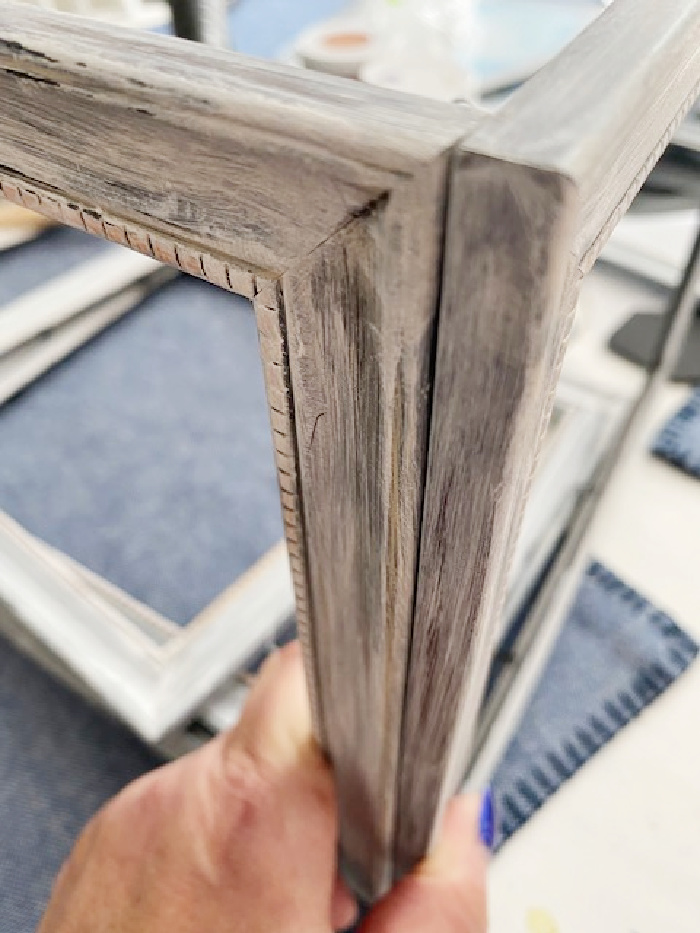

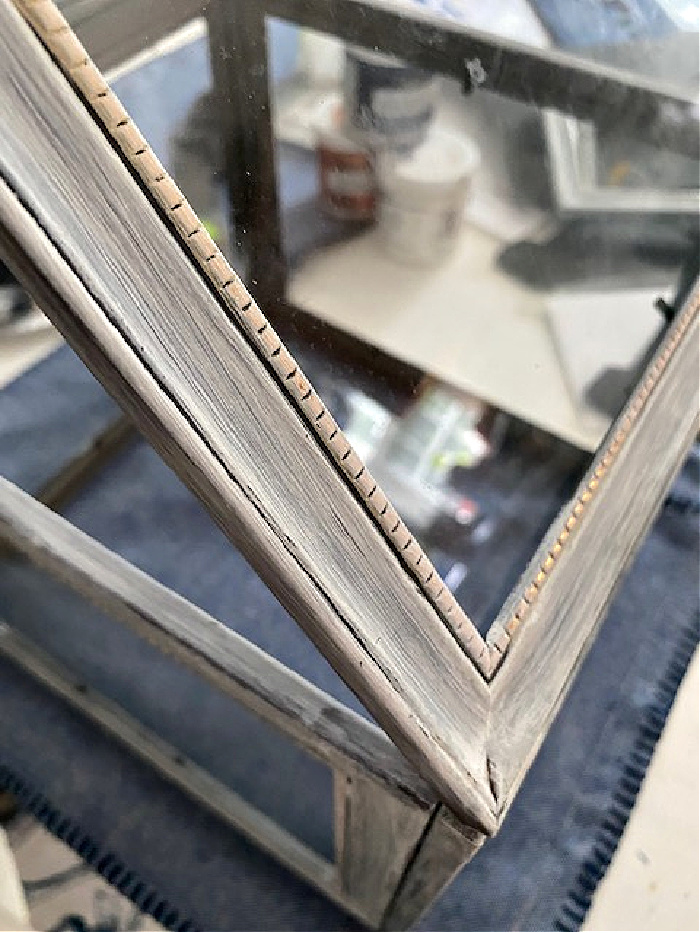
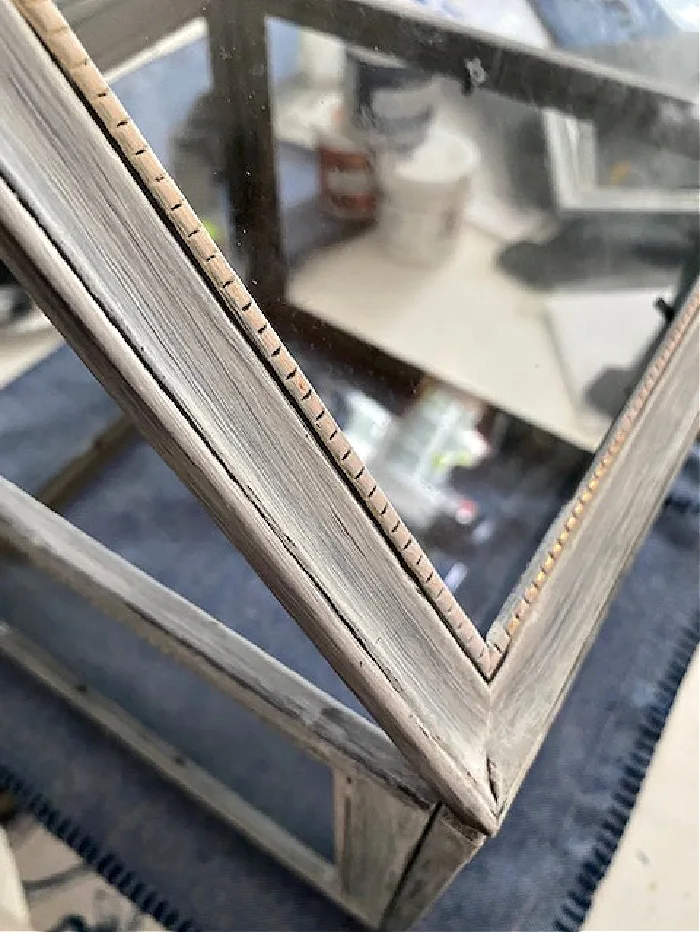
Once the pictures frames are dry, you simply glue the pieces together with E-6000.

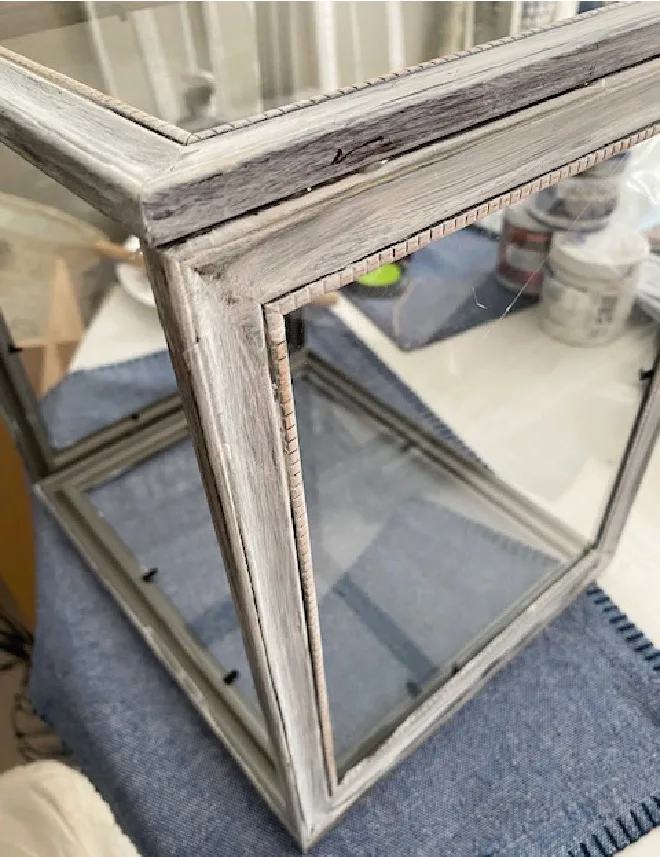
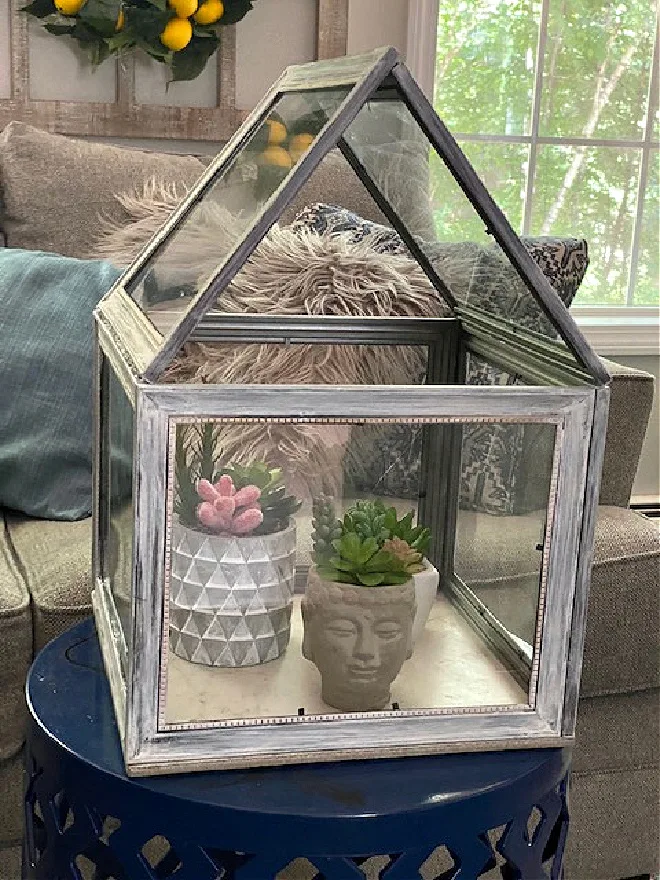
Create a box with 4 of the frames and then glue the final two frames to the top to create a peak.
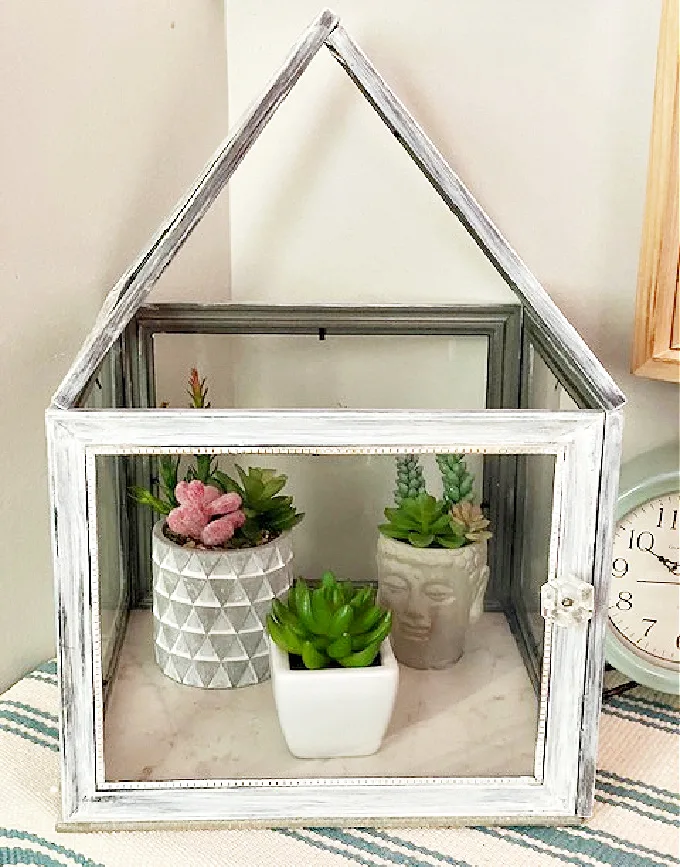
You can leave it as is, or add a bottom. I added a 12×12 marble tile to the bottom securing it with E-6000.
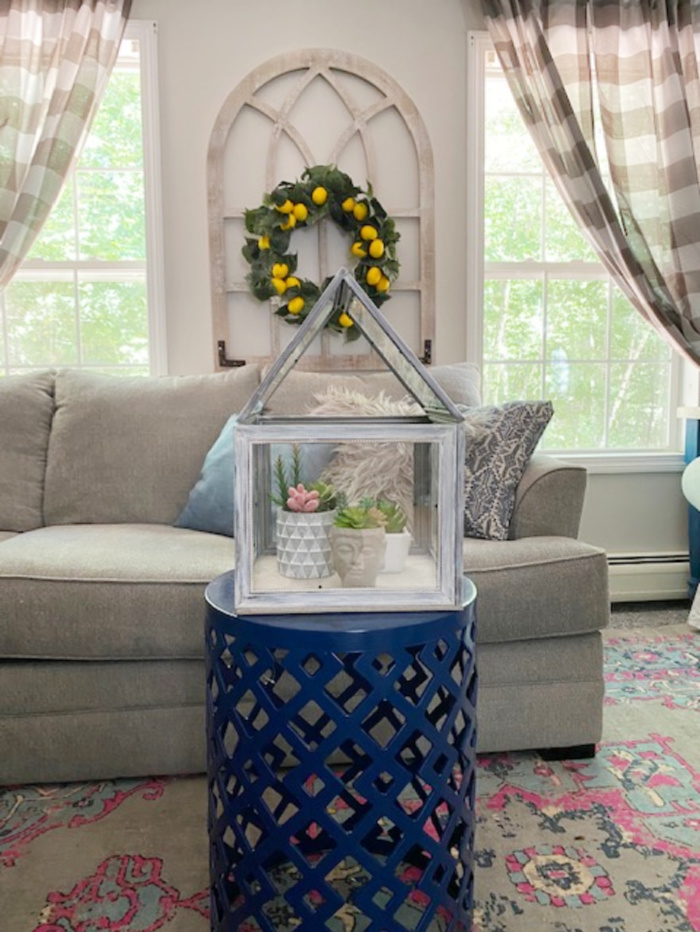

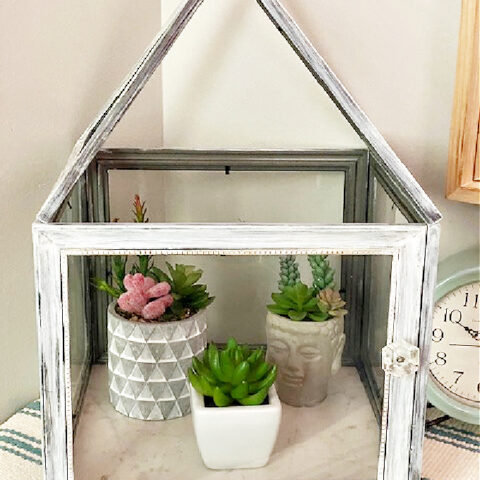
Now you just add your plants and you have a beautiful terrarium that would easily cost four times the amount at a home store.

If you didn’t want to add plants, you could also add battery operated candles.
I’m so happy with how it turned out and hope my niece likes it.
I’d love it if you would share it with your friends by Pinning the below image:


Thank you for stopping by. Have a great day!

How To Make A Terrarium From Dollar Tree Frames
Make your own beautiful DIY terrarium using dollar tree picture frames for under $10! This would make a great gift idea too. Include a live or faux plant for a thoughtful gift idea.
Materials
- 6 - 8x10 Picture Frames
- E-6000
- 12x12 Ceramic Tile
- Paint
Tools
- Paint brush
Instructions
- Remove the glass from each frame.
- Paint the frames in your choice of color with a foam brush.
- Let dry.
- Glue 4 frames together with E-6000 to create a square.
- Glue the remaining two frames to the top of the square to form a peak.
- Add a 12x12 ceramic tile to the bottom of the terrarium.
- Decorate with plants or battery operated candles.
Recommended Products
As an Amazon Associate and member of other affiliate programs, I earn from qualifying purchases.
-

 US Art Supply Variety Pack Foam Sponge Wood Handle Paint Brush Set (Value Pack of 20 Brushes) - Lightweight, durable and great for Acrylics, Stains, Varnishes, Crafts, Art
 -
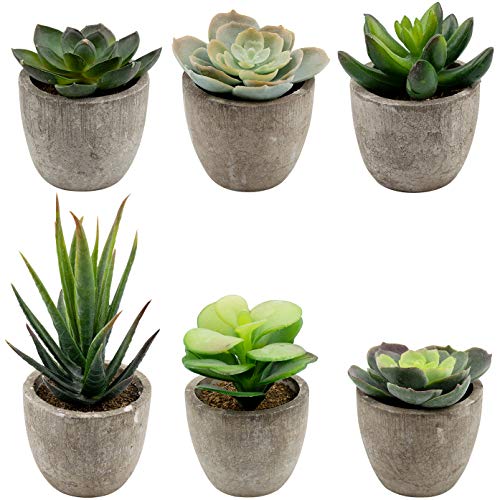 Foraineam 6 Pieces Assorted Potted Faux Succulent Decorative Artificial Succulent Cactus Cacti Plants
 -
 E6000 Craft Adhesive, 3.7 Fluid Ounces
 -
 Deco Art SUEDE PAINT 8OZ CHARCOAL, us:one size
You can follow me on social media below:
Scarlet at Family Focus Blog
Sunday 16th of August 2020
How fun. Your terrarium turned out so pretty! What a great dollar store craft!