Sharing quick and easy tips for wine glass painting. This is a beginner-friendly tutorial that anyone can do! Grab a q-tip and let’s paint!
This post is sponsored by DecoArt and contains affiliate links at no extra cost to you. Please see my full disclosure here.
Wine Glass Painting Ideas
Did you see the first ever Facebook live I did showing these fun hand-painted wine glasses?
If you missed it, you are in the right place. The video is included, along with a step-by-step written tutorial.
This is my second time painting on wine glasses.
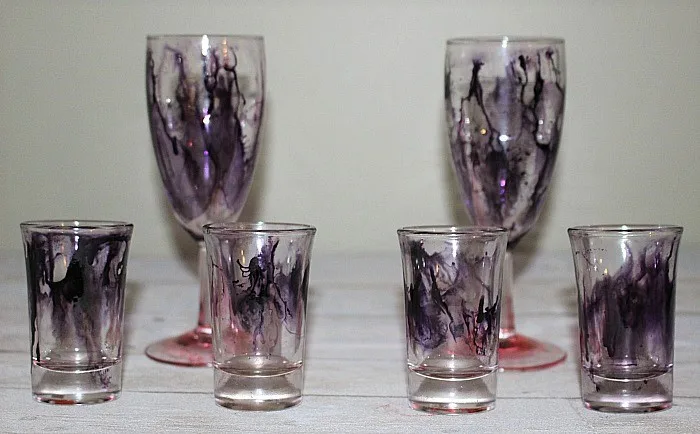
The first time I used alcohol ink, and while I was happy with the outcome, they were not easy to paint.
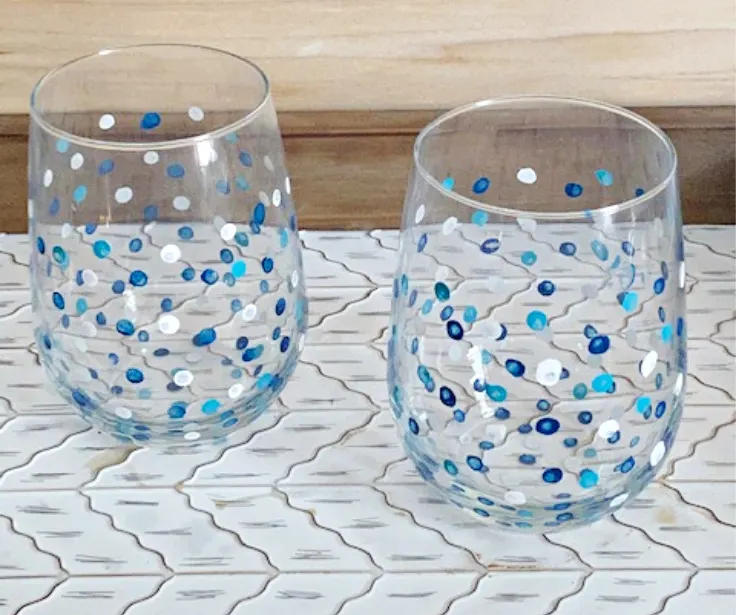
These polka dot painted wine glasses were so easy!
Several readers messaged me to ask if they can use acrylic paint.
You definitely can, however, glass paints are the best paints to use because they are specifically made to use with glass.
You will get a much more vivid look, with no additional additives needed.
Don’t forget to add cute wine glass charms to your beautiful handpainted wine glasses.
This glass paint from DecoArt comes in ten vivid colors and is water-based for easy clean-up.
I’ll show you the quick tutorial and then shares some tips about glass paint, available at Michael’s, Amazon and most craft stores.
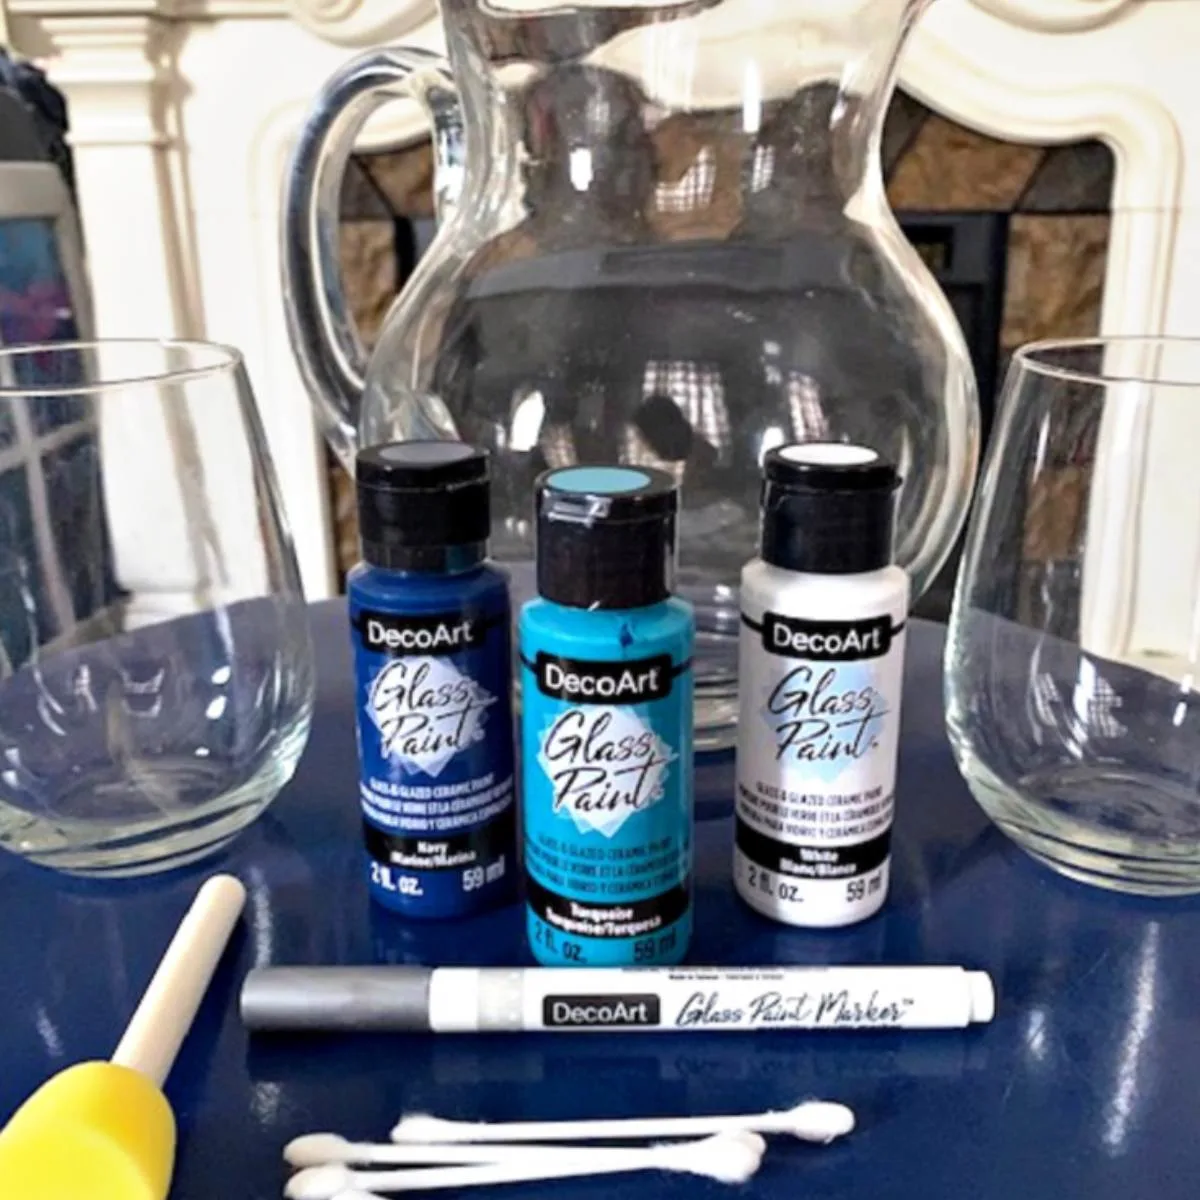
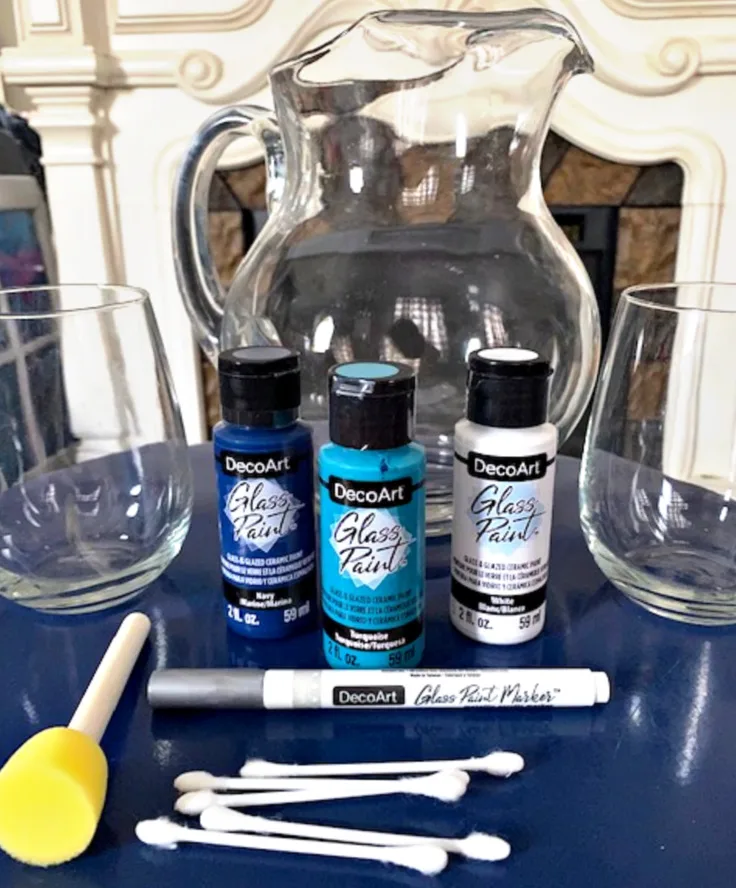
Supplies for Painted Wine Glasses
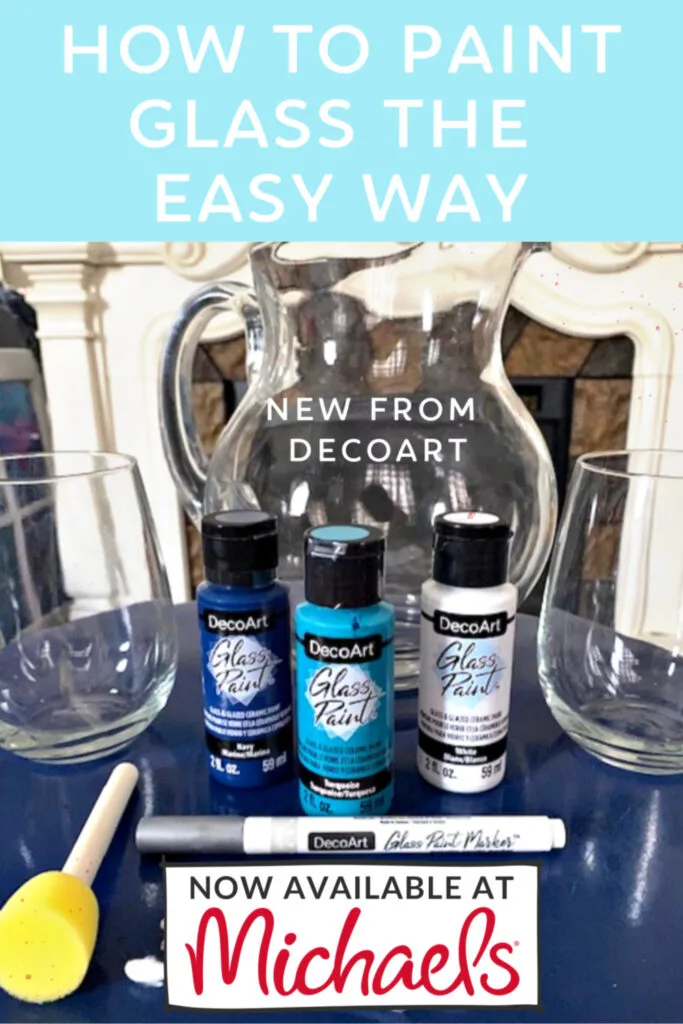
- DecoArt Glass Paint – I used navy, white and turquoise
- Q-tips
- Rubbing Alcohol
- Wine Glasses – mine are from the dollar store, but don’t forget the thrift store. I also found some for .50 cents!
Step 1. Clean the glass
Clean the glass with rubbing alcohol to remove any fingerprints or dust.
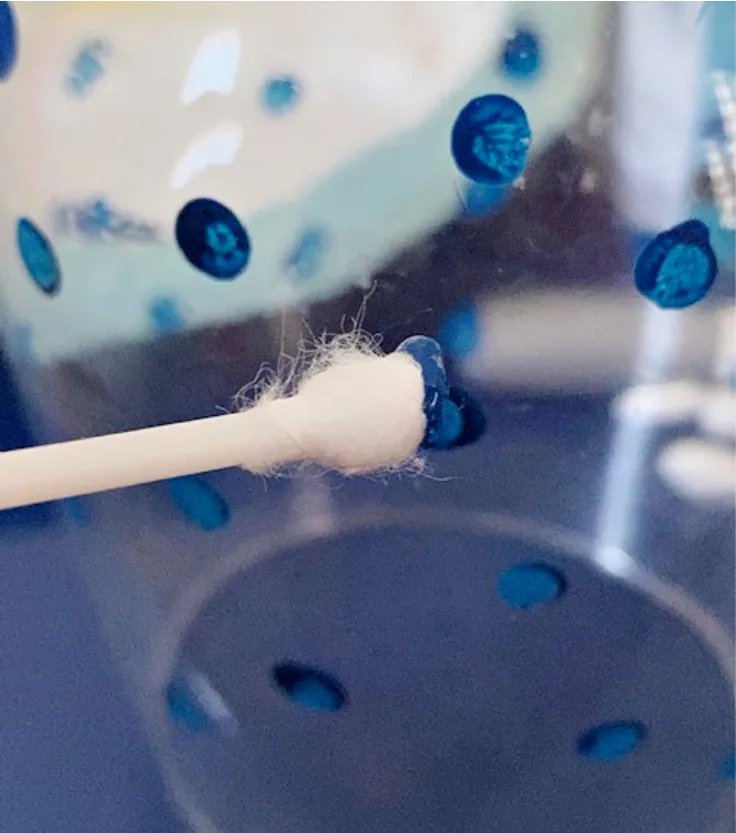
Step 2. Dab q-tip
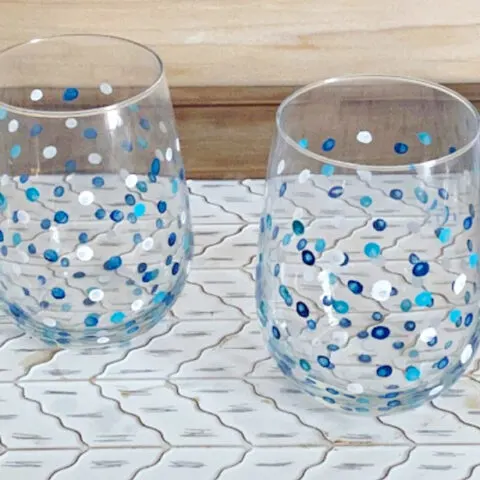
Use a q-tip to dab paint onto the glass starting at the bottom. You will get perfect polka dots.
It’s best to use one color to start. It’s important not to add paint at the top of the glass, as it can’t come in contact with your mouth.
I stopped about 3/4 of the way.
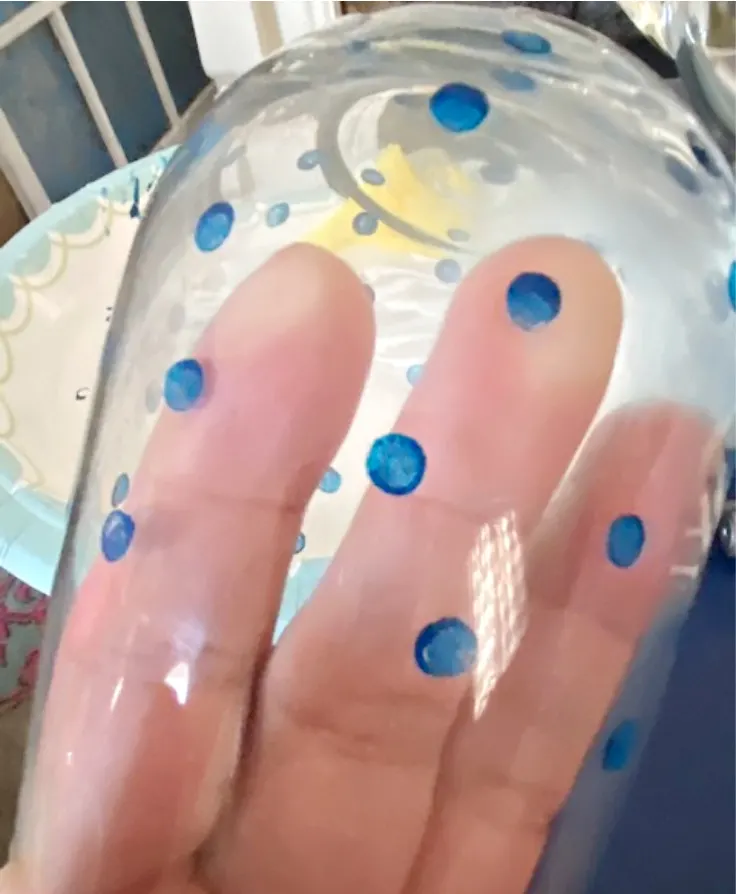
It’s important not to paint the top of the glass where you’re mouth will touch. You can use painter’s tape if you like.
Step 3. Repeat with a second paint color
Choose a second color and apply it to the glass with another q-tip.
You can add the dots close together, or space them out as I did.
Or be a rebel and have them connect!
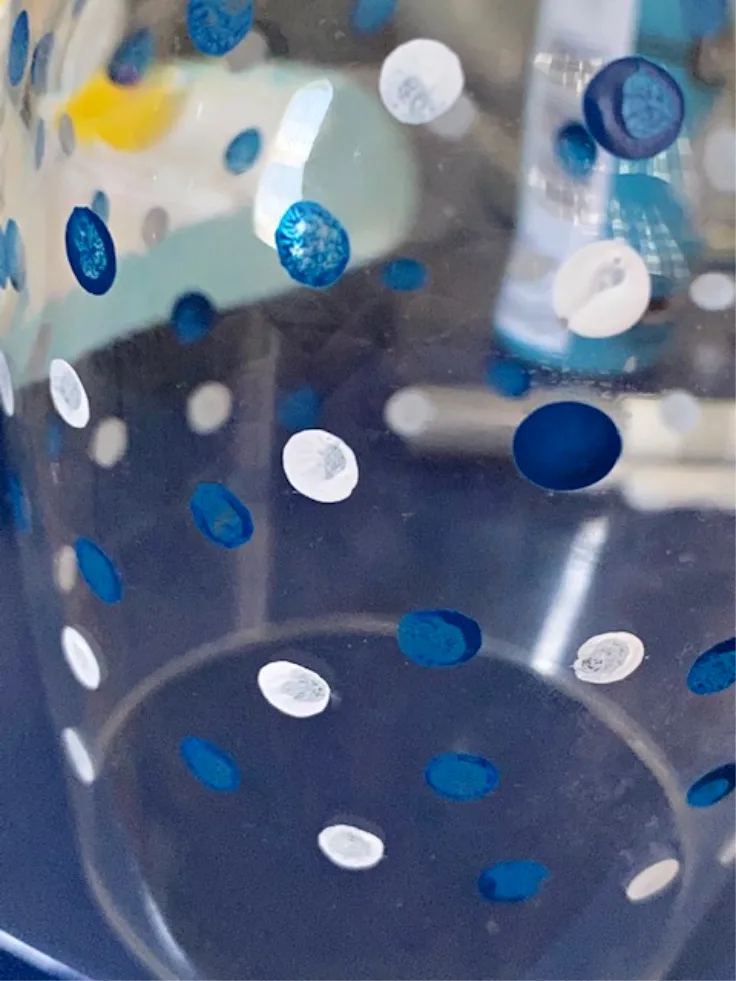
Step 4. Repeat with a third color
I chose to use three colors, so continue to add polka dots with your final color choice.

Step 5. Let paint cure
Allow the paint to cure for at least four hours, or overnight to be safe.
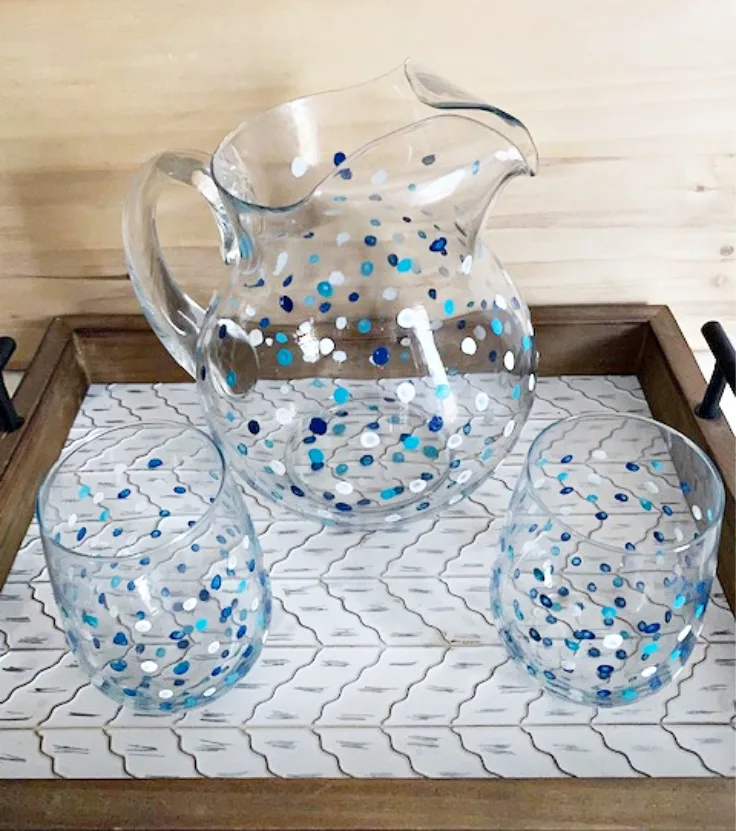
Step 6. Bake in the oven
To make the paint top shelf dishwasher safe, it is necessary to bake them in the oven.
Place the glasses in a cold oven. Set the oven temperature to 275 degrees and bake for thirty minutes.
If you are just going to hand wash them, it is not necessary to bake them.
But it may take a full four days for the paint to cure, so just be careful washing them.
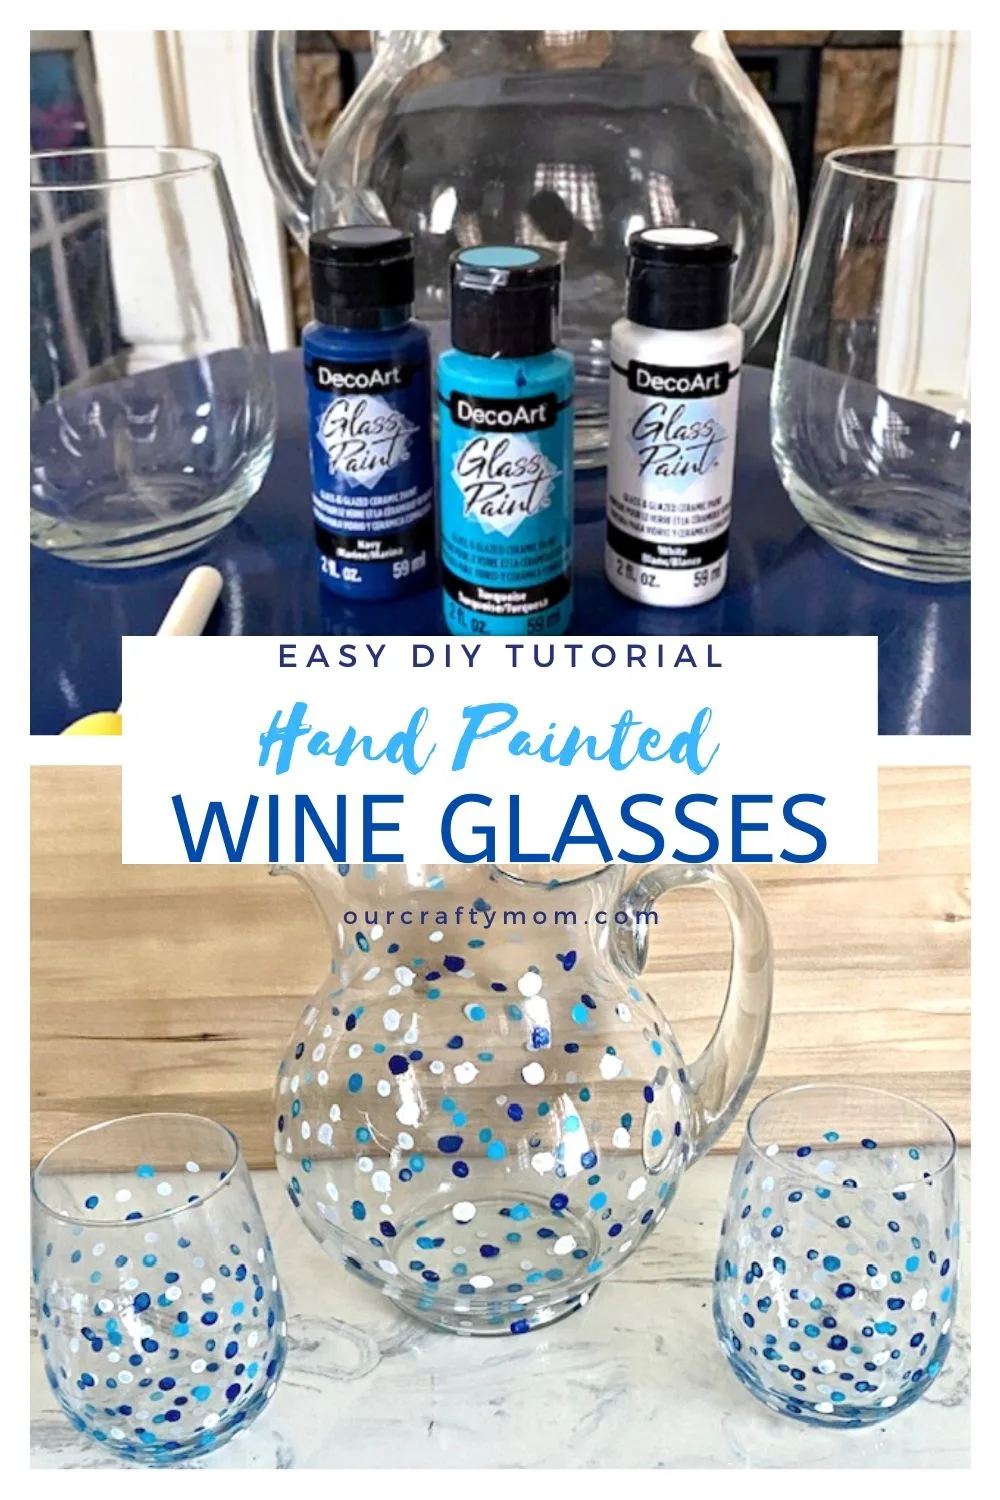
The glass pitcher that you see was a thrift store find. I couldn’t resist adding glass paint to that as well.
I thought this would be so cute to serve at an outdoor picnic or barbecue.
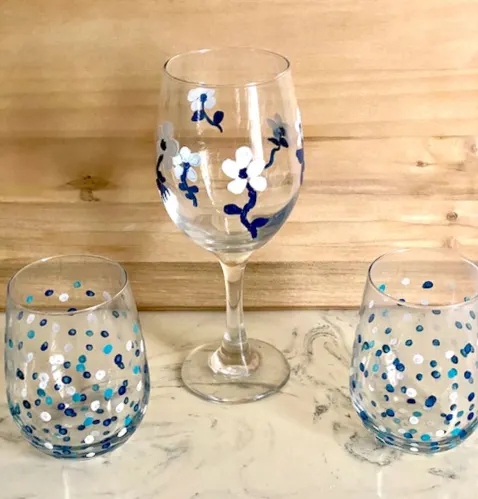
Wine Glass Painting
- Follow this same process on an upcycled wine bottle. Pair it with a pair of painted wine glasses for a great gift.
- Put together a DIY kit to gift someone who enjoys crafting.
- Plan a paint party with friends.
- Think about a fun craft night for a bachelorette party.
- Plan a unique date night.
Tips On Using DecoArt Glass Paint
- Less is more – this glass paint will self-level for
minimal brush strokes. - Shake well.
- Apply 1-2 coats.
- Allow curing for 4 days.
- For top-rack dishwasher
- finish, place in a cool oven. Set
temperature to 275°F and bake for
30 minutes. Cool with oven door
partially open. - Not for direct contact with food.
- Soap and water clean up.
Sharing is caring…please PIN the below image:
How To Make Beautiful DIY Hand Painted Wine Glasses
Learn how easy it is to make your own hand painted wine glasses, or drinking glasses, with just a few simple supplies.
Materials
- Wine Glass
- Glass Paint
- Q-Tip
- Rubbing Alcohol
- Cotton Ball
Instructions
1. Clean the glass with rubbing alcohol to remove any fingerprints or dust.
2. Use a q-tip to dab paint onto the glass starting at the bottom.
3. Choose a second color and apply it to the glass with another q-tip.
4. Continue to add polka dots with your final color choice.
5. Allow the paint to cure for at least four hours. Set oven temperature to 275°F and bake for 30 minutes.
Recommended Products
As an Amazon Associate and member of other affiliate programs, I earn from qualifying purchases.
Now it’s time to make your own hand-painted wine glasses? So pour yourself a glass of wine, or your favorite beverage, and let your inner artist shine!
Thank you so much for stopping by. Have a great day!

Karen
Saturday 17th of July 2021
What do you put them on in the oven, just the rack or a cookie sheet? Cute gift idea, Thanks!
ourcraftymom
Sunday 18th of July 2021
You can put them on a cookie sheet. I'm glad you like them!
Shatara
Thursday 24th of December 2020
Hello quick question. Did you use a finish on the glass before putting in the oven?
ourcraftymom
Thursday 24th of December 2020
Hi. No finish. Just bake it on the low temp and you are good to go. Be sure to let the oven cool before removing them. Share a picture when they're done. I'd love to see!
Martha
Sunday 28th of June 2020
Can you tell me if you start counting your 30 minutes in the oven when the oven comes to temperature or as soon as you put your wine glass in the cool oven and set the temp? I’m assuming you put it in the oven set the timer and the oven temp. When the timer beeps turn off the oven and let it cool in the oven.
ourcraftymom
Saturday 4th of July 2020
I actually put it in a cool oven and set the temp. Then let it cool in the oven. I've had no issues with the glass breaking. I do this with coffee mugs too. :)
Marty Walden
Wednesday 1st of April 2020
These are so adorable, Michelle! You are amazing. Thanks for sharing!
Michelle Leslie
Tuesday 31st of March 2020
What a cute idea Michelle and it's a fun thing to do under lockdown too. Thanks a mil for the idea