Create an adorable Indoor Fairy Garden with beautiful yellow tulips that can be planted in your garden after it blooms.
This sweet garden planter would make a thoughtful gift for Mother’s Day, Easter, birthdays or just because.
Though it is so pretty you might not be able to give it away!
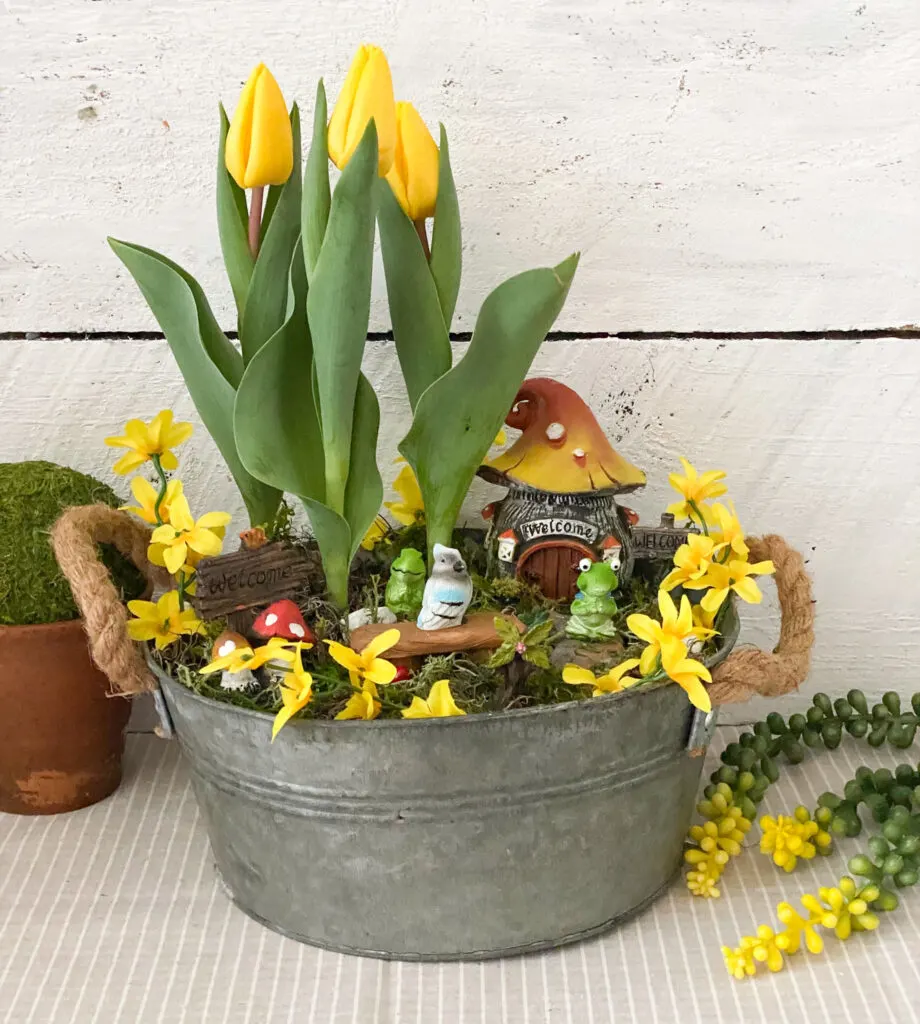
Today I’m sharing this adorable indoor fairy garden to celebrate #NationalGardeningDay with a few of my blogging friends.
So not only do you get to enjoy my upcycled garden project, but you get to enjoy the others as well.
And, let me tell you these ladies are upcycling queens, so you are in for a treat! Be sure to stop by to visit them with the links at the end of this post.
When I was planning what garden project I wanted to share, I remembered this galvanized bucket with rope handles that I’ve had for several years.
It was the perfect size for a fairy garden.
You may remember the fairy garden chair planter I made a few years back, or the outdoor fairy garden that was so popular on Pinterest.
Let’s get to this simple tutorial so you can make your own indoor fairy garden.
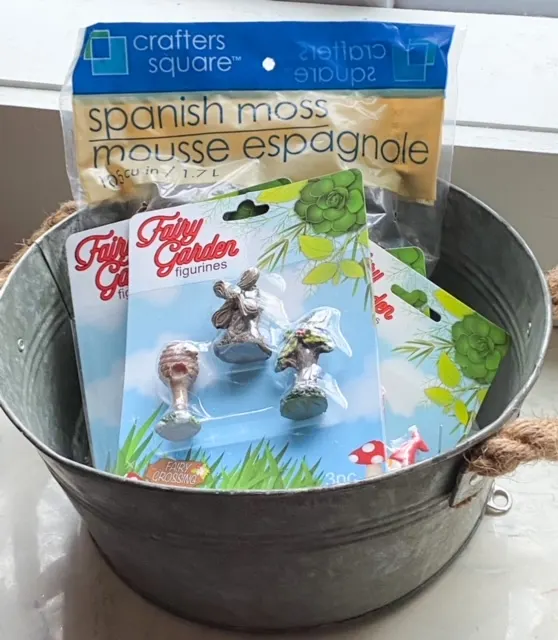
Supplies You Need to Make a DIY Fairy Garden
- Tulips or other potted plants
- Galvanized Bucket – Mine is from Michael’s
- Spanish Moss – Check your local Dollar Tree
- Reindeer Moss
- Fairy Garden Accessories – Mine are from Dollar Tree
- Hot Glue Gun – this cordless one is my favorite!
How to Make an Indoor Fairy Garden
Step 1. Add your Potted Plant
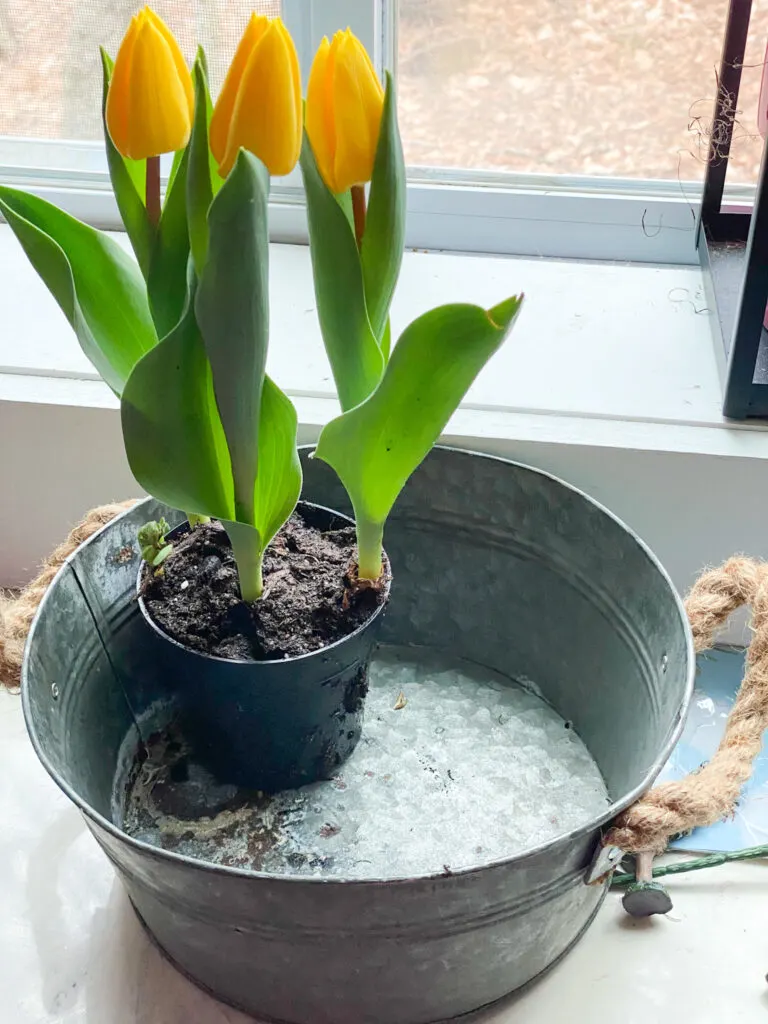
Start by adding your potted plant to the galvanized bucket. I picked up pretty yellow tulips from the local nursery.
Because it’s way too cold to start any outdoor gardening in New England, I left the plant in its pot.
That way I can plant the tulips in the yard after they bloom.
If you live in a warmer climate and want to make this an outdoor fairy garden, you can easily remove the plant from the pot and add it directly to the bucket with extra potting soil.
Just be sure to add a few drainage holes to the bucket.
Step 2. Use Plastic Bags as a Filler
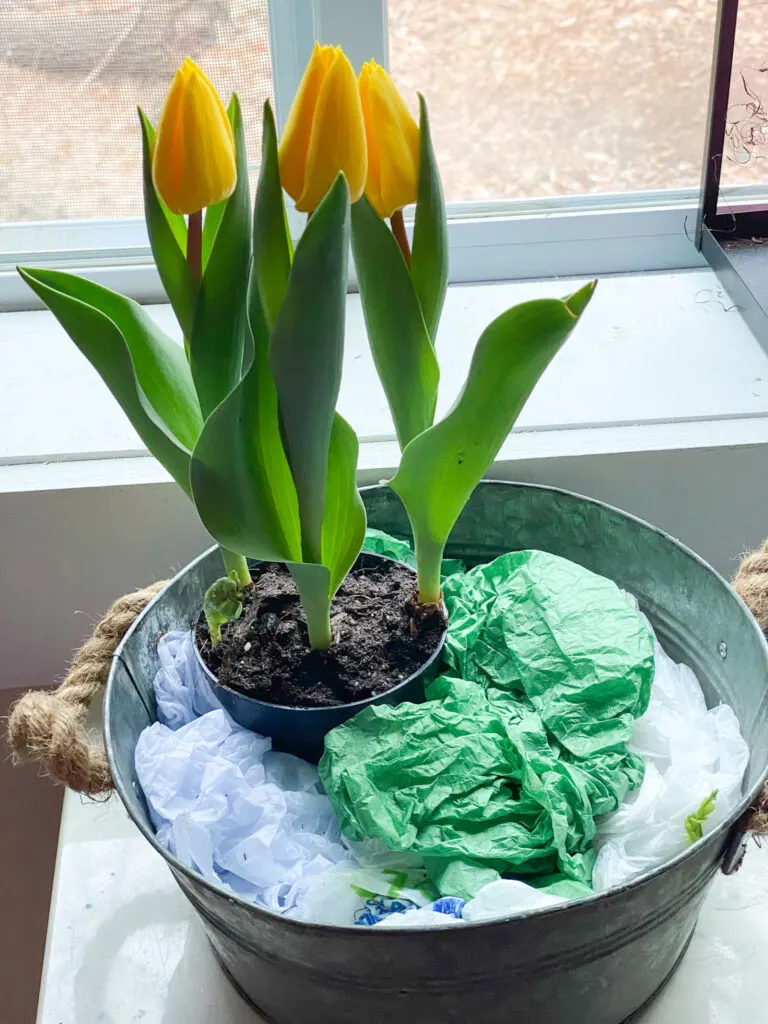
To save on spanish moss, I added tissue paper and plastic bags around the plant and filled it in nice and snug. Use whatever you have handy, newspaper, cardboard, etc.
Step 3. Fill with Spanish Moss
Now you want to fill the bucket with spanish moss. Give it a little pat down so it’s nice and secure.
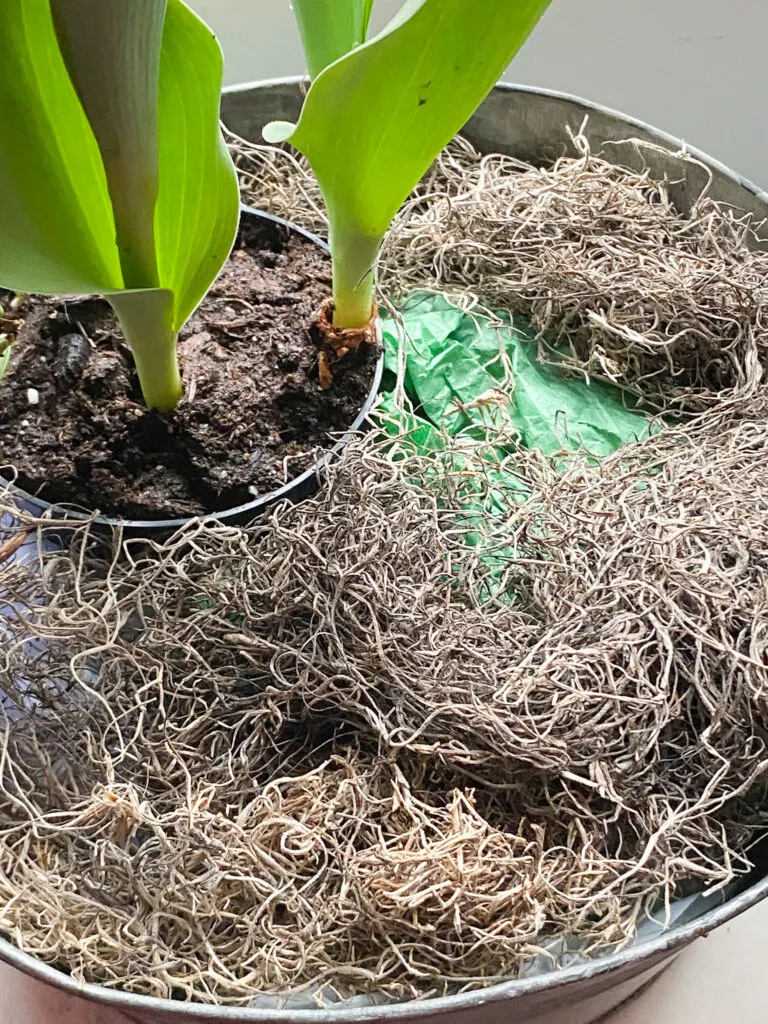
Step 4. Add Fairy Garden Accessories
Now for the fun part! Decide where you want your fairy garden pieces to go.
I was pleasantly surprised to see how many really cute pieces Dollar Tree had.
They had an entire end cap filled with goodies.
It’s best to play around with it first to decide where you want everything.
It reminded me of setting up my doll house as a kid!
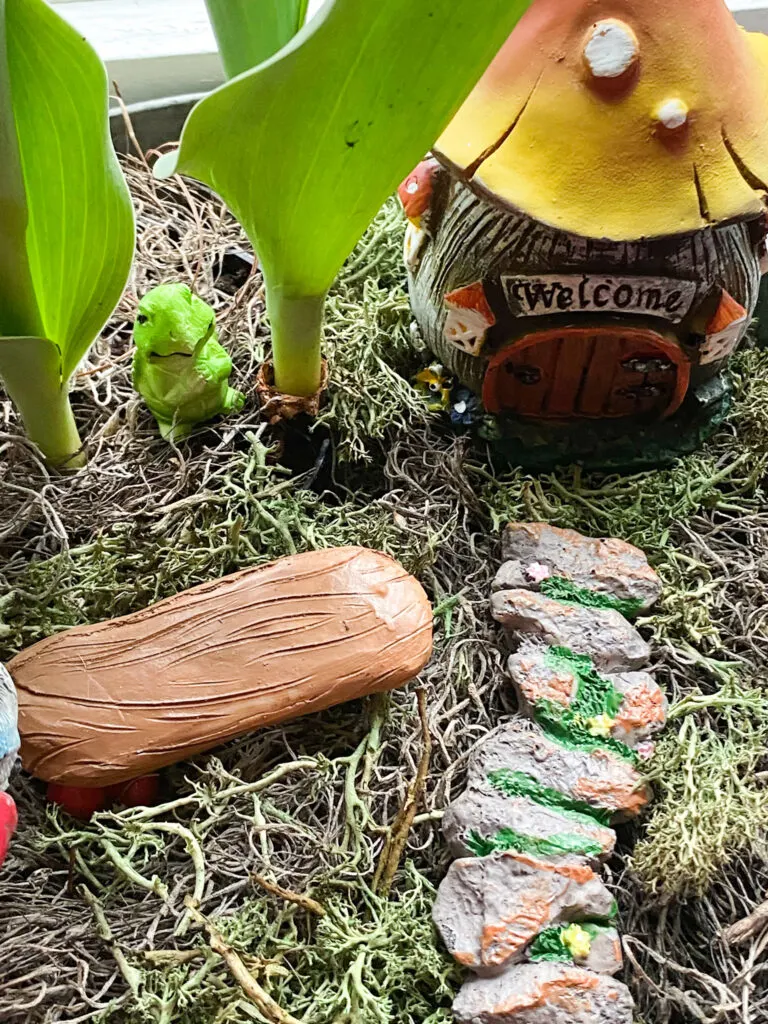
Start with your largest piece first. Then fill in around it.
The pathway was added next, then a few of the smaller fairy garden accessories.
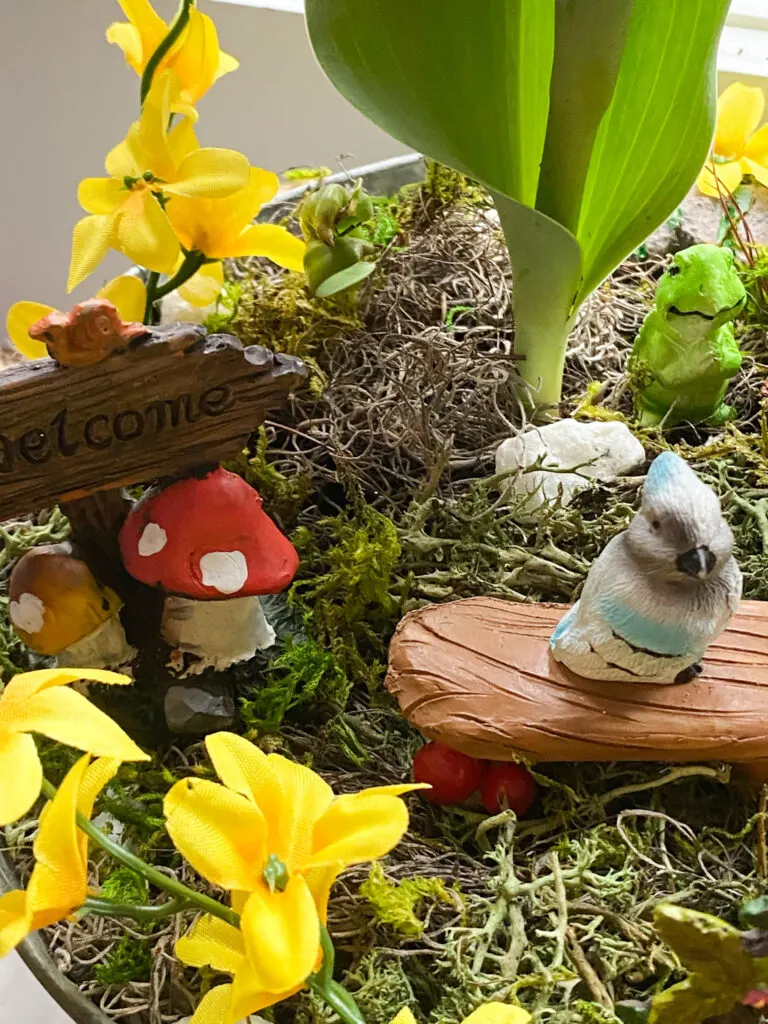
Step 5. Hot Glue Fairy Garden Accessories
Once you are happy with the location of the pieces, go ahead and hot glue them.
If they don’t feel secure, you can place a small stone just under the moss and hot glue it to the stone.
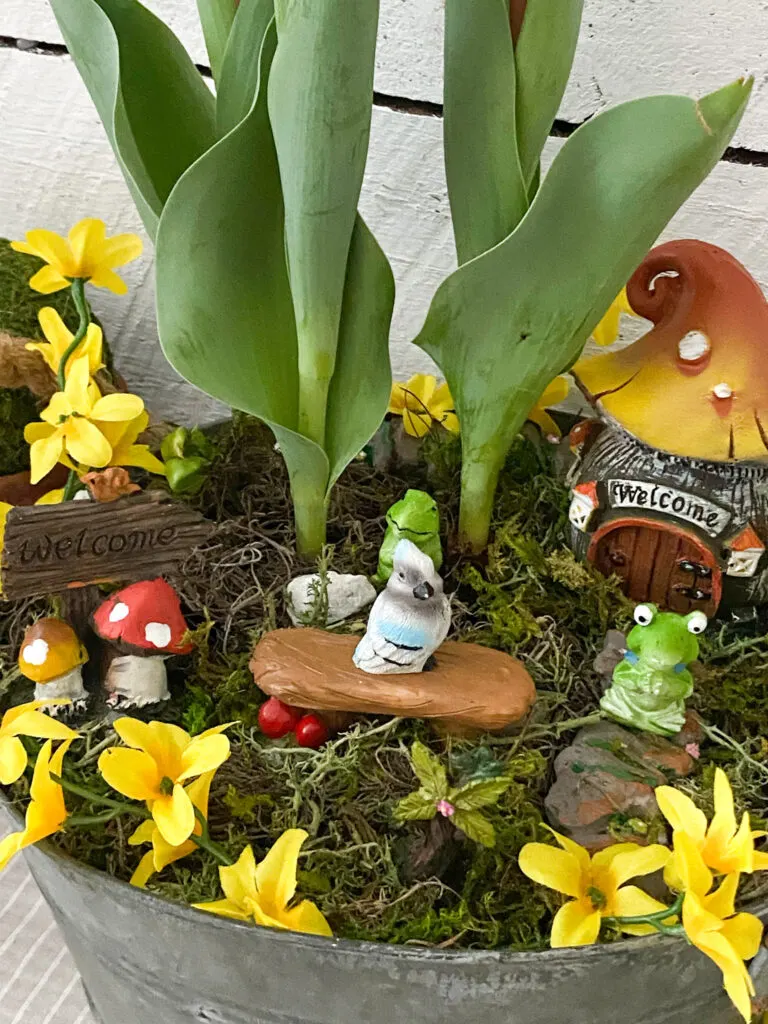
At the last minute I decided to glue a few stems of silk flowers to give a pop of color to the fairy garden. It really made a big difference.
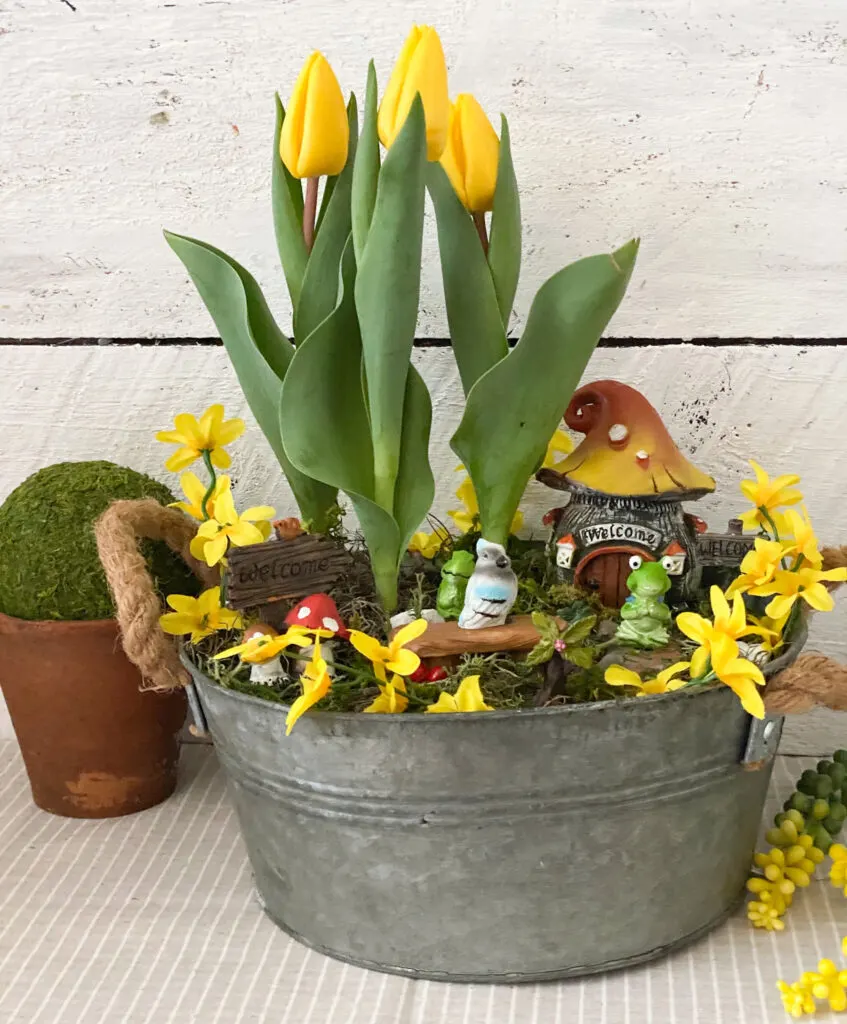
I’m really happy with how this little fairy garden came together.
It was inexpensive and super easy to make.
Plus, you can’t help but smile when you look at it!

My daughter already claimed this for her bedroom.
Though I did remind her she had to water the tulips!
Hope you enjoyed this whimsical fairy garden.
If so, please share it with your friends and PIN the below image.

Enjoy even more gardening ideas to celebrate #NationalGardeningDay
Gail from My Repurposed Life works her magic to create a Fairy Garden Tree Stump.
Carlene from Organized Clutter shares a beautiful Thrifted Wooden Tote to Summer Garden.
Suzanne from Shop at Blu shows us some creative Upcycles for Your Spring Garden.
Thanks for visiting. Happy gardening!
Google Web Story: Spring Tulips Fairy Garden
You may also enjoy these DIY gardening ideas:
You can find me on social media below:

Carlene Blair
Thursday 14th of April 2022
Super cute, Michelle!