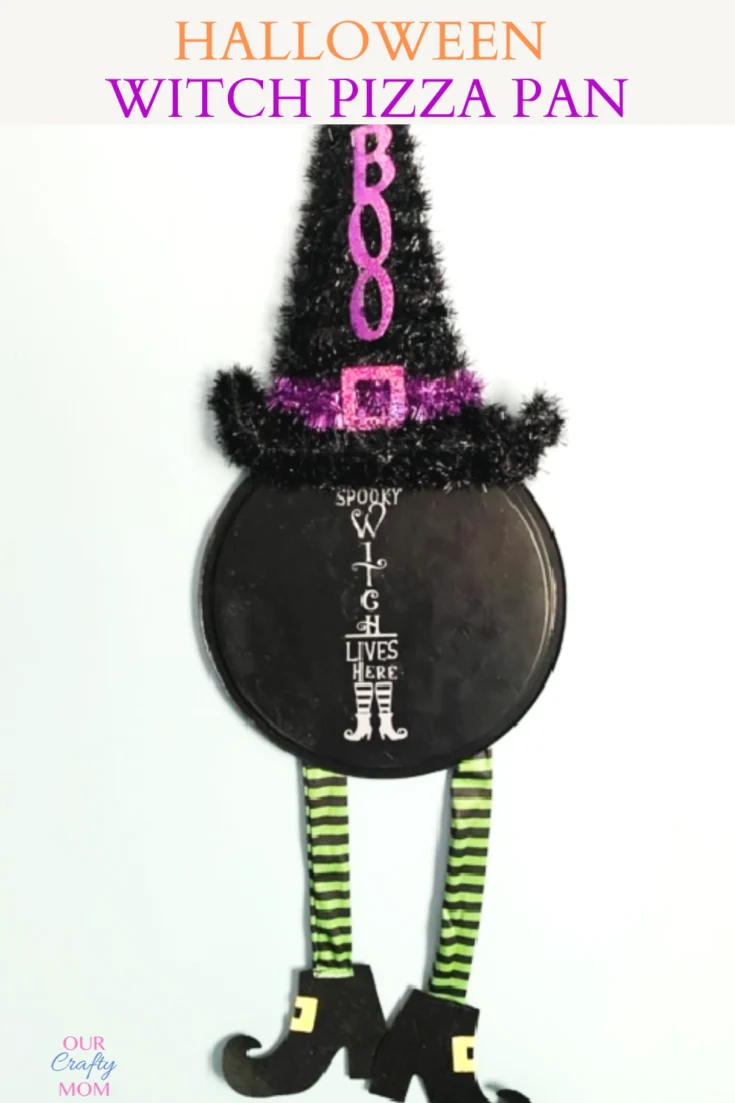
This Halloween witch door hanger is a simple craft project made with a pizza pan from the dollar store.
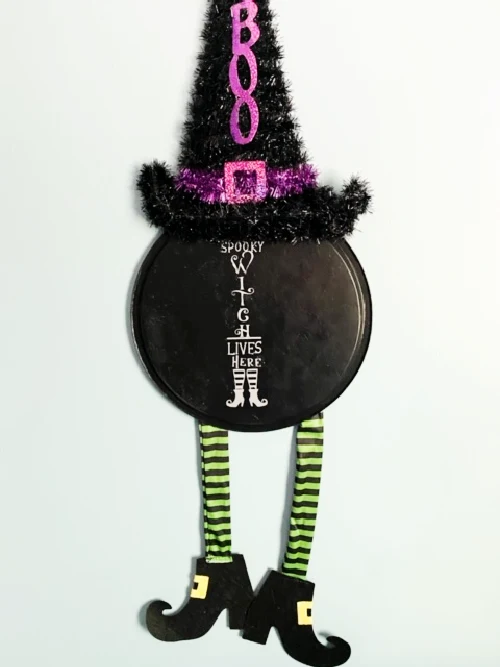
For this month’s Dollar Store Divas challenge I created a super cute Halloween witch door hanger using a dollar store pizza pan.
If you like dollar store crafts, we started an All Things Dollar Store Facebook group if you want to join. We all share our creations using supplies from either Dollar Tree, Dollar General, Family Dollar, etc.
This post contains affiliate links at no extra cost to you. Please see my full disclosure here.
It’s all about having fun, so we also host giveaways and challenges. This is our first time hosting a challenge and it’s really been inspiring to see what people come up with all using the same item.
We voted on a few different dollar store products and the pizza pan was the winner! Be sure to check out the pizza pan crafts at the end this post. They are pretty cool!
Did you see my Halloween tiered tray? I’m seriously loving it and it was really fun to decorate.
Let’s get to my pizza pan Halloween witch.
Supplies Needed For Halloween Witch Door Hanger
- Pizza Pan
- Foam Brush
- Witch Hat
- Witch Legs
- Black Paint
- Cricut Joy Transfer Tape
- Cricut Joy
- Cricut Joy Smart Vinyl
- Cricut Joy Cutting Mat
- Primer
Step 1.
Prime the pizza pan with at least 2 coats of primer.
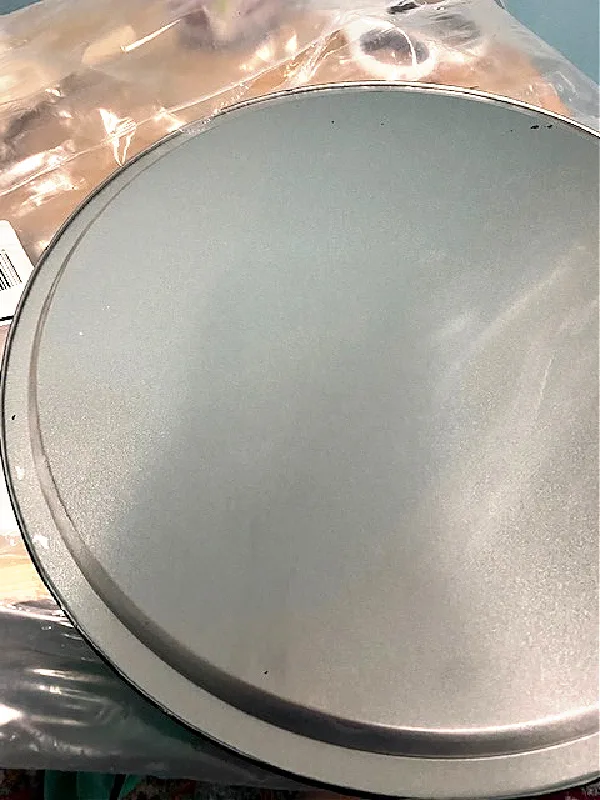
I was a little too brave and tried to save time by skipping this step. Do not skip this step, otherwise this will happen 🙁
Step 2.
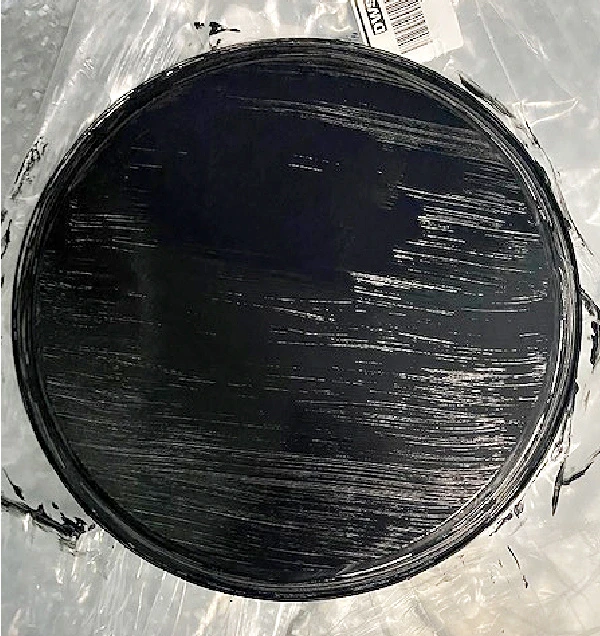
Paint with 2 coats of black paint. Let dry overnight.
Step 3.
Load the vinyl into the Cricut cutting machine. I used the Cricut Joy with smart vinyl. It is perfect for long narrow projects like this.
You can learn more about Cricut Joy here.
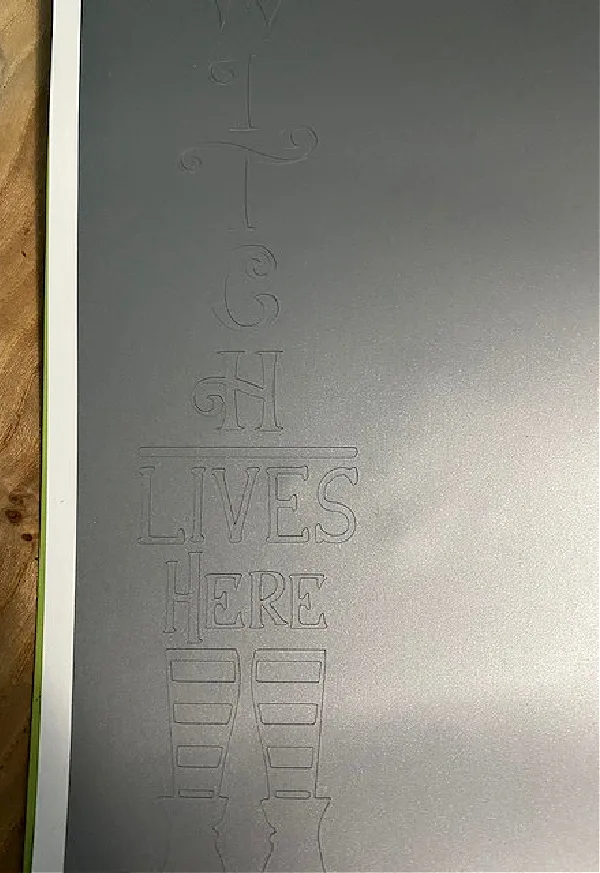
Step 4.
Upload your image in Cricut Design Space™ app. The app makes it so easy to use on your phone or ipad.
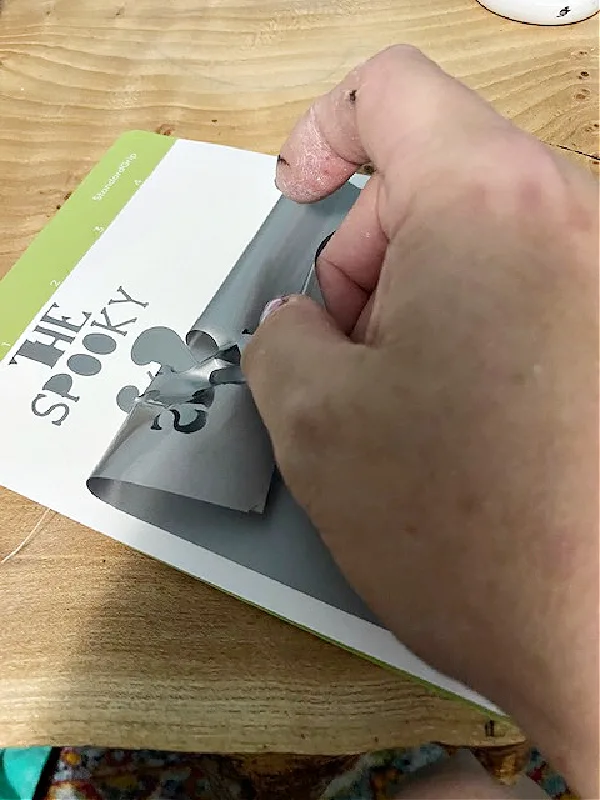
Step 5.
Remove the mat and weed the design with a weeding tool.
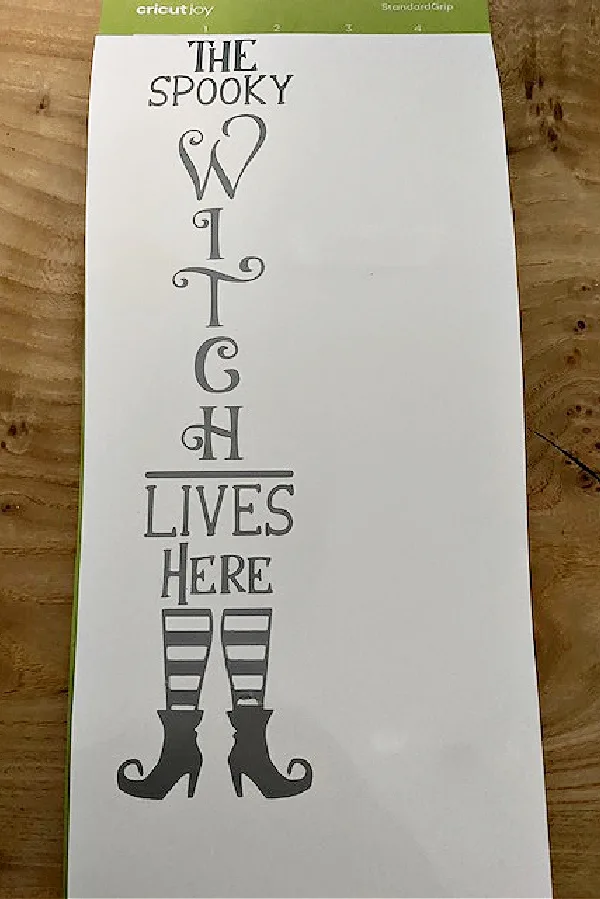
Step 6.
Cover the design with transfer tape and peel it onto the transfer tape.
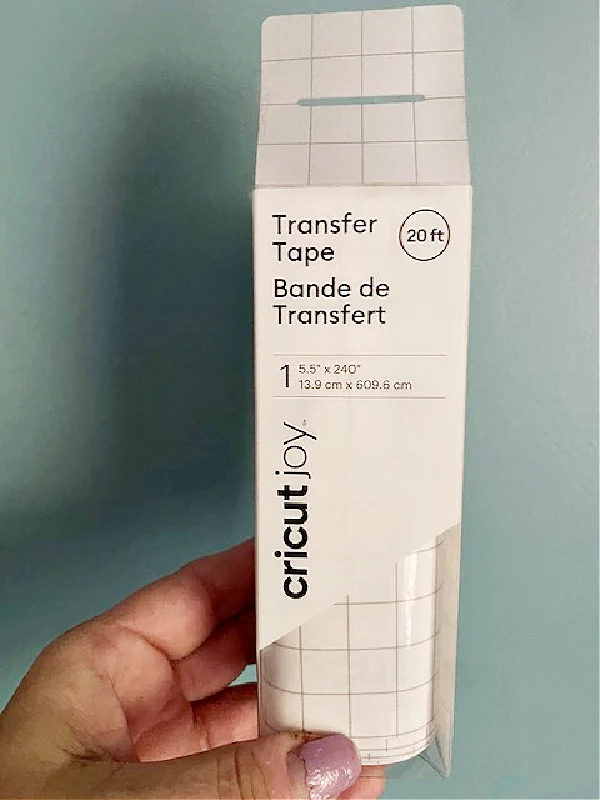
Step 7.
Burnish the design to the transfer tape with a credit card.
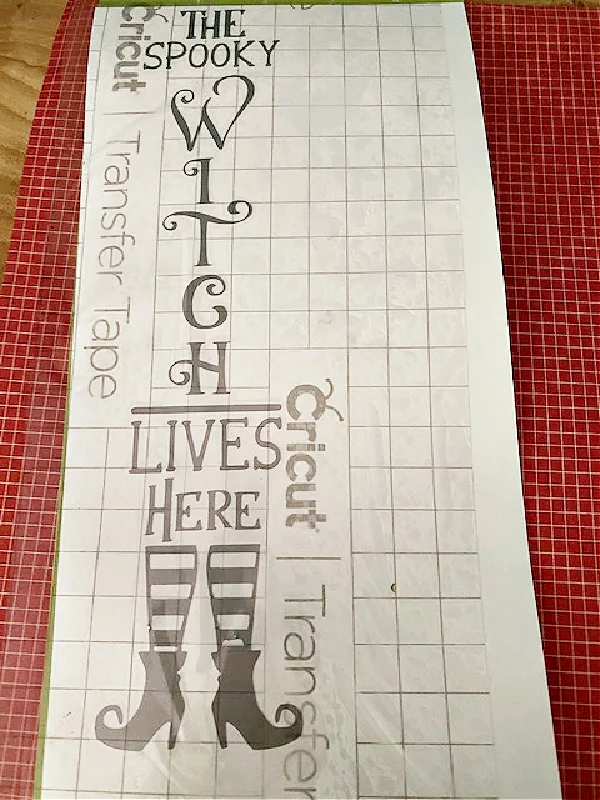
Slowly peel the tape up so the design is attached to the tape.
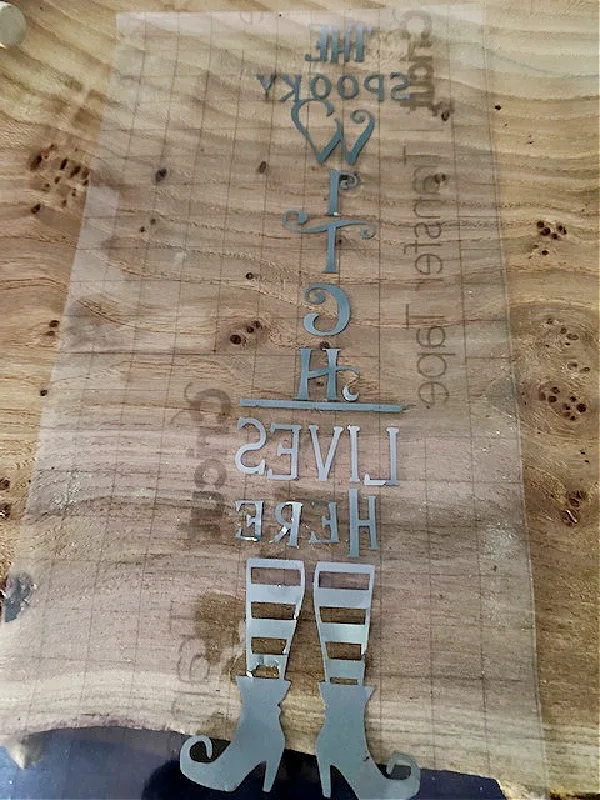
Step 8.
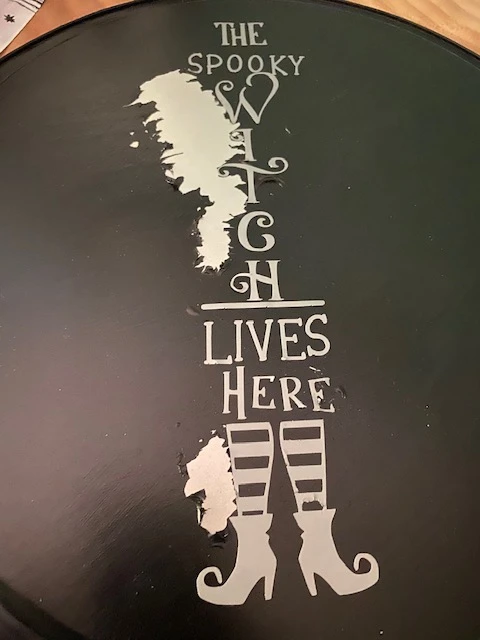
Place the design onto the pizza pan in the center. Again use a credit card lightly and carefully peel back. This is where you hold your breath and hope none of the paint peels off.
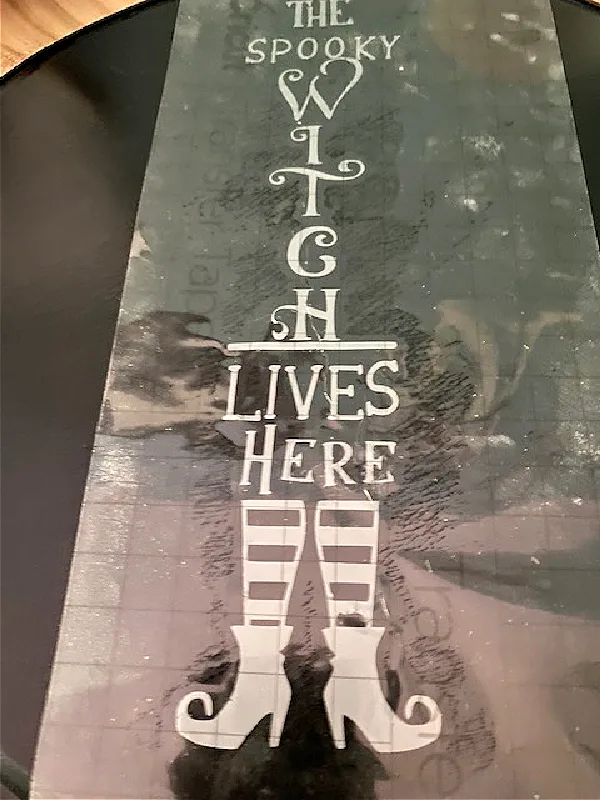
But, if you use primer you should be good to go. Because I was impatient and did not prime my pan, I went back with a foam brush and dabbed paint all over the pan, so it looked almost like sponge painting.
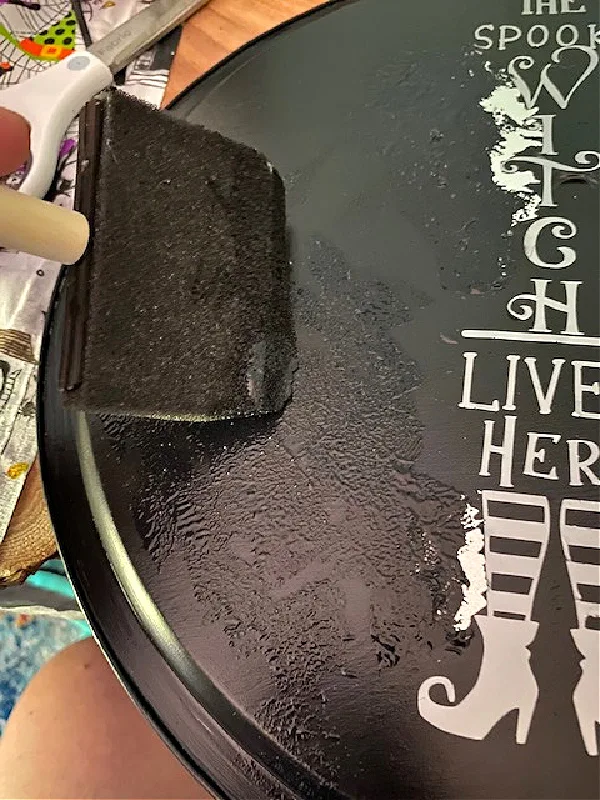
I’m a firm believer in all craft fails can be fixed, so I refused to give up. Now I actually like the mottled effect, as it gives it texture.
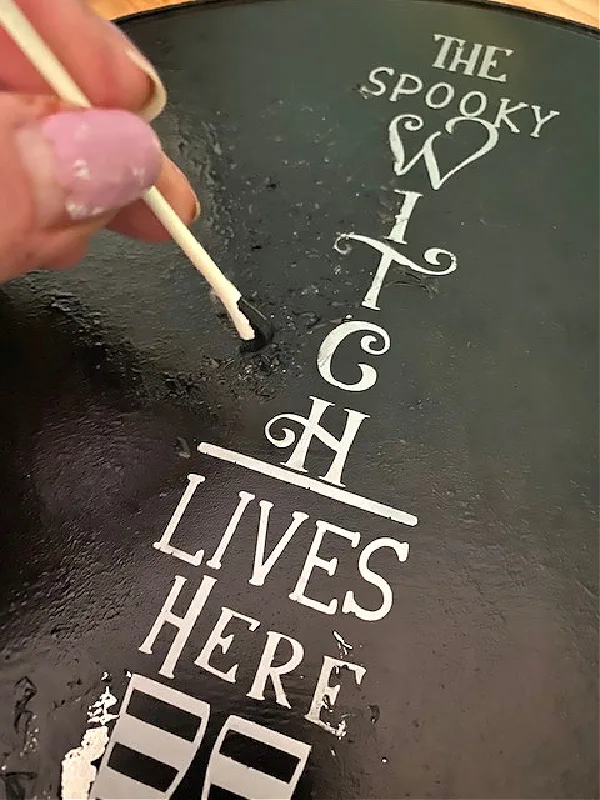
For the spots close to the design, I used a q-tip.
Step 9.
Attach the witch hat and legs to the pizza pan with a hot glue gun.

I will hang this on my side door where guests, aka the UPS and FedEx guys, drop off packages. 🙂
PLEASE PIN THE BELOW IMAGE:
I hope you enjoyed this cute little witch door hanger. Hope to see you in our Facebook group!
Check out more Dollar Tree posts from my friends:

Halloween Welcome Wall Hanging from Across the Boulevard
Tiered Tray Using Chalk Paint On Glass from Michelle James Designs
Dollar Store Halloween Welcome Wall Hanging from Daily DIY Life
Vintage Halloween Pizza Pan Wreath – Craftrocker.com
Fall Dollar Tree Pizza Pan Craft – Cookiescoffeeandcrafts.com
Pizza Pan Fall Door Hanger from Purple Hues and Me
You can check out all of my dollar store crafts here.
I’d love it if you would follow me on social media:

Marie / Craft Rocker
Friday 25th of September 2020
You can't even tell there was an early mess up in the final result. Such a great pizza pan wreath and I love that you added the vinyl detail. It looks awesome!