Bring Disney magic to Halloween! Learn how to carve an adorable Stitch silhouette foam pumpkin. This easy DIY tutorial shows you how!
This post contains affiliate links at no extra cost to you. Please see my full disclosure here.
DIY Stitch Pumpkin from Lilo & Stitch
Grab a foam pumpkin from Dollar Tree to make a fun Stitch silhouette pumpkin from the much loved Disney movie Lilo & Stitch.
This just happens to be one of my daughter’s all-time favorites!
Do you enjoy upcycling dollar store pumpkins too? Be sure to check out this collection of 53 DIY Dollar Tree pumpkins and this adorable collection of DIY Disney pumpkin painting ideas.
If you have visited Our Crafty Mom before, you know my daughter is a Senior in College.
However, that doesn’t stop her from loving her favorite Disney character, Stitch from Lilo & Stitch.
I love that although she is in College, she is still a kid at heart. I hope she never loses that side of her!
She has her first apartment with two friends and luckily her friend Steph is a big Stitch fan too.
They are decorating their apartment for Halloween and asked for a spooky wreath for their front door. I went with a DIY Freddy Krueger wreath.
Next up, I decided to make a Stitch pumpkin for their living room.
For those of you who don’t know what Stitch looks like, here he is:

He is very cute-kind of scary cute when you see his teeth!
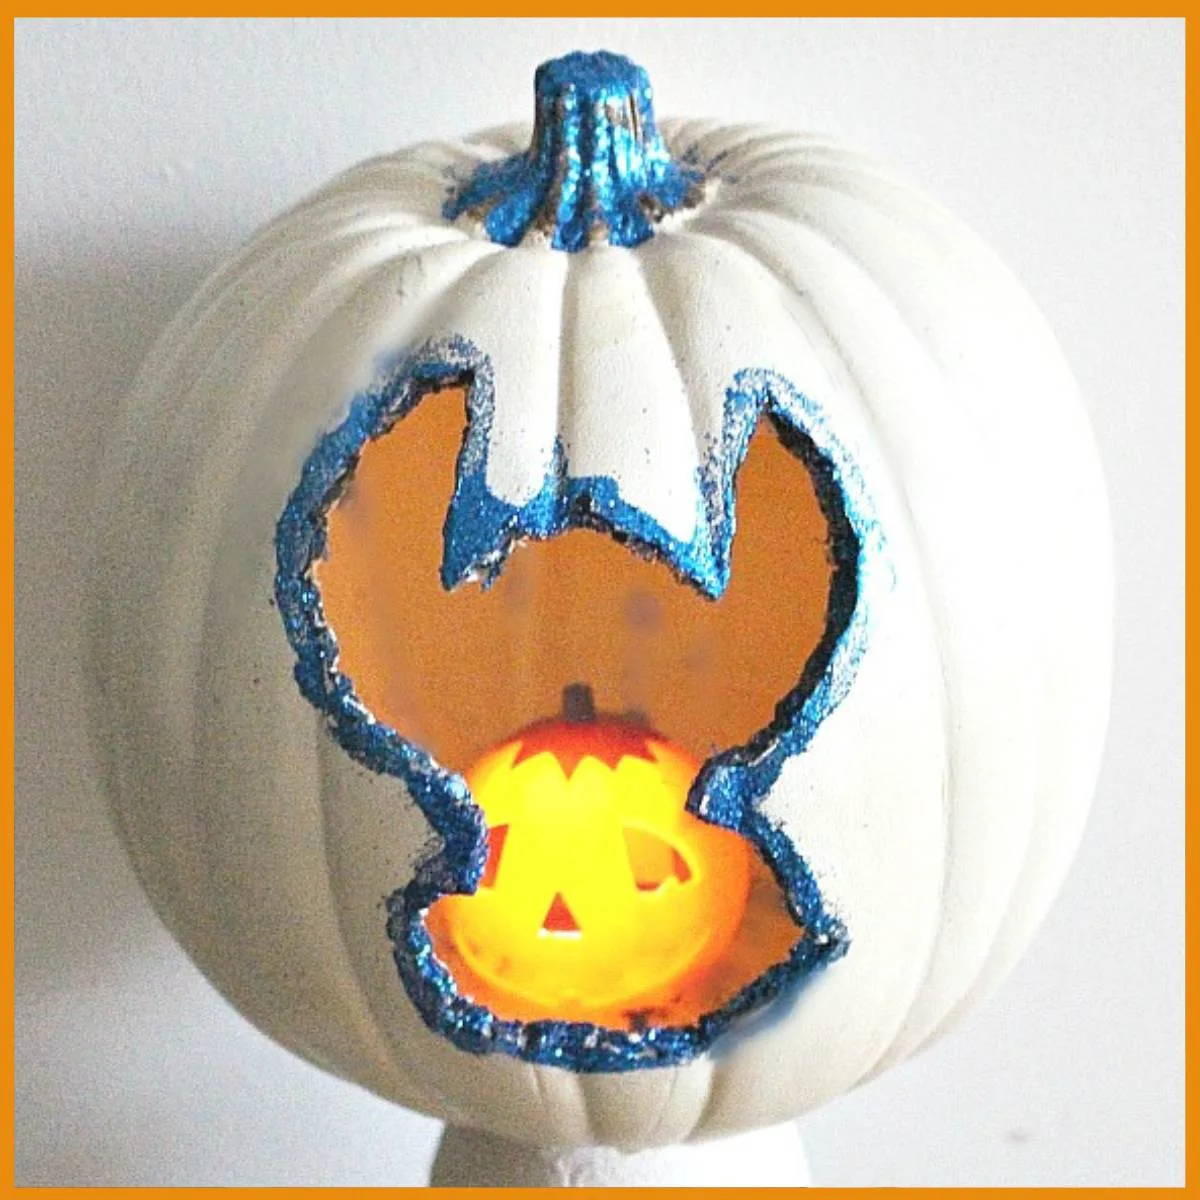
And here is the Stitch pumpkin:
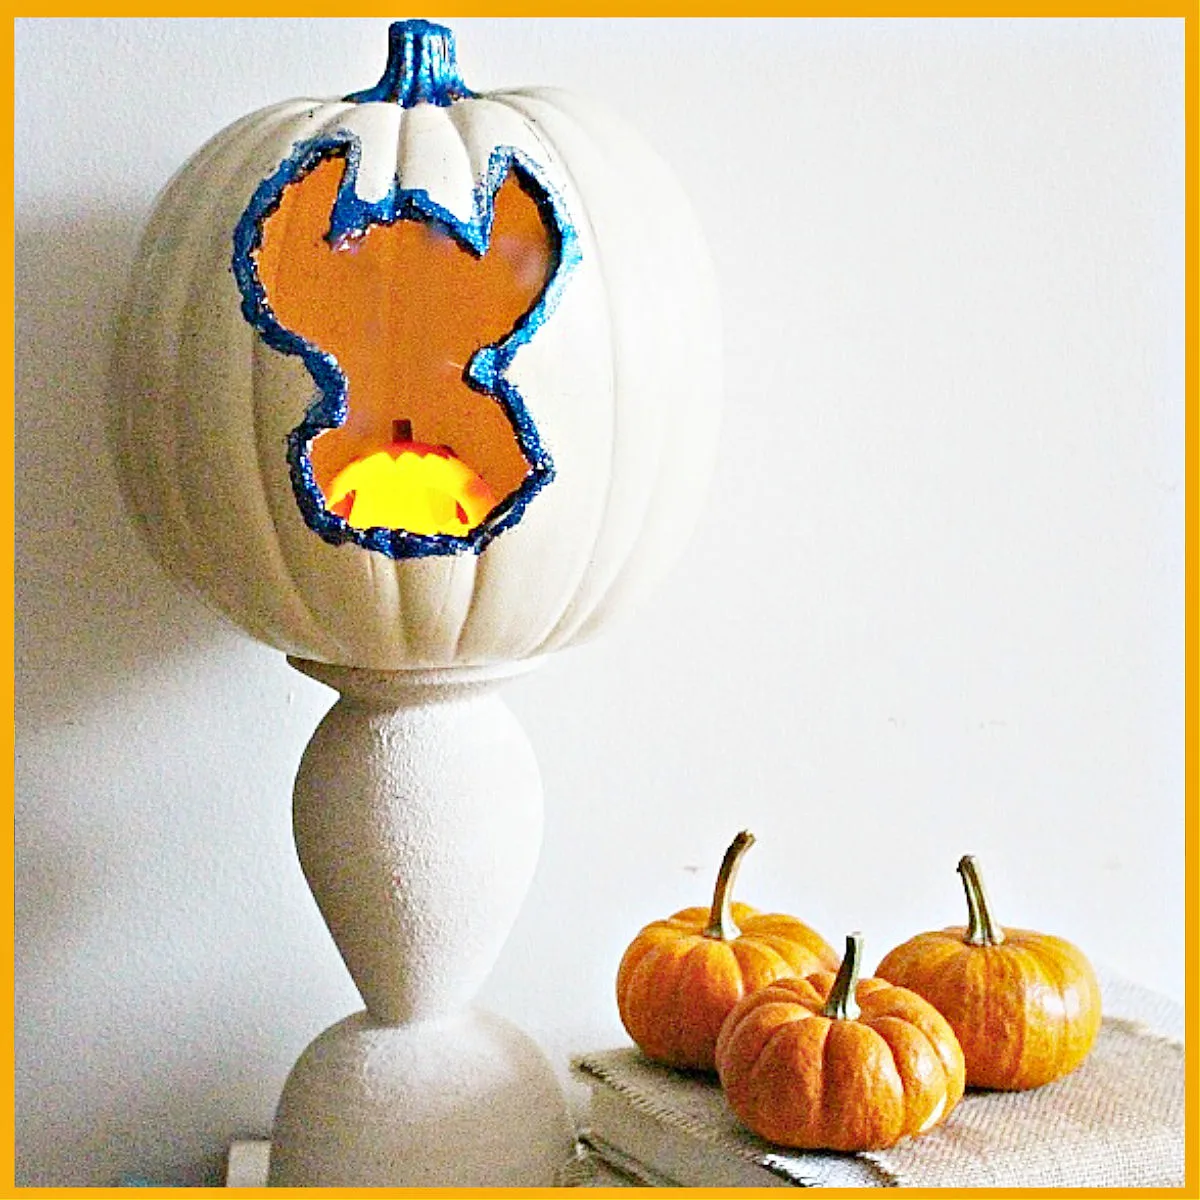
I wanted it to be a silhouette of Stitch and would you believe I have never in all my years of crafting carved a fake pumpkin!
Here is what I did.
Supplies Needed for A Stitch Pumpkin
- Sharpie Paint Pen
- Blue Glitter
- Mod Podge
- Craft Knife
- Cricut Machine – to cut the Stitch silhouette
How to Make A Lilo & Stitch Pumpkin
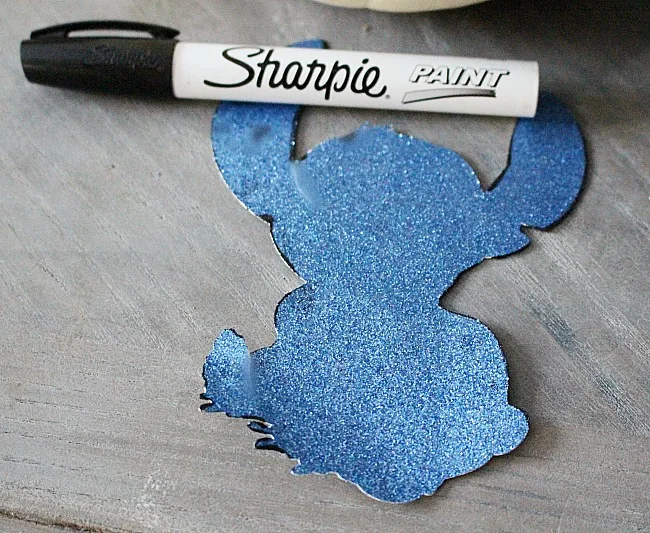
The first thing I did was search for a Stitch silhouette and uploaded it to Cricut Design Space.
If you do not own a Cricut, you can search “free Lilo & Stitch images” online.
Print and cut the image out then use tape to place it on top of the pumpkin where you want it to go.
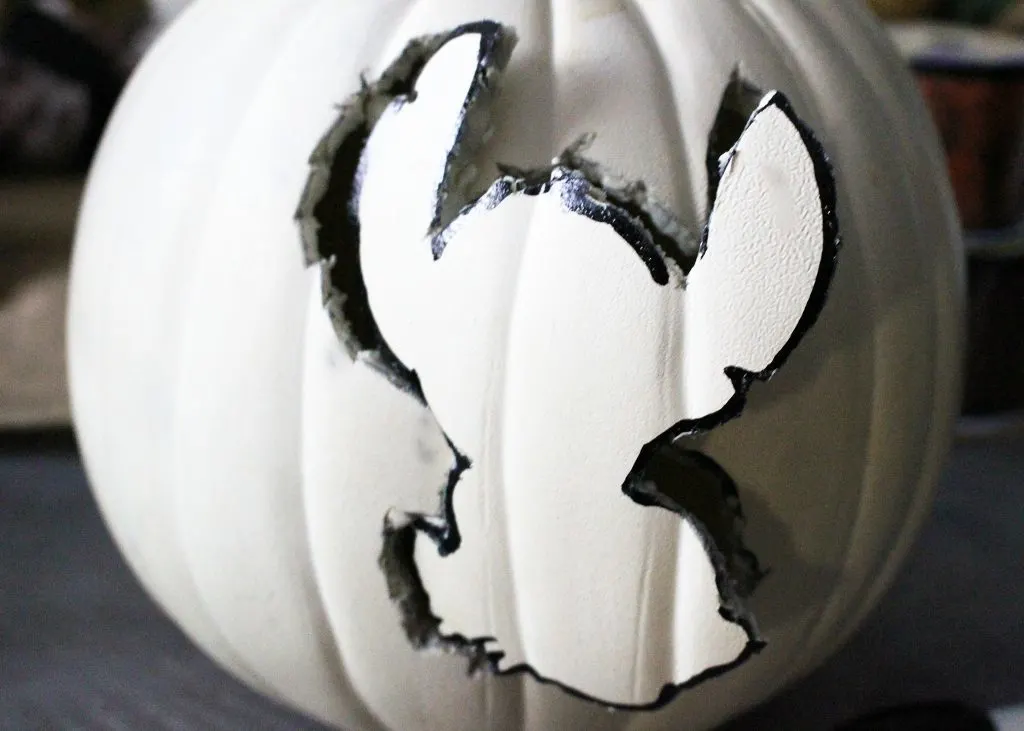
Next, trace around the image with a Sharpie Paint Pen. Use a sharp knife to cut out the Stitch shape.
Of course I had to add a little bling, so I added a bit of mod podge around the silhouette.
Then simply shake a pretty blue glitter-the color of Stitch-around the silhouette and on the stem.
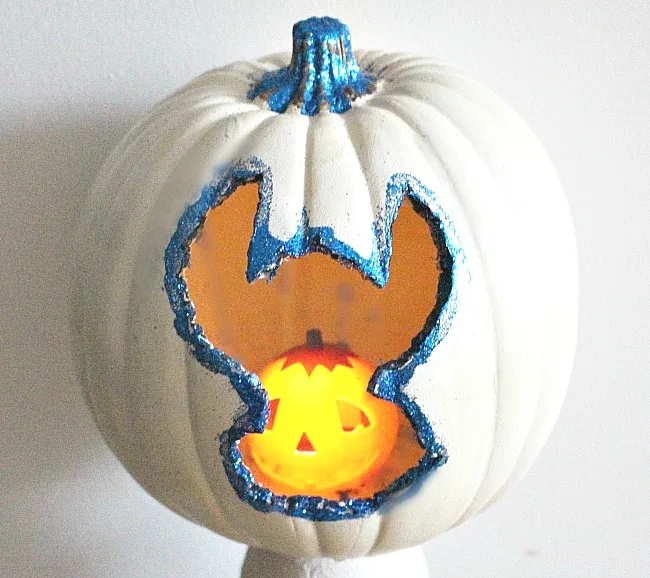
I plan to use a battery operated candle on the inside, but for now I placed a pumpkin light from the dollar store.
I’d love it if you would share this on Facebook or save it to your favorite craft board on Pinterest.
It helps my blog to grow and doesn’t cost a thing! 🙂
**Pin For Later**
Thank you for visiting. Happy Halloween!

If you enjoyed this Halloween craft, you may also like these Halloween ideas:
- 20 Cricut Halloween Project Ideas
- Busted Canvas Halloween Art
- Dollar Tree Day of the Dead Pumpkin
- Halloween Witch Door Hanger
- 15 Tasty Halloween Treats Kids Will Love
- Easy Air Fryer Halloween Donuts
- Black and White Halloween Mantel Decor
- Ghost Mugs Tutorial
- FREE Hocus Pocus printables
Follow me on social media below:

The Best 15 Disney No Carve Pumpkin Ideas | Marcie and the Mouse
Tuesday 8th of October 2019
[…] 3. LILO AND STITCH PUMPKIN […]
Marie Dabbs
Friday 13th of October 2017
How cute! I love that movie! Ya know, I've never actually carved open one of those faux pumpkins, just decorated them. I'll have to try it!
Habiba
Thursday 5th of October 2017
I love that you support your daughter decorating her first apartment. I never carved a pumpkin in my live, too. I can still remember the joy I felt, when I decorated my first apartment for christmas. And as I didn't have much furniture, I could get a huge christmas tree - I loved it!!!
Pam
Tuesday 3rd of October 2017
That is so cute! I love how you put the little jack-o-lantern inside of it. Thanks for hopping with us!