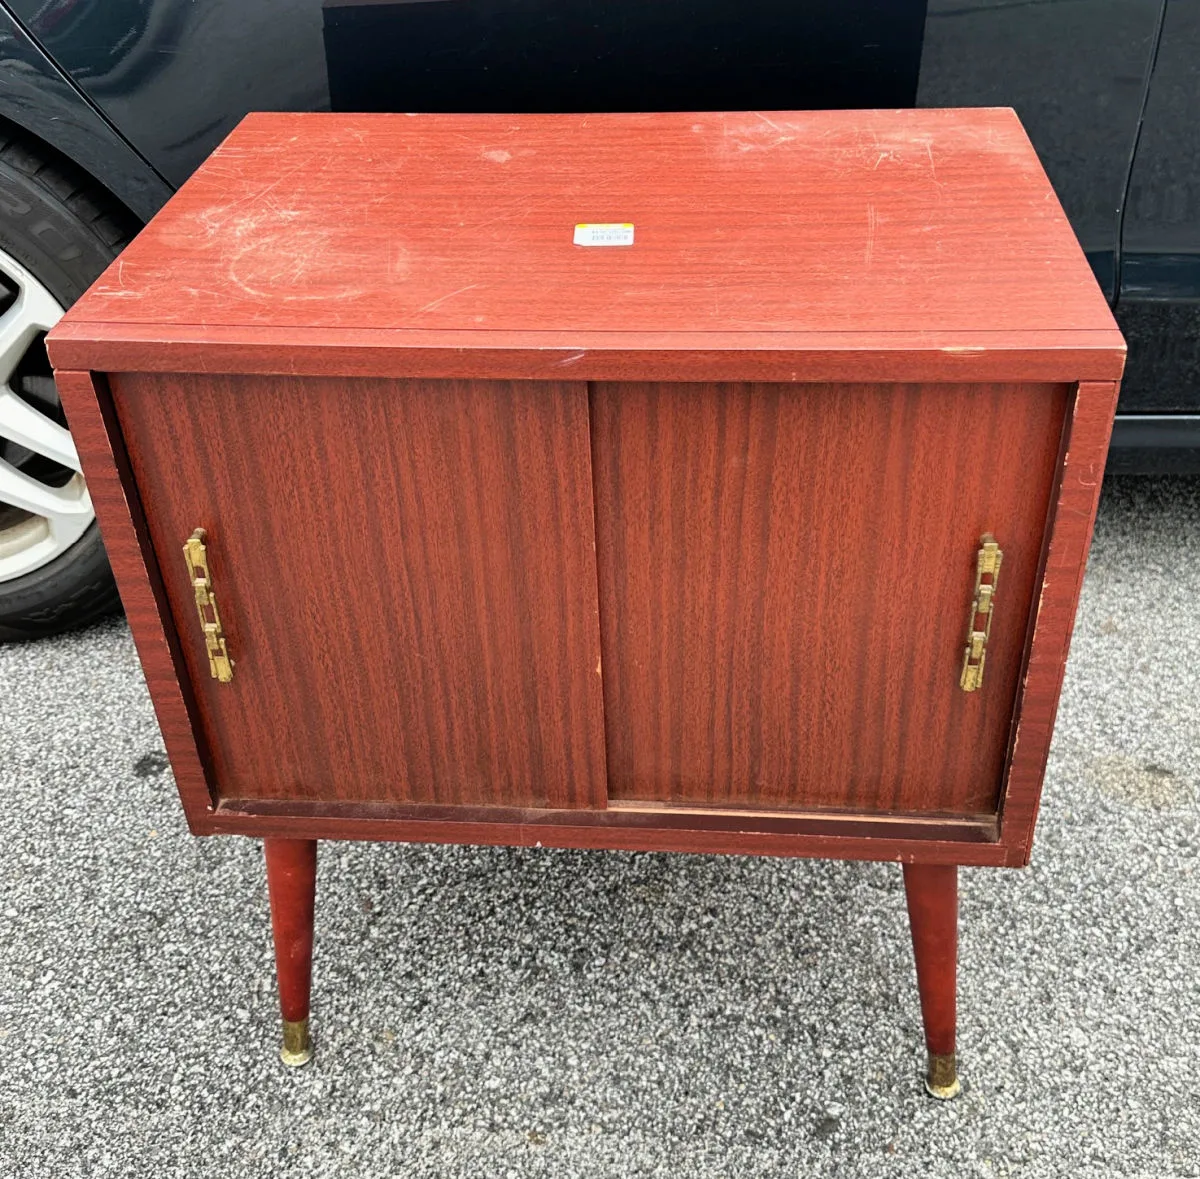
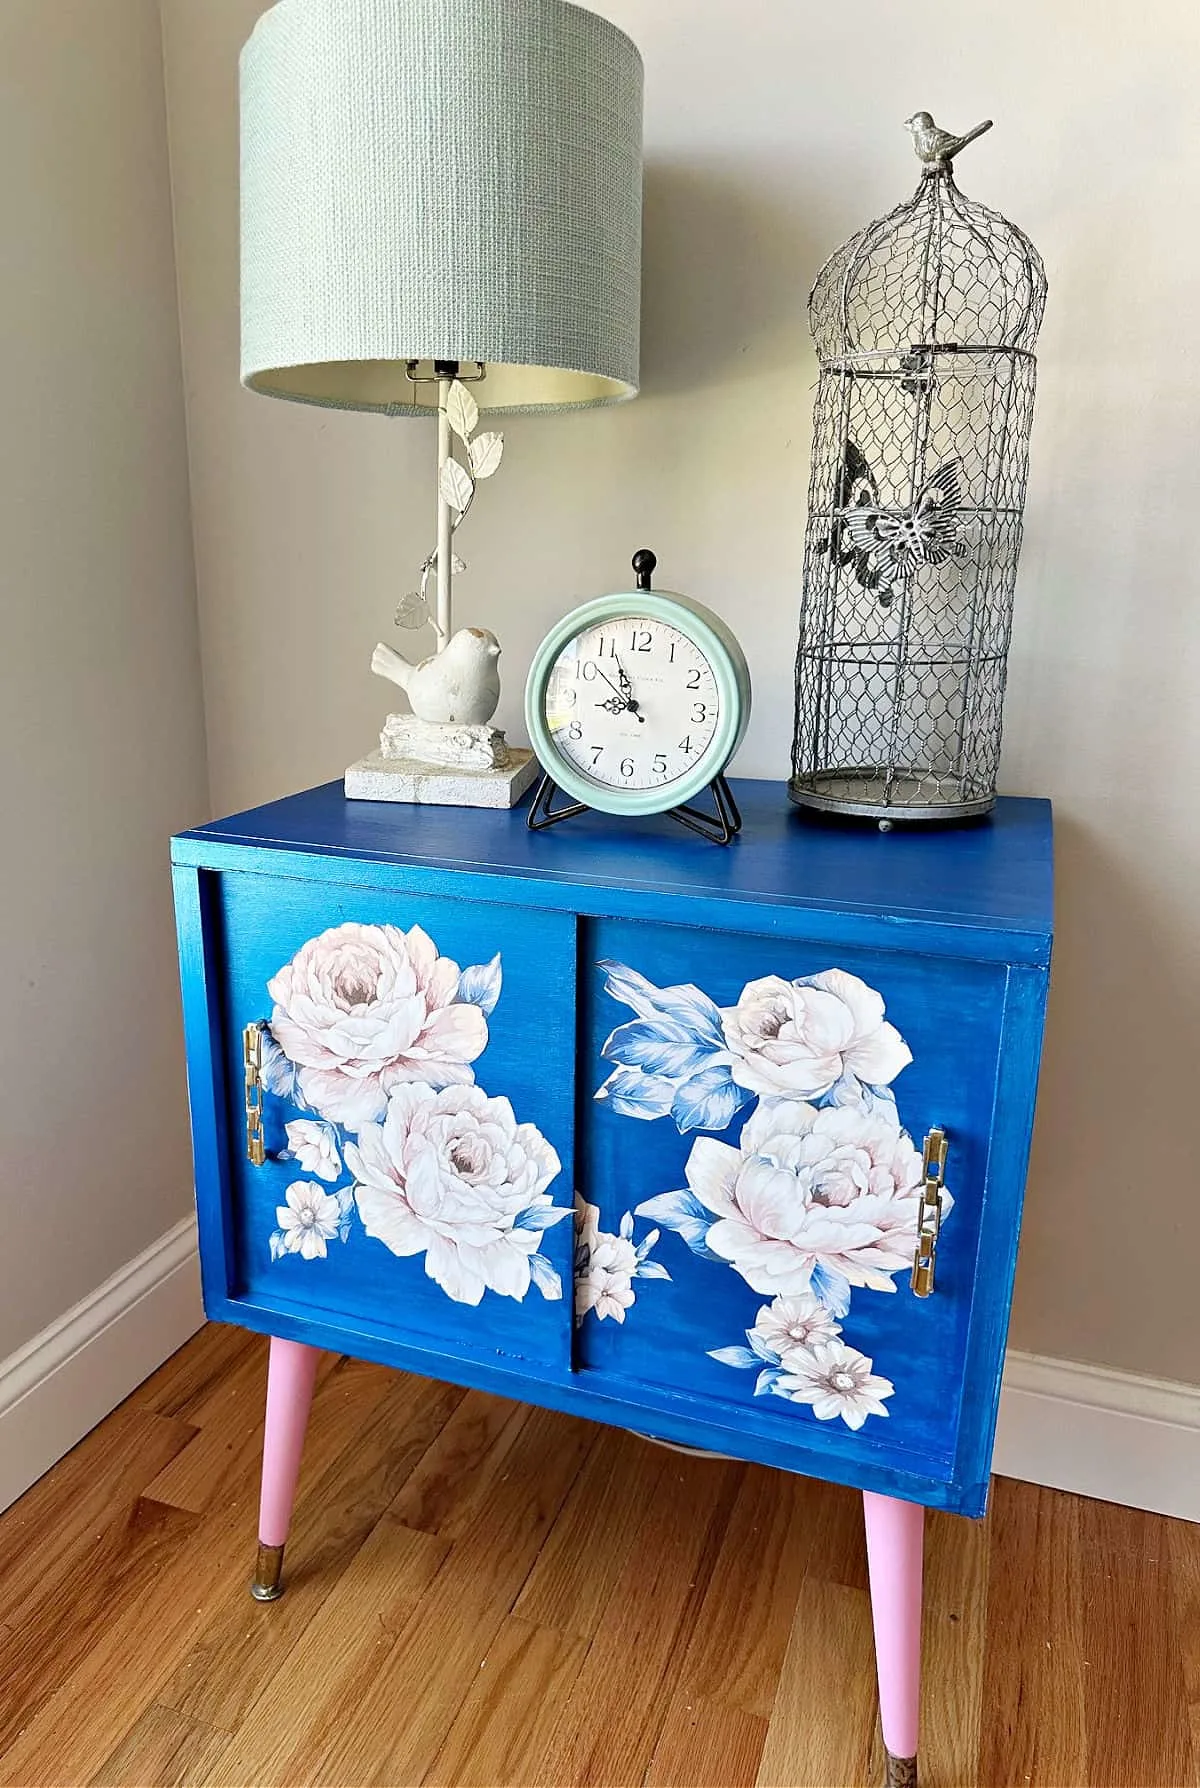
Bold metallic blue paint, pretty floral wallpaper and gold handles give this $3 thrift store mid century modern record cabinet new life.
Come check out the step-by-step tutorial to see how this thrift store storage cabinet went from an ugly duckling to a swan.
This post is sponsored by DecoArt and contains affiliate links at no extra cost to you. Please see my full disclosure here.
Mid Century Modern Record Cabinet
Thrifting is all about the hunt. There are some weeks when I hit my favorite Goodwill and I leave empty-handed.
The past couple of weeks I’ve found some diamonds in the rough and this vintage record cabinet is one of those finds.
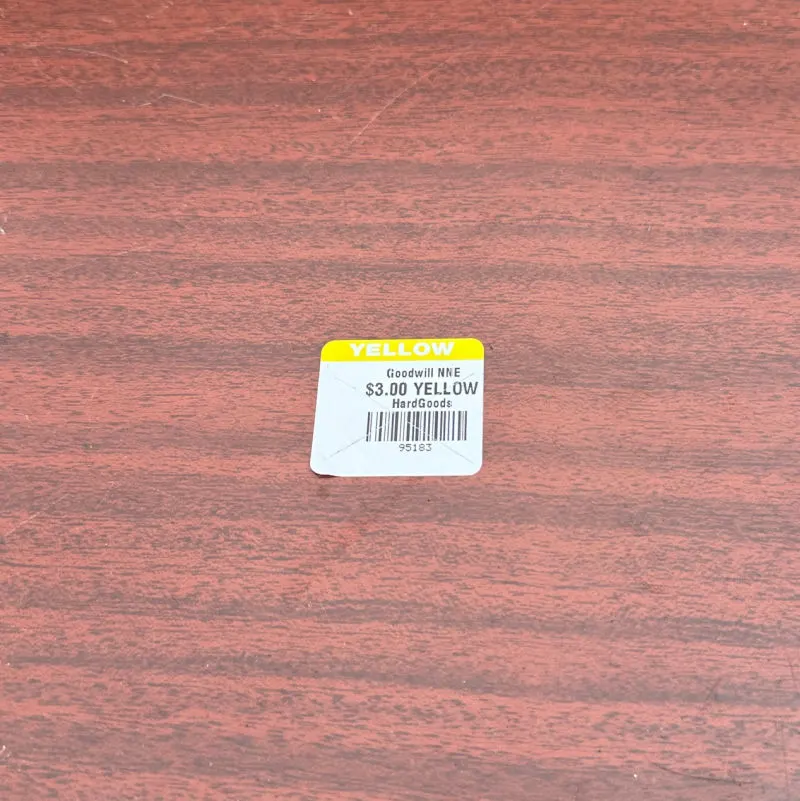
This baby was only $3! Yup-just 3 dollar bills. It was a close call as another smart shopper spotted it first and I was patiently waiting hoping she didn’t scoop it up.
Thankfully, she had a shopping cart full of items so she left it. The minute I saw the record player storage I wanted it.
The cheap price was the icing on the cake.
I’ve been looking for a cabinet to hold my Cricut machine and knew this would be the right size.
My hope was that my Cricut mats would fit in the cabinet where vinyl records are normally held, and they do!
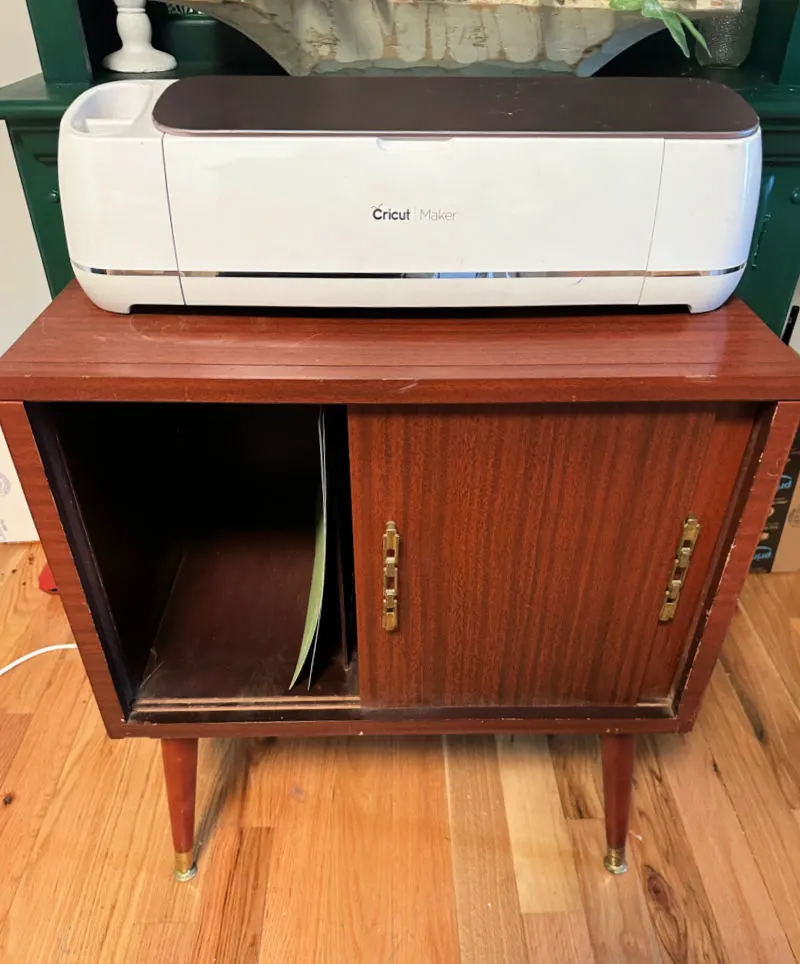
Plus, I can store cardstock, vinyl and other accessories on the second side. Now to get this beauty cleaned up and painted.
How to Makeover a Thrift Store Cabinet
There is a printable DIY card below with a step-by-step tutorial, but I will share some of my best furniture tips first. Giving old furniture new life is one of my very favorite things to do.
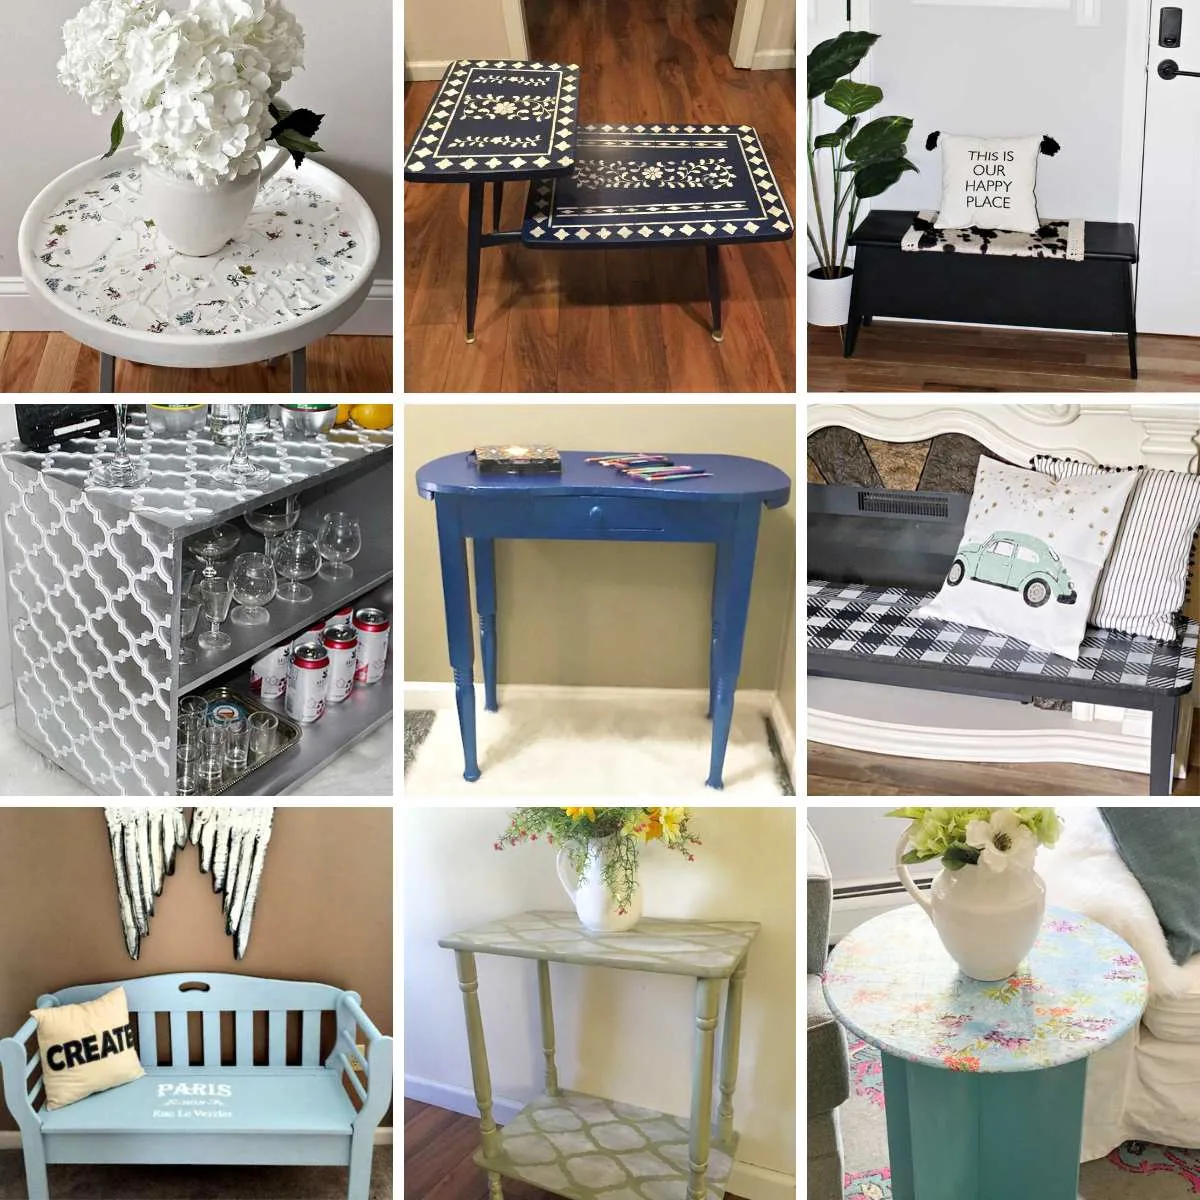
You can see a collection of the DIY furniture makeovers I have completed over the past decade.
Supplies for Thrift Store Cabinet Makeover
- Bar Keepers Friend
- DecoArt Chalky Finish Paint – I used Sapphire and Innocence
- Wooster Short Handle Paint Brush
- Craft Knife
- Peel and Stick Wall Paper
- Sanding Block
Clean the Cabinet
The first thing you want to do with any thrift store furniture is to give it a good cleaning.
You don’t need any fancy or expensive cleaning products. A simple mix of dish soap and hot water is all you need. It really is that easy.

Repair any Damage
Next up, you want to inspect your piece for any damage and repair it as needed.
Thankfully this cabinet was in good shape aside from a few scratches and watermarks.
Nothing a bit of sanding can’t take care of.
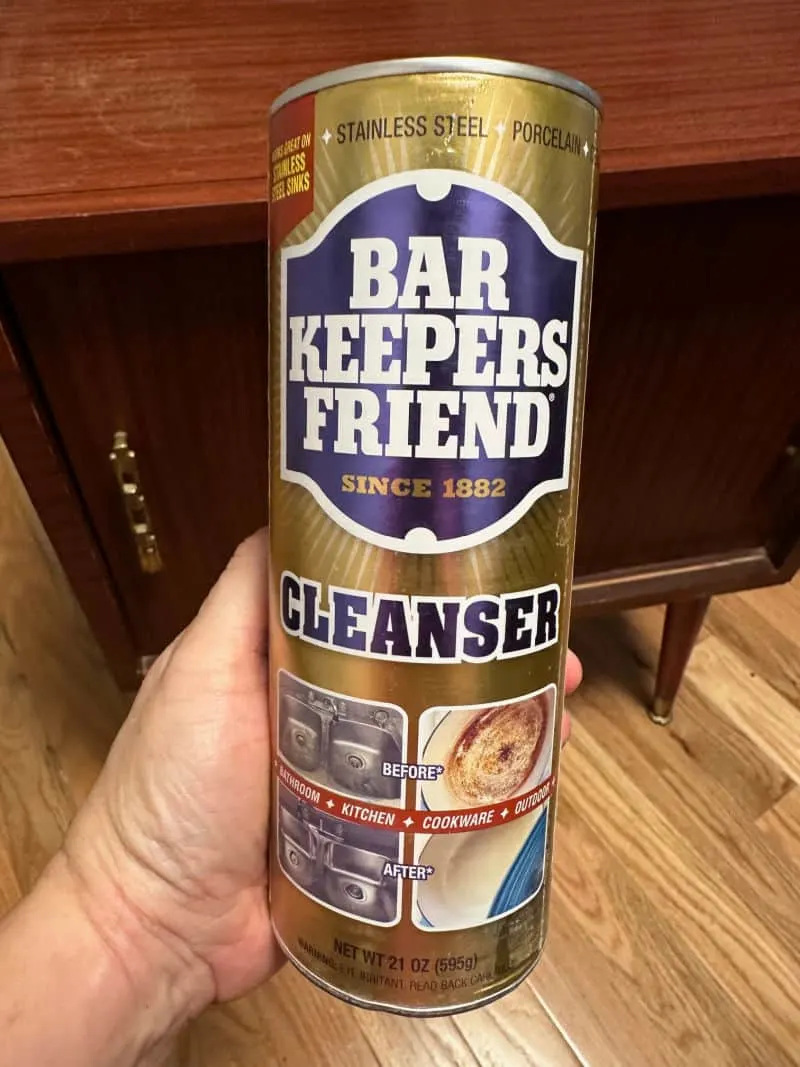
I did refinish the pretty, ornate handles with Bar Keepers Friend and they turned out great!
This is my first time using this product and the hype is real. I picked mine up at Lowe’s for under $3.
Look at the difference in the before and after:


Choose a Paint Color
I’ve been working on a multipurpose craft room/bedroom the past month or so. Unfortunately, I haven’t made much progress.
Like most crafters I have about 15 projects going at the same time. However, this cabinet has motivated me!
When deciding on what color to paint this thrift store find, I used the peel and stick wall paper that I purchased for the craft room as inspiration.
It is soft, feminine and just lovely:
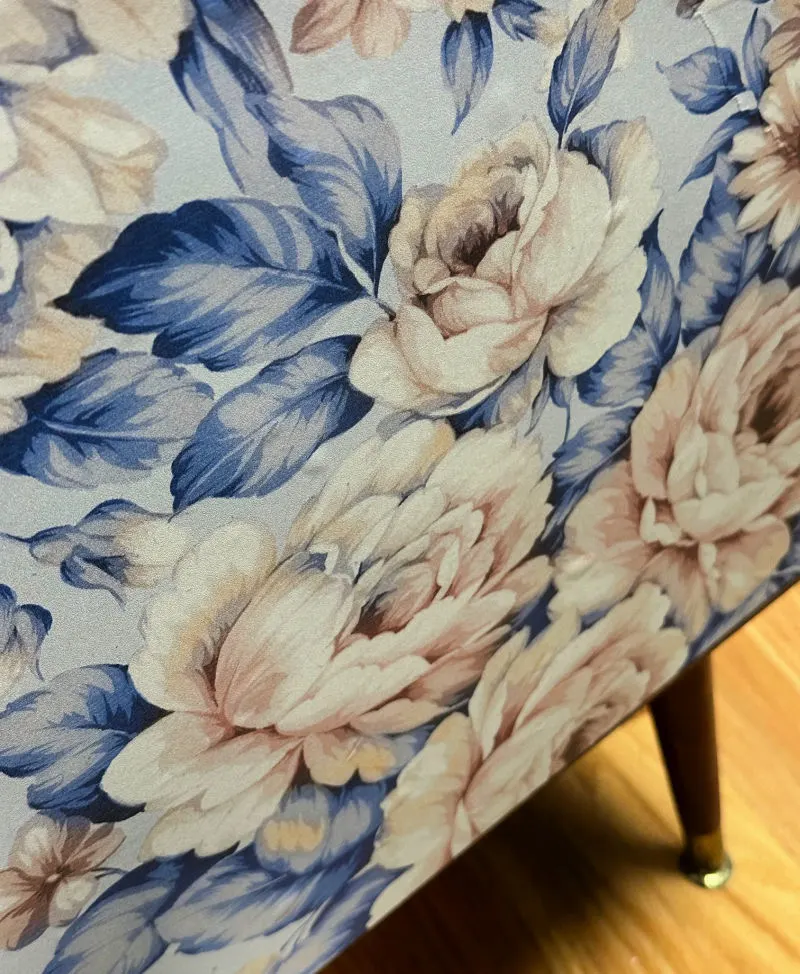
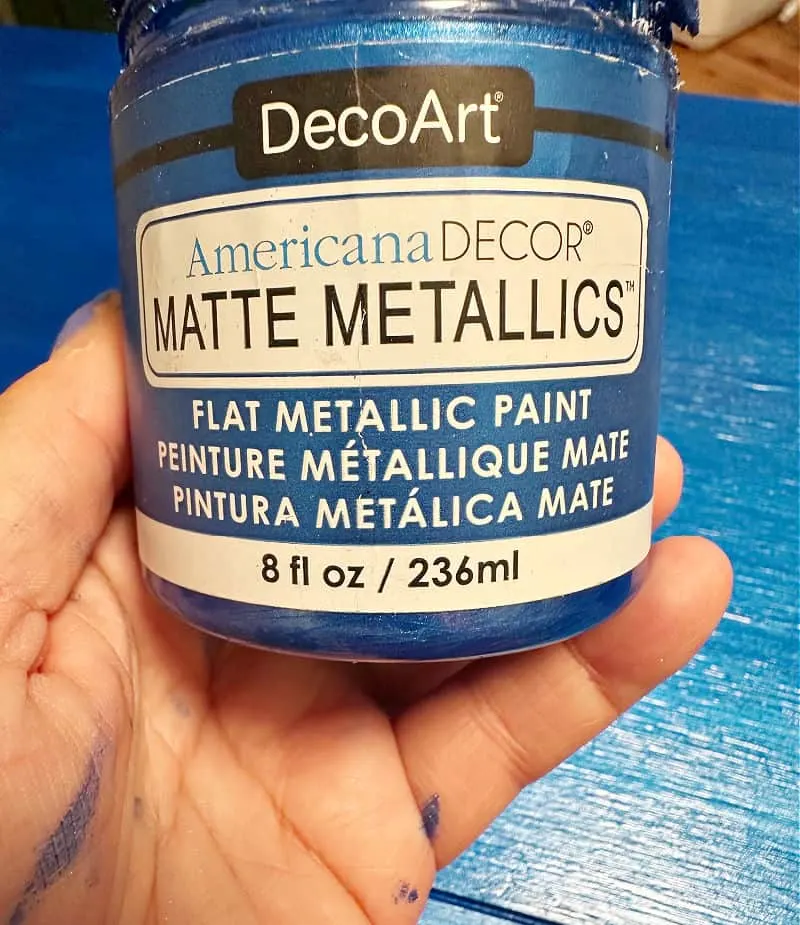
I recently received a box of goodies from DecoArt and found the perfect colors. Some things are just meant to be!
Time for Paint
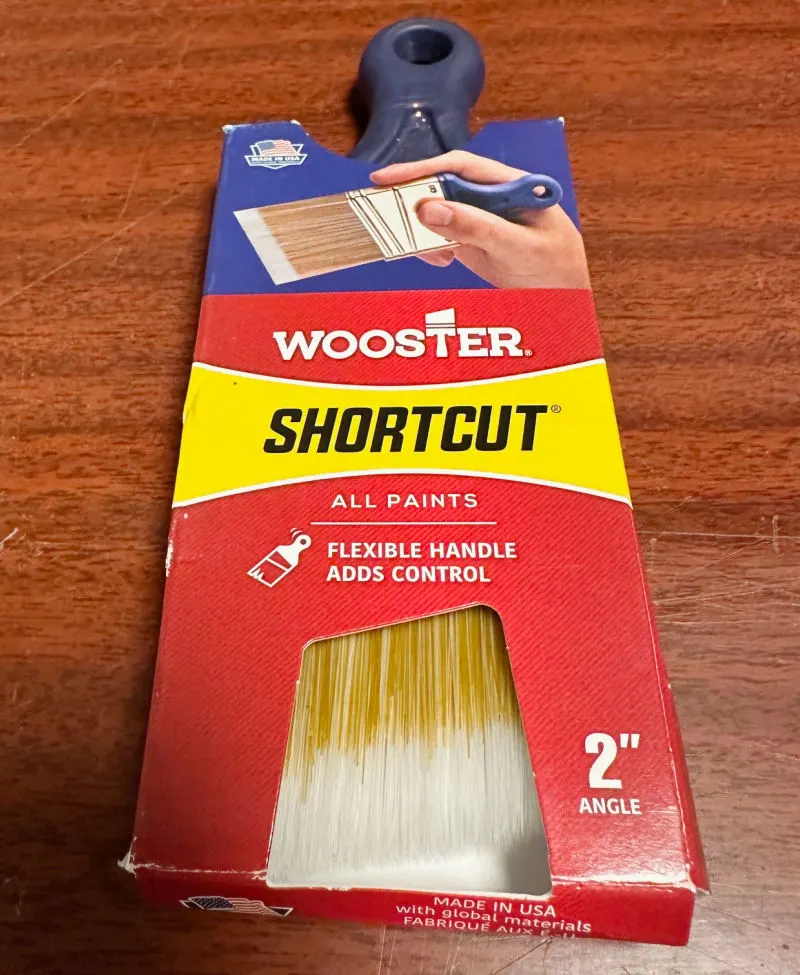
Now for the fun part…the paint transformation. The moment I paint the first stroke I get so excited. The Wooster short handle paint brush makes painting furniture so much easier.
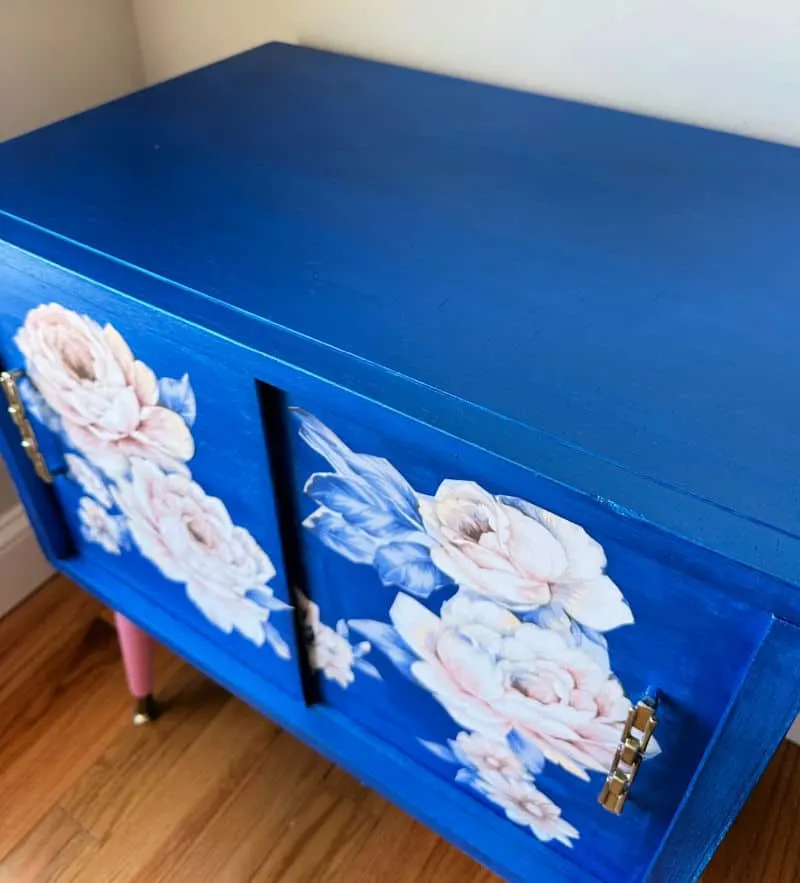
I decided to go with the metallic blue paint in sapphire. It compliments the wallpaper perfectly. Look at that shine!
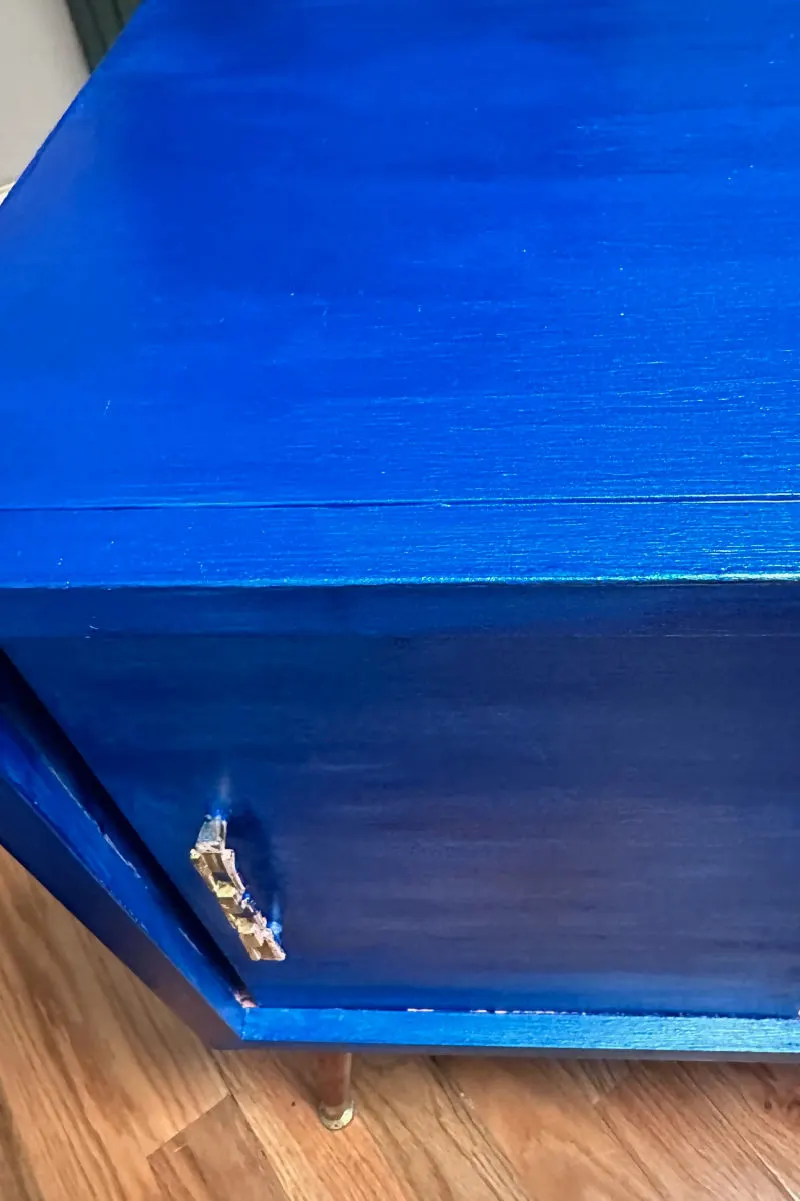
I wasn’t able to remove the handles, so a few touch-ups are needed, but the gold really pops against the bright blue.
Add Peel and Stick Wallpaper
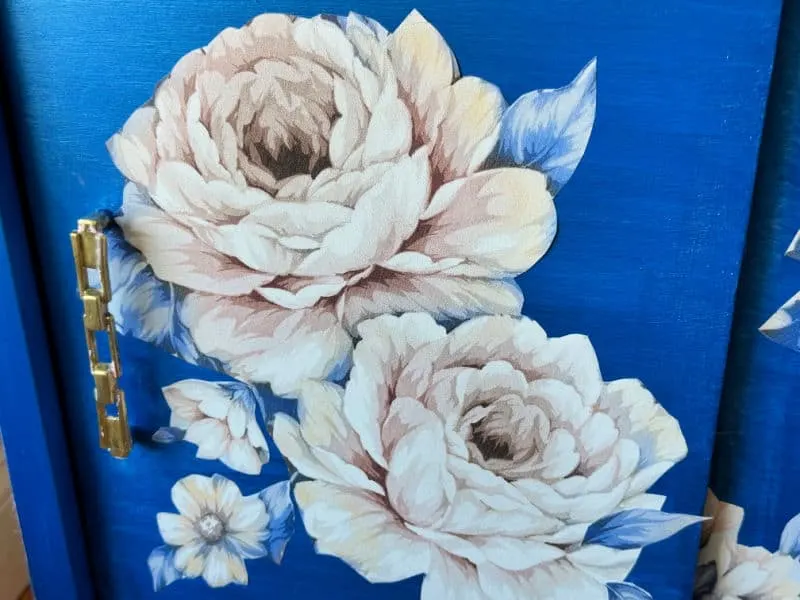
Next up, I added cut wallpaper detail pieces to the front of the cabinet.
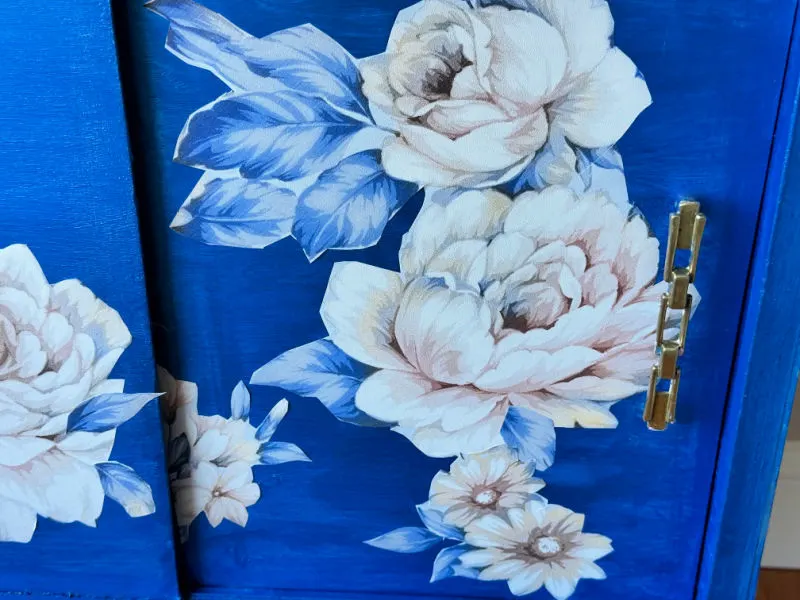
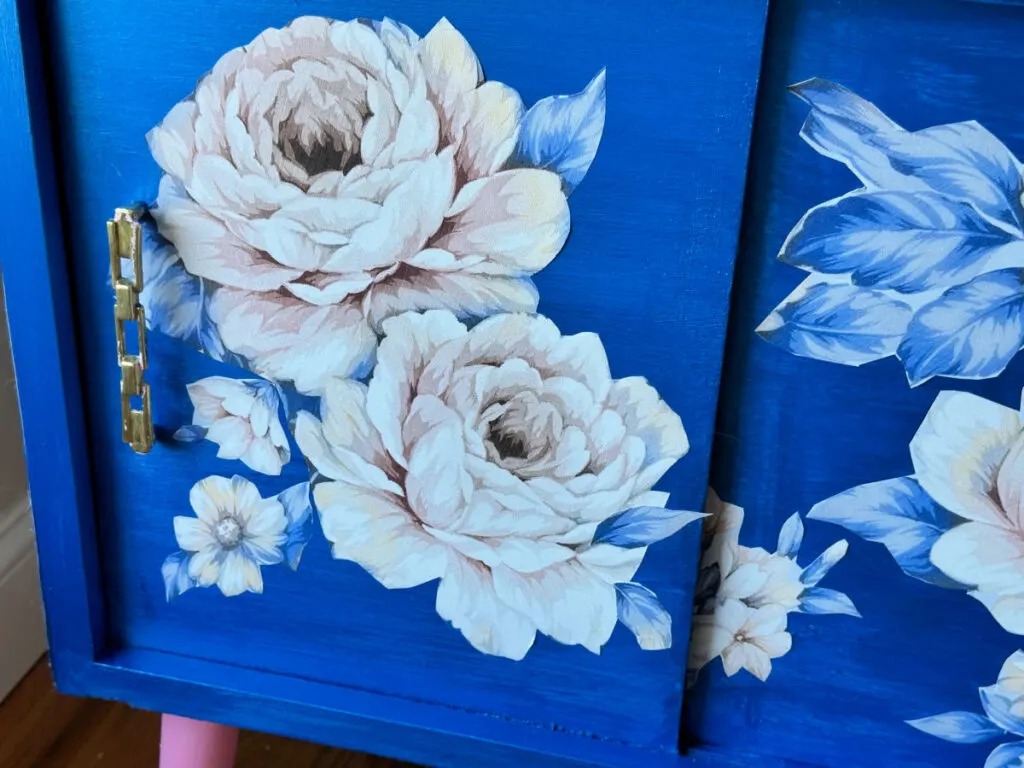
I’m really happy with how the cut floral pieces look on the cabinet front. It’s such a happy piece now!
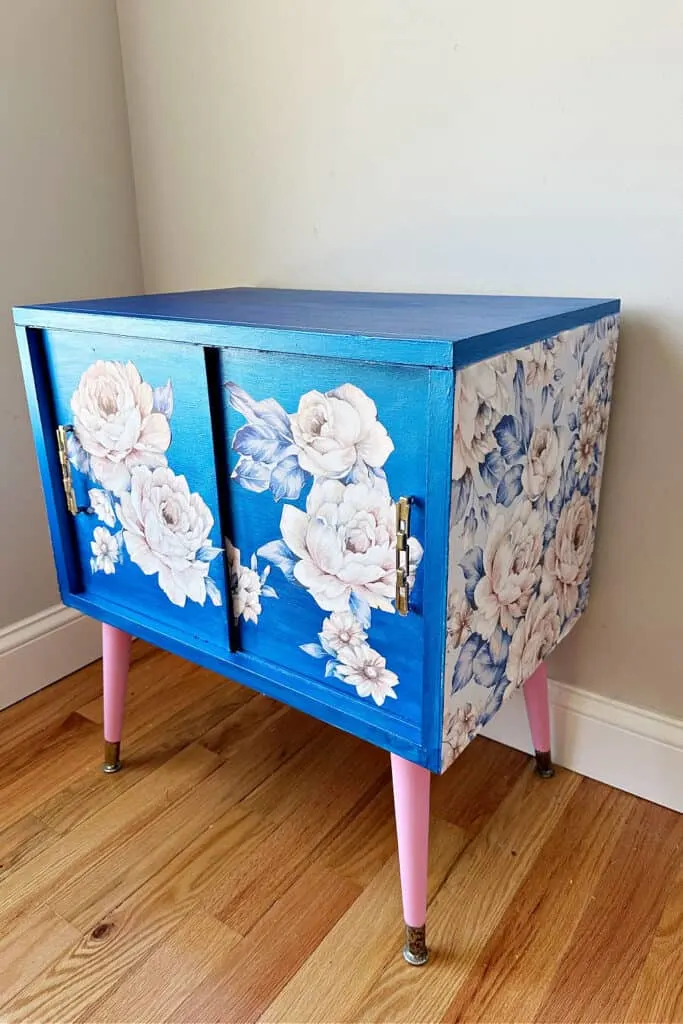
Peel and stick wallpaper is super easy to work with. You may also want to see my hutch makeover with peel and stick wallpaper.
Paint the Legs
The wood legs looked dull against the blue paint, so I chose the paint the legs pink. This bring in another pop of color and highlights the pink in the wallpaper.
Keep an eye out the next time you are thrifting for inexpensive furniture pieces that are in good physical condition, but in need of an update.
It is really amazing to see what you can find for cheap!
Finished Mid Century Modern Record Player Cabinet
My plan is to add this cabinet to my craft room once it is finished. I will share updated pictures of it once that’s done showing the Cricut with the mats.
For now, I have it set up in my bedroom as a nightstand. It really is such a versatile piece.
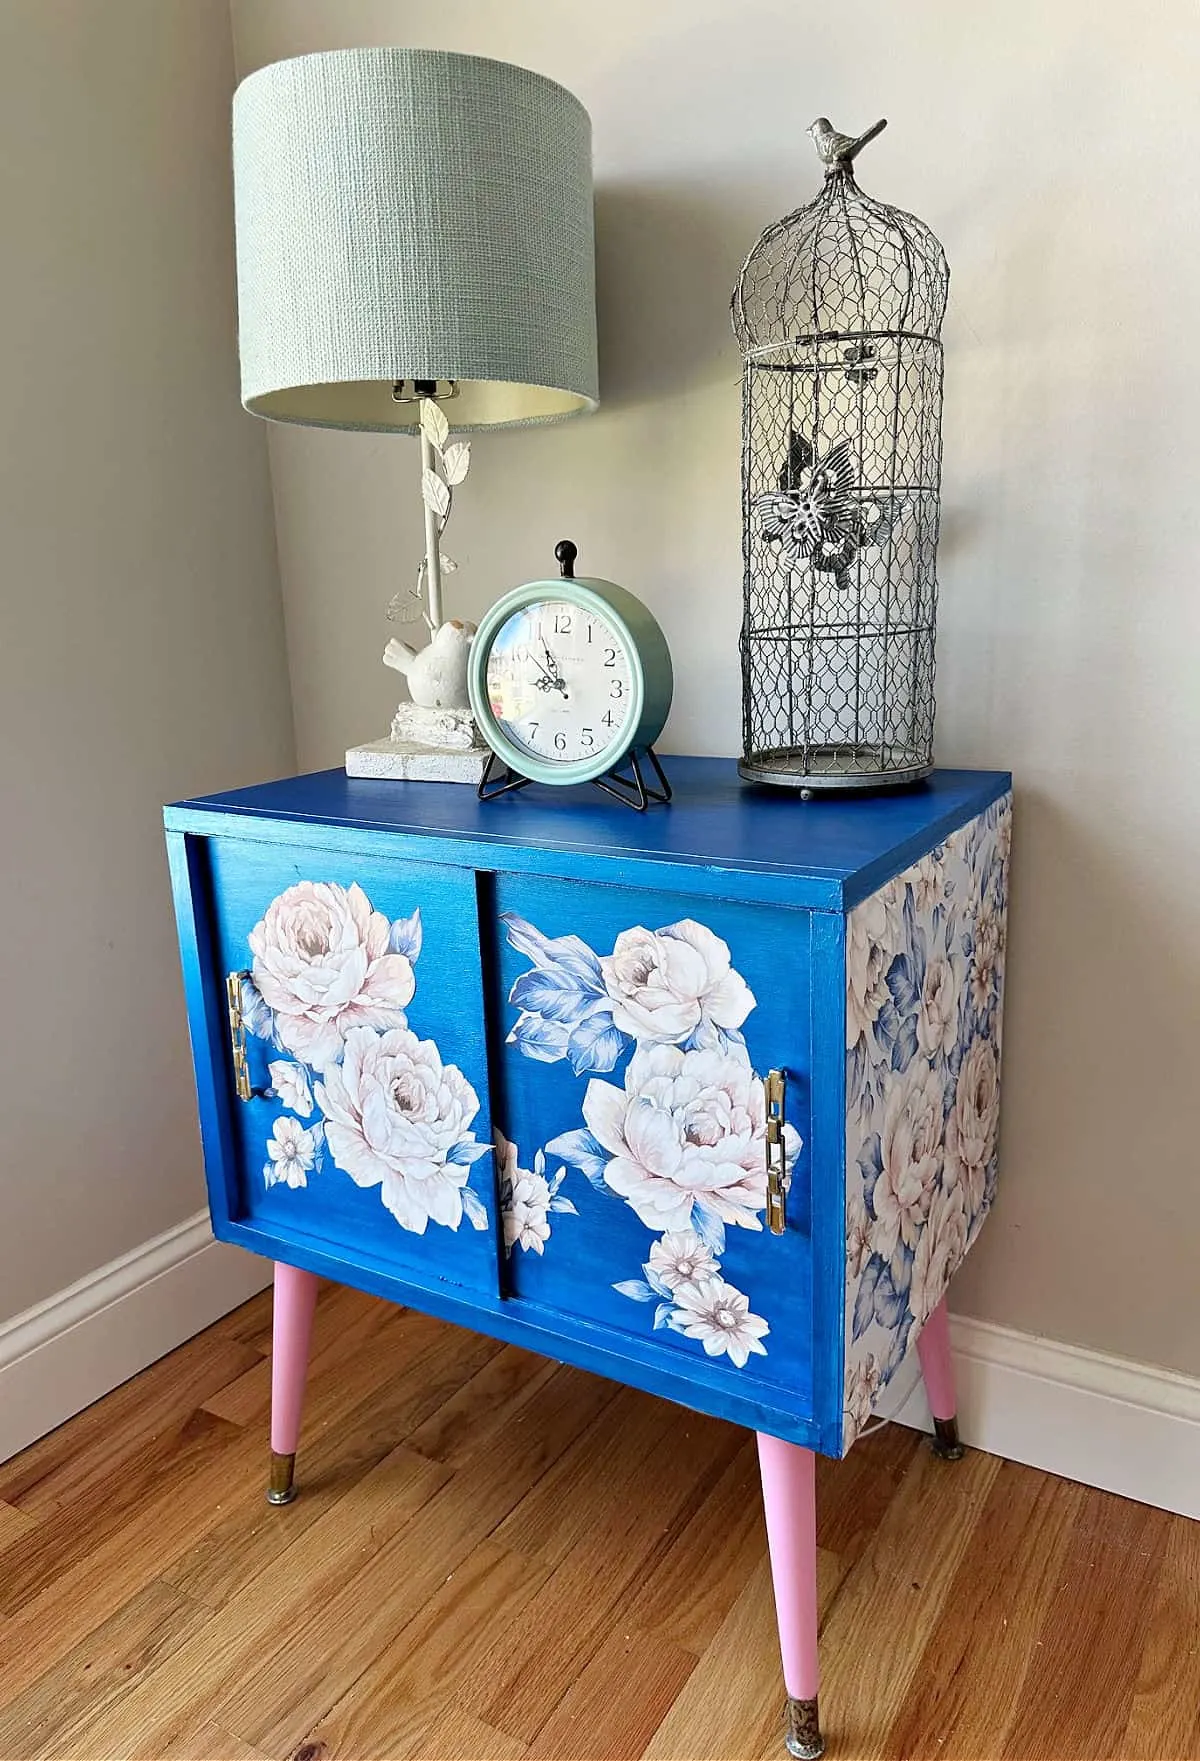
Not bad for $3, right?

Hopefully, this mid century modern cabinet makeover inspires you to give an old furniture piece an update.


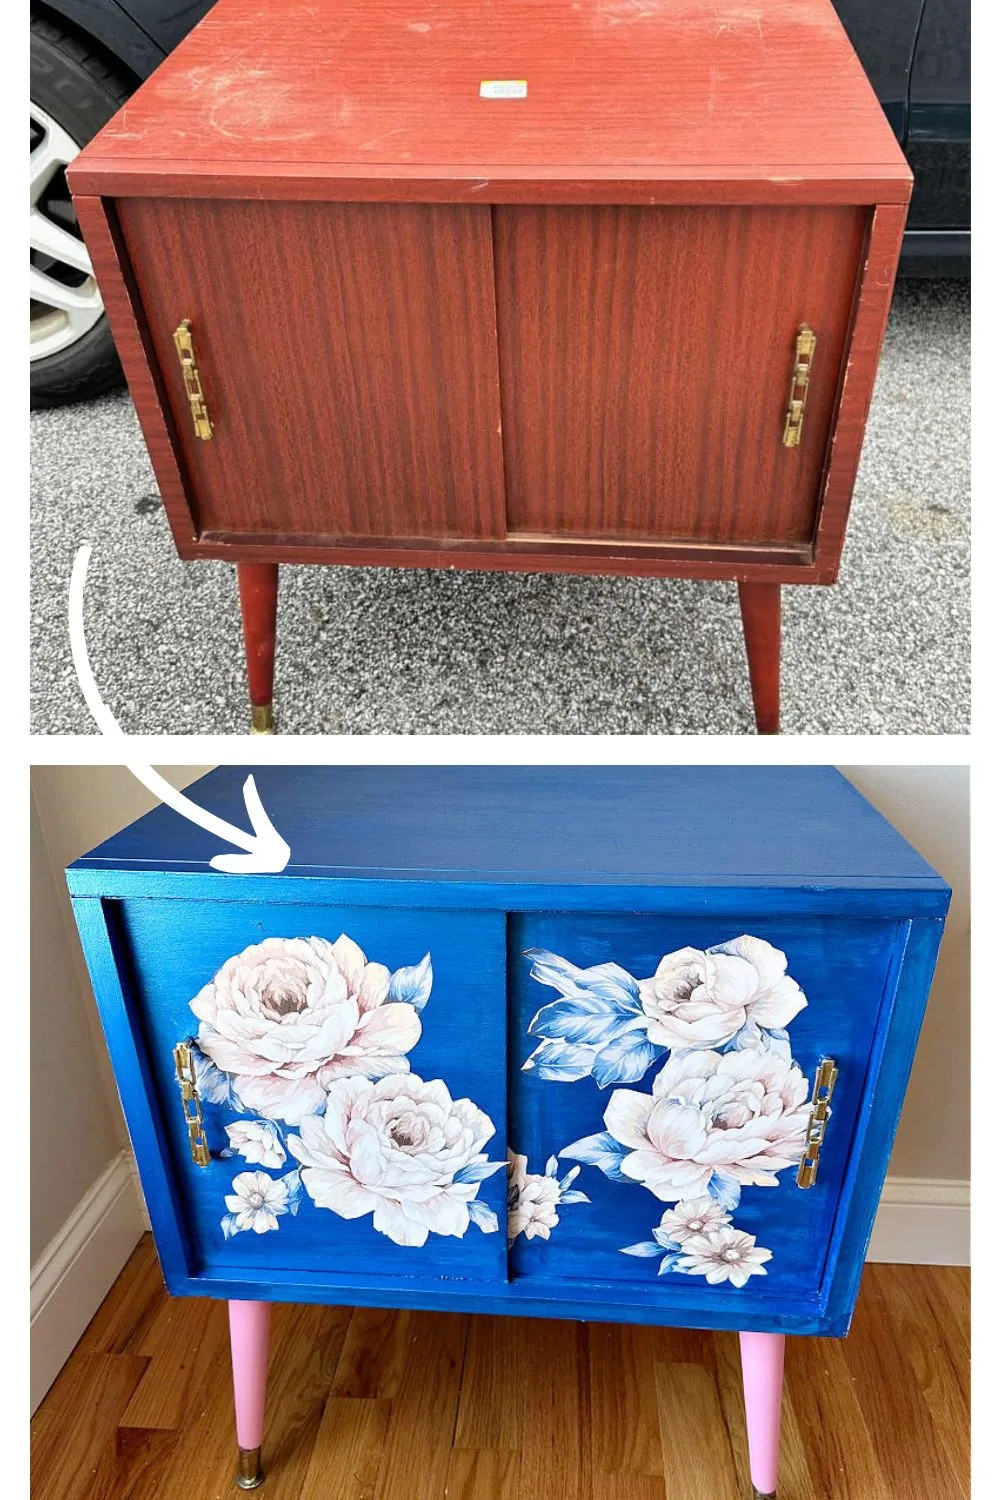
Before and After
There really is nothing like a before and after picture to see the difference!
If this does inspire you to refinish a piece of furniture, please share it with us on Facebook or Instagram by tagging @ourcraftymom.
Please share this with your friends on Pinterest by pinning the below image.
It helps my blog grow and doesn’t cost a thing! 🙂

Happy thrifting!

Here are even more DIY home makeovers and decorating ideas:
- 15 Upcycled Creative Home Decor Projects
- Old Window Decor Ideas
- Best Upcycled Wall Art Ideas
- 35 Upcycled Tin Can Crafts
- 7 Upcycled DIY Projects for Outdoors
- 19 Recycled Cardboard Crafts
Follow me on social media below:
