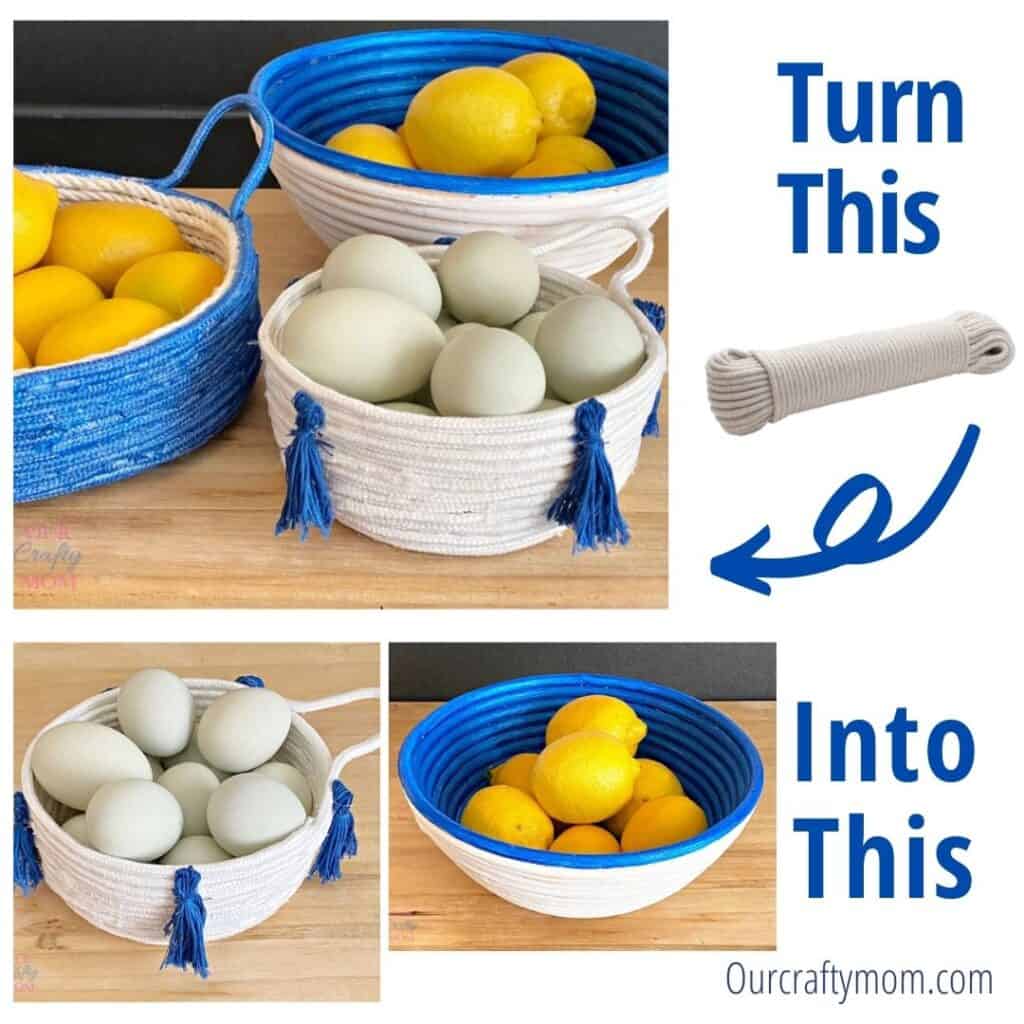
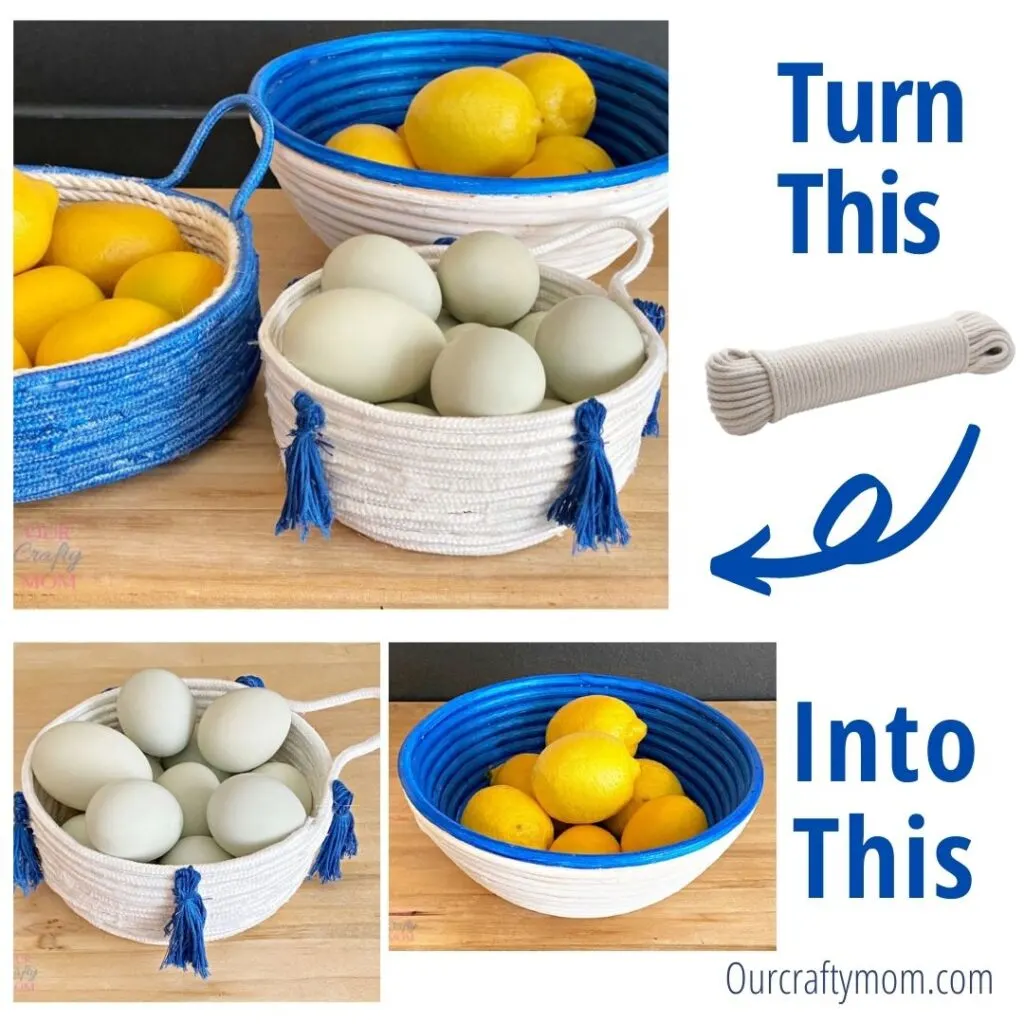
Do you love the look of woven baskets, but don’t like the price tag? If so, then this DIY no-sew rope bowl is perfect for you!
It’s easy to make and costs next to nothing. Plus, it’s a unique and pretty way to store your stuff.

I’m absolutely giddy with these no-sew rope bowls! Inspiration comes in all kinds of ways.
I was watching the new season of Get Organized with Home Edit-great series if you haven’t watched it yet!
They were updating an office and were using beautiful coiled rope bowls and baskets for storage.
I’ve been seeing them everywhere but the prices were a little steep for my budget.
So, what does a crafter do? Well, DIY them of course!
If you’d prefer to save some time and buy them, below you will find some beautiful options:

Otherwise, save a few bucks and have a little fun expressing your creativity by making your own rope bowls.
Supplies Needed to Make a No-Sew Rope Bowl
- Rope or
- Cotton Piping
- Foam Brush
- DecoArt Matte Metallic Paint in Sapphire
- DecoArt Chalky Finish Paint in Everlasting
- Hot Glue Gun
How to Make a No-Sew Rope Bowl
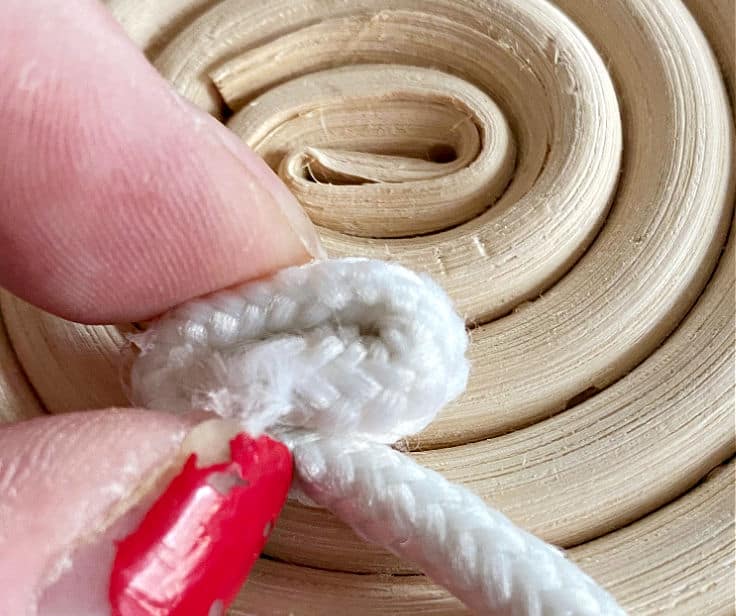
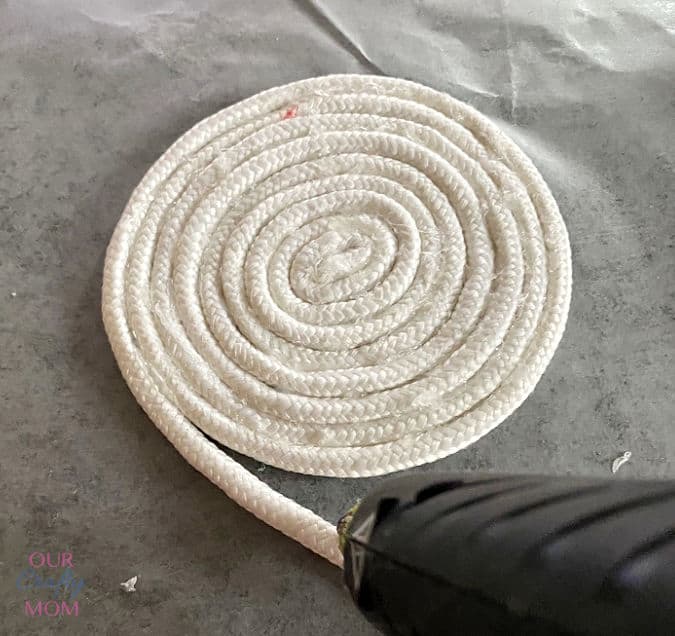
Step 1. Create the Base
Start by folding the end of the rope inwards about 1/2″. Add hot glue. Continue to coil the rope around pressing it together tightly and adding hot glue.

Step 2. Determine the Size of the Bowl
Decide what size you want your bowl to be. You can use a bowl as a template if you want.
To protect the bowl from the hot glue cover it with a piece of parchment paper, or fabric.
I found parchment paper to be difficult to work with so I switched to the fabric. You will see pictures of parchment paper before I switched to the fabric.
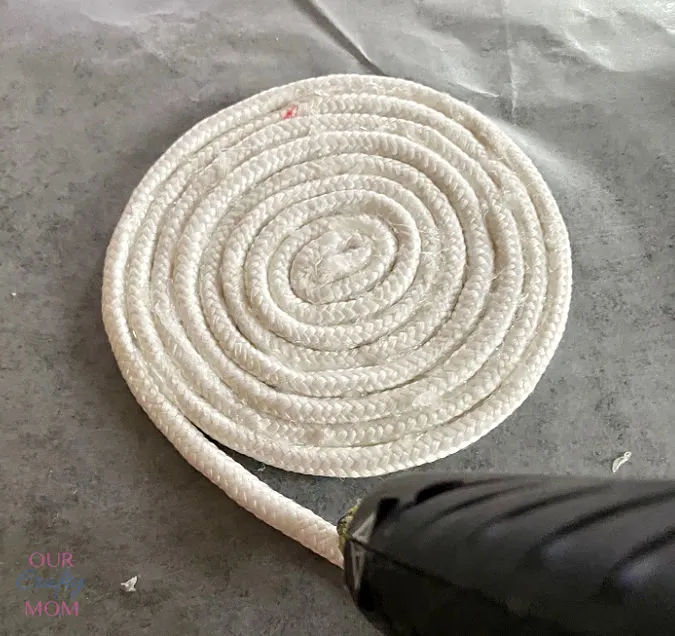
Continue rolling and gluing your rope squeezing it tightly as you glue.
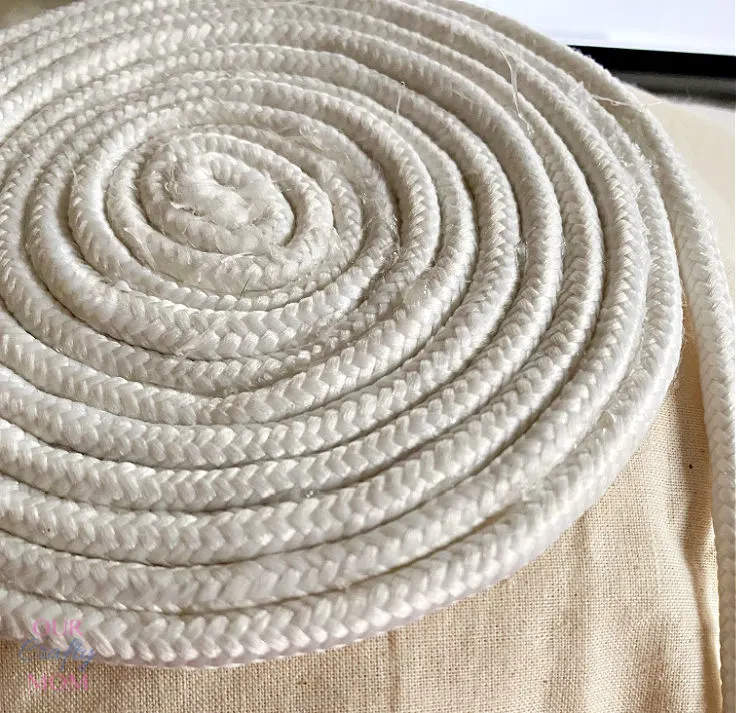
Step 3. Form the Sides of the Bowl
Repeat the same process in step 2 of wrapping the rope tightly around the bowl template gluing every inch or so.

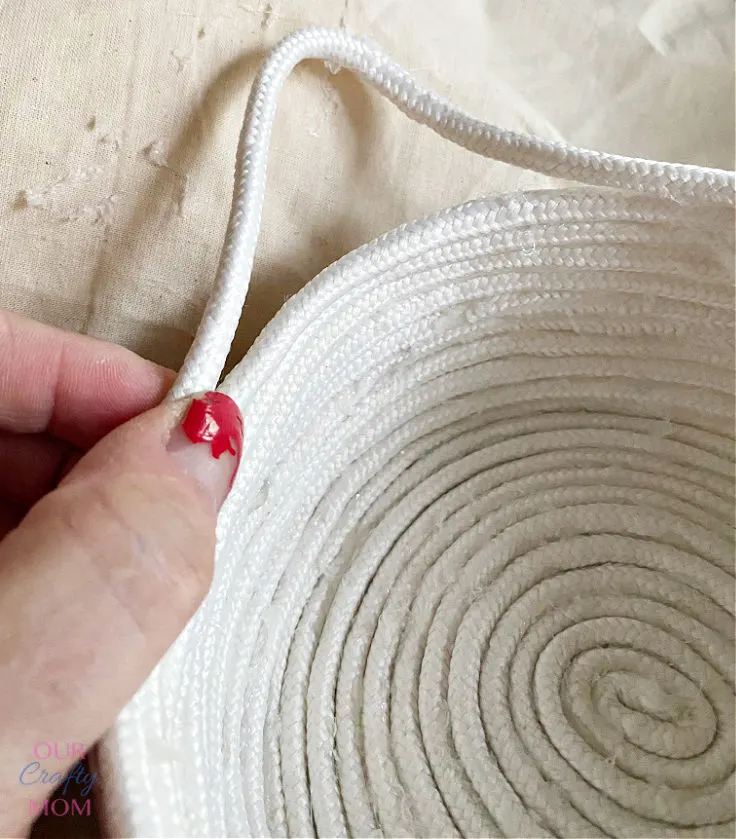
Step 4. Form a Handle
I chose to form a handle on my bowl by creating a loop on the side. You can add them to one side or both. It’s totally a matter of preference.

Step 5. Embellish the Bowls
This is where your creativity really comes into play! You can leave the bowls natural and they are just lovely, or you can paint them.
I used a rich metallic blue and it really pops against the white.
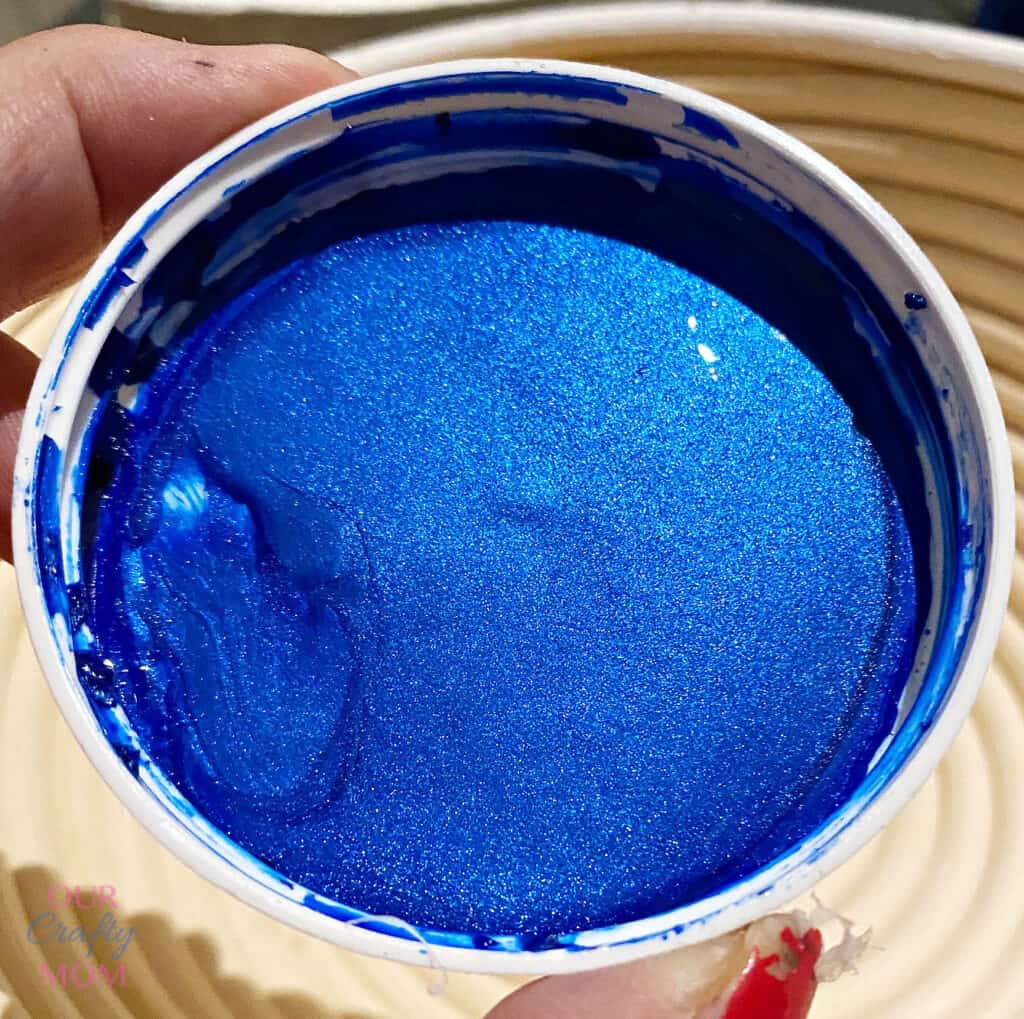
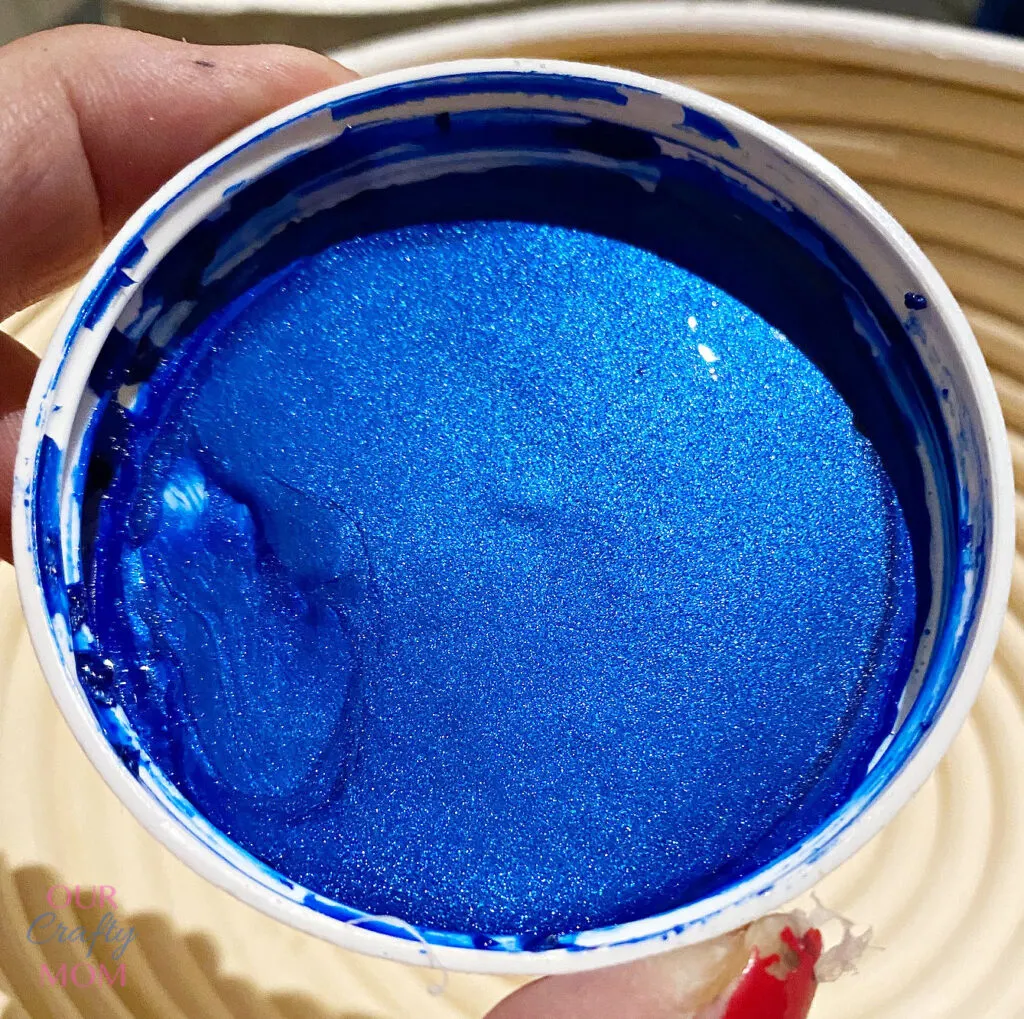
Simply use a foam brush to paint the rope. Keep it solid or just highlight sections. The main thing is to have fun with it.

I’m a firm believer that everything is better with tassels, so I added some simple embroidery thread tassels to the small rope bowl.

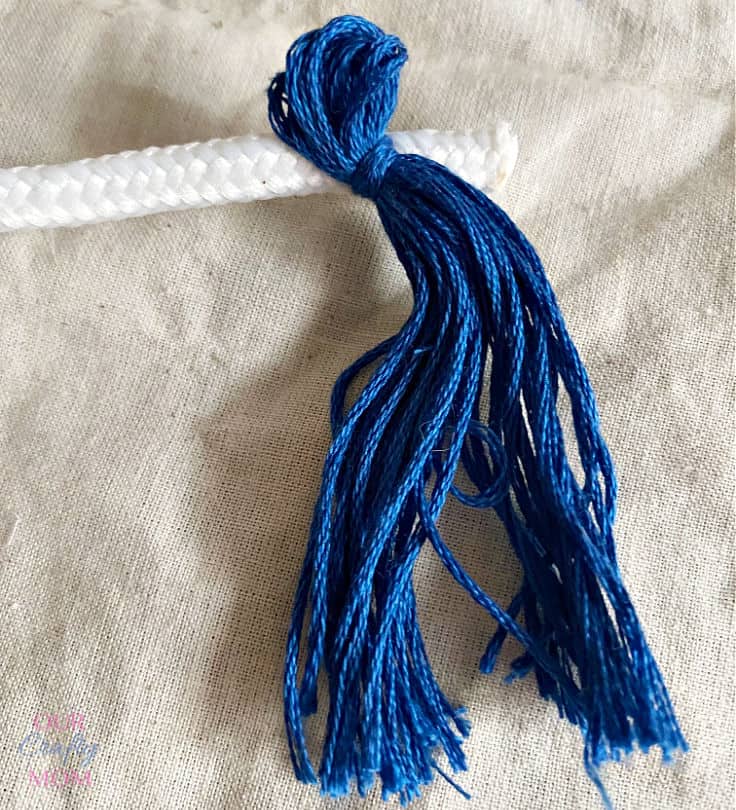
Just wrap the thread around your hand about 25 times and tie it off at the top to create the tassel.
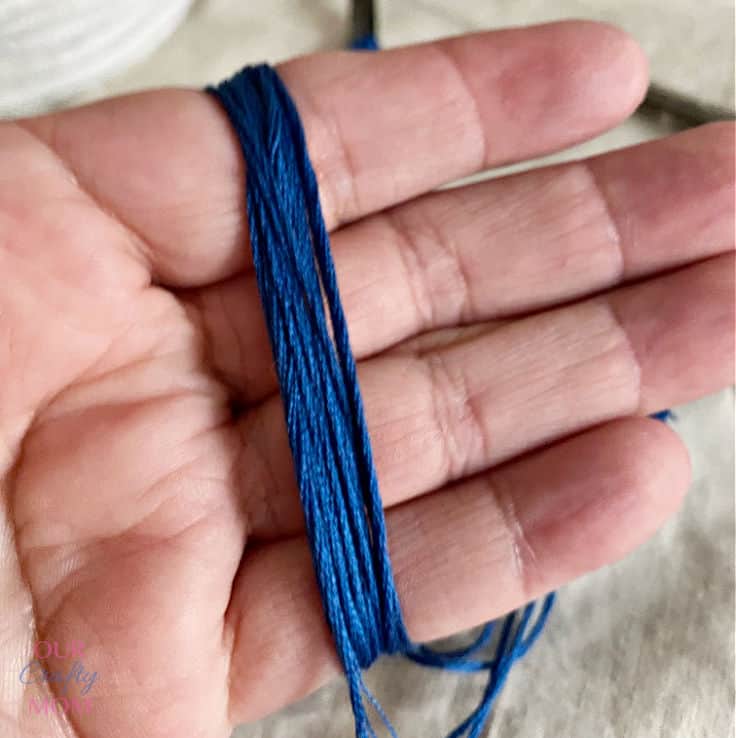
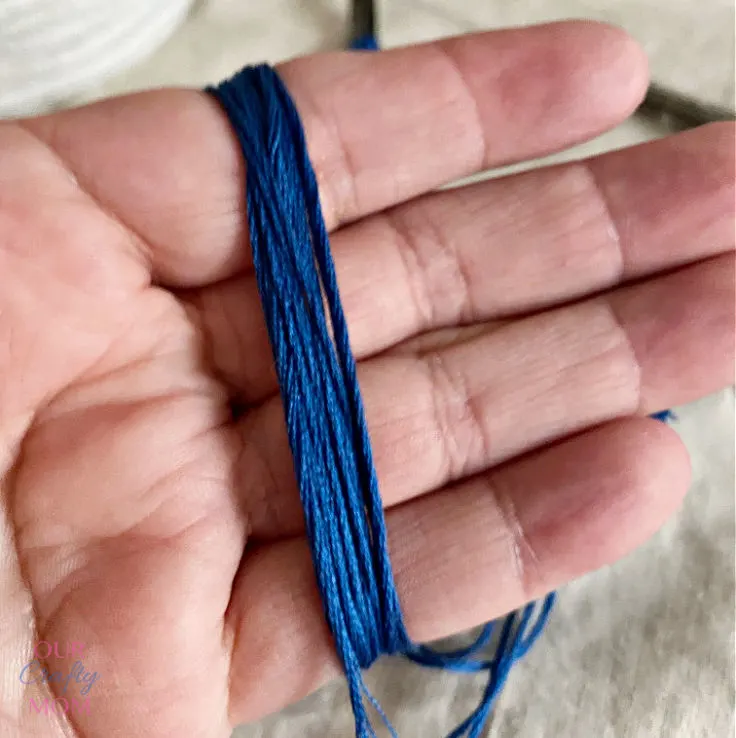
Snip the edges and trim to the size you want.

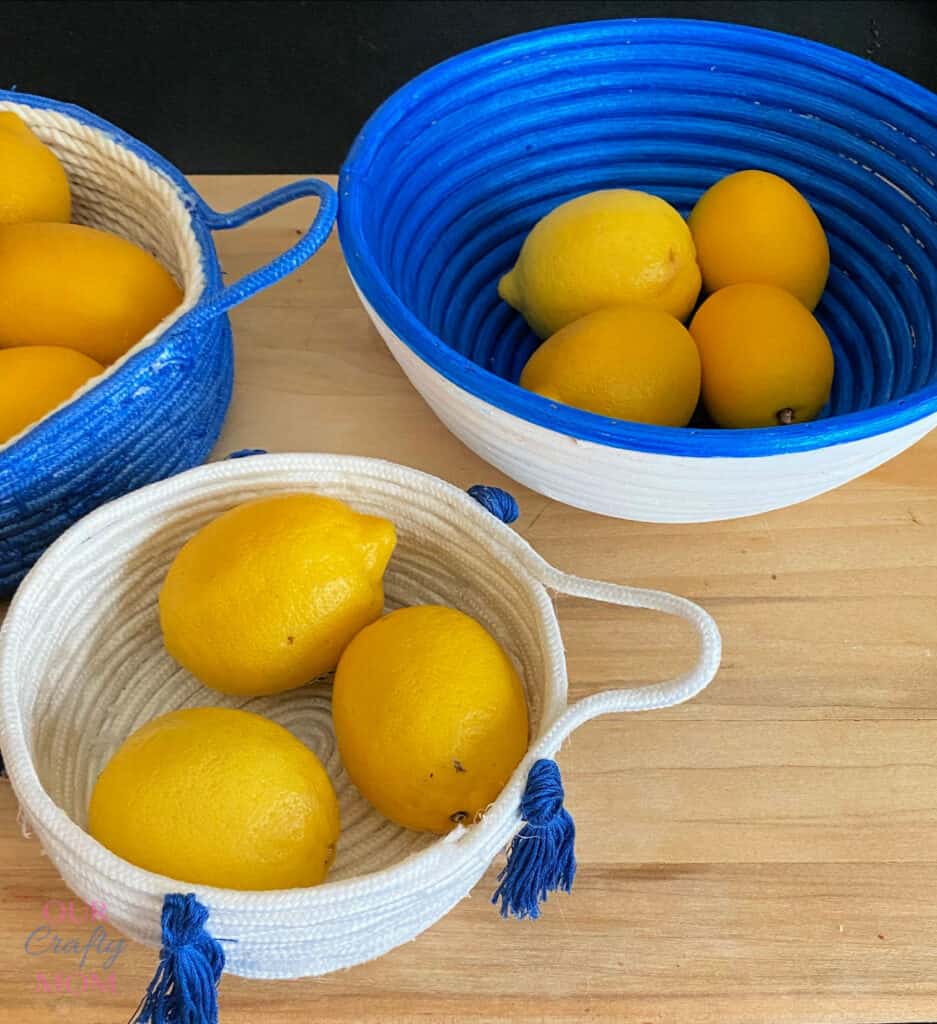
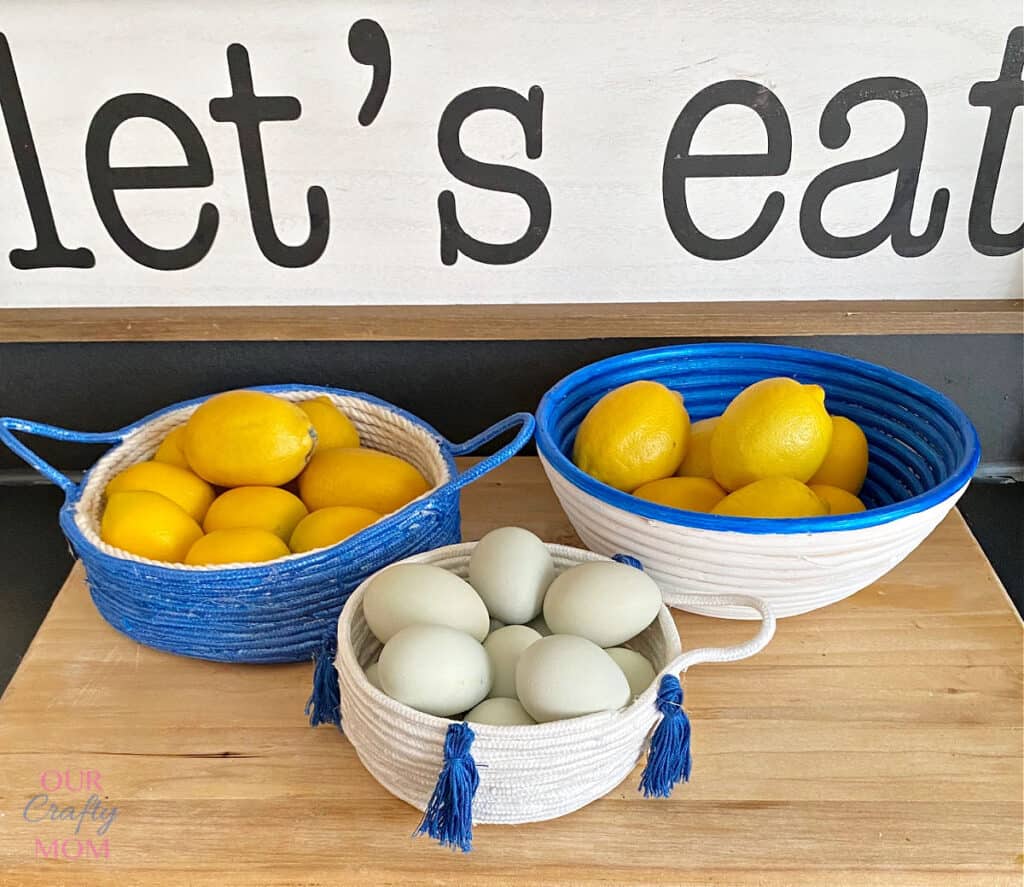
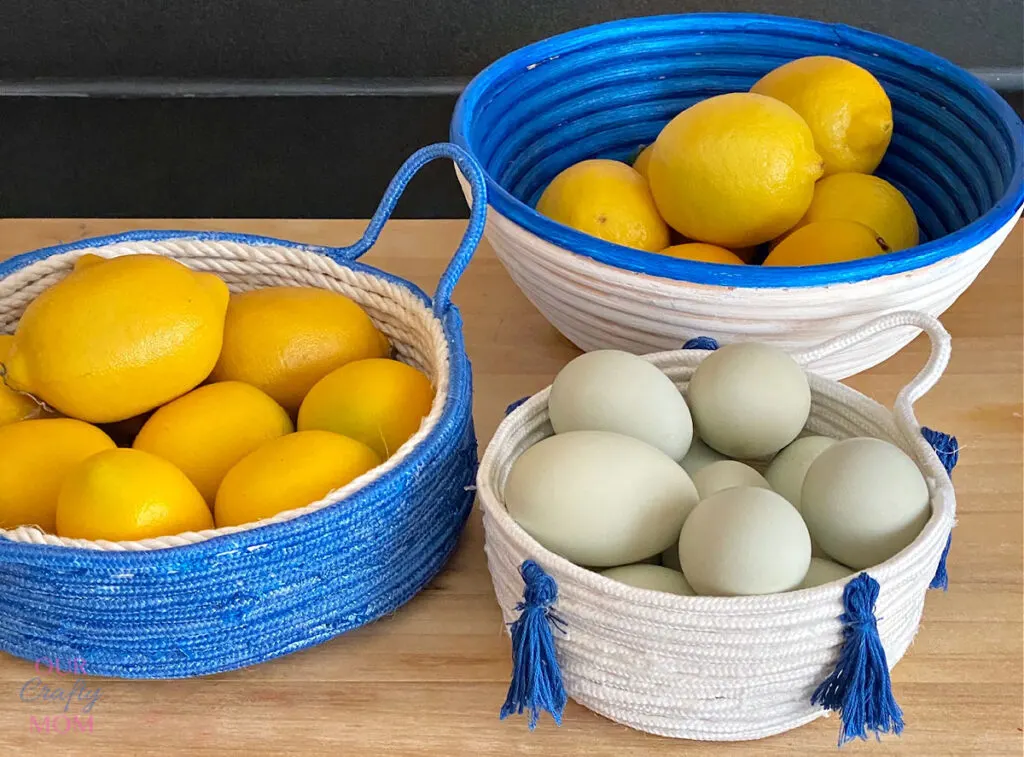
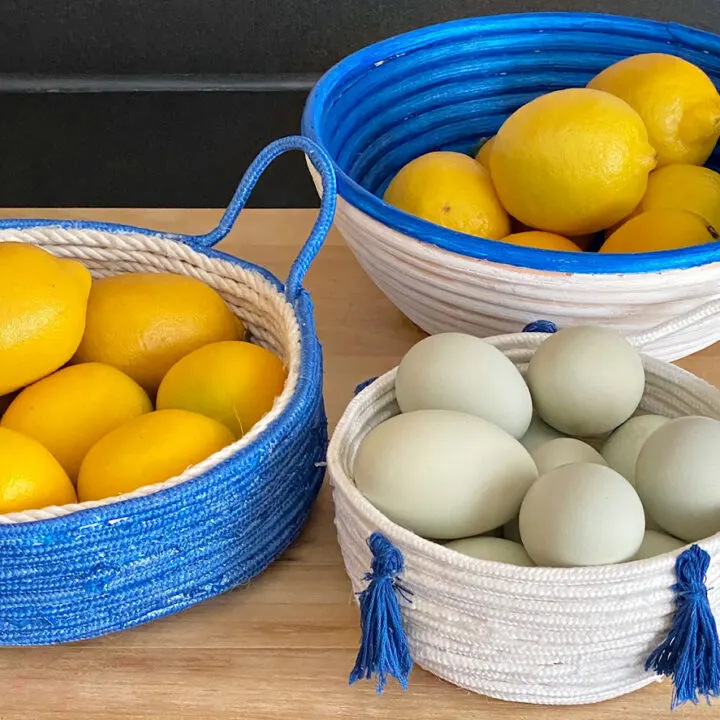
I went with 3 different styles and I can’t decide which one I like best.
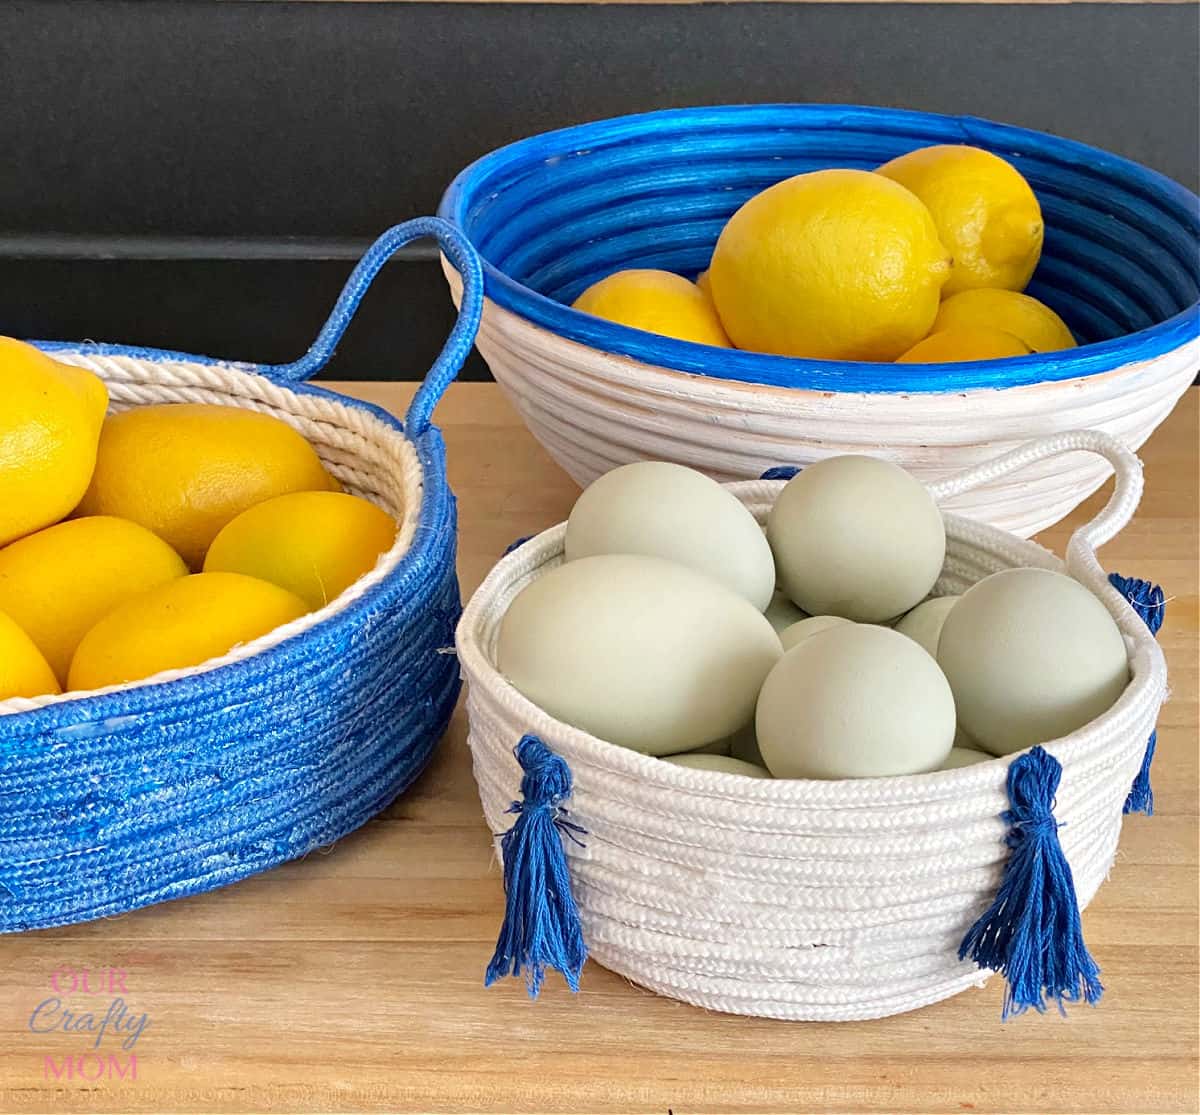
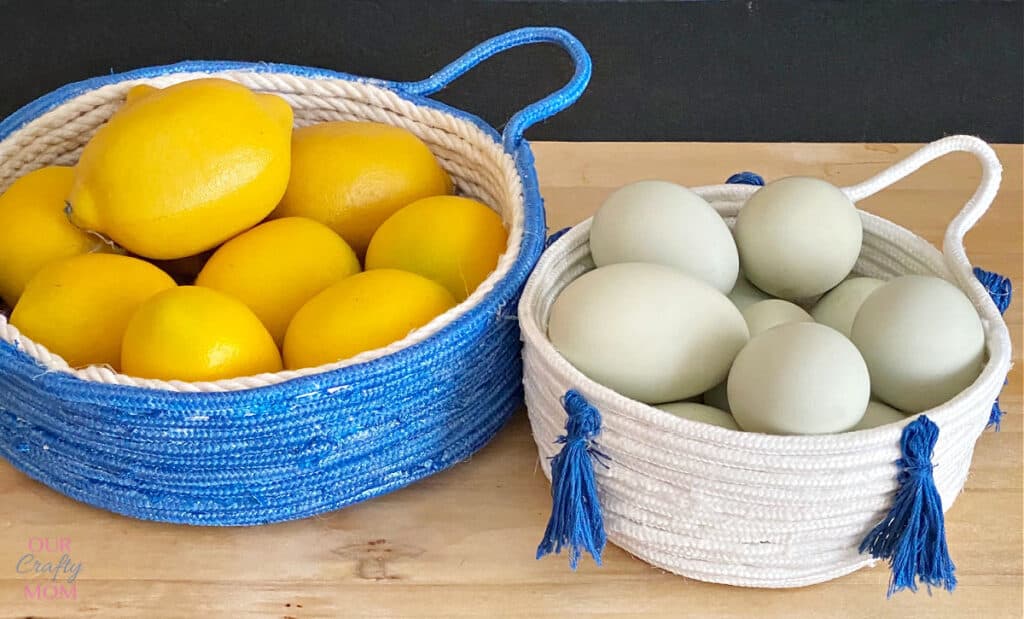
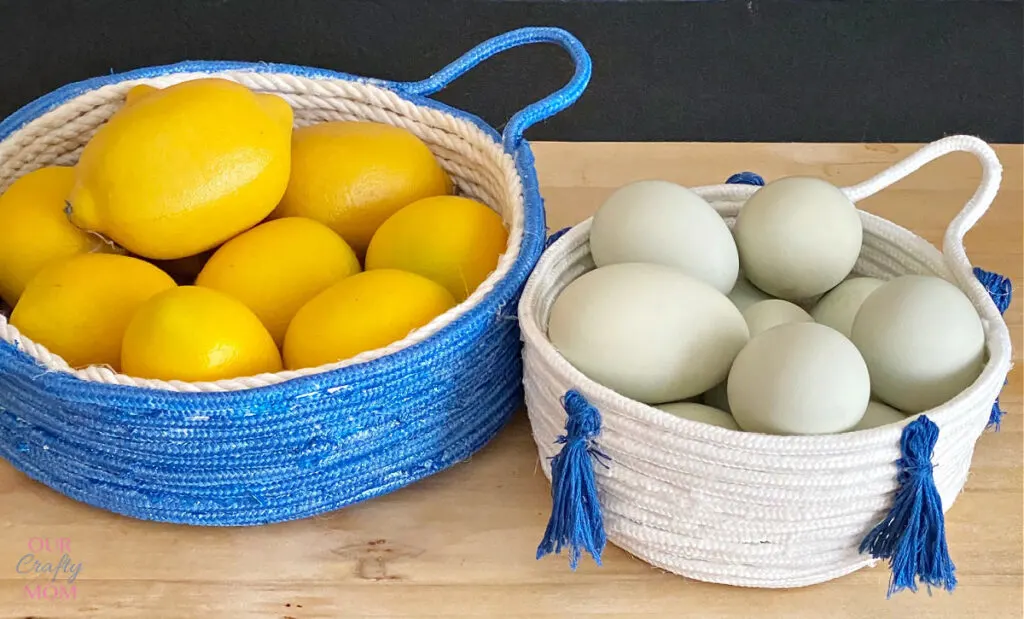
Here is the first tassel rope bowl:
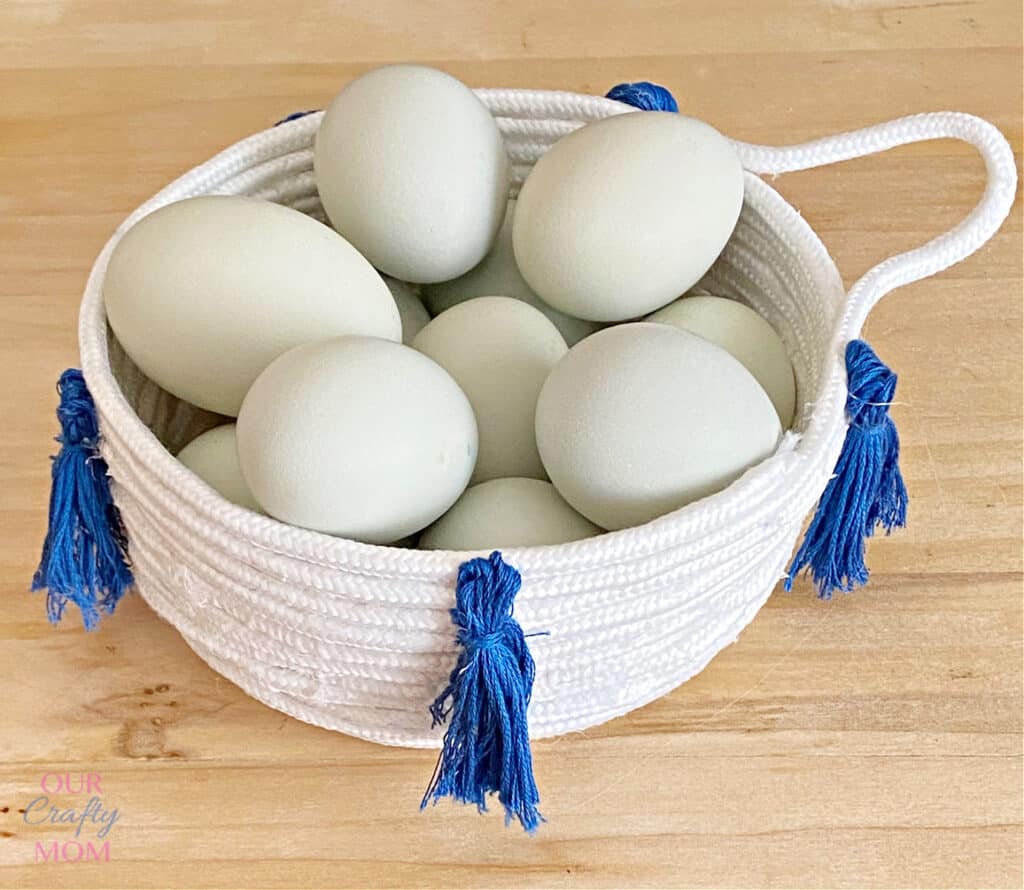

The blue tassels really add to the cute factor. This may be my favorite! Those pretty blue eggs are from my dad’s chickens.
See how I used some of these pretty blue eggs last Easter to make DIY planters with air plants.
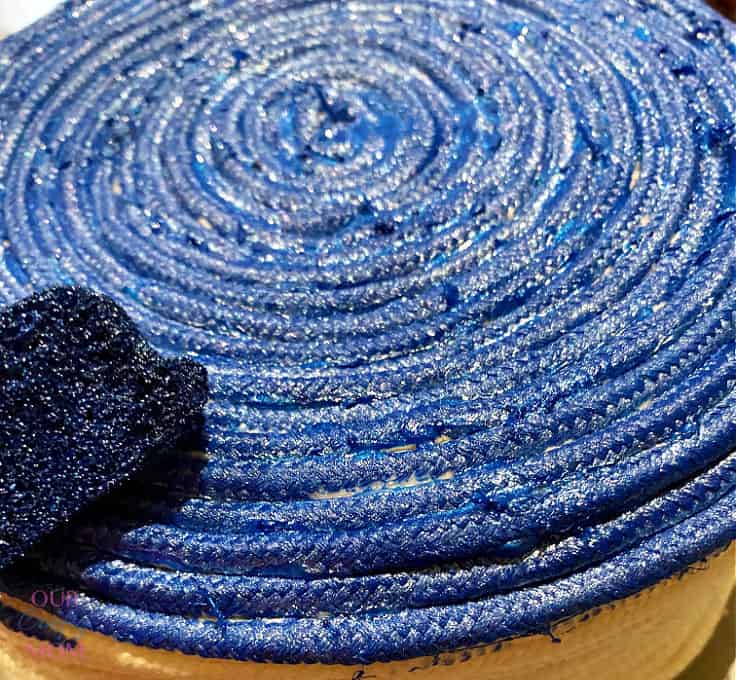
Next up is a painted blue bowl with a coiled rope interior:

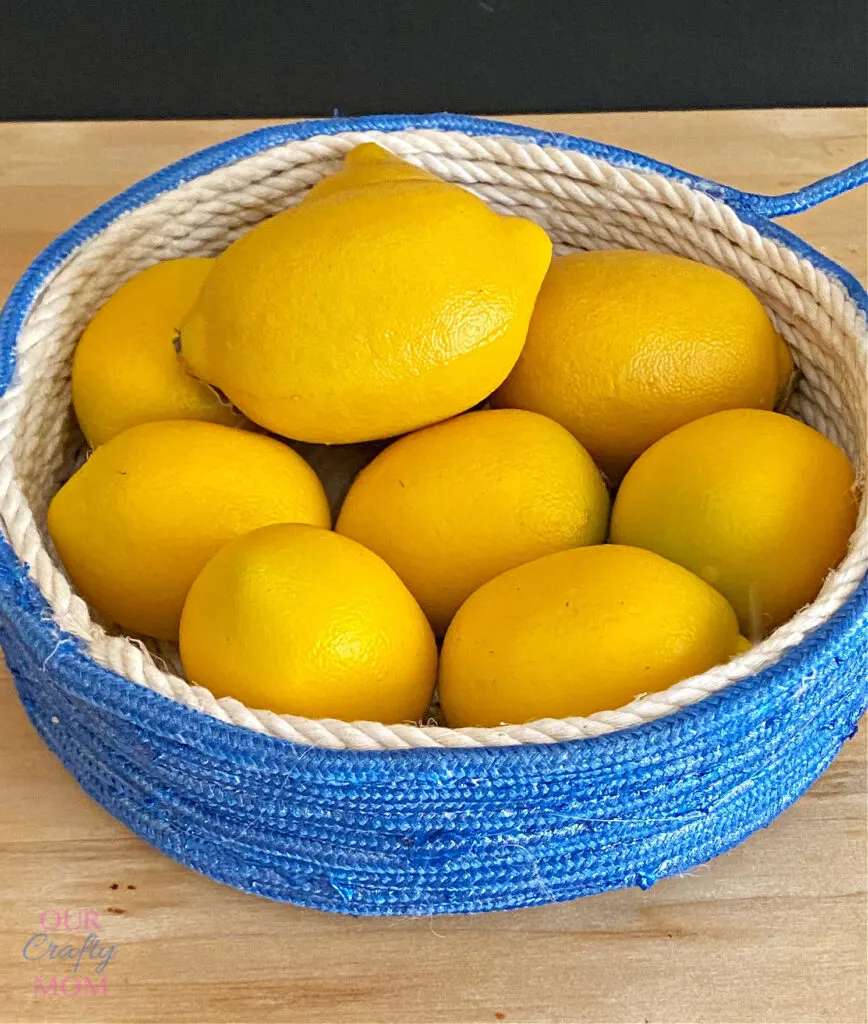
The third rope basket I made is a whitewashed outer bowl with a metallic blue interior:


See what I mean about choosing a favorite? They are each so unique but equally beautiful!
They have a boho vibe to them that I’m really loving! Do you have a favorite? Leave me a comment below and let me know.
You can also share your photos with me on my Facebook page.
Facebook and Instagram are the best ways to keep up with all of my new projects including easy crafts, budget-friendly decor, and simple recipes. 🙂
Because I took 101 photos, here are some beauty shots:
Handmade Coiled Rope Baskets

What Can I Store in Rope Bowls?
There are so many uses for these rope bowls depending on the size you make.
Here are just a few:
- Place smaller ones on your desk to hold paperclips, sticky notes, or wrapped candy.
- Larger ones are perfect in the kitchen with lemons or apples.
- Place one in the bathroom to hold hand towels or handmade soaps.
- Create a larger basket size to hold throw blankets or pillows.

How Much Rope Will I Need for a Rope Bowl?
The amount of rope you need depends on the size of your bowl. For the 65″ rope you should get 3 small bowls (like the tassel bowl) or 2 large bowls.
That ends up being about $3 or so a bowl, less if you get the rope at the dollar store.
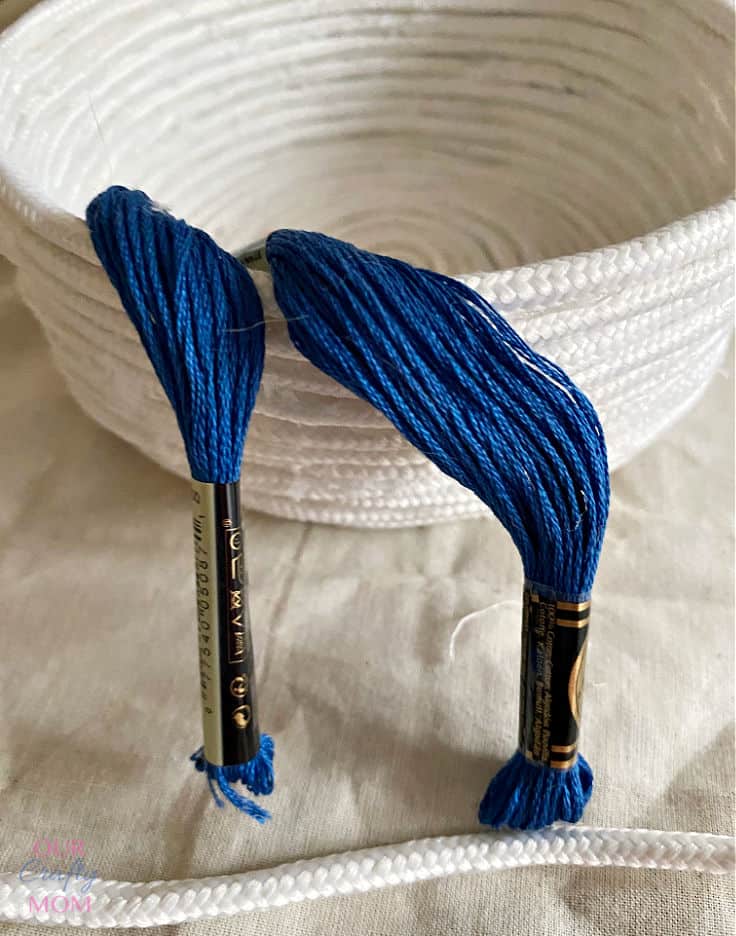
What Type Of Rope Should I Use?
There are several options you can use. You can see in the photo below I used two different types of rope.
The one on the left is actually macrame cord. The look is very clean and easy to work with.
The small tassel bowl uses the 65″ rope so it’s a little less expensive.

Again, this is where your preference comes into play. I really hope you enjoyed these coiled rope bowls as much as I enjoyed making them!
My mind is spinning with ideas and color combinations I want to make. I’m thinking of tote bags, pencil holders, and large basket sizes. Stay tuned for those!
Save for later by PINNING the below image:
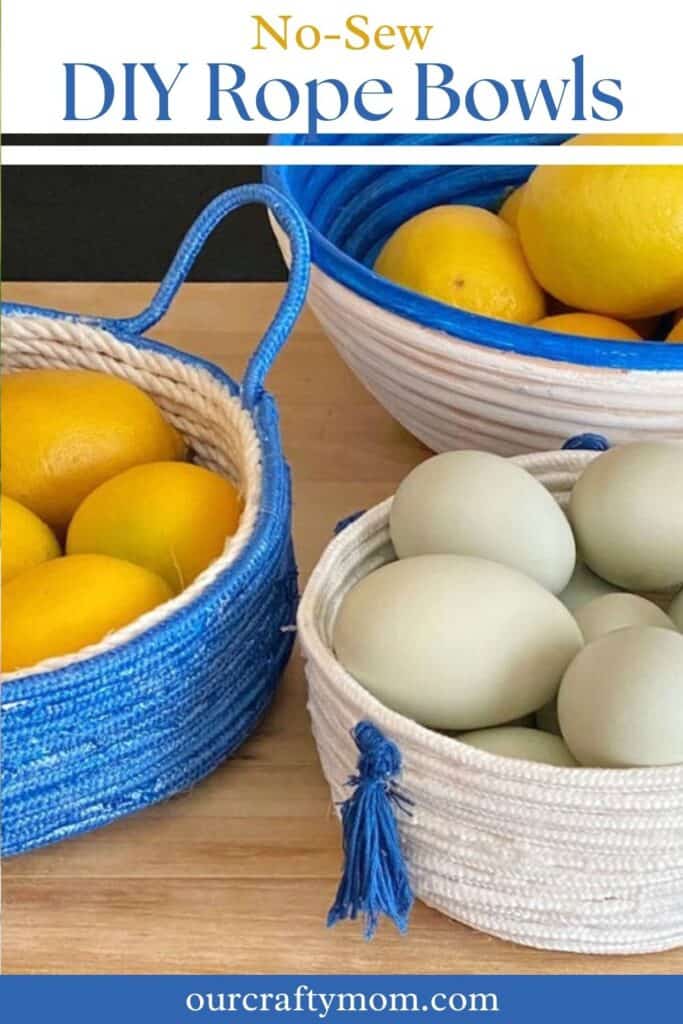
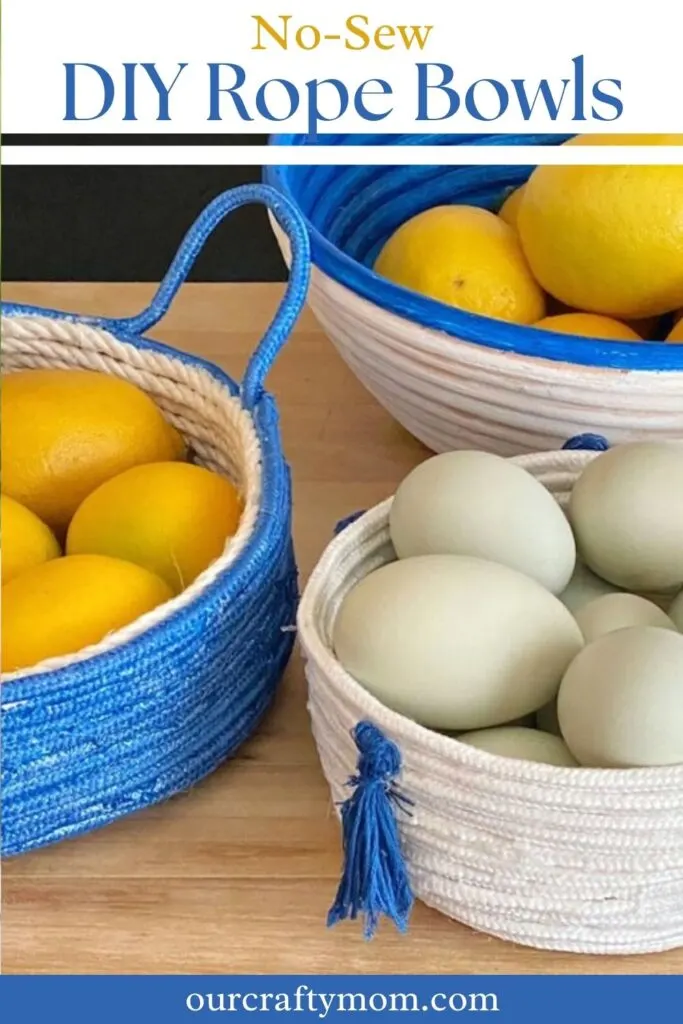

How to Make a DIY Rope Bowl
Add a stylish coiled rope bowl to your home with these simple steps. You can paint the rope or leave it natural. I’m sharing 3 fun designs.
Materials
- Rope or Cotton Piping
- Embroidery Thread
- Paint
- Paint Brush
Tools
- Hot Glue Gun
- Fabric Scissors
Instructions
- Start by folding over one end of your rope about an inch in and hot glue it.
- Continue to roll your rope in a coiled fashion gluing in place as you roll it. This will be your base so make it as large or small as you like.
- Once you have your base place it on top of your fabric covered bowl and continue to coil the rope around adding hot glue as you go.
- When your bowl is the height you want, cut the last inch under itself, and glue it in place.
- Next, hot glue the remaining 1 inch to the body of the basket to create a handle.
- You can stop here and leave the bowls natural or paint them and add tassels.
Recommended Products
As an Amazon Associate and member of other affiliate programs, I earn from qualifying purchases.
-

 Surebonder Cordless Hot Glue Gun, High Temperature, Full Size, 60W, 50% More Power - Sturdily Bonds Metal, Wood, Ceramics, Leather & Other Strong Materials (Specialty Series CL-800F)
 -
 Dritz Cotton Piping Size 3, 3/8"X100yd, Natural
 -
 Enenes Craft Rope 1/4 INCH Braided Rope Cotton Rope 65 Feet Clothesline All Purpose Braided Cord for DIY Rope Basket/Mat as Candle Replacement Wick Self Watering Rope for Potted Plants (6MM, 65 Feet)
You can find me on social media below:
Amalfi Outfitters
Thursday 23rd of February 2023
I have gone through the blog post and I must admit it is very informative. I liked the writing style too. Keep up the good work and share more contents. Cheers!