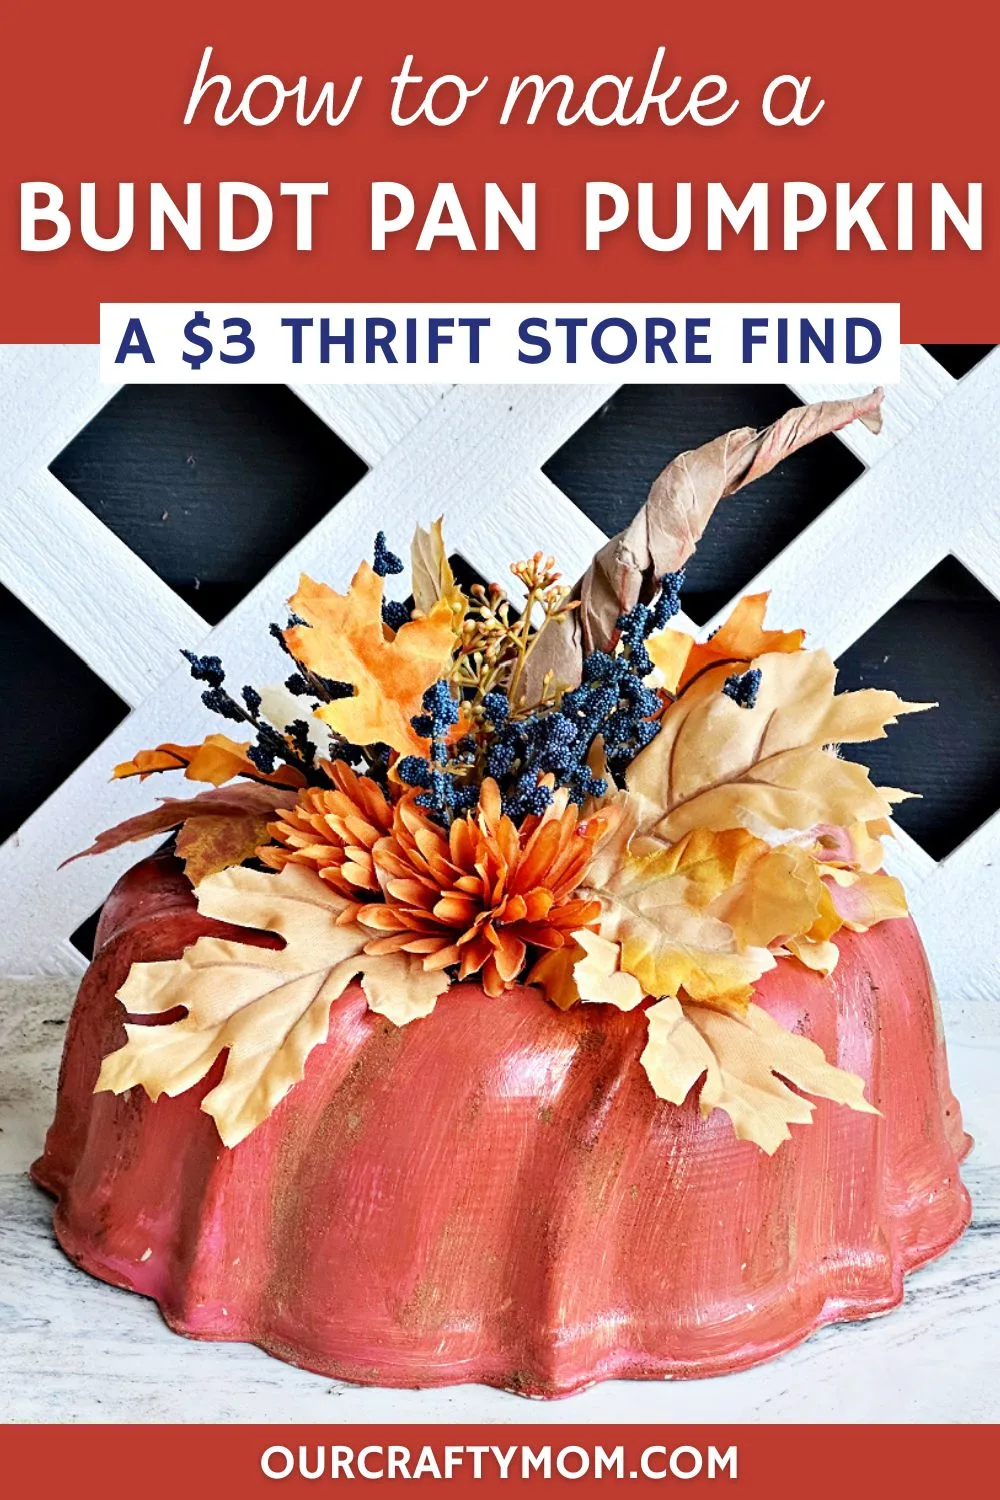
Let me show you how to make a beautiful pumpkin bundt pan from a $3 thrift store find. It’s the perfect way to add fall charm to your home.


This post contains affiliate links at no extra cost to you. Please see my full disclosure here.
Thrift Store Decor Tour
It’s the second Wednesday of the month, so that means it’s time for our monthly decor collaboration where we makeover thrifted finds.
You can check out all the affordable projects with the links at the bottom of this post.
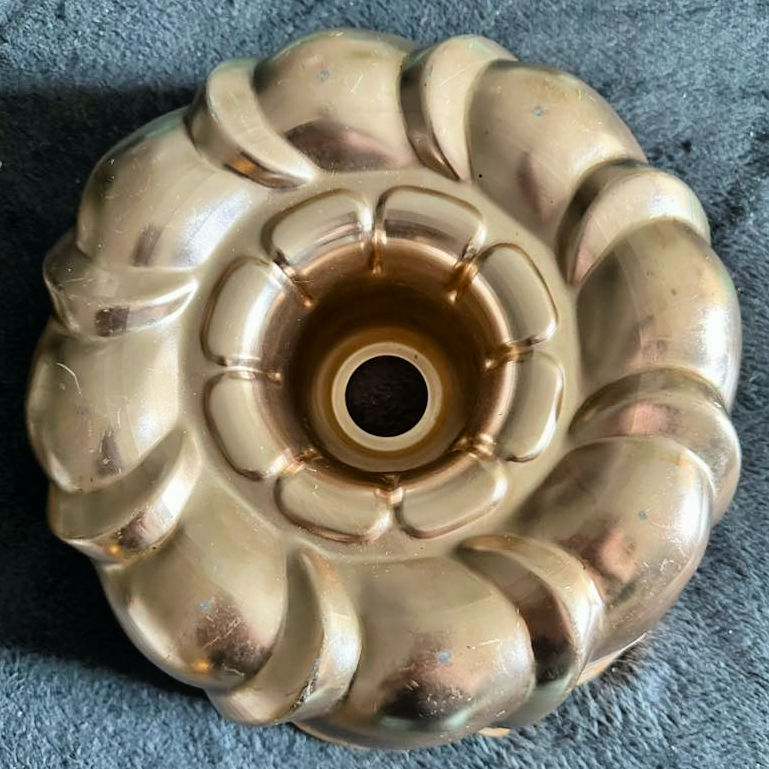
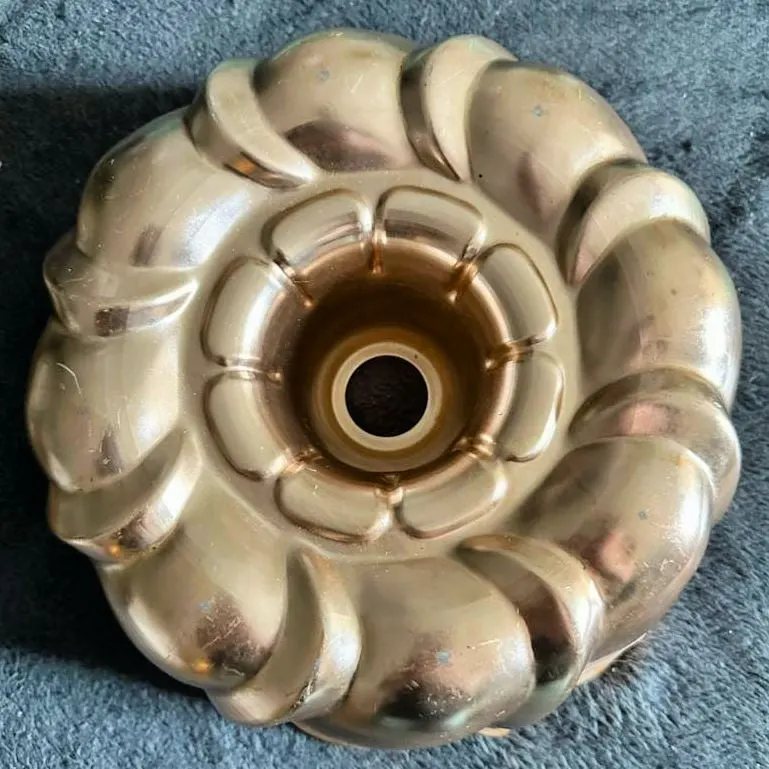
My project started with this $3 copper bundt pan I found at my favorite local Goodwill.
If you missed last month, you may want to see my double-sided decoupage cutting board. It’s fall on one side and Christmas on the other.
Supplies Needed for DIY Pumpkin Craft
Here is what you need to make your own fall pumpkin craft.
- Bundt Pan
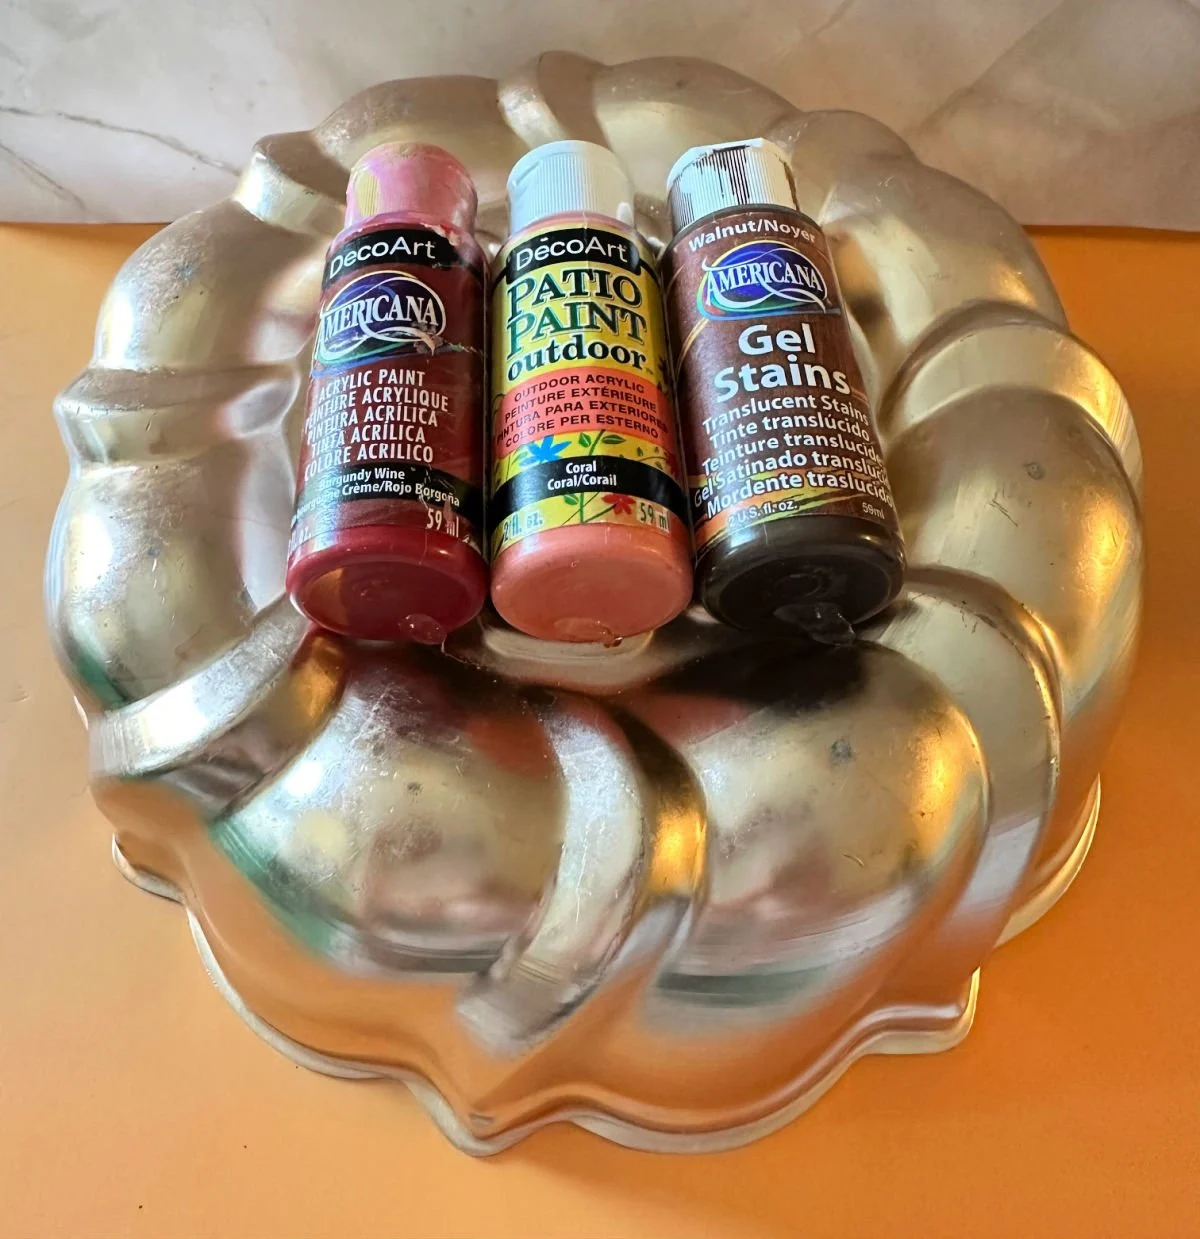
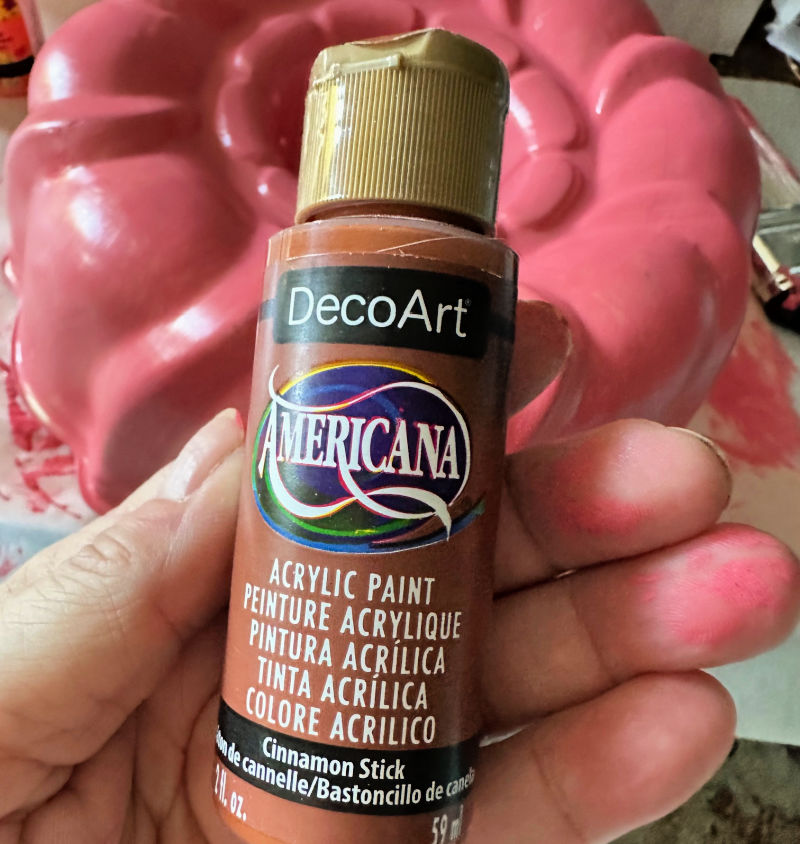
- Acrylic Paint – I used a blend of burgundy wine, cinnamon stick, coral and a gel stain
- Foam Brush
- Mod Podge
- Clear Sealer
- Foam Block
- Moss
- Cinnamon

How to Make a Pumpkin Bundt Pan
This really is a simple DIY and the best part is no hot glue is used. It doesn’t get much easier than a bit of paint and pretty flowers.
Plus, you can use what you have in your craft stash to customize it.
I’ve been trying to use what I have on hand before buying any new supplies.
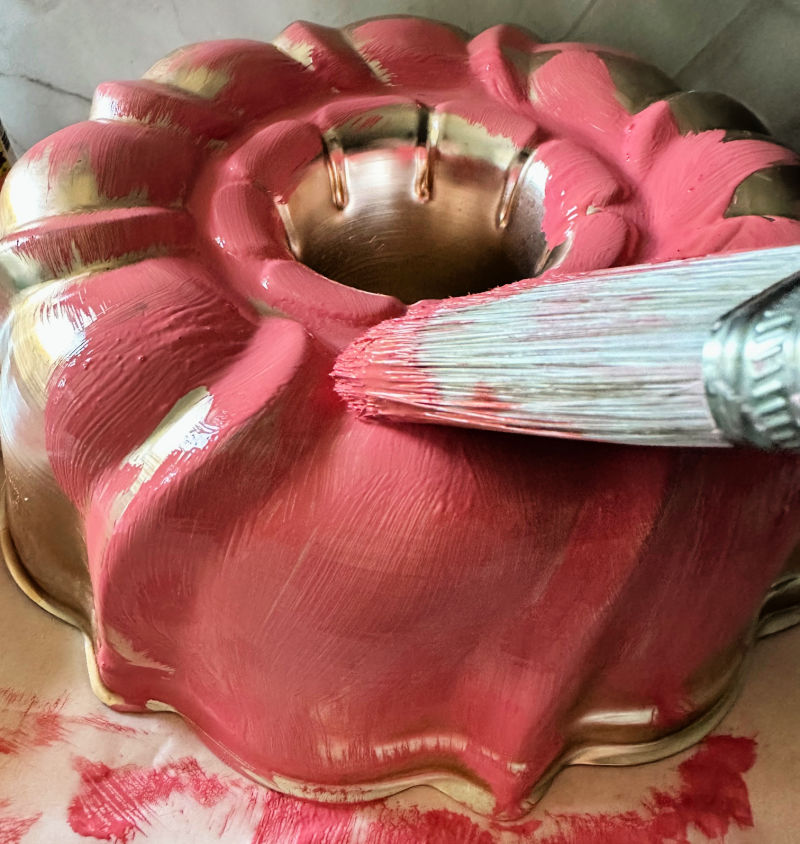
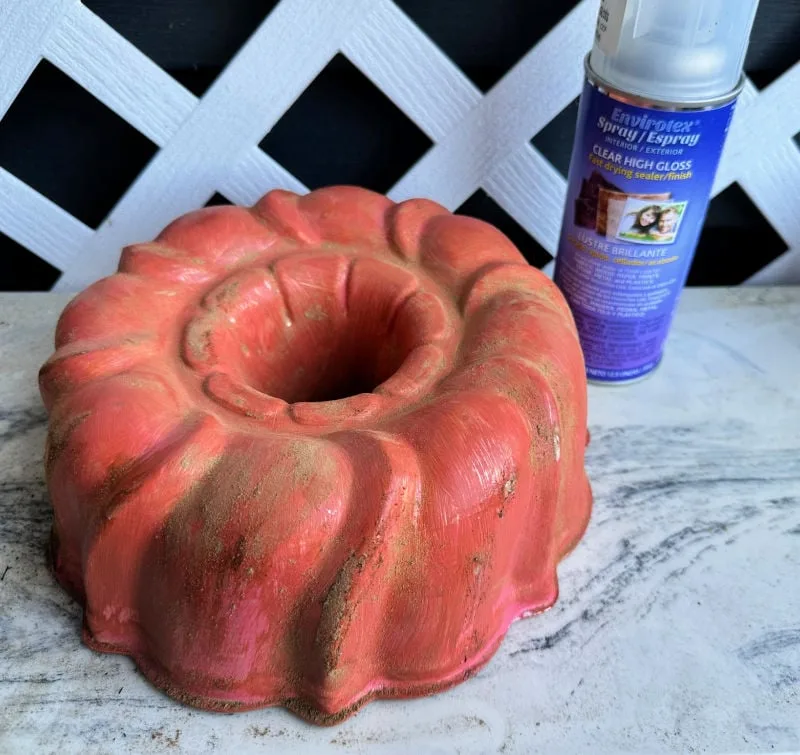
Step 1. Paint the Bundt Pan
I didn’t have the right pumpkin color, so just mixed a few acrylic paints until I was happy with the look.
Of course, if you have an orange paint, simply paint the bundt pan with one or two coats and let it dry completely.


Step 2. Add Cinnamon
To add a bit of texture and dimension, use a foam brush to layer mod podge around the bundt pan.
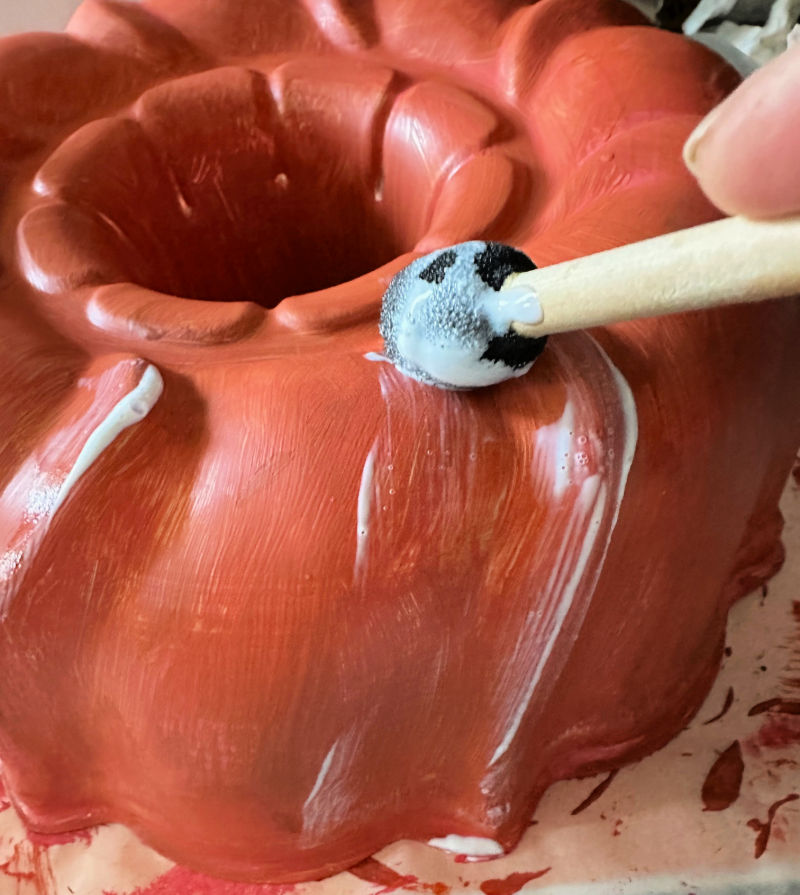

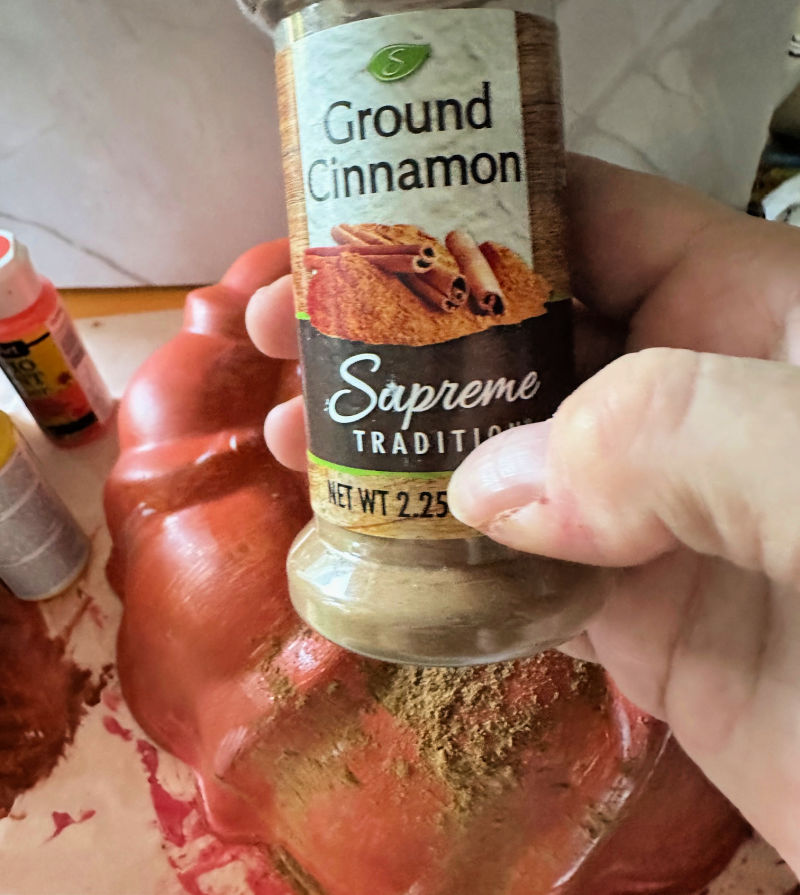
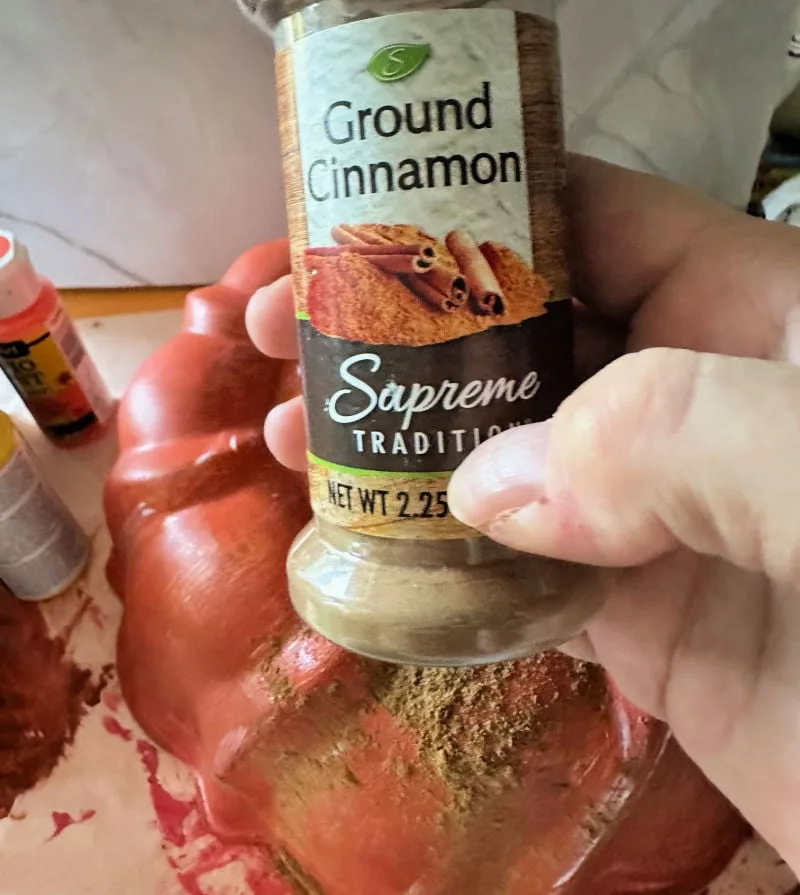
Don’t cover the entire pan, but simply highlight the curved areas. Sprinkle with cinnamon.
Step 3. Spray with a Sealer
The next step is to spray the painted bundt pan with a clear sealer. This helps seal in the cinnamon and gives it a nice finish.


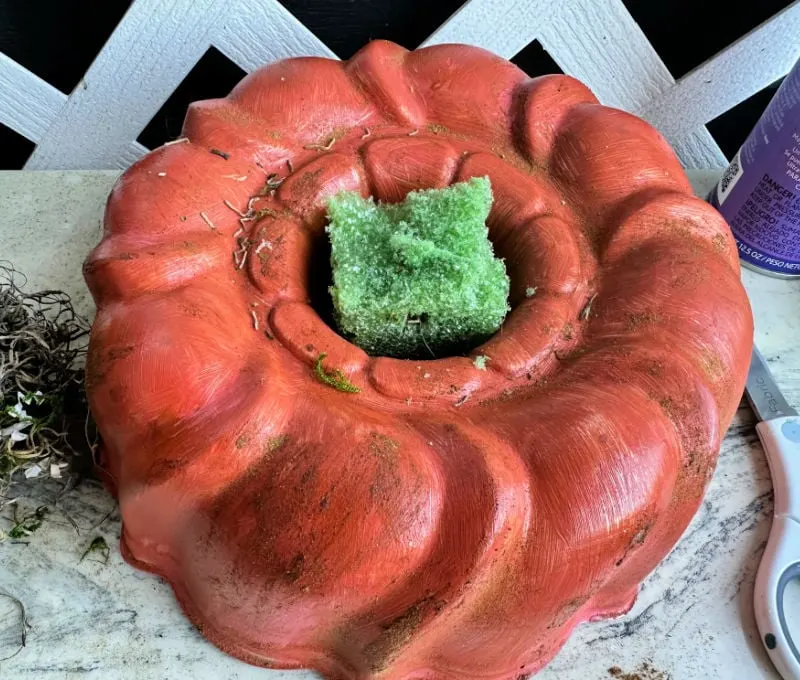
Step 4. Add Foam Block
Cut a foam block to fit into the center of the pan. Add a bit of moss to cover the foam.

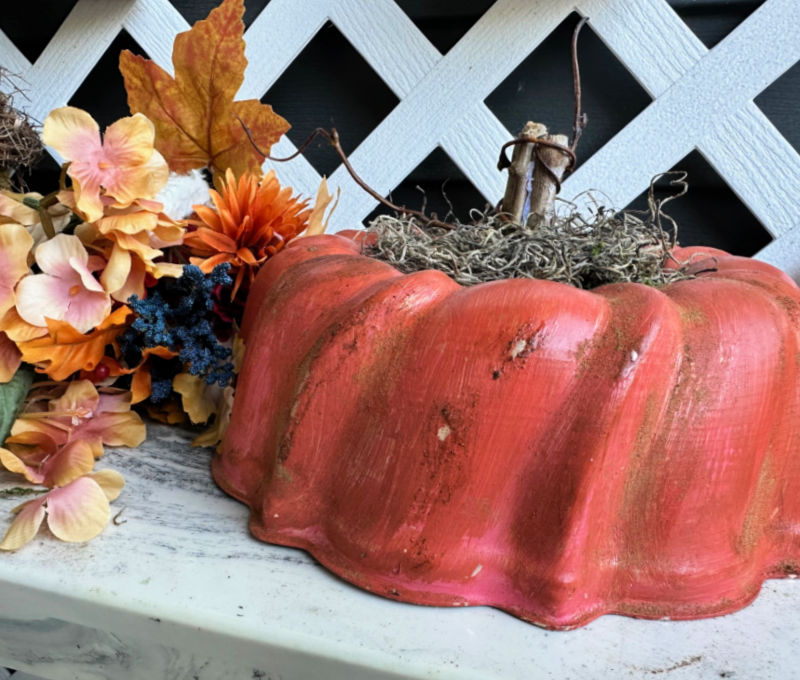

Step 5. Create the Pumpkin Stem
My plan was to use a wood stick for the pumpkin stem, but it was a little too short once the flowers were added, so I went with plan b.

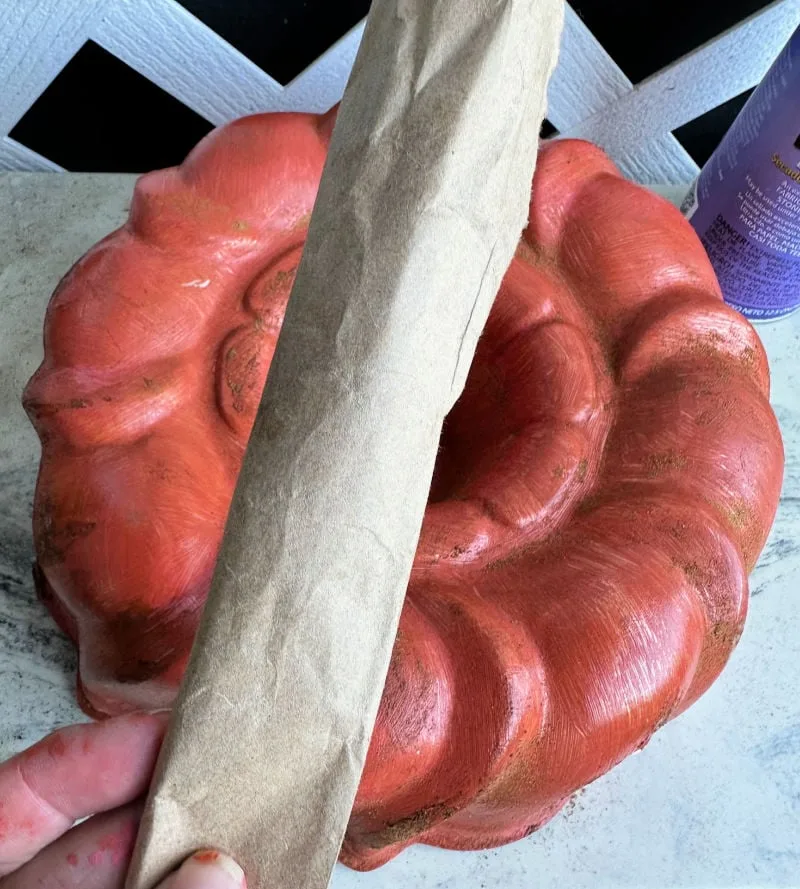
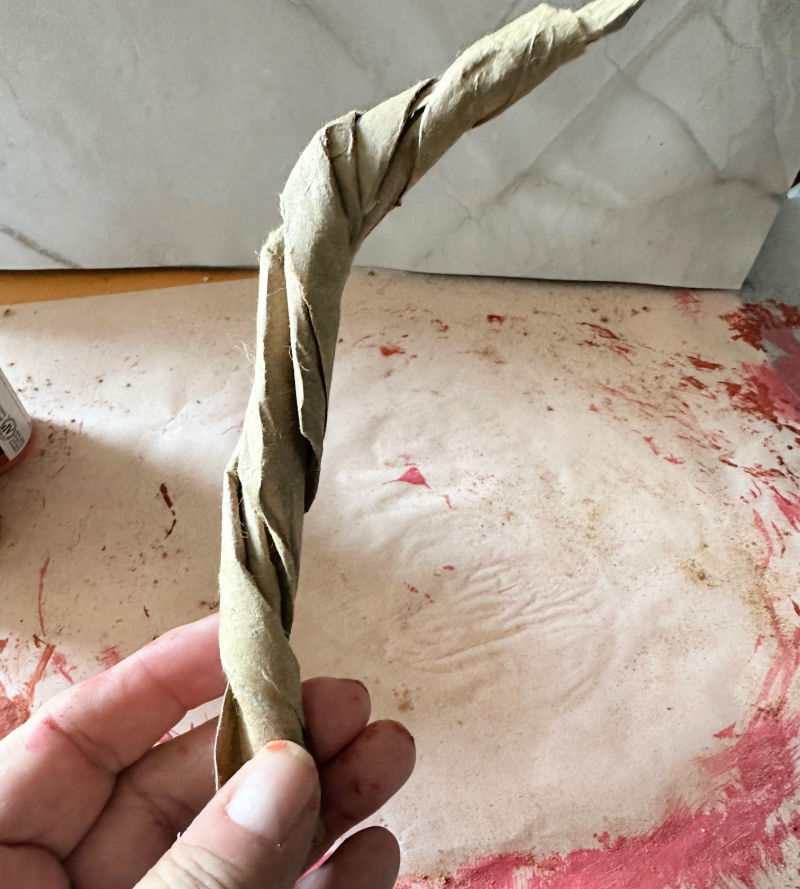
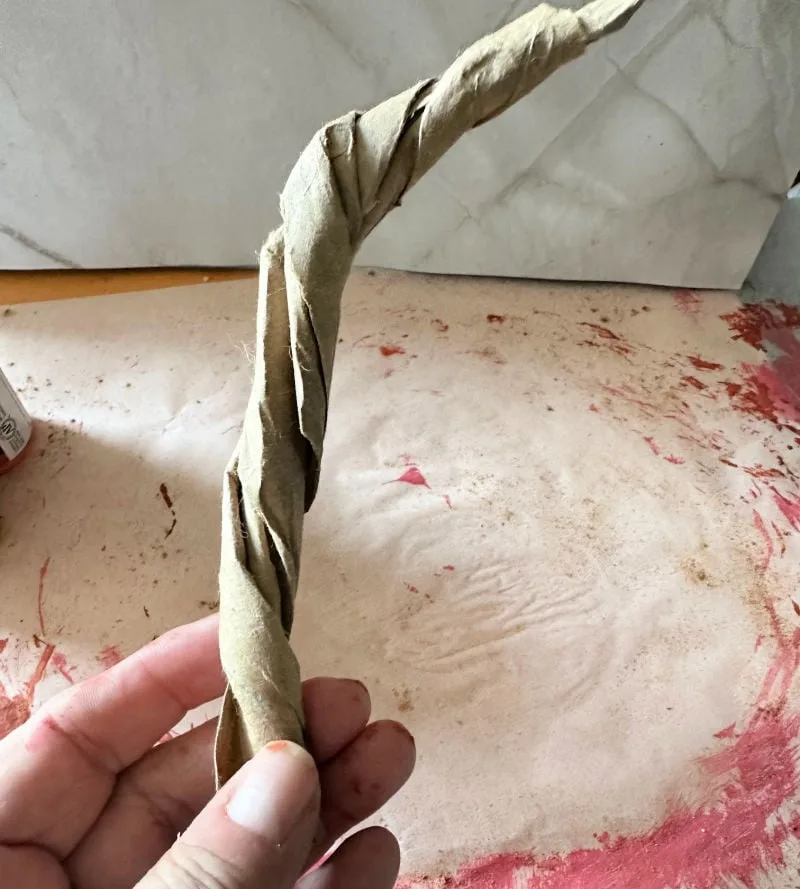
Use a rolled up paper bag to make a stem that is curved. Just roll it nice and tight and twist it until it is secure. If you want, you can place a piece of wire into the stem so it is more pliable.
Cut a hole into the center of the foam and add the paper bag pumpkin stem.
Step 6. Add Flowers
These pretty fall flowers were left over from my pumpkin wreath form door hanger. Simply stick the flower stems into the craft foam until you are happy with the placement.
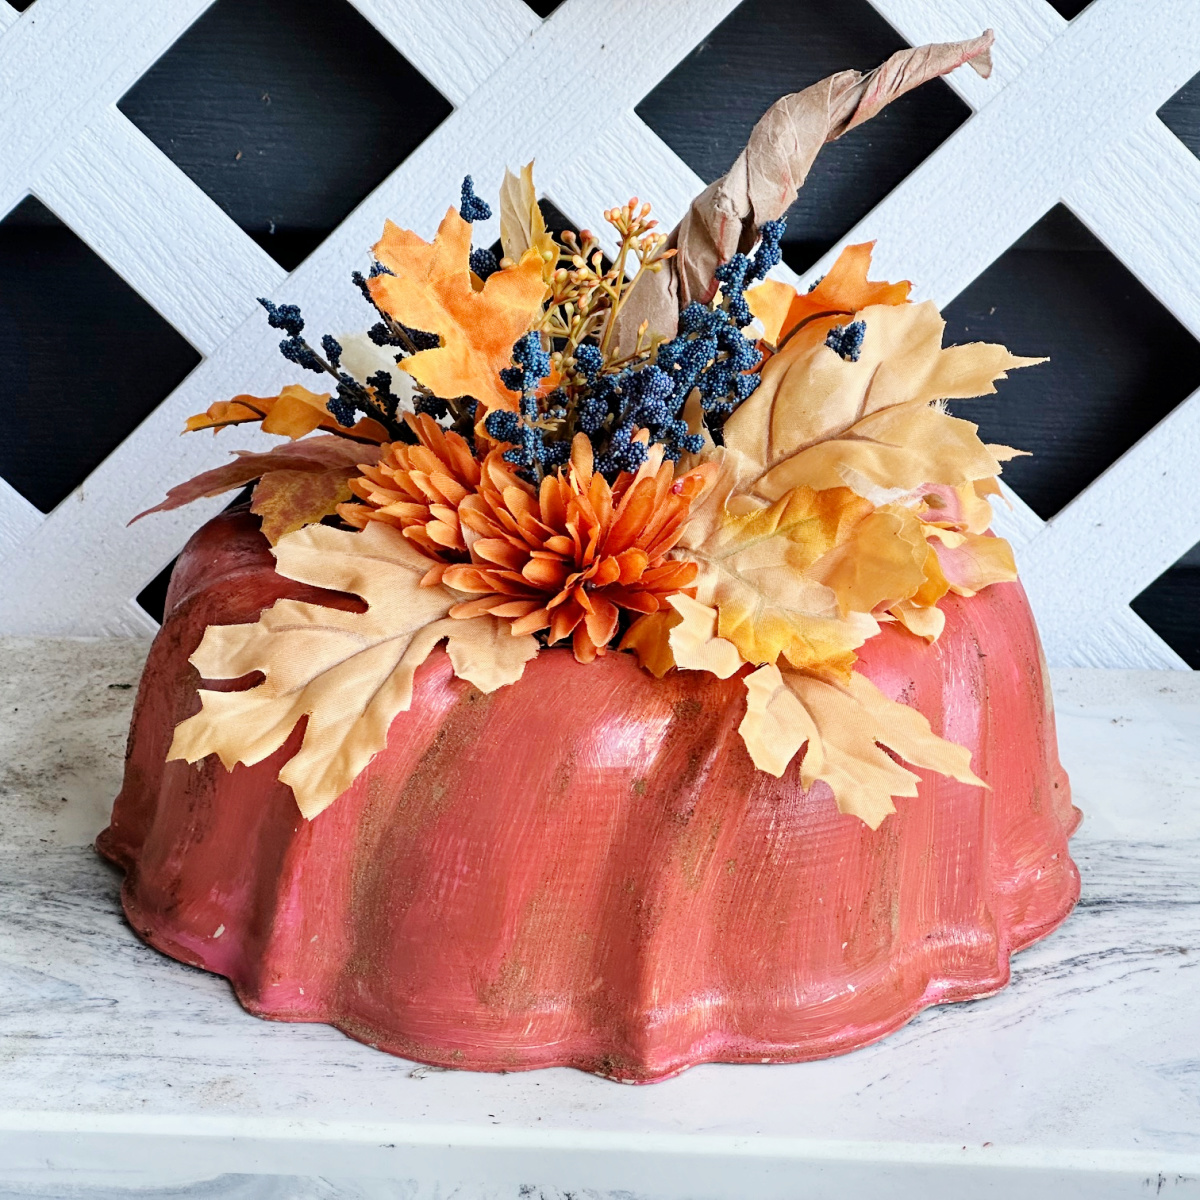
I love the pops of navy blue against the traditional orange autumn colors.
That’s all there is to it; a beautiful fall pumpkin that will look great on a buffet table, coffee table, or anywhere you want a festive pop of fall decor.
Pin For Later
Share this article with your friends on Pinterest by pinning the below image.
It helps my blog grow and doesn’t cost a thing! 🙂

Now, it’s time to hop on over to see the rest of the Thrift Store Decor Tour. You can take the tour by clicking the links below the “before” makeovers photo collage.
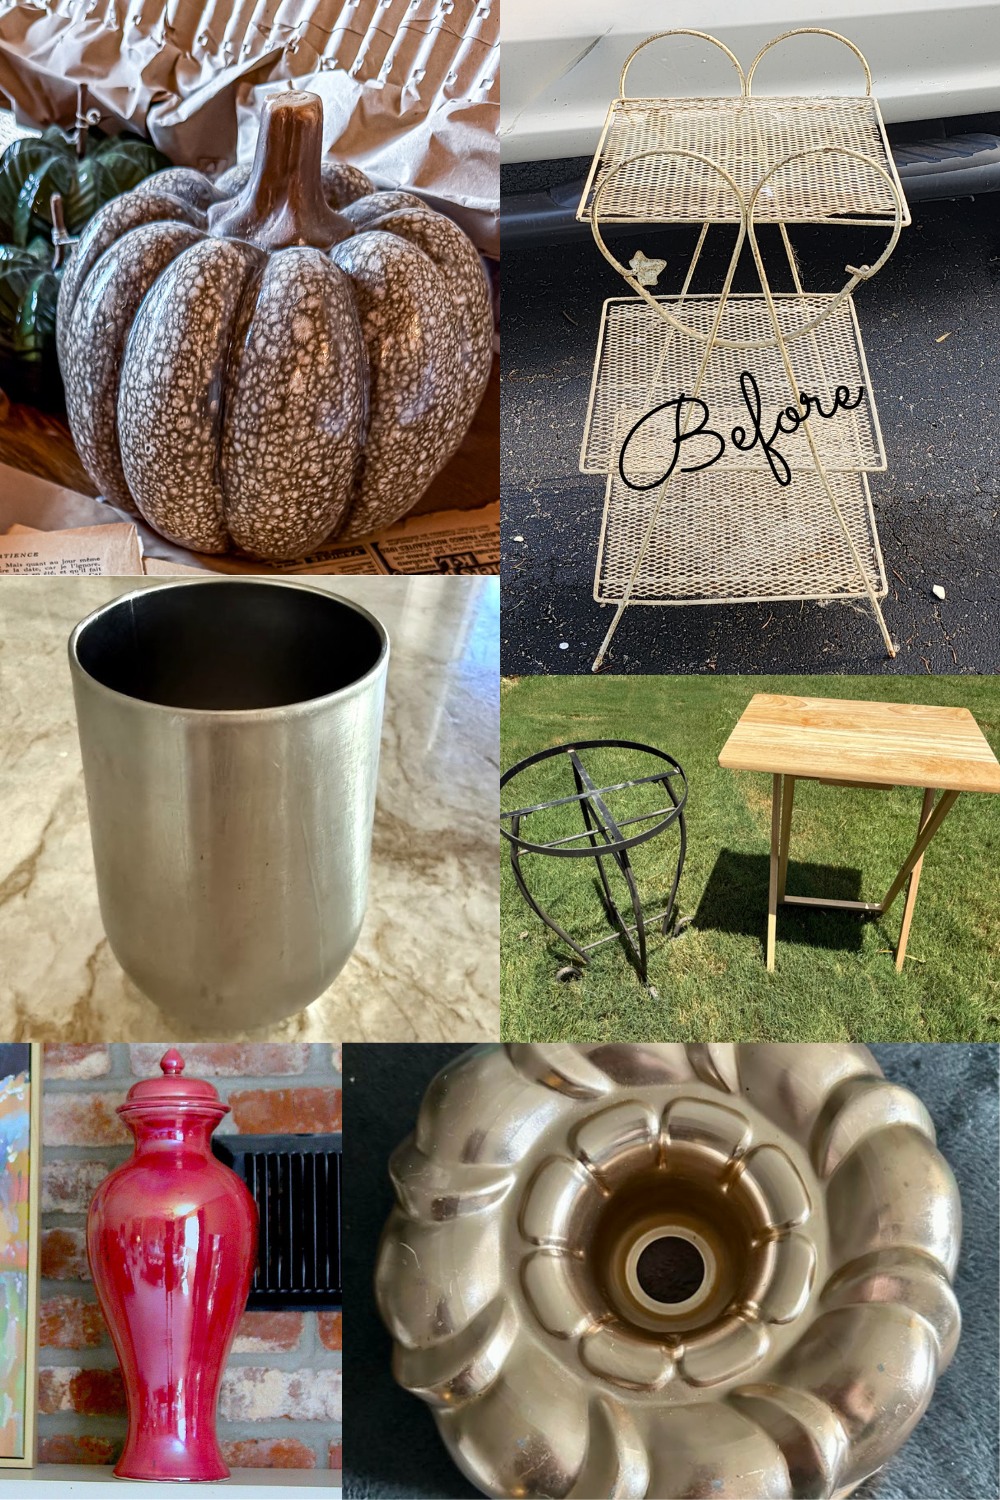

- How to Make Paper Bag Pumpkins – Songbird
- Paint a Plant Stand with Bold Colors – My Repurposed Life
- How To Make a Hydro Dipped Epoxy Tumbler – My Uncommon Slice of Suburbia
- Upcycle a Tray Table into a Repurposed Side Table – Shop At Blu
- How to Paint a Ginger Jar – Petticoat Junktion
- How to Make a Pumpkin Bundt Pan Craft – Our Crafty Mom
Thanks for stopping by. Happy thrifting!


You may also enjoy these thrifty DIY ideas:
- 50 DIY Furniture Makeovers
- $3 Vintage Record Cabinet Makeover
- Upcycled Thrift Store Art with a Gift Bag
- Thrift Store Dollhouse Makeover for Halloween
- Thrift Store Upcycled Halloween Art
- 15 Upcycled Creative Home Decor Projects
- Old Window Decor Ideas
- Best Upcycled Wall Art Ideas
Follow me on social media below:
kristin
Wednesday 10th of September 2025
This is so cute! Love how this turned out.
Gail Wilson
Wednesday 10th of September 2025
Michelle,
I love the rolled paper stem! Your bundt pan pumpkin is awesome.
Pinning!
gail