Learn how to make a unique velvet mushroom craft. This easy tutorial will show you how to transform simple supplies into adorable mushrooms.
This project is perfect for kids and adults alike, and can be done with minimal supplies.
All you need is some split wood beads, velvet fabric scraps of various colors or sizes, and a hot glue gun.
You’ll be able to assemble these mushrooms in no time!
With this craft, you can create cottage-core mushroom decorations for a fun and quirky craft project.
Not to mention, you don’t have to worry about having any special crafting skills either—simply cut the fabric into circles and attach them to the wood bead using a hot glue gun.
If you are making these with kids, I recommend using fabric glue instead of hot glue for these handmade pieces.
This post contains affiliate links at no extra cost to you. Please see my full disclosure here.
DIY Mushroom Crafts
You may have noticed an abundance of mushroom decorations at home and craft stores and all over Pinterest.
Everywhere you look these fabulous fungi are popping up!
I’ve talked before about my daughter Amanda’s love for all things cottage core.
She inspired me to add a touch to my bedroom with this decoupage window makeover.
Take a look at the stunning mushroom tapestry she has in her bedroom:
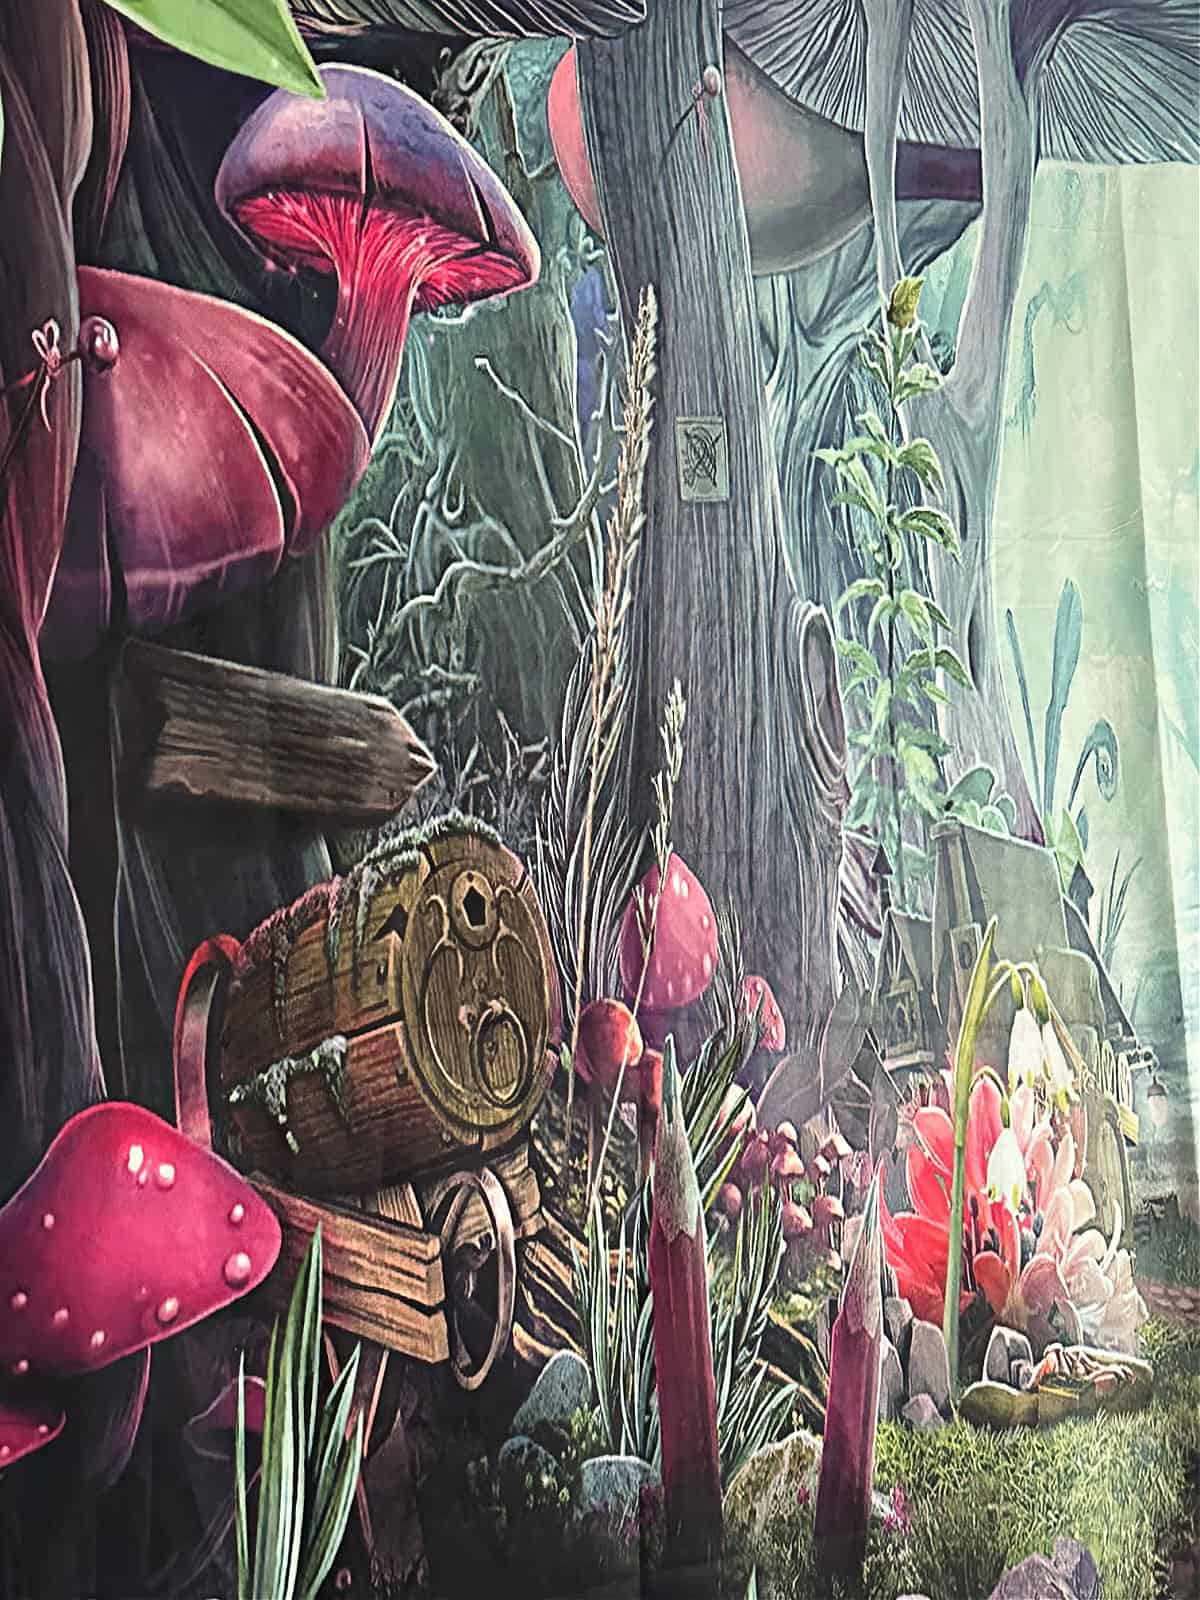

It adds a touch of whimsy to her room and makes it so cozy.
She asked if I could make some mushroom decorations for her bedroom shelves and I was more than happy to get creative.
So I hit up my craft stash and found the perfect supplies.
Let’s go to this step-by-step tutorial.
Craft Supplies Needed for Velvet Mushrooms
- 2″ Split Wood Beads
- Velvet Fabric – I used royal blue and tan.
- Burlap
- Cricut Hot Glue Gun
- Wood Log Sticks – Mine are from Dollar Tree
- Small Wood Slices
- Fabric Scissors
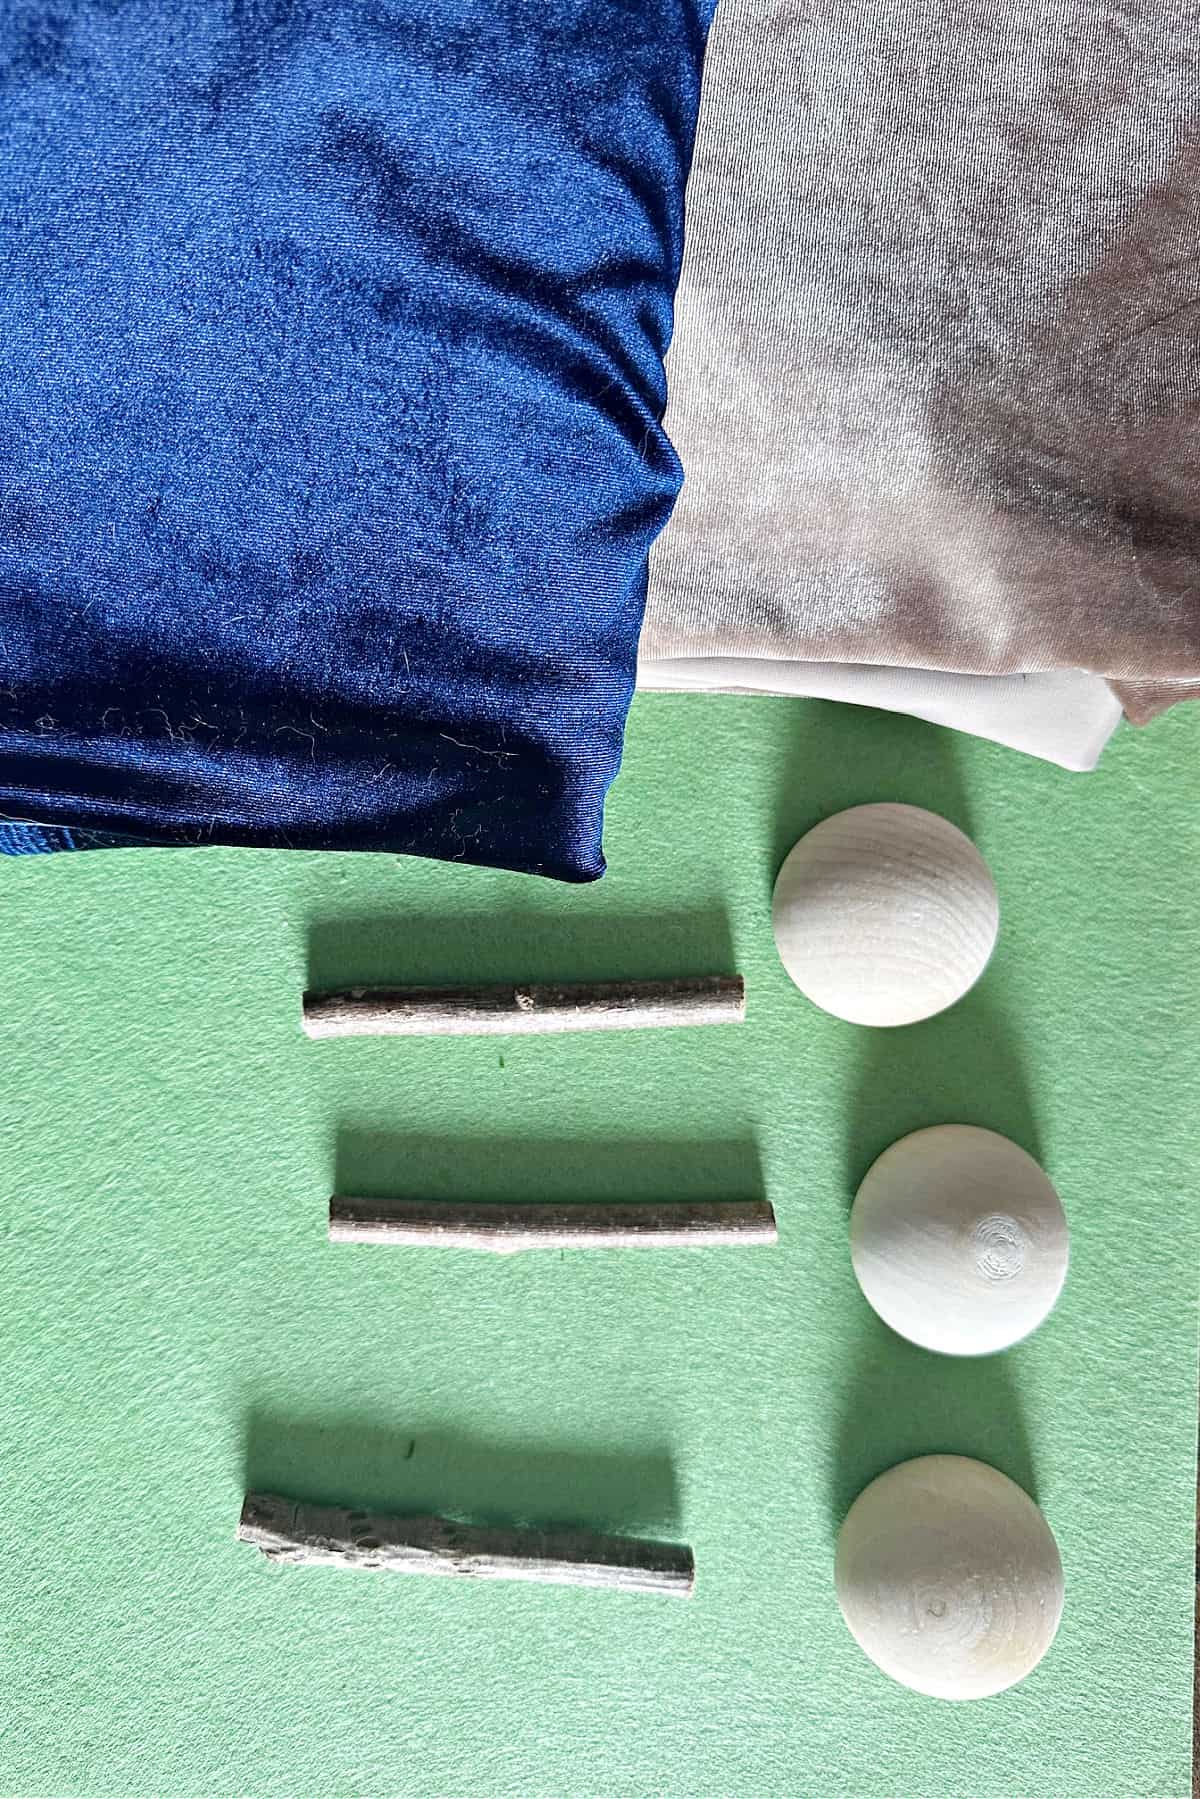

I had leftover fabric from the velvet pumpkins I made last season.
The colors are just perfect for these sweet little mushrooms!
How To Make A DIY Velvet Mushroom Craft
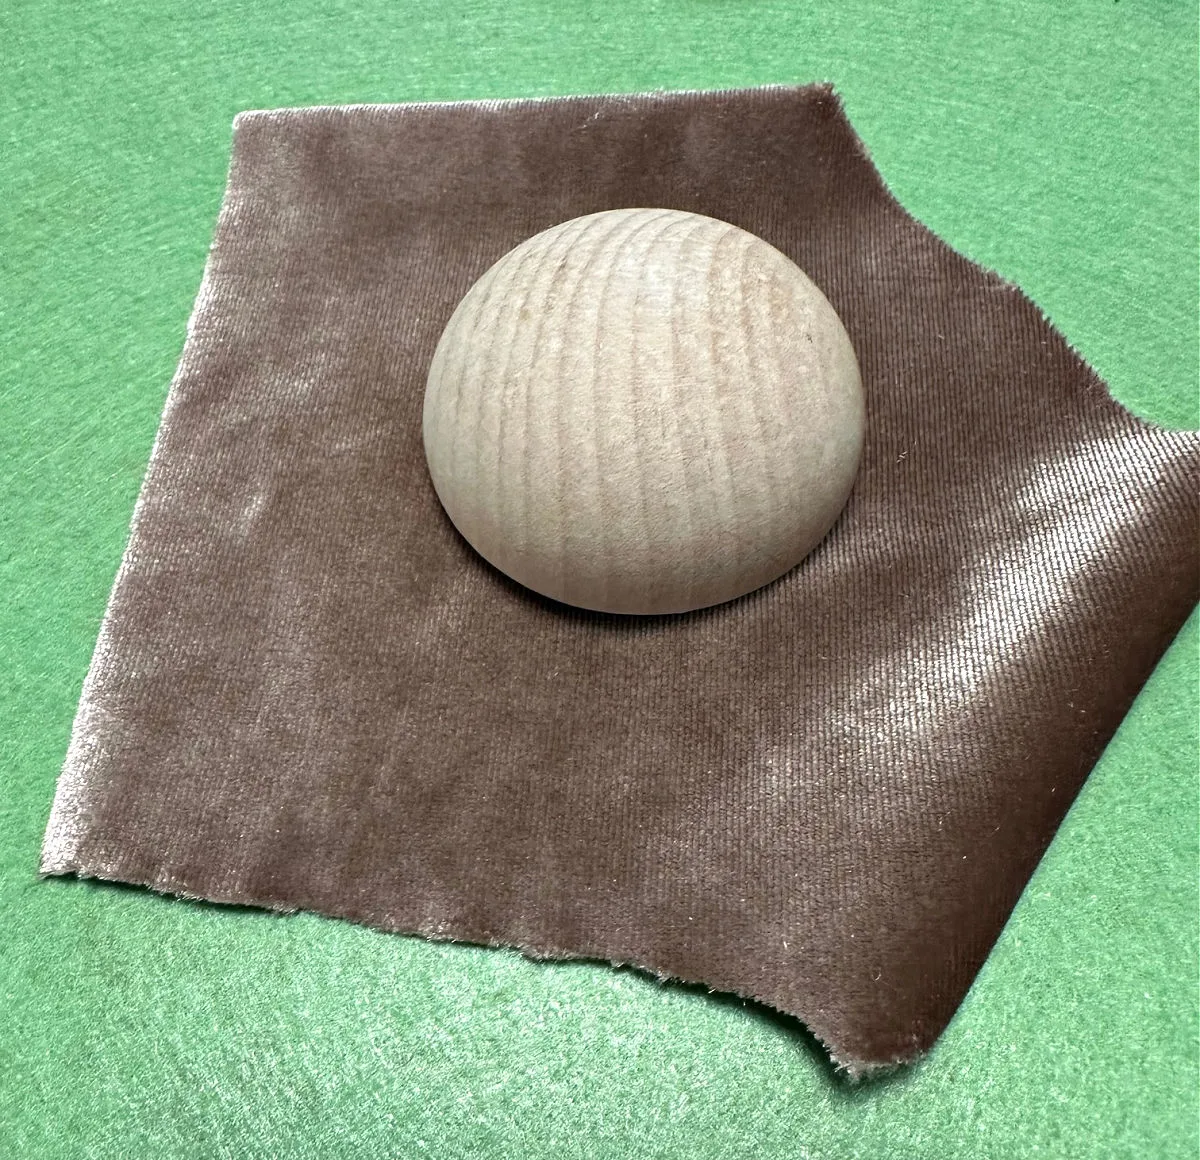
Step 1. Cut the Fabric
Place a split wood bead on top of your velvet and cut a piece to cover the bead.
You want to leave enough room to pull the fabric tight over the bead.
The bead measures 2″ so you will need about a 3″ circle.

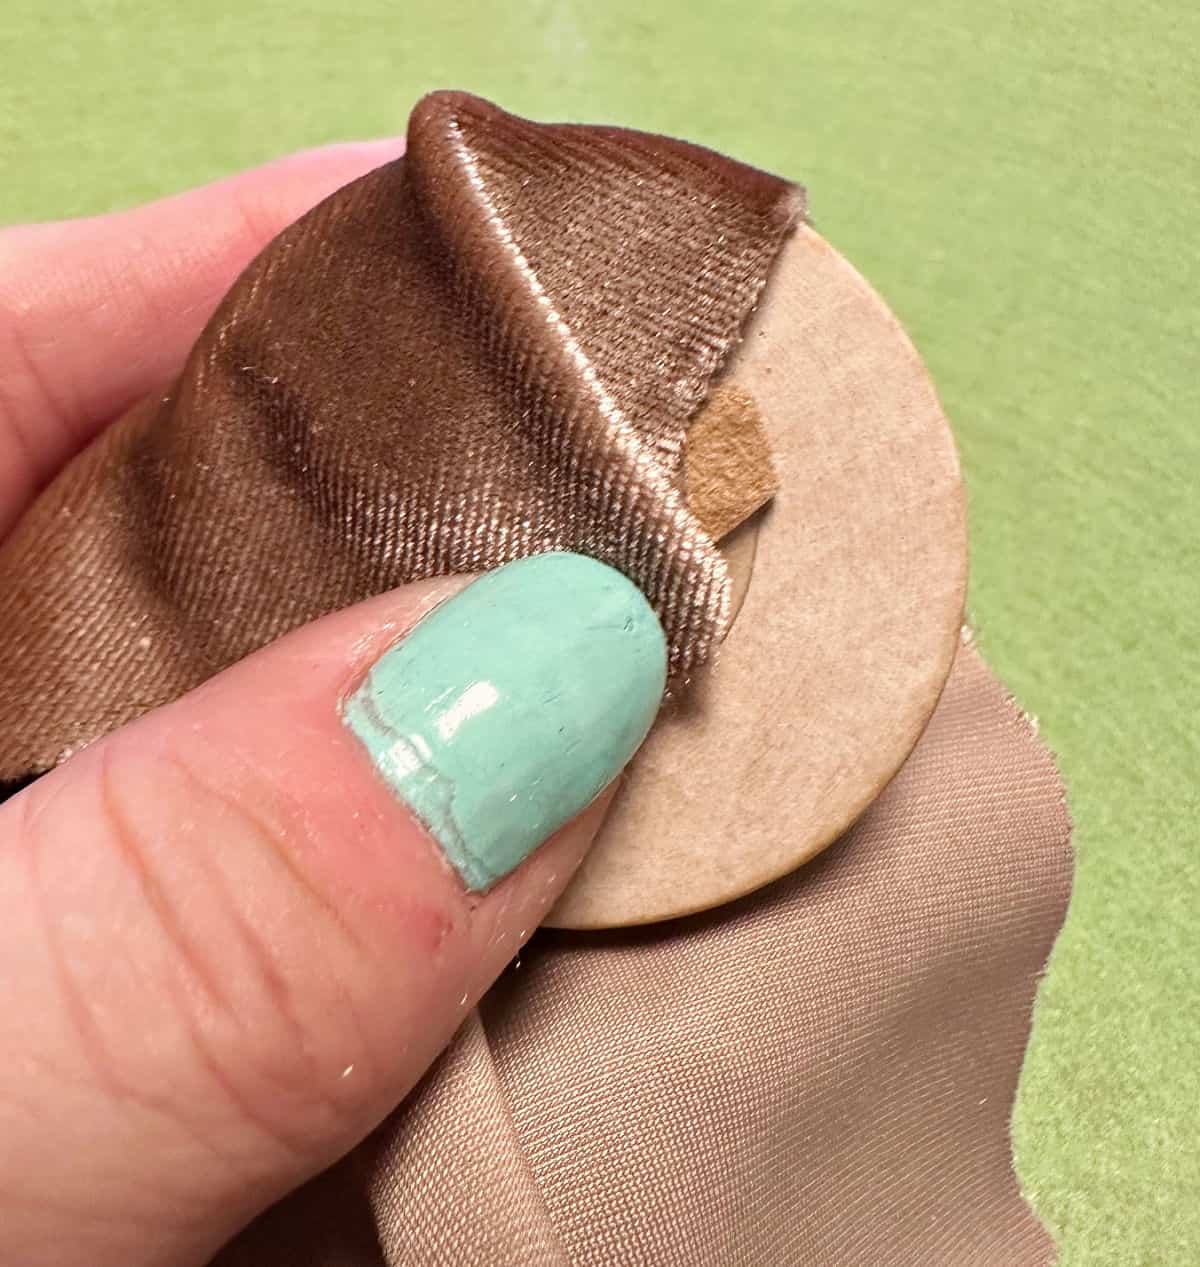
Step 2. Hot Glue the Velvet Fabric
Add a dab of glue to the center of the wood bead and attach the fabric. Pull it so it is nice and tight.
You can create folds into the fabric if you like.

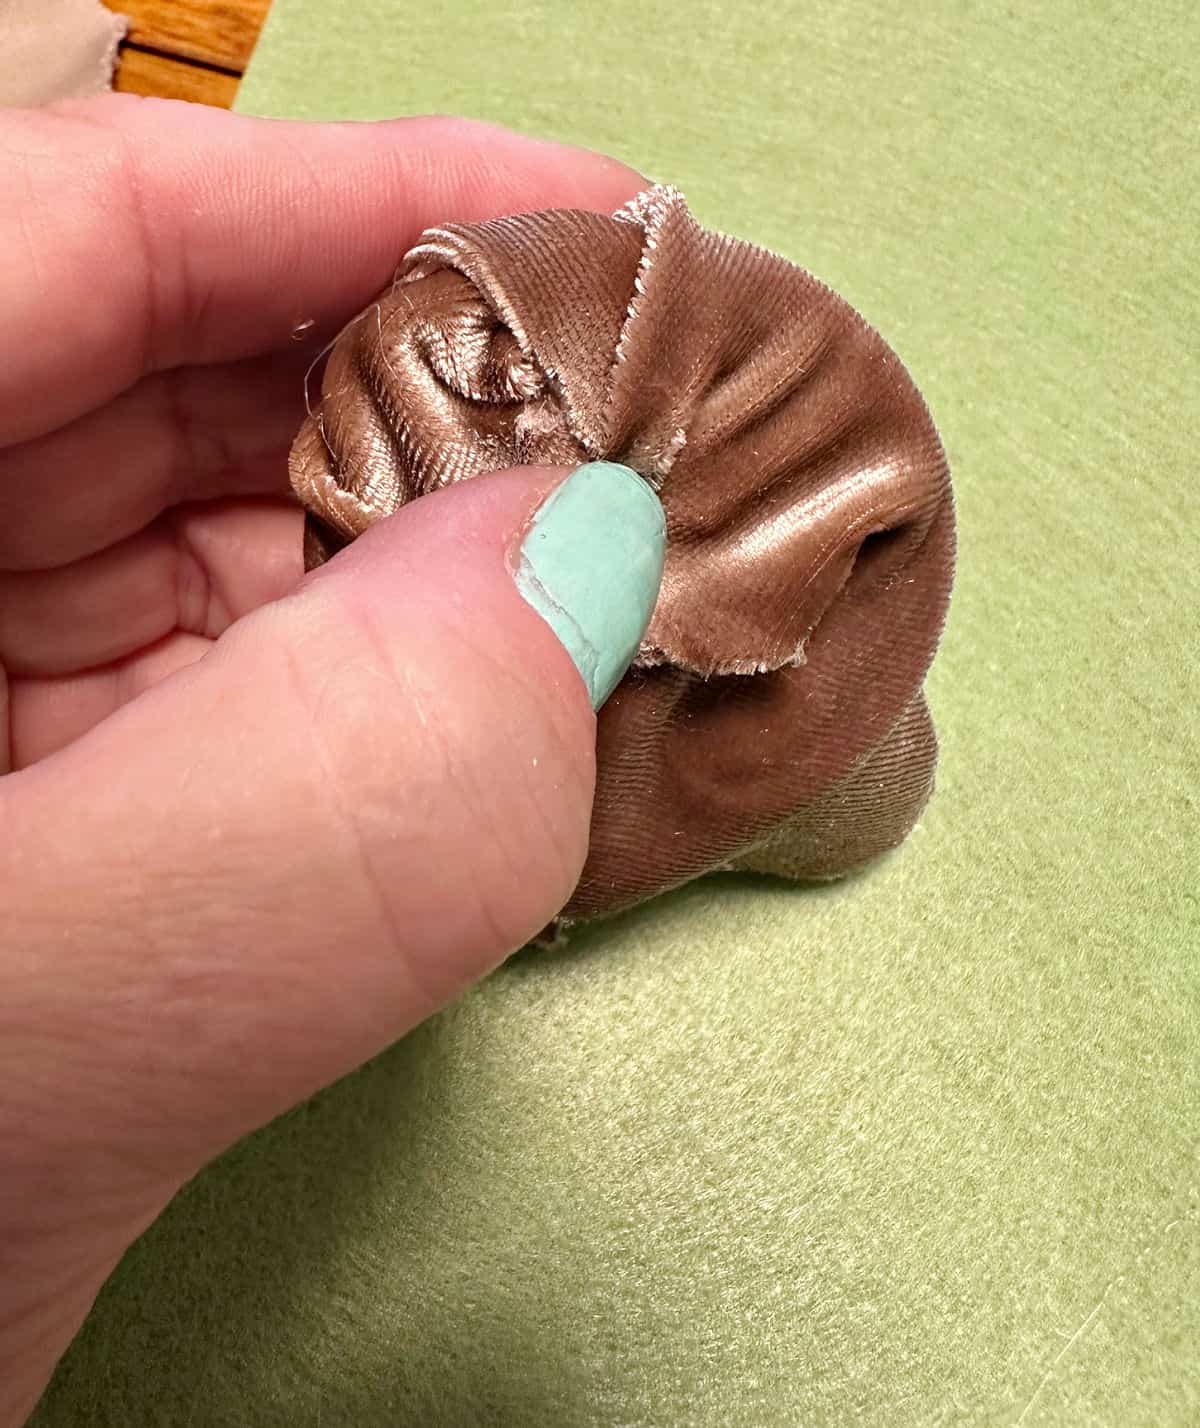
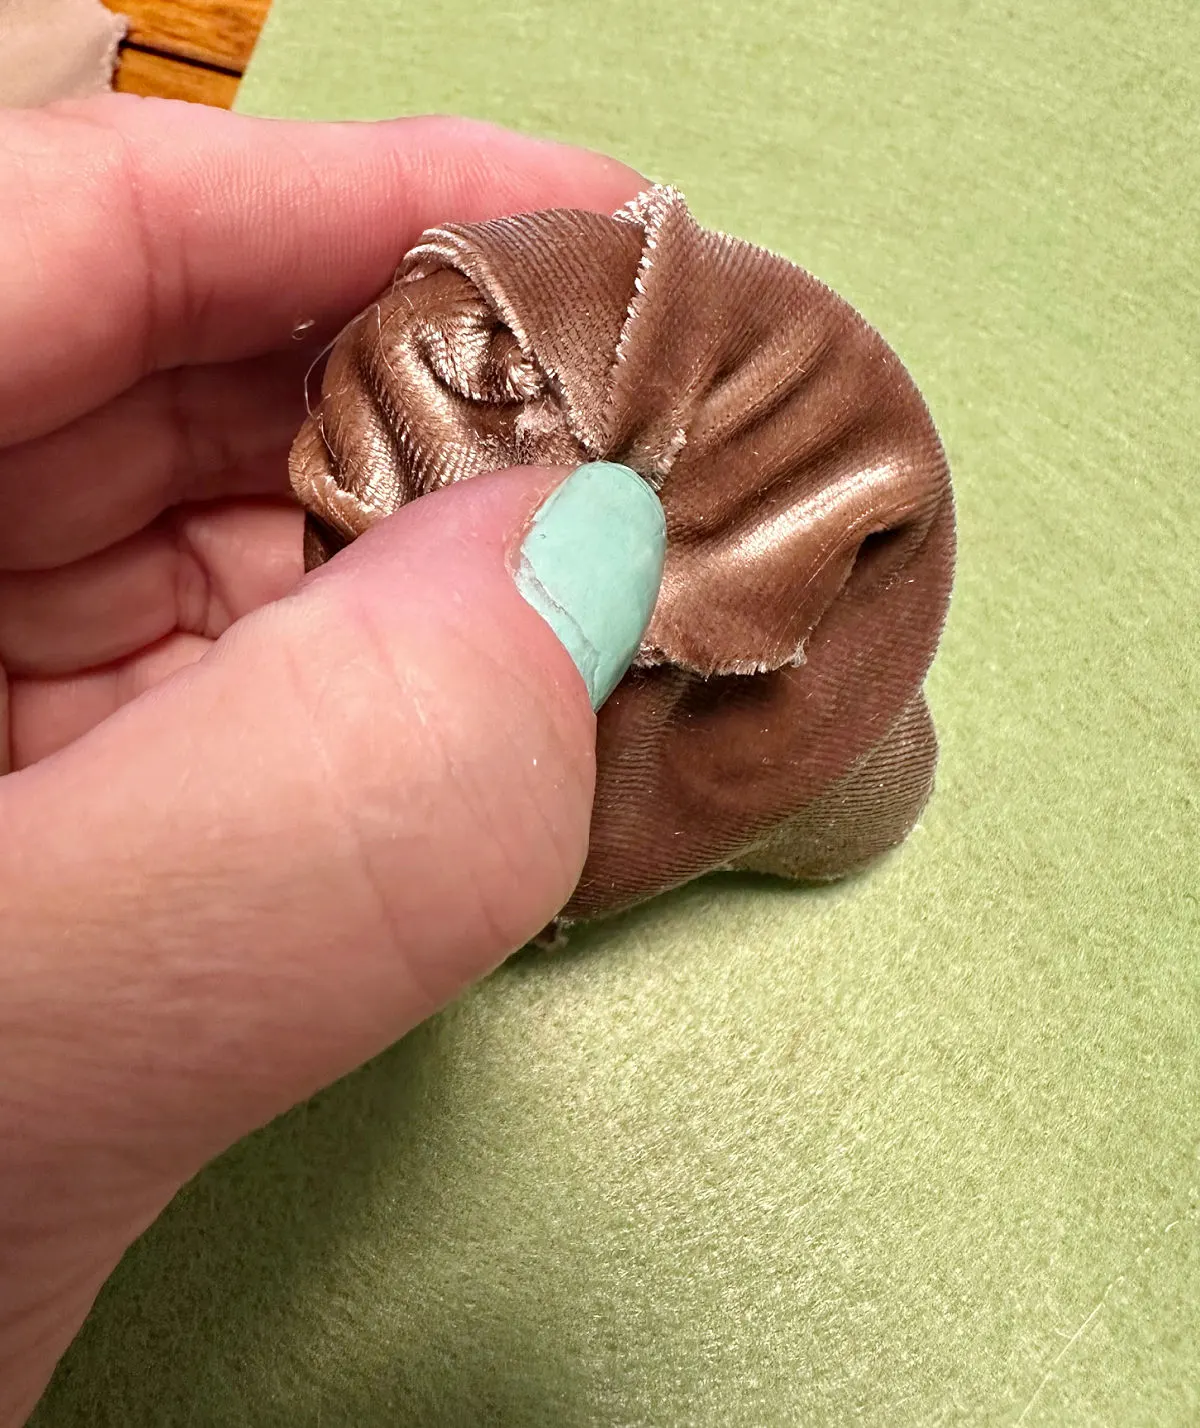
Step 3. Trim Edges
Continue to glue the velvet until the wood bead is covered. Trim any excess fabric.
Don’t worry about it being perfect, we are going to cover it up in the next step.
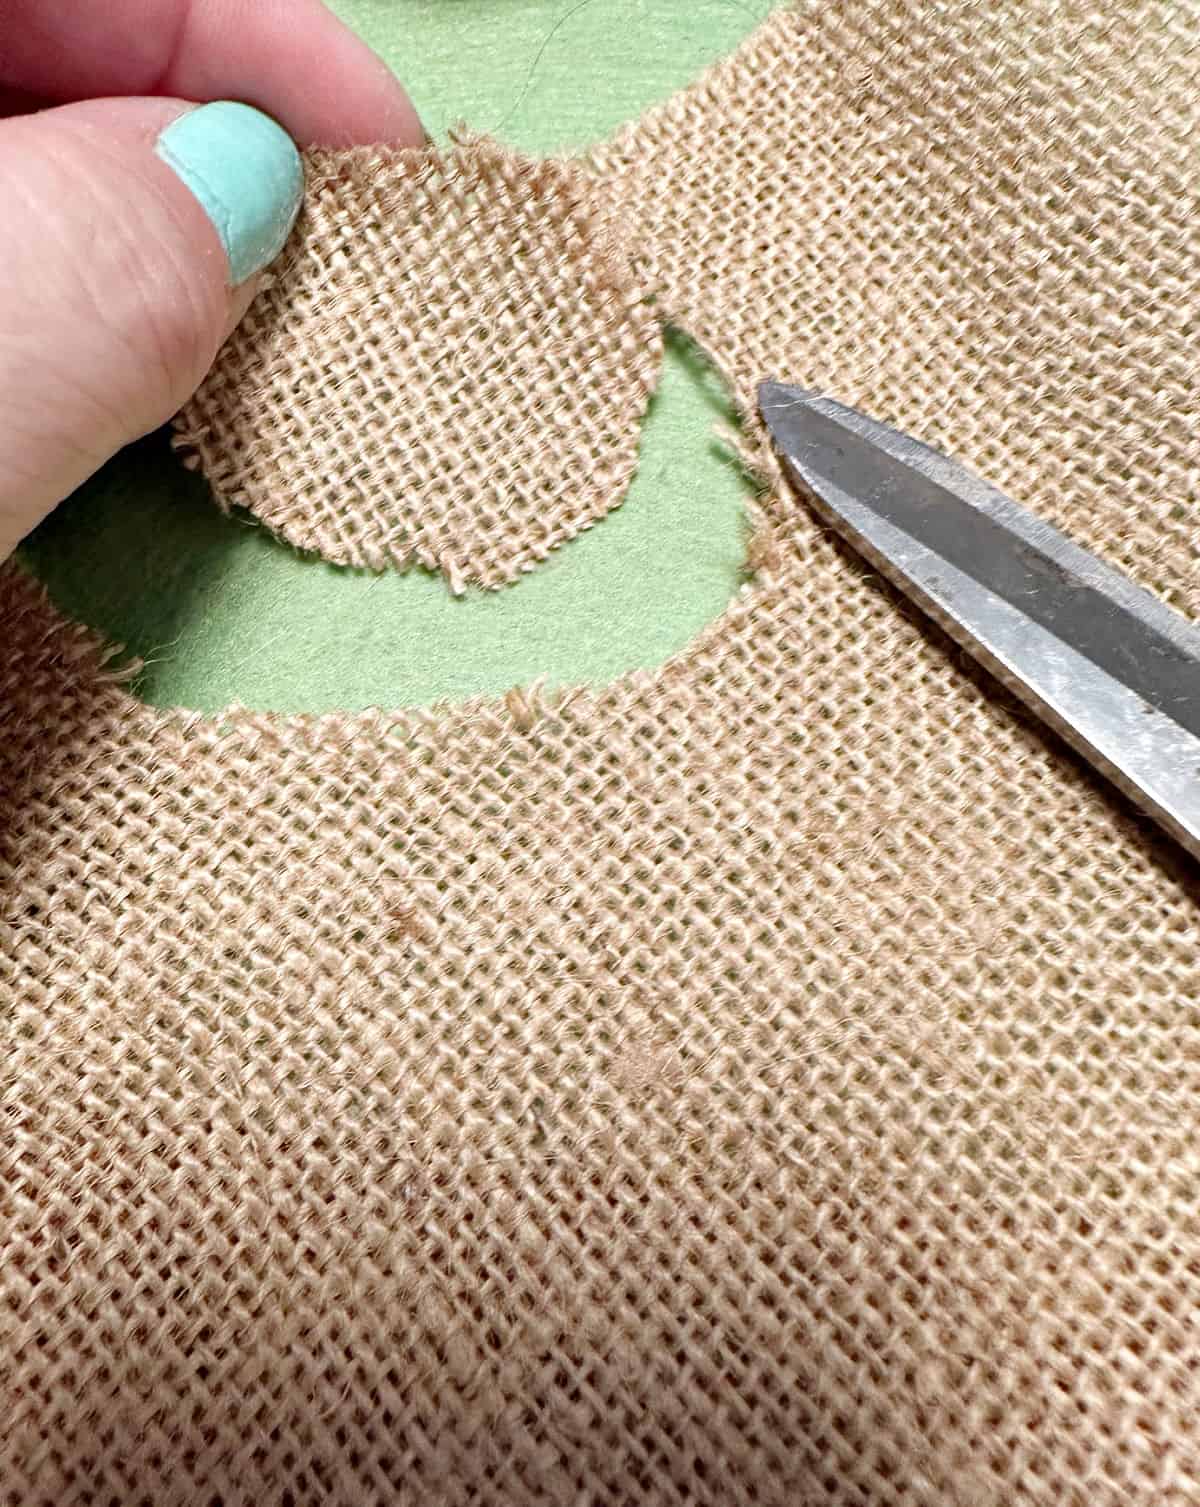
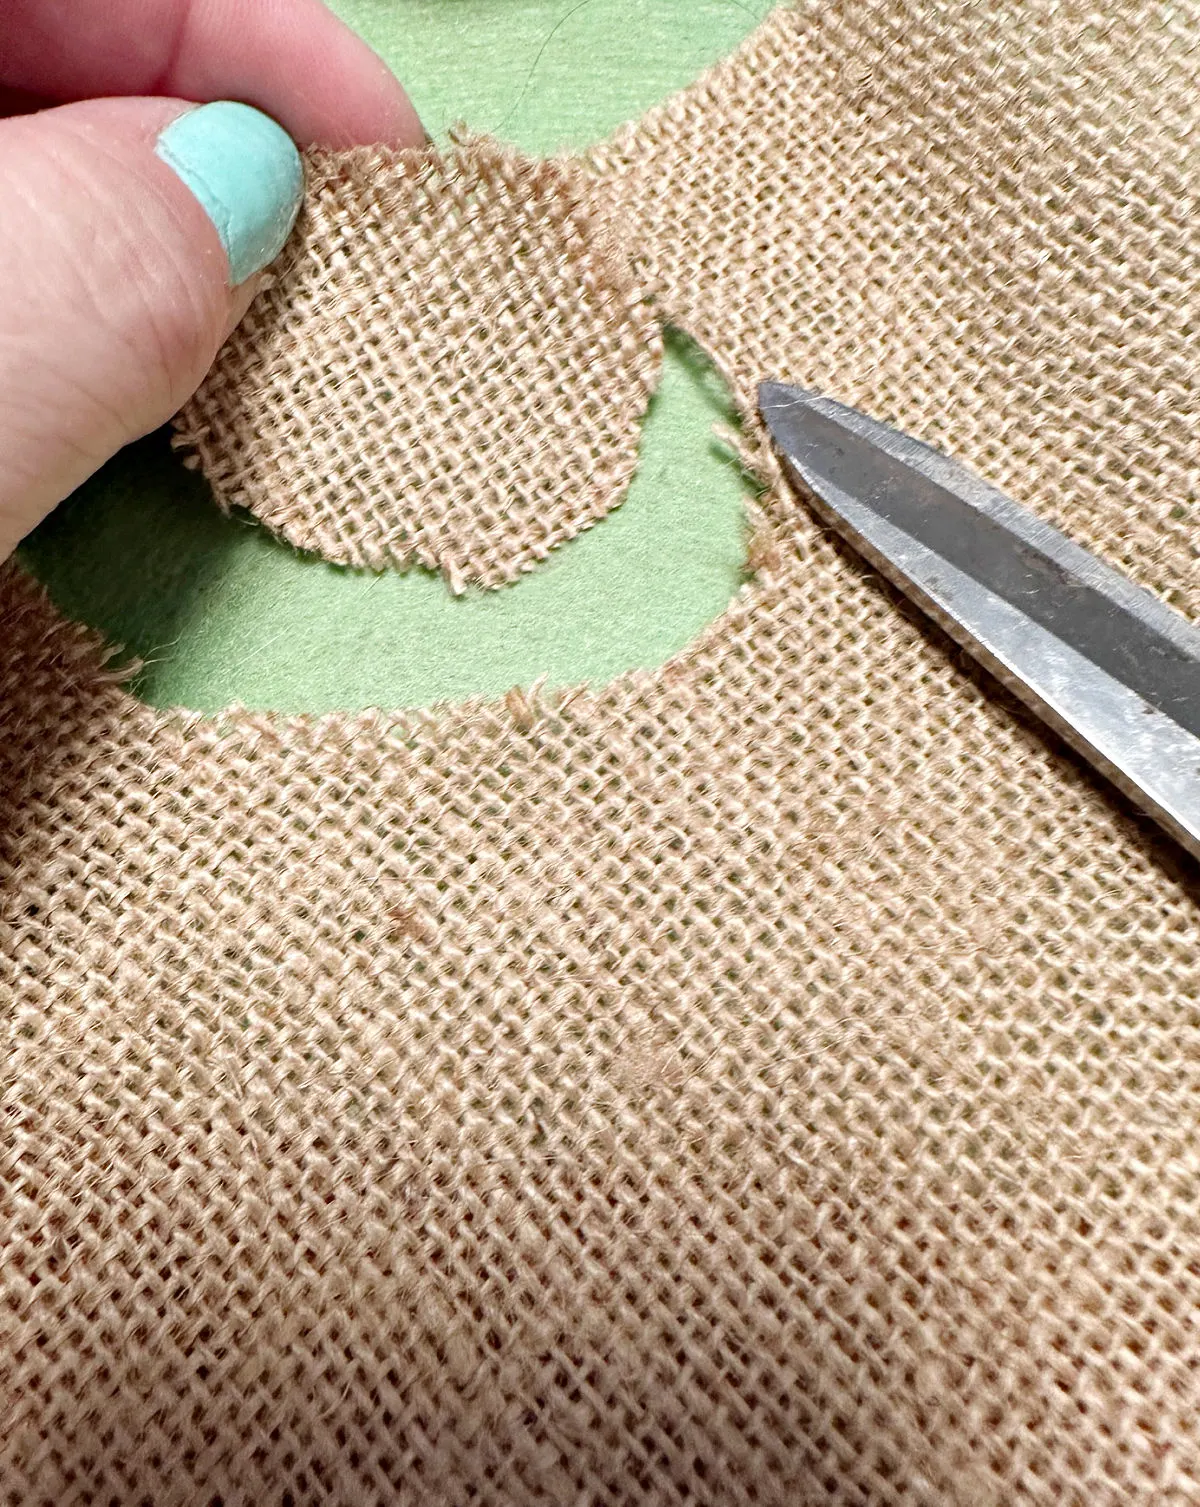
Step 4. Cut Burlap
To cover the base of the wood bead, cut a circle of burlap and hot glue it to the bead.
Step 5. Glue Mushroom to Wood Stick
Hot glue the velvet mushroom to the top of the wood stick. Hold it for a minute or so until it is secure.
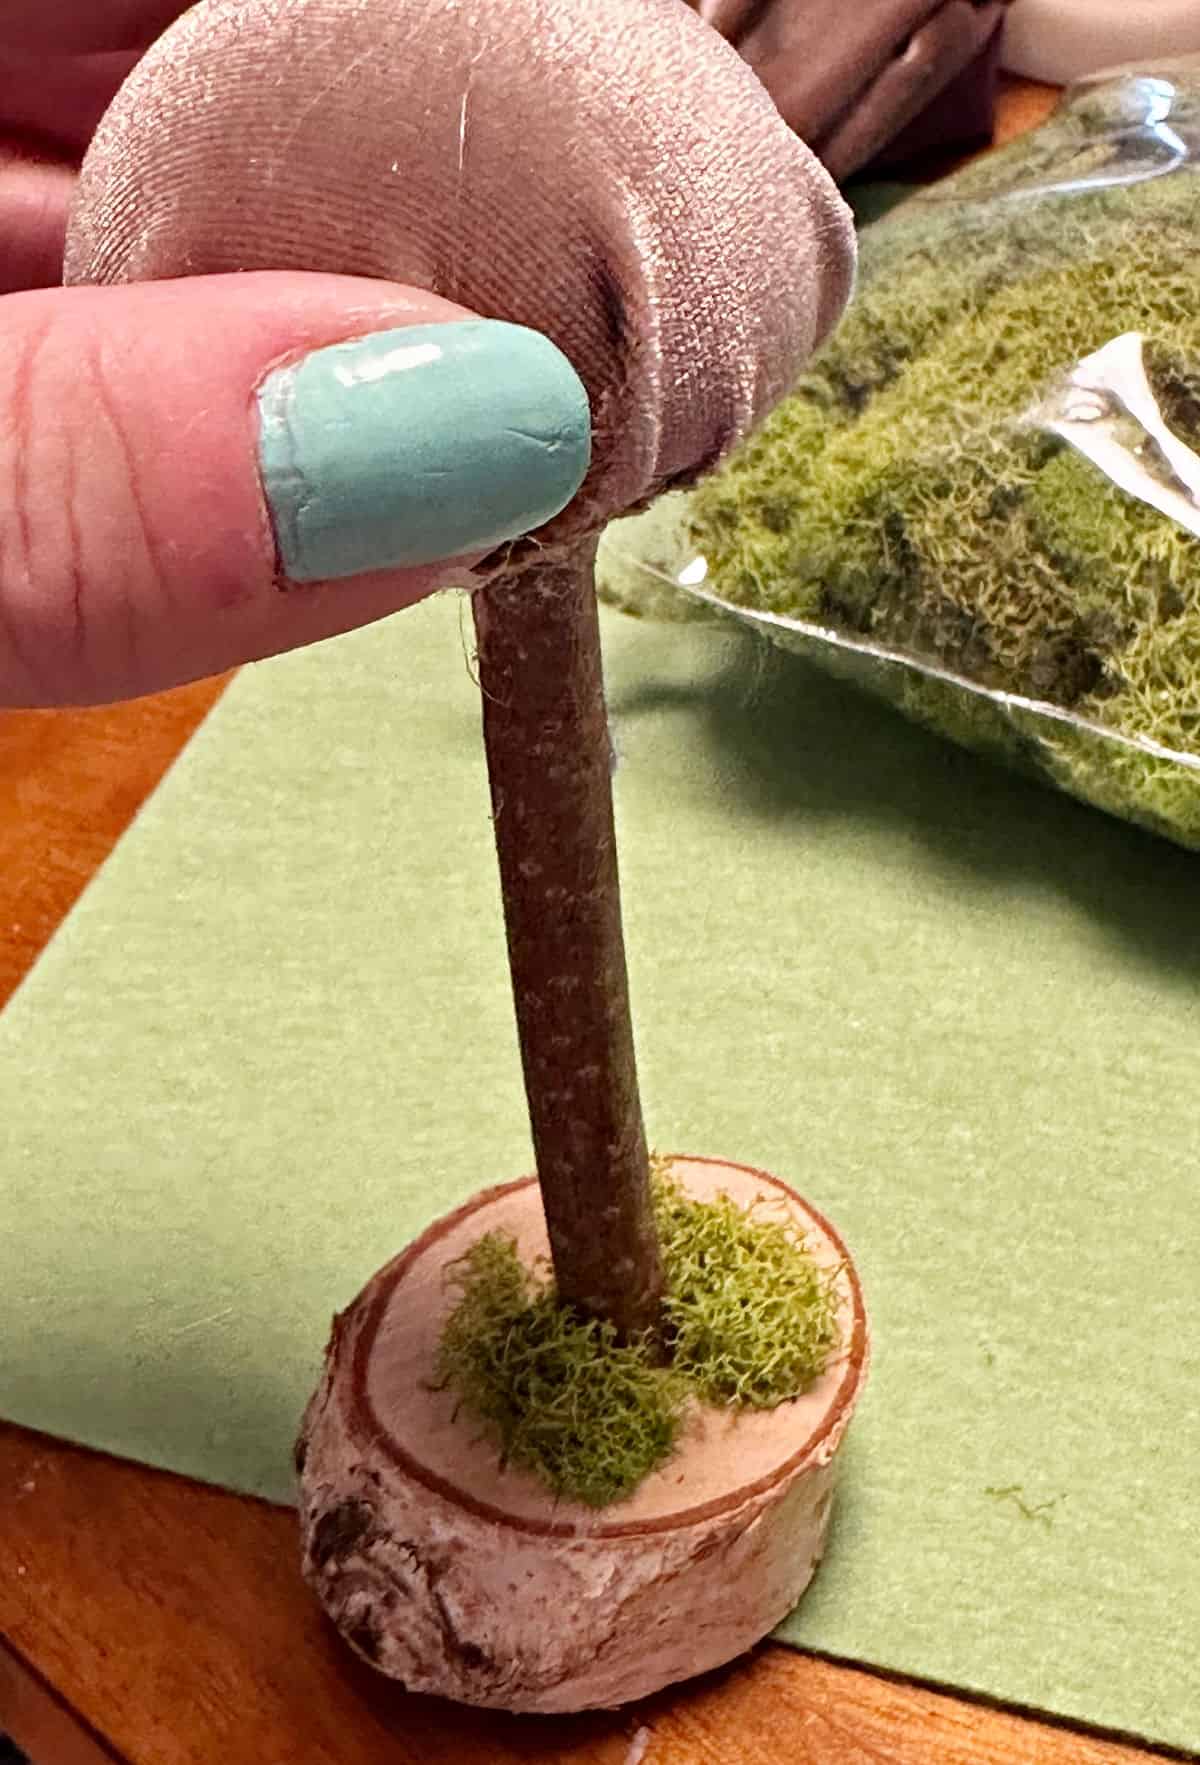

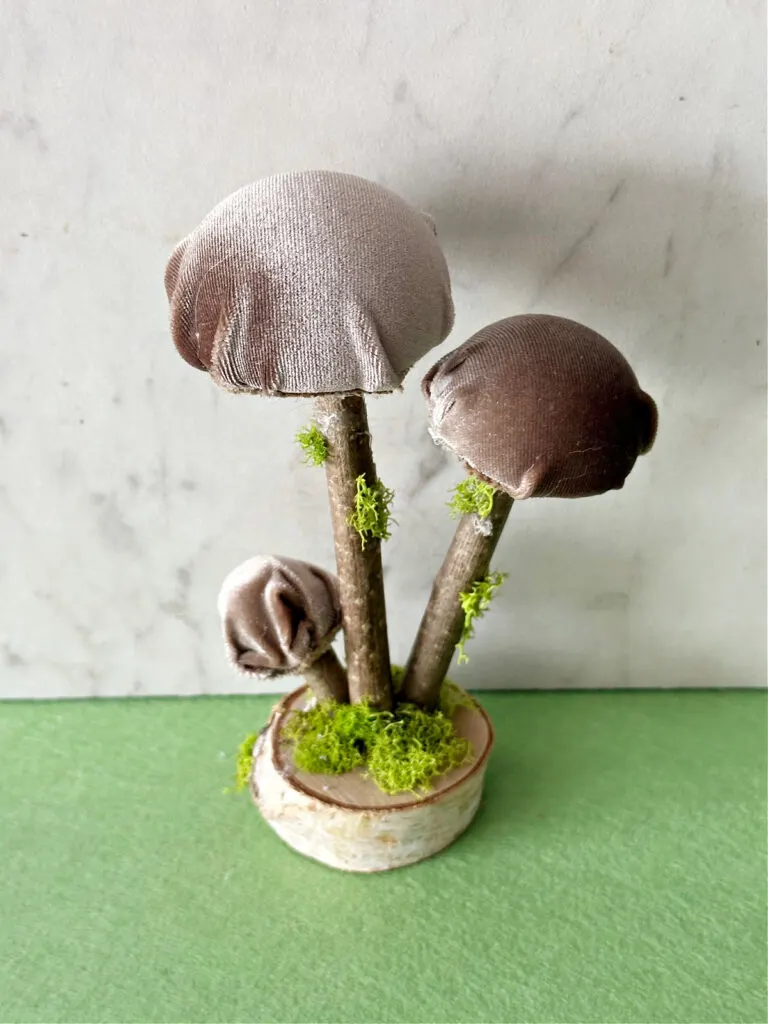
Step 6. Glue Stick to Wood Base
Hot glue the stick to the wood base. Be sure to hold it until it is secure for about a minute.

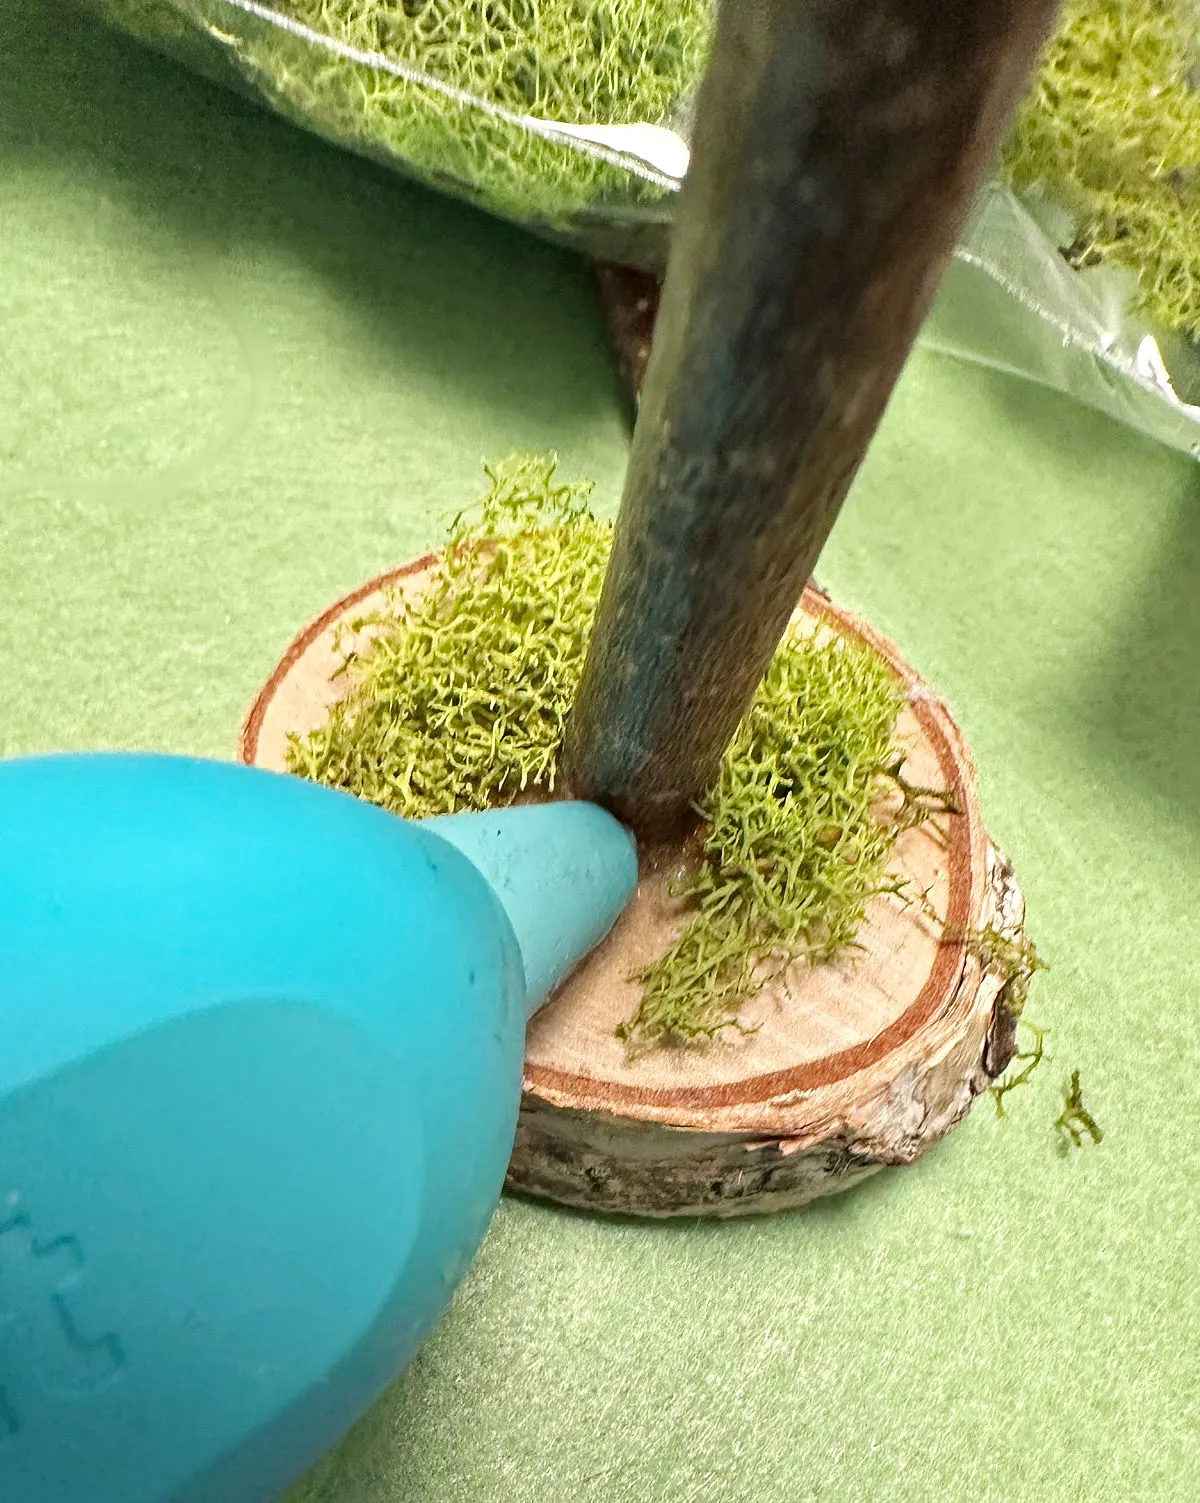
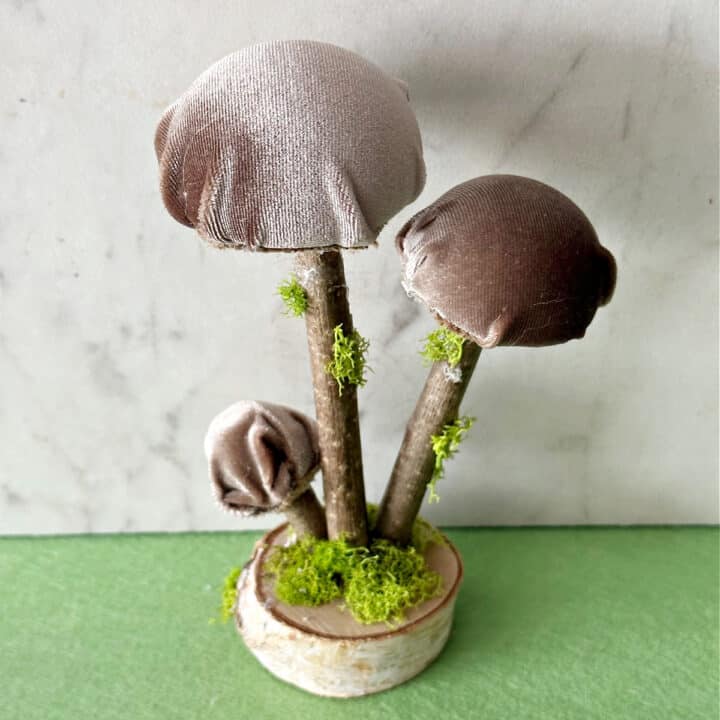
Step 7. Add Moss
To give a little extra texture and dimension to the mushroom glue a bit of moss to the wood base and sticks.
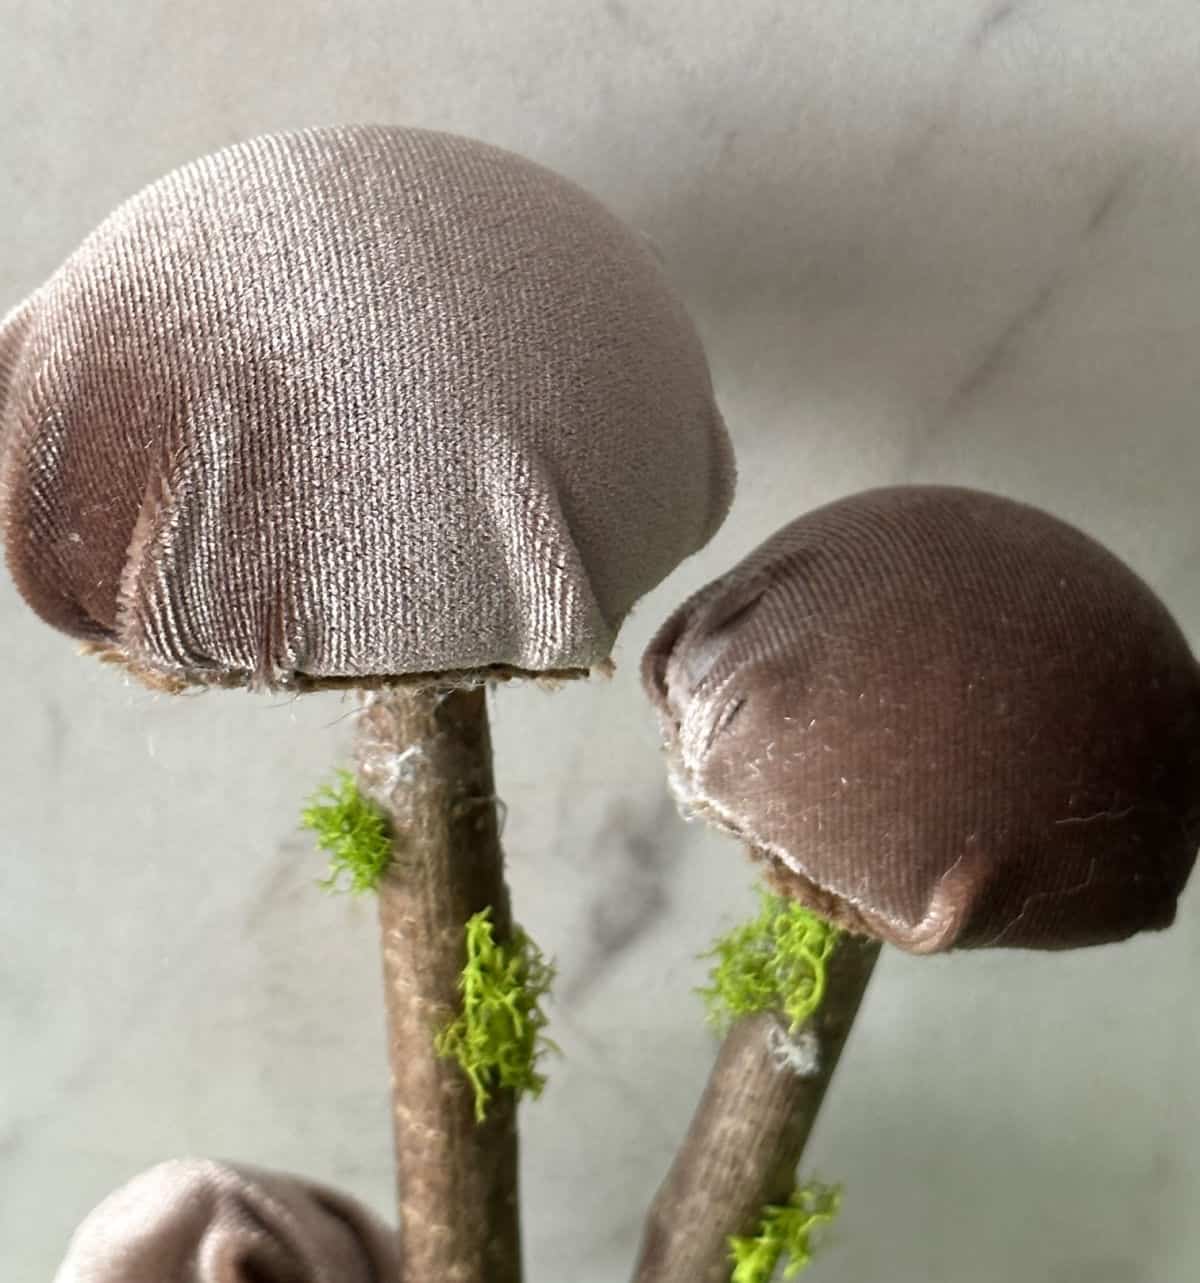
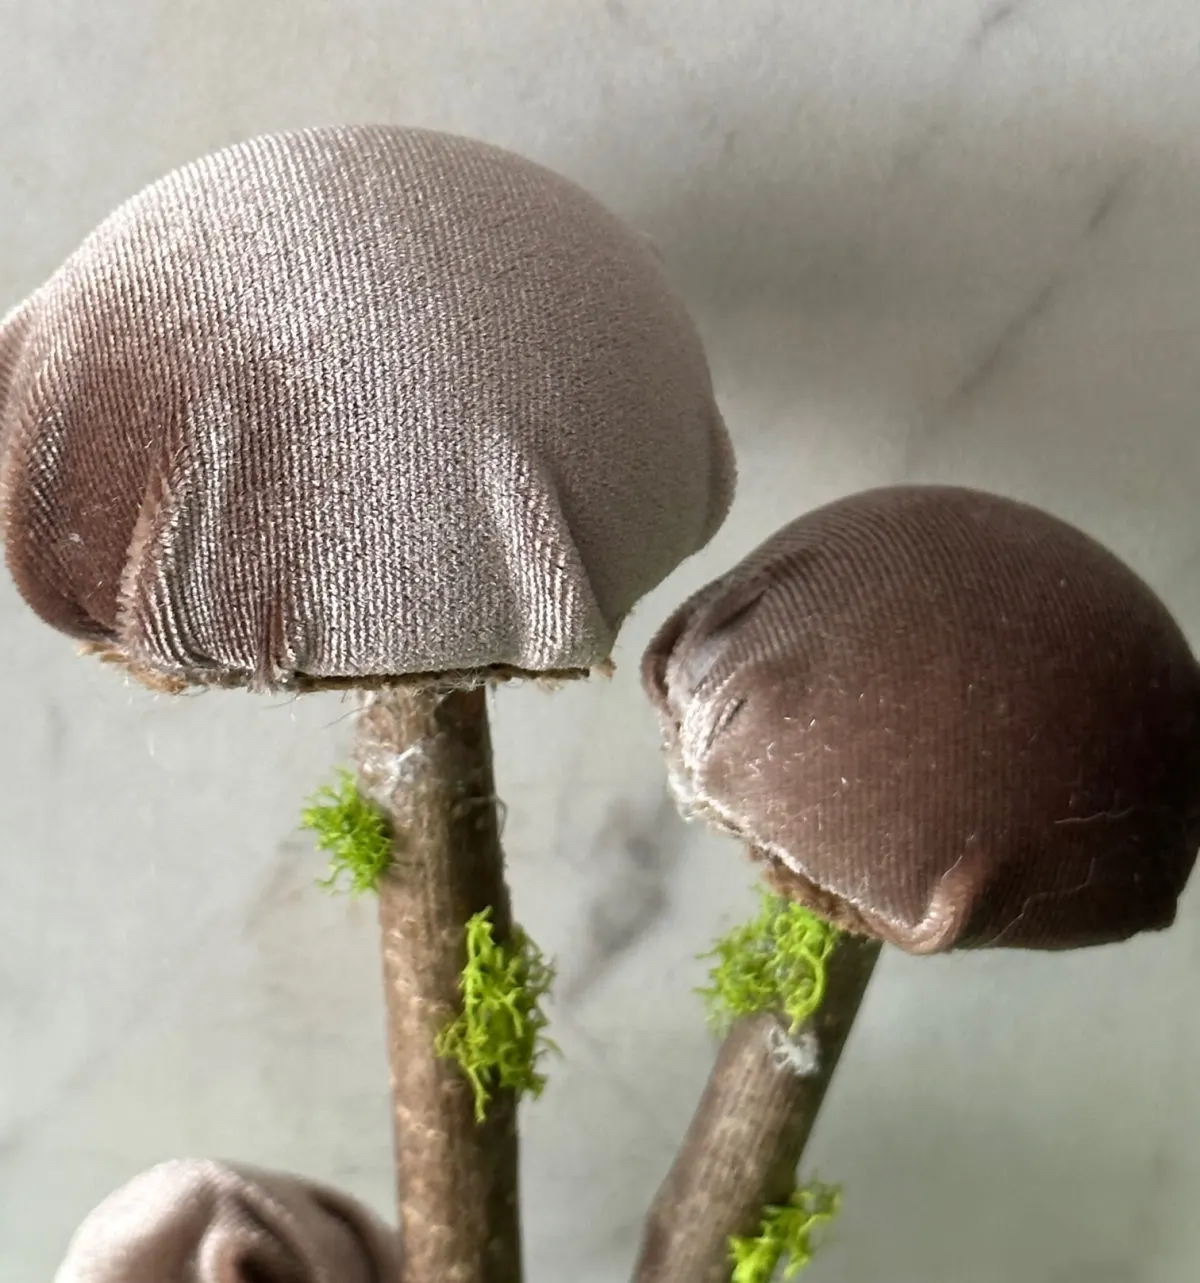
Step 8. Repeat Process
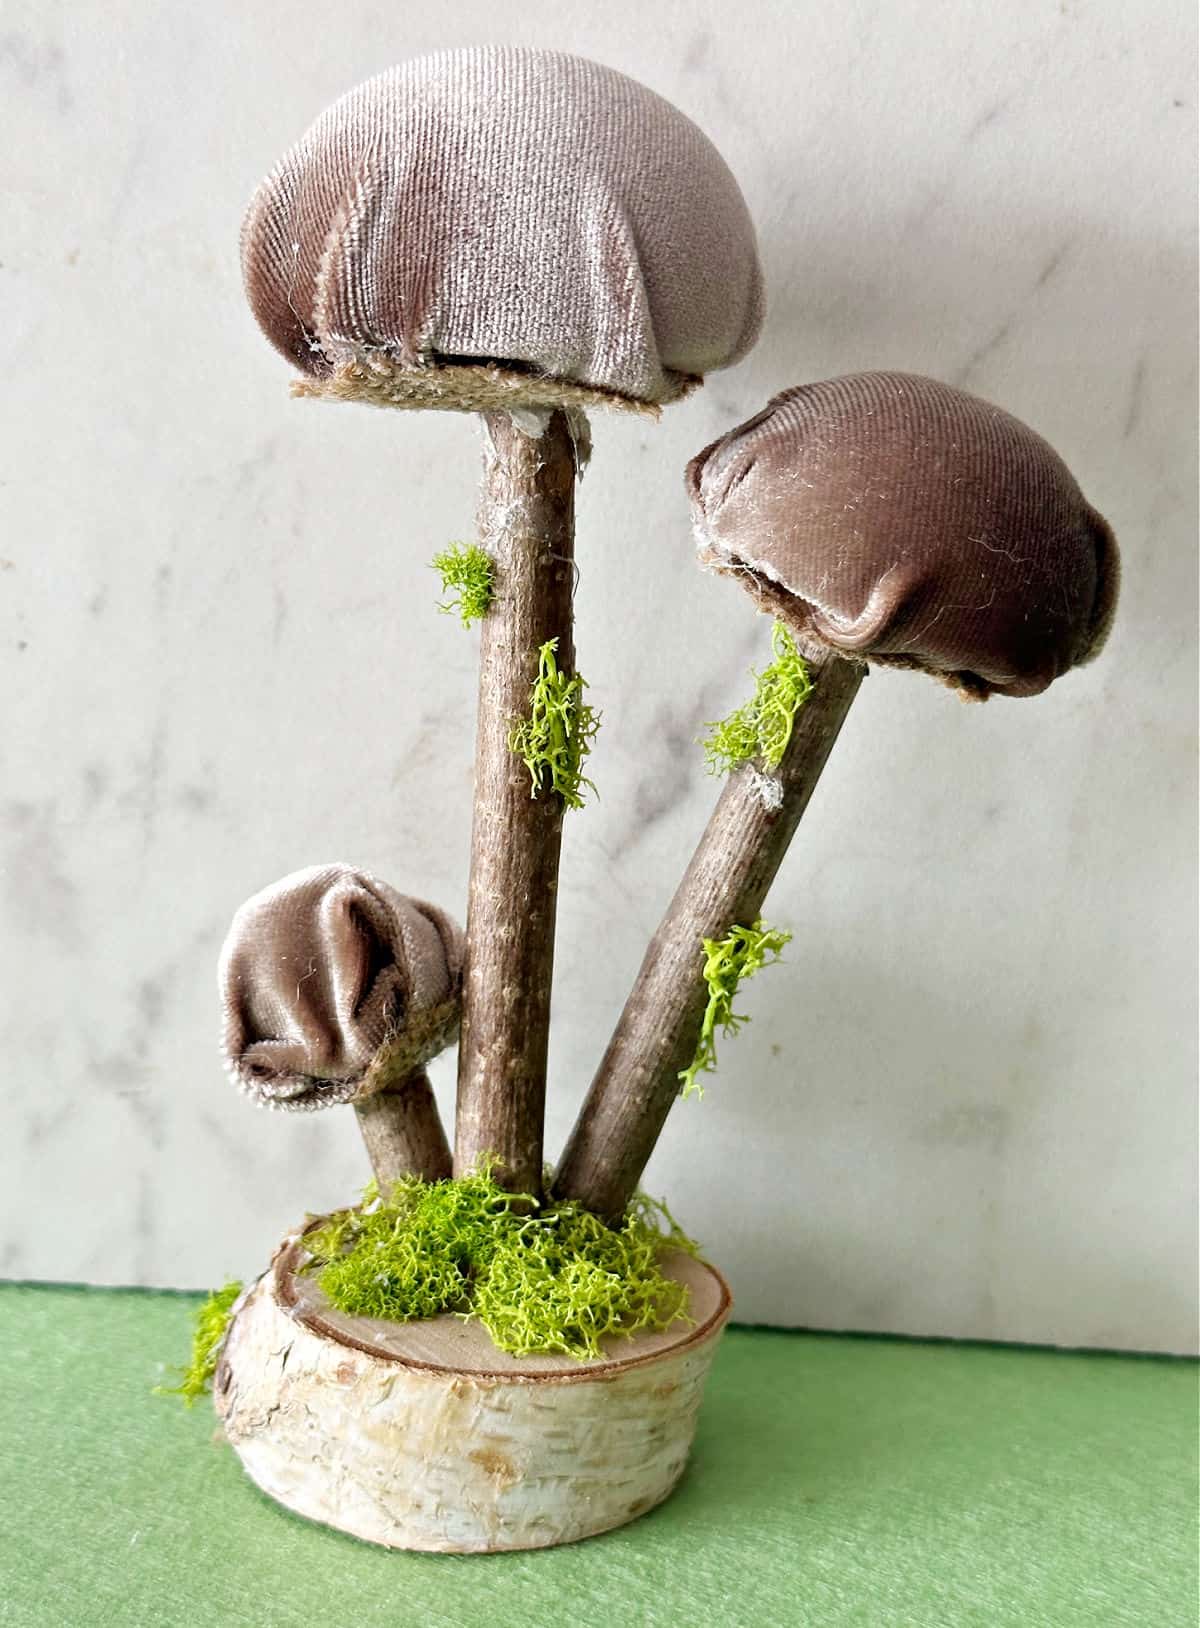
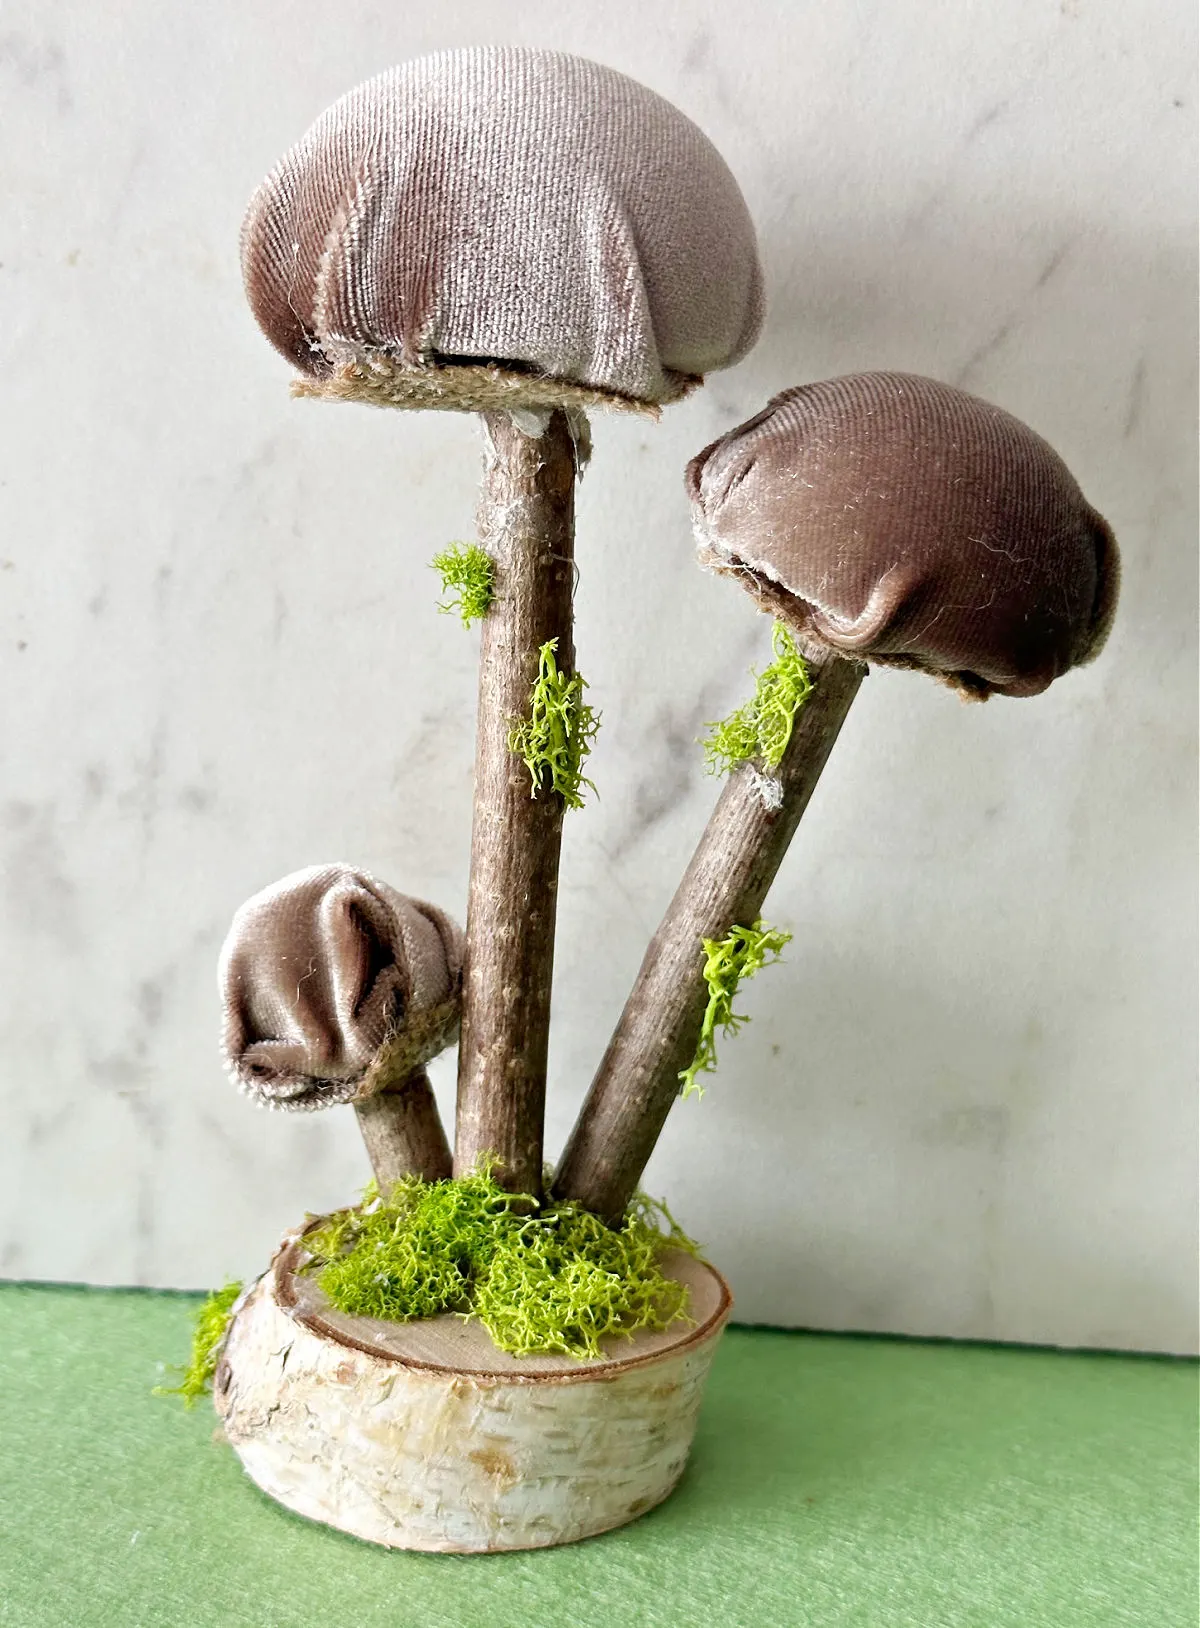
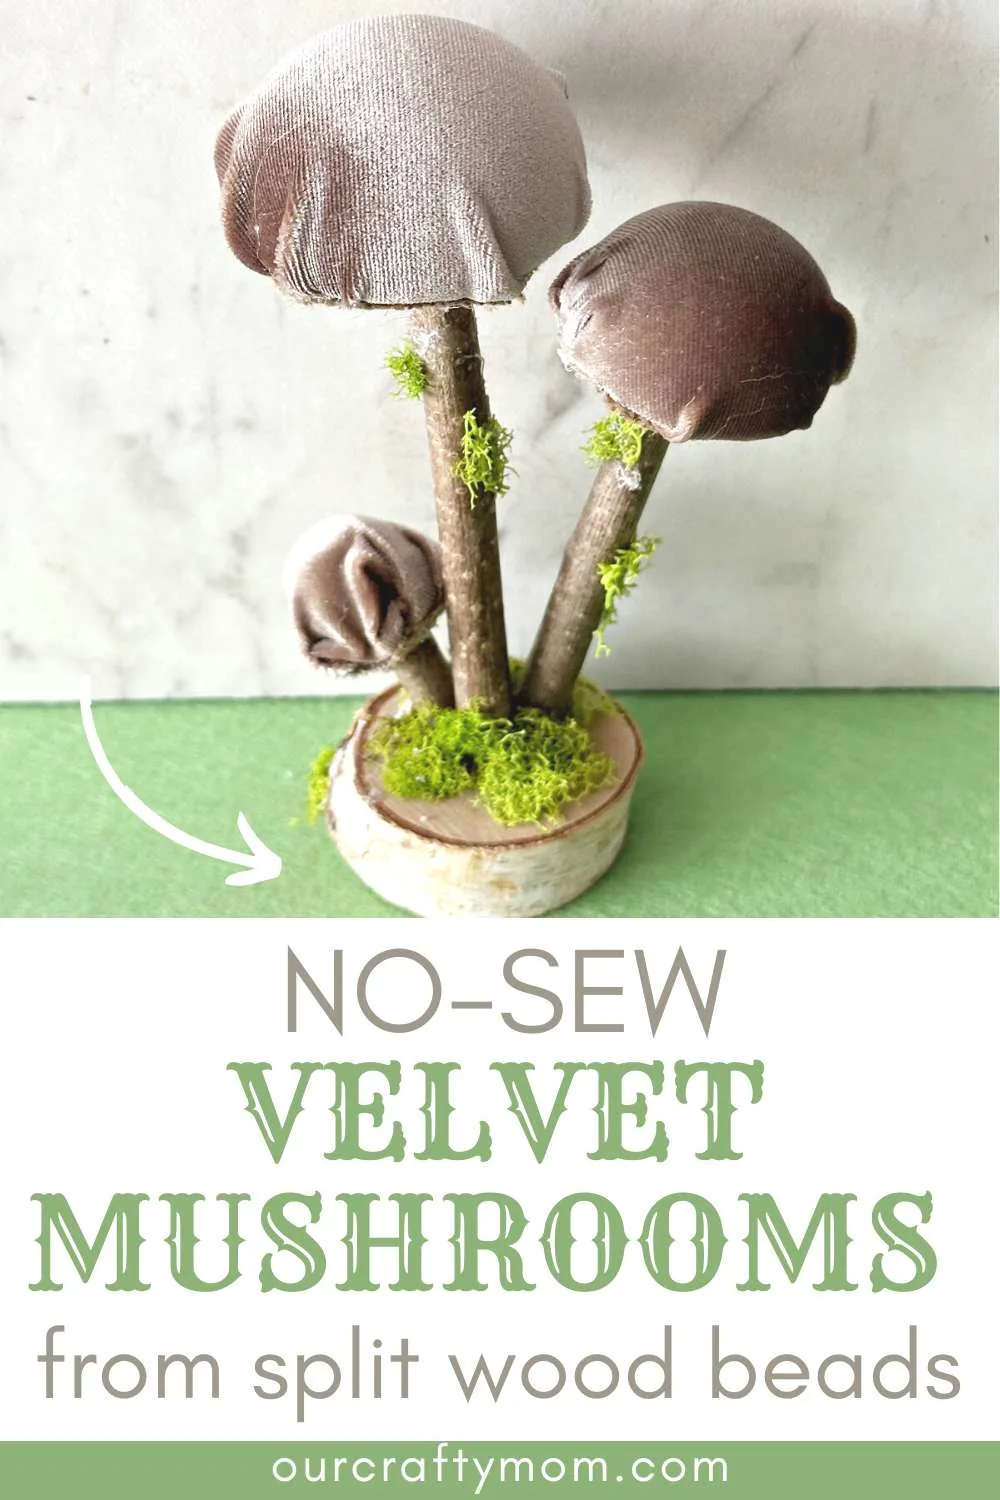
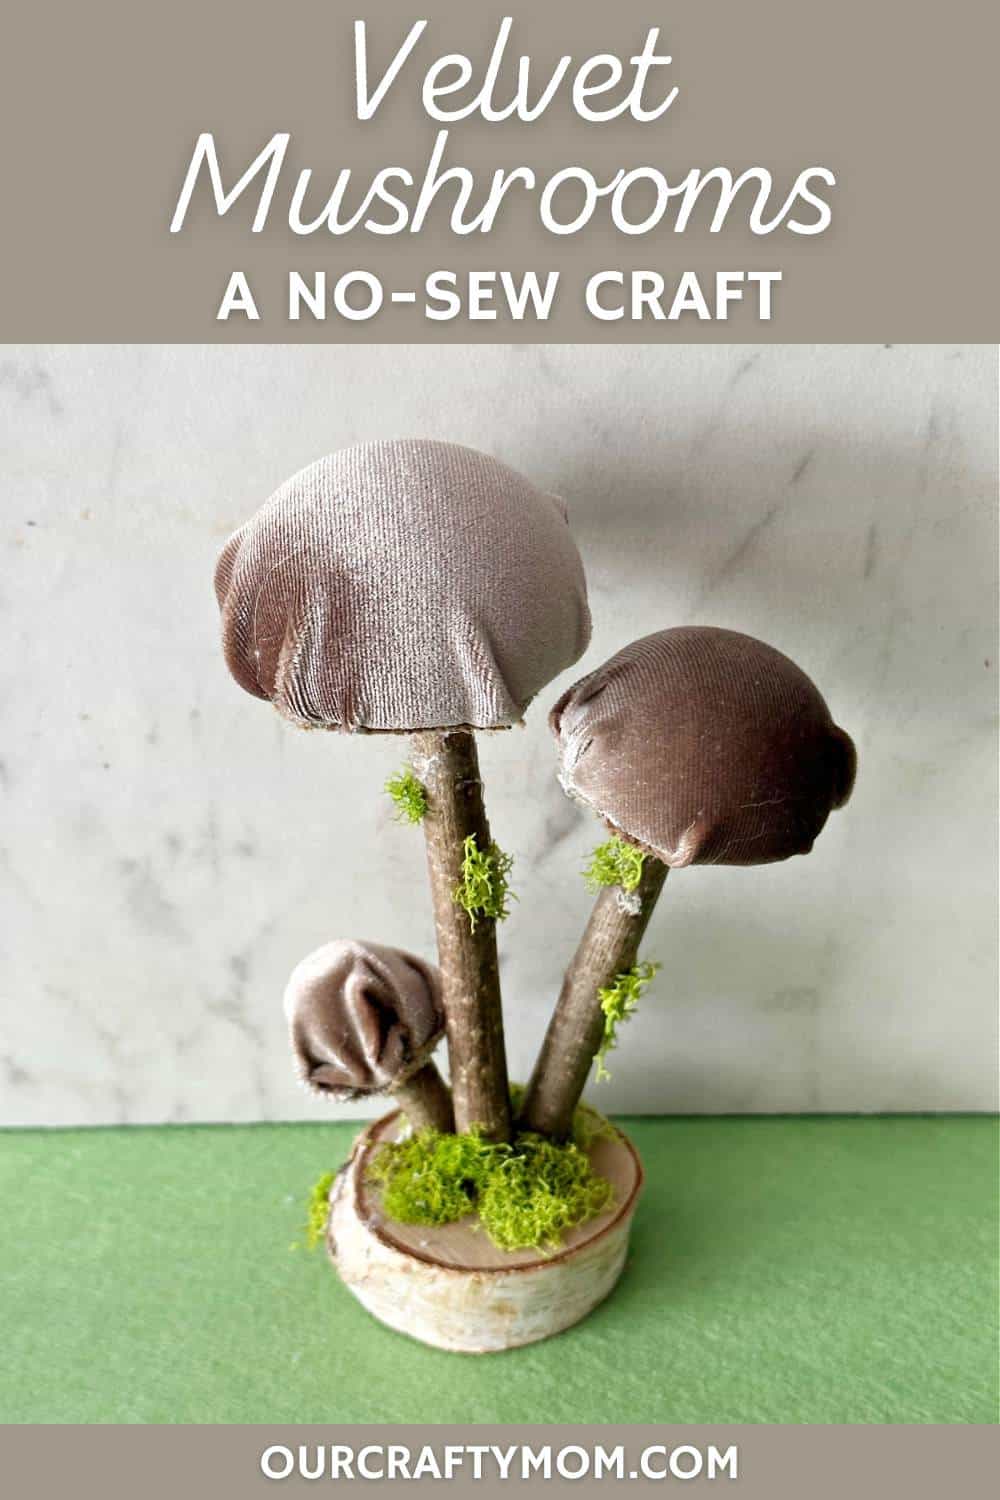
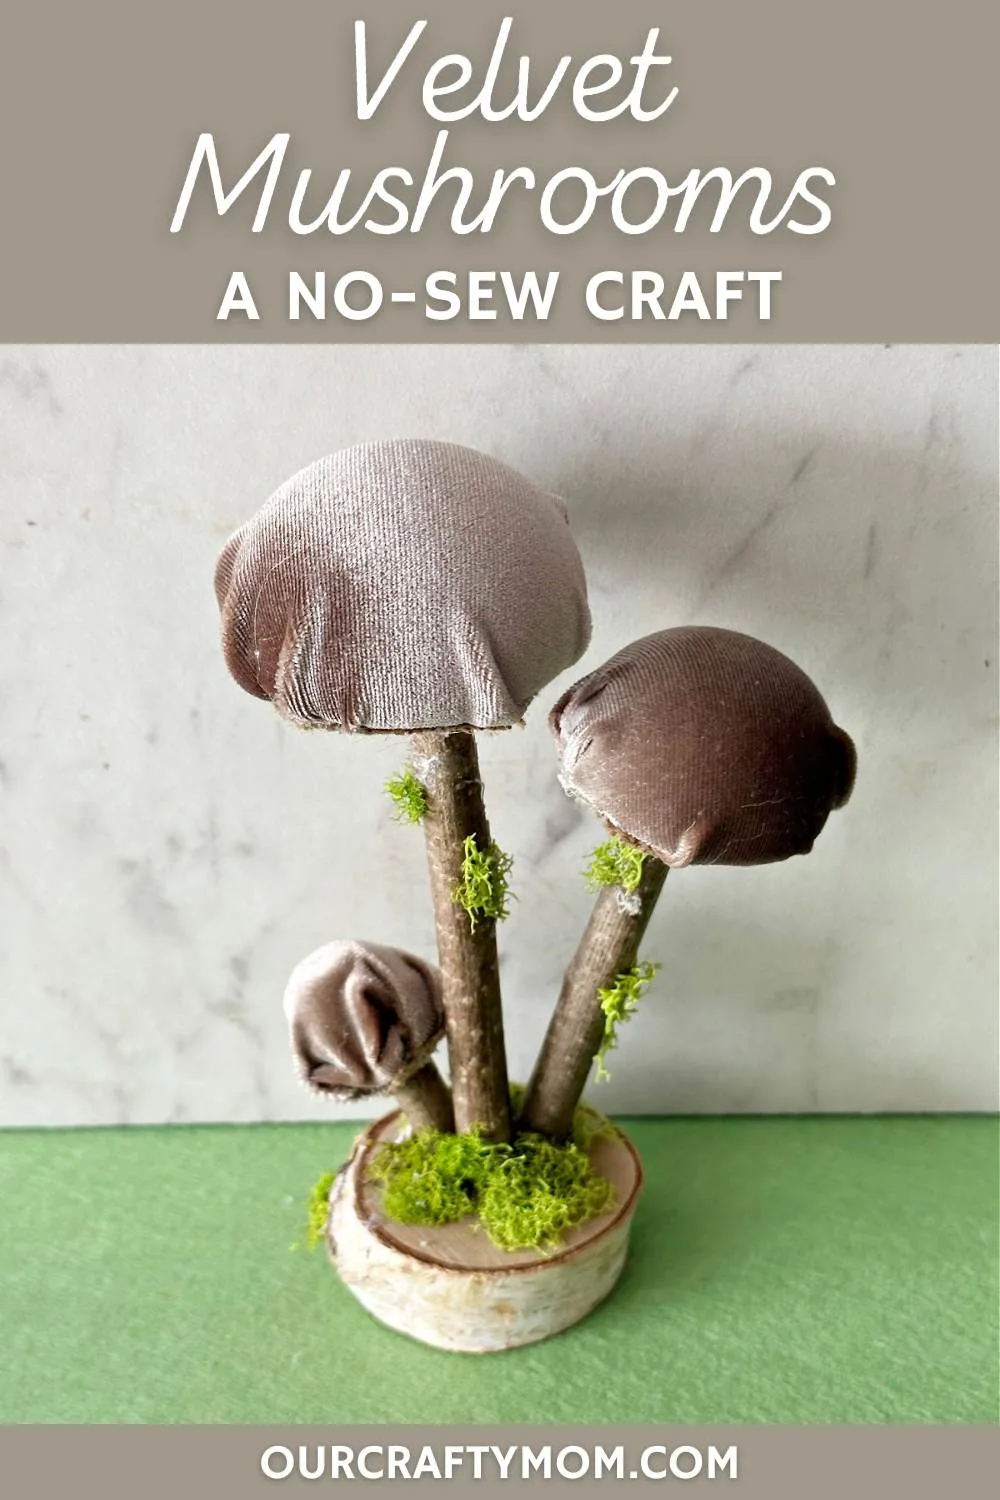
Attach two additional mushrooms to the wood base. Look how cute!

How To Decorate With Velvet Mushrooms
There are so many different ways to decorate with velvet mushrooms.
You can create several to make a garland, or attach a piece of twine or ribbon to hang them.
Since I’m decorating for spring, I decided to make a pretty milk glass display with a bunny and 3 mushrooms.
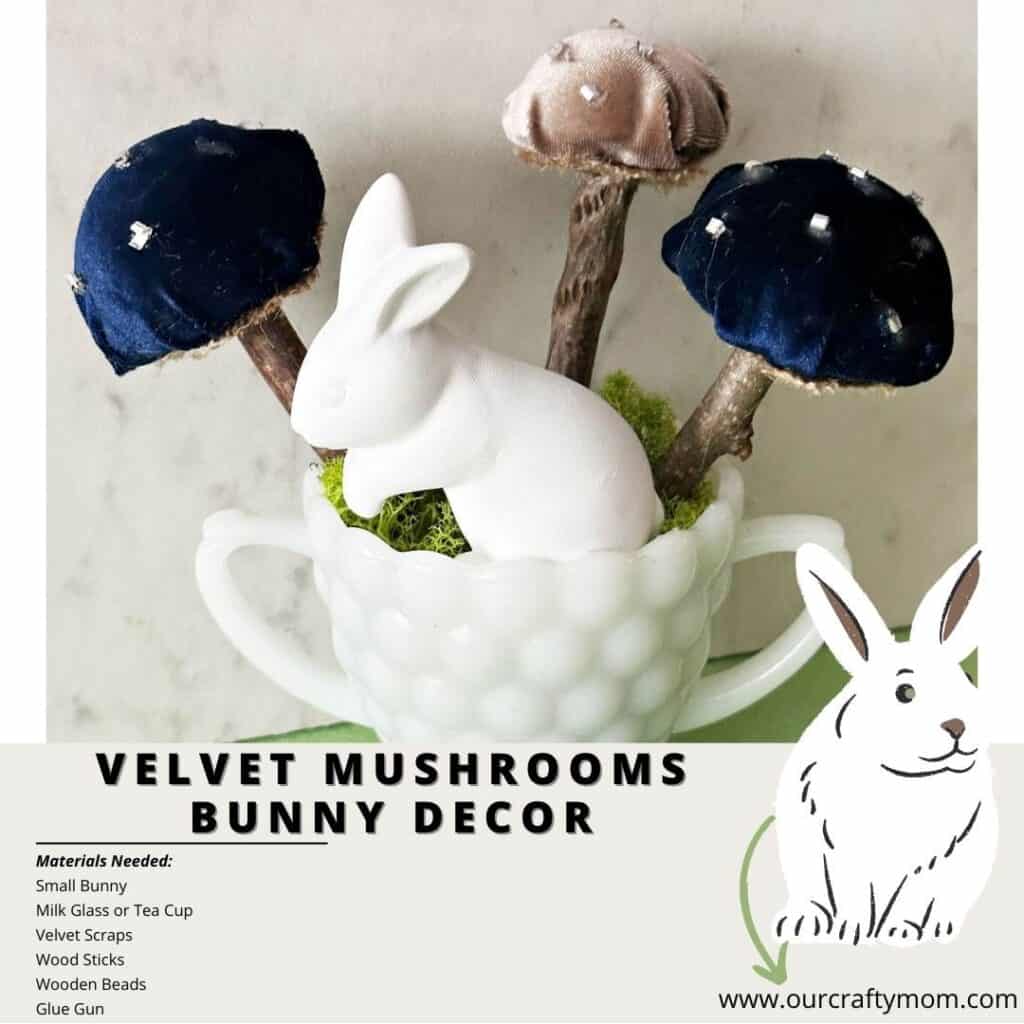
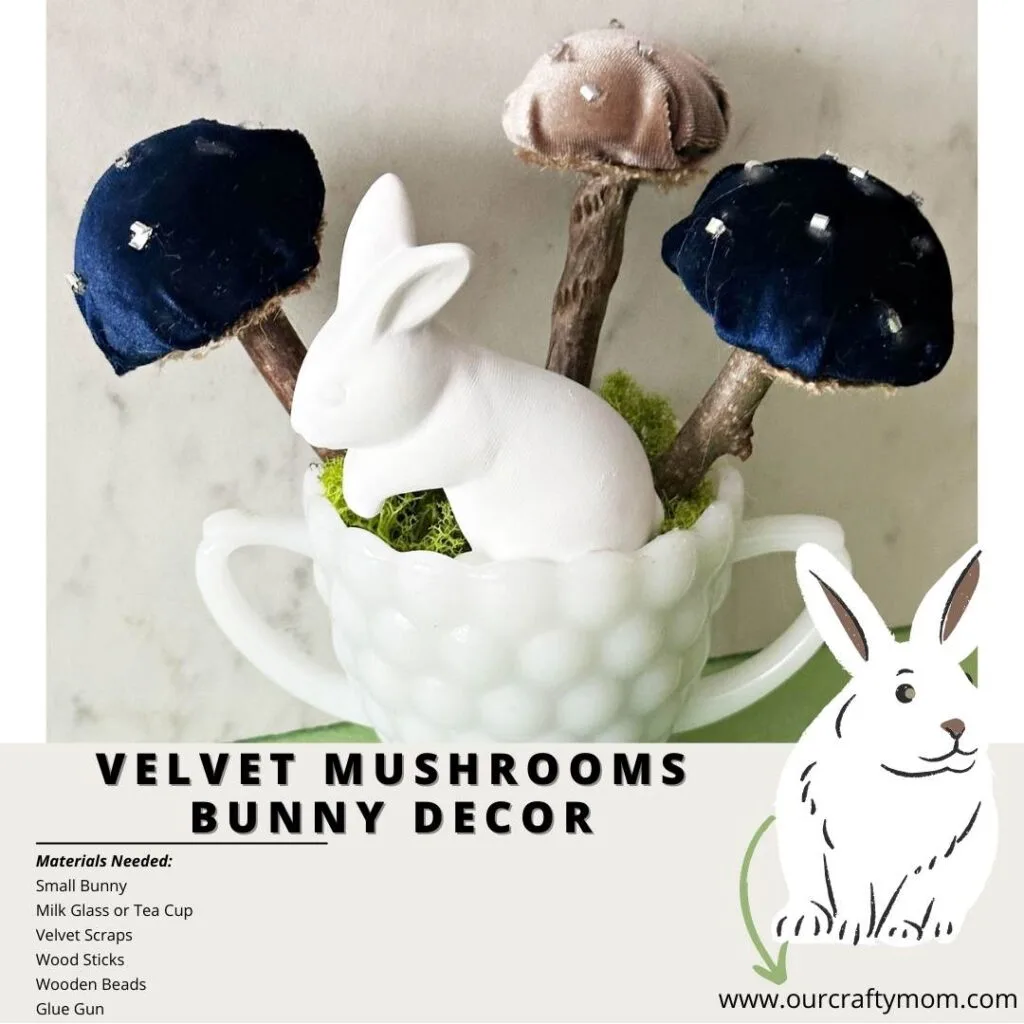
You can use tea cups, votives or any glass containers to make this.
Simply add craft foam to the milk glass and secure the mushrooms with a bit of hot glue.
A few beads were glued to the mushroom tops for a little bling.
Cover the top with moss and you have a beautiful spring display.
I hope you enjoyed this easy mushroom craft. Please let me know if you give it a try.
I’m planning on making a few more with leftover leopard fabric.
I’ll be sure to add an updated photo.
Happy crafting!
Sharing is caring please PIN the below image:

See how I used a mushroom garland to decorate a spring mantel HERE.
Wait…see even more quick and easy crafts here:

How to Make a Velvet Mushroom Craft
Learn how to make a beautiful, soft mushroom decoration for your living space in just a few simple steps. And it’s no sew!
Materials
- 2″ Split Wood Beads
- Velvet Fabric – I used royal blue and tan.
- Burlap
- Wood Log Sticks – Mine are from Dollar Tree
- Small Wood Slices
Tools
- Cricut Hot Glue Gun
- Fabric Scissors
Instructions
- Place a split wood bead on top of your velvet and cut a piece to cover the bead.
- Add a dab of glue to the center of the wood bead and attach the fabric.
- Continue to glue the velvet until the wood bead is covered. Trim any excess fabric.
- Cut a circle of burlap and hot glue it to the bead.
- Hot glue the velvet mushroom to the top of the wood stick.
- Hot glue the stick to the wood base.
- Glue a bit of moss to the wood base and sticks.
- Attach two additional mushrooms to the wood base.
Recommended Products
As an Amazon Associate and member of other affiliate programs, I earn from qualifying purchases.
-

 Stretch Velvet Fabric 60'' Wide by The Yard for Sewing Apparel Costumes Craft (5 Yard, Royal Blue)
 -
 Reindeer Moss Preserved Floral Moss (Reindeer Moss-Basil)
 -
 Surebonder Cordless Hot Glue Gun, High Temperature, Full Size, 60W, 50% More Power - Sturdily Bonds Metal, Wood, Ceramics, Leather & Other Strong Materials (Specialty Series CL-800F)