
Learn decorating with snowflakes for Christmas using a DIY glitter wooden snowflake. Easy steps, supplies, and display ideas to make yours!

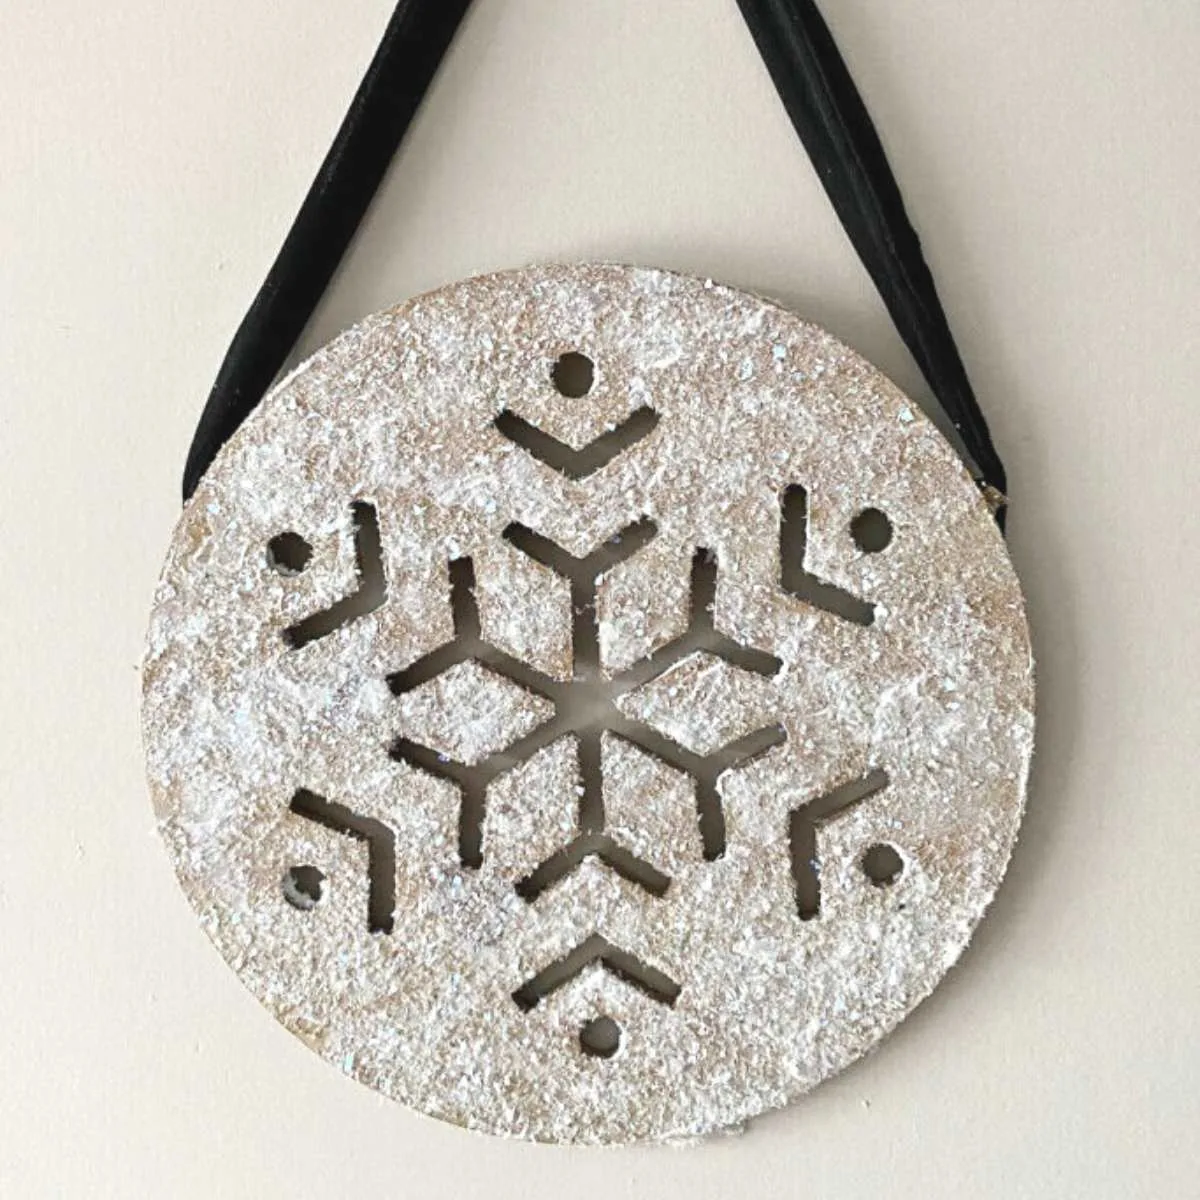
Decorating with snowflakes for Christmas is one of my favorite budget-friendly ways to get that soft, snowy look.
A DIY wooden snowflake fits almost any color scheme, and unlike a lot of Christmas decor, it can stay up all winter long.
In this tutorial I’ll show you how to turn an unfinished wooden snowflake into a sparkly glitter snowflake, and then share the ways I used mine around the house.
Quick Take: What You’ll Learn
Table of Contents
- How to make a glitter wooden snowflake with just five supplies, in about 45 minutes of hands-on time plus drying
- Where to find unfinished wood snowflakes, including inexpensive Dollar Tree and craft store options
- Tips for getting glitter to stay put and mistakes to avoid
- Ways to decorate with snowflakes for Christmas: on a wall, a mantel, a garland, a balcony, or as a tree topper
- Answers to common questions, including whether they can go outdoors
This post is sponsored by DecoArt and contains affiliate links at no extra cost to you. I only promote products I believe in. Please read my full disclosure HERE.
Why Decorate With Wooden Snowflakes?
Snowflakes check a lot of boxes. They give you the white, snowy look many of us want at Christmas, they work with just about any color palette, and they don’t scream “Christmas” the way a Santa or reindeer does.
That means you can keep a glitter snowflake on display well after the holiday, right through February.
They’re also an inexpensive way to decorate. One wooden snowflake costs a few dollars to make, and you can make several in different sizes for a big impact.
Wooden Snowflake Supplies
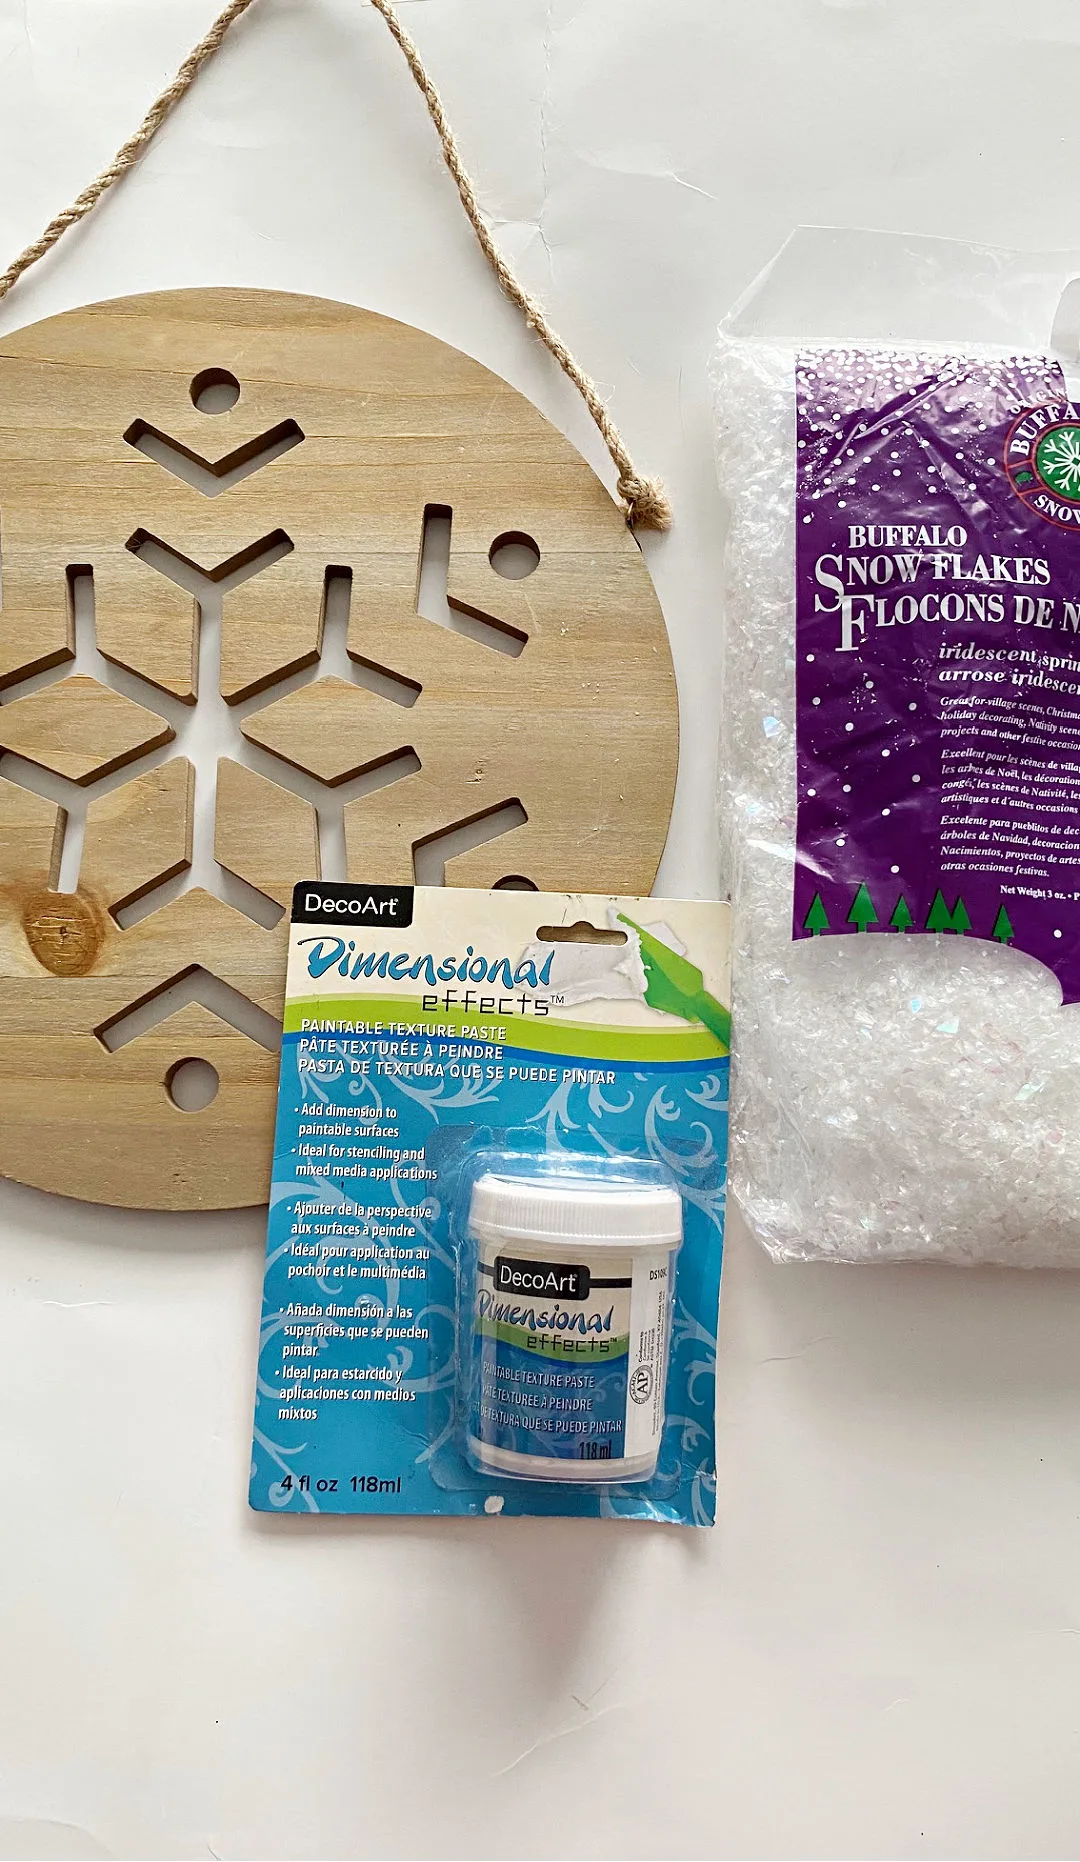
- Unfinished wooden snowflakes (I used several sizes, including some from the dollar store and one from a subscription box)
- DecoArt Dimensional Effects
- Foam Brush
- Artificial Glitter Snow
- Clear acrylic sealer (I used a Mod Podge spray)
- A paper plate to catch extra glitter

Where to Find Wooden Snowflakes (Dollar Tree Snowflakes and More)
You can find unfinished wooden snowflakes at craft stores like Hobby Lobby and Michaels, and I’ve also found small wooden snowflakes at the dollar store.
Dollar Tree snowflakes are an easy way to make a whole set for very little money, but stock changes by store and season, so check early in the fall if you want specific sizes.
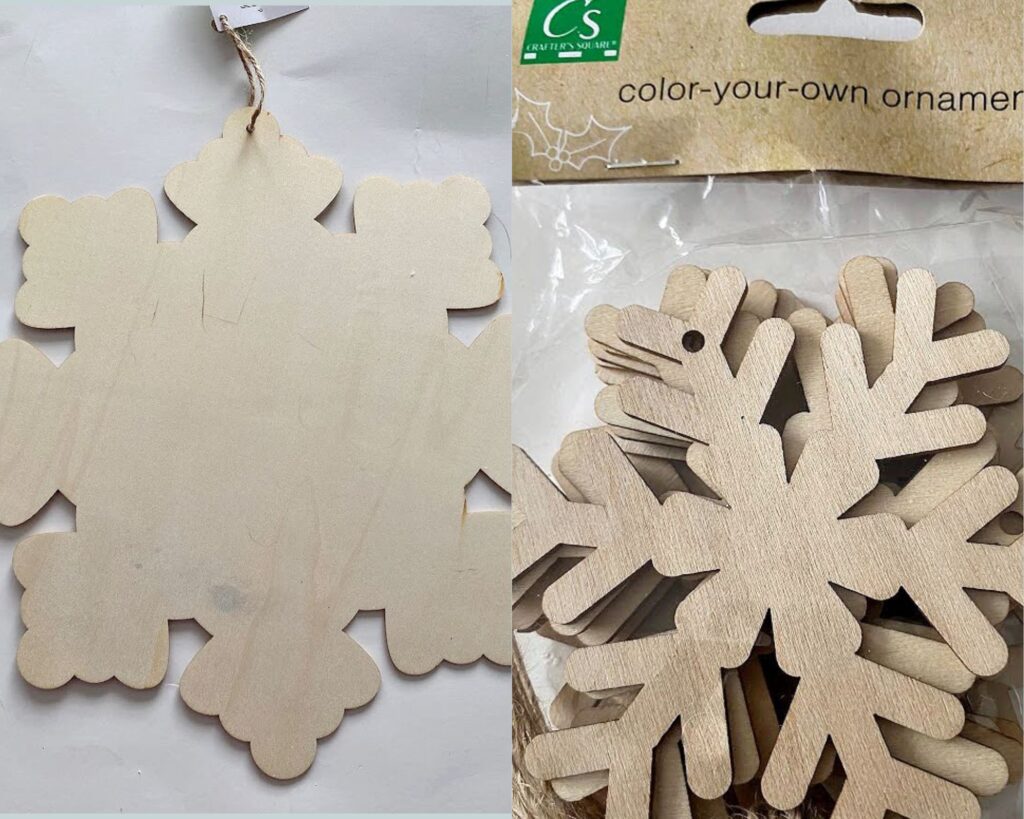
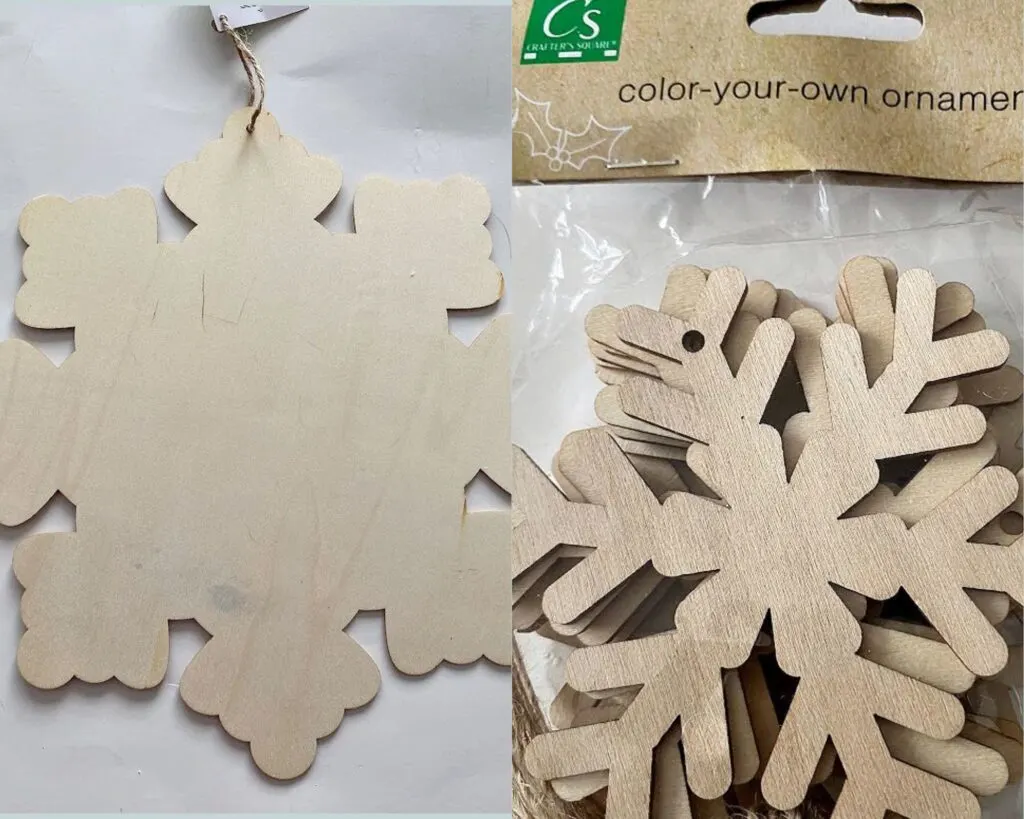
Small wooden snowflakes are great for ornaments and gift toppers, and one large wooden snowflake makes a statement piece. I like to mix sizes.
How to Make a Glitter Wooden Snowflake
Project details: Yield: 1 wooden snowflake. Prep time: 15 minutes. Active time: 30 minutes. Total hands-on time: 45 minutes, plus overnight drying. Difficulty: easy. Estimated cost: $5 to $10.
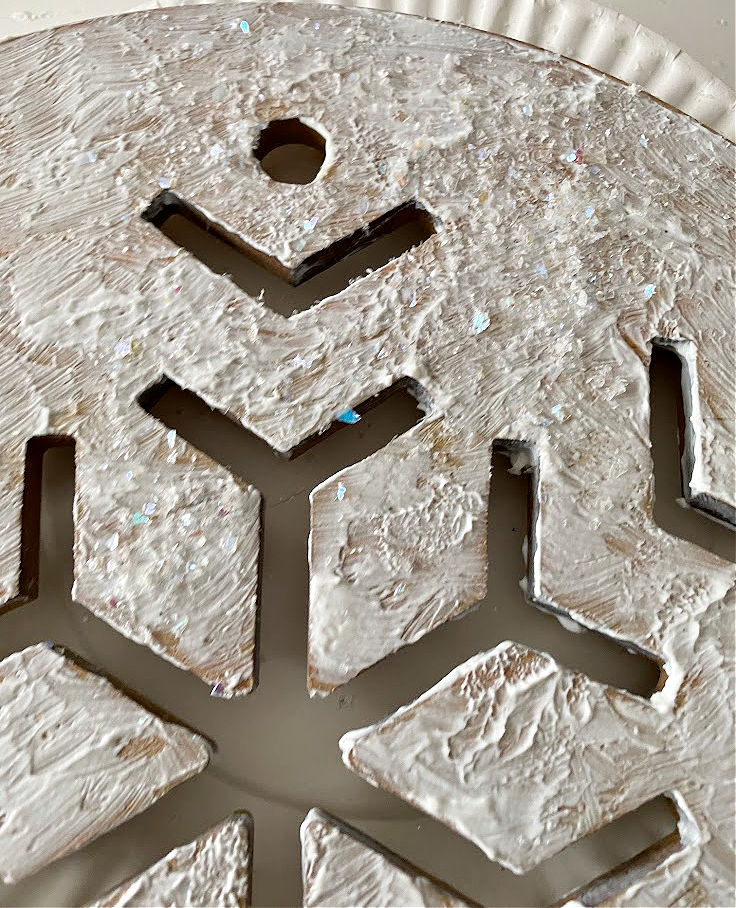
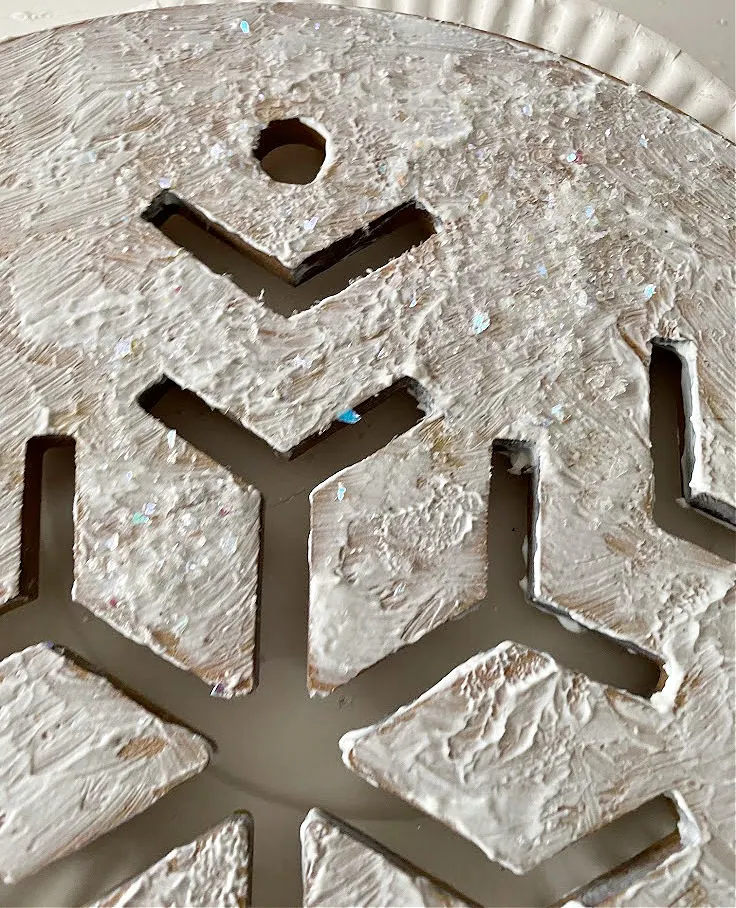
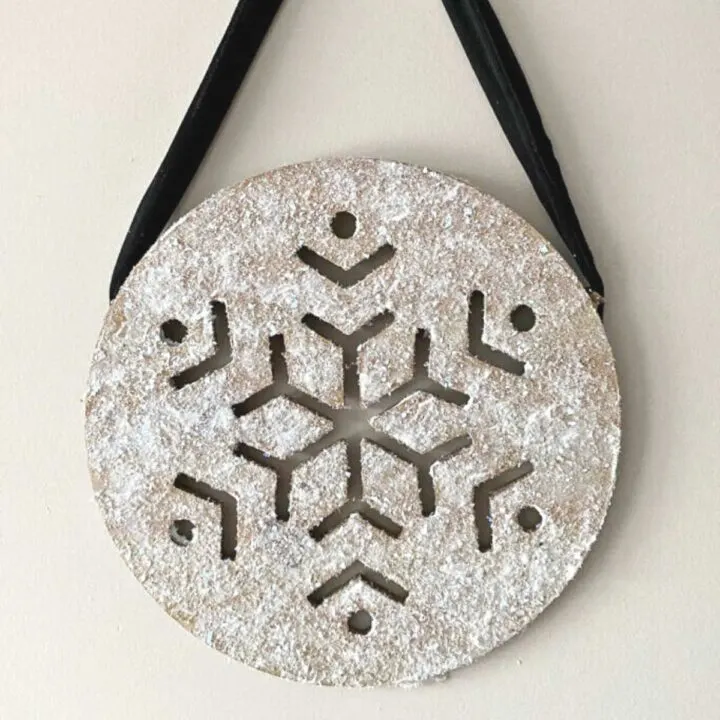
- Cover the snowflake with dimensional effect. Use a foam brush to coat the whole snowflake with DecoArt Dimensional Effects. It’s a textured paste that works on wood, glass, and Styrofoam. Apply at least two coats and let it dry completely between coats.
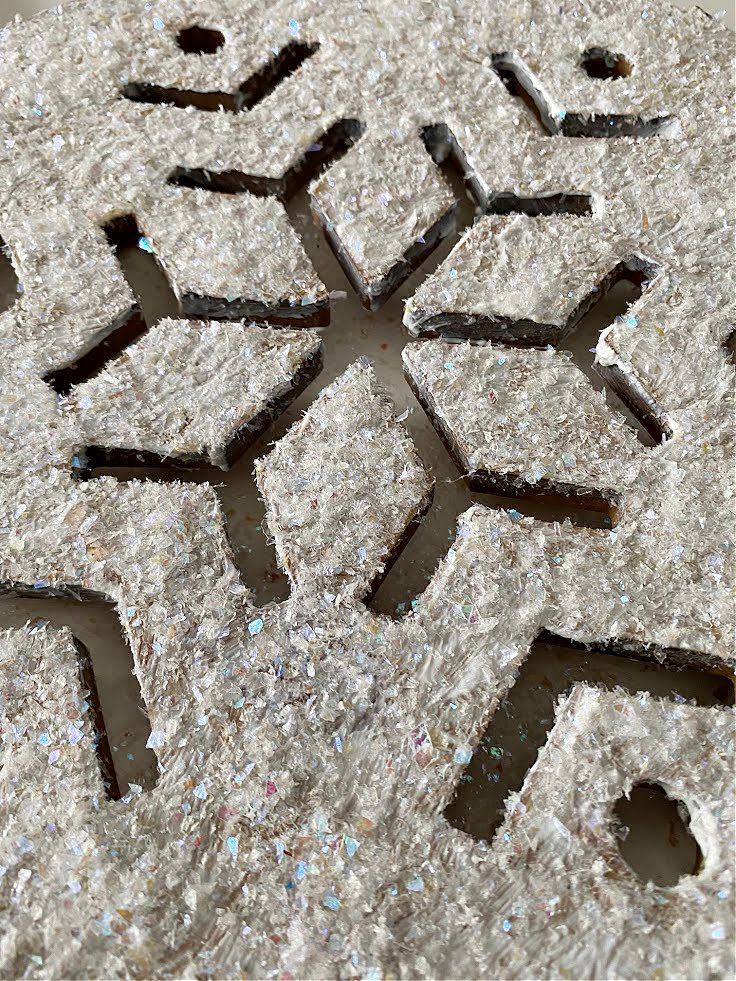
- Add glitter while the paste is wet. While the second coat is still wet, sprinkle glitter generously over the snowflake. Work over a paper plate so you can catch the extra and pour it back into the jar.
- Let it dry overnight. Don’t skip this. Give the glitter and paste time to set completely.
- Seal it. Spray 2 to 3 light coats of clear acrylic sealer, letting each one dry.
- Display it. Hang it, prop it, or use it in a mantel, garland, or tree display (ideas below).
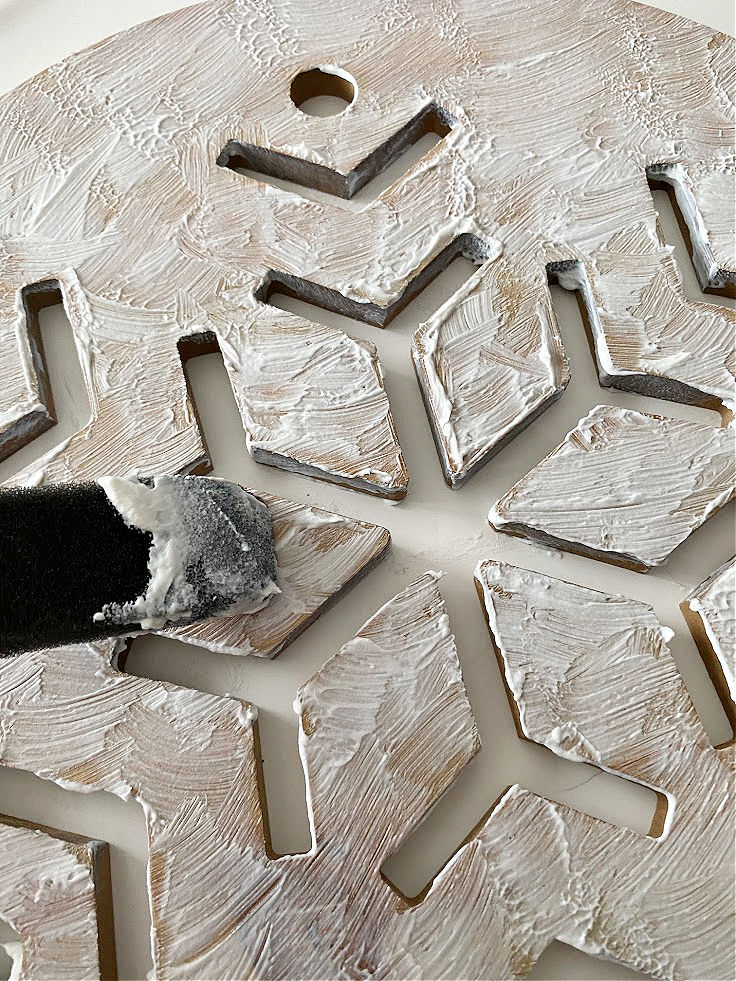
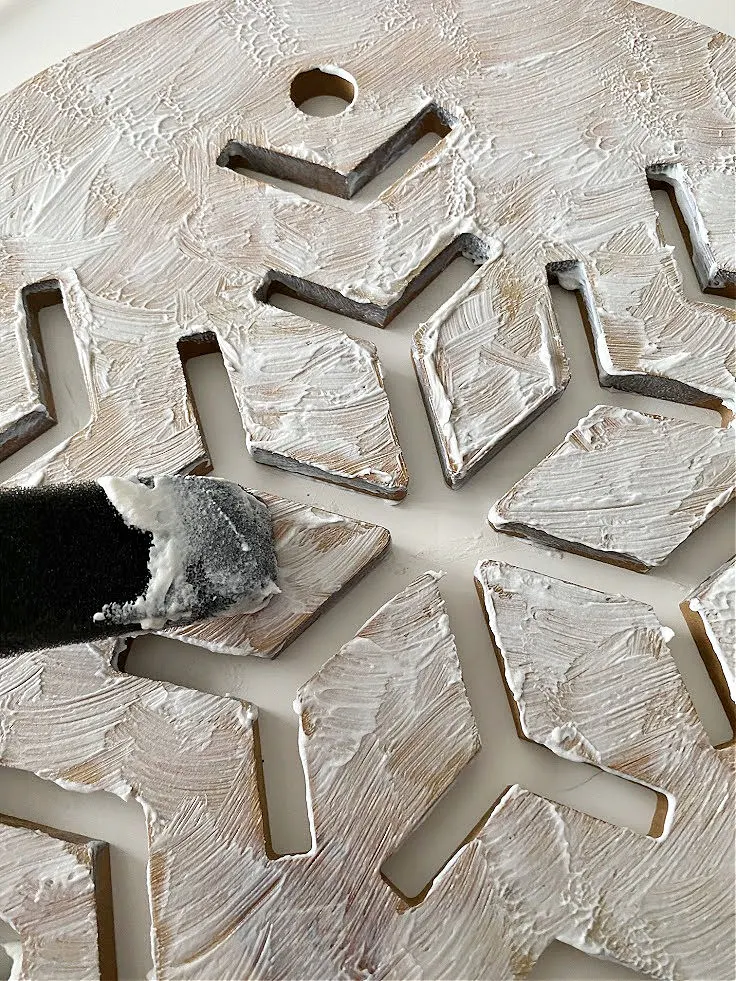
Step 1: Cover the Snowflake With Dimensional Effect
Dimensional Effects gives the snowflake a raised, snowy texture that glitter really clings to. Two coats make the finish look fuller and more dimensional.
Step 2: Cover With Snowflake Glitter
You can use as much or as little glitter as you like, and you can experiment with different colors and types. I used chunky buffalo snow on some of mine and love the iridescent, glistening effect.
Step 3: Cover With Clear Sealant
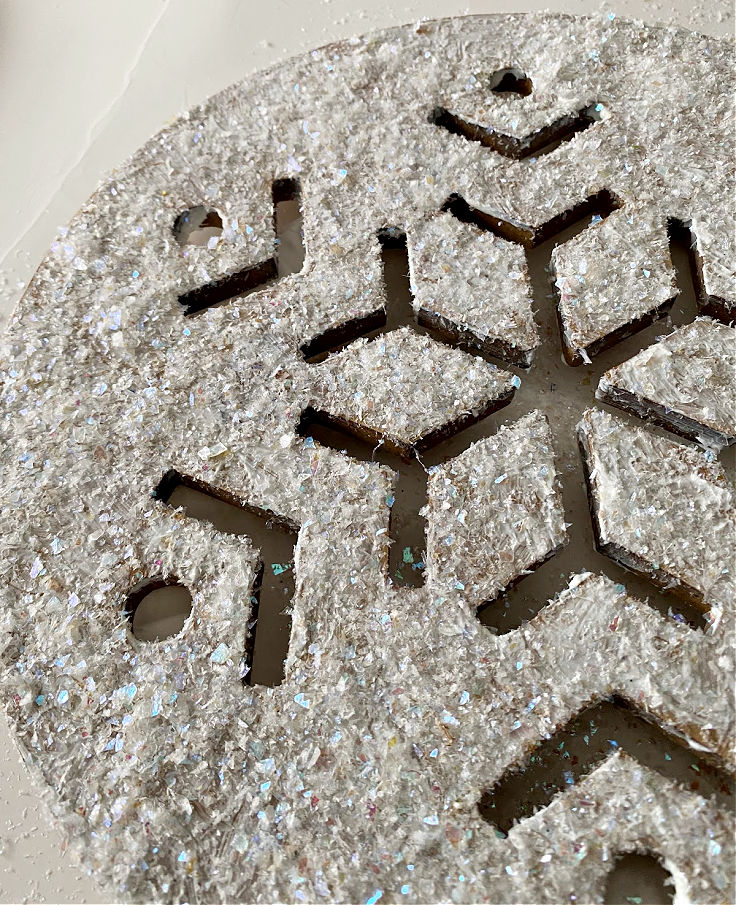
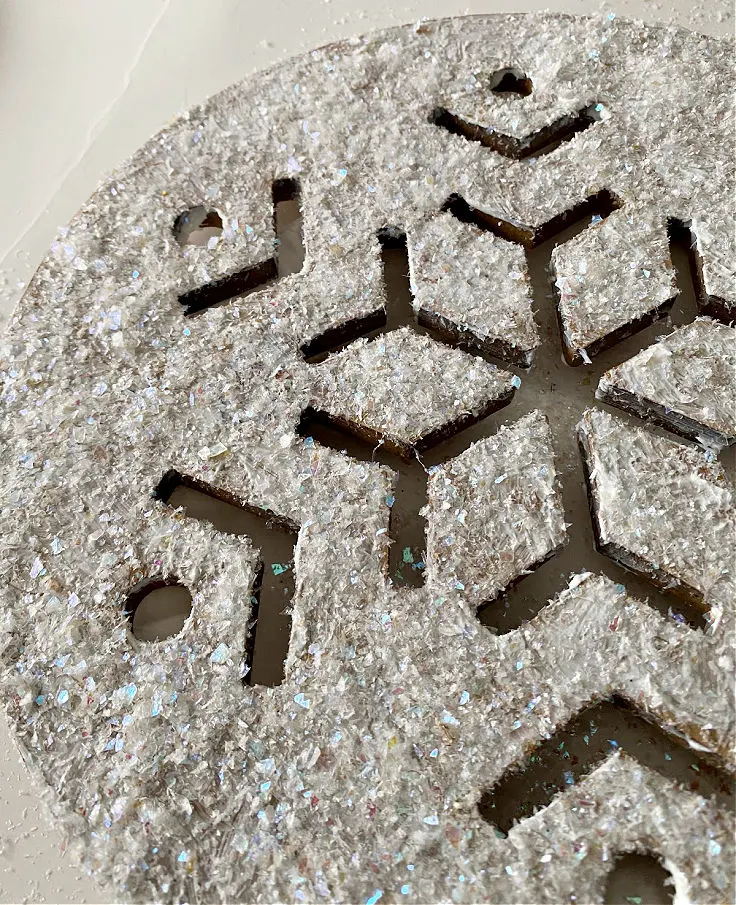
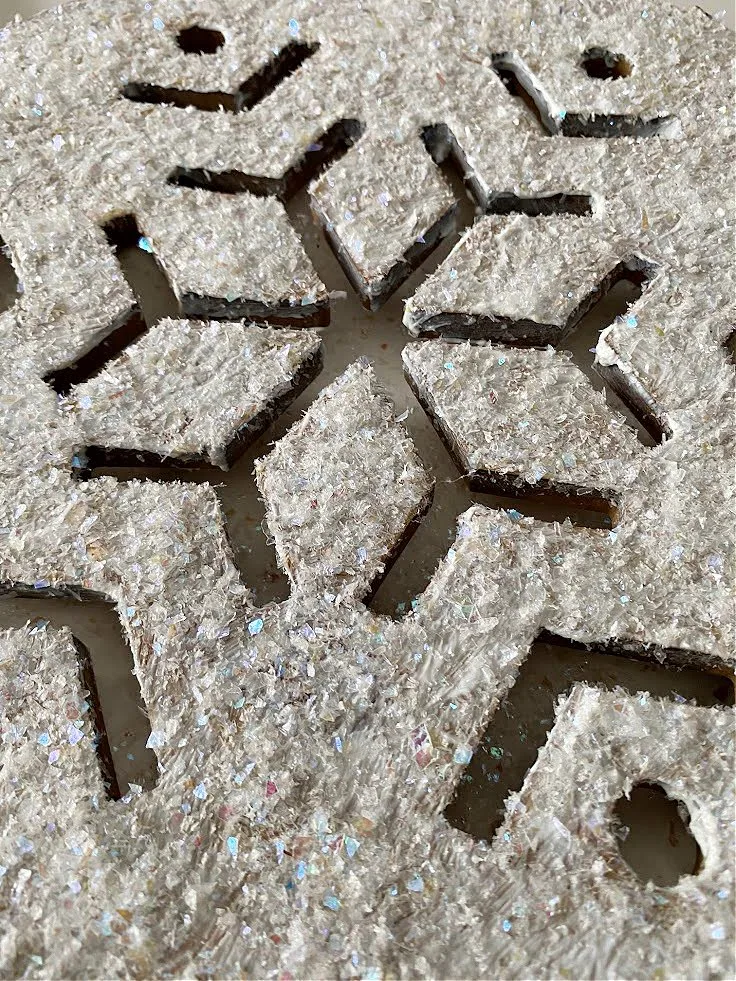
After the snowflake has dried overnight, spray it with 2 to 3 coats of clear acrylic sealer. Sealing helps hold the glitter in place, and it adds some protection if you plan to use your snowflake outside under cover.
Tips for DIY Wooden Snowflake Ornaments and Decor
- Work while the paste is wet. Glitter only sticks well when the second coat is still wet, so have your glitter ready before you start the second coat.
- Use a paper plate. It keeps your table clean and lets you reuse the glitter.
- Seal in a ventilated spot. Spray sealer outdoors or in a well-ventilated area.
- Mix sizes and glitter types. Pair a large snowflake with a few smaller ones for a layered look.
- Make a few extras. Small DIY wooden snowflake ornaments are easy to add to a tree, a wreath, or a gift.
Ideas for Decorating With Snowflakes for Christmas
I used my snowflakes all over the house. Here are some ways to use yours:
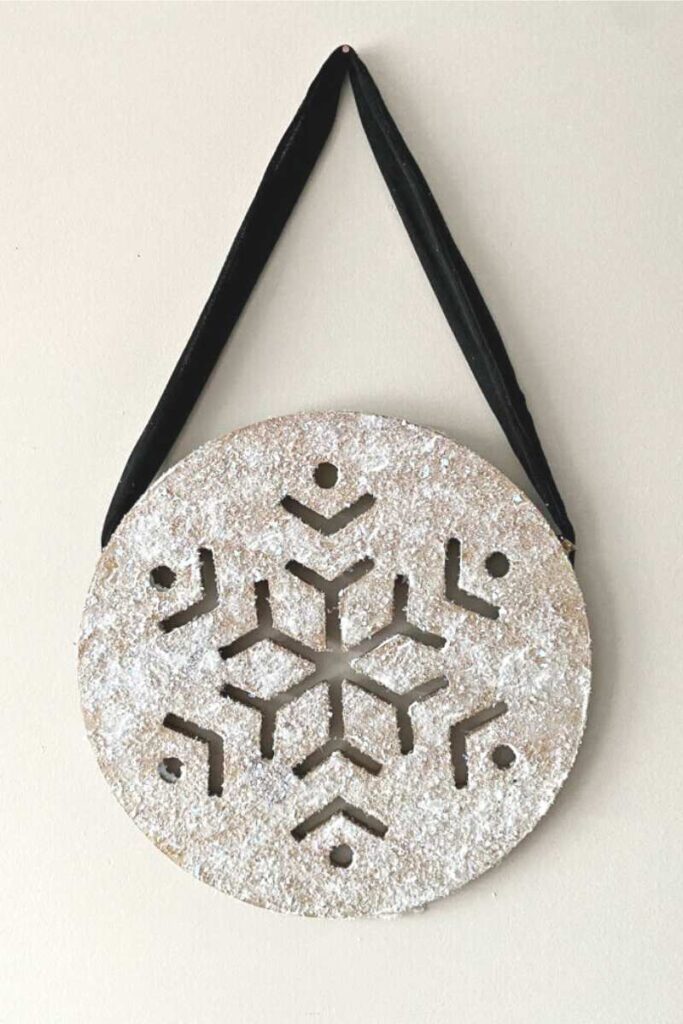
- On a bedroom wall. Tie a wooden snowflake to a nail with velvet ribbon for an easy, cozy accent.
- As a tree topper. An oversized wooden snowflake makes a pretty topper. See how I styled it in my Christmas tree decorations.
- On a mantel. I attached an oversized snowflake to a canvas with large glue dots in my pink and gold Christmas mantel decor.
- In a garland. Tuck smaller snowflakes into greenery for a snowy touch.
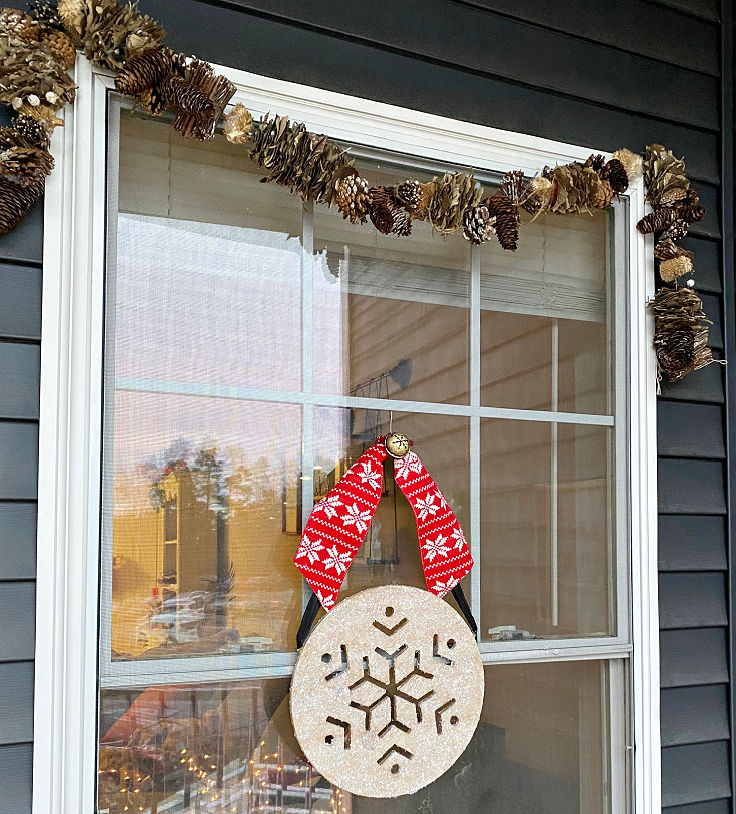
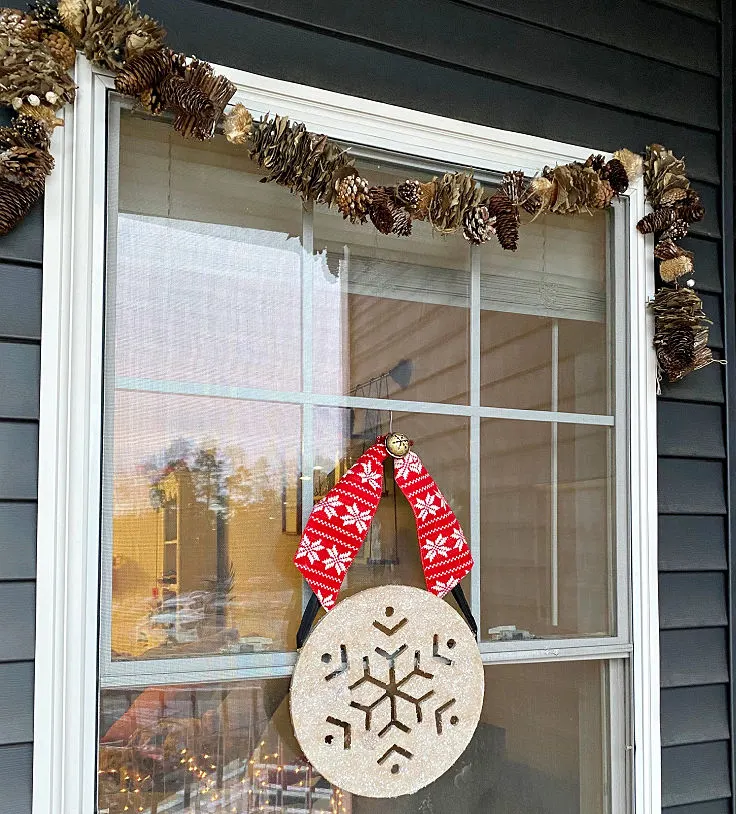
- On a balcony or porch. I displayed a snowflake in my balcony Christmas decorations. It helps if the spot is covered.
- In a centerpiece. Use a small snowflake in a dough bowl centerpiece.
- Alongside other winter decor. If you like this look, you’ll love my 27 cozy winter decorations and my Pottery Barn-inspired snowman pillow.
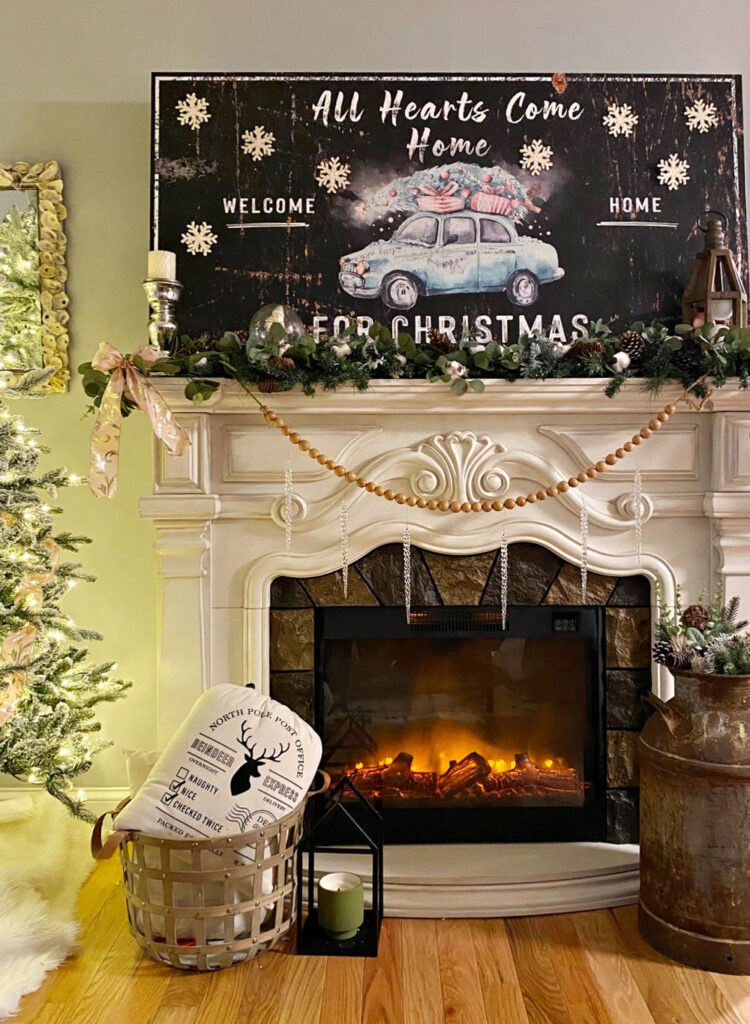

A few more snowflakes were also added to my garland:


Looking for more budget projects like this one? Browse my collection of DIY Dollar Tree crafts.
Glitter Wooden Snowflake FAQs
Coat it with two layers of DecoArt Dimensional Effects, sprinkle glitter on while the second coat is wet, let it dry overnight, and seal it with clear acrylic spray.
I use DecoArt Dimensional Effects as the base. It’s a textured paste, and the glitter sticks to it while it’s wet. Clear acrylic sealer on top helps lock the glitter in.
Craft stores like Hobby Lobby and Michaels carry unfinished wooden snowflakes, and you can also check dollar stores and online. Stock varies by season, so shop early.
I found small wooden snowflakes at the dollar store when I made this project. Selection changes by store and year, so check your local store before you count on it.
Apply the glitter while the second coat of paste is wet, let it dry overnight, and finish with 2 to 3 coats of clear acrylic sealer.
Sealing gives some protection from the weather, so they can work on a covered porch or balcony. They aren’t fully waterproof, so for a fence or an uncovered spot, expect the finish to wear faster and bring them in when you can.
About 45 minutes of hands-on time, plus drying time. Plan on letting it dry overnight before you seal it.
Usually about $5 to $10 per snowflake, depending on the size you buy and whether you already have glitter and sealer.
Tie it with velvet ribbon and hang it on a nail, attach it to a canvas or the wall with large glue dots, or use it as a tree topper.
Yes. Snowflakes are a winter theme, not just a Christmas one, so they look great through February.
Common Mistakes to Avoid
- Adding glitter after the paste dries. It won’t stick well. Sprinkle it on while the second coat is wet.
- Skipping the second coat. One coat can look thin. Two coats give you a fuller, more textured look.
- Skipping the sealer. Glitter will shed without it, and an unsealed snowflake isn’t protected from moisture.
- Rushing the drying. Let each coat and the final dry time finish before you handle or hang it.
- Spraying too heavily. Use several light coats of sealer instead of one heavy one.
Let Me Know What You Think
Did you make your own glitter wooden snowflake? Let me know in the comments how it turned out, and which colors of glitter you used.
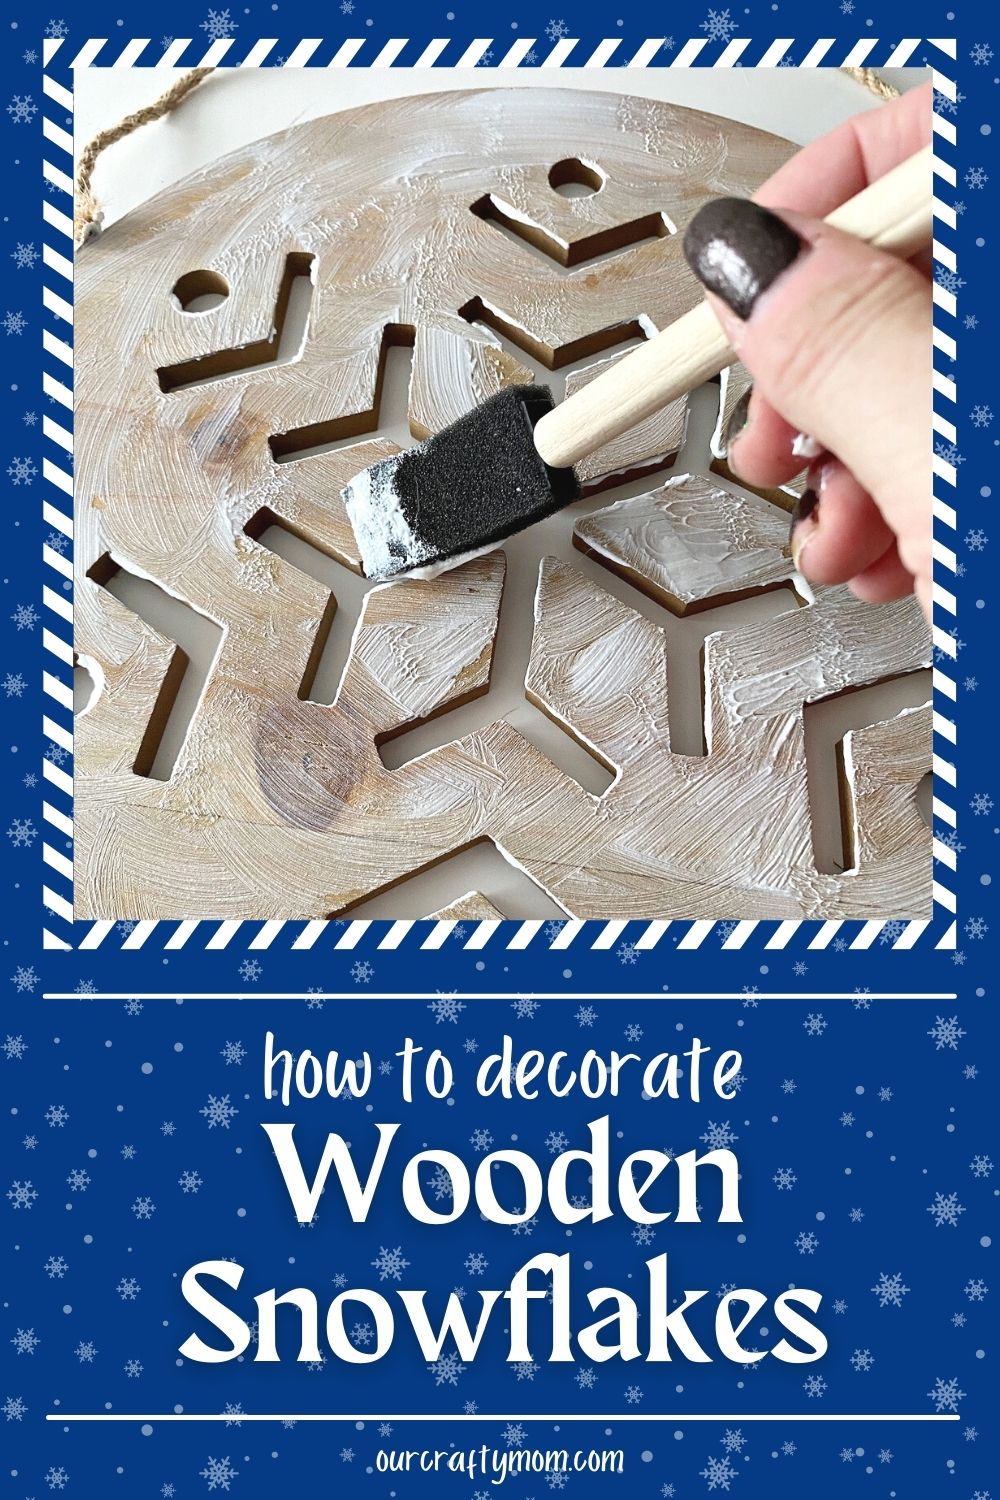
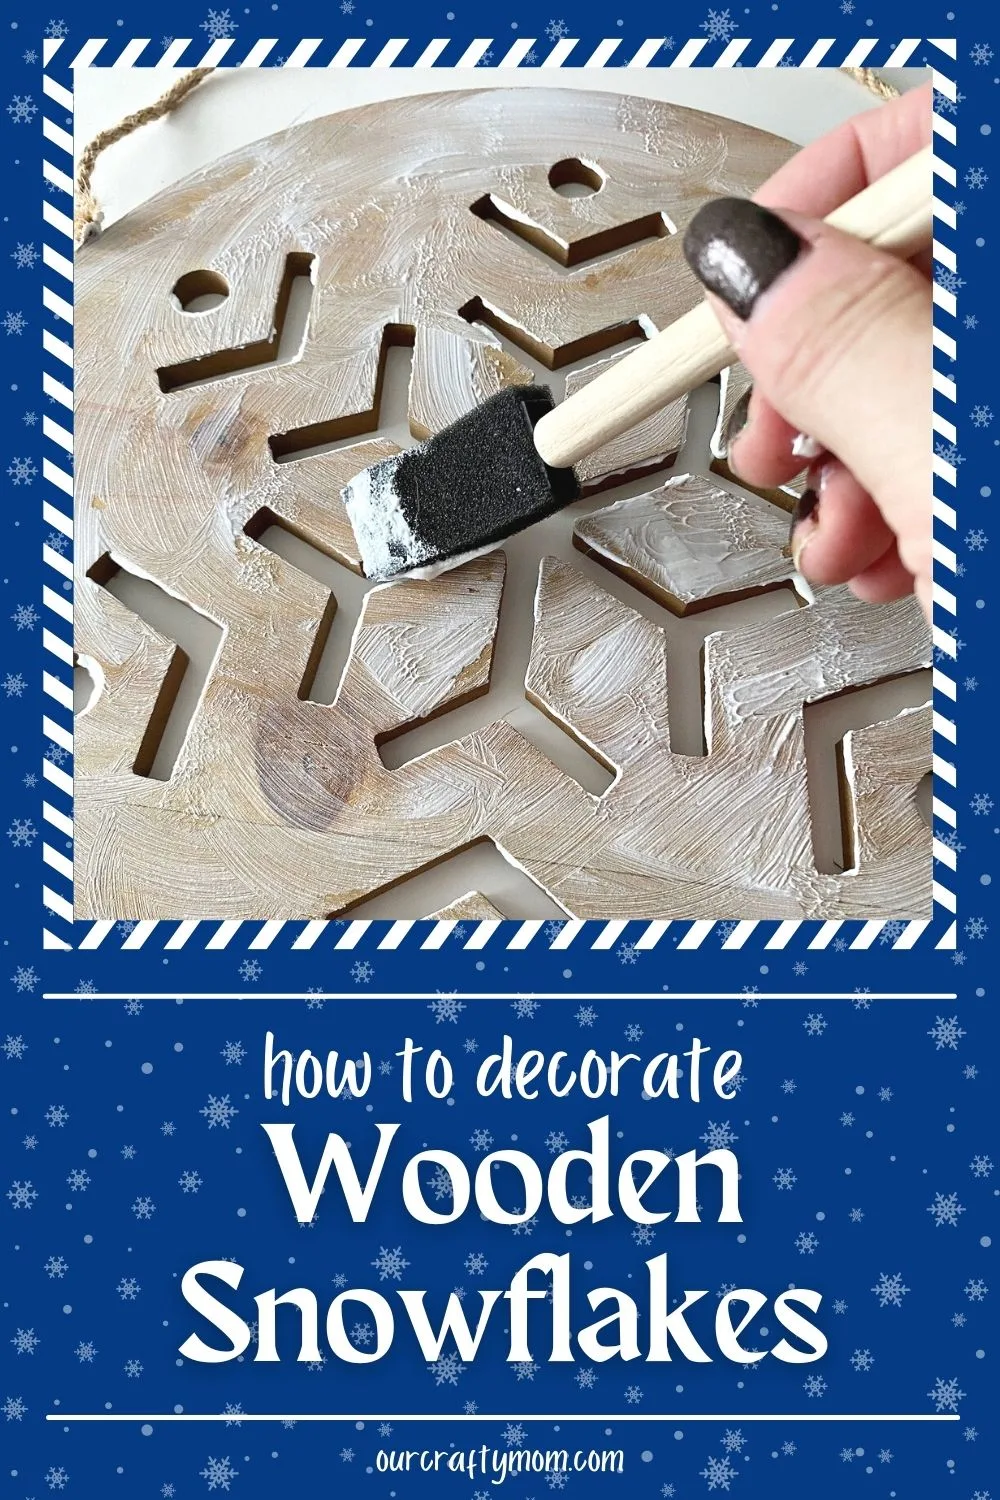
If you enjoyed this tutorial, I’d love it if you pinned the image above on Pinterest.
You may also like
- Christmas Mantel Decor in Blush Pink and Gold
- Pottery Barn-Inspired Snowman Pillow
- Dough Bowl Decor
- Balcony Christmas Decorations
- 27 Cozy Winter Decorations For Your Home
- The Ultimate Collection of DIY Dollar Tree Crafts
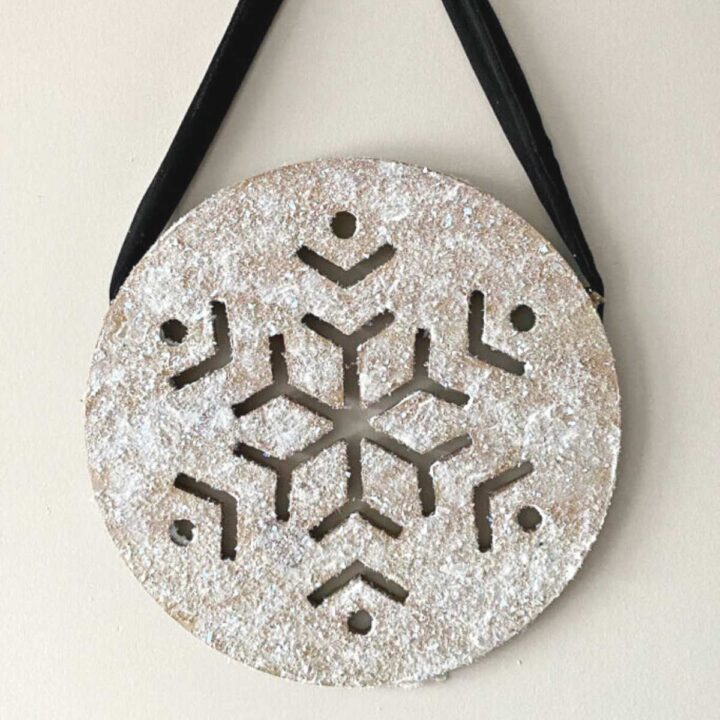
How to Make a Gorgeous Glitter Wooden Snowflake
Let me show you how to turn unfinished wooden snowflakes into glistening home decor pieces that can stay up all winter long!
Materials
- Wooden Snowflakes
- DecoArt Dimensional Effects
- Foam Brush
- Artificial Glitter Snow
- Clear Acrylic Sealer
Instructions
- Cover the snowflake with dimensional effect. Let dry. Add a second coat.
- While the snowflake is still wet from the second coat of dimensional effect, start adding the glitter.
- Let the snowflakes dry overnight then spray them with 2-3 coats of clear acrylic sealer.
- Decorate with your wooden snowflakes however you like.
Recommended Products
As an Amazon Associate and member of other affiliate programs, I earn from qualifying purchases.
-
 24 Pcs Foam Brush Set, Foam Paint Brushes, Wood Handle Sponge Brushes for Painting, Foam Brushes Sponge Paint Brush for Staining, Varnishes, and DIY Craft Projects (1'', 2'' and 3'')
-
 Christmas Artificial Flake Fake Snow Twinkles Fake Snow Powder Filler Xmas Snow Decoration Craft Sparkling Snow for Christmas Party Decoration Supplies, 3.8 Ounce
-
 DecoArt DS109C-10 Dimensional Effects, 4-Ounce
You can find me on social media below:
Tommy Adams
Thursday 30th of November 2023
Would this work for an outdoor project. I have made the Grinch and Santa Claus with his reindeer hanging on a fence. Just wanted to see if I could spray the base for outdoor use
Many thanks