Create stunning decoupage Easter eggs with this simple tutorial! I’ll show you how to easily transform plastic eggs from the dollar store.


This post contains affiliate links. If you click the link and buy something, I may receive a percentage of sales at no extra cost to you. Please see my full disclosure here.
Decoupage Easter Eggs
You know I am a huge fan of decoupage crafts and Easter is the perfect time to make some new spring decor to add to my home.
One of my goals with this blog is to show that you can easily decorate your home for every holiday and season on a budget.
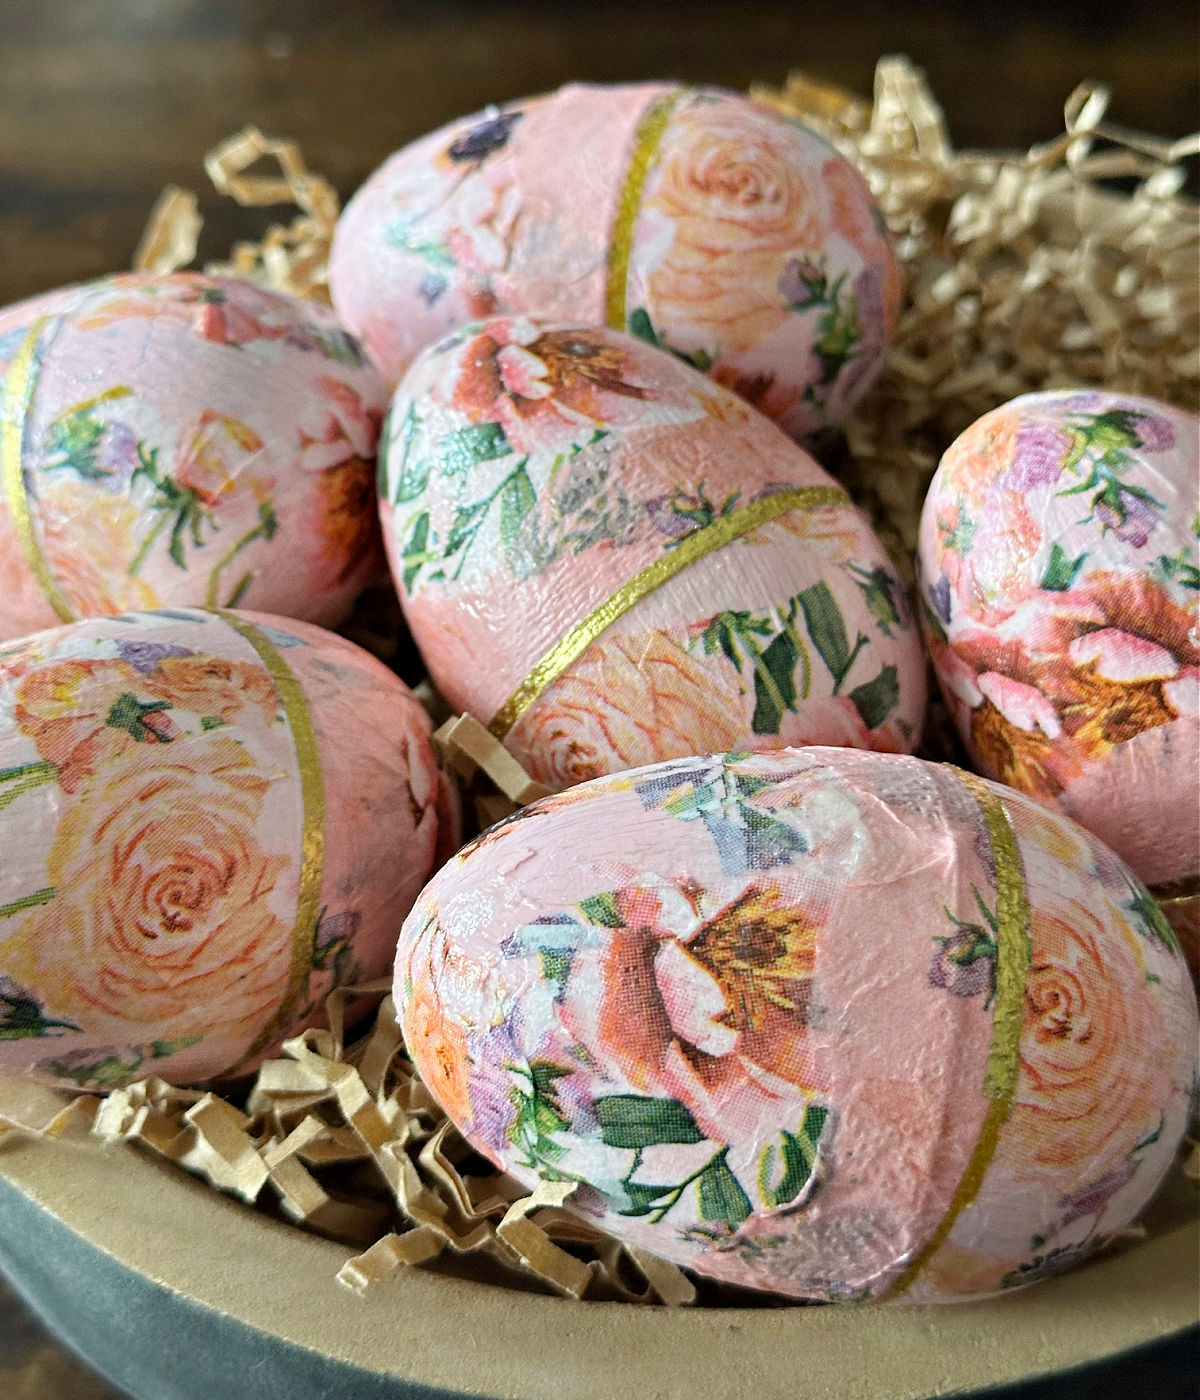
The easiest way to do that is to make your own decor. This craft project is the perfect example.You can make 6 gorgeous decoupage Easter eggs in about 30 minutes for under $5!
Place them in a pretty bowl and you have a lovely bit of springtime color to add to an entryway table, coffee table, or anywhere you want a festive touch of Easter decor.
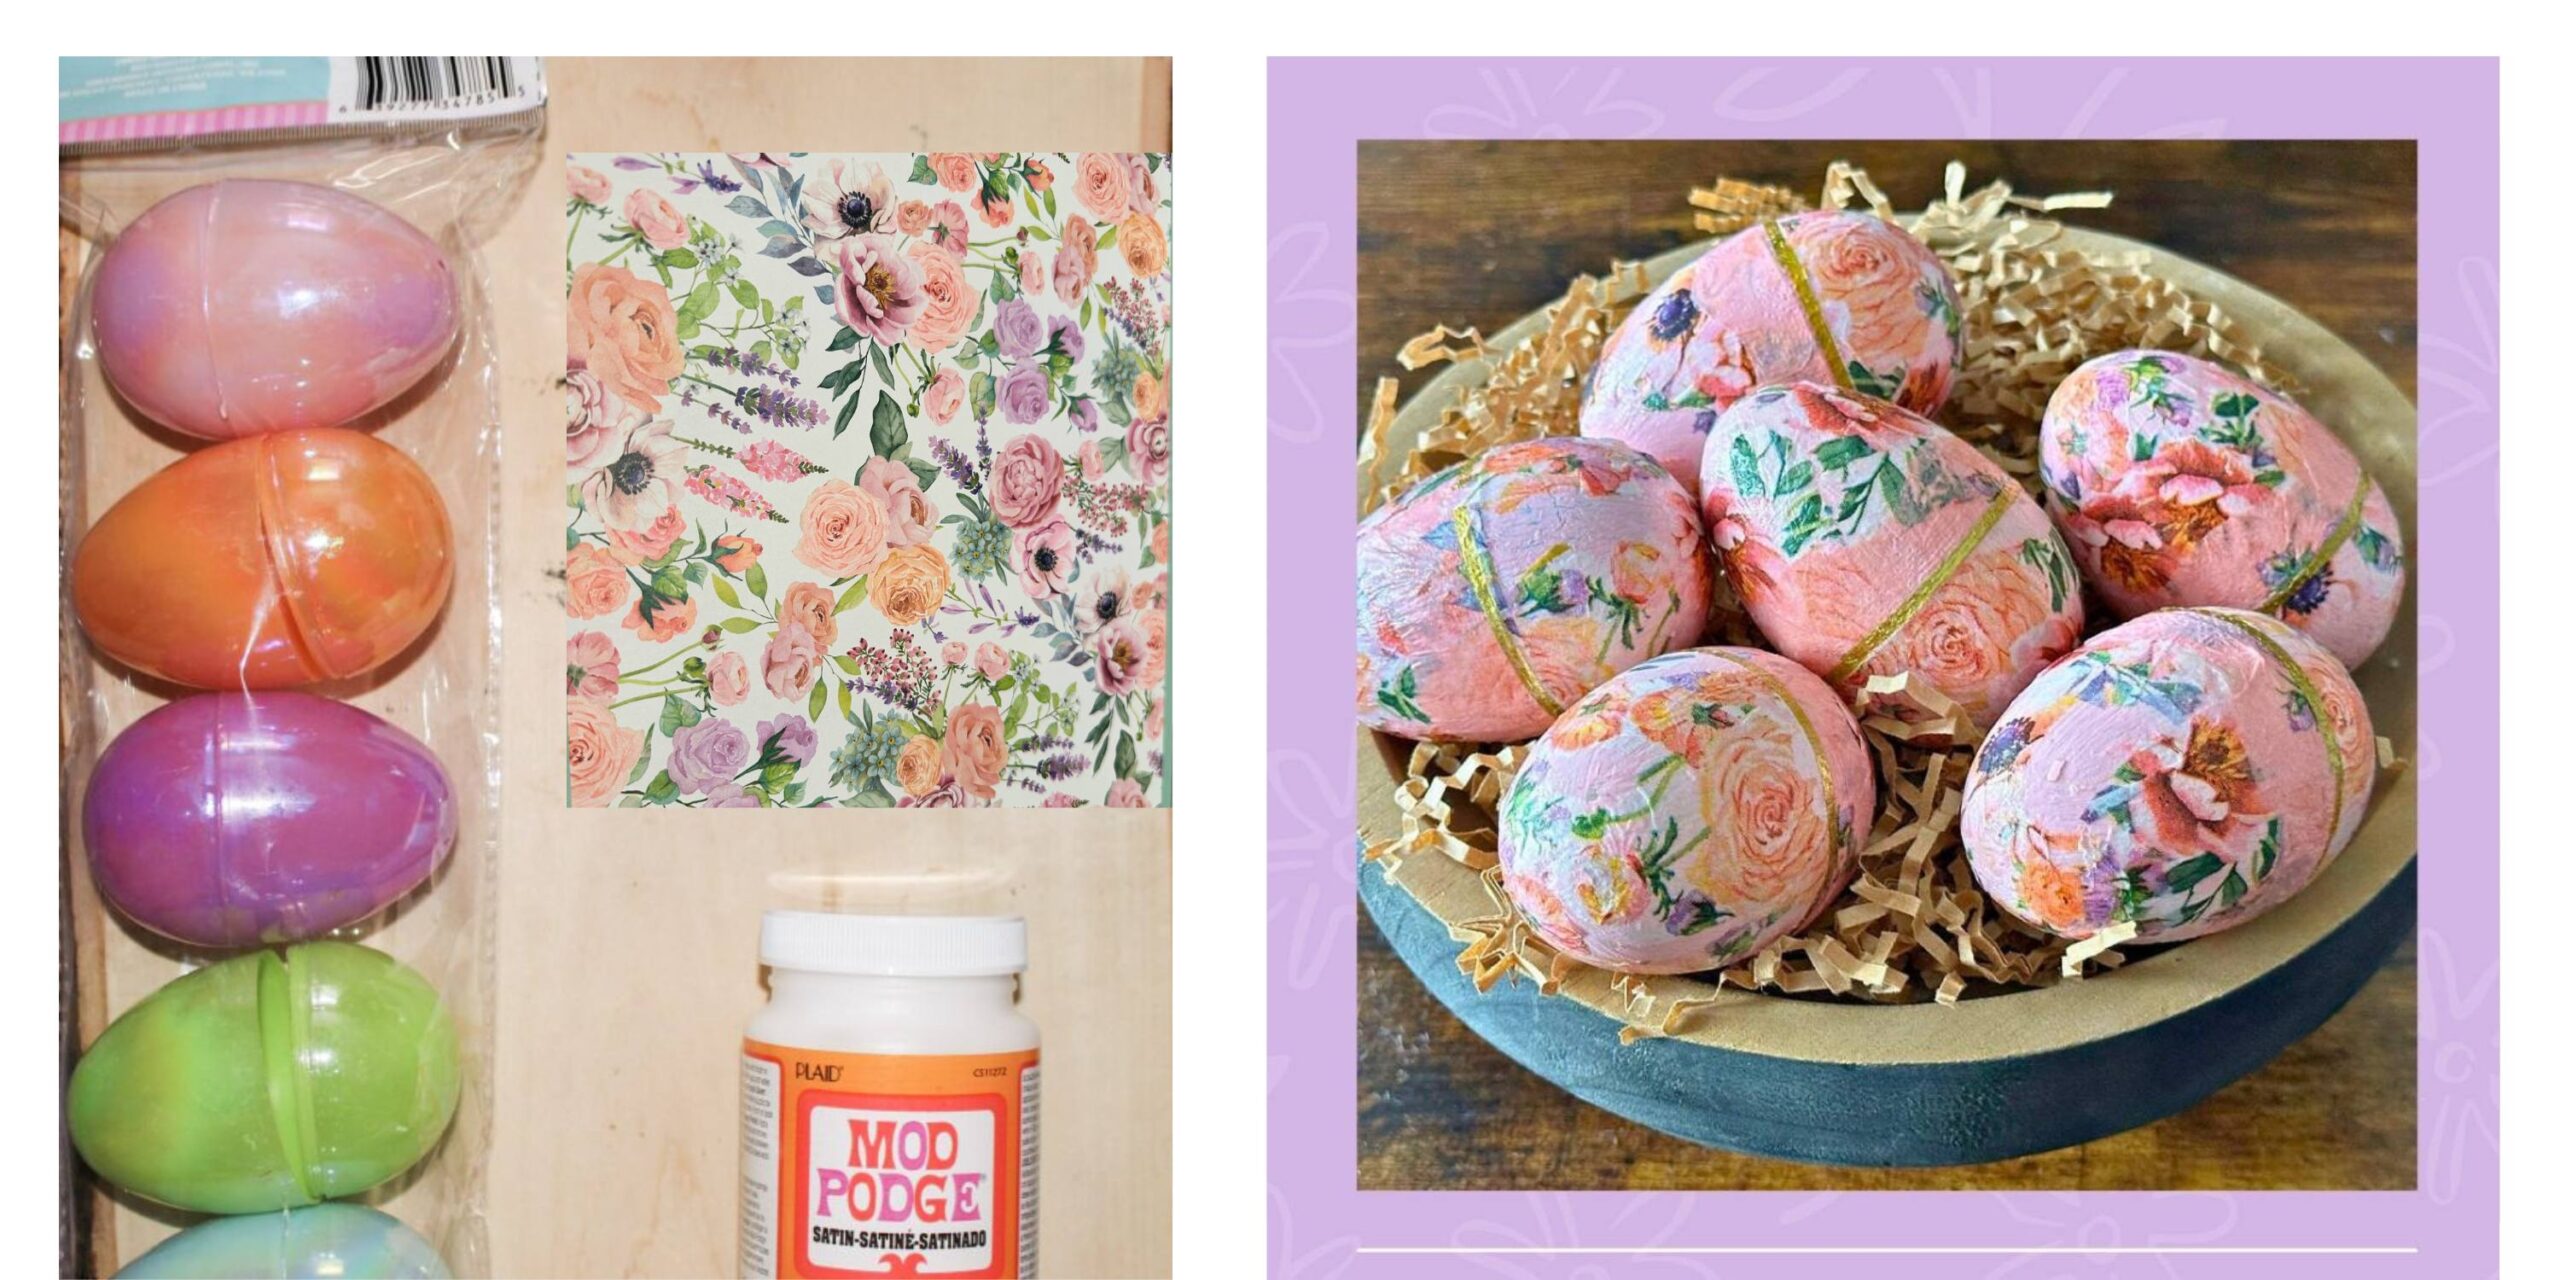

Let’s pretty up some Dollar Tree plastic Easter eggs!
Supplies
- Plastic Easter Eggs
- Mod Podge
- Clear Top Coat – I used dimensional magic
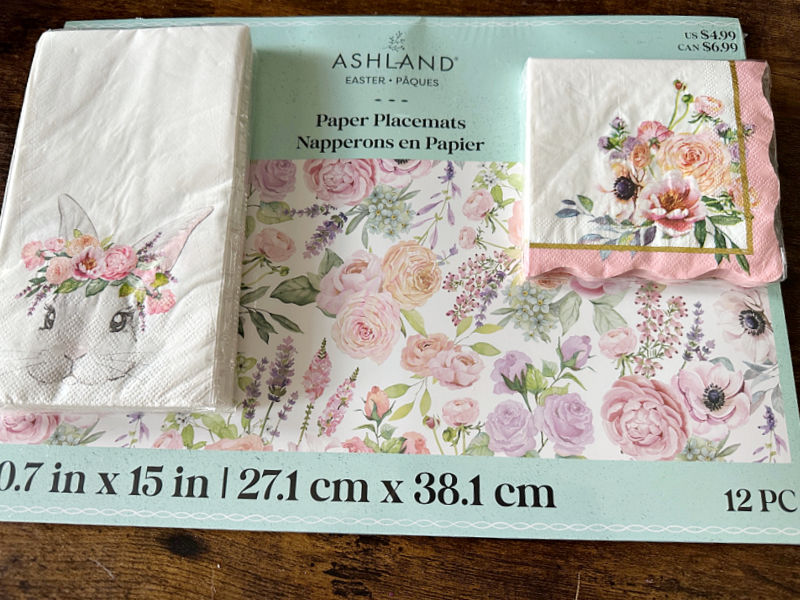
- Decorative Napkins – mine are from Michaels, but you can find them at most dollar stores and home stores for cheap.
- Chalk Paint – I used Innocence by DecoArt
- Foam Craft Brush

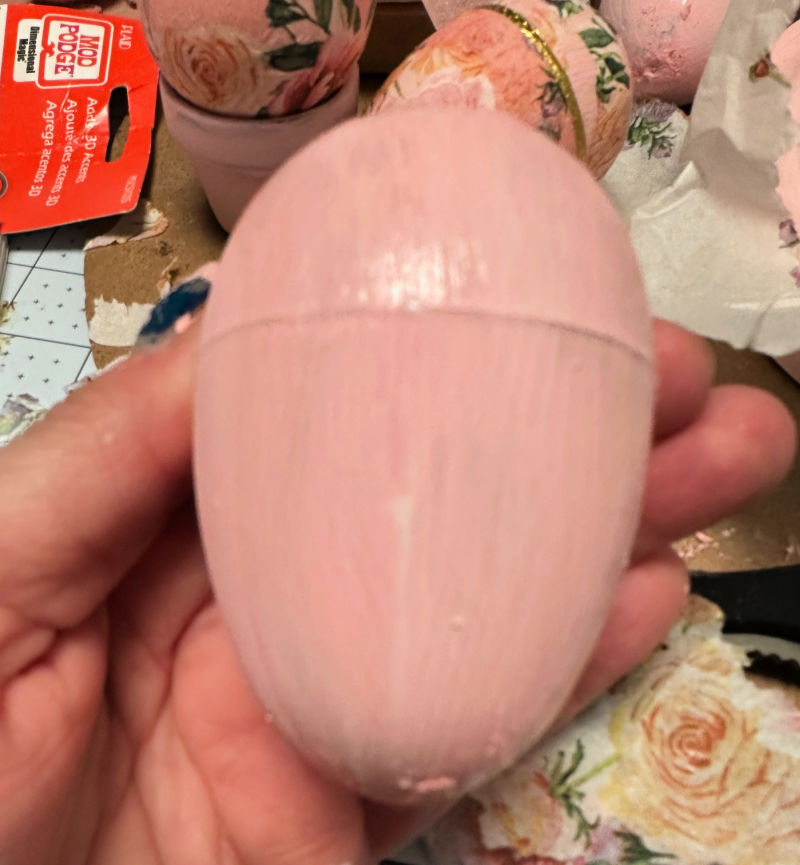
Step 1. Paint the Eggs
Whenever I decoupage with napkins I normally paint the item white. However, for these colored plastic eggs, I painted them all with pink chalk paint and love the look.
I do recommend you paint the plastic eggs even if you start with white. It gives them more of a finished look and covers up the fact that they are plastic.
Painting the eggs also gives a much brighter finish for the napkin design. You should only need one coat of paint, depending upon the type of paint you are using. Chalk paint works great!


Step 2. Cut the Napkins
Paper napkins normally have 2-3 layers, with just the top layer printed.
Separate the layers and just used the pretty floral layer for the Easter eggs.
Quick tip: take a piece of tape and attach it to the corner back of the napkin to make it easier to remove.


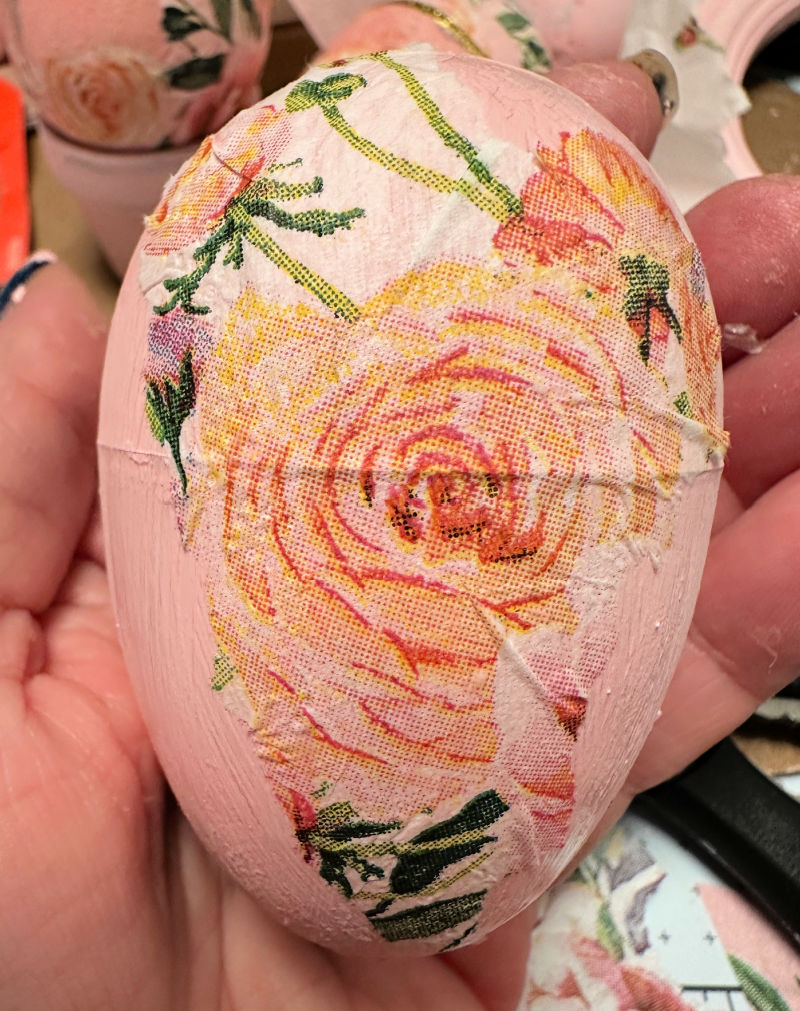
Tear pieces of the napkin design to fit onto the egg. Focus on different sections of the flowers and arrange them until you are happy with the placement. Cover the entire egg, or just add small floral pieces. It is totally up to you.
Step 3. Add Mod Podge
Once the paint is fully dry, add a thin layer of mod podge to the egg. You can work in sections with small pieces of the napkin design.
Be sure to work carefully, as the napkins are thin. Carefully smooth out any wrinkles. I cut the gold-edged trim from the napkins and placed that around the middle of the eggs to hide the opening.

Ribbon or washi tape would also work great. Repeat the process until all 6 eggs are covered.
Step 4. Cover with a Top Coat
To get a nice finish, I used dimensional magic. This makes such a difference! Let them dry overnight.
Look at these beauties:


Be sure to keep an eye out the next time you are shopping for pretty napkins.
They can be used in so many different ways with mod podge.
I also updated plastic eggs with glitter and they are lovely-just messy!
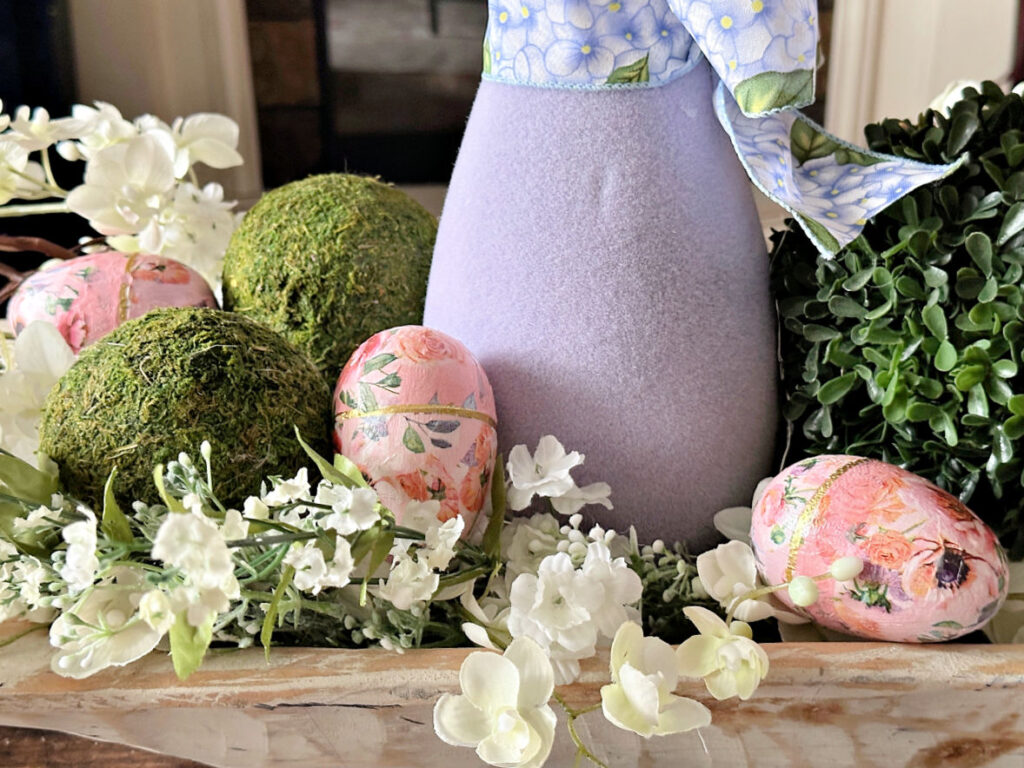
All that’s left is to decorate with your pretty decoupage Easter eggs. They look great in a decorative tray or dough bowl.


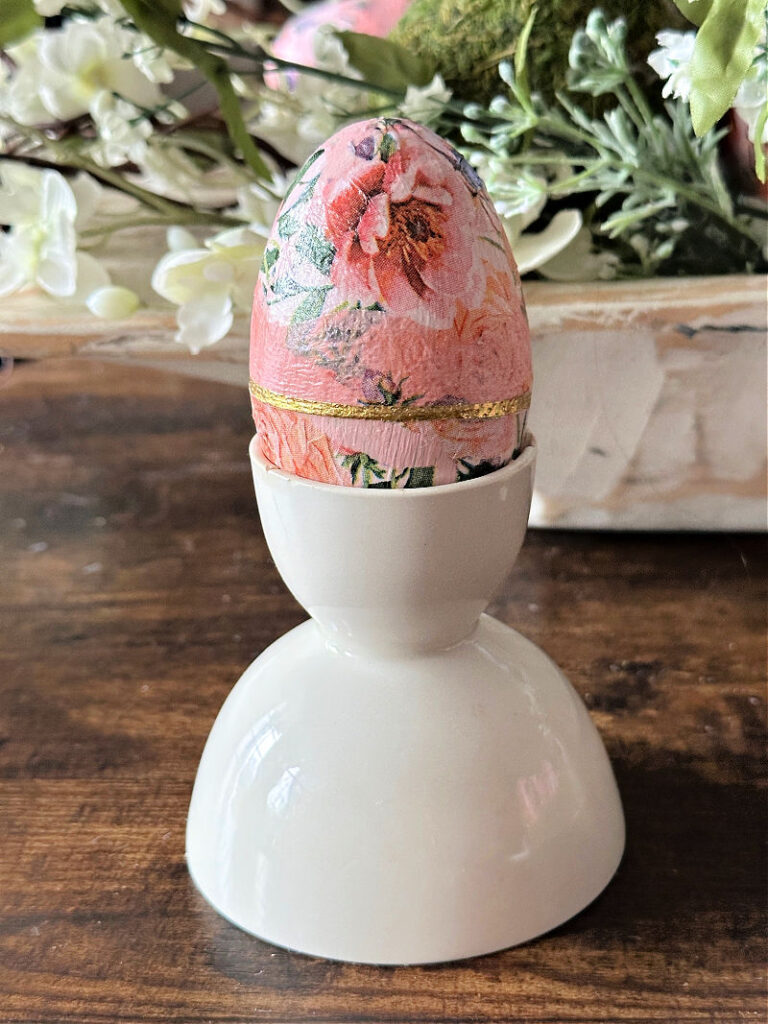


Add a few to a tiered tray, or place them in egg cups to use in an Easter tablescape.


Please share this article with your friends on Pinterest by pinning the below image.
It helps my blog grow and doesn’t cost a thing! 🙂


Let me know if you are inspired to create your own decoupage Easter eggs.
If you do make your own, be sure to share it with us on Facebook or Instagram.
Just tag @ourcraftymom. You never know who you may inspire.
Thanks so much for stopping by. Happy crafting!


For even more budget-friendly spring ideas, you don’t want to miss this amazing collection of 83 DIY Easter Decorations and these 19 DIY Spring Gnomes.


Follow me on social media below: