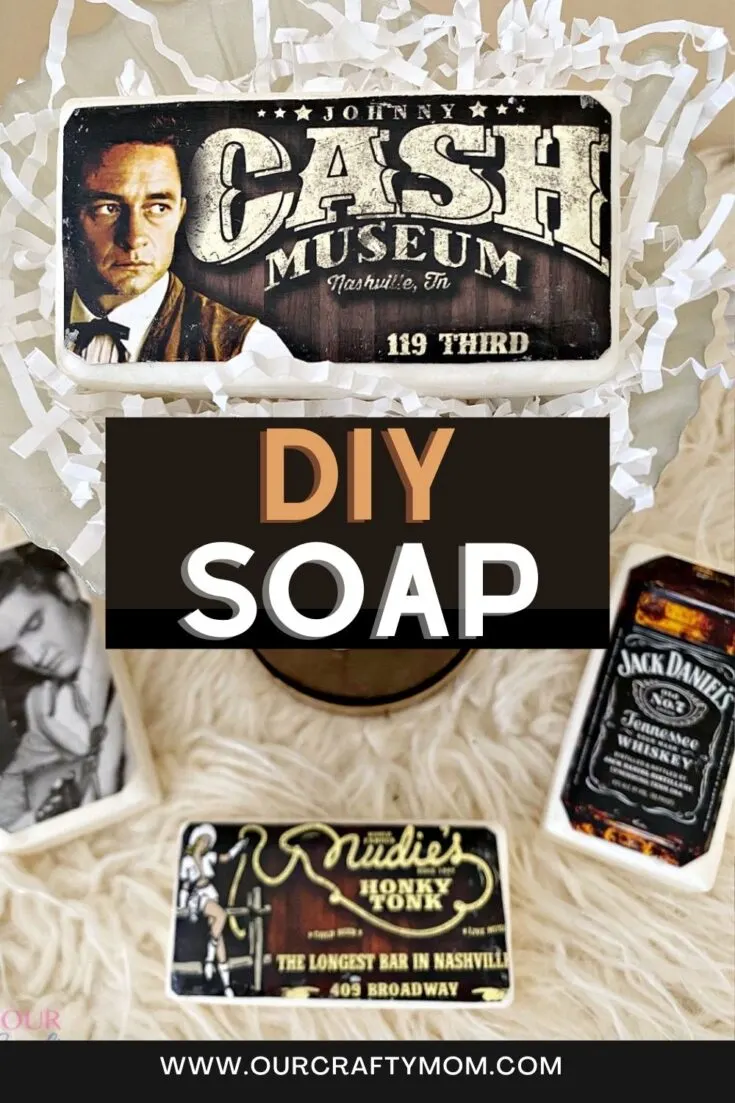
Learn the basics of how to decoupage with mod podge to make decorative soap. We have step-by-step instructions, along with tips and tricks.
Decoupage is one of those techniques that can be used to decorate all sorts of things. You can use it on furniture, clothes, and even soap!
In this post, we’ll show you how to create decorative soaps with mod podge. This is a great way to add some extra personality to soap, and it’s also a great gift idea.

Mod podge is the perfect crafting medium that can be used in so many different ways. One of my favorite ways to use it is to decoupage. I’ve created so many projects over the years with this technique.
Here are a few of my most popular:
- How to Decoupage with Napkins
- How to Decoupage on Glass
- How to Make Buffalo Check Plates with Mod Podge
- How to Decoupage on Wood – Broadway Table
Before we get to the soap tutorial, let’s talk a little bit about the process of decoupage.
What is Decoupage?
Decoupage sounds fancy, doesn’t it? Per Wikipedia, it comes from the French word “decouper” and means the art of decorating an object by gluing colored paper cutouts.
In fact, Artisans in Florence, Italy, have been using decoupage techniques since the 18th century.
Is decoupage the same as mod podge?
No. Although, it is pretty common to hear it used when describing decoupage projects. Mod podge is the medium used for the art of decoupage. It is a glue, sealer, and finish all in one.
Decoupage is the actual process that uses images and a decoupage glue, like mod podge.
Decoupage Surfaces
One of the many reasons decoupage is so popular is because it can be used on so many different surfaces.
Here are some of the most common:
What Materials Can You Use to Decoupage?
- Fabric
- Specialty Decoupage Paper
- Laser-printed photos
- Book Pages
- Beautiful Napkins for Decoupage
- Sheet music
Now that you have a little bit of background on decoupage and mod podge let’s get to this soap tutorial.
In just a few simple steps, you can create a beautiful decoupage soap that looks like it came straight from a store.
Best of all, this project is easy enough for beginners, so even if you’ve never tried decoupage before, you can still do this!
Ready to get started? Let’s go!
Supplies to Decoupage With Mod Podge on Soap
- Soap – you can make your own or use store-bought. (I used Ivory)
- Small Paint Brush – I get mine at Dollar Tree
- Mod Podge – I used matte
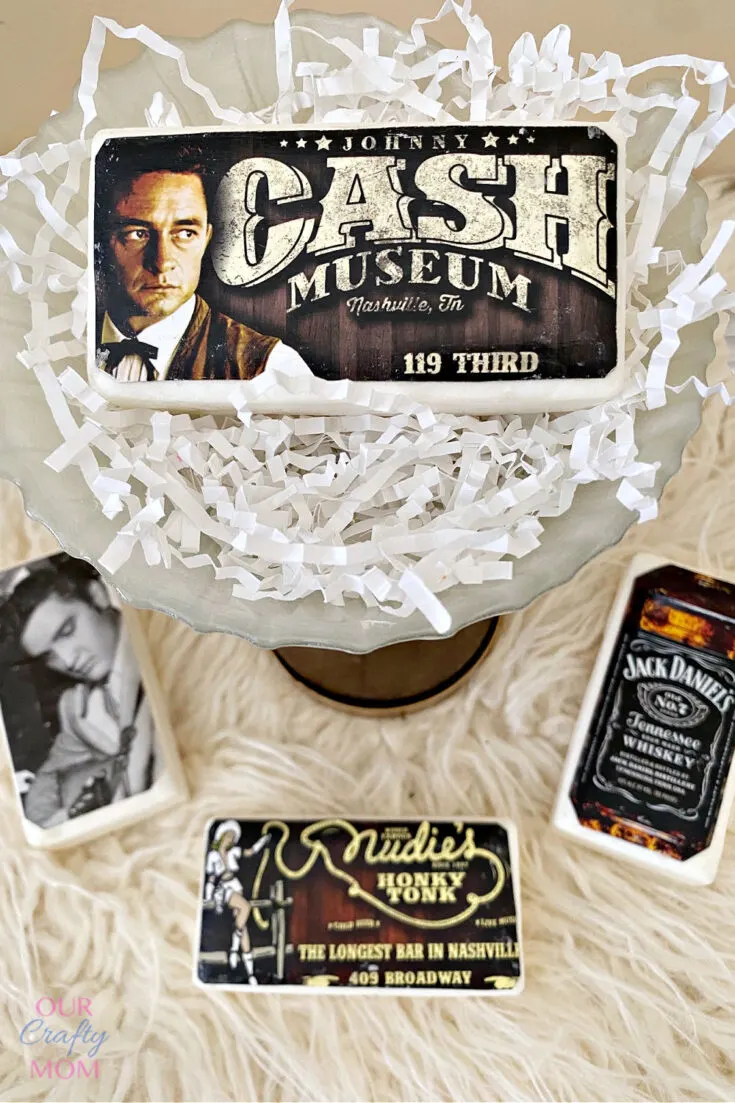
- Napkins, pictures, or tissue paper of your choice (I used brochures from our trip to Nashville)
- Clear plastic food wrap
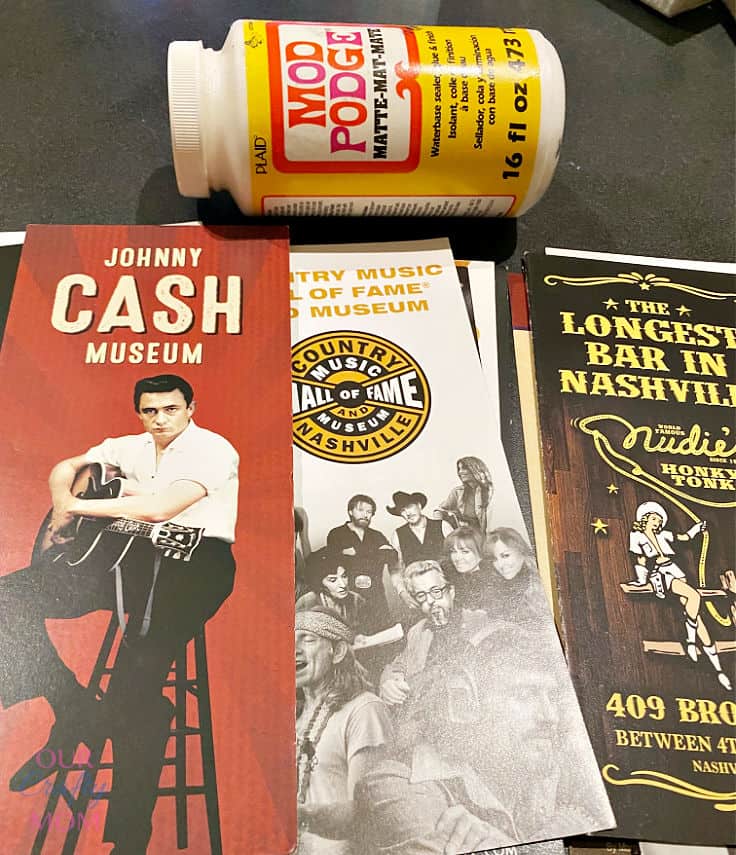

When my daughter and I went to Nashville I collected a bunch of brochures from places we visited. I’m really not sure why I collected them. It probably dates back to my scrapbooking days.
During our move, I found them in an envelope and inspiration struck. My son’s birthday is coming up and he is a big music fan. Johnny Cash is one of his favorites.
I thought it would be cool to make some decorative soap that wasn’t too feminine.
While I plan to make some soap with pretty flowers for Mother’s Day, I’m sure my son will appreciate Johnny and JD a little bit more. 🙂
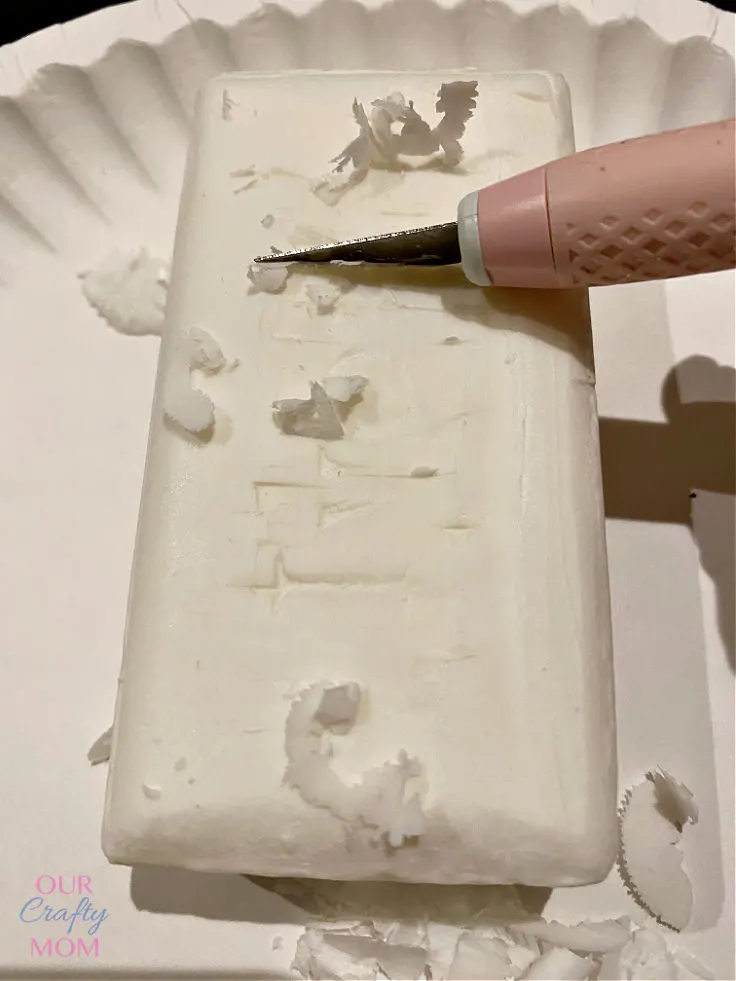
Step 1. Prepare soap for decoupage
If you are using a store-bought soap, you need to shave down the emblem on the soap.


I’m obsessed with my Cricut TrueControl Knife Kit.

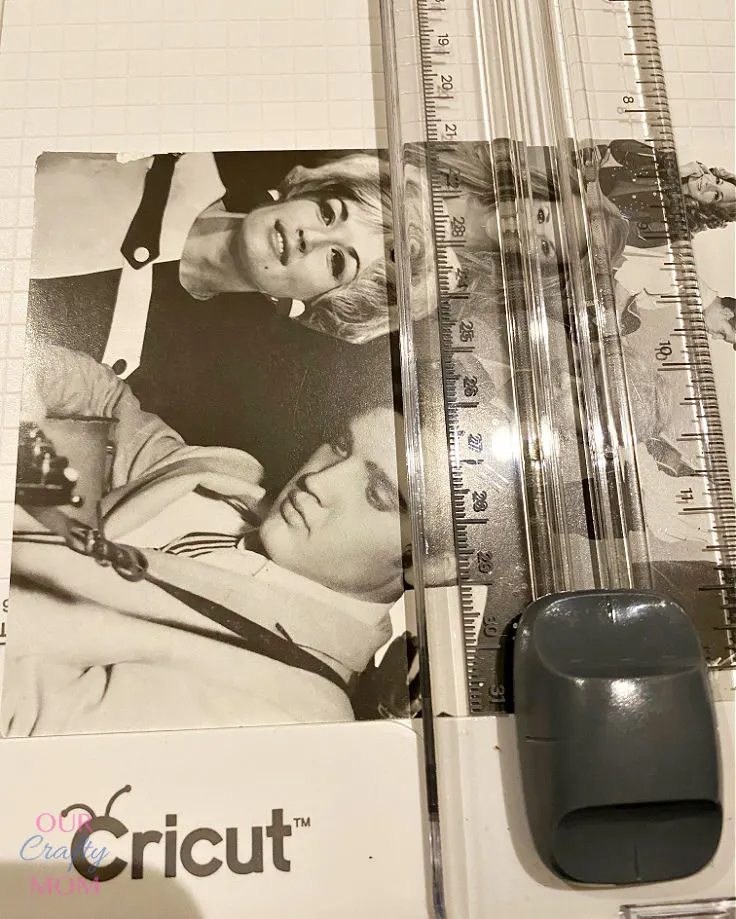
Step 2. Cut your images to fit the soap
A paper trimmer will help make sure your images are evenly cut.

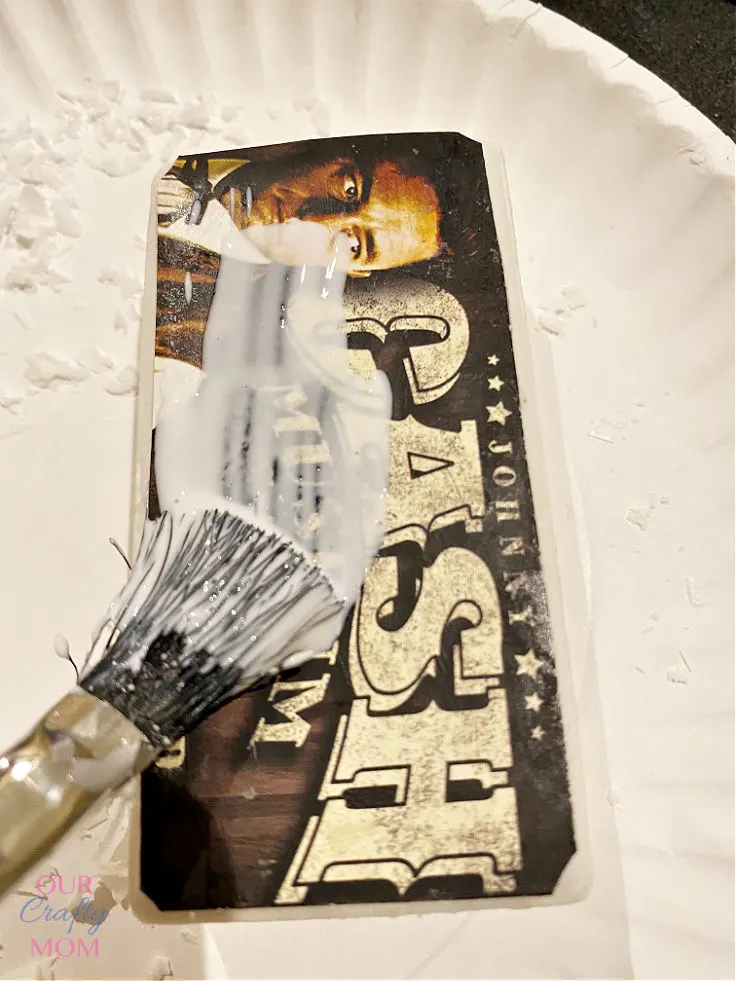
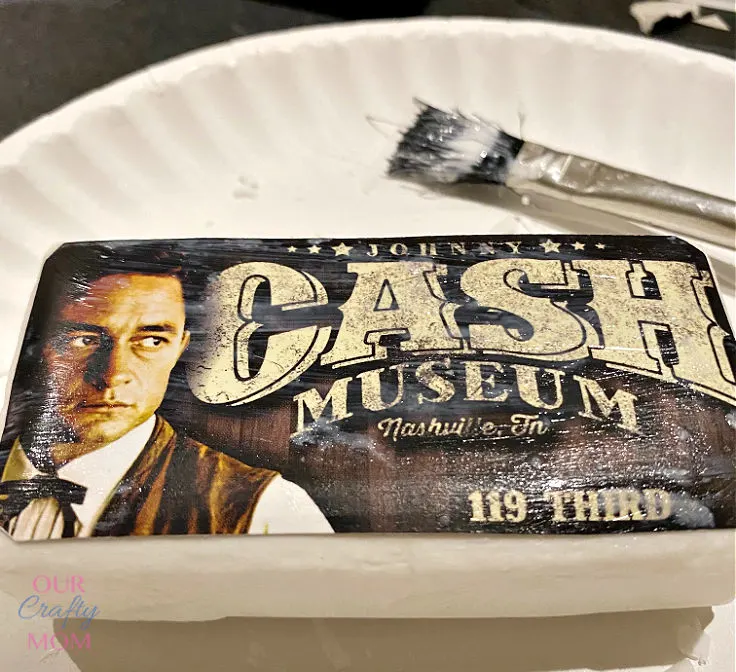
Step 3. Add Mod Podge
Place a coat of mod podge on top of the soap. If you are using heavier paper like my brochures, you also want to add a layer of mod podge to the back of the image.

Step 4. Apply image and burnish with plastic wrap
Place your image on top of the soap and press it down. A super helpful tip for decoupage is to use plastic wrap to “burnish” the image and remove any wrinkles.

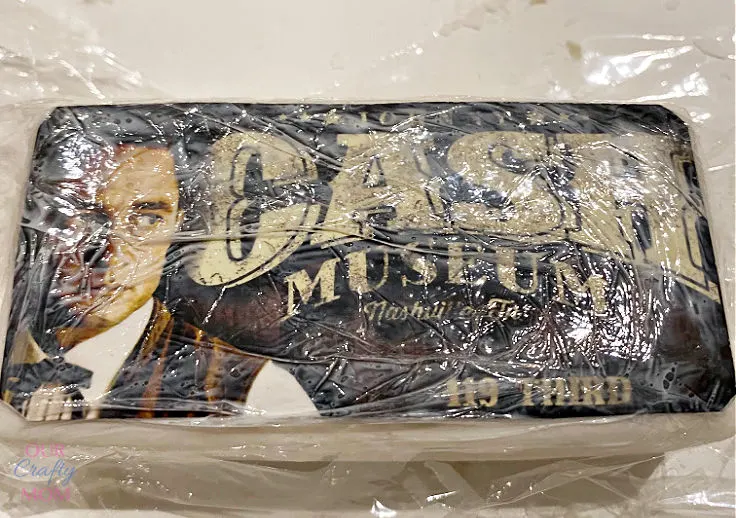
This will be extremely helpful when decoupaging with tissue paper, or napkins which can tear easily.
Step 5. Apply additional coats of Mod Podge
You will need at least 3-4 coats of mod podge when you use a thicker image like brochures.

Let the image dry for at least 30 minutes between coats. This decorative soap is really unique and you can personalize it for gift-giving.
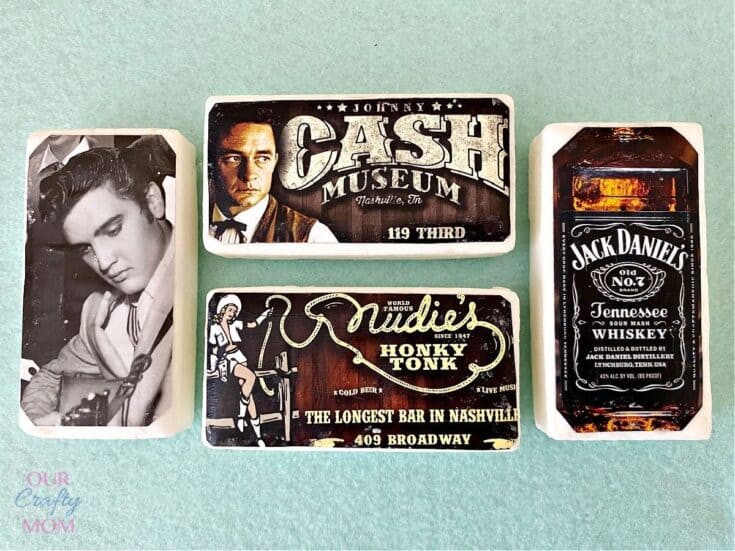
Here are the four designs I made:
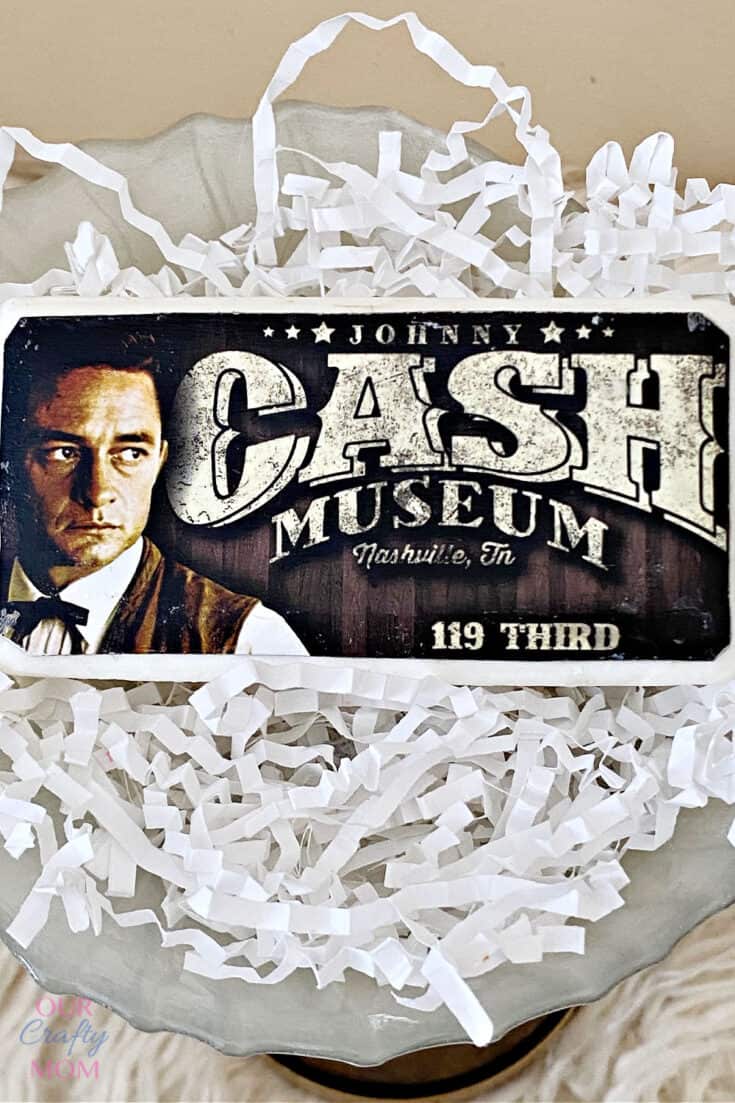
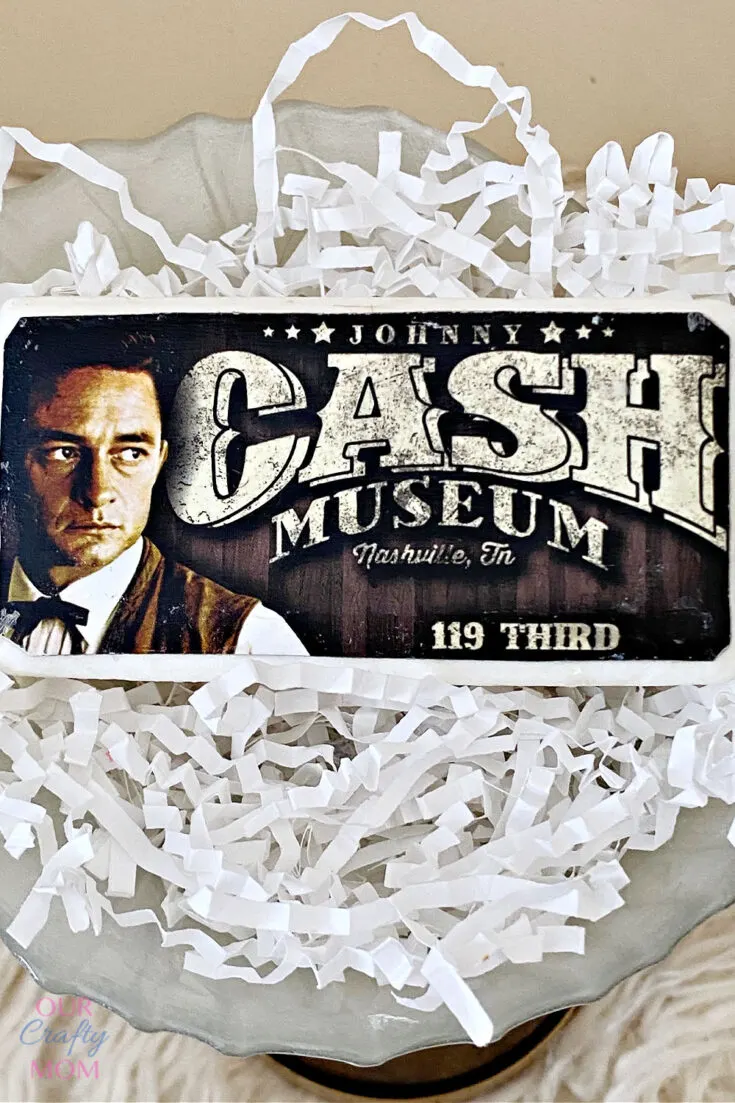
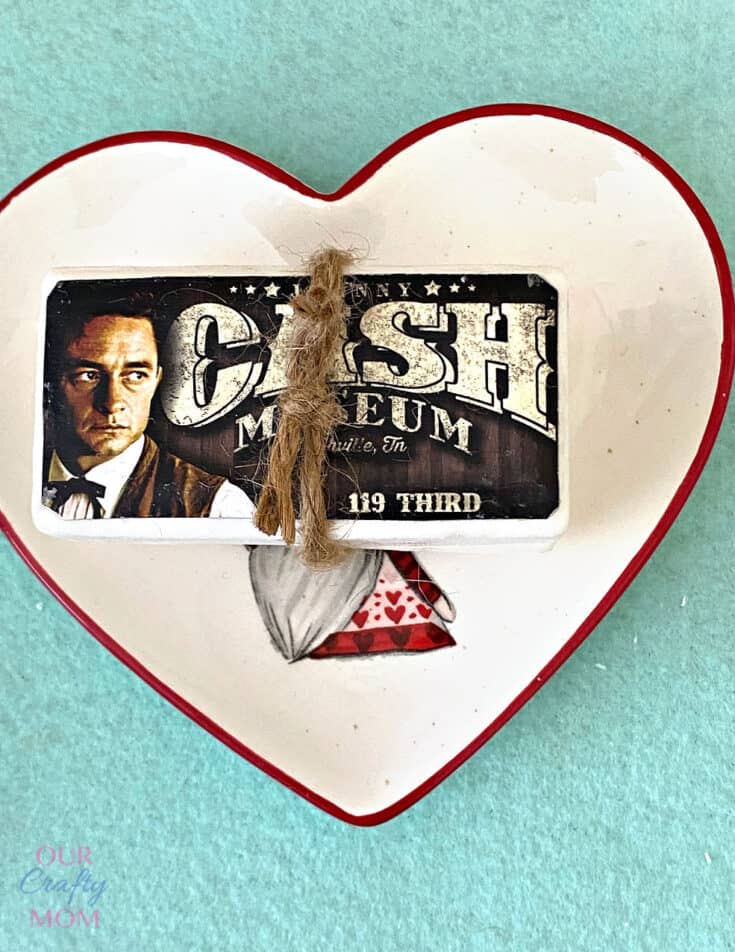
Johnny Cash – this man in black soap may be my favorite!
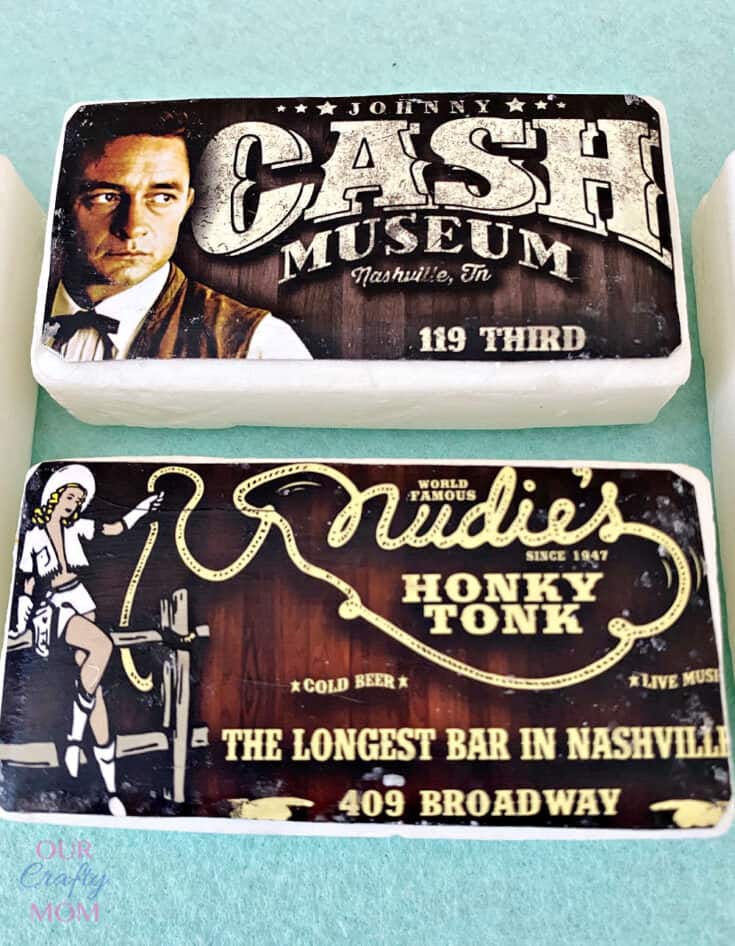

Honkey Tonk Bar – this bar was one of our favorites from our trip. My son loves the vintage-style images so I’m sure he will appreciate this design.

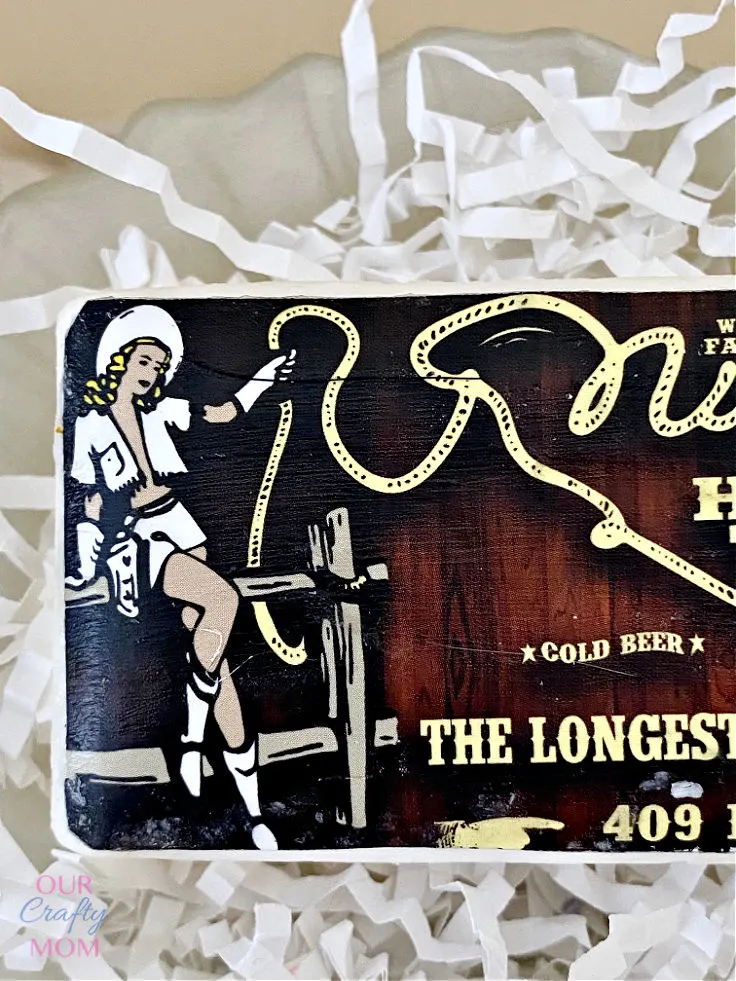
If you ever have the chance to go to Nashville, this is a cool place to visit.
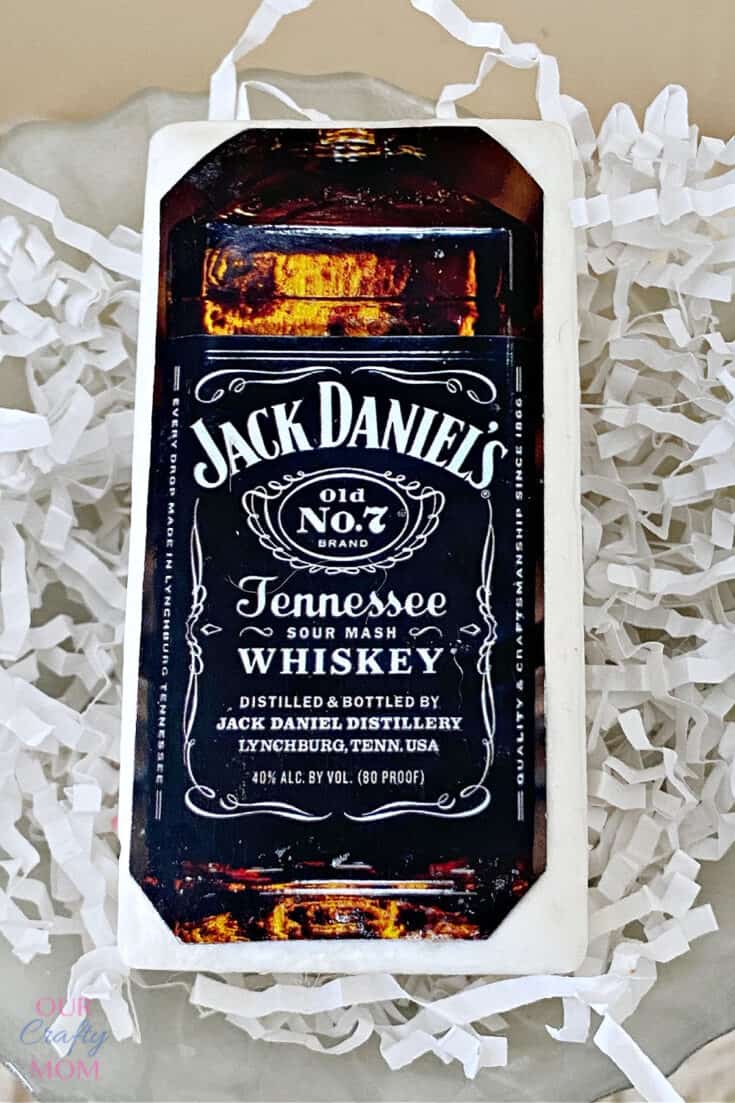
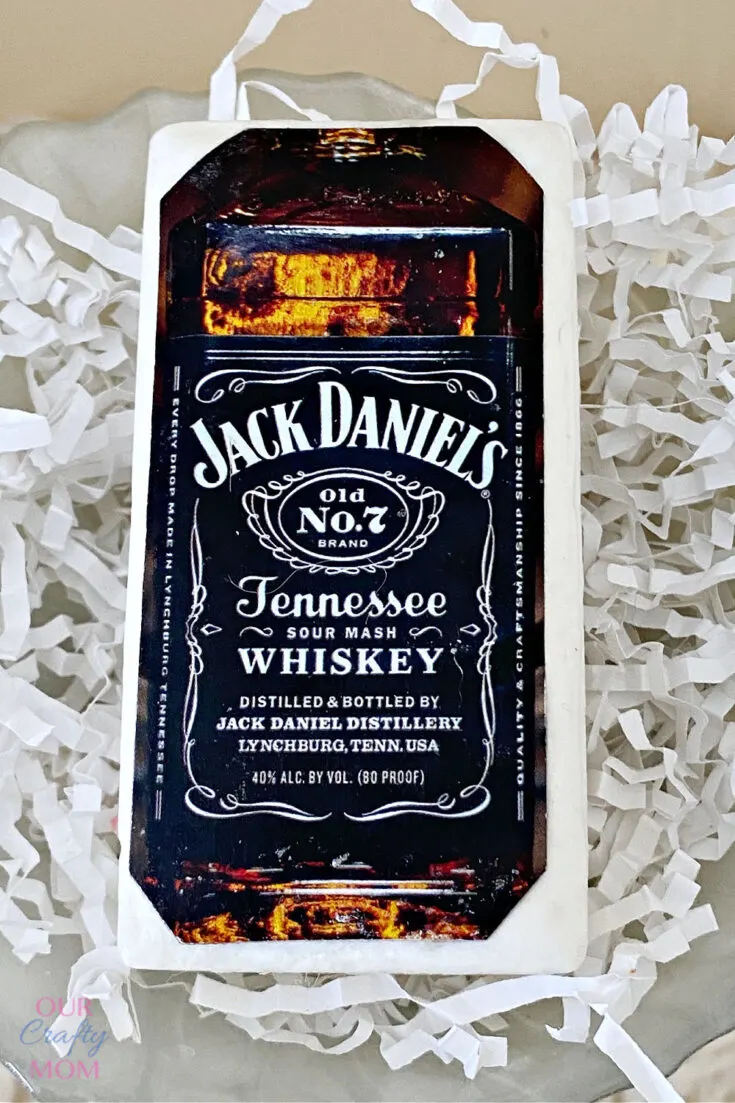
Jack Daniel’s bottle. We actually visited Jack Daniel’s distillery in Lynchburg. It was really wild!

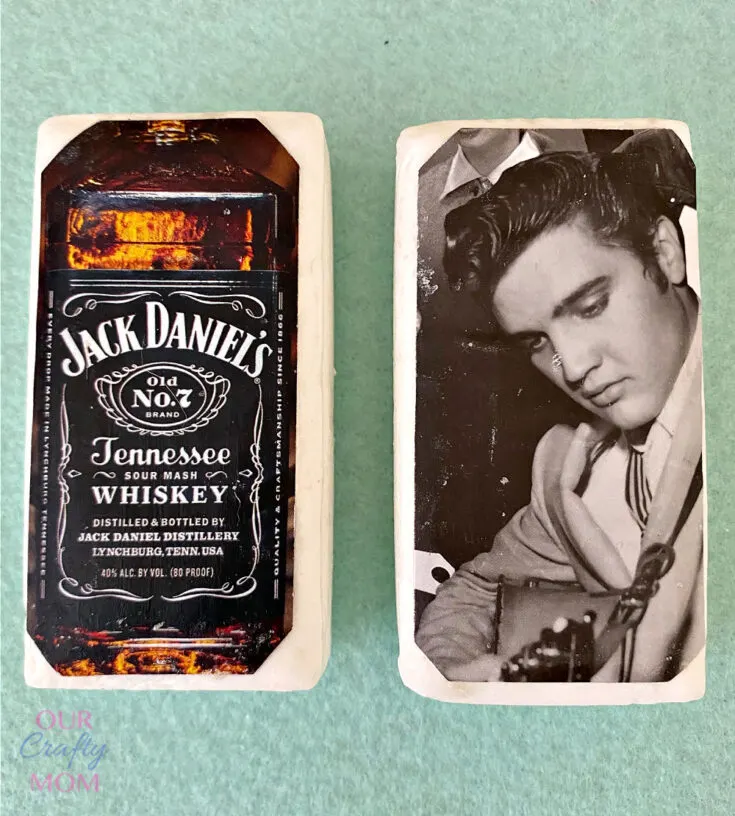
You can’t make soaps from Tennessee and not include Elvis!
While I’m sure my son will keep this in his bathroom for display, it is still useable with the mod podge on it. The soap will wear down until it gets to the paper and then you just dispose of it.

This soap would be great for Valentine’s Day, Father’s Day, or just because!

[Tweet “Learn the basics of how to decoupage with mod podge to make decorative soap. We have step-by-step instructions, along with tips and tricks.#ourcraftymom #decoupage #decoupageonsoap #modpodge #modpodgecrafts”]
That’s all there is to it! Your decoupaged soap is now ready to use.
With just a few simple supplies, you can be on your way to creating beautiful soaps that are uniquely yours.
Be sure to check out the blog for more fun ideas and tutorials.
Have you tried decoupage before? If so, what project did you try? Share your photos with us on social media and use the hashtag #ModPodgeCrafts. We can’t wait to see them!

Before you go, I’d love for you to subscribe to my email. It’s a great way to stay current on all the fun crafts, easy recipes, and home decorating ideas.
Common Types of Mod Podge Decoupage Glue
In most of my decoupage projects, I use a matte finish mod podge as my decoupage glue. It’s extremely versatile. However, there are so many different types of mod podge.
You can check out this helpful Mod Podge Formula Guide from Amy at Mod Podge Crafts. You can also make your own mod podge glue using classic school glue
How Long Does Decoupage Take to Dry?
You want to let your decoupage glue at least 20-30 minutes in between coats. Also, let your project dry completely for 24 hours.
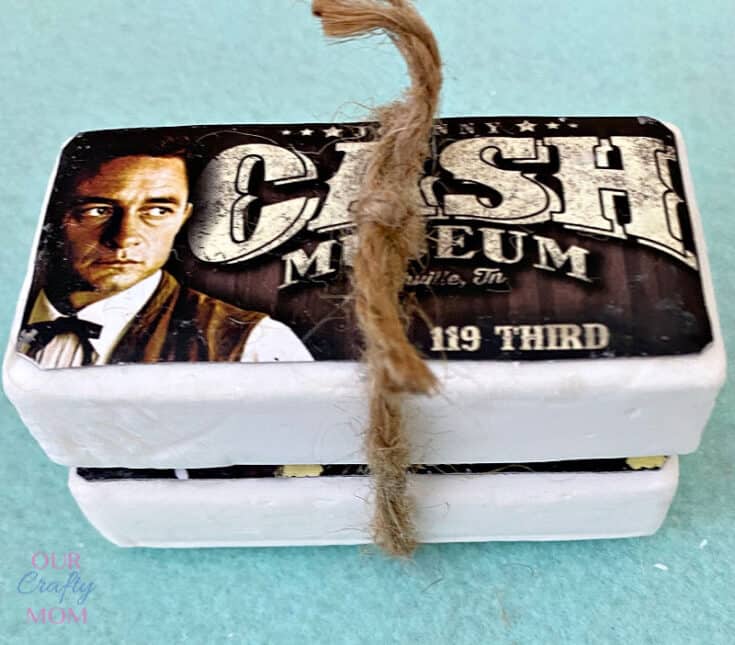
How to Package Decorative Soap?
- Wrap with twine, string, or ribbon.
- Wrap in parchment paper.
- Attach a gift tag.
- Gift them in small boxes or bags.
- Wrap in cellophane.
How to Display Decorative Soap
- Place it in a pretty display bowl by the sink.
- Add it to a small tray that matches your decor.
- Place it on a tiered tray.
You can find me on social media below:
You may also want to check out this post on 27 DIY decoupage craft ideas.
stephanie
Monday 19th of December 2022
hey! back in the 60s & 70s... my mom was involved in our "church bazaar" that happened around christmas... i was quite young, and she took me to all the meetings where they were making all the hand made crafts. decopaugeing soap was one of those lovely items... sometimes, we even added small pieces of lace and stuck pins into the soap with tiny beads on them... (obviously those were not made for washing your hands)... but i was usually cutting out images of flowers from magazines... thanks for bringing back those memories!
ourcraftymom
Monday 19th of December 2022
I love hearing that! I used to go to church bazaars with my mom too! Some of my best memories. :)